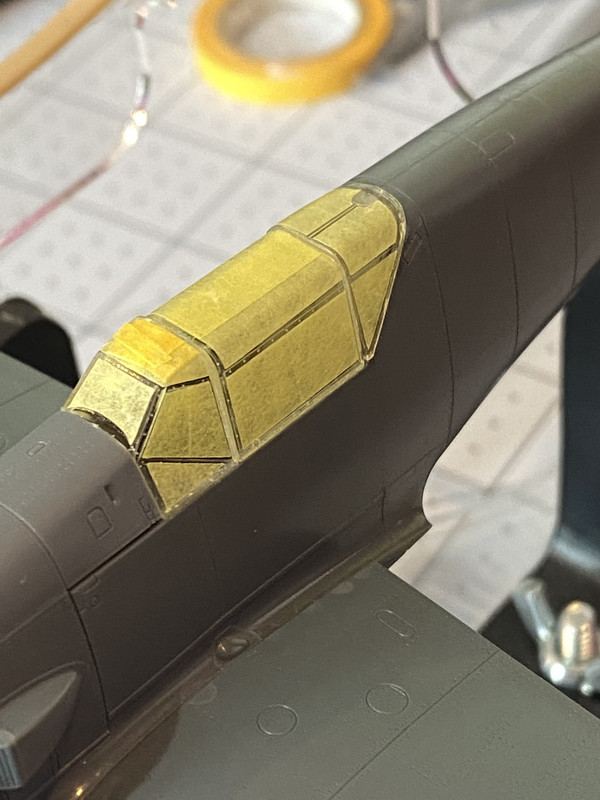
A few more bits and bobs before primary painting for “Black 1”…
“What the Hell am I looking at, here?”
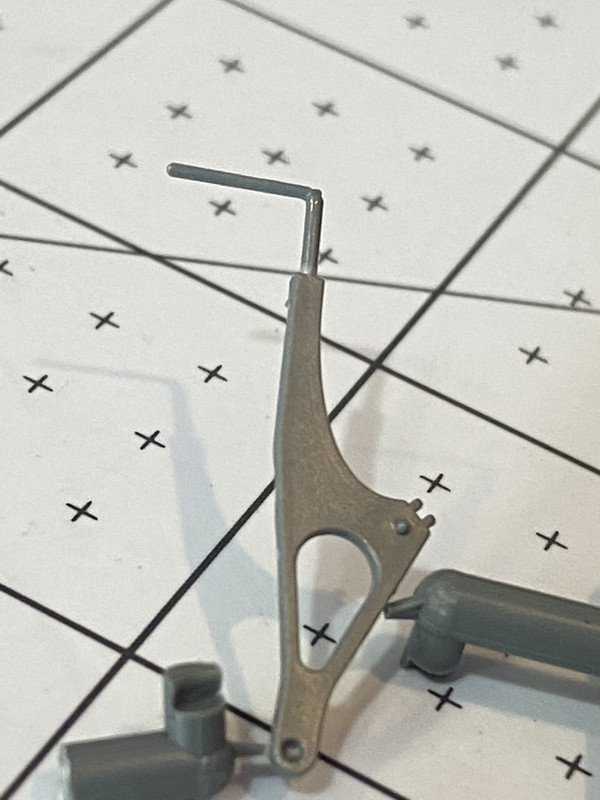
That, my man, is a BF 109 E3 motor mounting arm with an extra appendage glued to the stub (see the upper left-hand quadrant of the photograph).
”Okay cool but why?”
Good question!
So, I dislike gluing the mass balances and pitot tube to the airplane after I’ve painted it. It’s fiddly business with fiddly bits for one thing, and for another, the locating holes for those fiddly bits on these Eduard kits are very small and damn-near disappear after painting, due mostly to modulation and variegation in the paint jobs I do. My eyes can never find them again.
Okay that sounds reasonable, but what’s with the motor mount?
Another excellent question! Another quirk I’ve noticed with these Eduard kits is- one must be inordinately careful in removing the pitot tube kit part from the sprue because it is diabolically easy to accidentally snap the tube part free of the arm when snipping. If you:
1. Pick the nub which attaches the arm portion to the sprue as the first one to cut, and:
2. Use just the slightest bit too much pressure with the nippers, BOOM! You’ll break the arm loose from the tube part
…AND, if you’re like me, you’ll then:
3. Cut the tube part free, and try to glue it back to the arm part, unsuccessfully, and throw both little pieces over your shoulder in a fit of frustration.
”You had to build a new pitot tube.”
Yeah.
You could’ve just said that.
Okay fair enough.
SO, here’s what I did…
I checked the sprues for a part that had a bit attached to it which resembled the tube part. And the mounting arm had a bit on it that fit the bill. Next, I located a part which had a long, thin section. Found one. Don’t know what it’s for. Don’t particularly feel like I should sweat it on account of all main construction is done. So, I cut that long thin bit free, and very carefully sanded the ends flat, before attaching it at the damn-near-microscopic right angle formed at the place where the nub on the end of the mounting arm joins the actual part using Tamiya Extra Thin. Then, after it was dry, I applied a small amount of CA glue to the join to re-enforce the join. I applied a tiny dot of it with the tip of a sharpened tooth pick. Then I set it aside to dry.
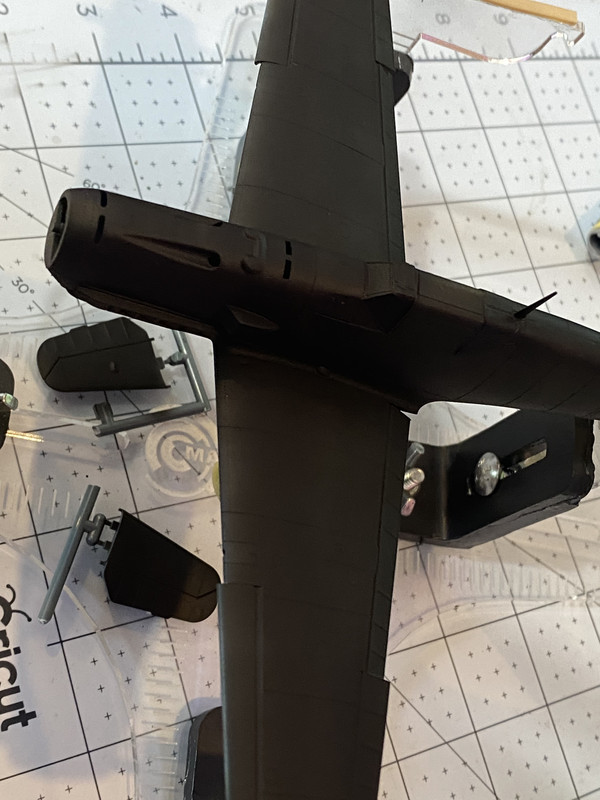
Next, I drilled out a nice hole all the way through the lower wing half where the tiny locating hole is, shown here:
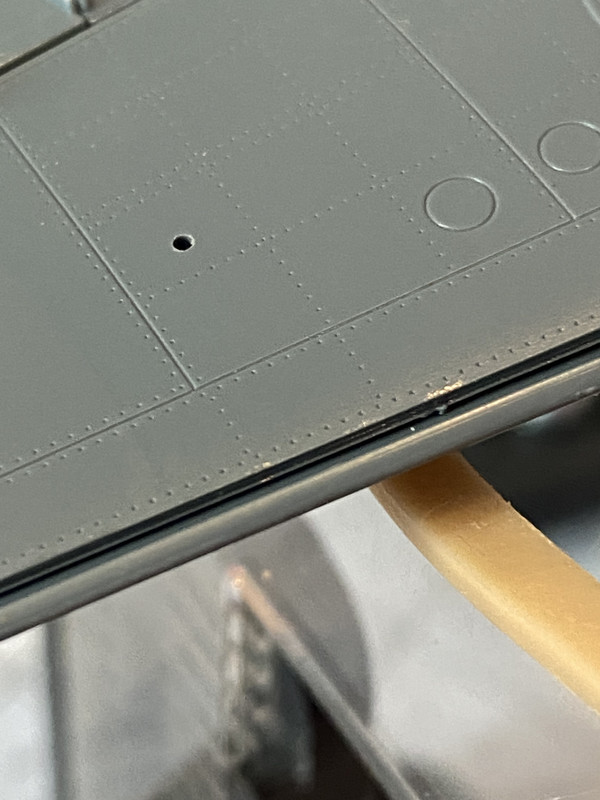
Now, the arm appendage is longer than what’s on the kit part, but that’s okay. It’ll pass all the way through the wing half, and fuse to the other wing half on the other side of the hole.
Next, separate my new pitot tube from the motor mount arm piece:
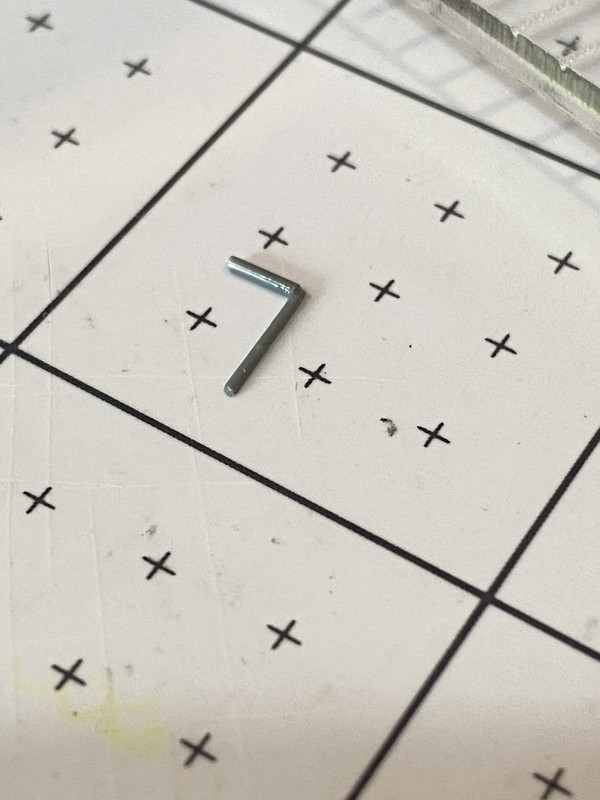
And then, after applying Tamiya Extra Thin to the very end, carefully feed it through the hole, make sure it’s in there straight, and then apply some Tamiya Extra Thin to the little hole and let it wick.
Here’s the end result. “Good enough for Government work.”
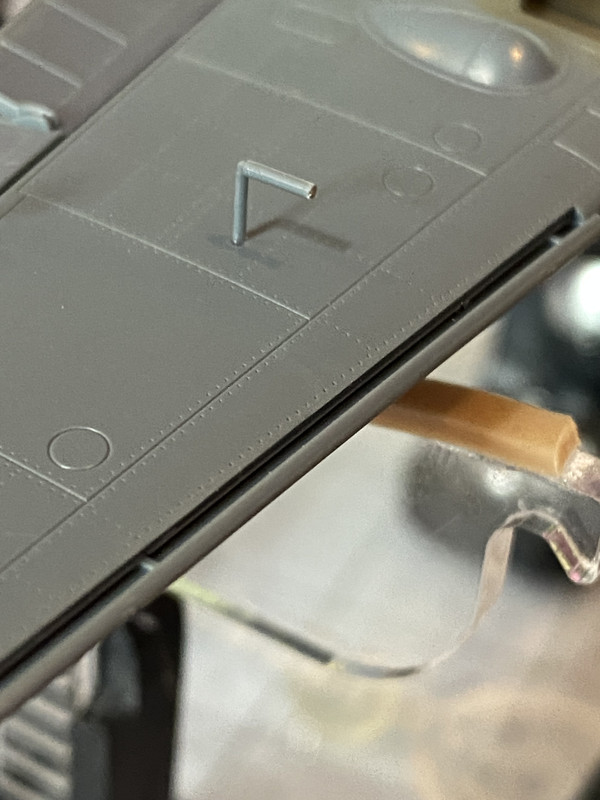
So there we go. The pitot tube situation is handled. Now I just need to remember to be extra careful whilst painting. I’ll probably get the primer on later today.