Page 3 of 9
Re: Eduard 1/48 Hawker Tempest II
Posted: Tue Apr 30, 2024 9:22 pm
by BlackSheep214
Geez… his cockpit in 1/48 scale is better than mine in all my 1/48 scale aircraft builds.

Believe me, I’ve tried so hard to emulate your painting style.
Re: Eduard 1/48 Hawker Tempest II
Posted: Tue Apr 30, 2024 11:24 pm
by jkim
Re: Eduard 1/48 Hawker Tempest II
Posted: Wed May 01, 2024 3:21 am
by mostrich
First when I saw this I thought John's account got hacked. But then I noticed the quality of work and I calmed down.
At least a bit, since your skills are breathtaking also in quarterscale.
Re: Eduard 1/48 Hawker Tempest II
Posted: Wed May 01, 2024 3:43 am
by Stuart
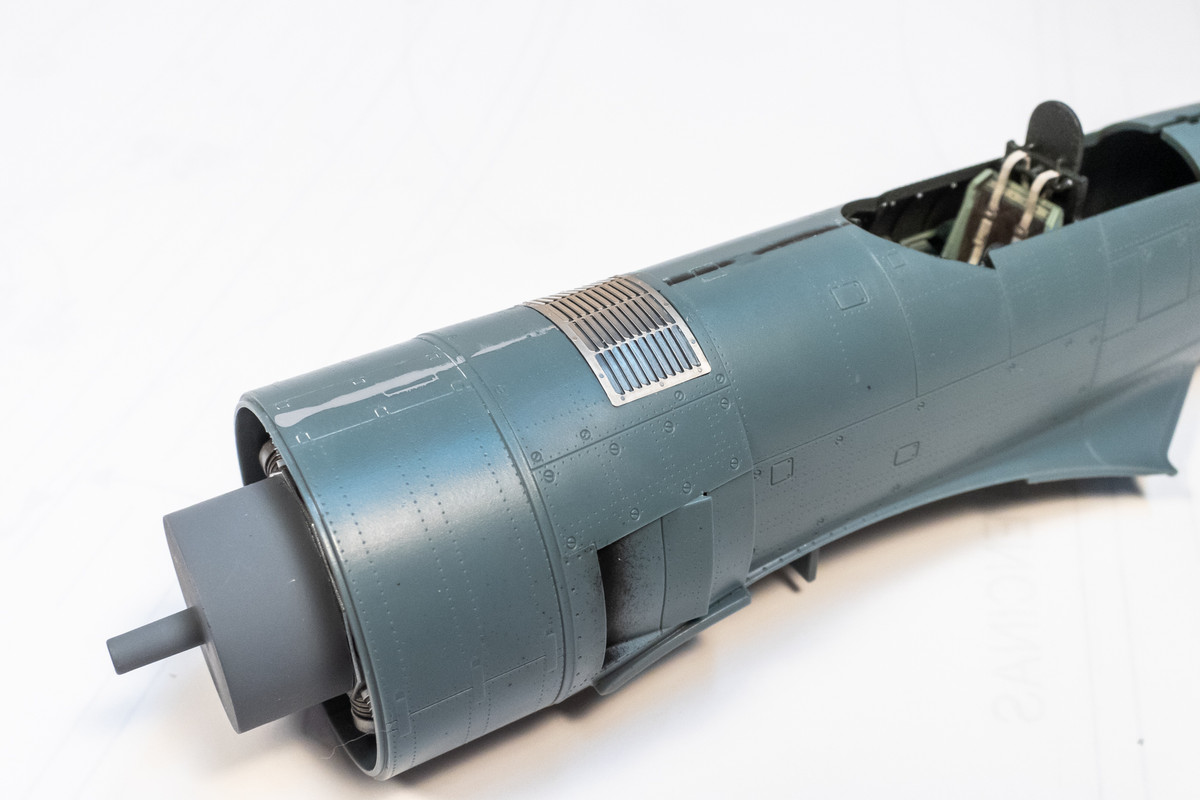
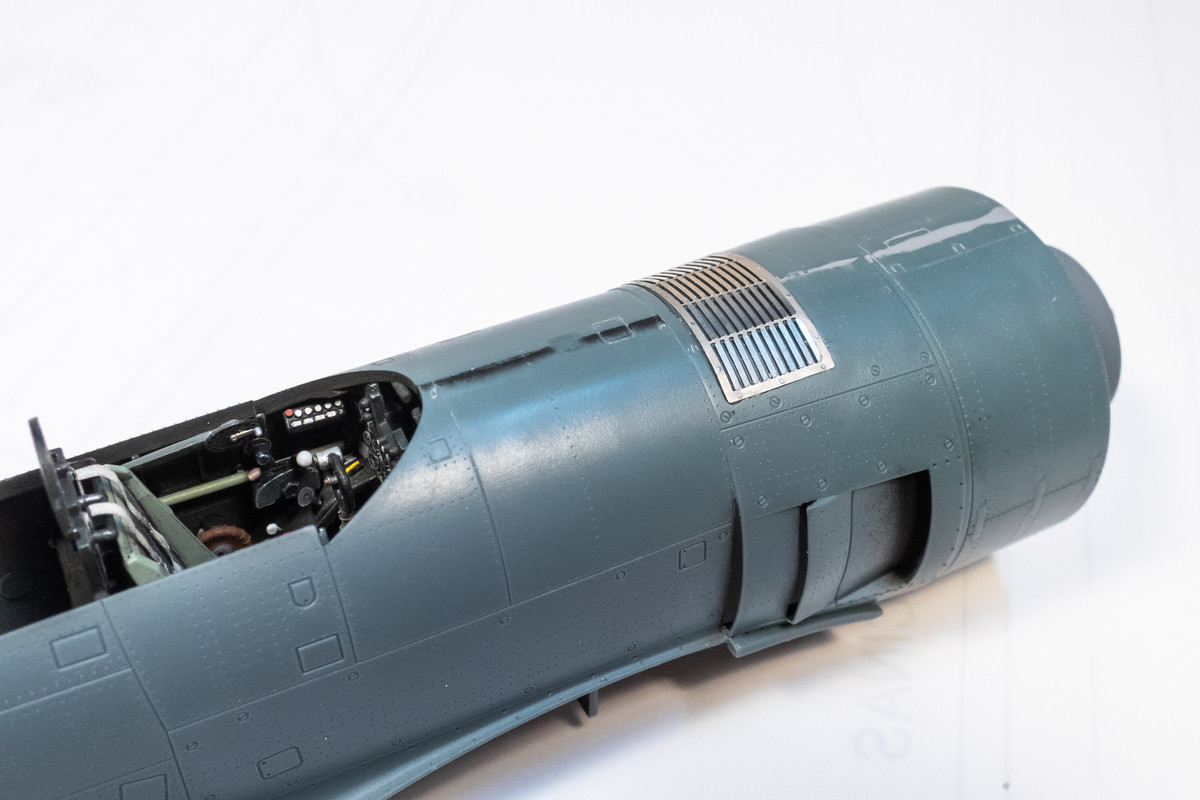
Excellent work John - loving how this is coming together.
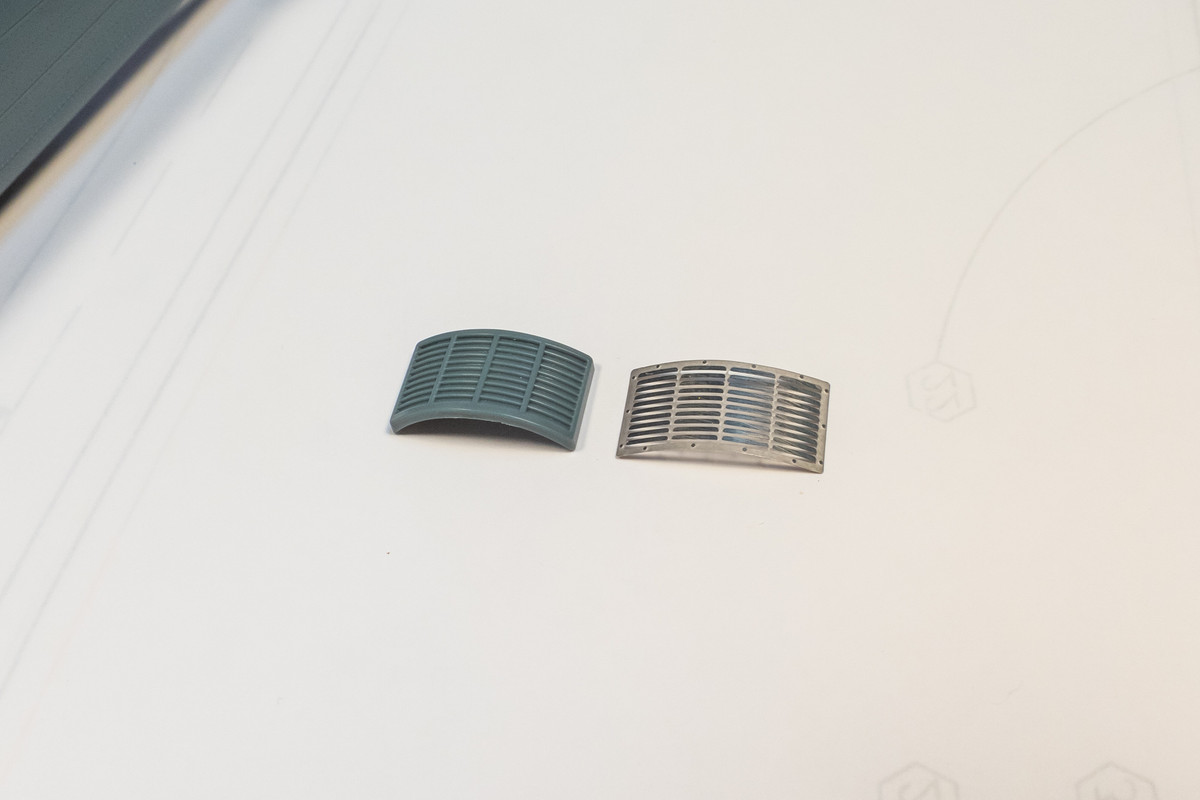
Gluing the PE grill onto the kit part was a good idea - that worked really well.
Re: Eduard 1/48 Hawker Tempest II
Posted: Wed May 01, 2024 7:20 am
by LyleW
Great looking progress! Fun to watch.
Re: Eduard 1/48 Hawker Tempest II
Posted: Wed May 01, 2024 10:44 am
by Stikpusher
That’s starting to take form now… very nice! Plus you gave me an idea for alignment on using my rivet tool when replacing lost detail…


Re: Eduard 1/48 Hawker Tempest II
Posted: Thu May 02, 2024 2:11 pm
by jkim
Thanks guys!
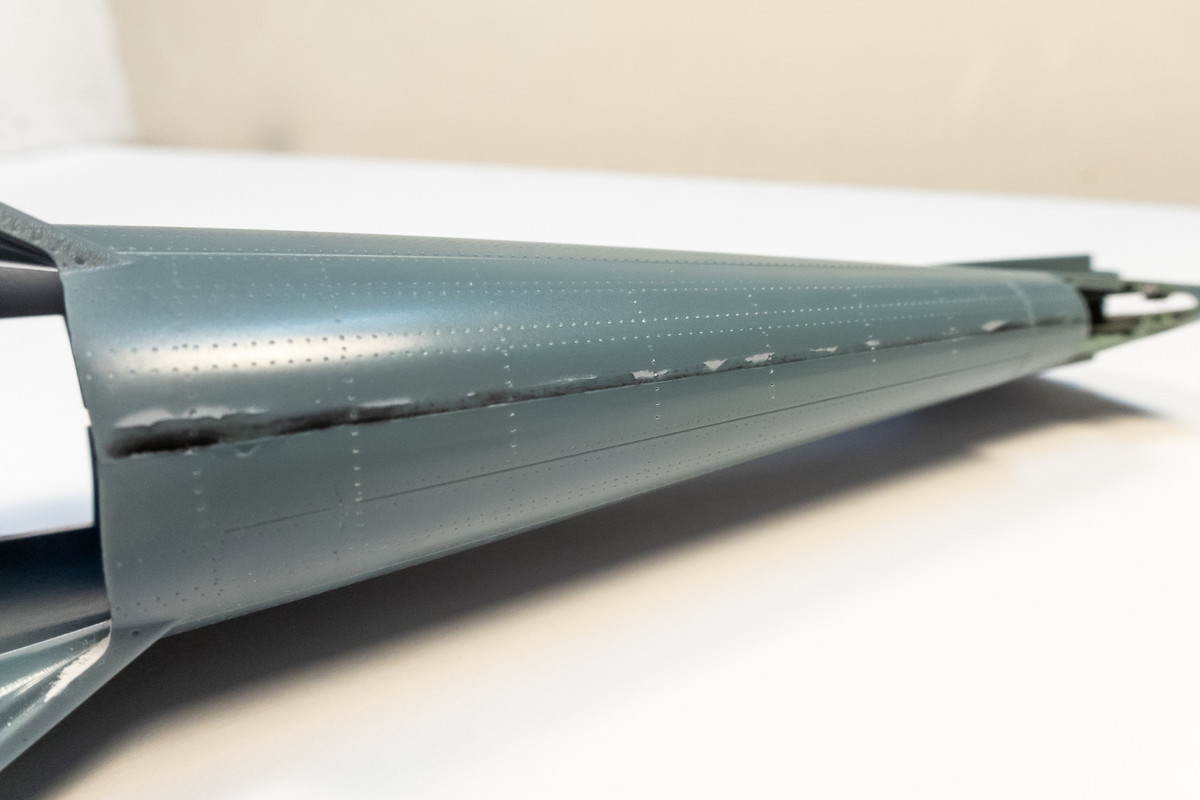
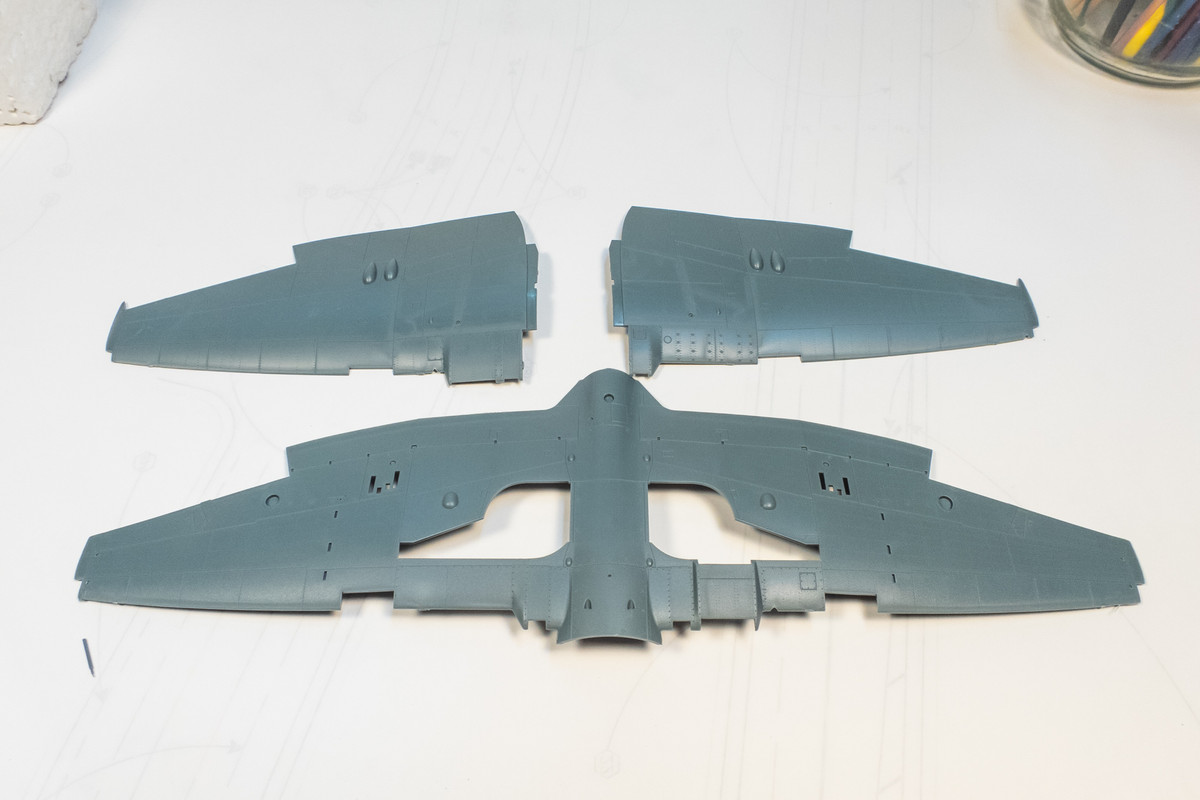
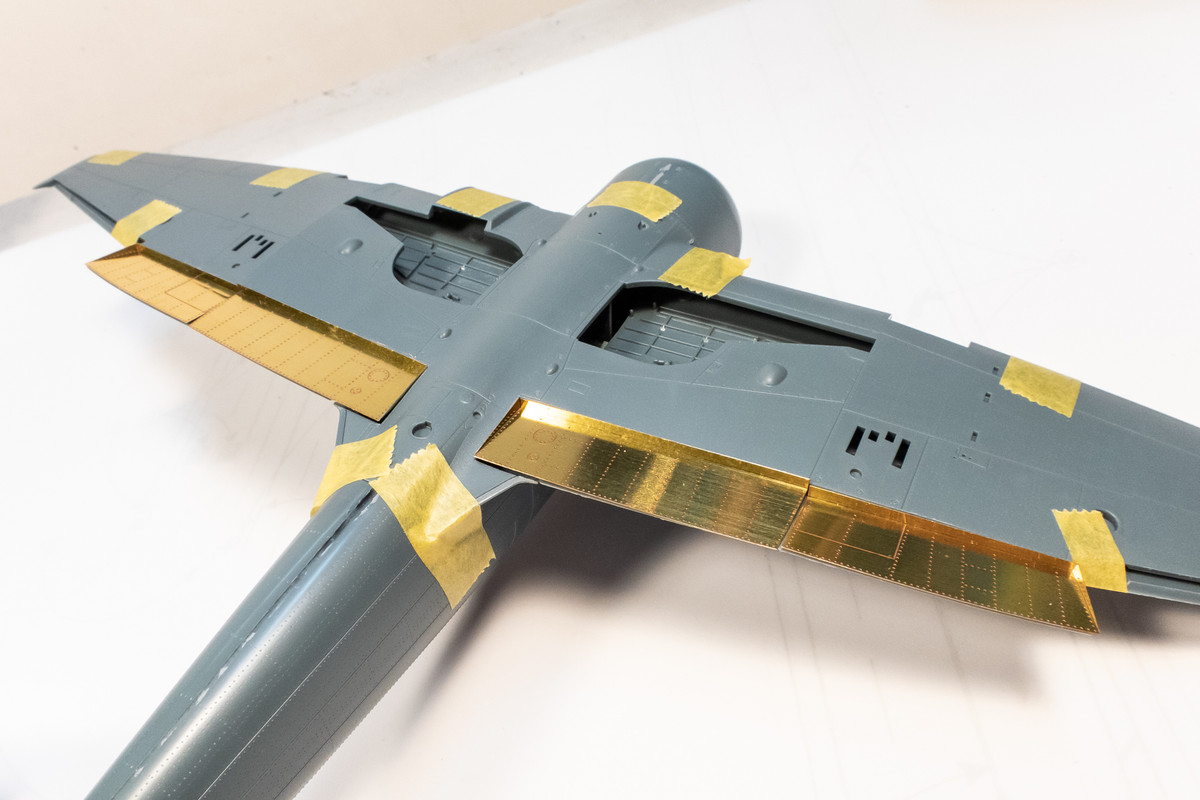
Here is the bottom wing after surgery.
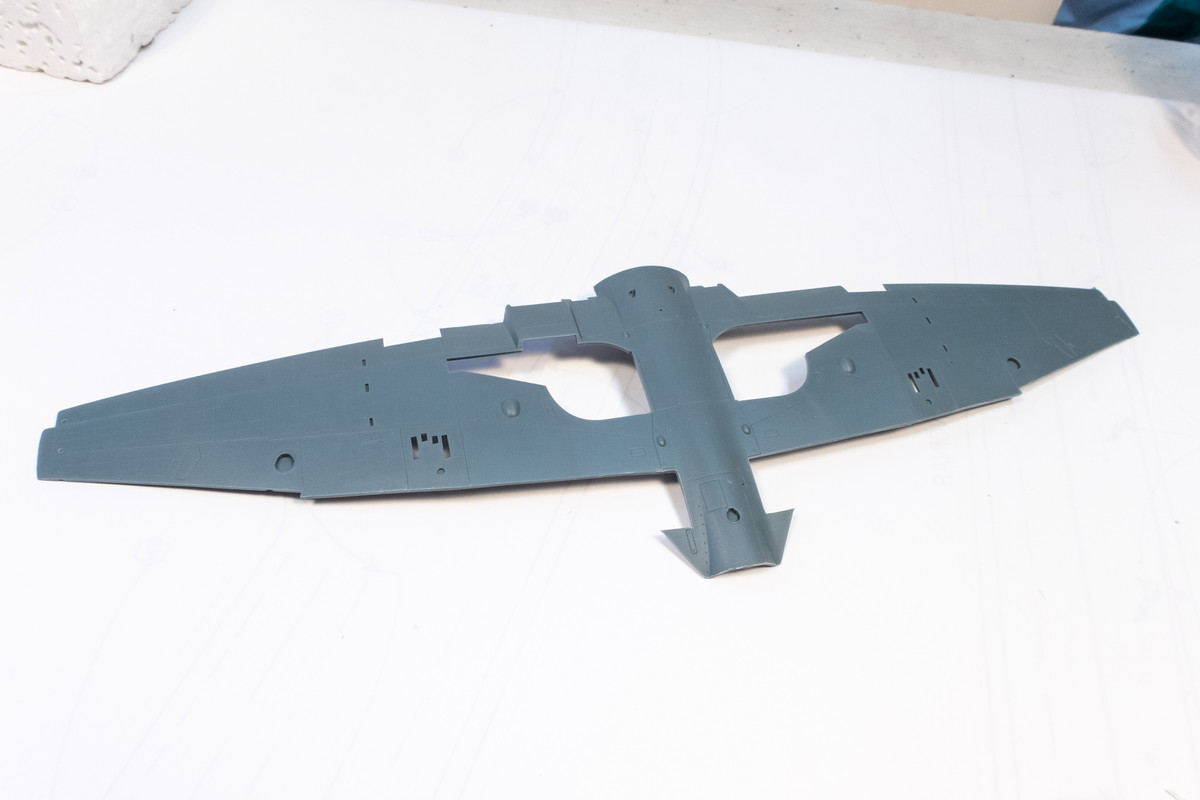
The flaps were removed with a razor saw. A thin raised portion along the trailing edge of the wing tops also needed to be shaved down to accept the PE flap enclosures.
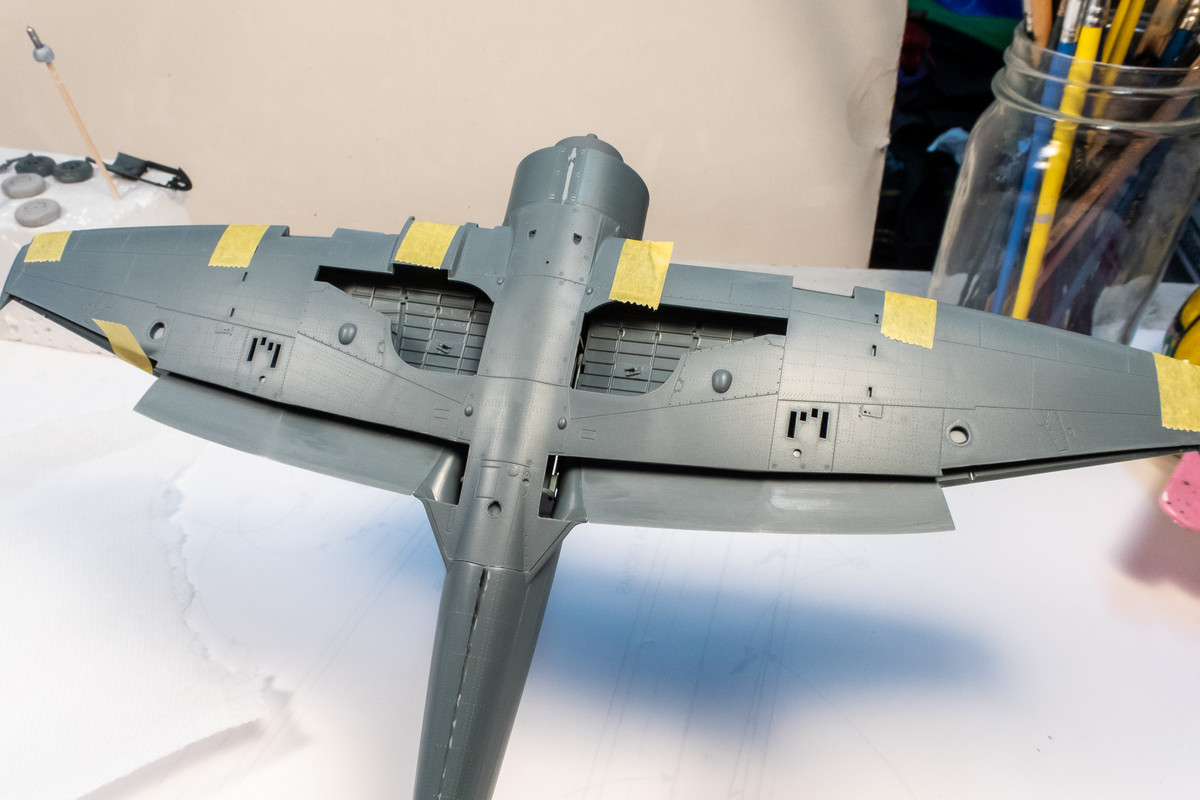
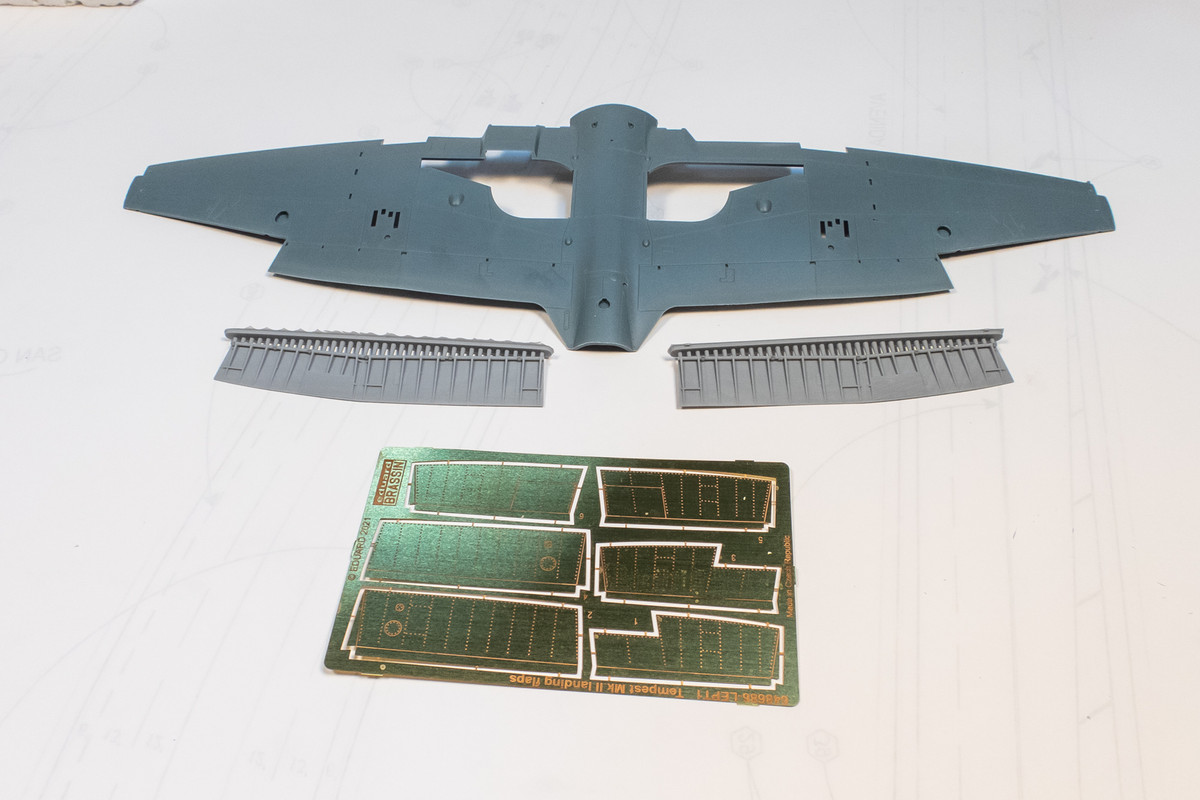
Here are the PE flap enclosure parts. Two versions are given for the outer flaps: gun cover on and off.
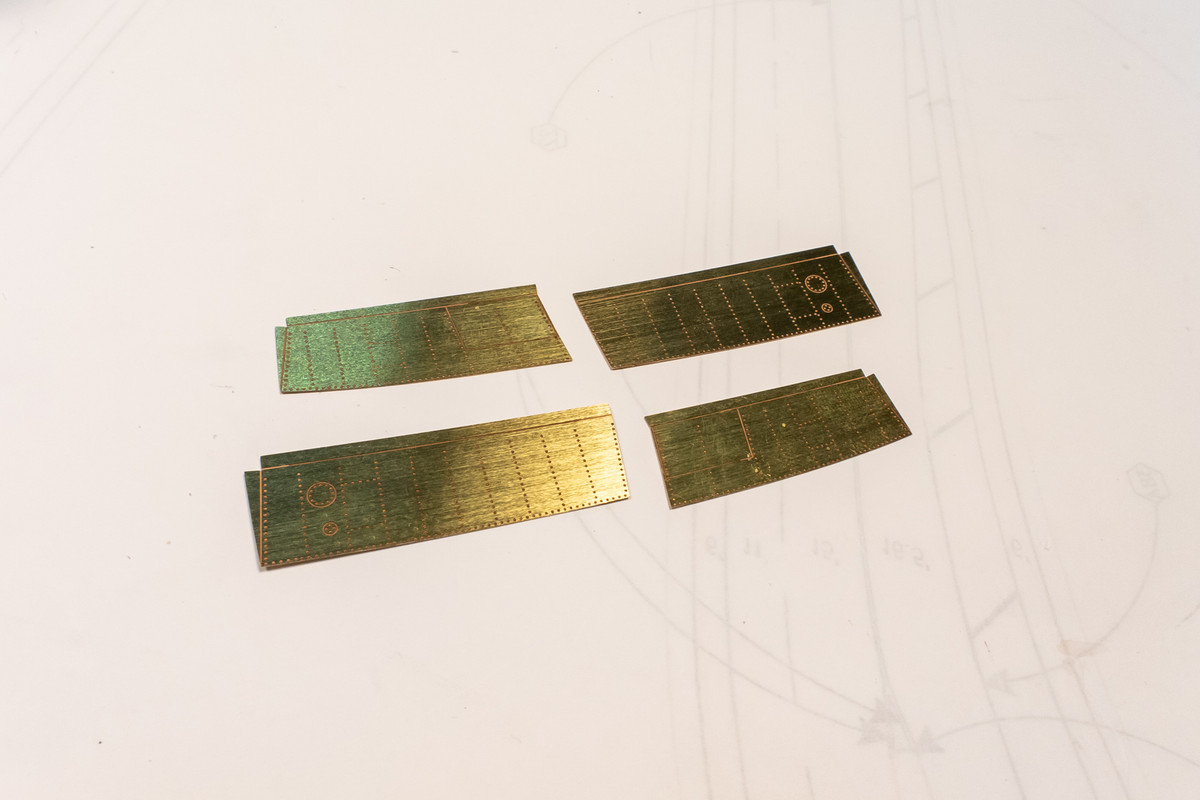
The reverse side of the outer parts have a recessed portion. The instructions don't mention this but I think this is meant to be burnished to create an extruded shape on the other side. Since I had a spare (gun cover off), I tried but it distorted the part. Instead, I am going to added these raised portions using sheet styrene.
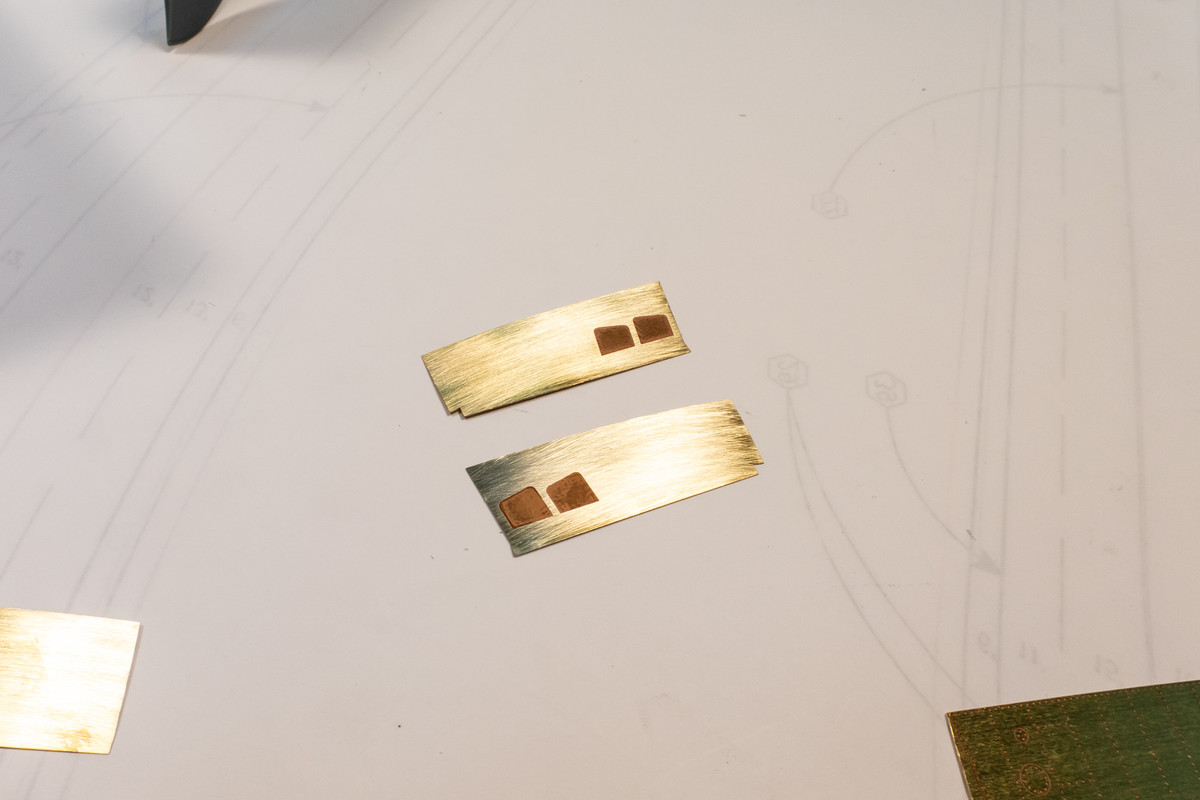
A photoetch folding tool is essential for getting uniform bends. I like The Bug from The Small Shop.
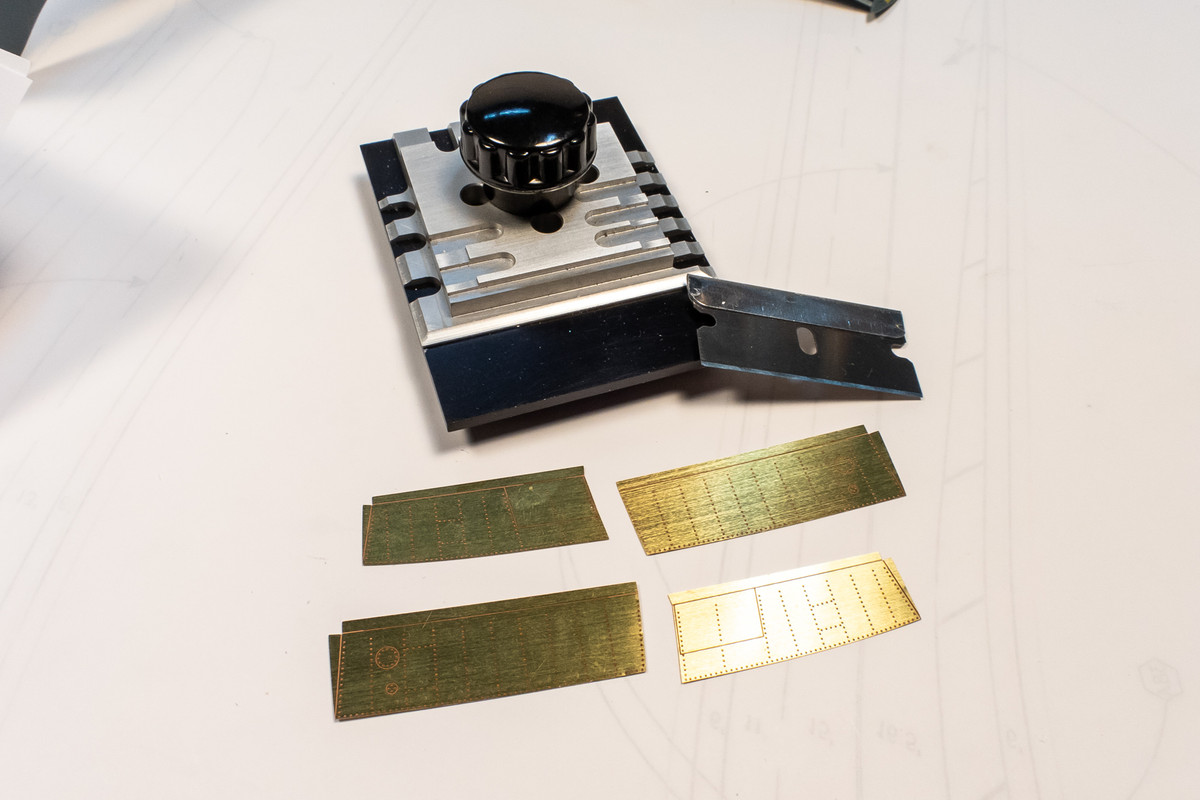
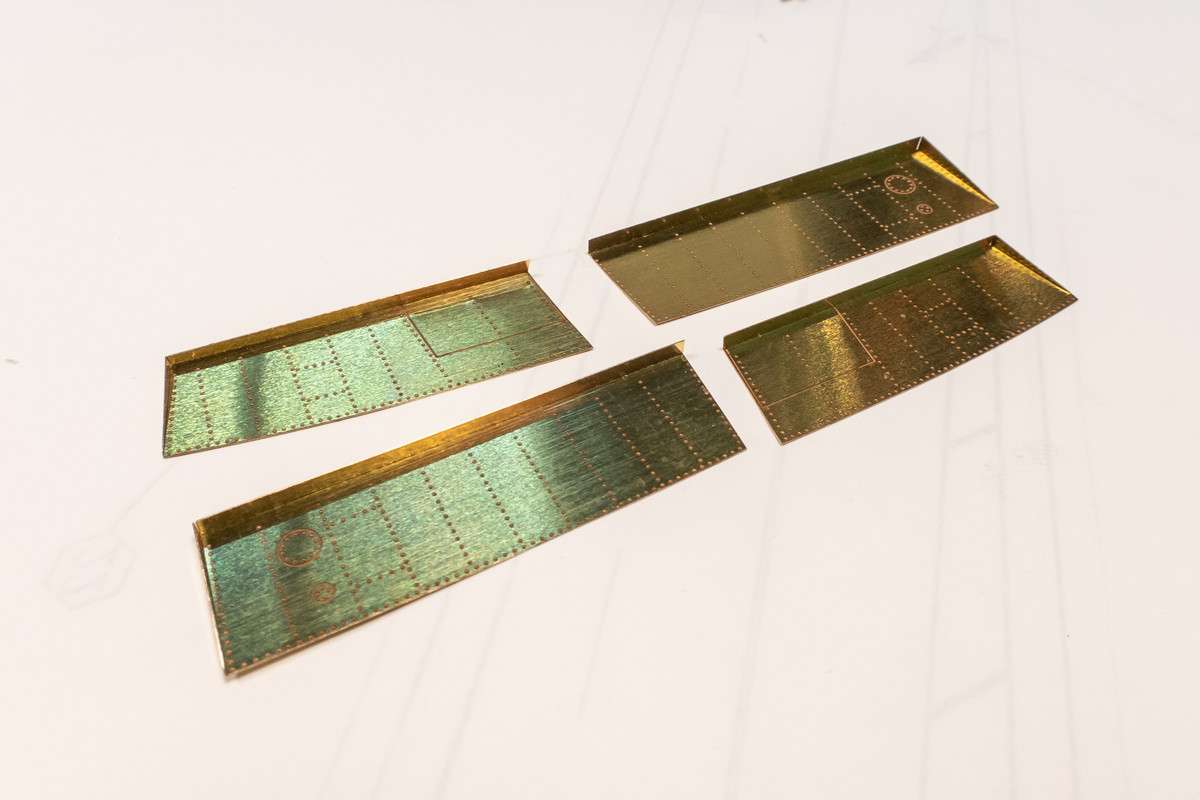
The folded bits are test fit onto the aircraft
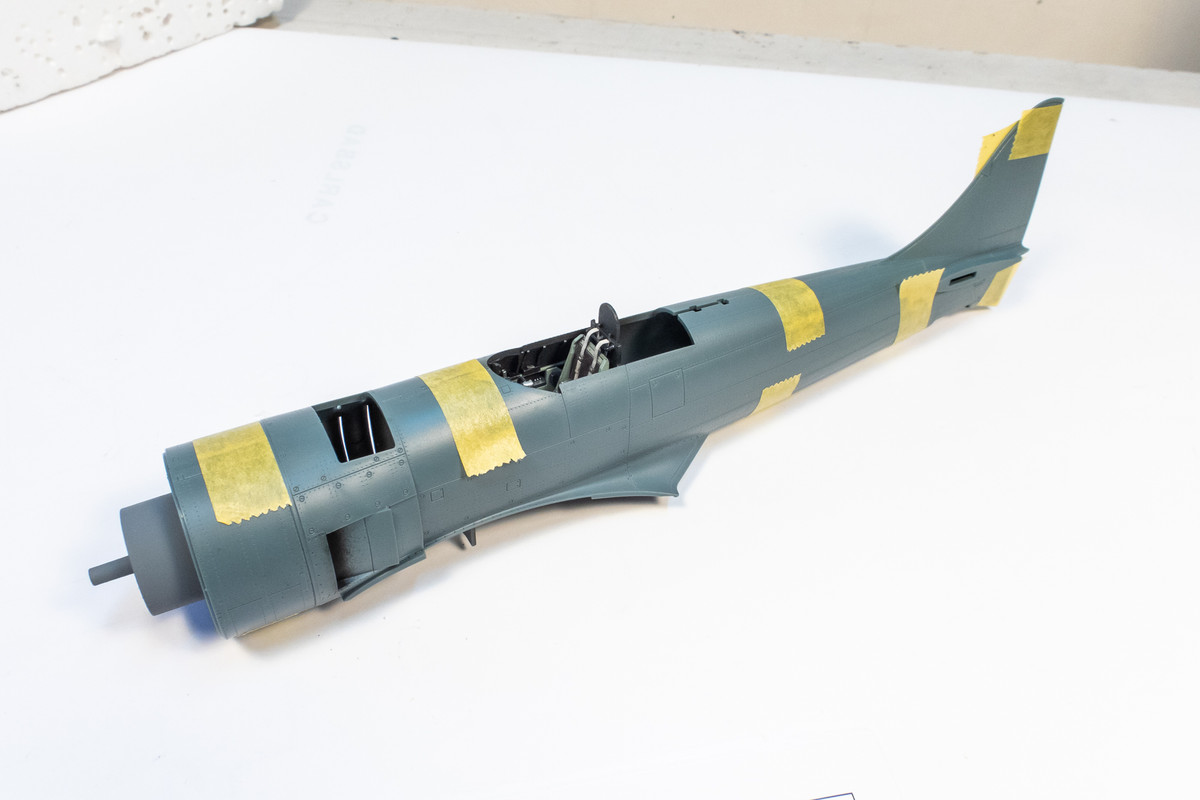
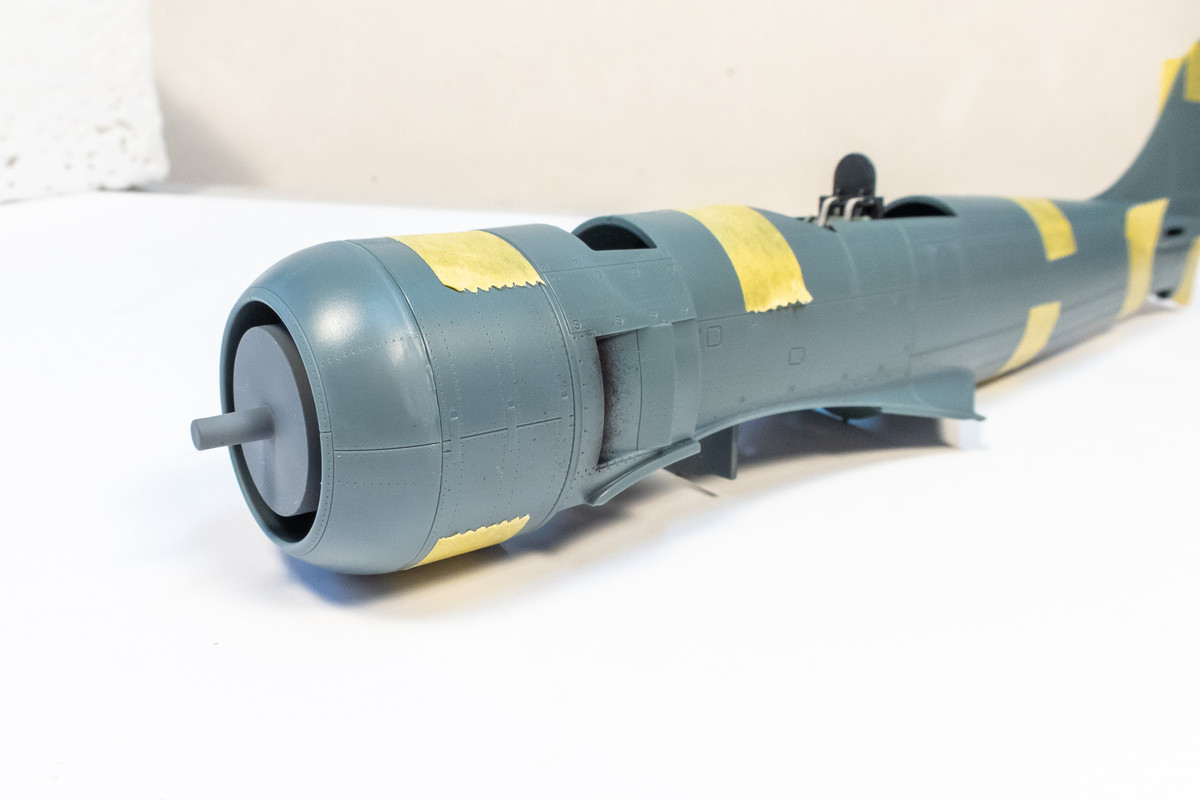
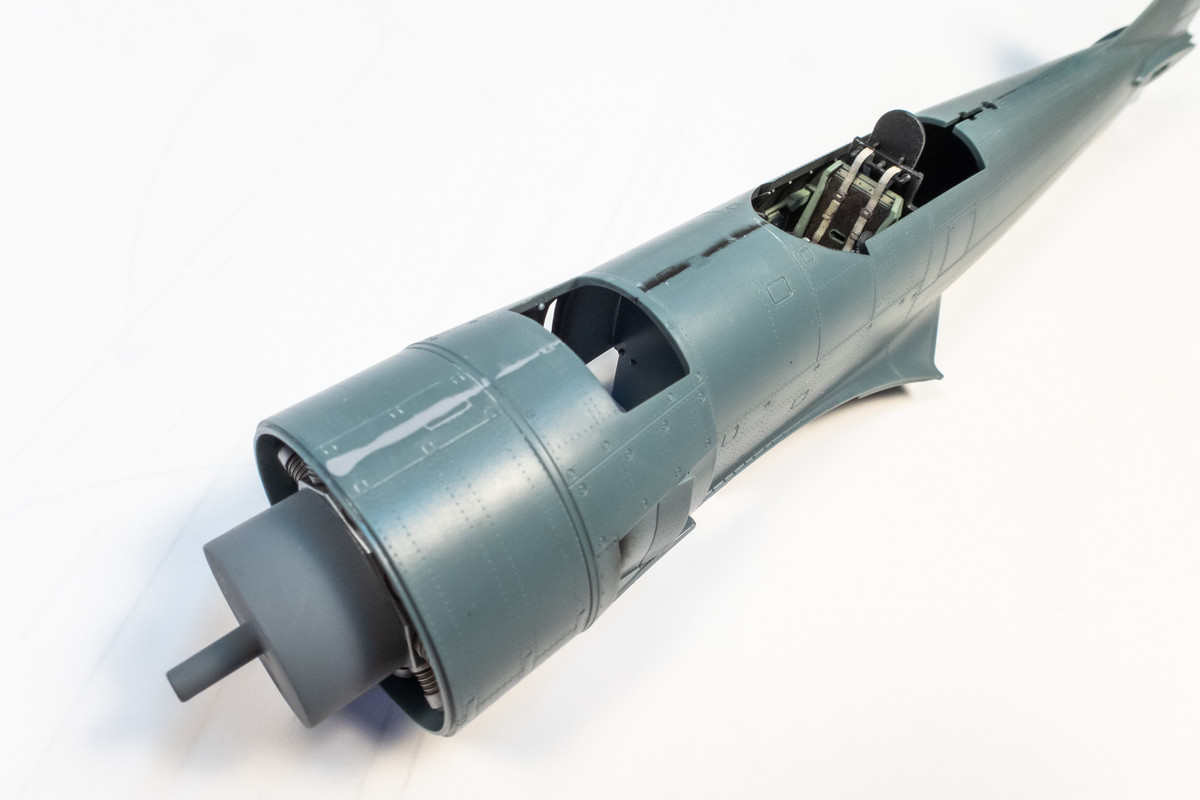
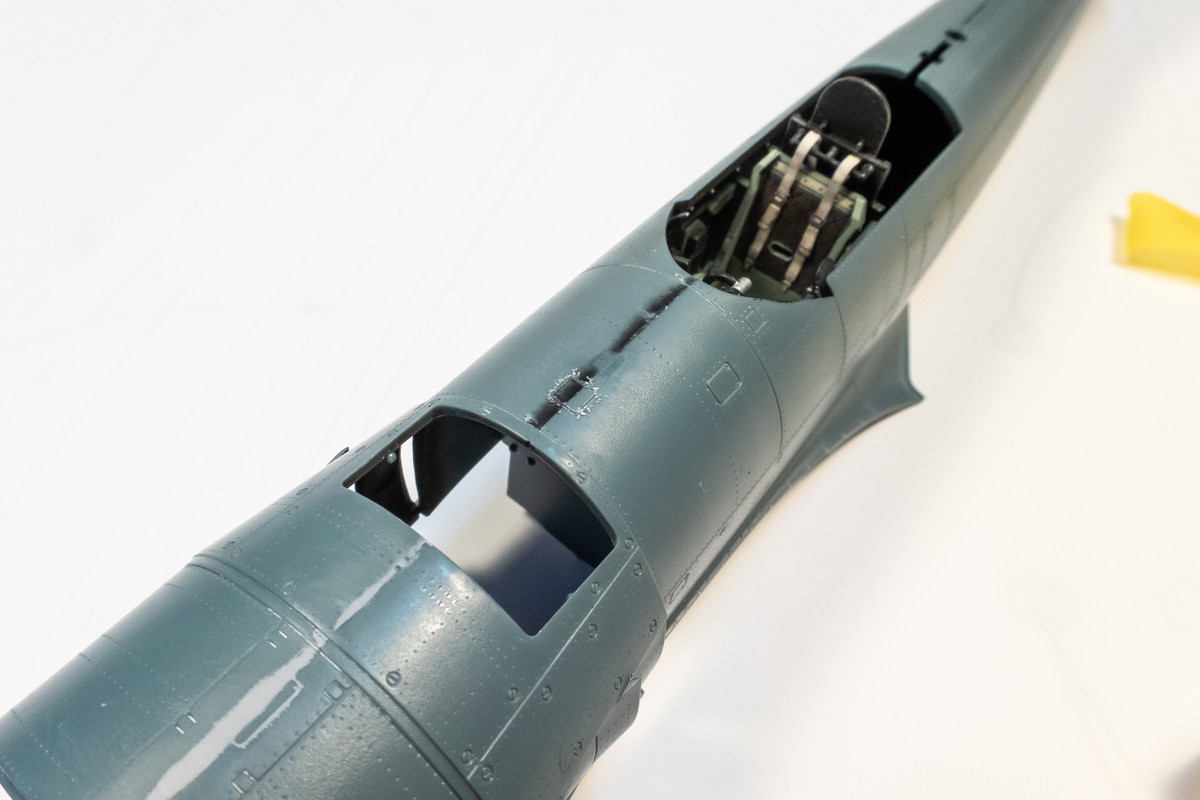
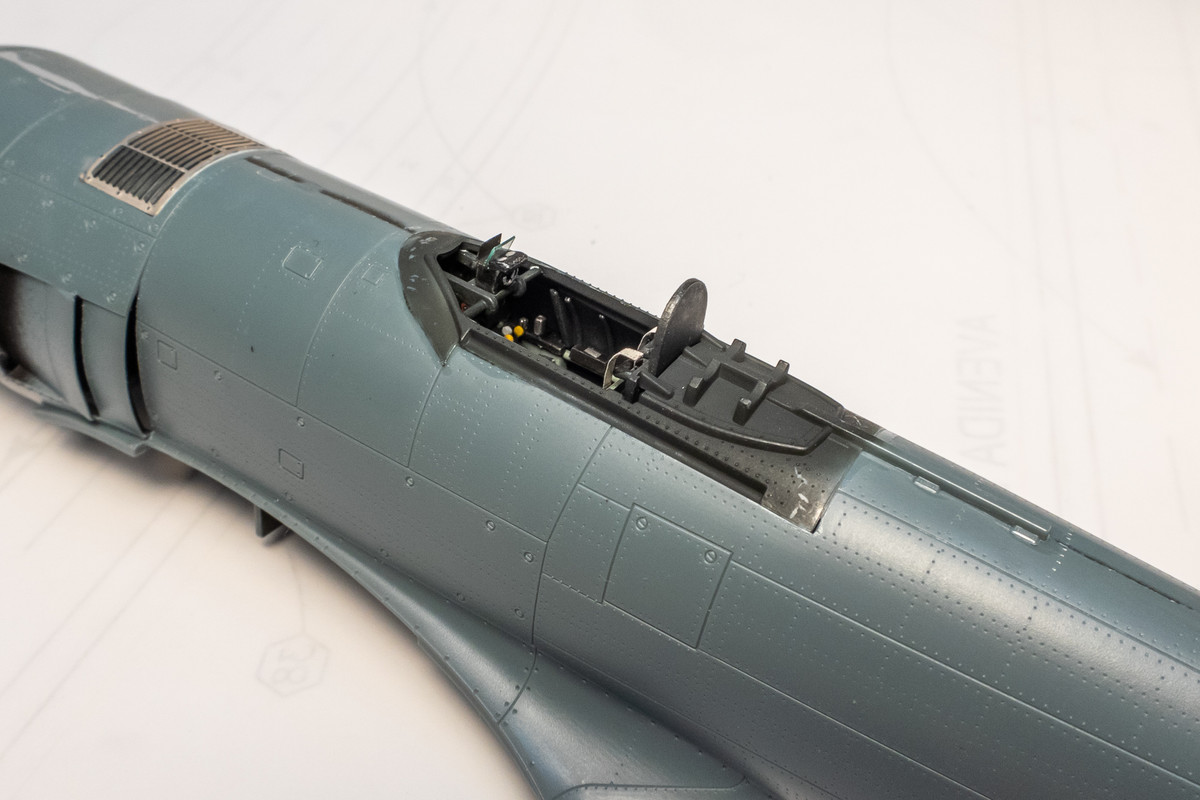
The top deck has been glued onto the fuselage. I took a lot of care to make sure the edges of the deck were flush with the fuselage but it turns out that the front portion needs to be slightly recessed to accommodate the windscreen. Luckily, I was able to push the front edge down after the fact.
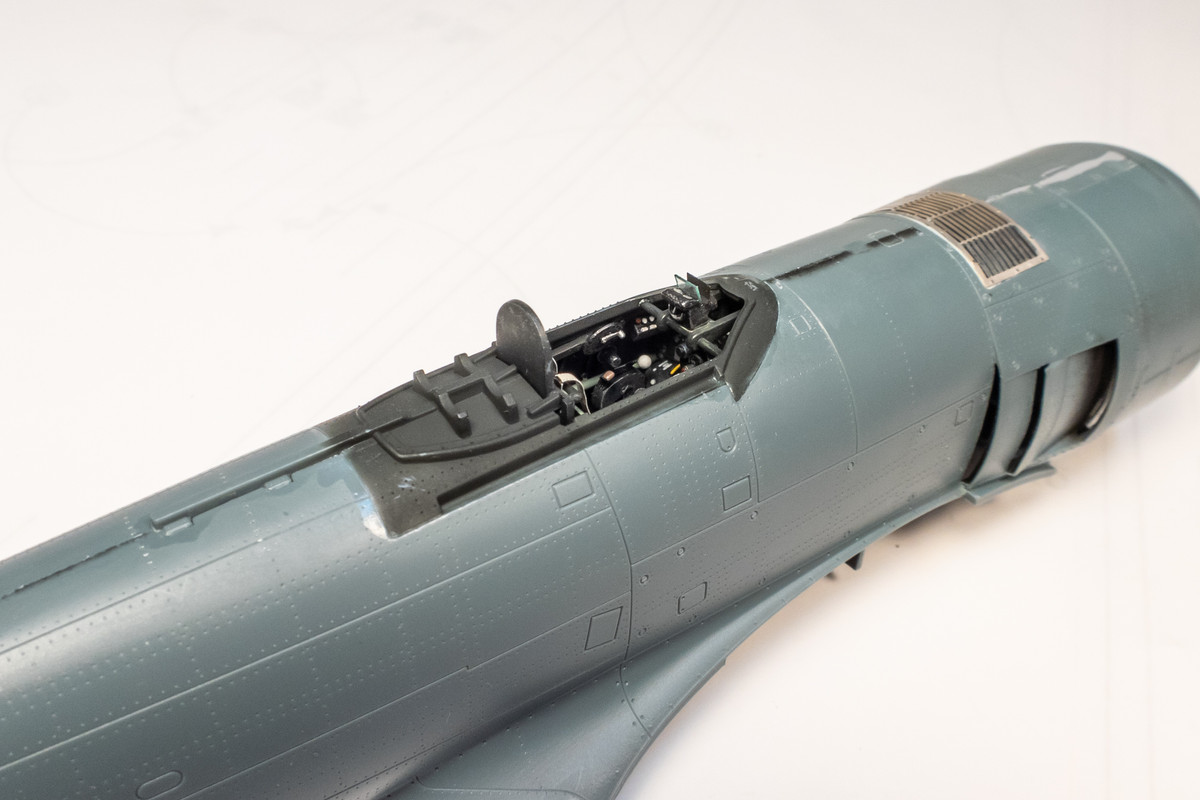
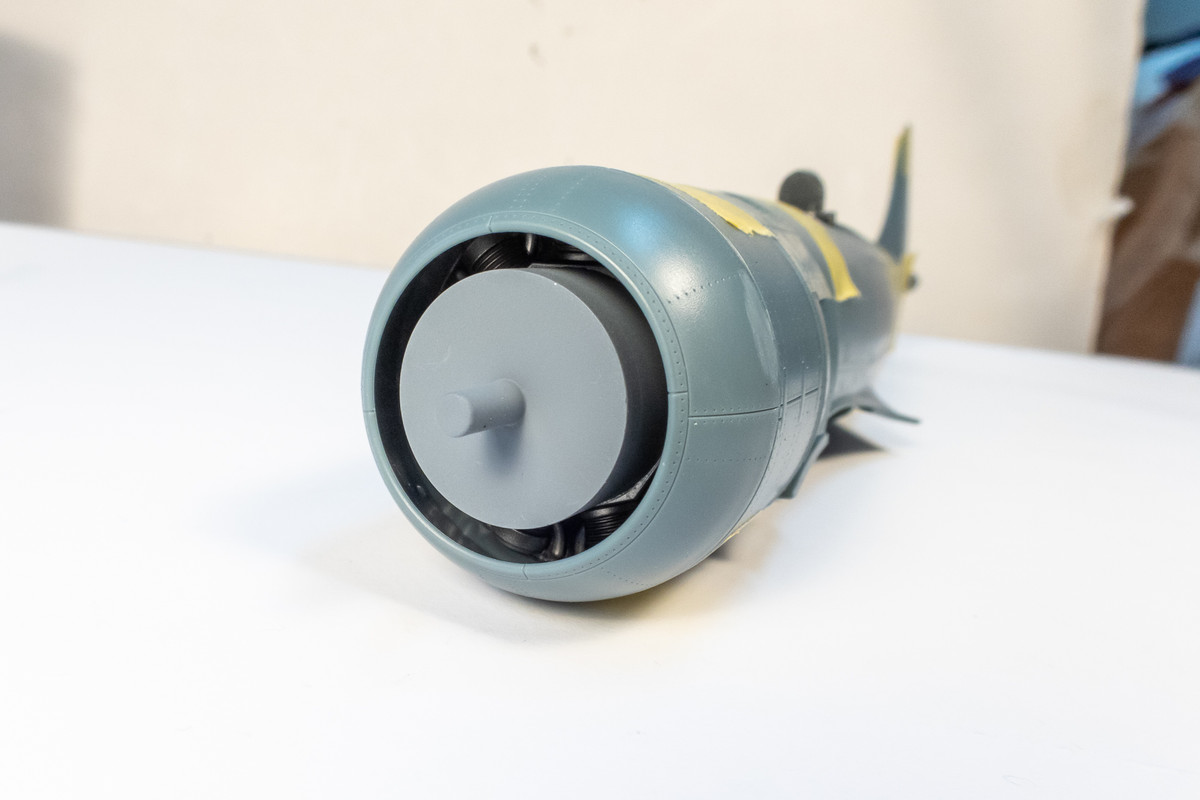
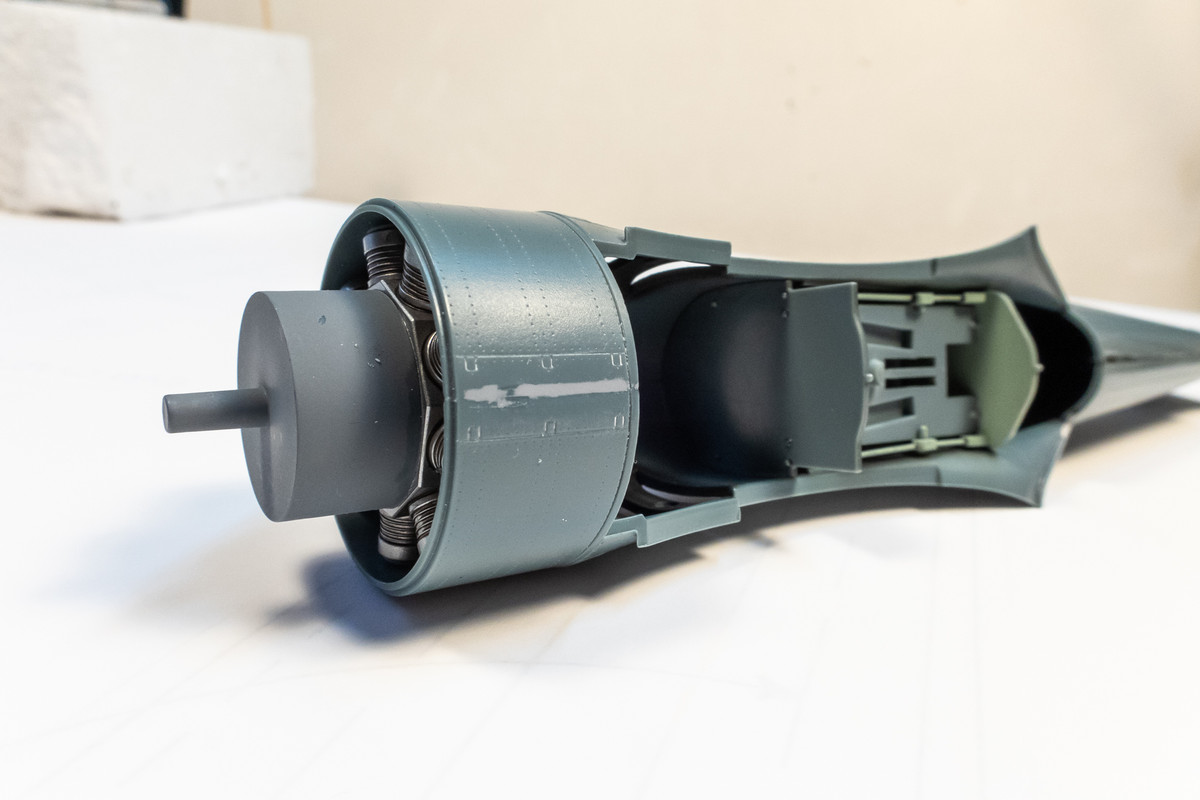
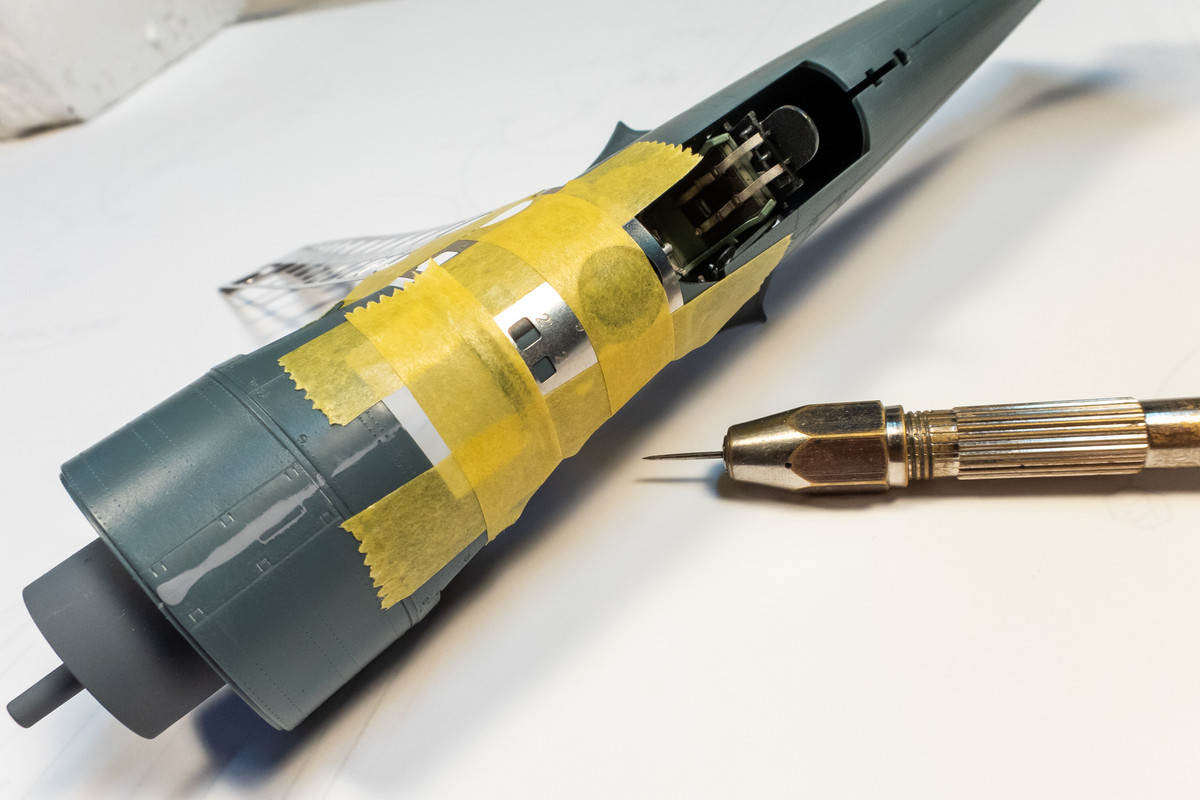
The front engine cowling has been attached using Tamiya Extra Thin.
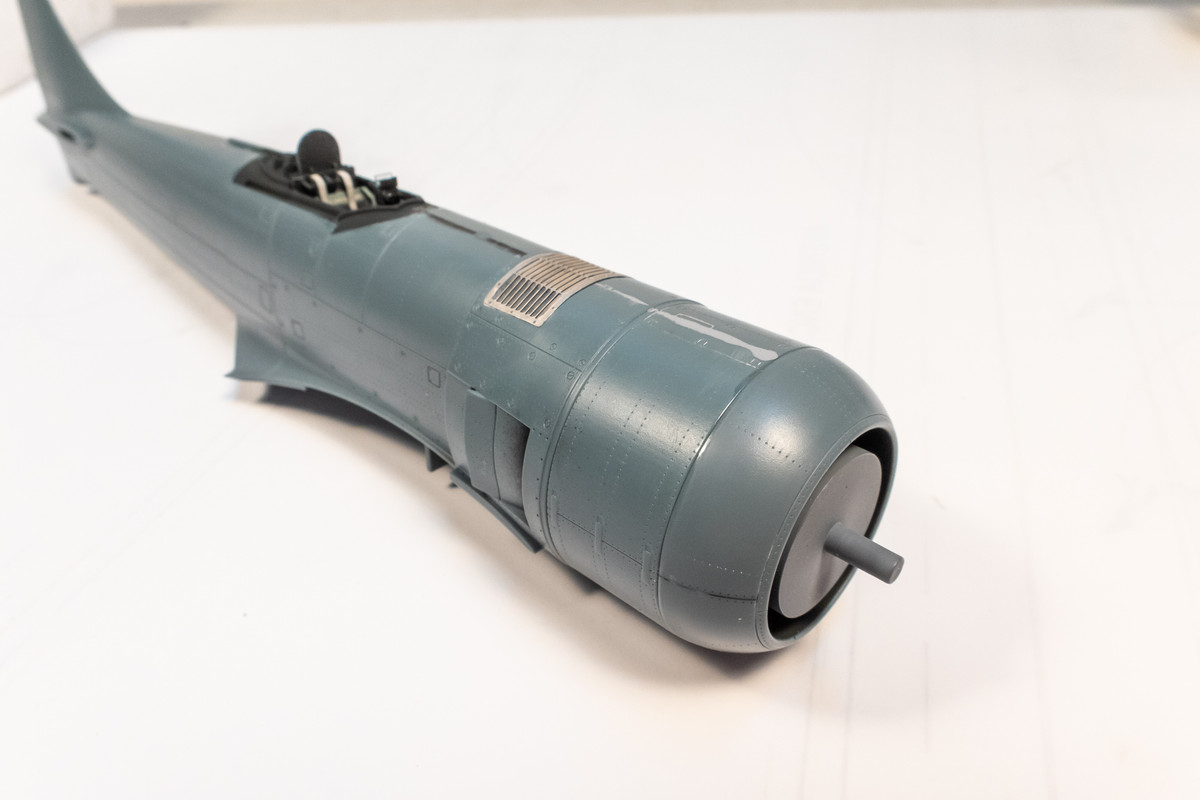
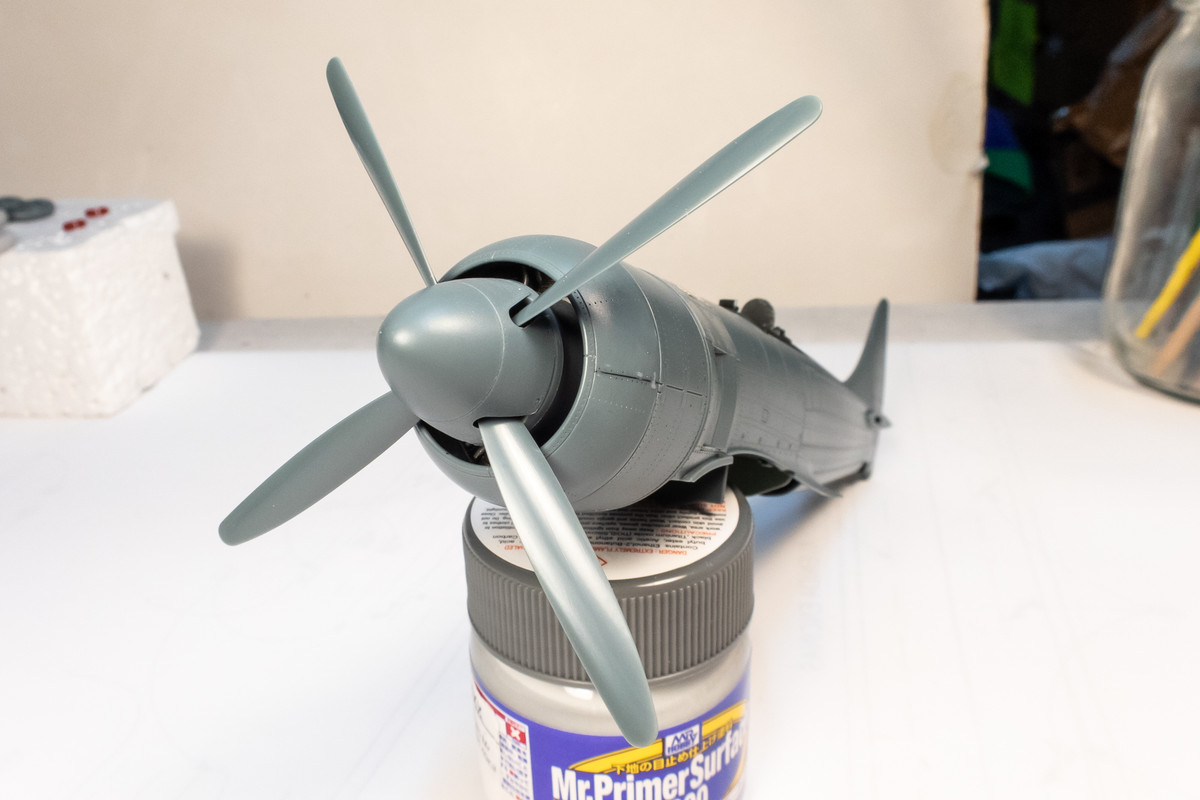
A preview of the prop spinner attached to the business end of the Tempest II.
Re: Eduard 1/48 Hawker Tempest II
Posted: Thu May 02, 2024 7:27 pm
by jkim
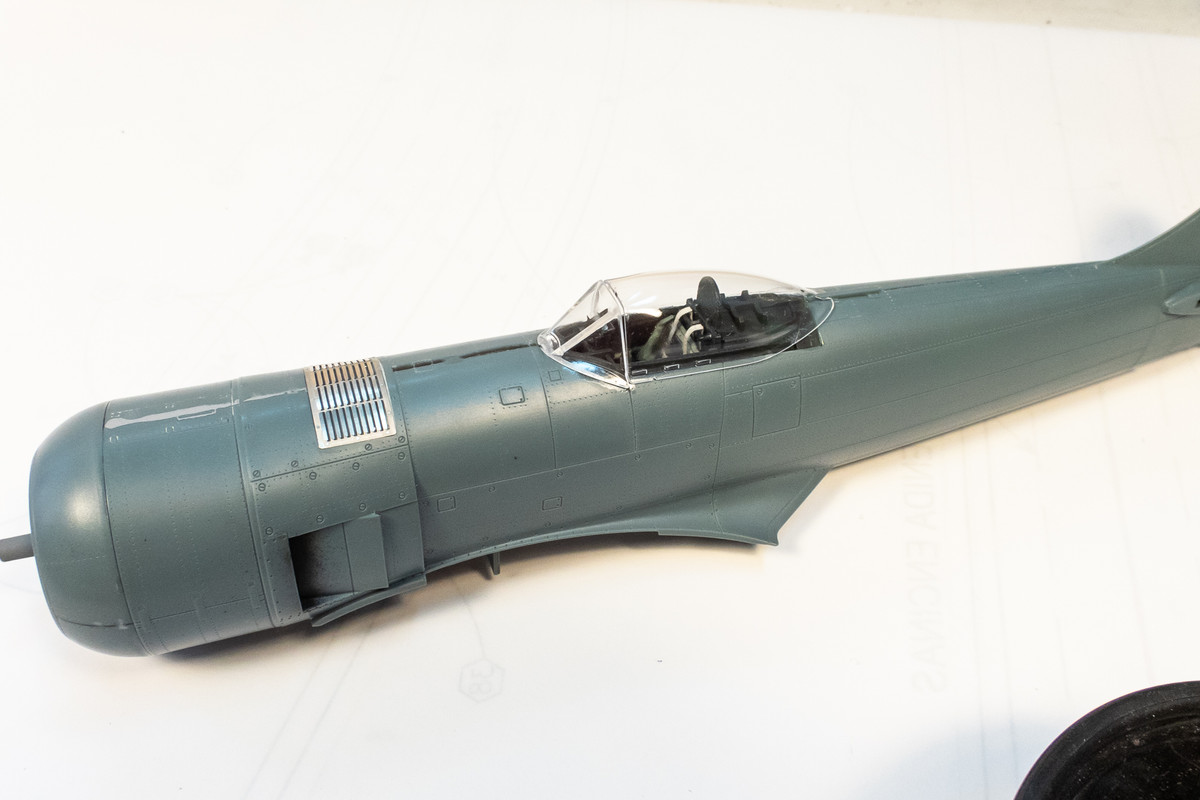
Here's a test fit of the clear parts. Looks A-Ok except the sliding canopy doesn't always want to sit flush on the fuselage. May have to resort to glue in either the open or closed position... we'll see!
Jumping over to the underwing rockets. I picked up a set of the Eduard Brassin rocket replacements because the fins on the kit rockets were thick and I didn't want to shave down four fins for each of the eight rockets (4x8=32!). I thought it would be savings in labor but boy was I wrong! The Brassin rockets need assembly and assembly involves a bunch of tiny photoetch parts.
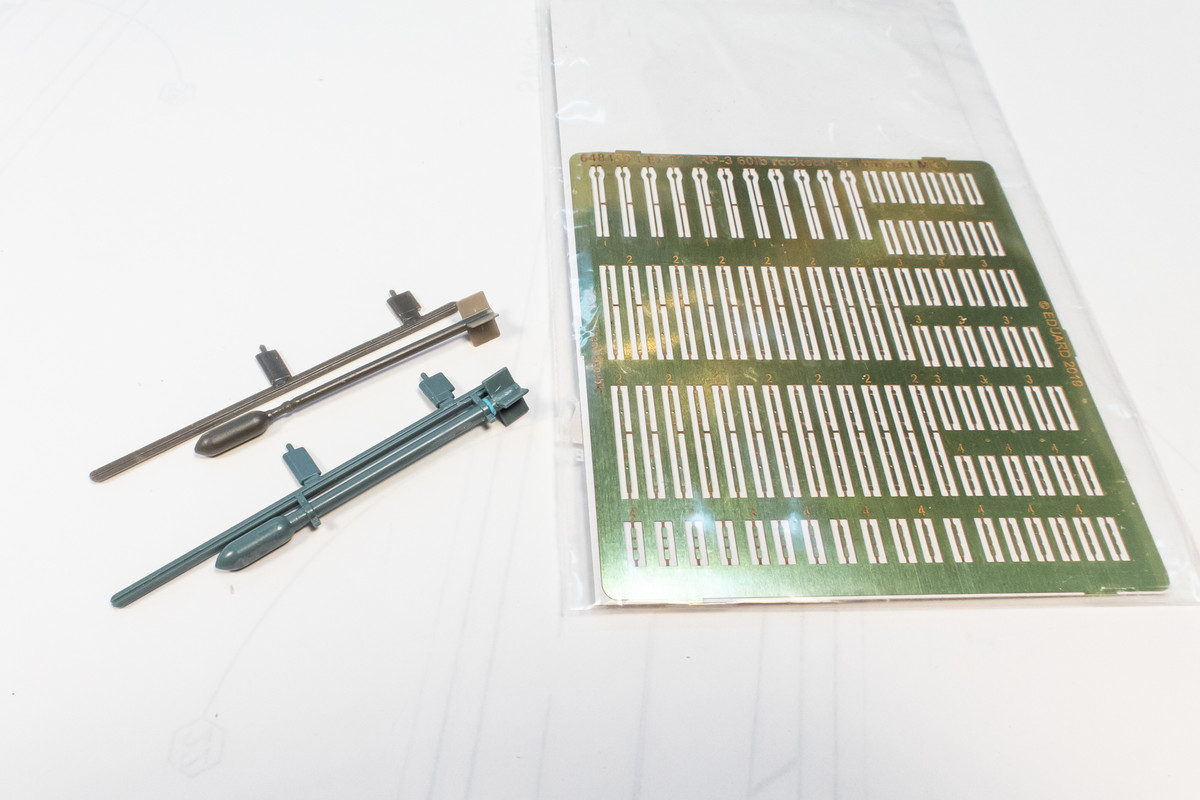
Each rocket needs SIX tiny brass parts that need to be individually folded and glued into place without any clear key marks or holes to align things.
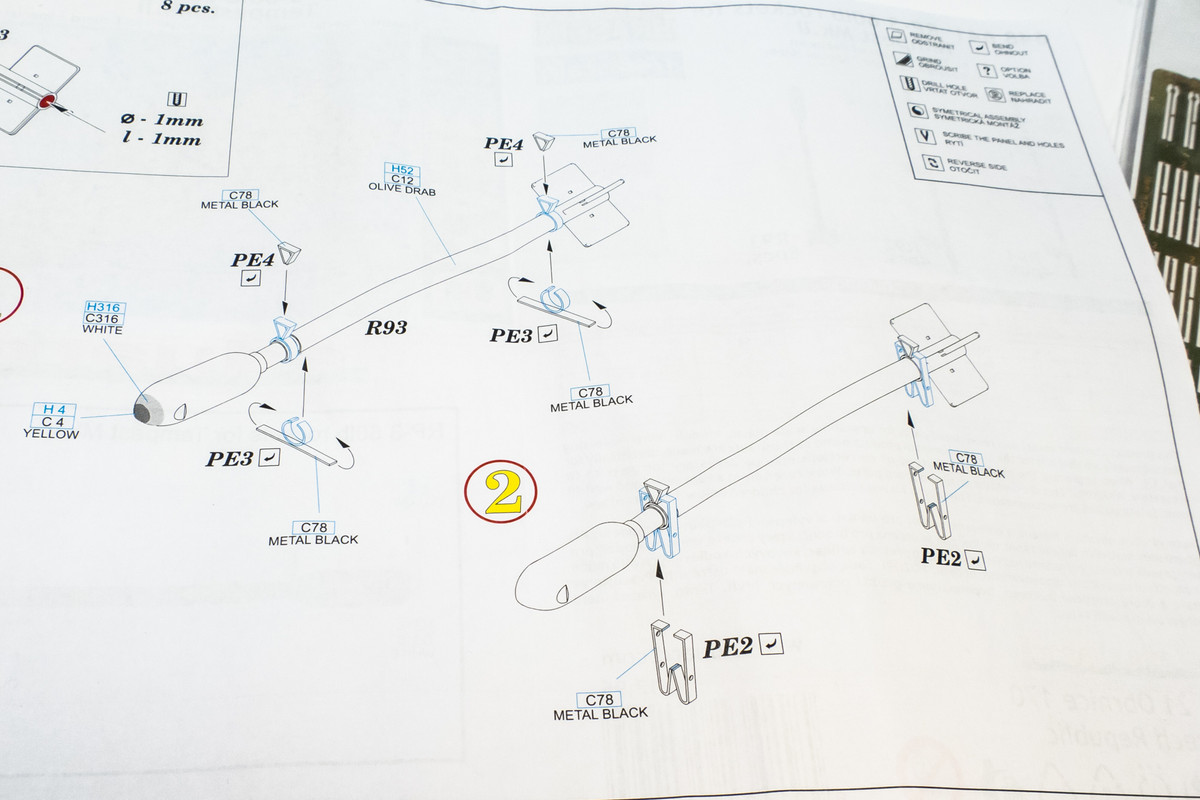
After you've negotiated that set of hurdles eight times, you have to glue the rockets onto each rail with a butt join. A small flat area on the little PE part butts up against the sharp edge of the rail, again without any key marks or cutouts for alignment. Like this... >I
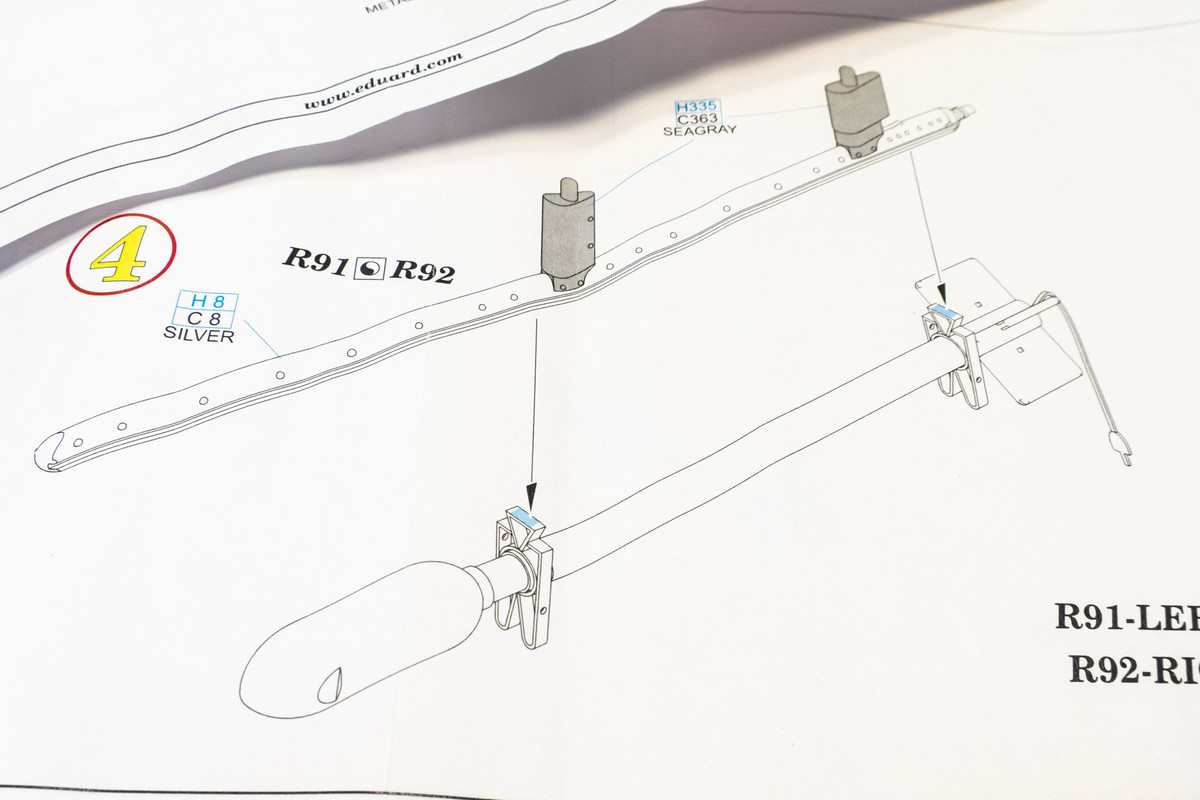
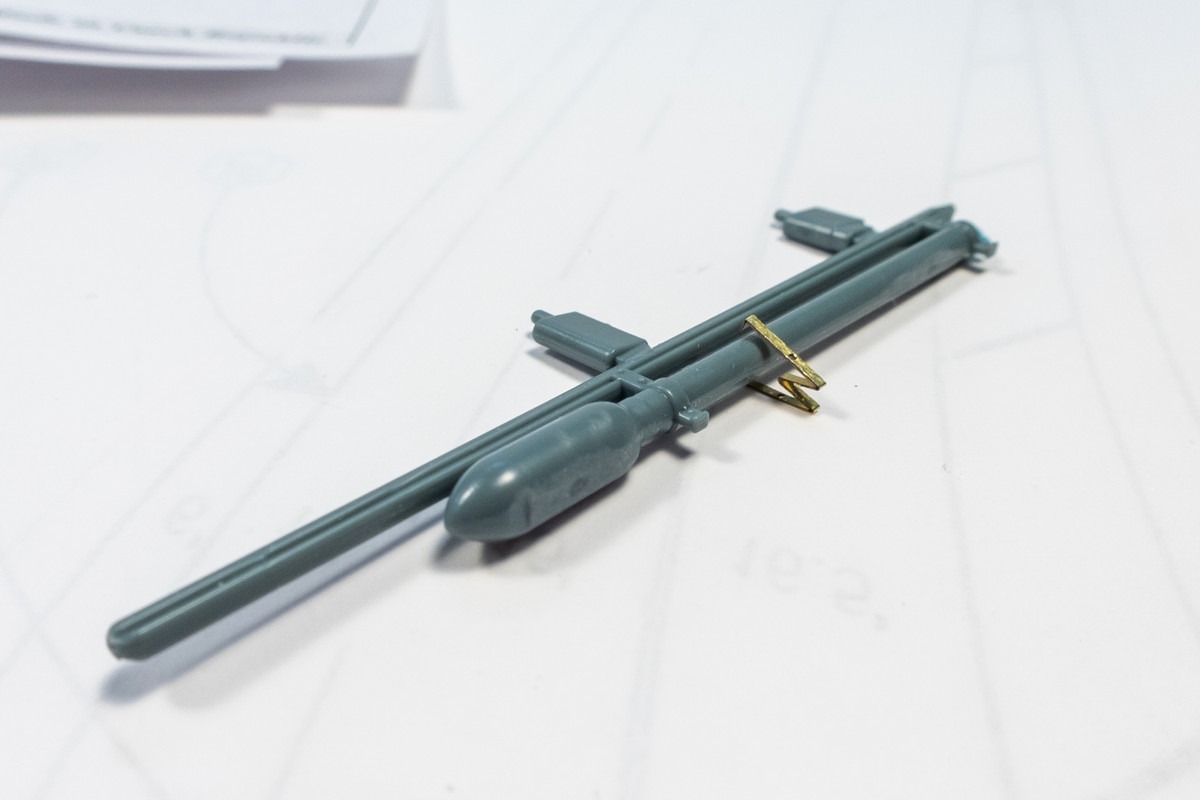
If I was really motivated, I would dive in and try to get this done but I'm going to wave the white flag this time. An added complication is that the resin parts, both the rails and rockets, are not dead straight. Being skinny and long resin pieces, they are bit wobbly and that's just going to make a hard task even harder. I folded up a couple of the little parts during my assessment and stumbled onto an idea. Instead of putting the entire Brassin set to waste, I may be able to incorporate the brass parts onto the kit parts. Maybe even saw off the resin fins and glue them onto the kit rockets?
Re: Eduard 1/48 Hawker Tempest II
Posted: Fri May 03, 2024 4:11 am
by tempestjohnny
I like the idea of combining the two.
Re: Eduard 1/48 Hawker Tempest II
Posted: Fri May 03, 2024 6:09 am
by Stuart
God life's waaaayy too short for that - your combination of the AM and kit parts seems the best solution.