Page 3 of 3
Re: Hobbyboss 1/32 Mk. 5b
Posted: Sat Dec 21, 2024 5:55 pm
by speedgraflex
Beautiful work from impeccable research, John. Bravo!
Re: Hobbyboss 1/32 Mk. 5b
Posted: Sun Dec 22, 2024 4:51 pm
by Medicman71
It's really looking good John!
Re: Hobbyboss 1/32 Mk. 5b
Posted: Wed Dec 25, 2024 11:14 pm
by jeaton01
Thanks, Kyle (you jest about the loot), Bruce, and Mike.
Last look at the cockpit before it gets closed up in the fuselage. The shoulder harness is now attached at its anchor point and some fine wire has been added to the left side of the instrument panel bulkhead for the tubing located there. The spade grip has had the gun camera button and rocker switch added.

The cowling is installed permanently and the fuel tank armor is being installed.

Armor plate is attached and gun sight is installed. Canopy parts have been test fit and masked. The cockpit door is temporarily attached for painting of the model and will be installed in the open position along with the Malcolm hood.

The canopy fit is pretty good, although I am still not sure of the shape of the sliding hood. My theory is Hobby Boss designed it to be in the open position and it does fit well there, which is often not the case. Next task is to fair in the area between the windscreen and the fuel tank armor plate.

A jig was made from foamboard to set the dihedral angle as the fit of the kit was not definite enough. A small gap resulted on each side but that is much preferable to too much dihedral. The initial glue join was done with gel cyanoacrylate.

The wing to fuselage seam next to the wing fairing had a gap to work on. First it was taped off close to the gap and Epoxysculpt was pressed in and smoothed with a dental spoon. After curing it was sanded out and the area was taped off again so a second pass of Tamiya grey filler could be applied. The tape has been removed but no sanding has been done. Work has been done on the aft wing to fuselage join as there was a slight step in an area that should have no join line, and the wing leading edge was scraped down and sanded a little to get a smooth transition to the lower cowl. The cannon barrels will be replaced with turned metal for durability and better appearance. The tank armor plate has been faired to the windscreen. The stabilizers are dark as they are resin replacements to correct a fault of the kit.

Re: Hobbyboss 1/32 Mk. 5b
Posted: Thu Dec 26, 2024 7:35 am
by cbaltrin
Excellent work on the cockpit John. One day there will probably bee tiny cameras the size of a pin head that will be able to mount inside the fuselage of our models to allow us to show images of the inside as part of our displays!

Re: Hobbyboss 1/32 Mk. 5b
Posted: Thu Dec 26, 2024 10:35 am
by Gary Brantley
Re: Hobbyboss 1/32 Mk. 5b
Posted: Sun Dec 29, 2024 9:31 pm
by jeaton01
cbaltrin wrote: ↑Thu Dec 26, 2024 7:35 am
Excellent work on the cockpit John. One day there will probably bee tiny cameras the size of a pin head that will be able to mount inside the fuselage of our models to allow us to show images of the inside as part of our displays!
And our mistakes!
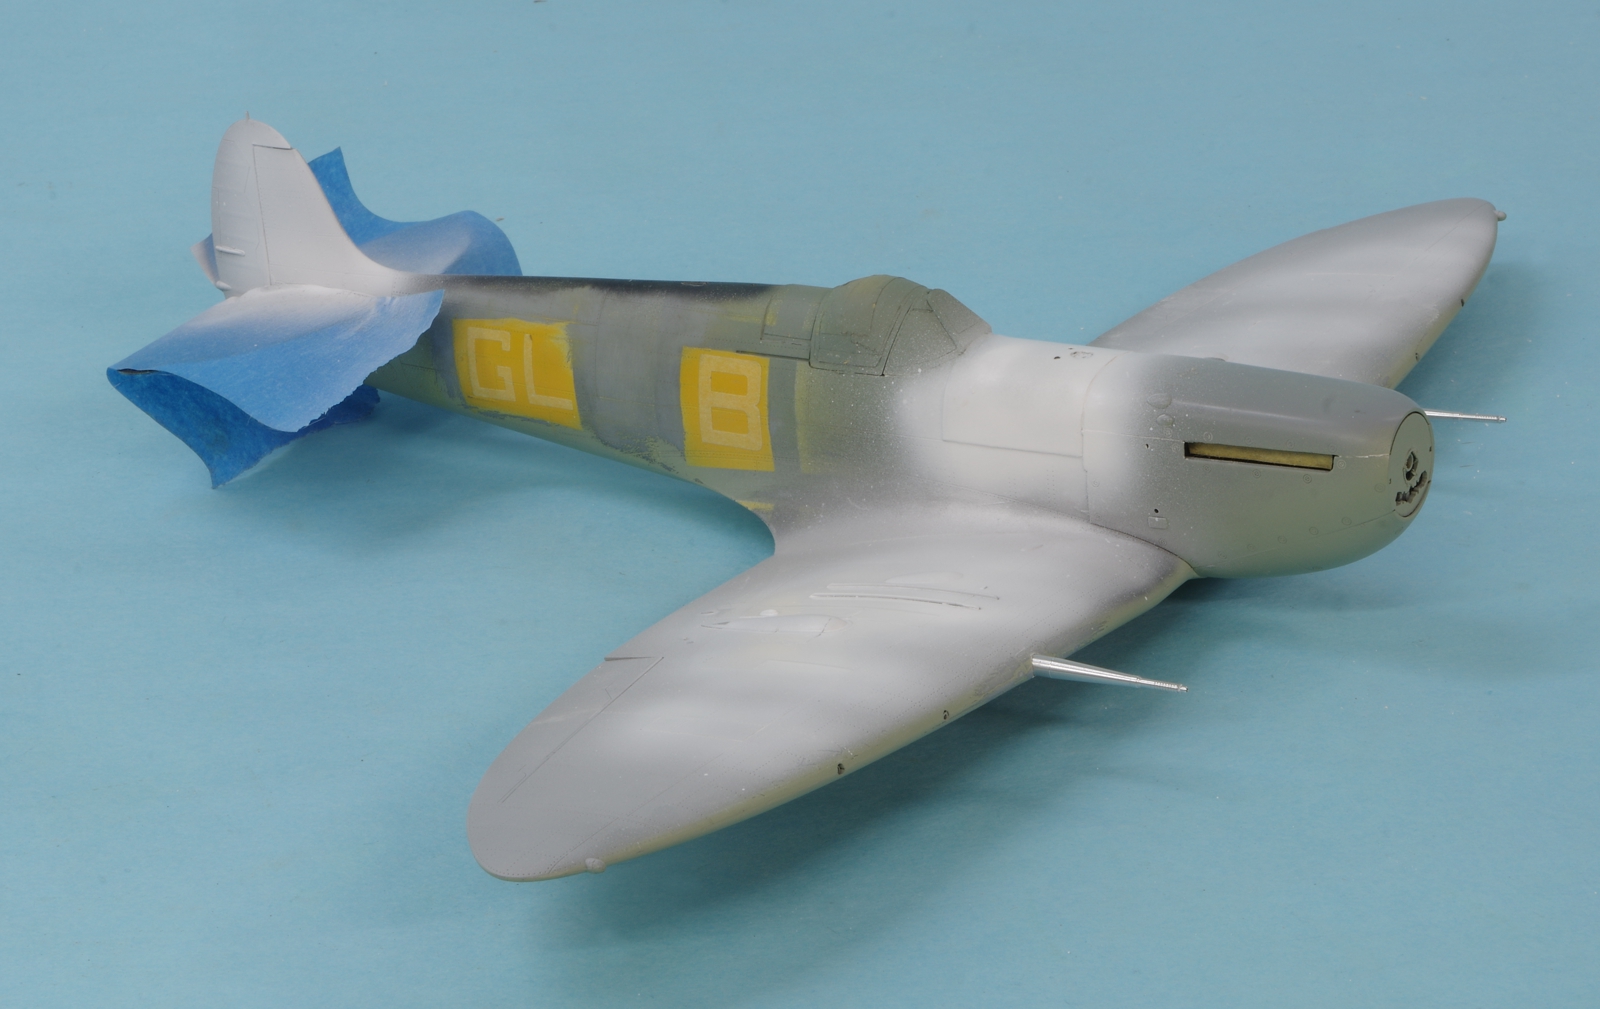
The code letters are on, the RB productions cannon barrels have been fit but are just temporarily installed here. Working on the fin flash and cleaning up seam lines on all the gun hatch covers.
 You sir, are a visionary!
