Page 21 of 31

Re: 1/32 Zoukei-Mura Ta152H-0 White 7

Posted: Tue May 05, 2020 6:11 am
by BlackSheep214
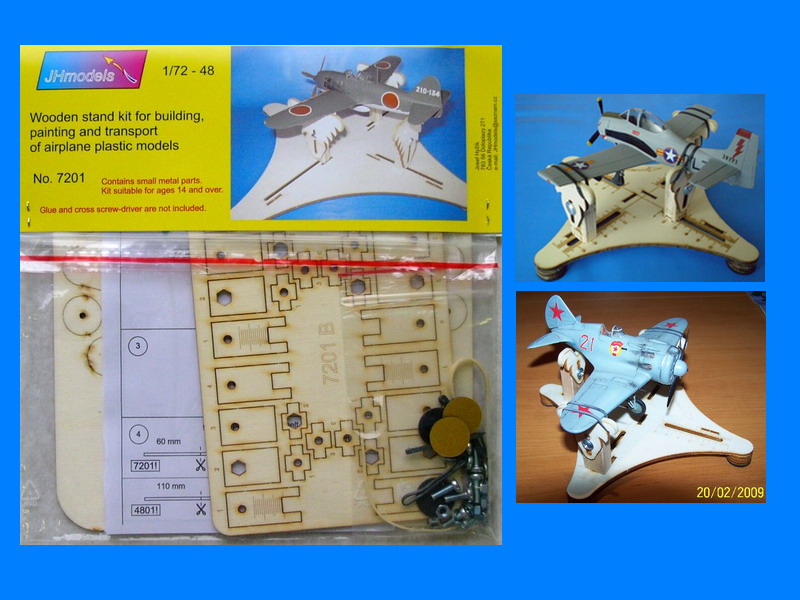
jkim wrote:Thanks guys! The jig is from JH Models and I purchased it at UMM-USA. It looks like the one I have (1/32 and 1/48 scale jig) is sold out but they have the smaller one in stock which is designed for 1/48 and 1/72.
Image
http://umm-usa.com/onlinestore/product_ ... ts_id=3099

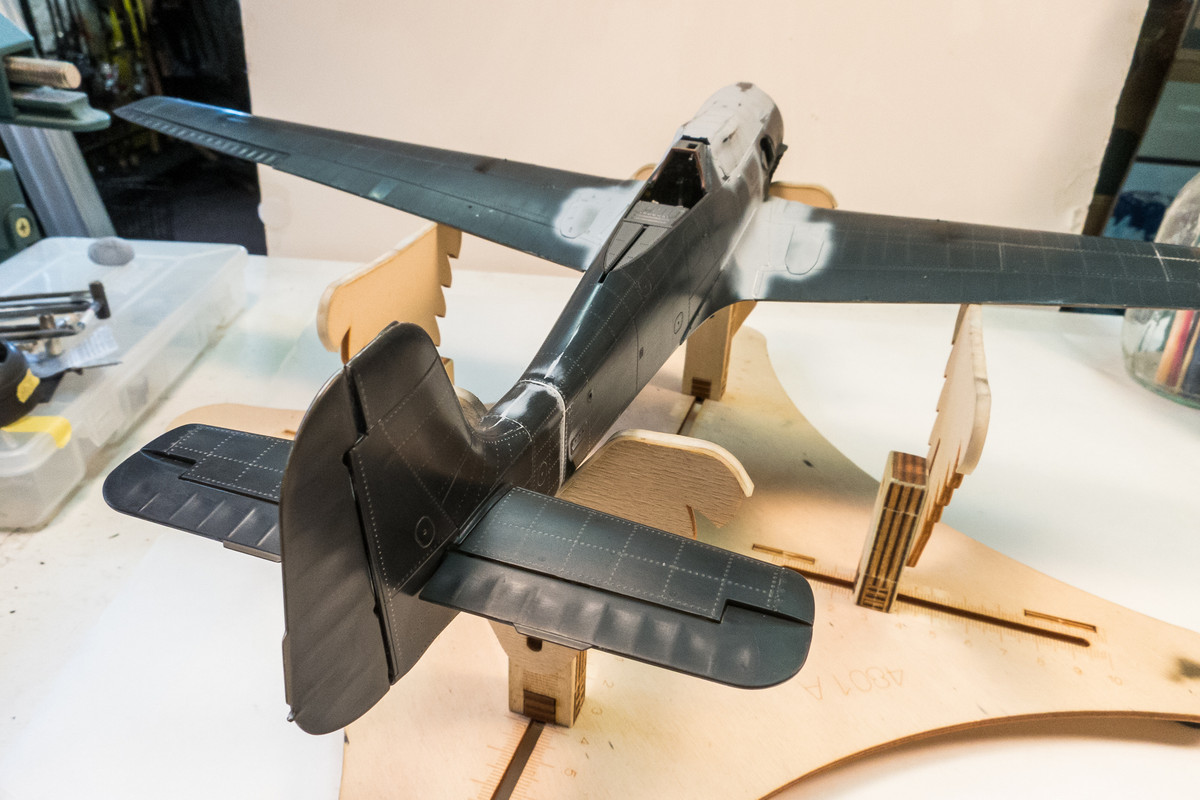
After assembly, the horizontal tailplanes were pushed into place. The fit is crazy tight... I may have to shave the tab thickness down before they break on me.
Image

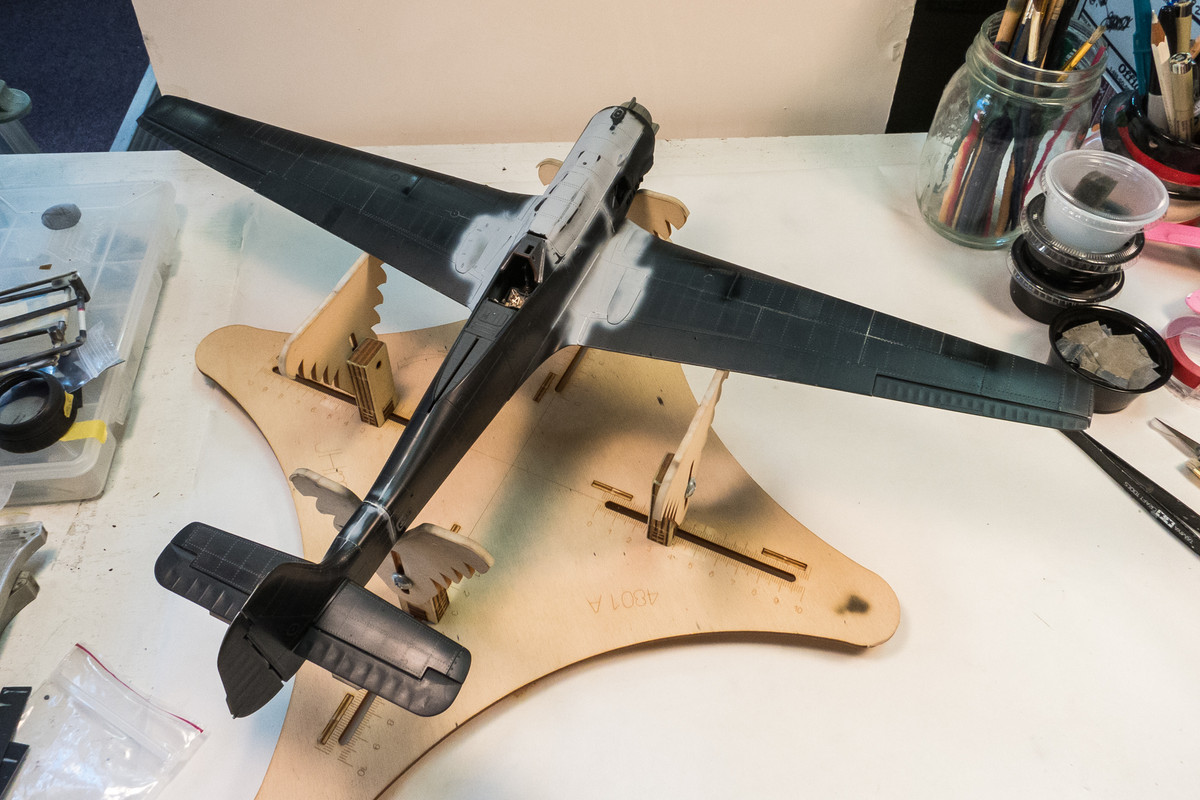
The addition of the tail planes shows us how far we've gotten and also how close to painting we are.
Image

Thank you for the link. That’ll work since I do have kits in both scales. Time to help the economy. :giggles: :giggles: :whistle: :whistle:

Re: 1/32 Zoukei-Mura Ta152H-0 White 7

Posted: Wed May 06, 2020 1:06 am
by jkim
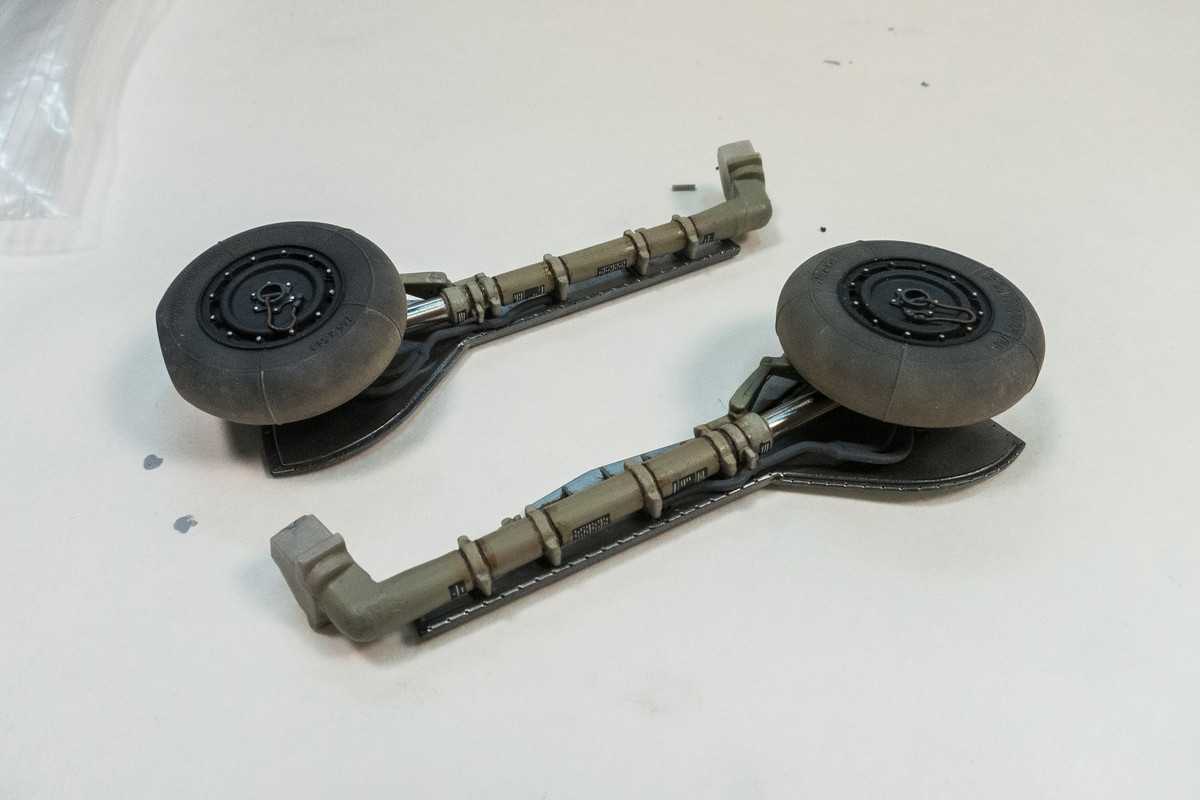
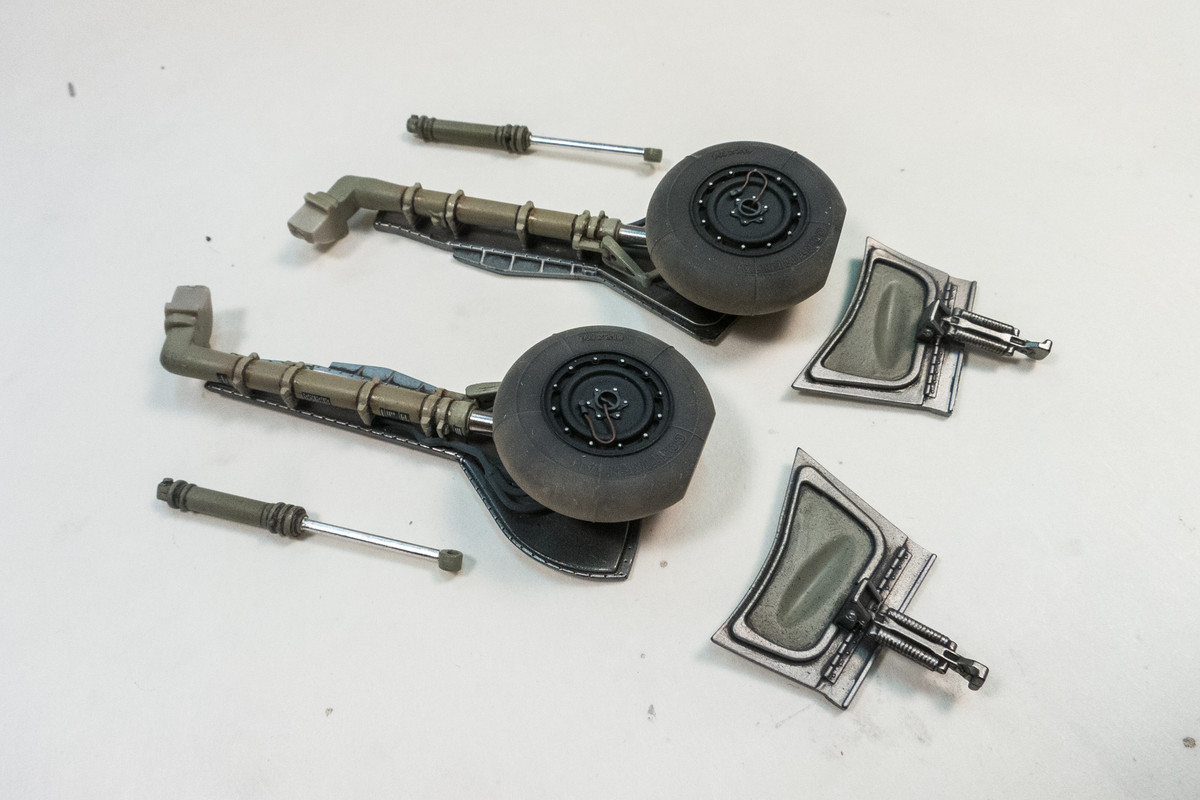
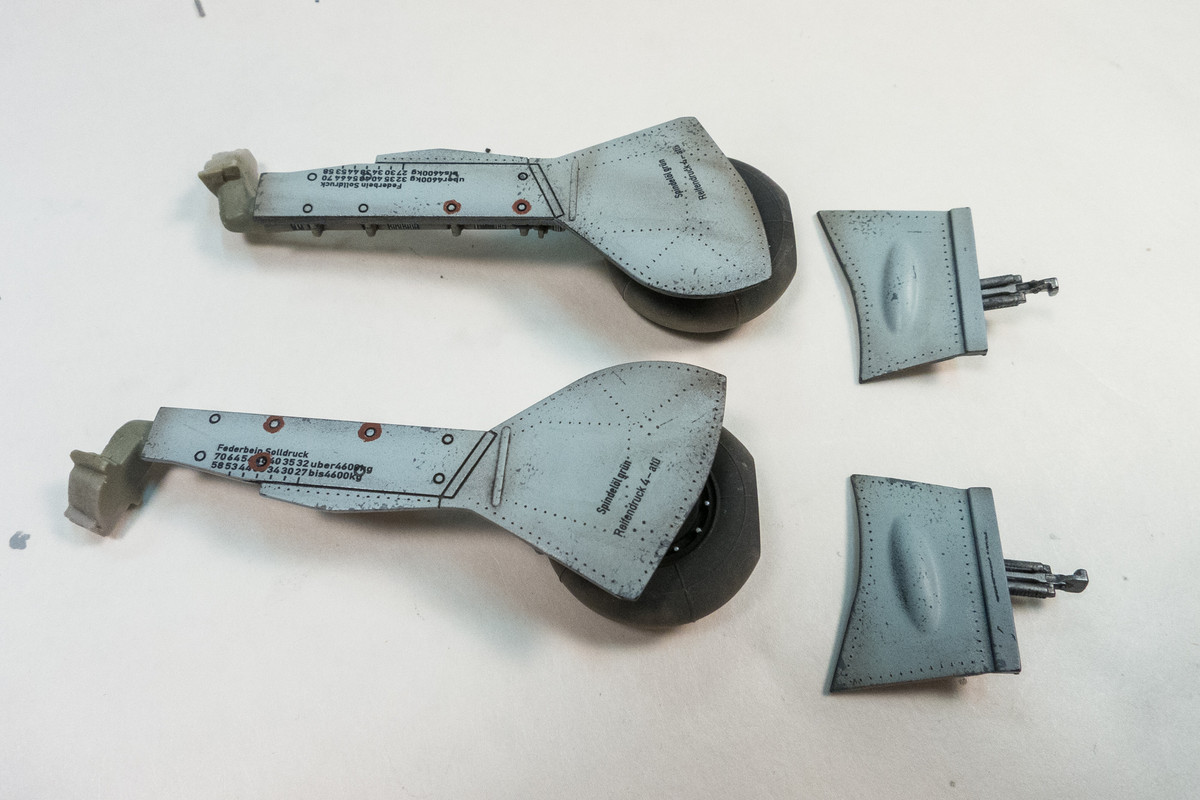
I've painted the landing gear covers so here's what the completed landing gear components look like...
Image
Image
Image

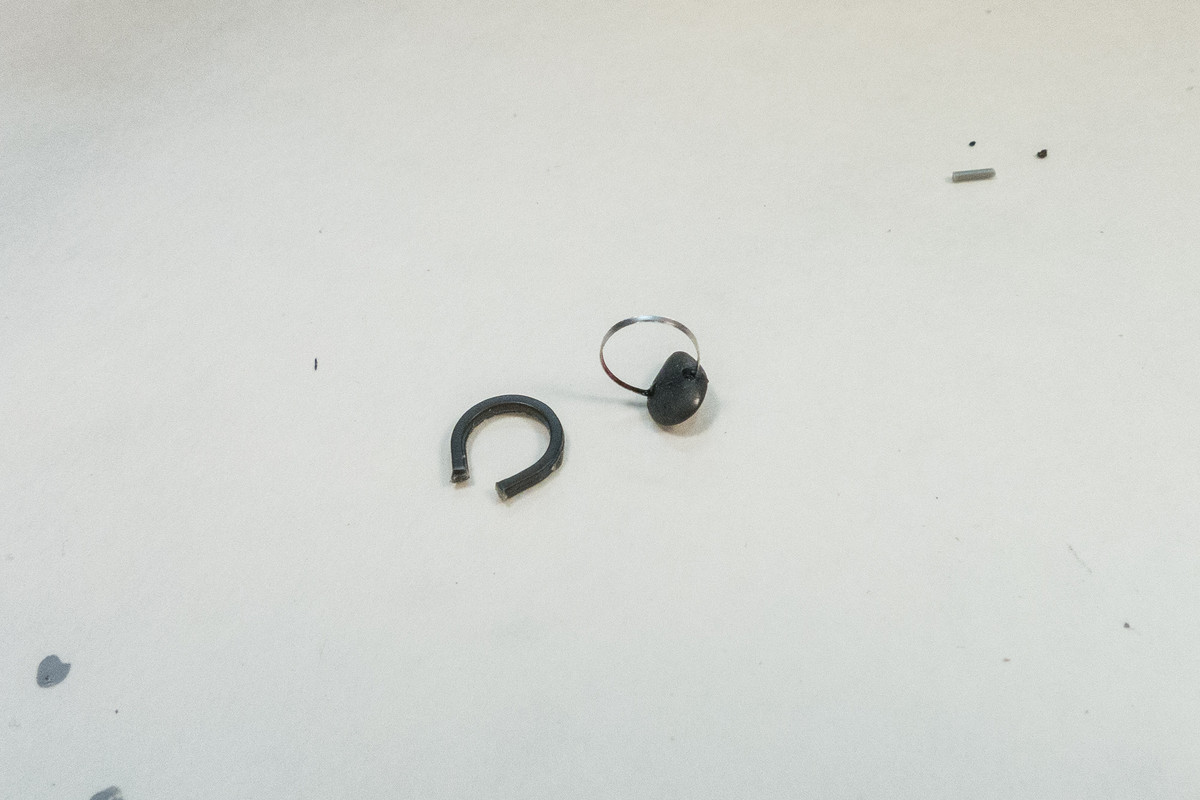
The DF loop antenna was cut off and replaced by a strip cut from a Coke can...
Image
Image

Re: 1/32 Zoukei-Mura Ta152H-0 White 7

Posted: Thu May 07, 2020 8:55 am
by mustang1989
This is turning out very well John. These birds look great to start with and to see a good model build of one like this going on is really a treat to watch. Keep up the good work.

Re: 1/32 Zoukei-Mura Ta152H-0 White 7

Posted: Thu May 07, 2020 1:57 pm
by BlackSheep214
:shoutout: :shoutout: :shoutout:

Re: 1/32 Zoukei-Mura Ta152H-0 White 7

Posted: Thu May 07, 2020 6:41 pm
by jkim
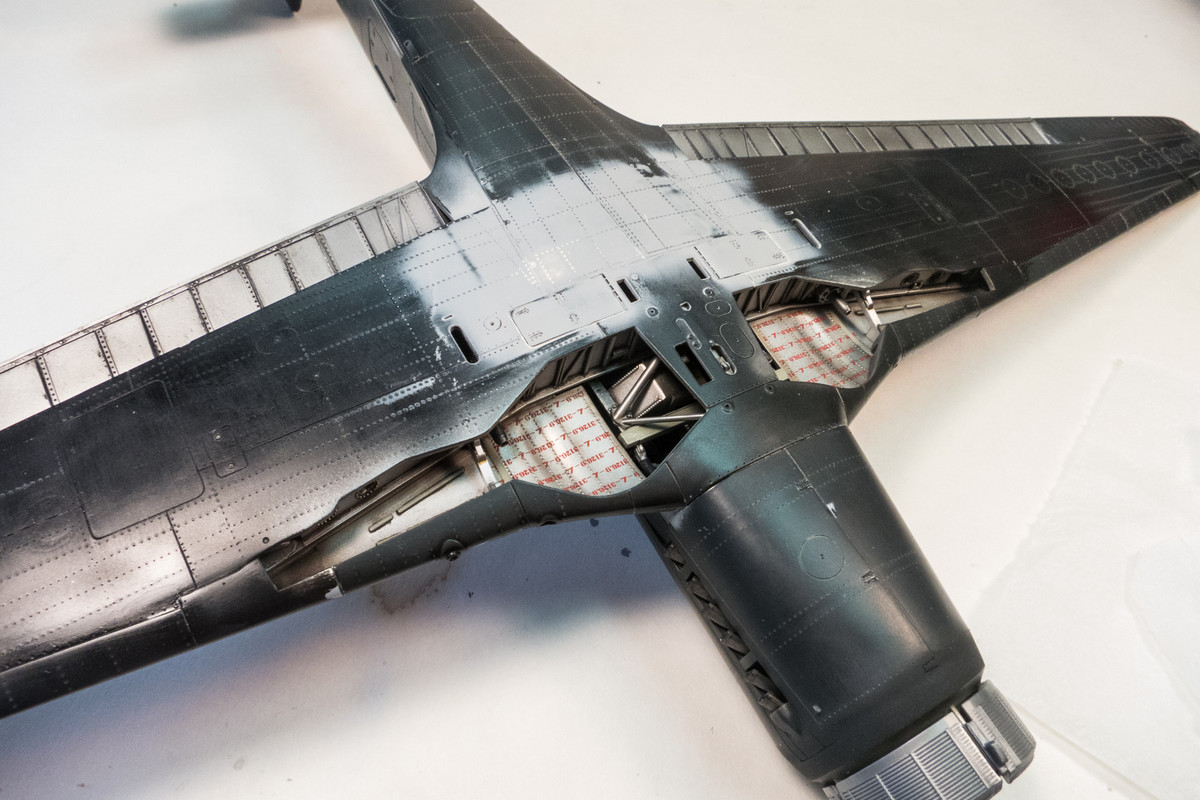
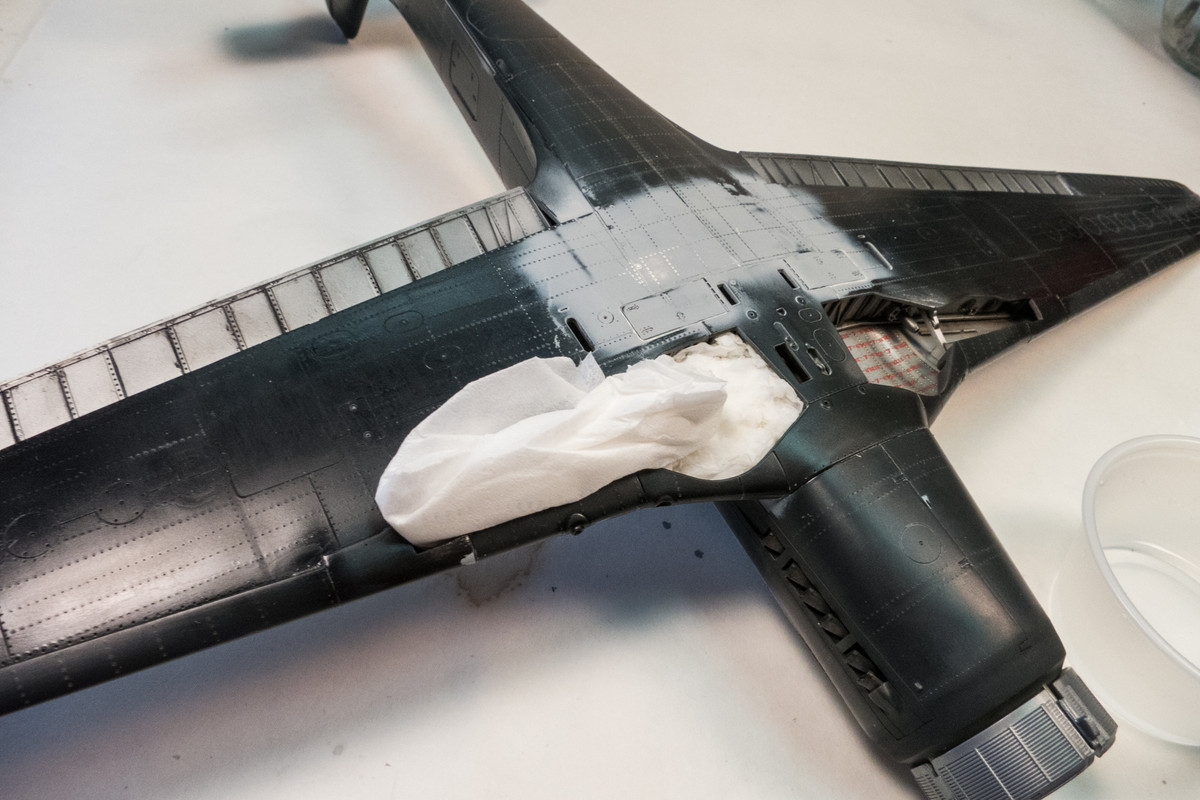
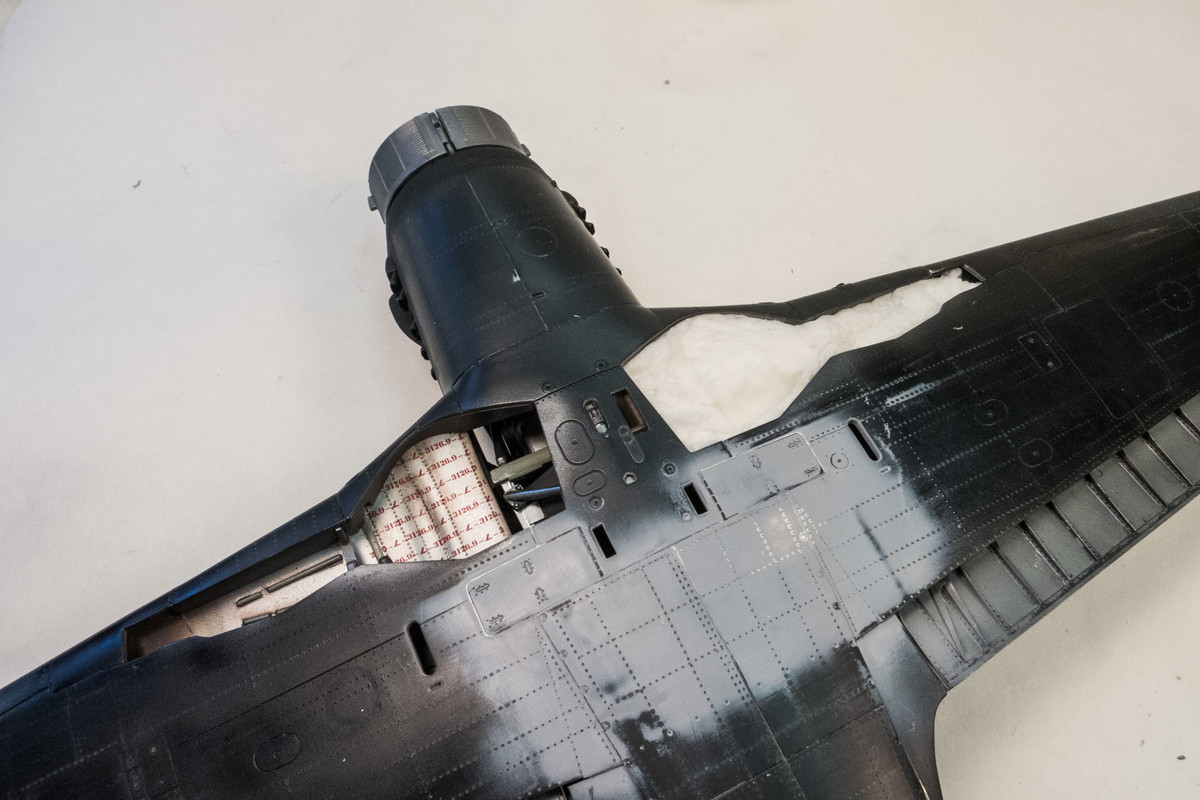
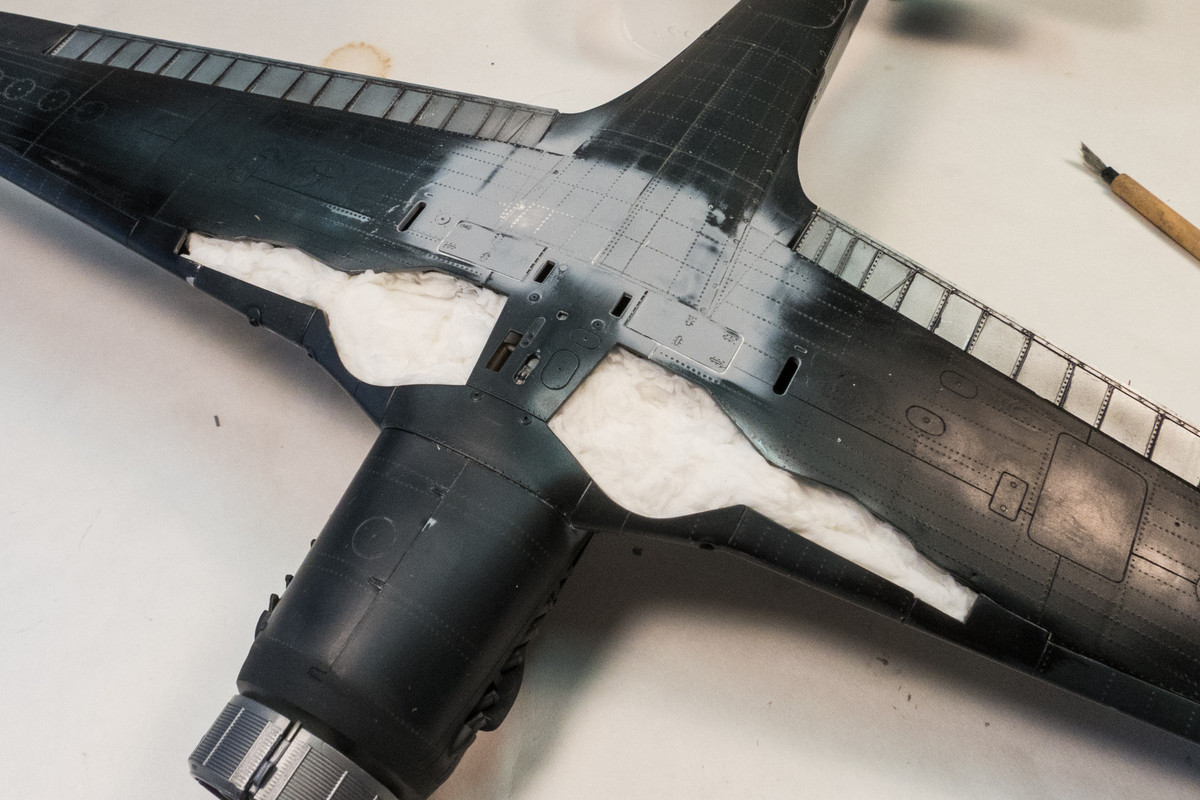
Thanks guys! Once I shift my focus away from the trouble spots and take a higher level view of things, I feel better about this build. Stepping closer to the priming/painting stage, I am going to mask off the wheel wells using tissue paper. This is a nice and easy way to mask off big recessed areas like wheel wells. It doesn't work well in every situation especially if the recess is filled with delicate photoetched details but the Ta152H wheel wells are simplistic enough to not snag the dried tissue paper on removal.
Image

I start by stuffing a large amount tissue into the hole. Water will reduce the size of this mass by more than 2X so keep that in mind.
Image

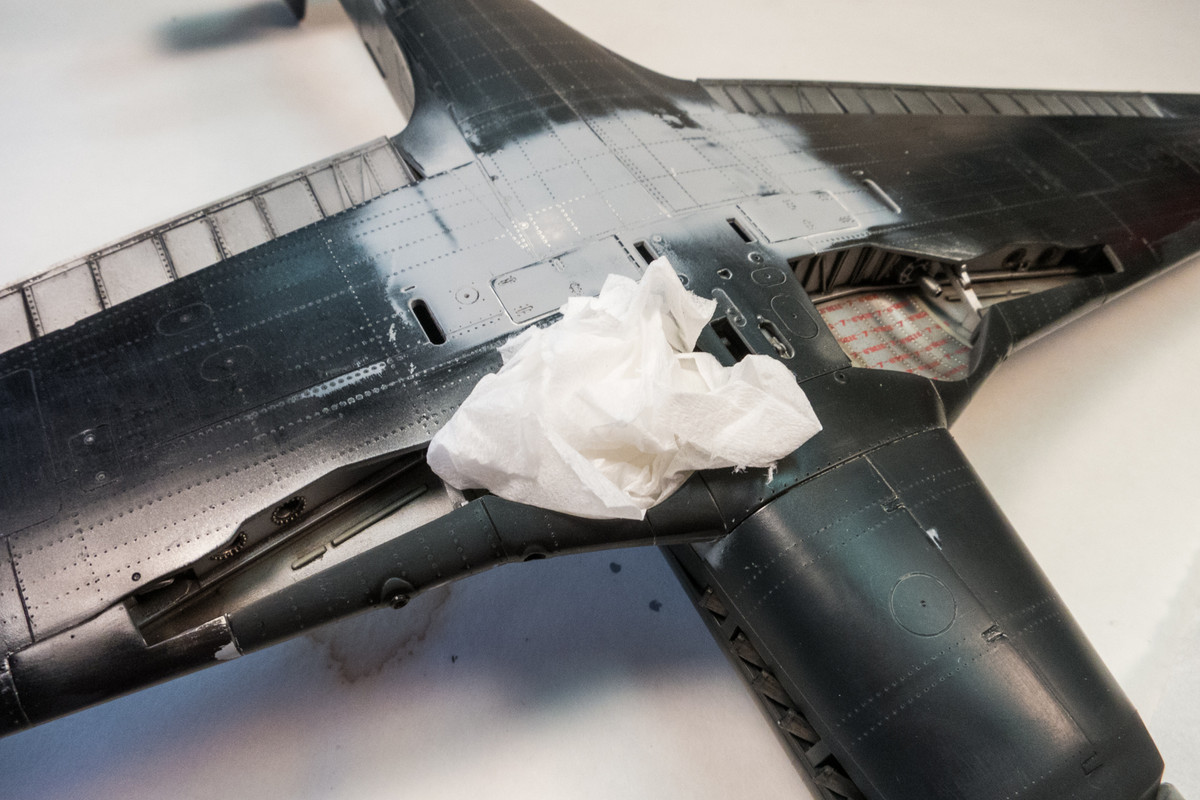
Using a paint brush dipped in water, I begin to simultaneously wet the paper and start compressing it into the wheel well.
Image

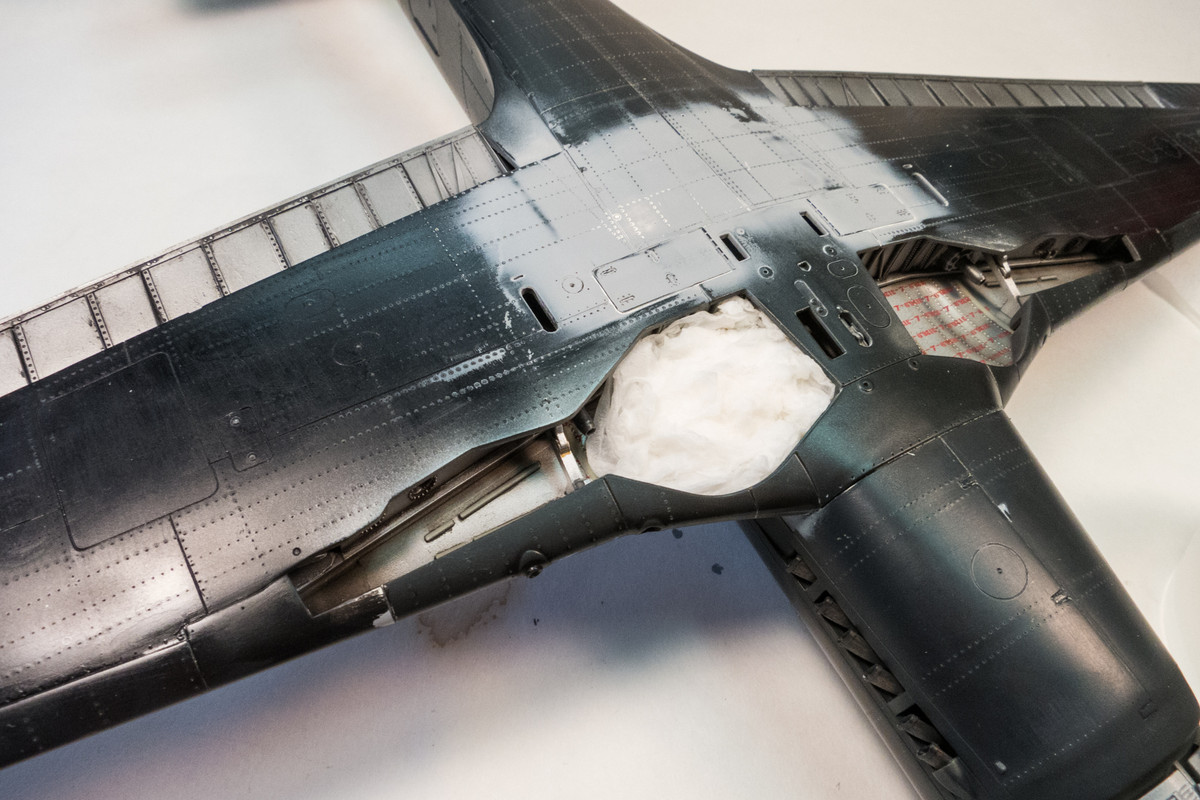
Separating the task between the two major shapes of the wheel well, a second piece is used to fill the narrower leg portion of the opening.
Image

It's pretty easy to get the paper to move where you want it to, even pulling it up to cover up to the edges of the wheel well.
Image

Very easy, no mess and no measuring or cutting required. When the water dries the paper will stiffen and stay in place pretty securely until you need to remove it.
Image

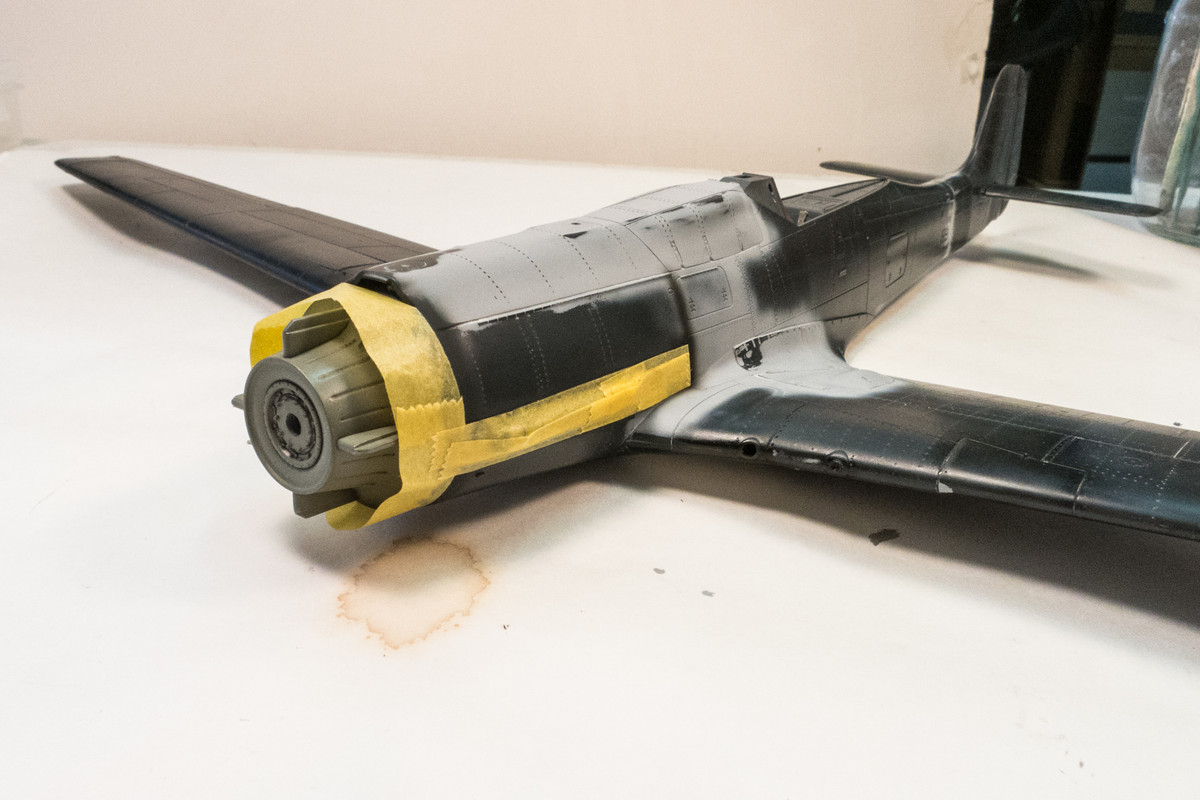
The black areas around the exhaust pipes have been painted so I'm going to mask them off.
Image

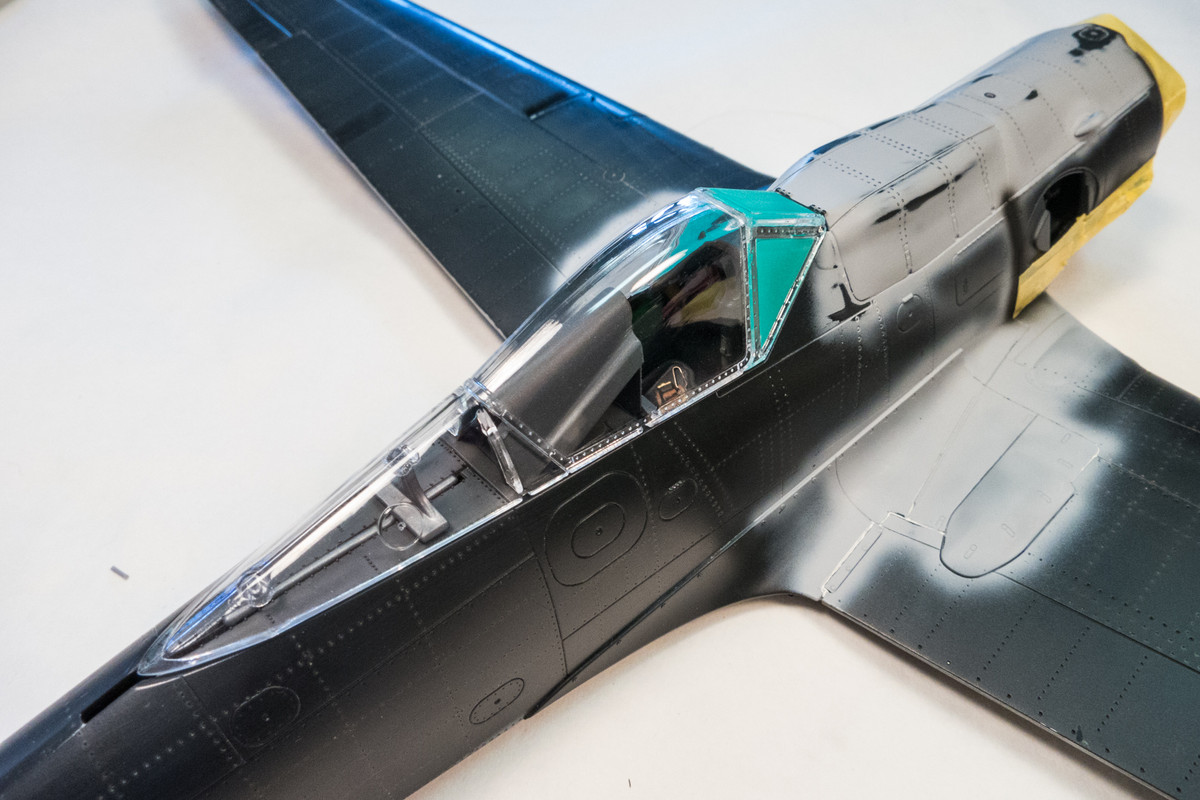
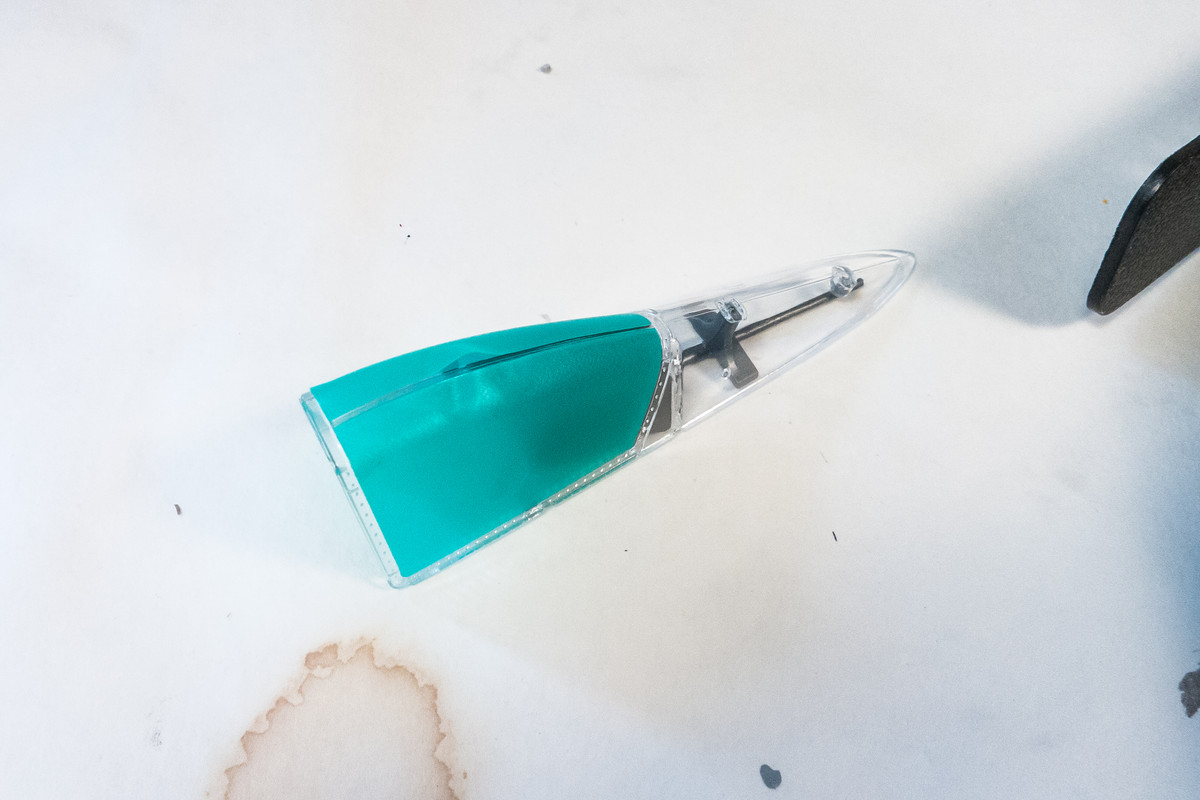
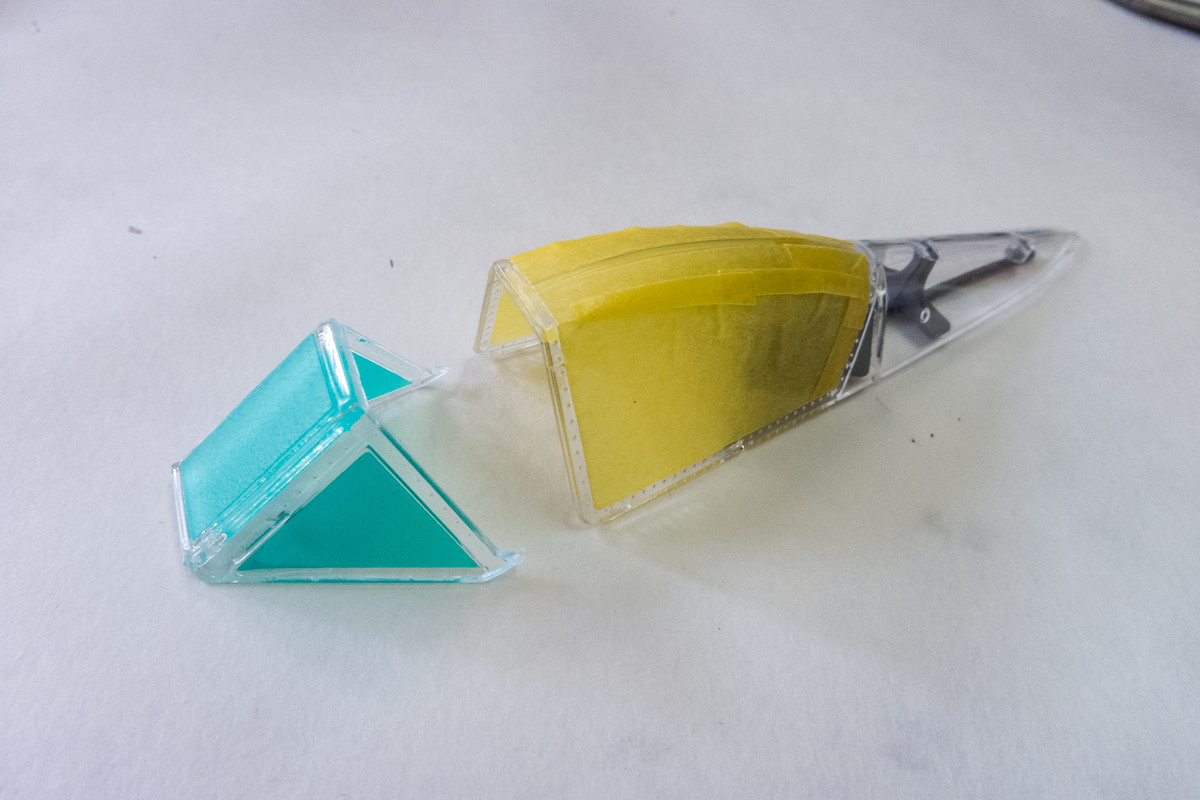
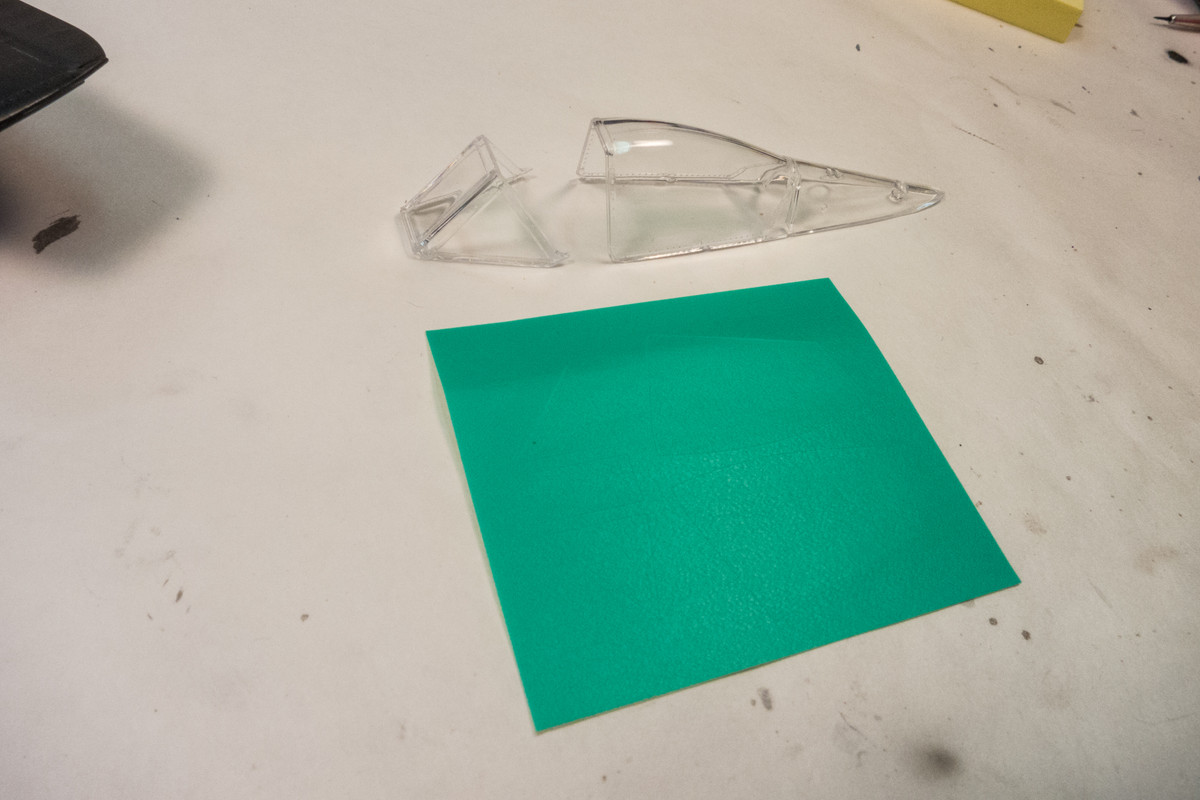
Next, I'm going to mask the clear parts with the masks that Z-M provides with the kit. The masks are made of a thin, translucent aqua vinyl-like material.
Image

The armored headrest as well as the rear canopy guide are glued into place first.
Image

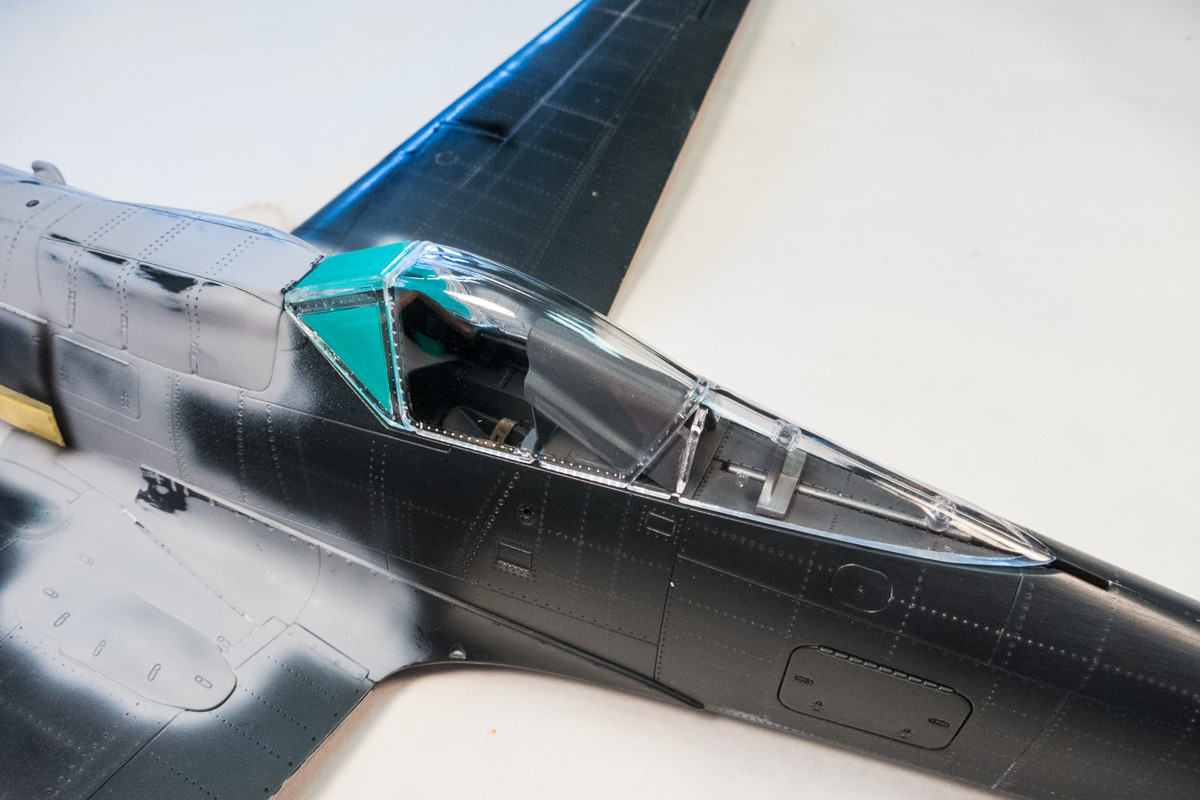
The flat panels of the windscreen present no problem for the masks but I'm dubious about the curved portion of the main canopy.
Image
Image

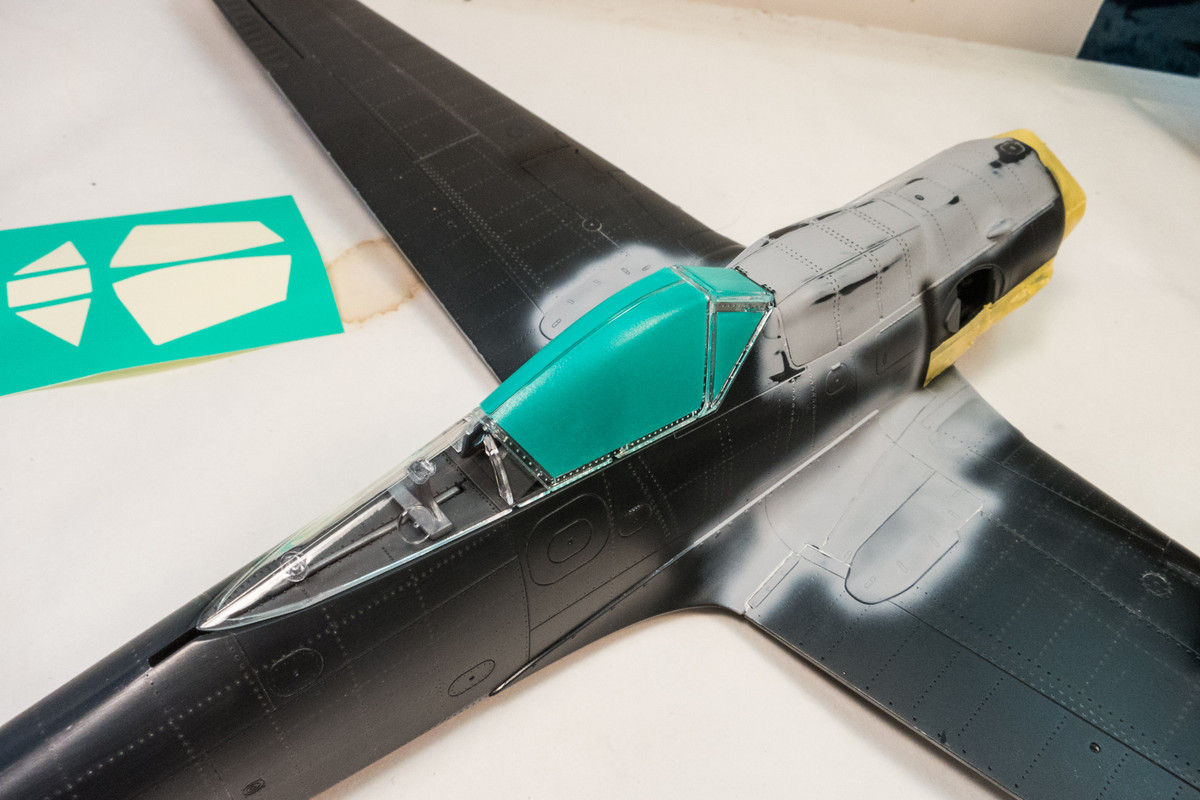
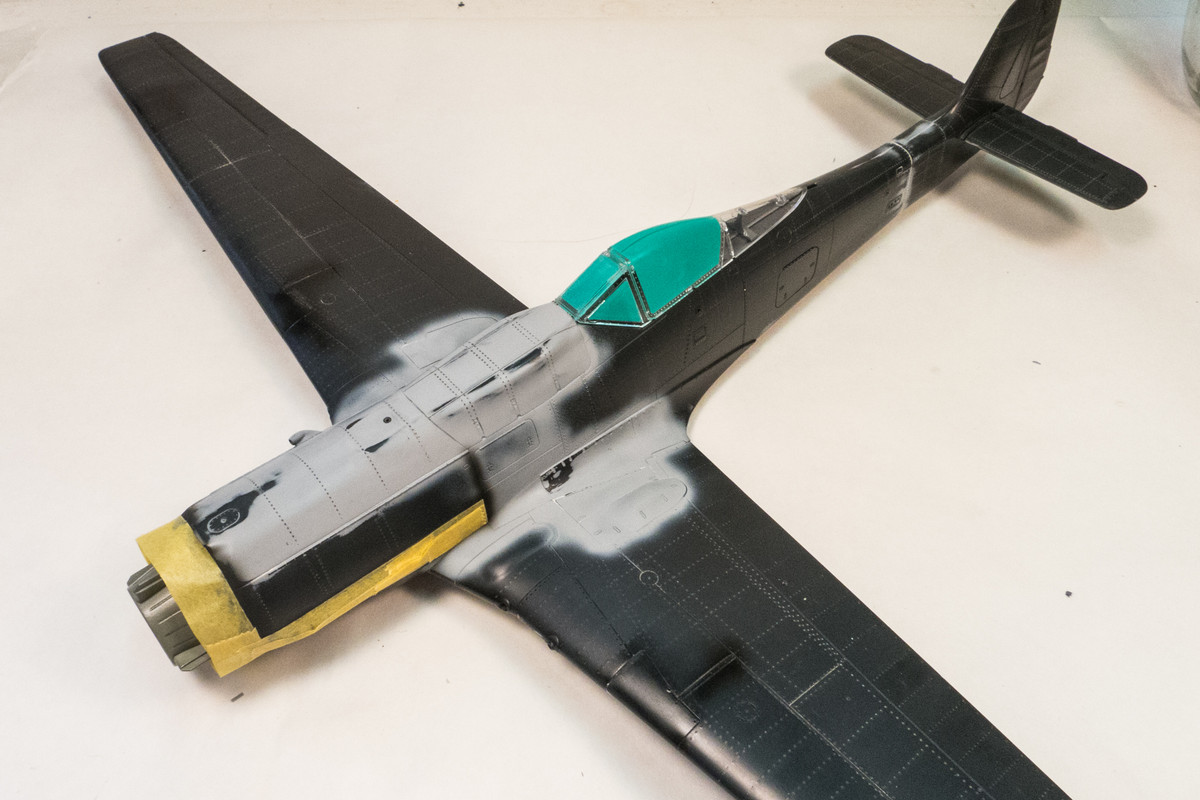
Surprisingly, the main canopy masks seem to fit ok. The trick is to line of the bottom edges first where the canopy is the flattest. Once the bottom edge is aligned, slowly press the rest of the mask in place, working from bottom to top. The edges along the top frame bubbled up a bit at first but seemed to press down completely with some gentle rubbing.
Image
Image

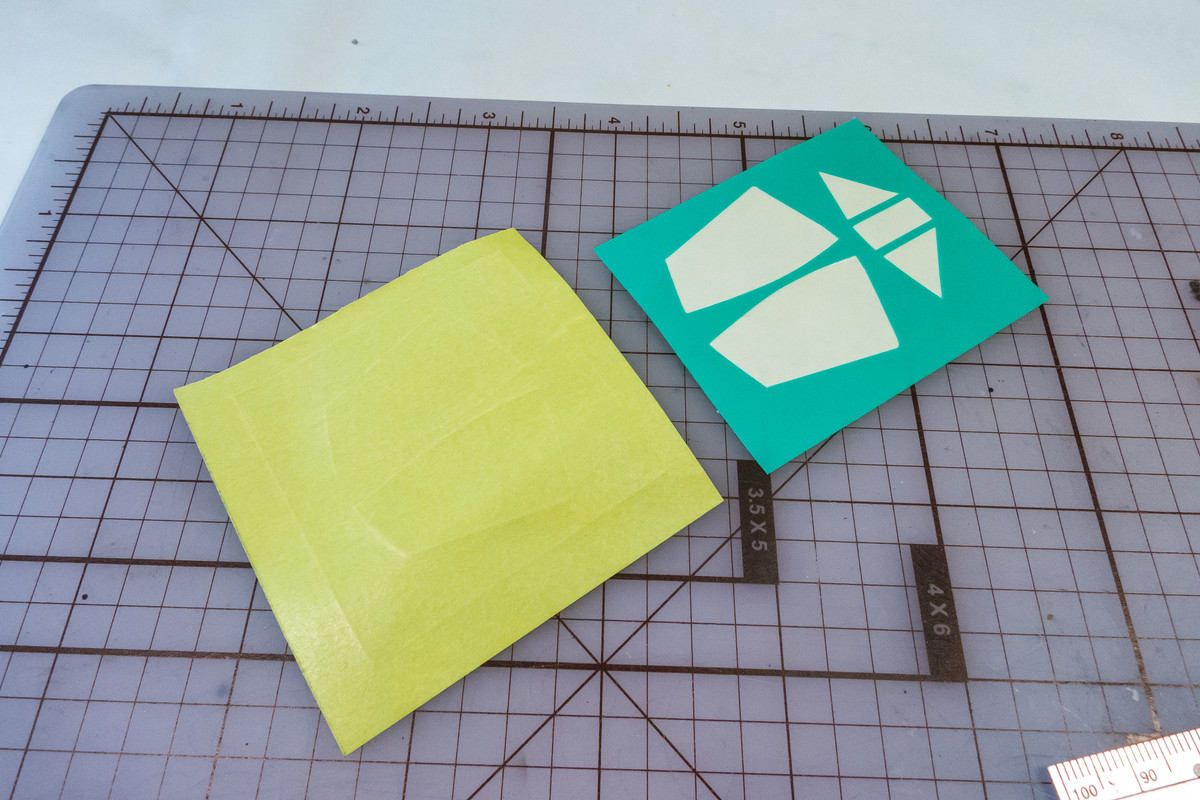
There is a chance that the canopy masks might lift over time so I'll keep an eye on that. If that happens, I can scan the used mask sheet to create new masks with a sheet of Yellow Tamiya masking tape.
Image

Re: 1/32 Zoukei-Mura Ta152H-0 White 7

Posted: Fri May 08, 2020 9:53 am
by jkim
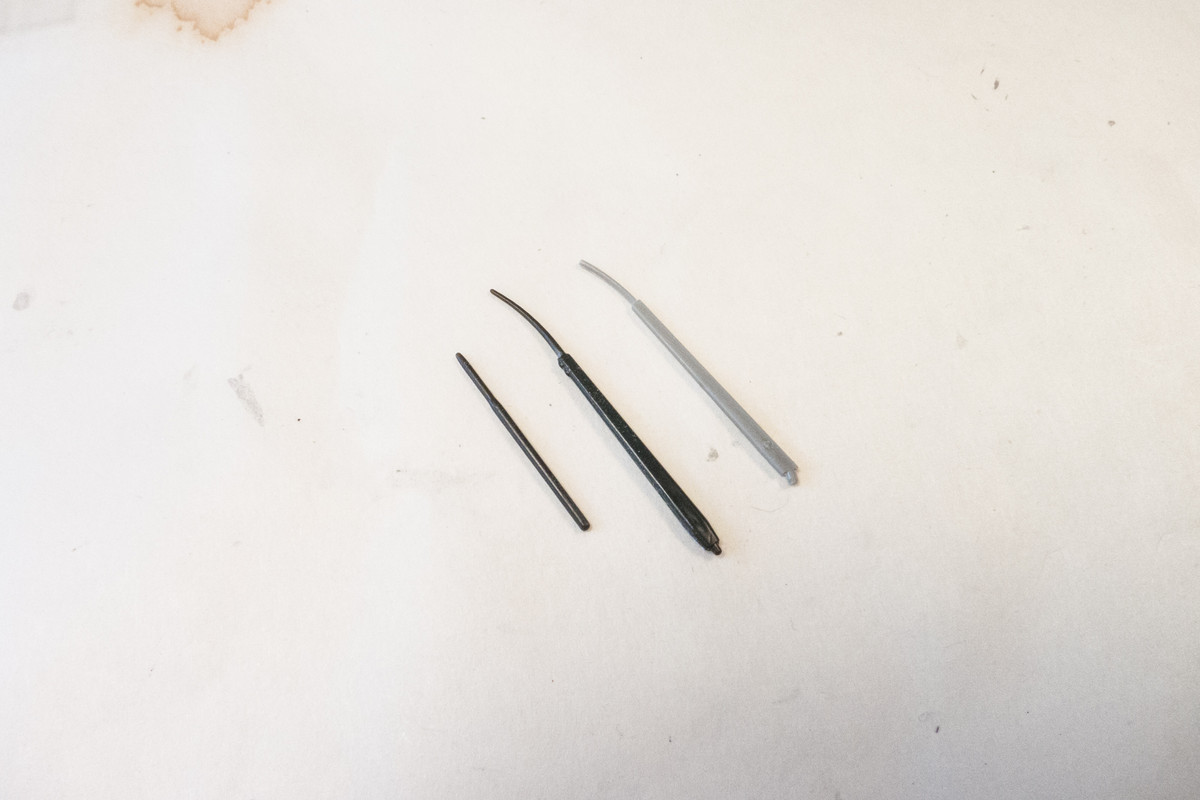
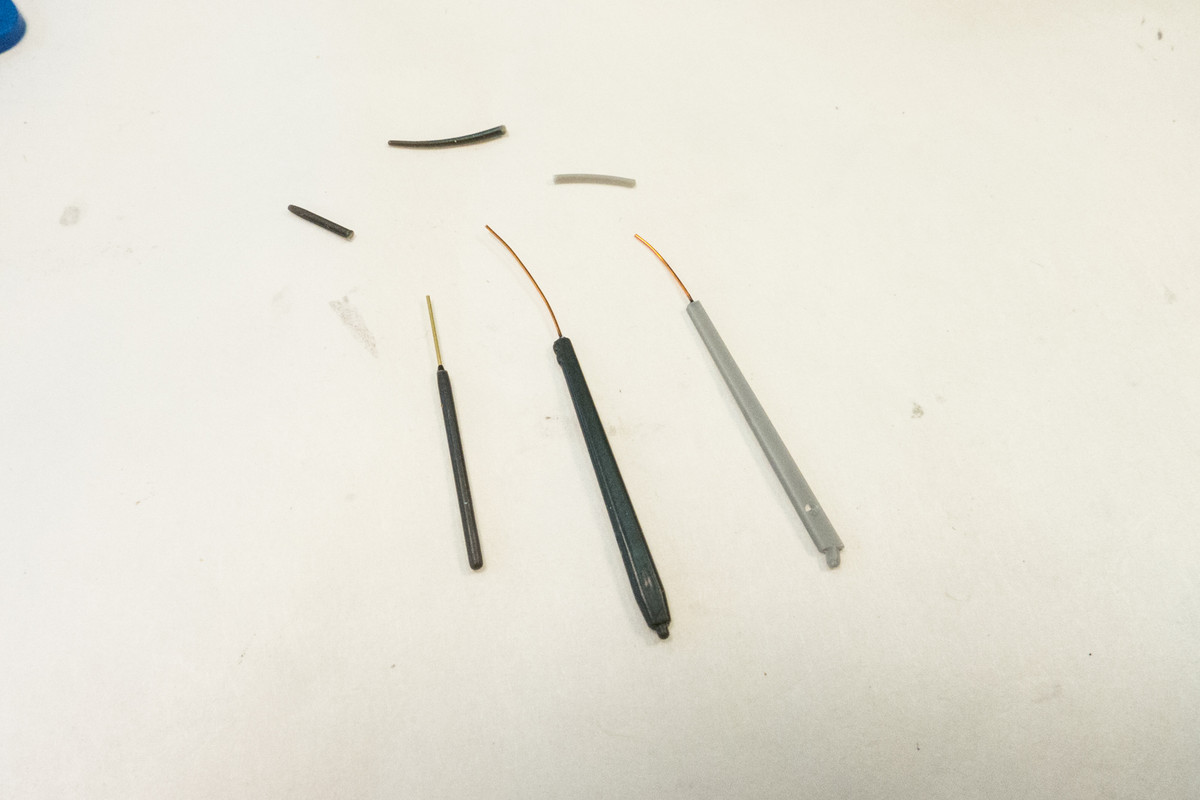
Some smaller details that I forgot to report yesterday. I used wire and brass tubing to refine some of the external bits.
Image
Image

Re: 1/32 Zoukei-Mura Ta152H-0 White 7

Posted: Fri May 08, 2020 11:31 am
by Stikpusher
The one on the left is the pilot tube, correct? Why not use telescoping metal tubing to replace the whole item?

I do like the idea of using wire for the antenna elements projecting from the mast housing. :hmm:

Re: 1/32 Zoukei-Mura Ta152H-0 White 7

Posted: Fri May 08, 2020 12:07 pm
by jkim
Stikpusher wrote:The one on the left is the pilot tube, correct? Why not use telescoping metal tubing to replace the whole item?

I do like the idea of using wire for the antenna elements projecting from the mast housing. :hmm:
The black bits are for the Ta152H and that one grey piece is for the G-14. And yes, the thing on the left is the pitot tube for the Ta152H. Replacing with telescoping pieces of tubing is definitely an option. It's hard to see in the pics but this pitot tube had a very slight taper between the two diameters that I wanted to preserve so I elected to just replace the tip. I'll do this when the base of the pitot tube has some sort of specific detail or maybe an angle in the mounting tab.

Re: 1/32 Zoukei-Mura Ta152H-0 White 7

Posted: Fri May 08, 2020 5:50 pm
by jkim
Checking the canopy mask today revealed that it had indeed lifted along the top frame. There have been times when I've persisted with this issue, tamping down the lifted areas temporarily right before spraying but it usually ends up with a compromised finish so off it comes.
Image

I scanned the Z-M mask and cut new masks using the Silhouette Portrait cutter. Instead of the normal Oramask 810 material that I use for markings, I cut the masks on sheets of Yellow Tamiya masking sheets, which is a material similar to their yellow tape.
Image

Due to the lack of flexibility in the Tamiya masking material, I found out that I had to cut the mask in two parts to allow the mask to lay down properly, without wrinkles. The Z-M masks MAY have benefited from this approach as well.
Image

Re: 1/32 Zoukei-Mura Ta152H-0 White 7

Posted: Fri May 08, 2020 6:05 pm
by Floki
Nice looking masks. I've been wanting to get a machine to make my own masks but don't know where to begin. What cutter to get, programs to use etc.