Page 21 of 38
Re: 1/32 Granville Gee Bee Model Z Super Sportster.
Posted: Sat Oct 31, 2020 8:37 pm
by mustang1989
Re: 1/32 Granville Gee Bee Model Z Super Sportster.
Posted: Sat Oct 31, 2020 9:41 pm
by speedgraflex
Joe—wisdom. Wise words, bud.
IP
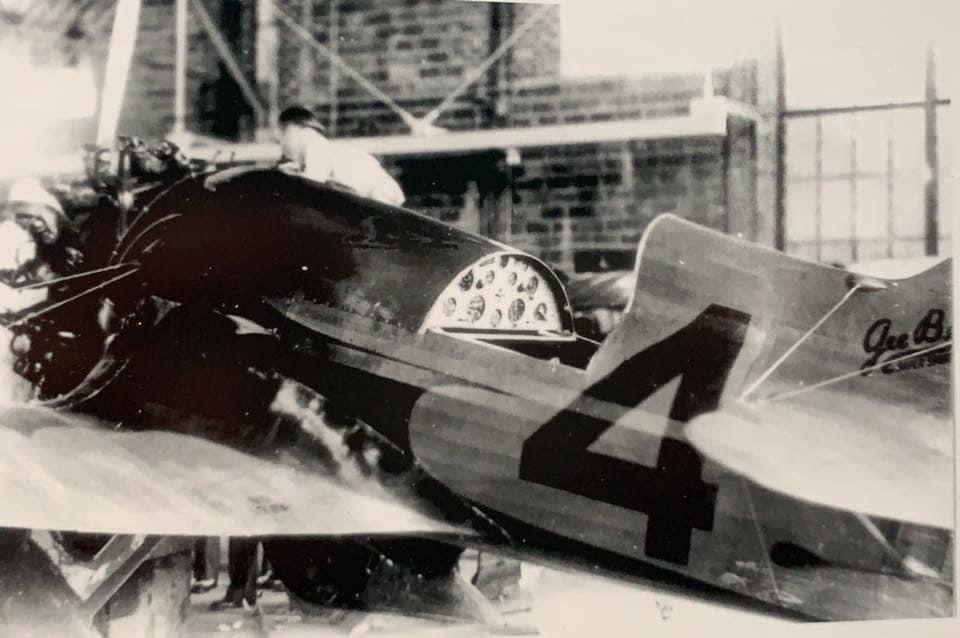
Re: 1/32 Granville Gee Bee Model Z Super Sportster.
Posted: Sun Nov 01, 2020 5:31 pm
by speedgraflex
Re: 1/32 Granville Gee Bee Model Z Super Sportster.
Posted: Sun Nov 01, 2020 5:40 pm
by Stikpusher

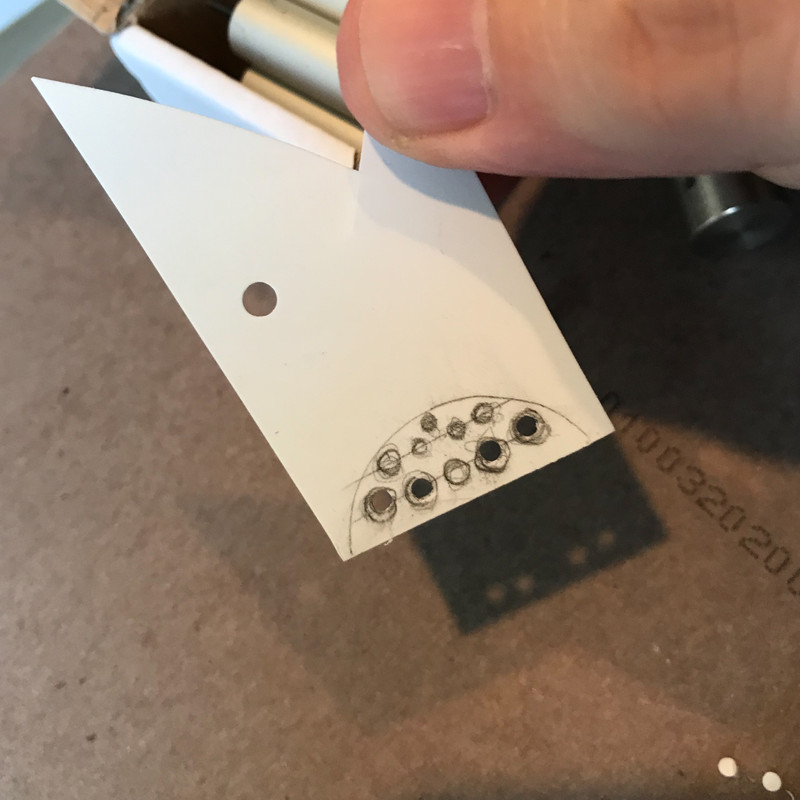
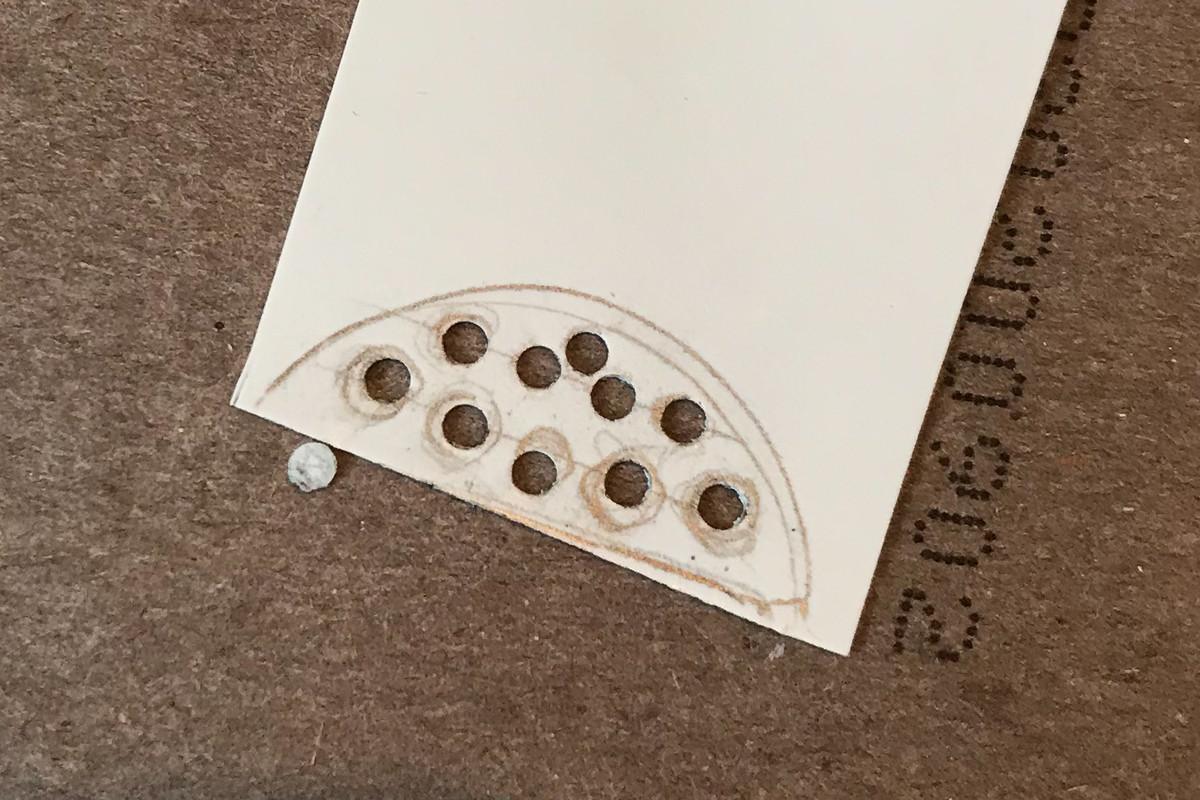
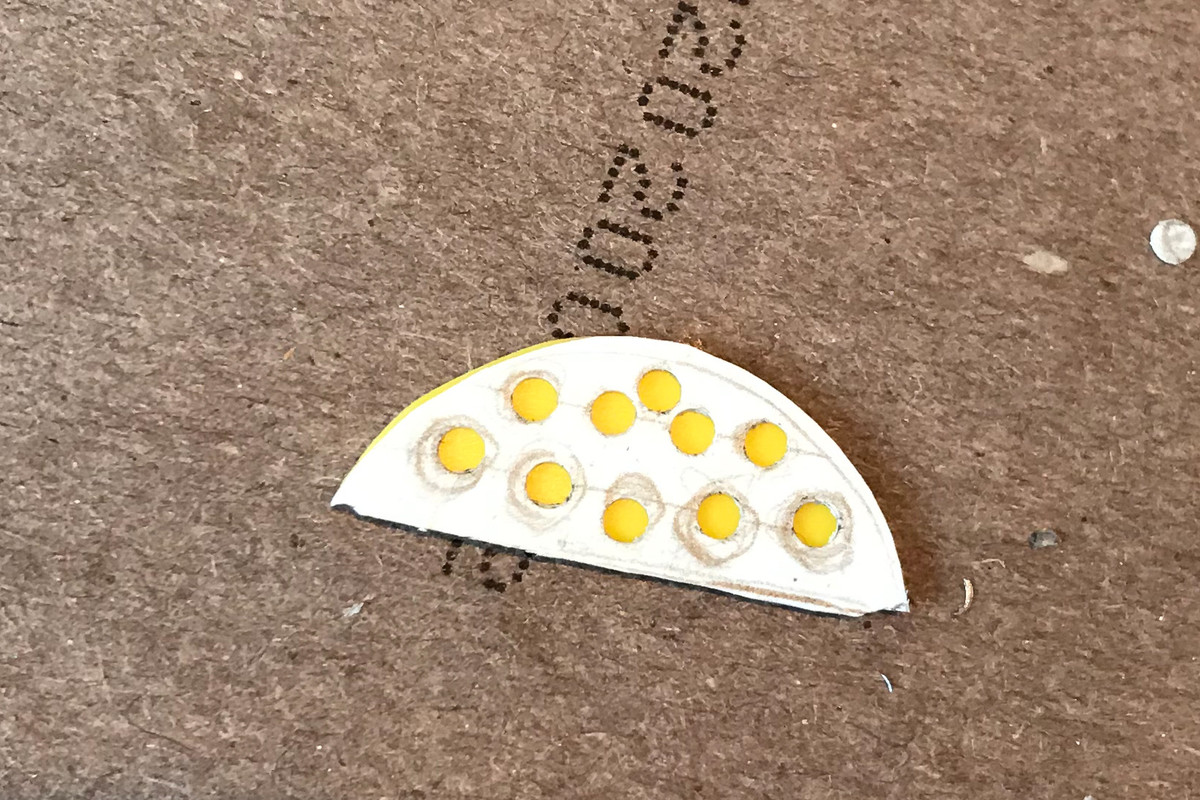
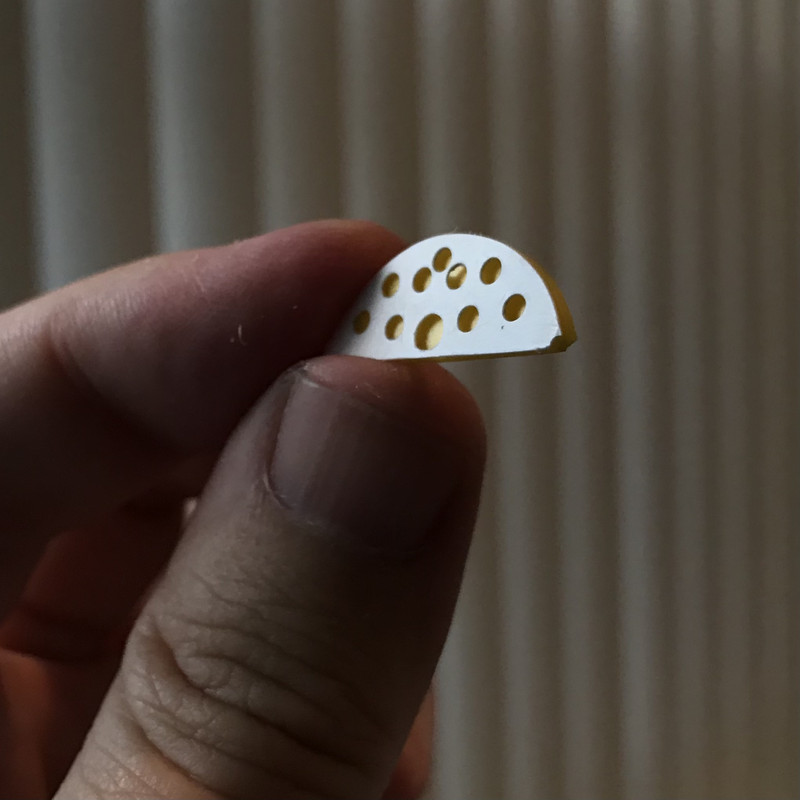
Multi layer IPs always look the part so much better!
Re: 1/32 Granville Gee Bee Model Z Super Sportster.
Posted: Sun Nov 01, 2020 5:50 pm
by Floki
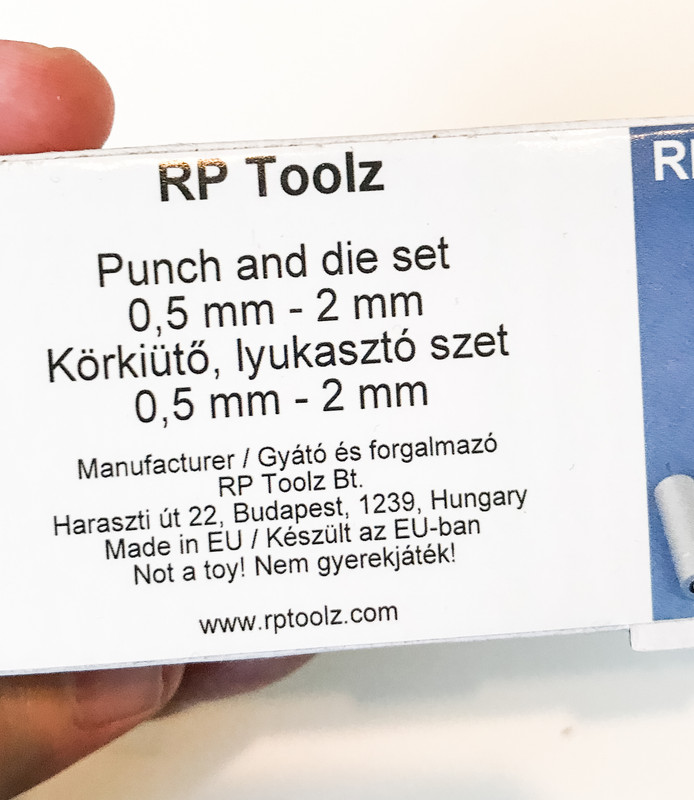
Nice! That IP is going to look great! Always wanted a punch and die set like that.
Re: 1/32 Granville Gee Bee Model Z Super Sportster.
Posted: Sun Nov 01, 2020 6:11 pm
by speedgraflex
Thanks, Carlos and Clint!!!
Re: 1/32 Granville Gee Bee Model Z Super Sportster.
Posted: Sun Nov 01, 2020 11:43 pm
by Stikpusher
Very nice!
Re: 1/32 Granville Gee Bee Model Z Super Sportster.
Posted: Mon Nov 02, 2020 12:27 am
by speedgraflex
Thanks so much, Carlos! I will paint this tomorrow along with the interior of the spats and the cowling halves!!
Re: 1/32 Granville Gee Bee Model Z Super Sportster.
Posted: Mon Nov 02, 2020 11:59 am
by jkim
Great work on the instrument panel! The RP Toolz punch set ain't cheap but once it made its way onto my work bench, it became an invaluable tool. Now I have both the small and large versions!
My Dad taught me never to use too much putty or paint, just barely enough and then stop.
Exactly! And once you deviate from the basic order of construction (glue > putty > primer > paint), you introduce an unnecessary painting step (paint > glue > putty > primer > paint). The degrade in quality comes when trying to match the yellow afterwards. Primary colors often exhibit a transparency that makes paint repair very tricky! I think you gave evidence of that with the yellow already. And paint is usually too soft to serve as a good sanding surface. Very difficult to achieve a seamless transition between paint and plastic... it tends to form a visible edge. I see that you are more comfortable painting parts prior to gluing them together but trust me, you will use less paint and achieve cleaner joints if you stick to: glue > putty > primer > paint.
Re: 1/32 Granville Gee Bee Model Z Super Sportster.
Posted: Mon Nov 02, 2020 1:46 pm
by speedgraflex
Thanks, John! Your points are well made and sincerely taken to heart! I have more projects starting this week, so I am hopeful to keep this one going as well, I’m just not entirely sure about how often I’ll be working on it. I am hopeful, though. I truly am.
Marius wrote that he has a solution for adding rims around the instrument dial openings; this will give me a chance to do another version where the top dial is positioned better. I will keep what I have as a backup, or if need be, as the primary one I will use for the project if worse comes to worse.
Marius wrote:
Idea. Use a hot drawn plastic drinking straw and put a piece of it into each hole. Sand down to correct height. You can also roll plasticard to right diameters and put them in followed by same procedure.