Page 21 of 34
Re: 1/32 Revell Me262B-1/U1 Nachtjager
Posted: Mon Jan 04, 2021 11:24 am
by Medicman71
Man the flaps look great!
Re: 1/32 Revell Me262B-1/U1 Nachtjager
Posted: Tue Jan 05, 2021 7:08 pm
by jkim
Thanks guys!
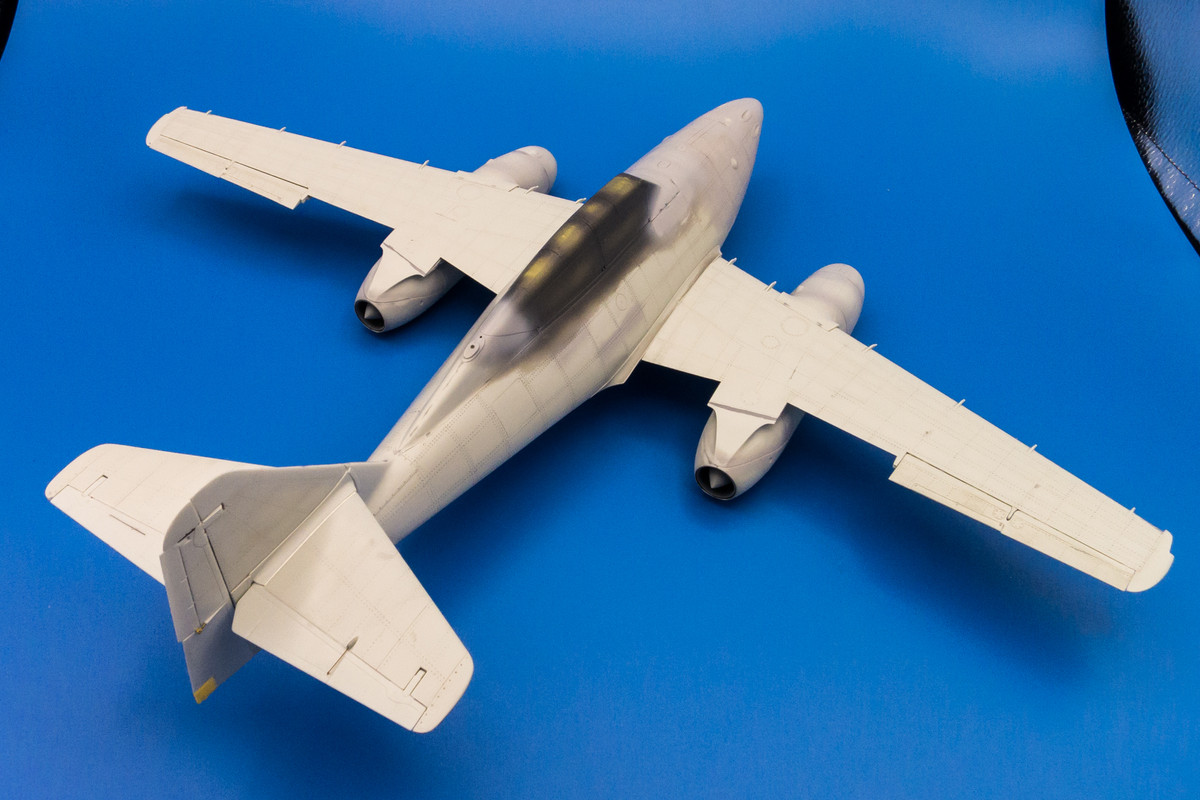
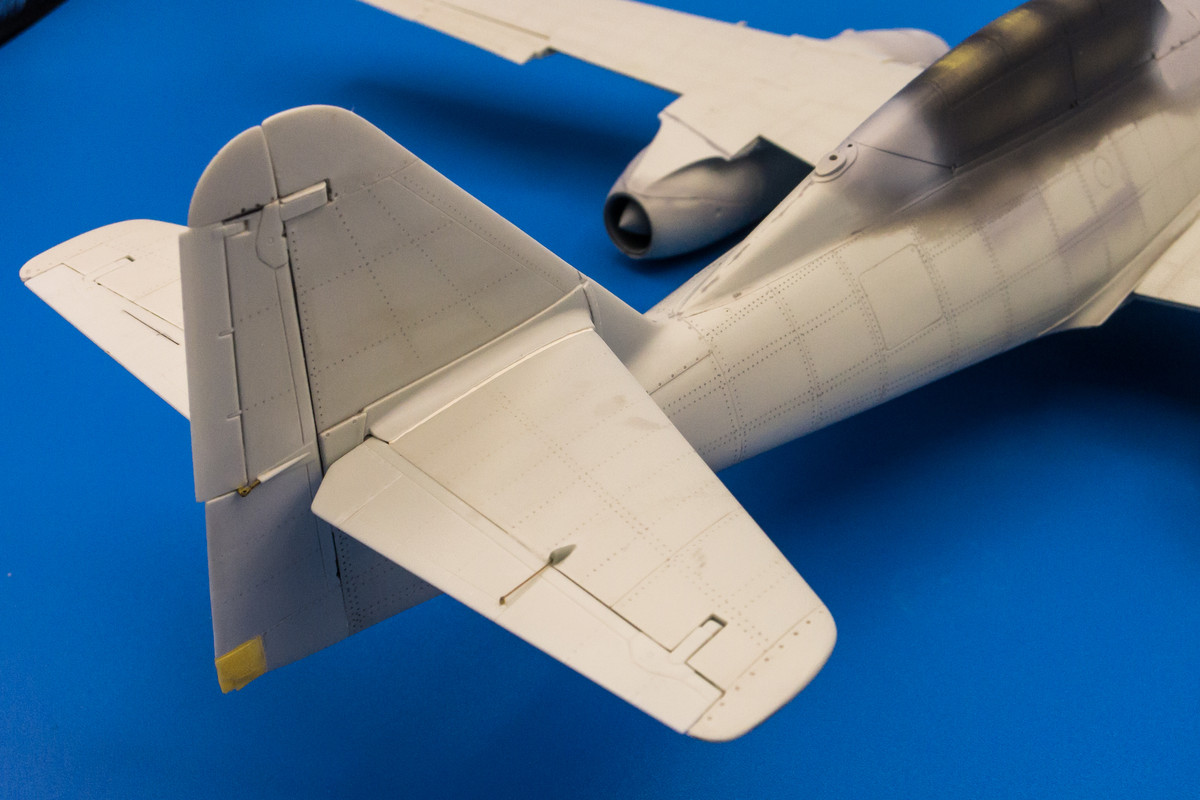
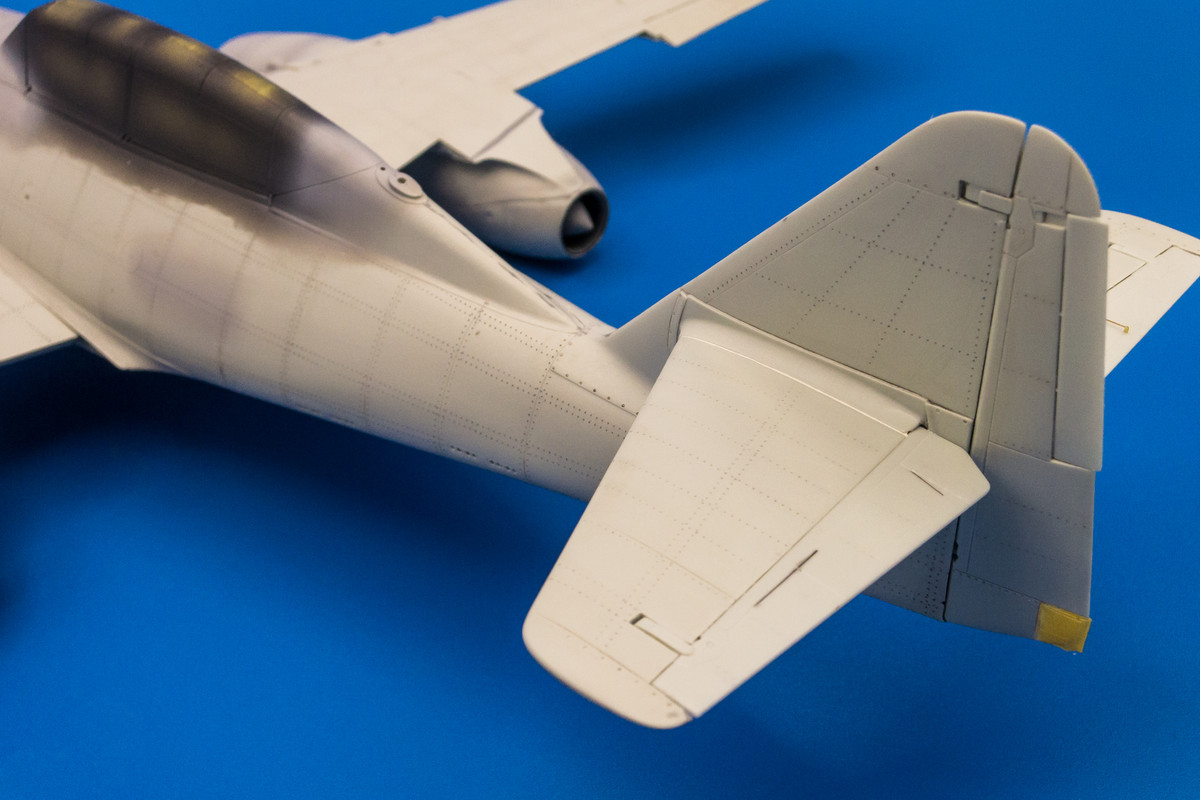
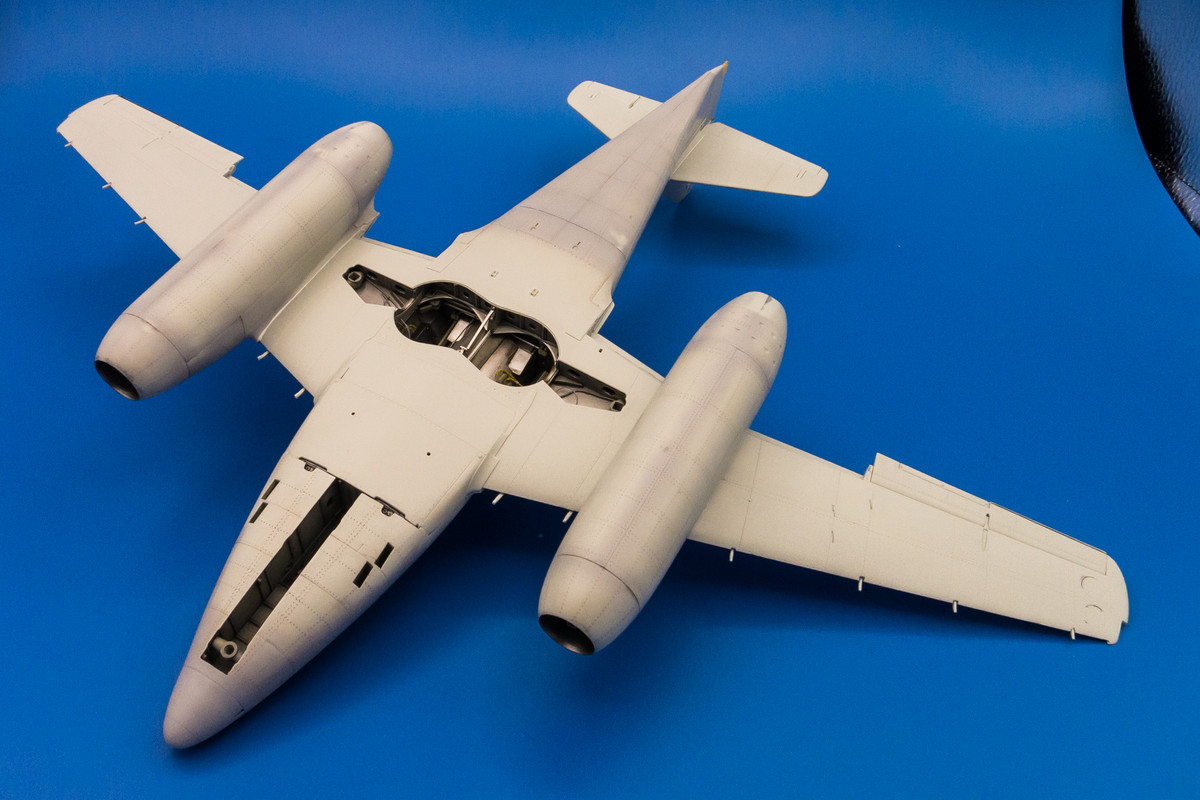
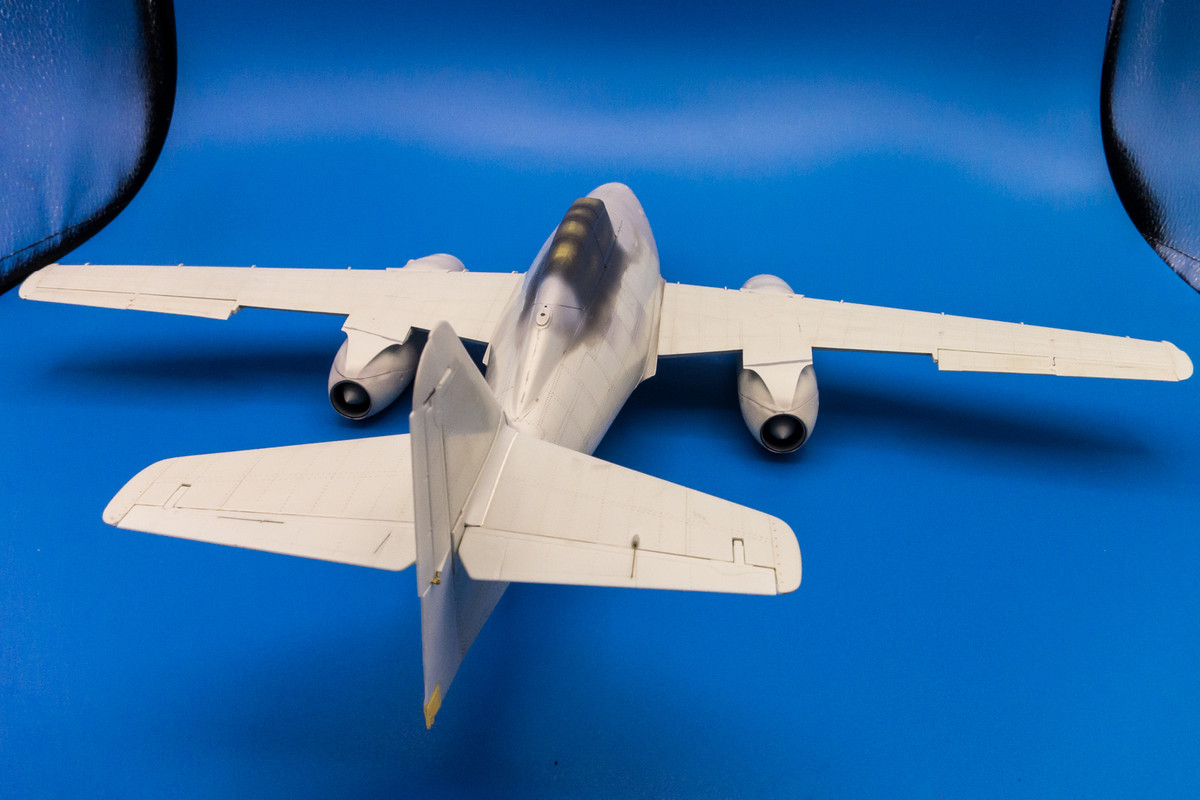
I've since glued the engine nacelles into place. The only trouble spot was on rear top edge where you'll see my application of Mr Surfacer to address.
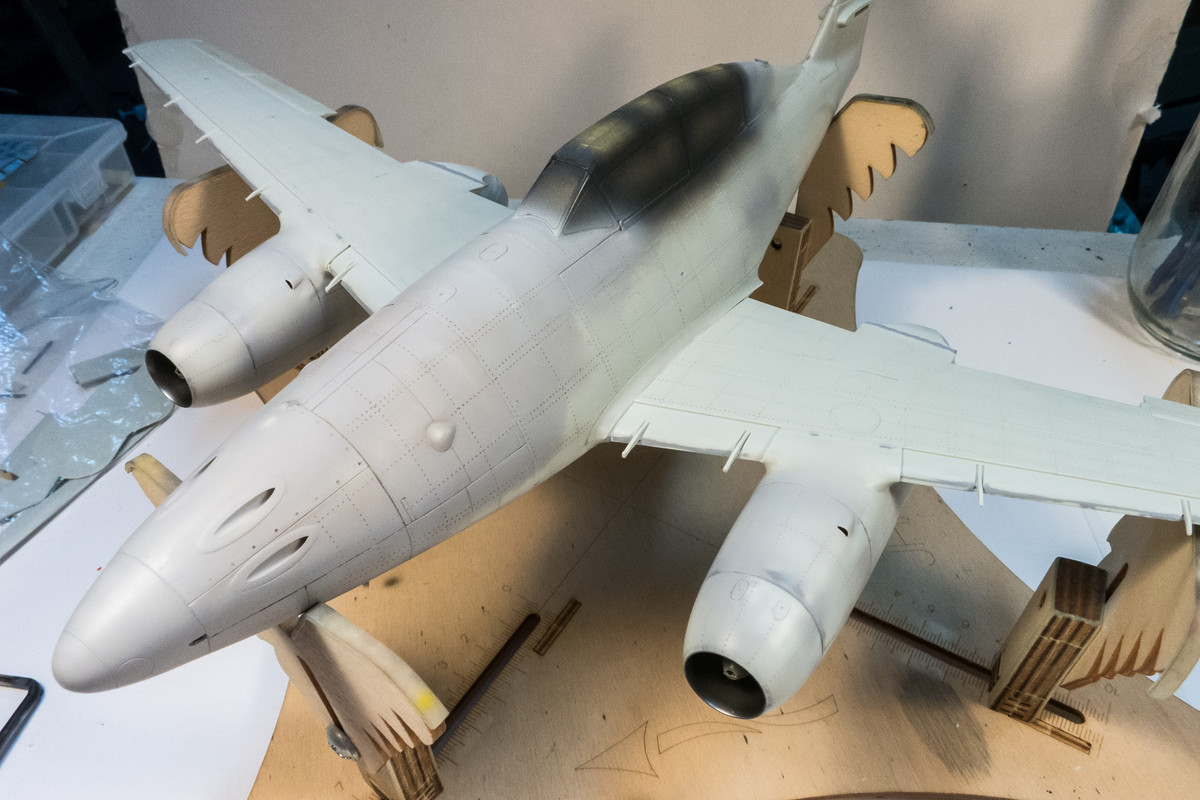

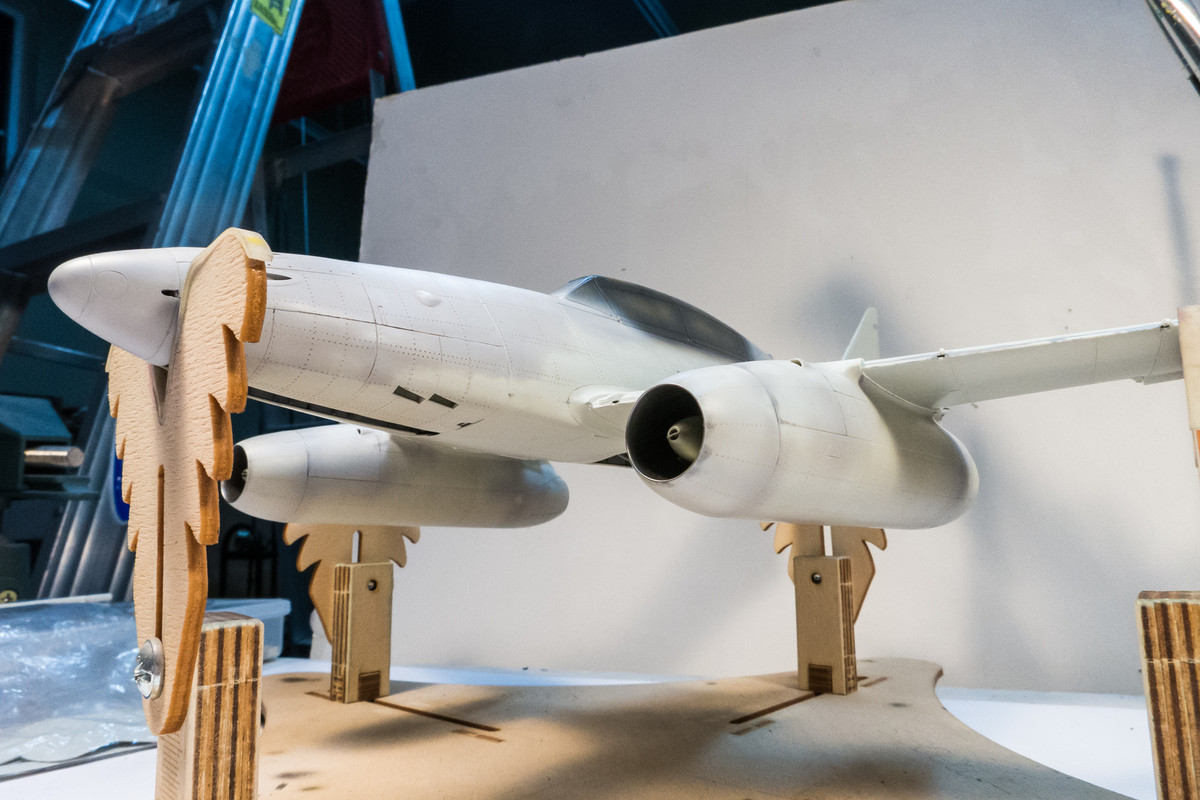
At this point, I've decided to address a few of the small details. First up is the loop antenna that goes on top of the fuselage behind the cockpit. The molded loop is just too thick and needs to be replaced so it is cut off.
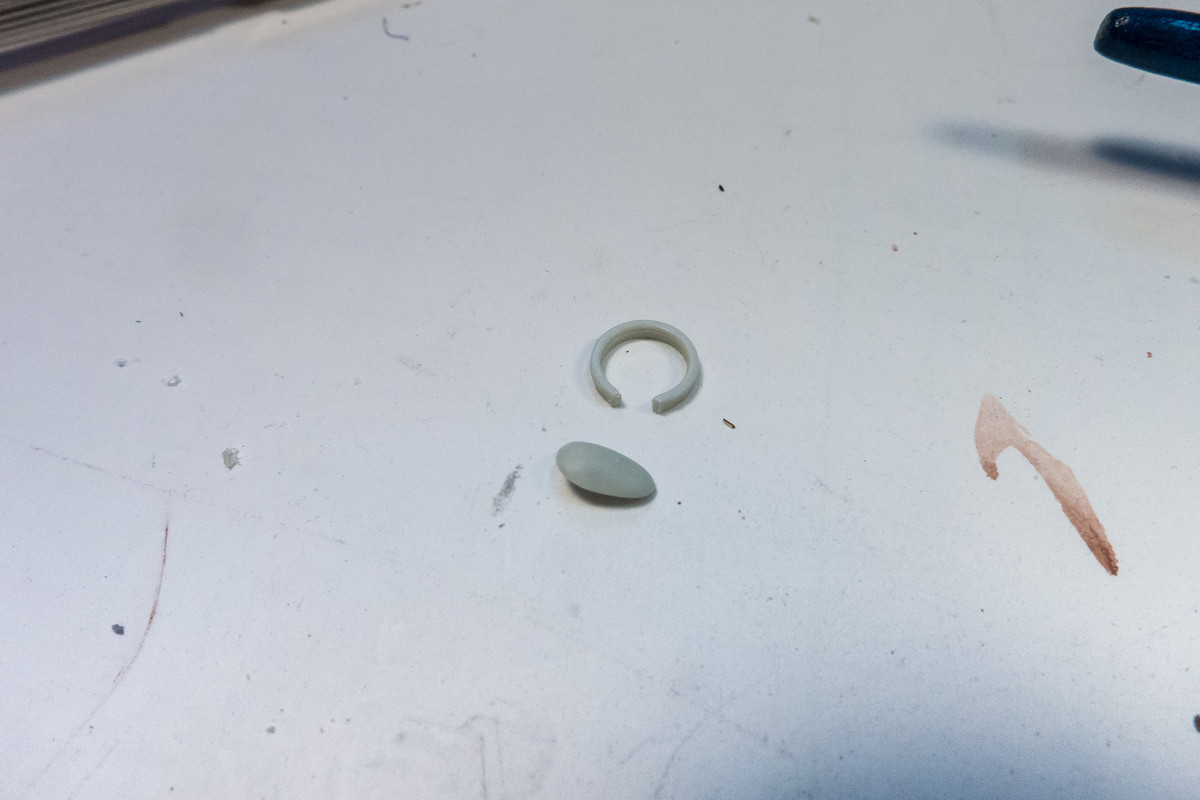
My go-to material for replacement is a modern soda can. It is thin but stiff enough to hold a shape and is easily cut. Original Coke is the preferred flavor.
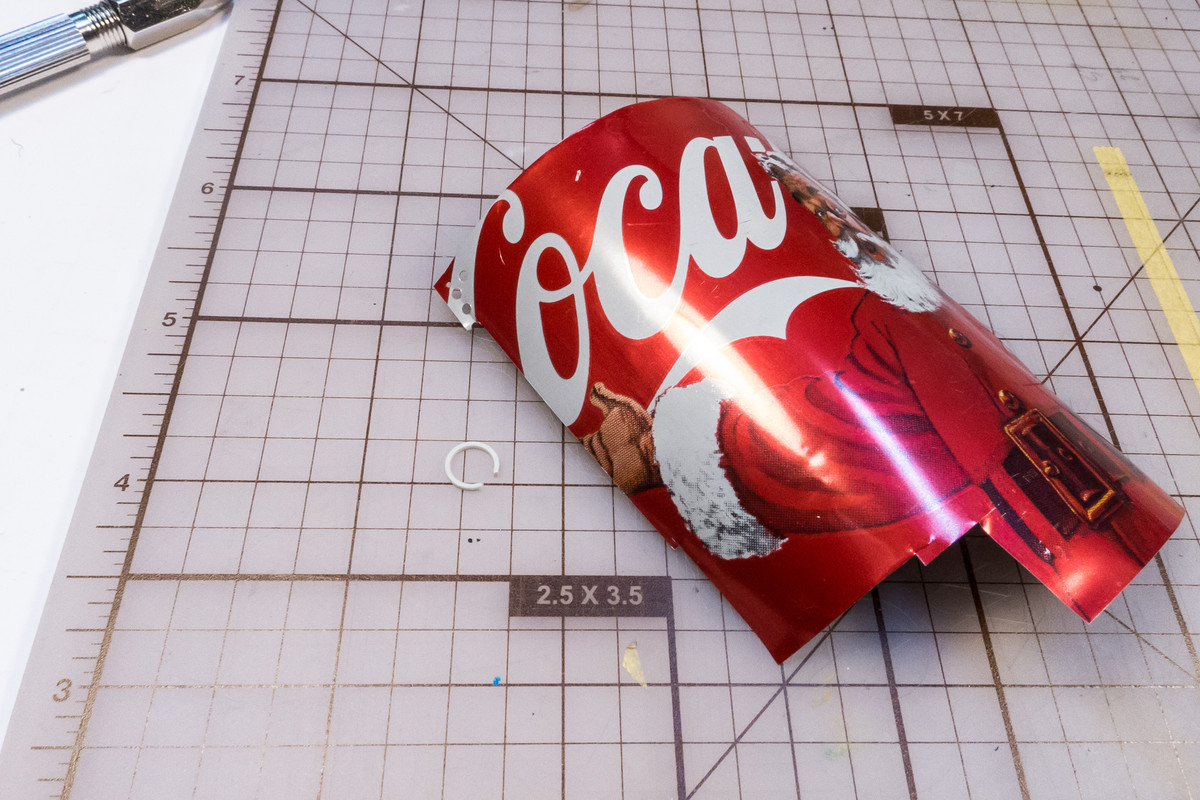
After a thin strip is cut, it needs to be formed around a cylindrical shaft. I use the plastic loop to find the right form. For this instance, a wooden paint brush handle is chosen.
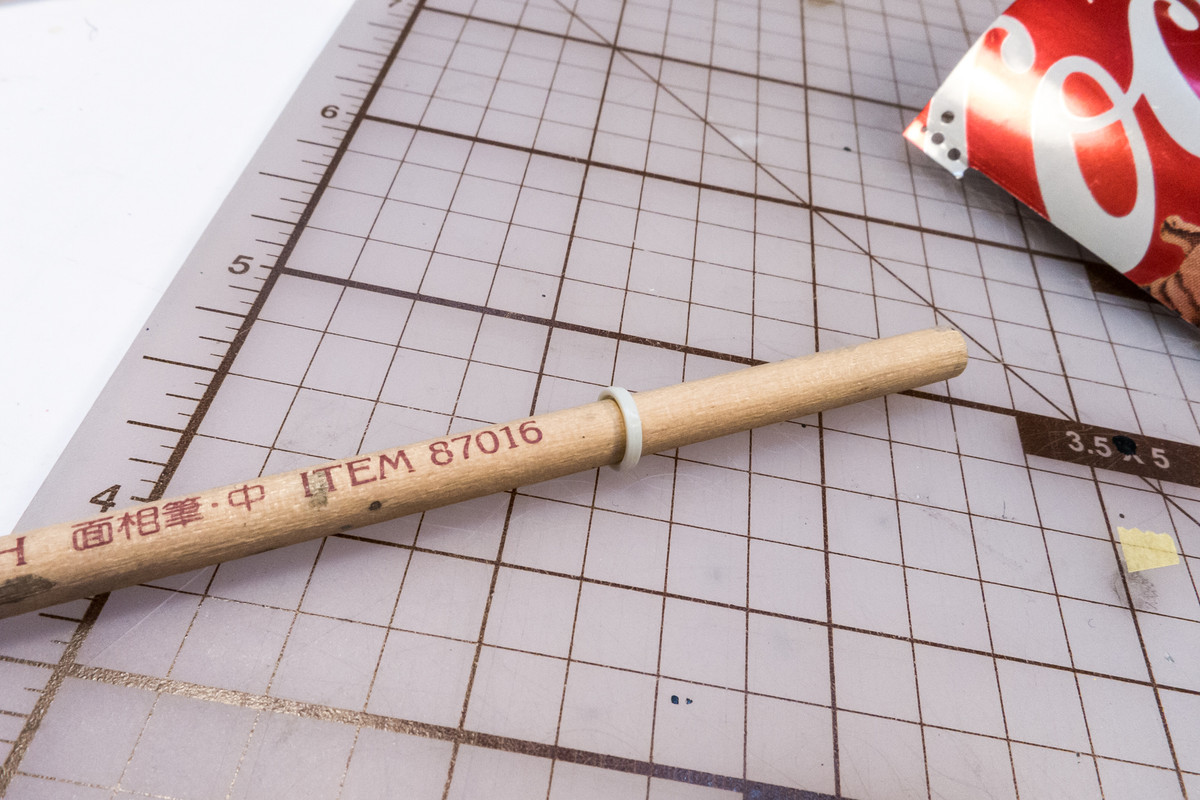
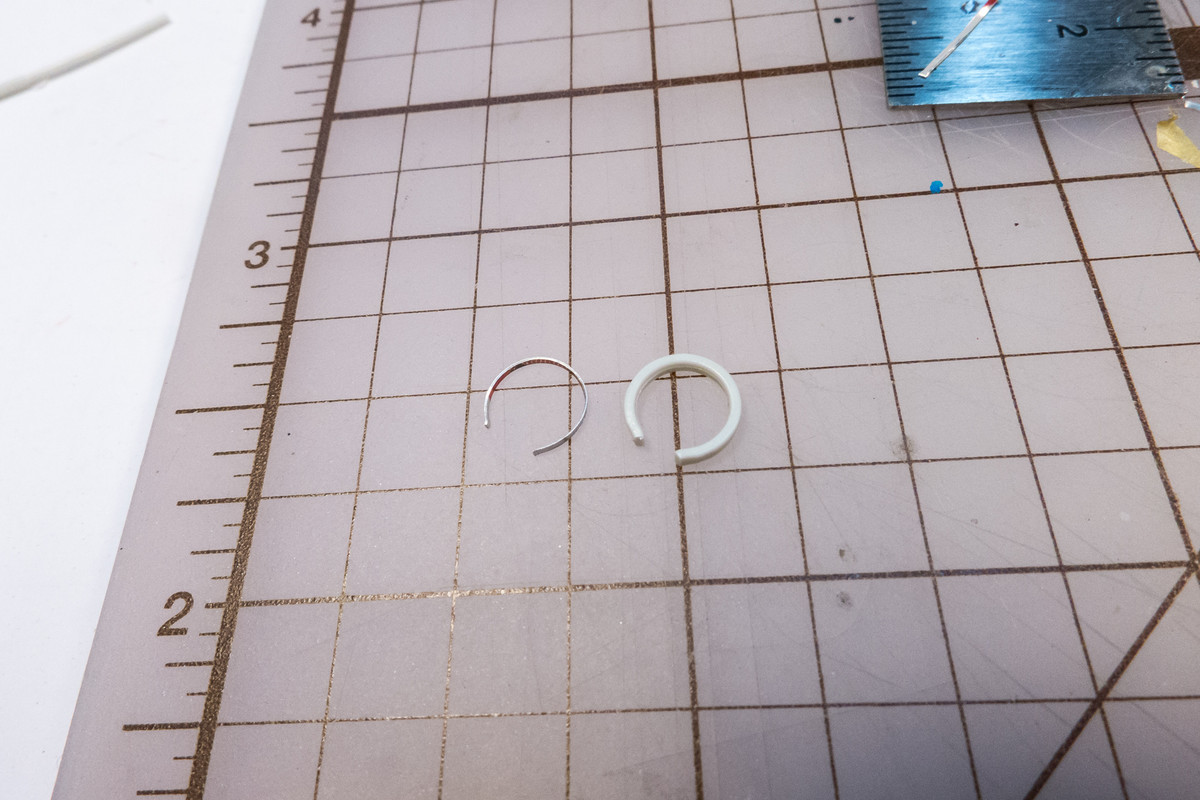
A small pin vise comes in handy for holding small parts securely. It's now much easier to sand the rough edges off and drill small accepting holes for the new loop antenna.
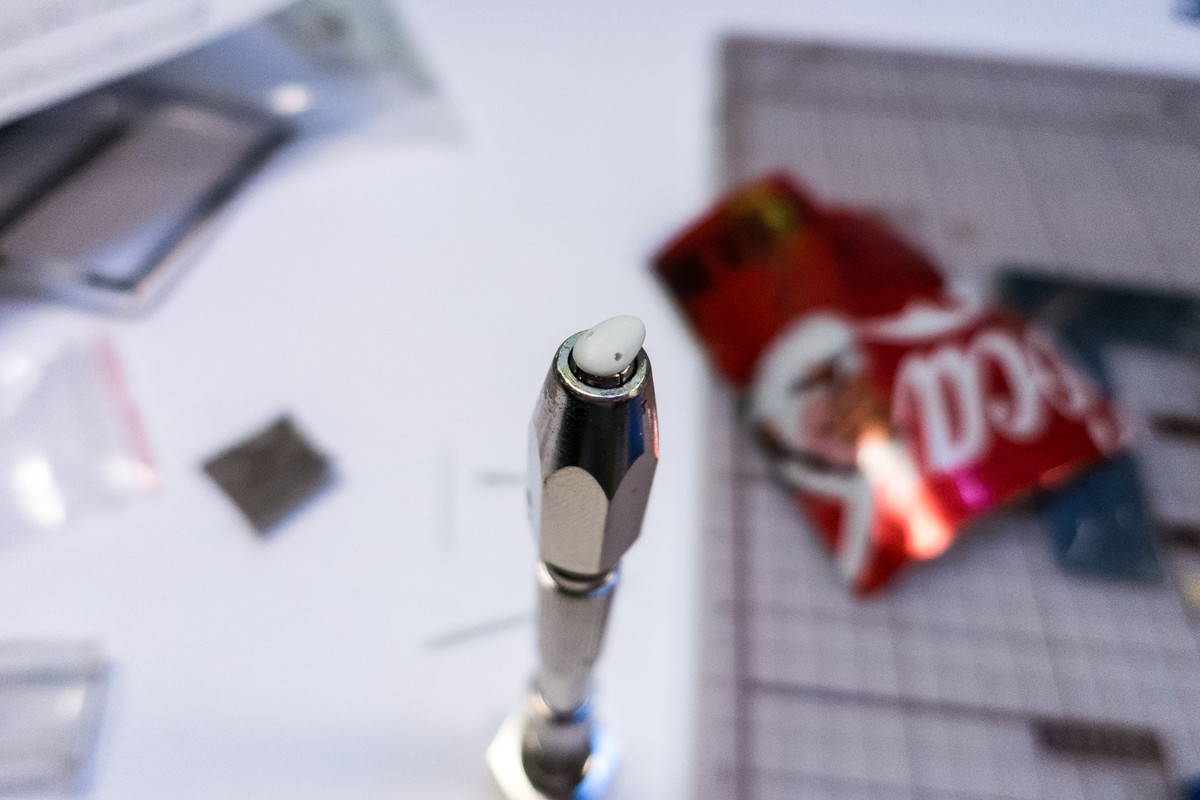
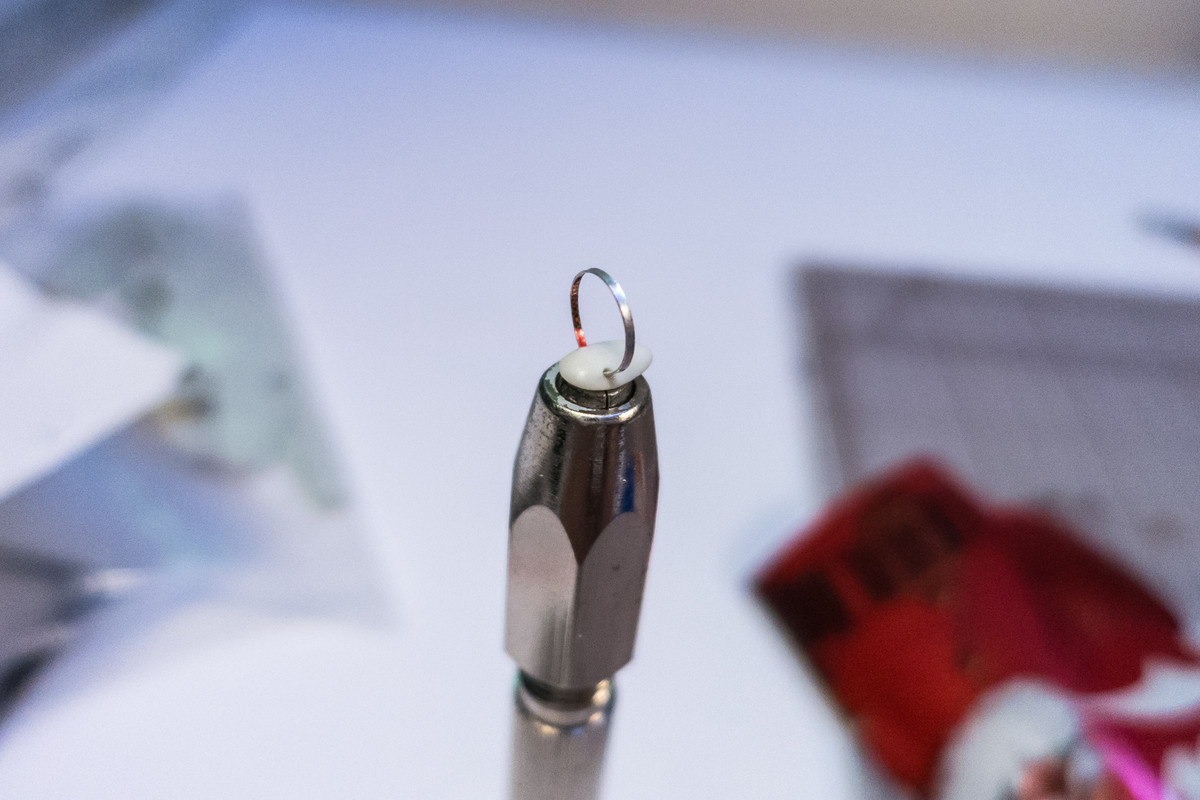
The metal loop is simply glued into the accepting holes with CA glue and the new loop antenna is finished.
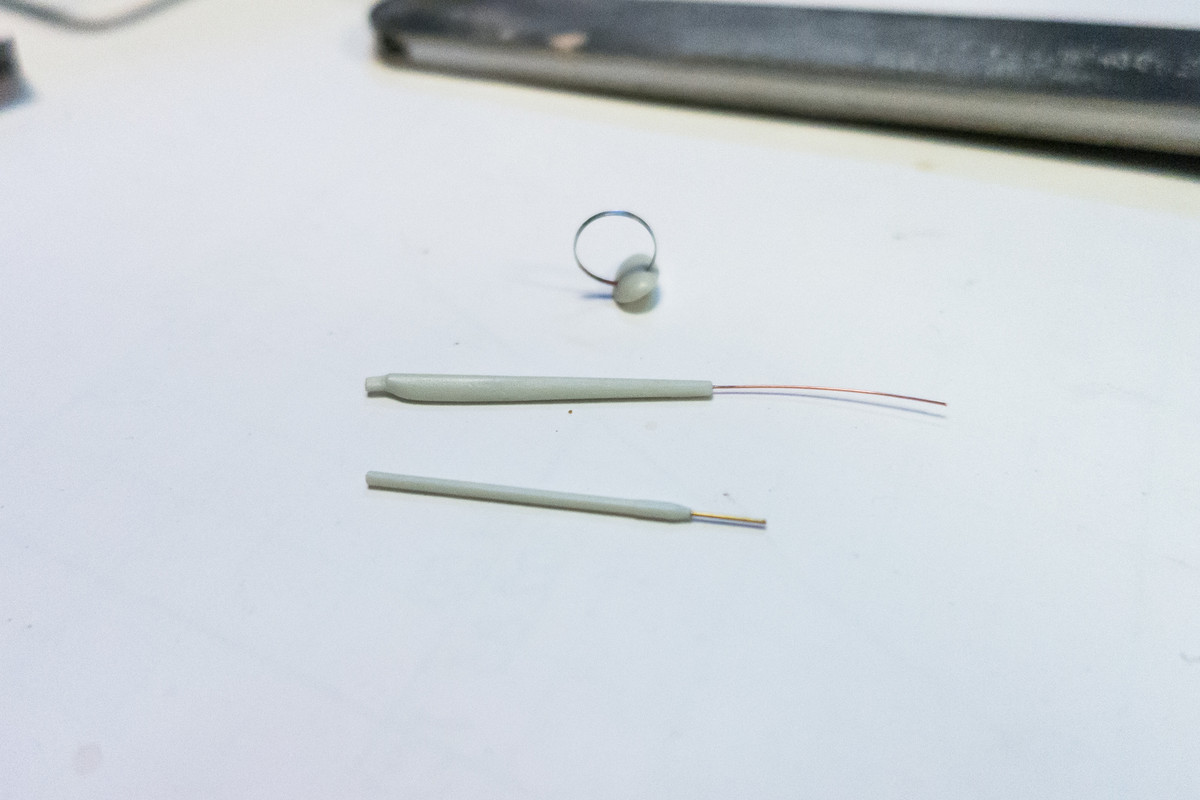
Similar refinements can be made to the whip antenna that is mounted to the bottom of the wings and the pitot tube.
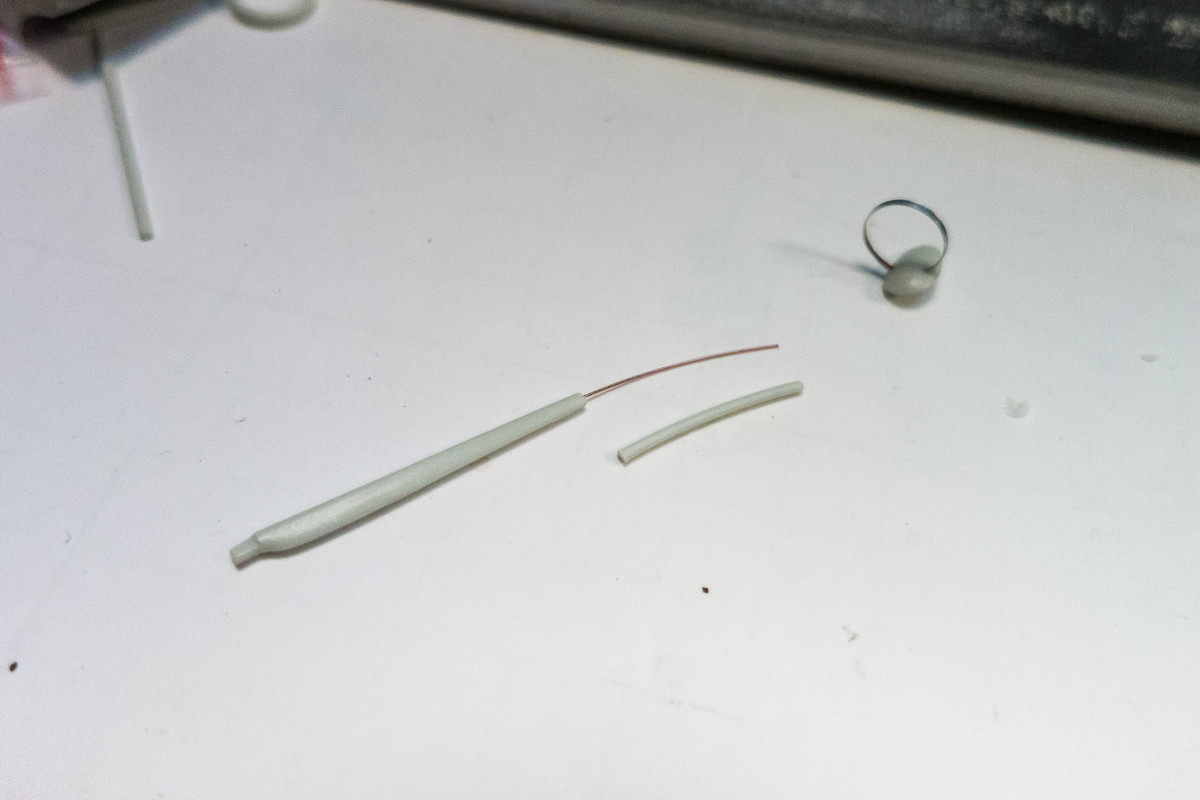
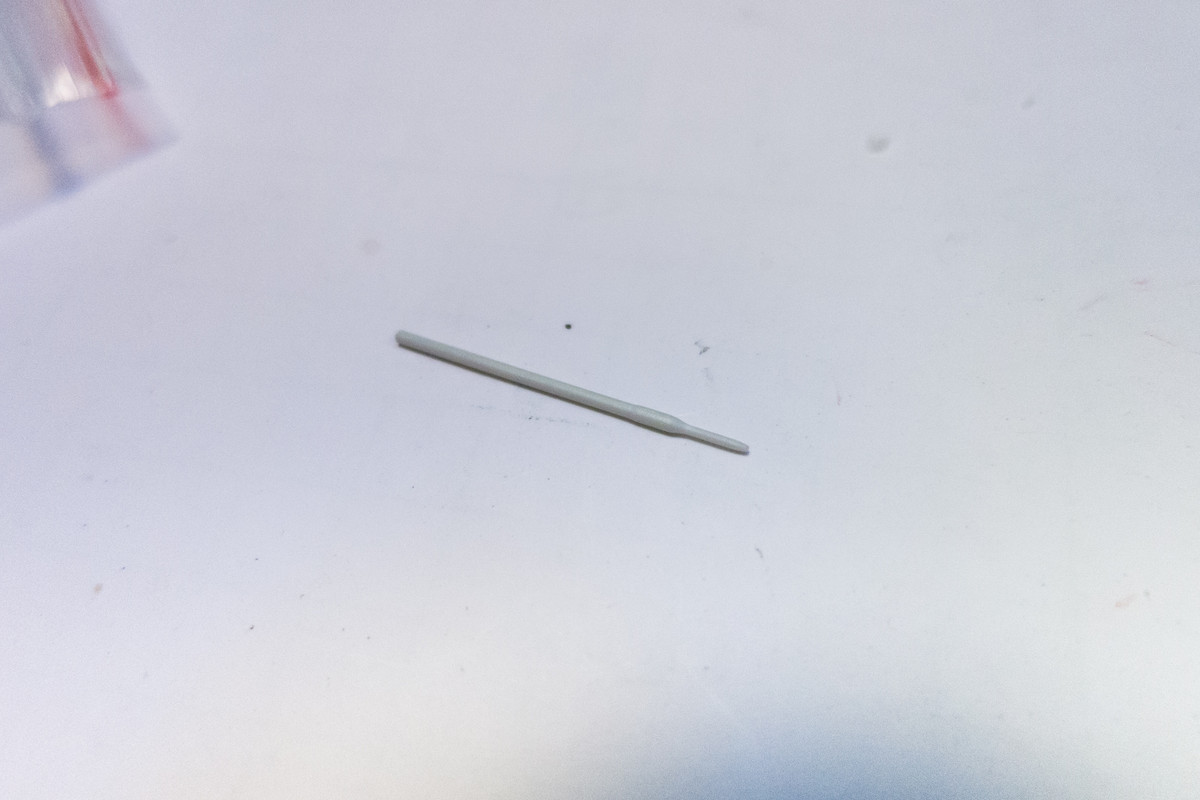
Copper wire is used for the antenna and a piece of brass tubing for the end of the pitot tube.
Re: 1/32 Revell Me262B-1/U1 Nachtjager
Posted: Tue Jan 05, 2021 8:18 pm
by mustang1989
You dun did it now John!! You just cut my man Santa up.

In all seriousness ....aluminum cans are my go-to as well for difficult to replicate stuff. As you indicated ....cuts up easily and forms just as easy.
Re: 1/32 Revell Me262B-1/U1 Nachtjager
Posted: Tue Jan 05, 2021 9:57 pm
by Floki
Excellent work John! Also great idea for the loop antenna the PE loop for the Gustav blew off into who knows where so I'm going to borrow your idea instead of putting the plastic one on.
Re: 1/32 Revell Me262B-1/U1 Nachtjager
Posted: Wed Jan 06, 2021 12:56 pm
by jkim
Re: 1/32 Revell Me262B-1/U1 Nachtjager
Posted: Wed Jan 06, 2021 6:24 pm
by Stuart
Re: 1/32 Revell Me262B-1/U1 Nachtjager
Posted: Wed Jan 06, 2021 6:54 pm
by Stikpusher
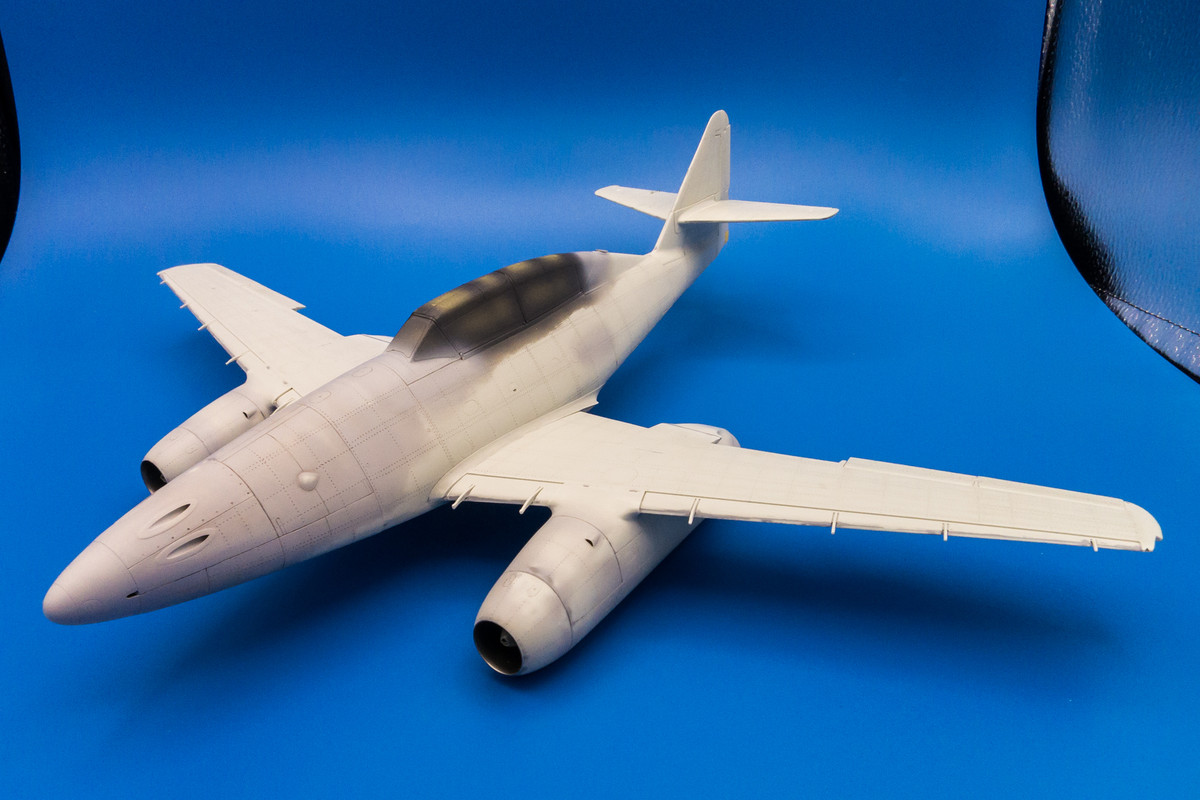
Taking final shape now...

Not much longer before you start working your paint magic!
Re: 1/32 Revell Me262B-1/U1 Nachtjager
Posted: Thu Jan 07, 2021 12:56 am
by jkim
I'm pretty much at the paint stage but can't get myself to start. I have some vague ideas but no concrete game plan. Final colors will be black undersides and a light blue (RLM 76) mottle over dark green (RLM 81 green version or RLM 83). Prior to the nightfighter finish, it probably had a more standard dark green (RLM 81/82) over light blue (RLM 76) scheme but how much of that do I want to portray, if at all? And then there is the chipping, which I'm going to keep light. Down to the metal or to the original camo colors? Or a combination with 2-layer chipping? How do I get some tonal variation on the black undersides? Until my ideas can distill into some sort of plan, I'll just play around with the other details that still need to be done like painting the tires and landing gear covers, assembling the brass radar... wow, is that it?
Re: 1/32 Revell Me262B-1/U1 Nachtjager
Posted: Thu Jan 07, 2021 5:12 pm
by KennyX
She’s coming along very well, John.
Re: 1/32 Revell Me262B-1/U1 Nachtjager
Posted: Thu Jan 07, 2021 6:33 pm
by keavdog
Looking awesome. Nice fabrication tricks there as well. Now get to painting!
I want to see