Page 21 of 29

Re: Trumpeter P-47D Razorback "Eileen"

Posted: Sun Jan 29, 2023 7:44 pm
by jkim
Thanks guys!

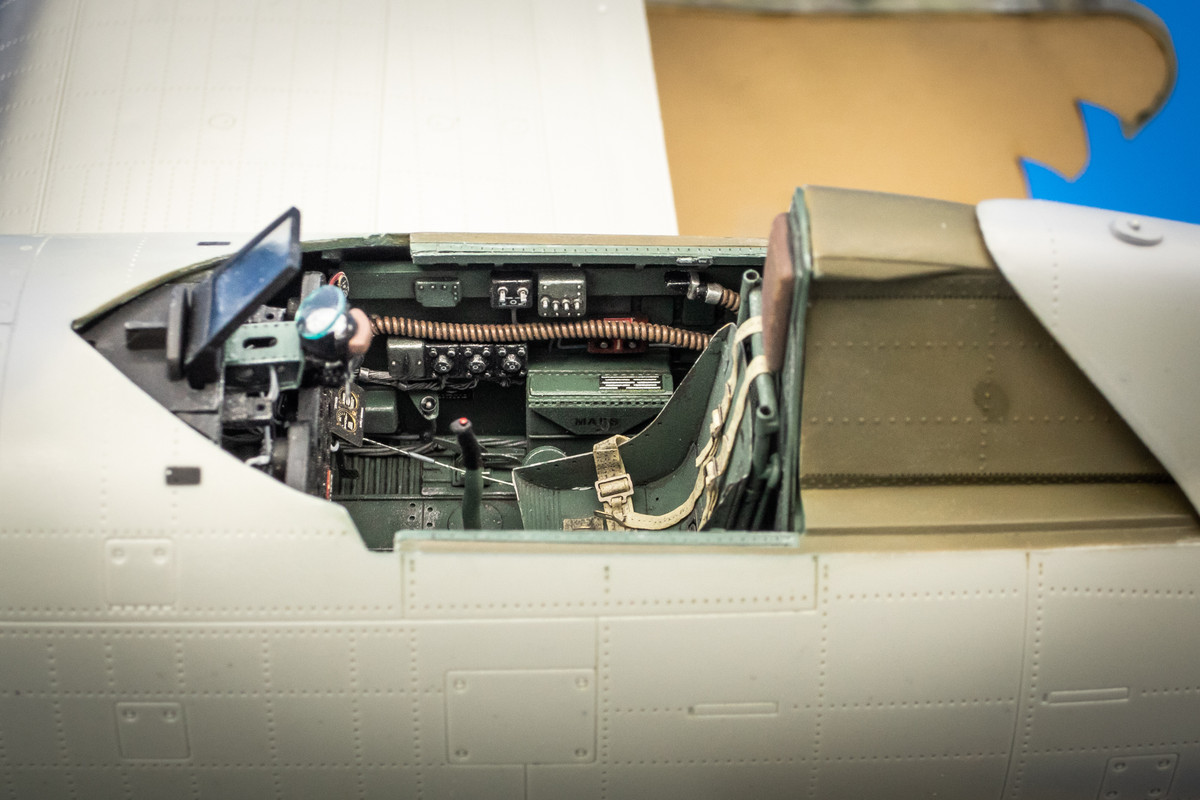
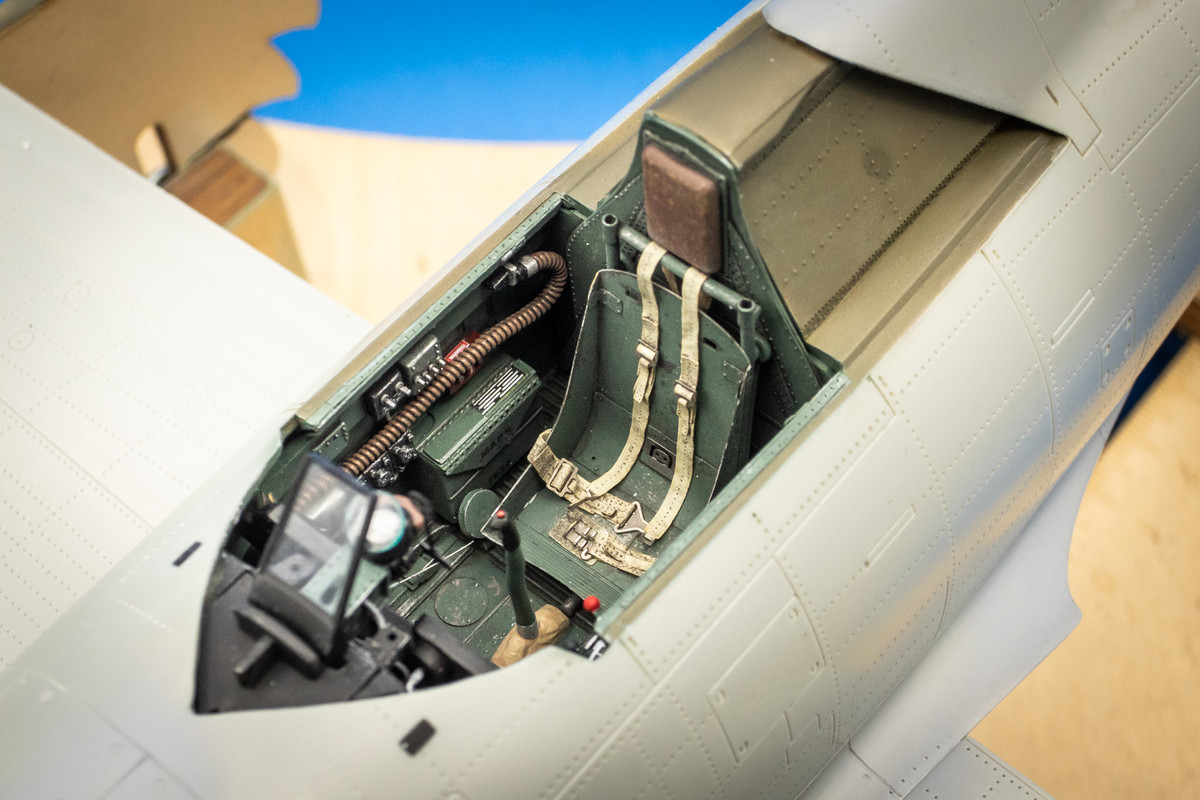
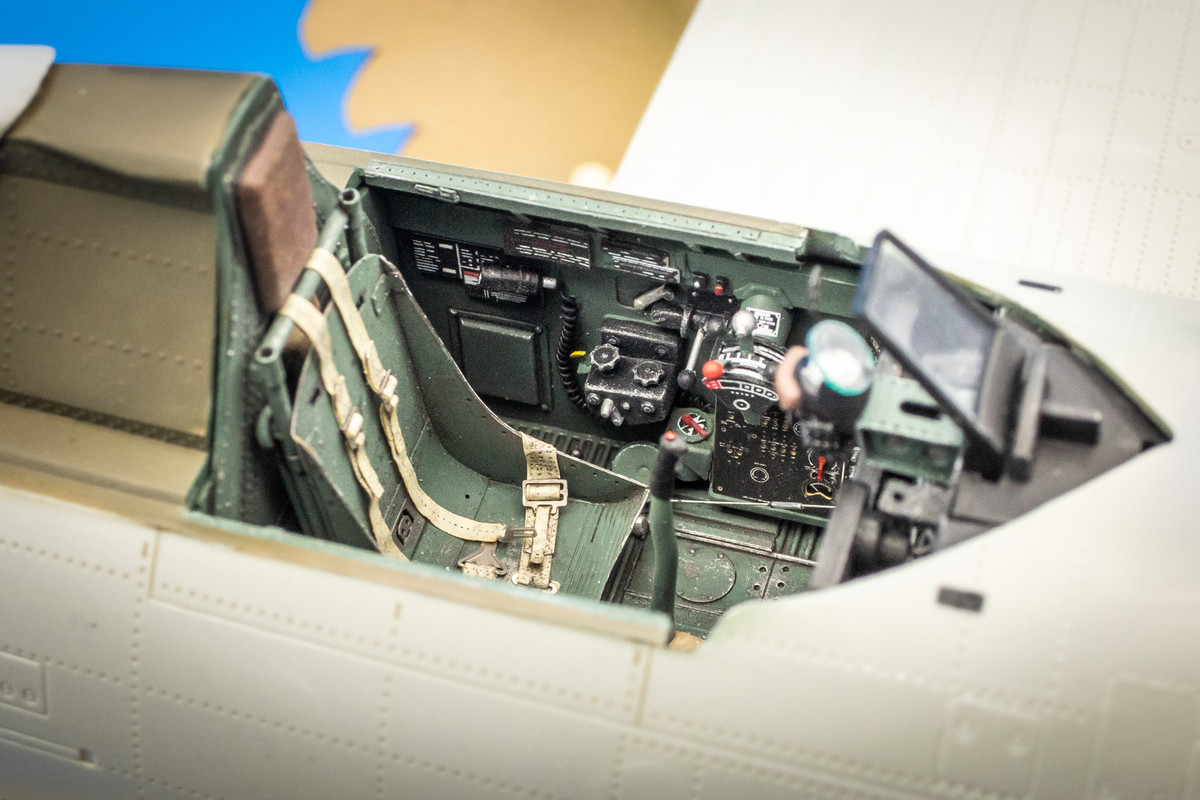
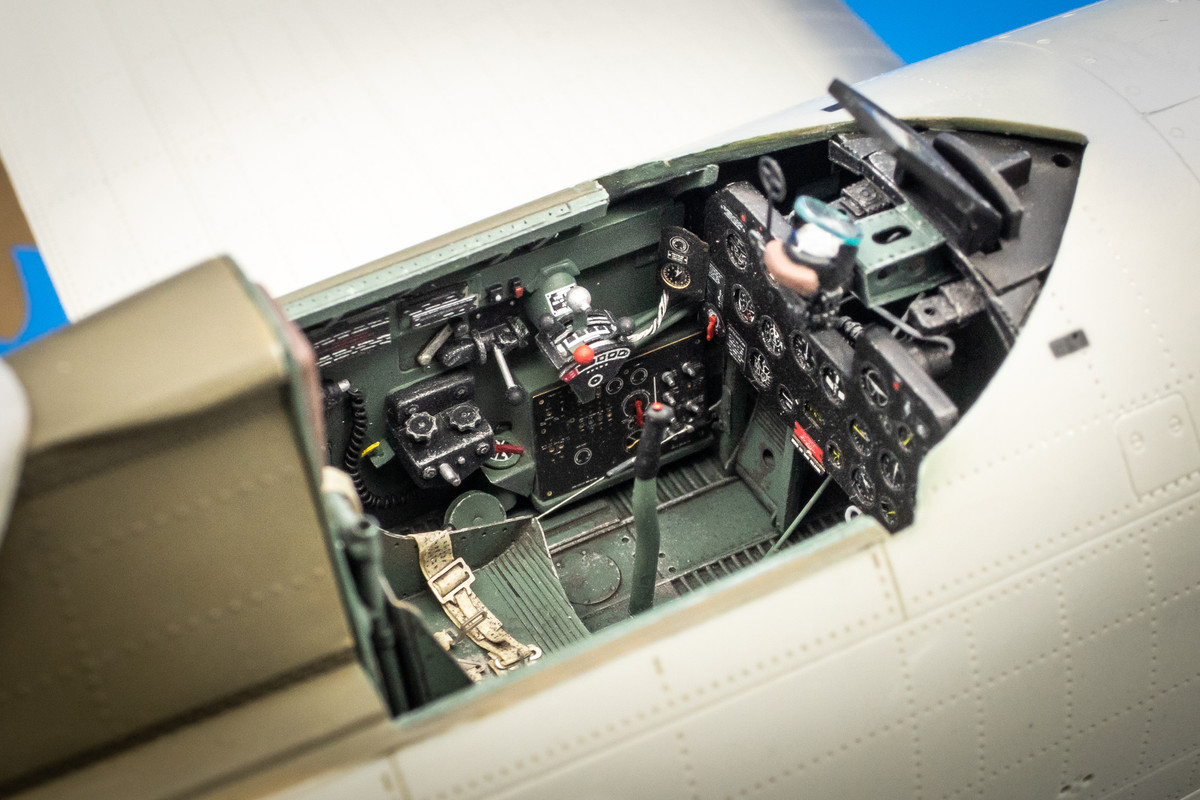
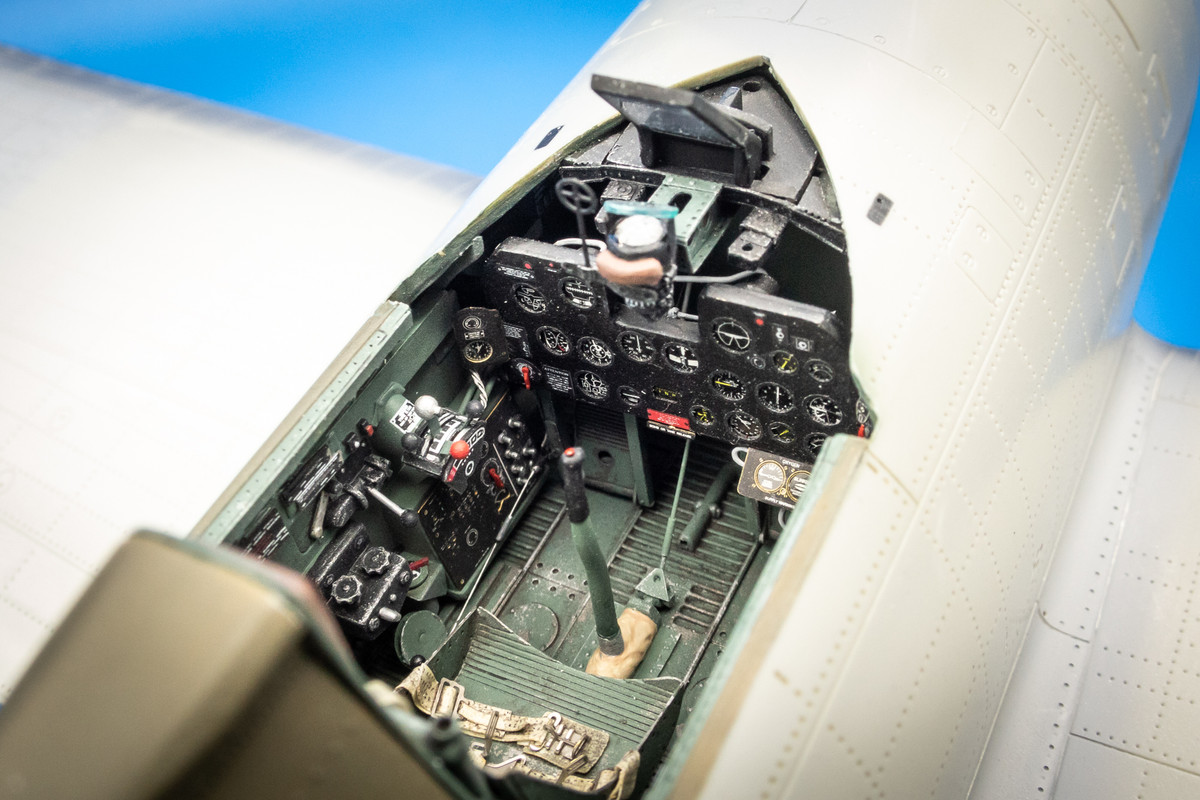
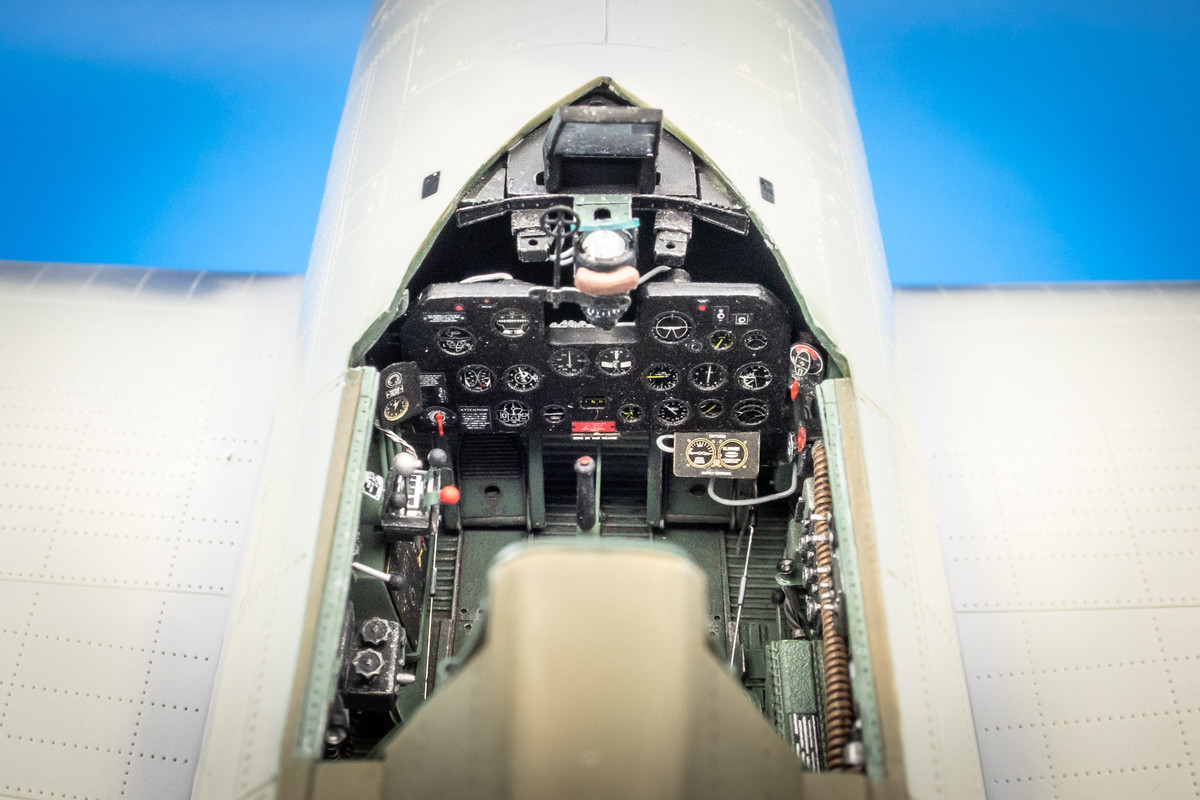
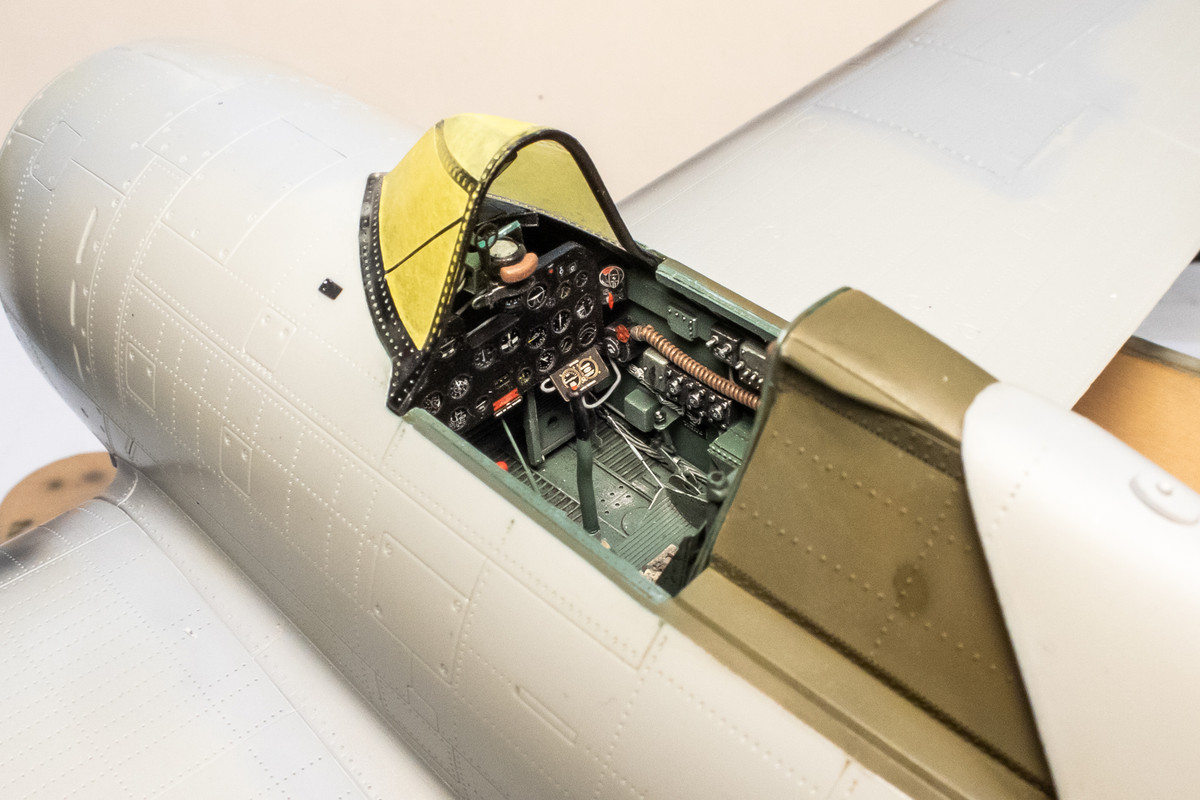
Before I paint the rest of the Neutral Grey undersides, I want to get the top ready for paint. That means I need to get the windscreen on so that I can check/fix the joint. First, I tried to glue the gun sight assembly in-place so that I could get some last shots of the cockpit area before it starts getting closed up.
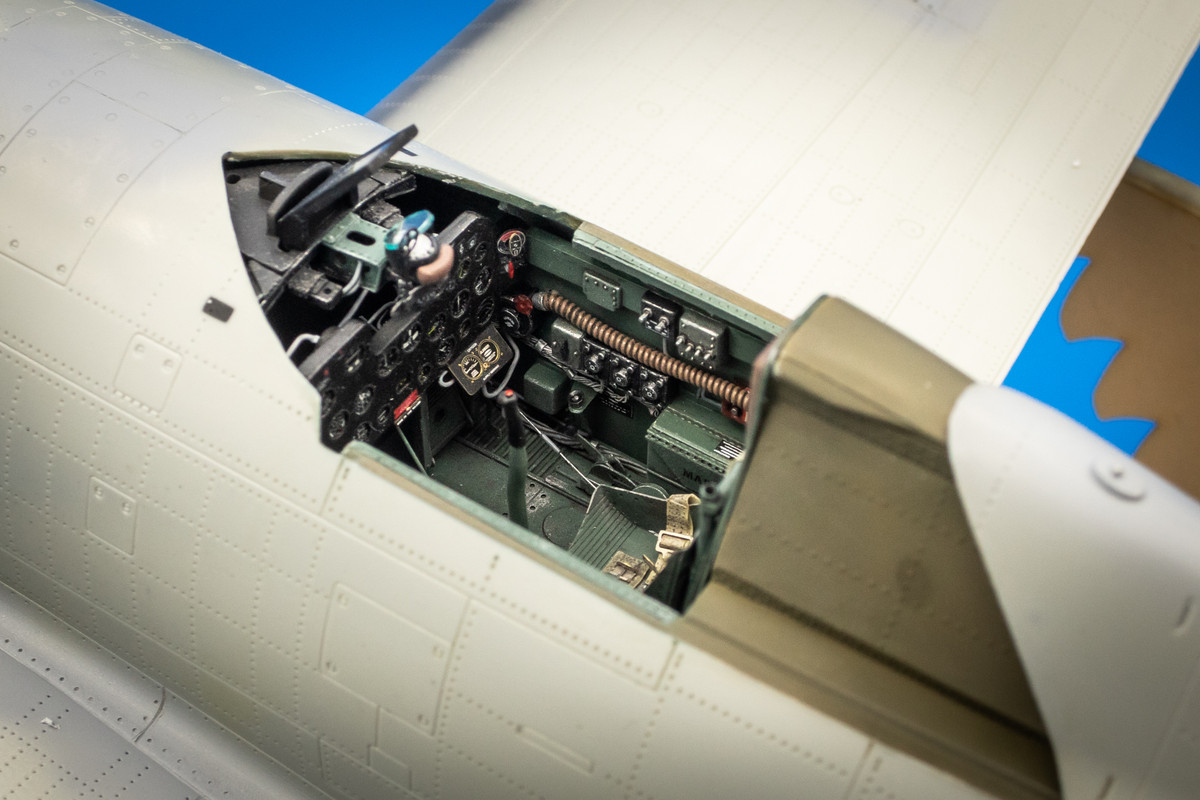
Image
Image
Image
Image
Image
Image
Image

But it was difficult to get the pin on the windscreen into the hole of the gun sight assembly. So I had to remove it and glue the assembly into the windscreen BEFORE the whole thing gets glued onto the fuselage. The port side fits almost perfectly.
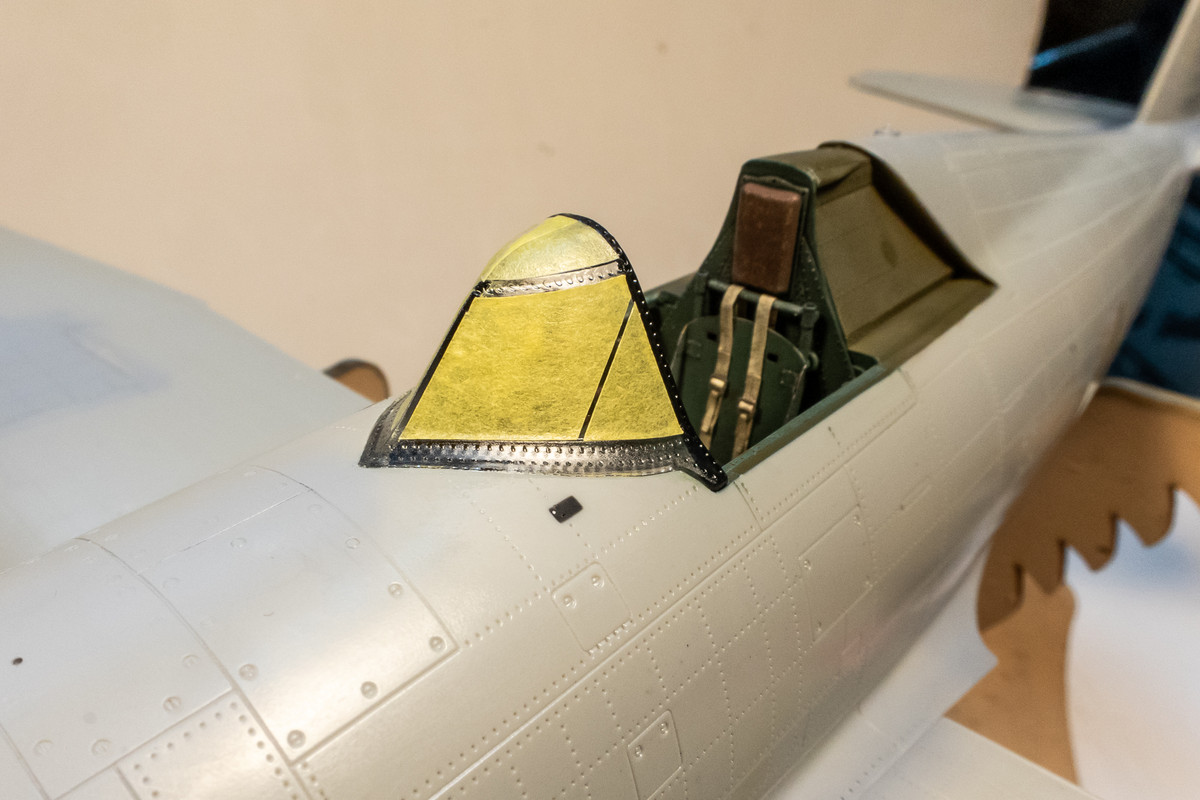
Image
Image

The starboard side has an ever so slight gap. I recognized this during pre-fitting so only the port side has been fused with glue. I'll wait until that bond dries before I try to gently coax the starboard side gap shut.
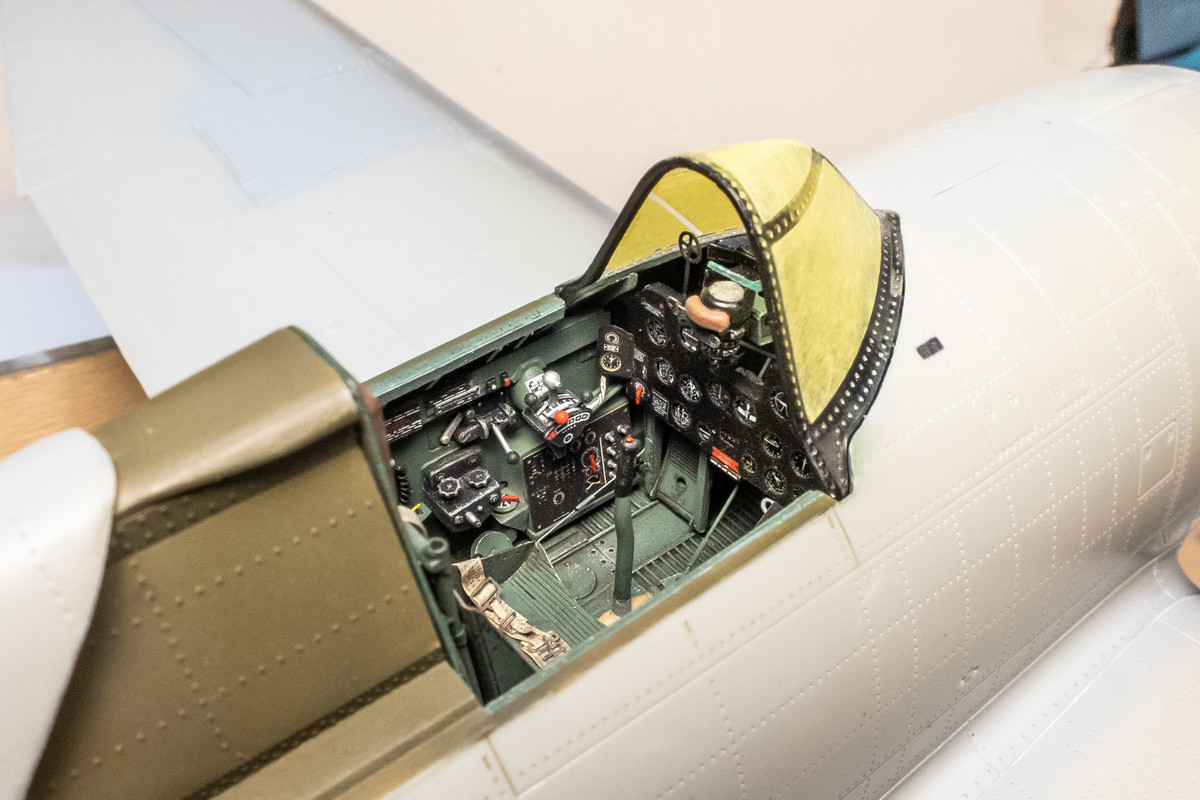
Image

And yes, I notice the paint mismatch spot on the rear quarter panel on the port side. I'll fix that shortly!

Re: Trumpeter P-47D Razorback "Eileen"

Posted: Sun Jan 29, 2023 9:39 pm
by Stikpusher
John, that is one superb looking cockpit!

Re: Trumpeter P-47D Razorback "Eileen"

Posted: Mon Jan 30, 2023 6:50 pm
by Stuart
:shoutout: :shoutout: :shoutout:

Superb Cockpit and awesome painting John!

Re: Trumpeter P-47D Razorback "Eileen"

Posted: Wed Feb 01, 2023 8:53 pm
by jkim
Thank you Stuart and Carlos!

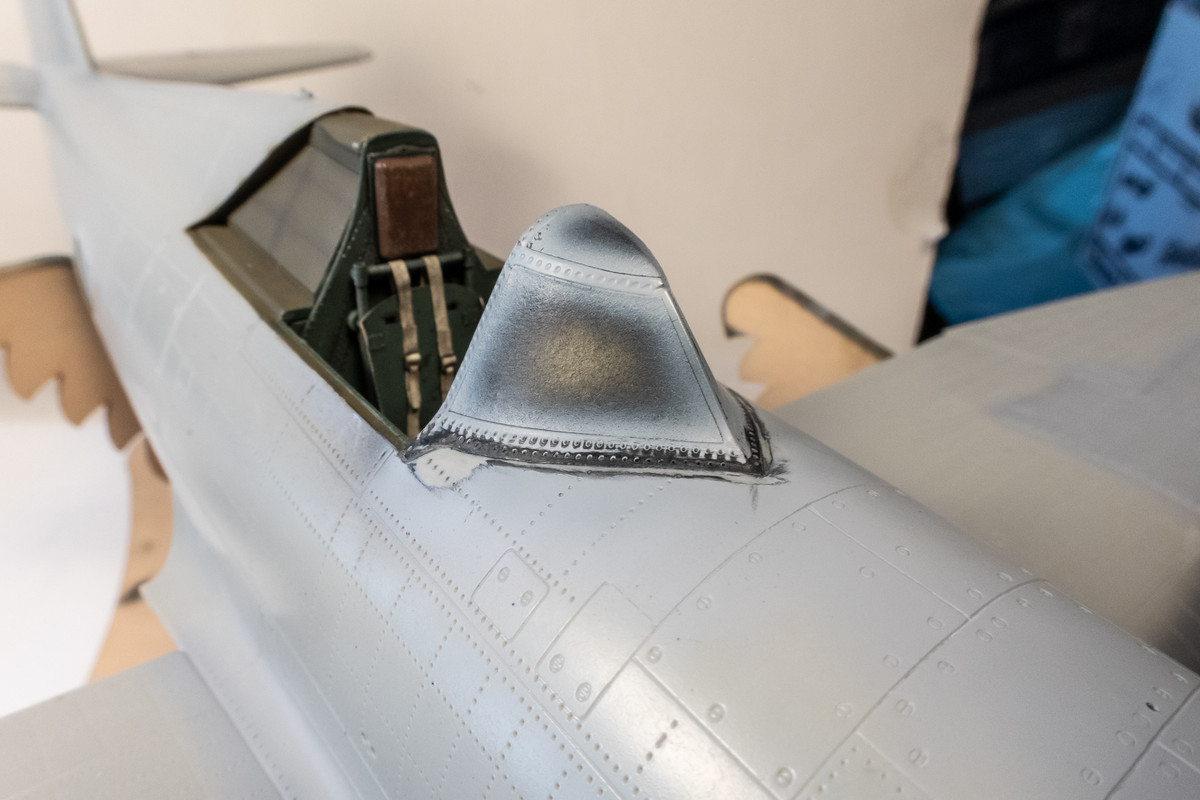
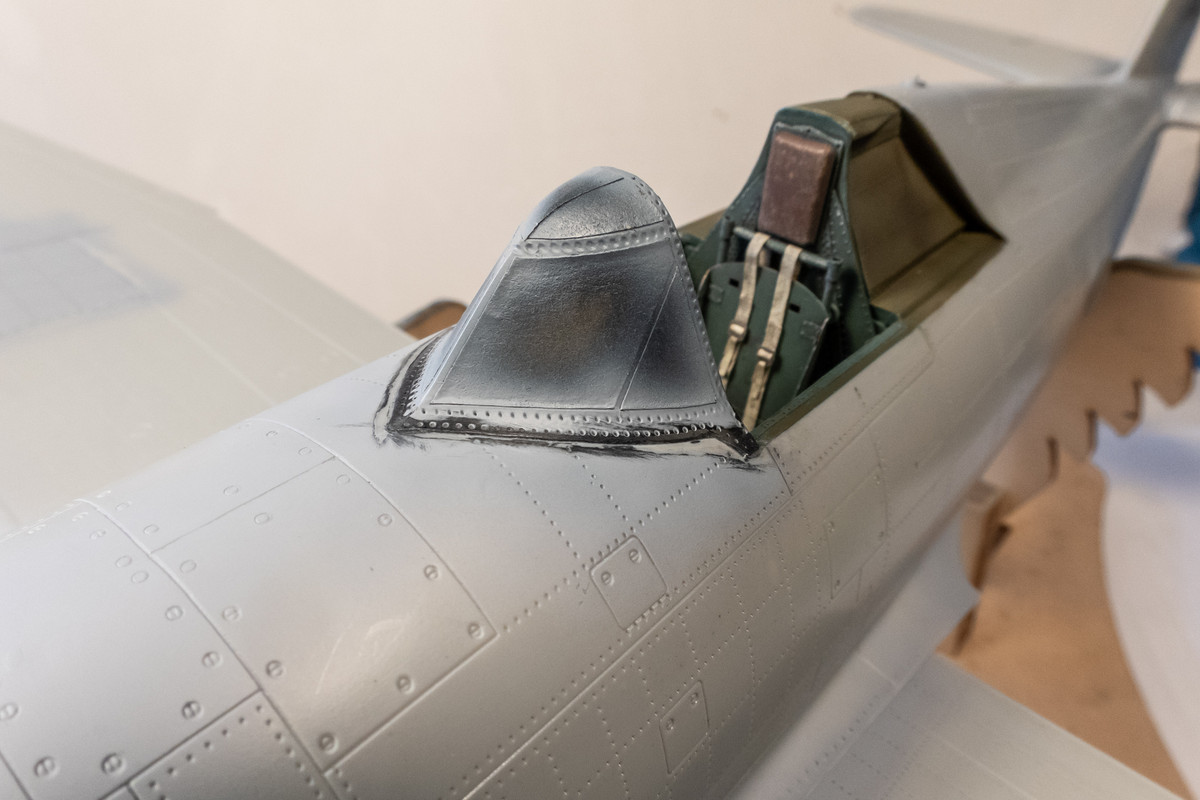
It took a bit of work to get the windscreen to fit. Softening the joint with Tamiya Extra Thin cement + too much torquing cause the joint to give way fully. Which was actually a good thing as I was able to re-set the windscreen into a better position. It's not perfect but good enough to move on to the next step.
Image
Image

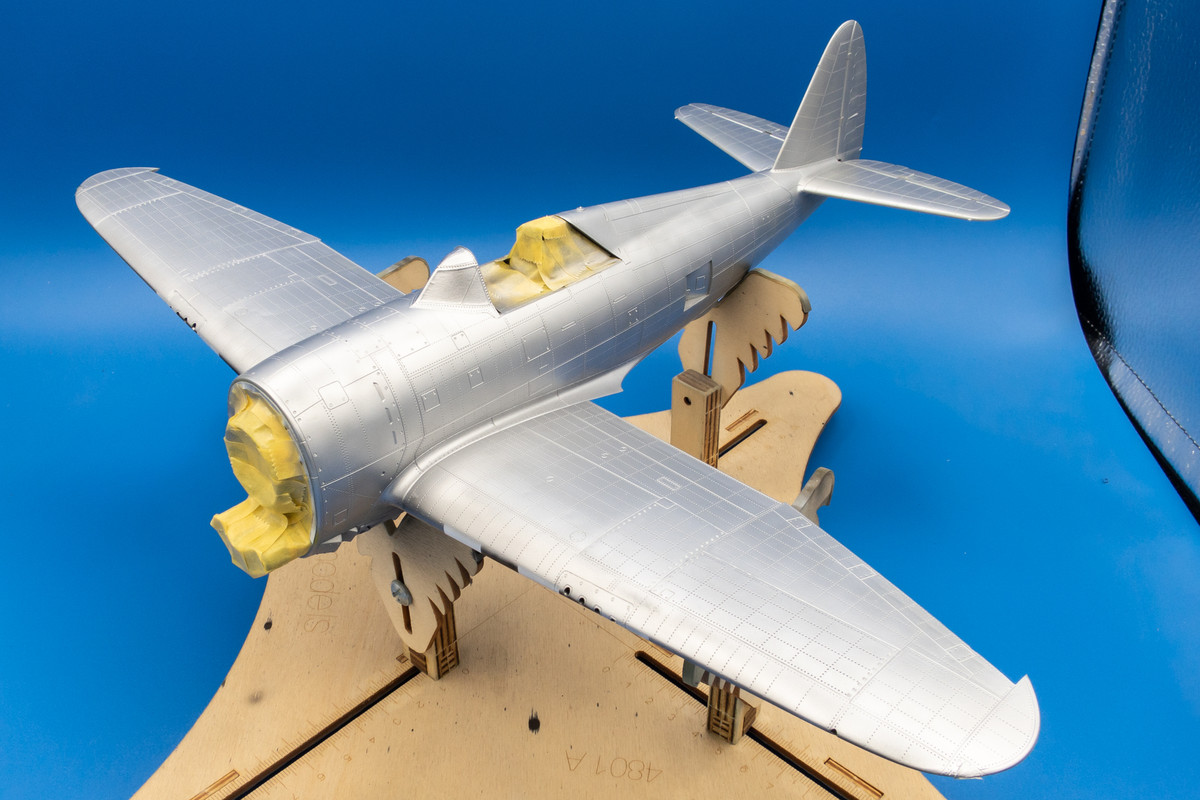
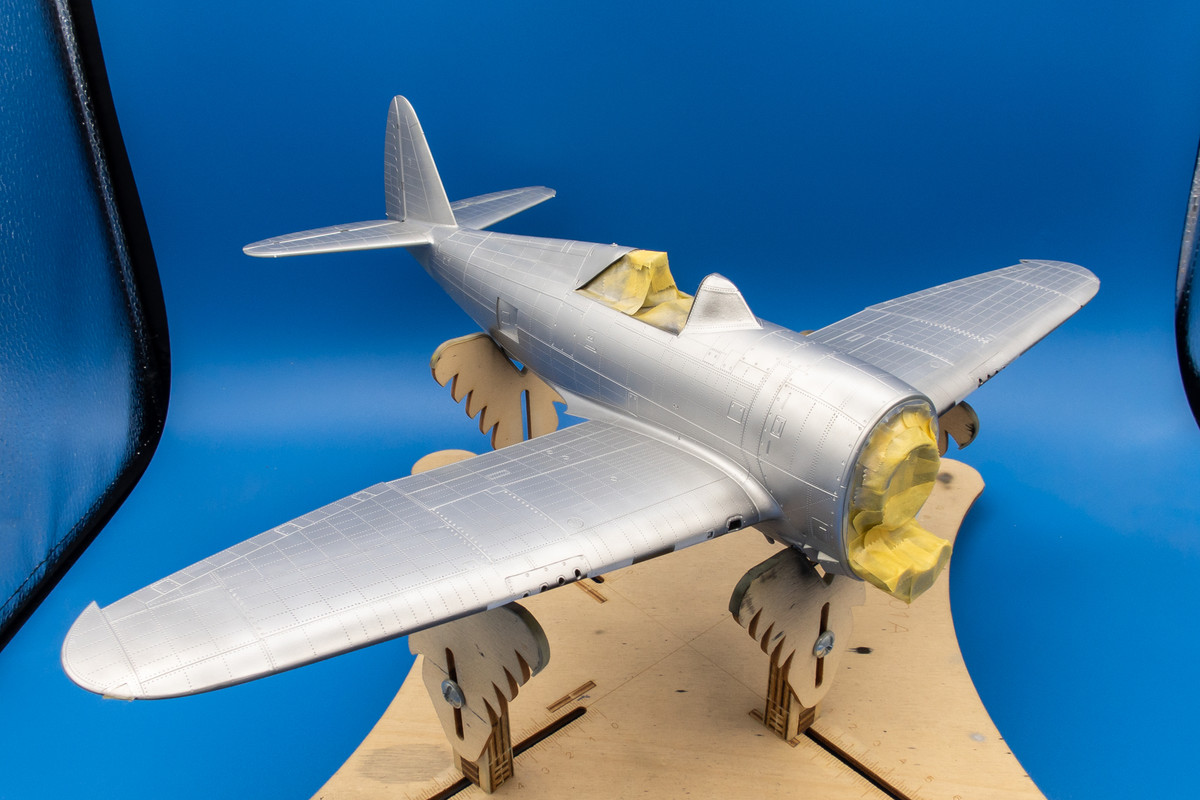
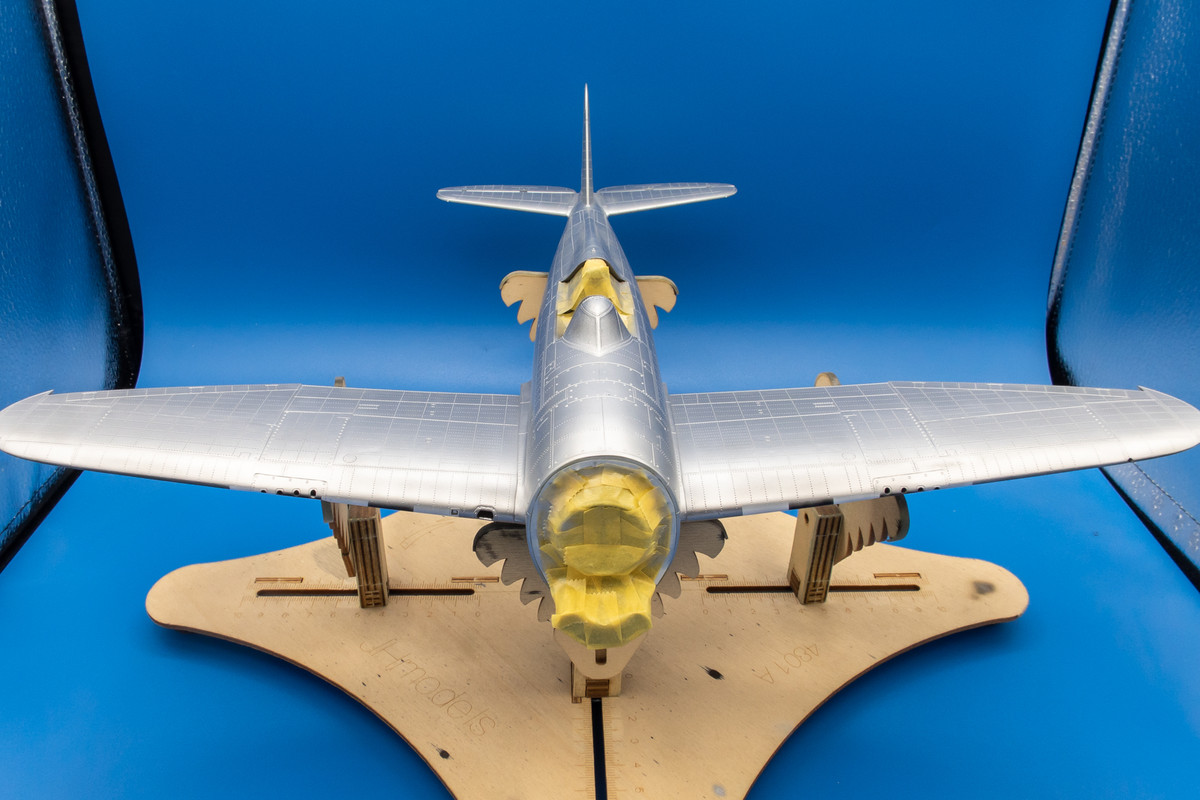
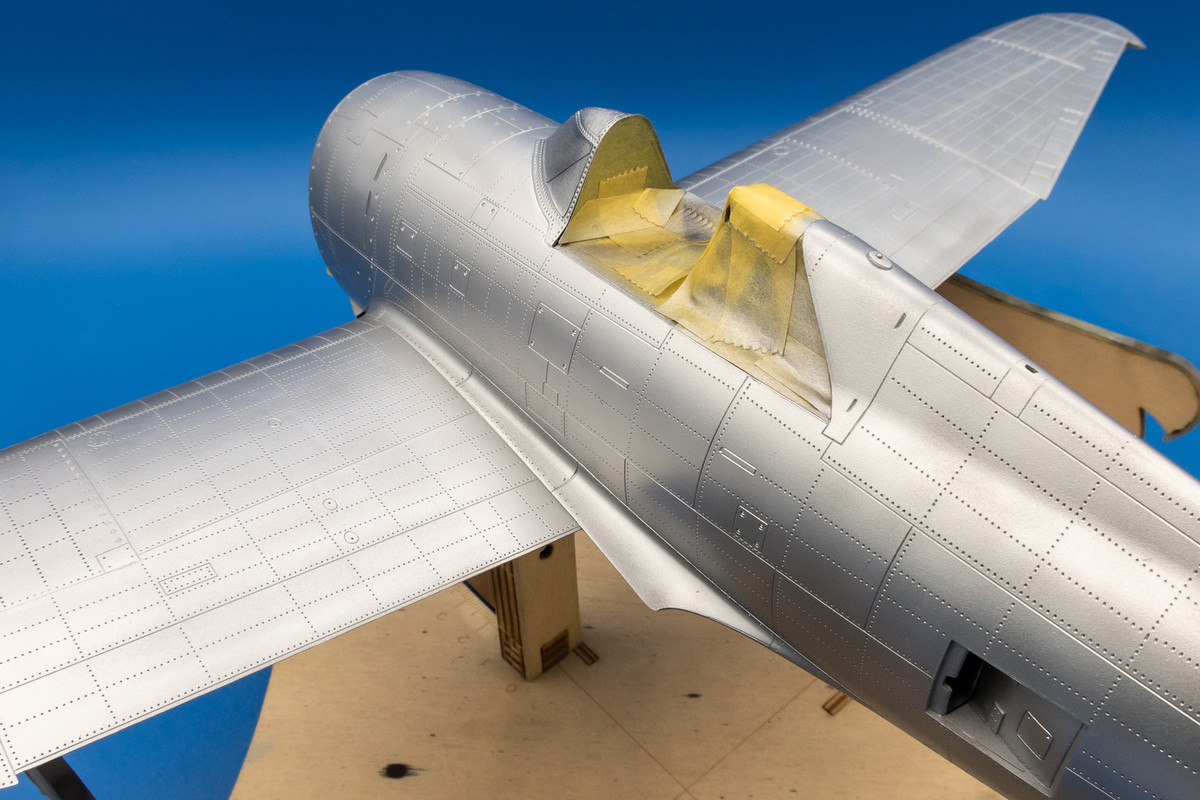
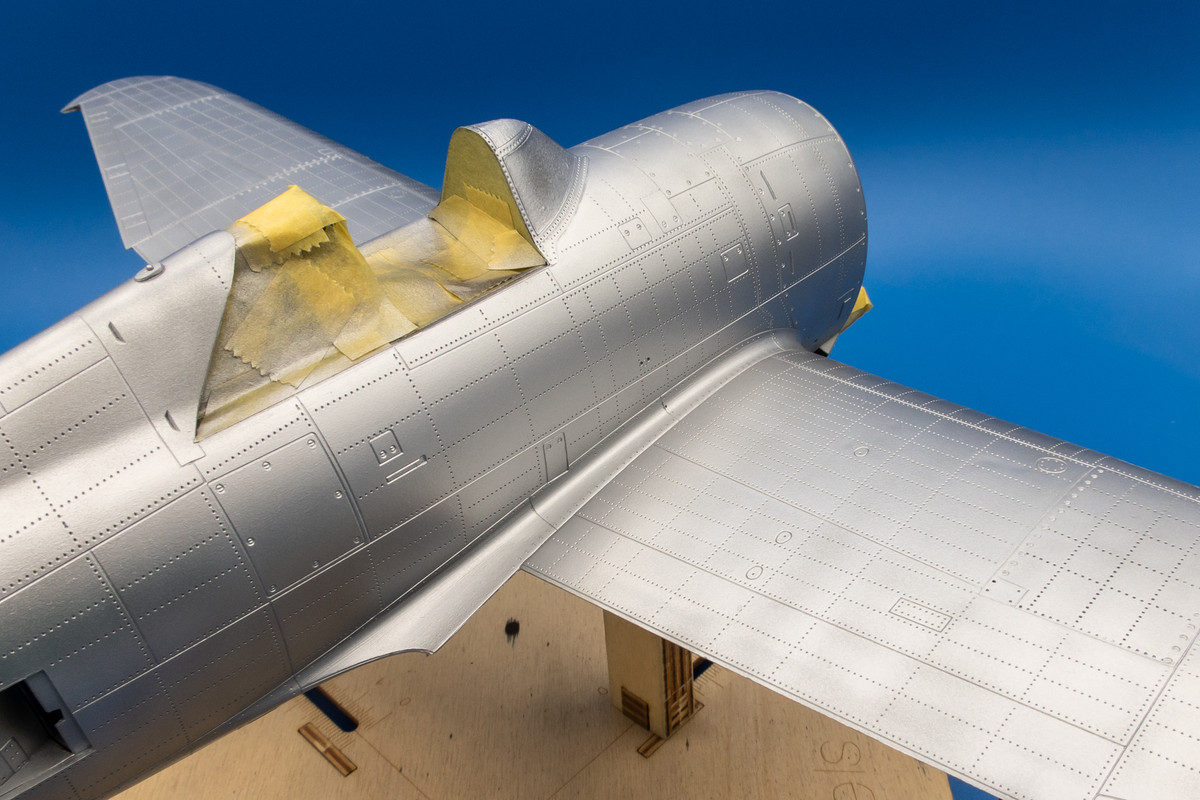
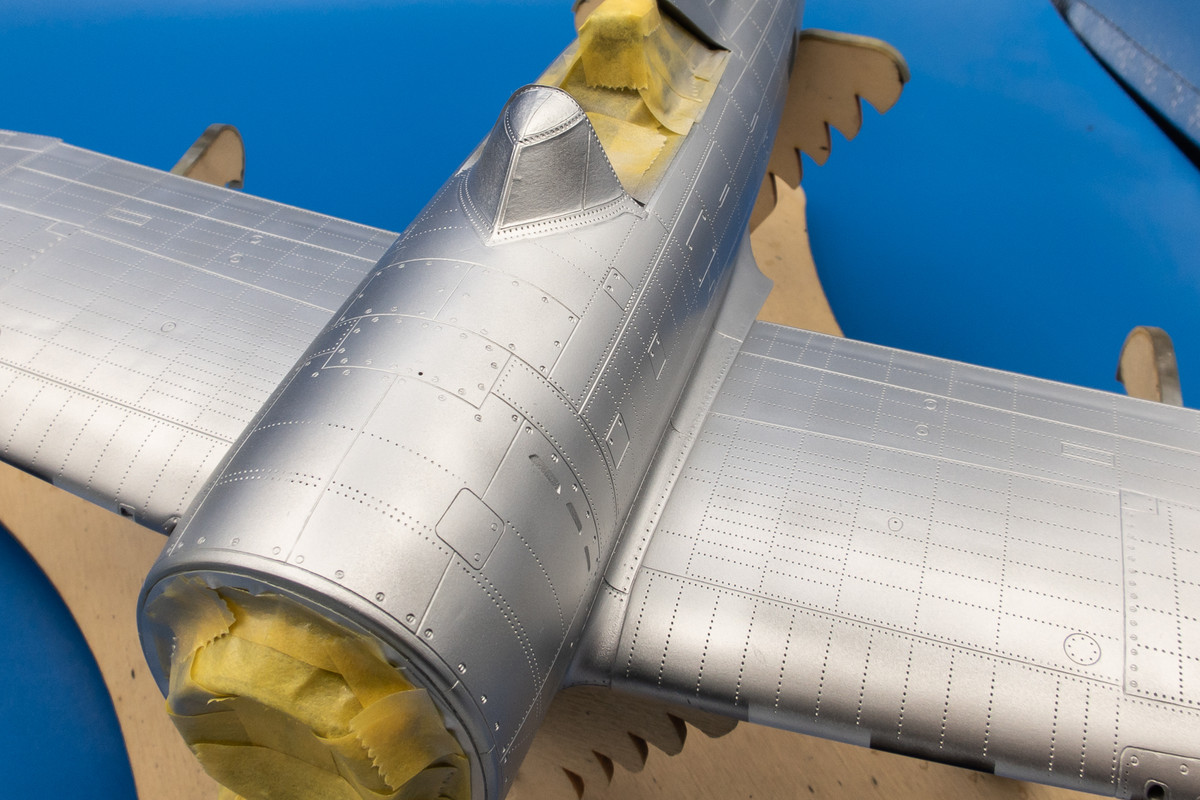
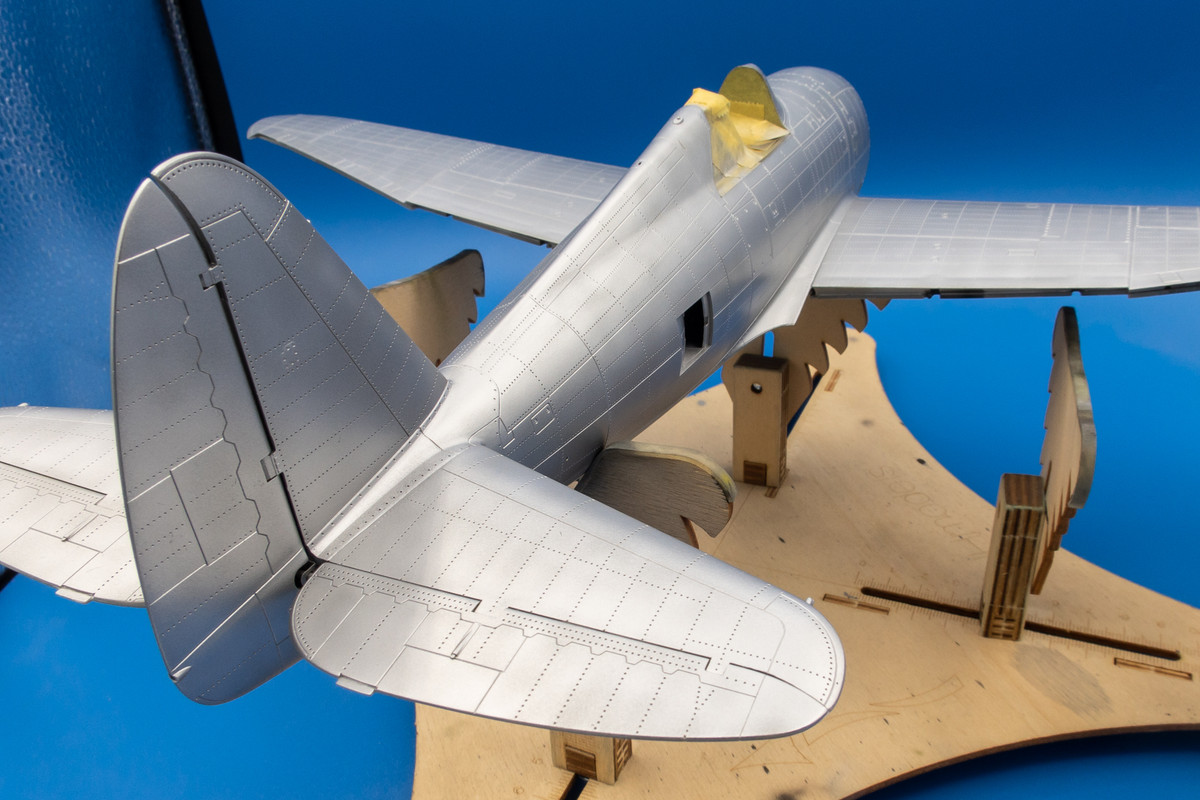
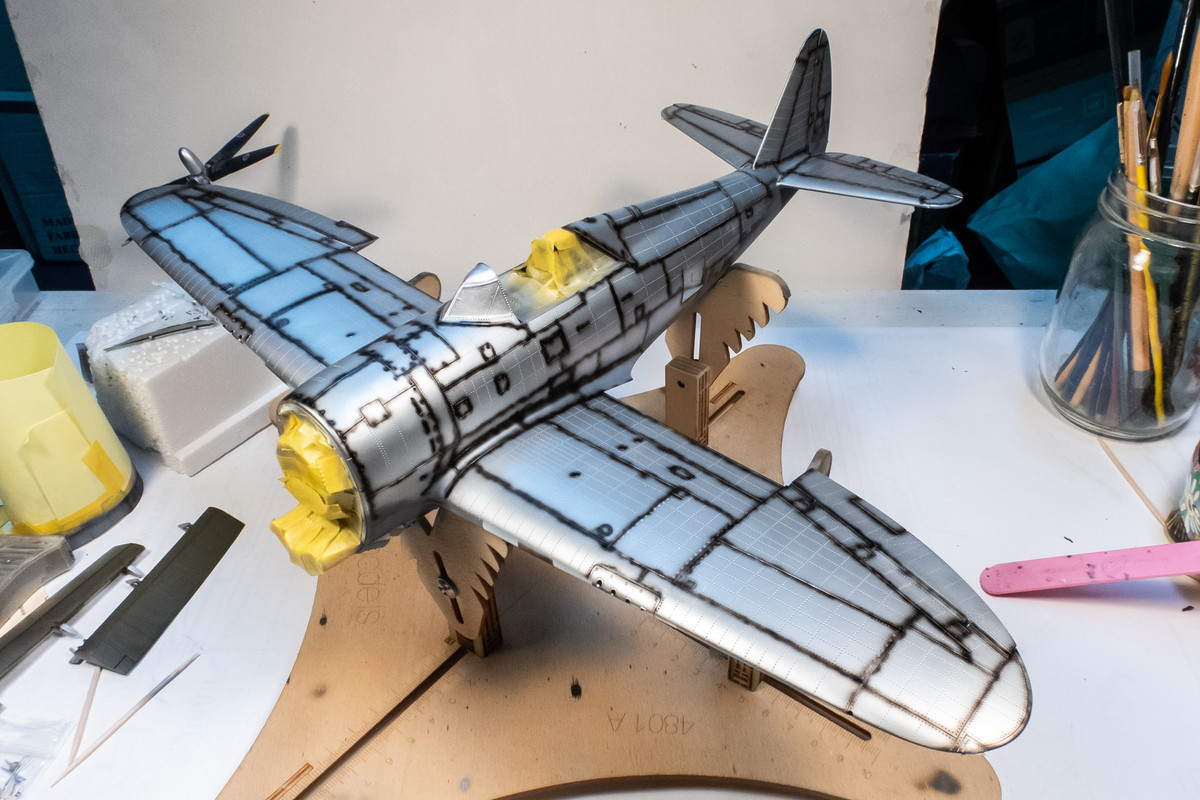
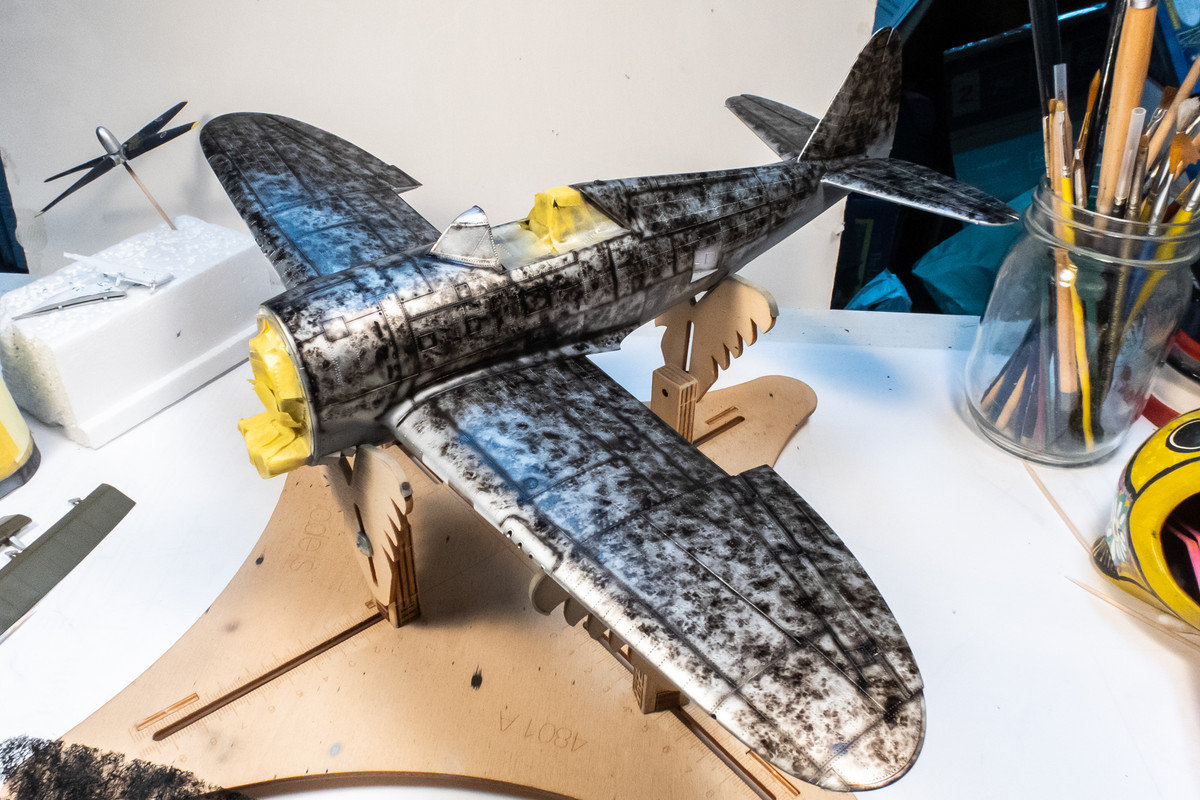
At this stage, I gave the top sides a coat of Tamiya AS-12 Silver to serve as a base for the Olive Drab. I'll do my normal pre-shade routine on it but I won't be using any hairspray for chipping this time.
Image
Image
Image

This coat also serves as a primer and I can check the surface to see if any small repairs need to be done like the windscreen joint. An extra focus of mine was to restore the panel lines and rivets along the major joints (wing-fuse, stabilizer-tail, etc) as much as possible.
Image
Image
Image
Image

I'm going to flip her over and continue the bottom painting before I paint the top side.

Re: Trumpeter P-47D Razorback "Eileen"

Posted: Thu Feb 02, 2023 3:48 am
by tempestjohnny
Your WIP's have to be some of the best tutorials on building and painting. Simply amazing

Re: Trumpeter P-47D Razorback "Eileen"

Posted: Thu Feb 02, 2023 8:58 am
by Medicman71
So nice looking! :shoutout: :shoutout:

Re: Trumpeter P-47D Razorback "Eileen"

Posted: Thu Feb 02, 2023 4:46 pm
by Brandons_Iron
This thing is pretty incredible. :bow:

Re: Trumpeter P-47D Razorback "Eileen"

Posted: Fri Feb 03, 2023 7:30 am
by cbaltrin
Not to take away from the rest of your amazing work, but that cockpit is just something esle. Great work. :wow: :wow: :wow:
This thread is giving me sensory overload.

Re: Trumpeter P-47D Razorback "Eileen"

Posted: Sat Feb 04, 2023 8:41 pm
by jkim
Thanks guys! I was inspired to try and make a better cockpit by a builder over at LSP. He built a 1/18 Thunderbolt and did some crazy detailing such as scratch-building the R2800 cylinder by cylinder. When he posted pics of his cockpit alongside some pictures of the real thing, I did a double take because they were hard to tell apart. I know I'm not on the same level as that builder but I wanted to at least try and add a level of detailing that I had not considered before.

My annual trip to Central Asia is fast approaching and my plate is start to fill up. Not as much free time as I had before. At some point, this build will go into hibernation for a few weeks or maybe a month.

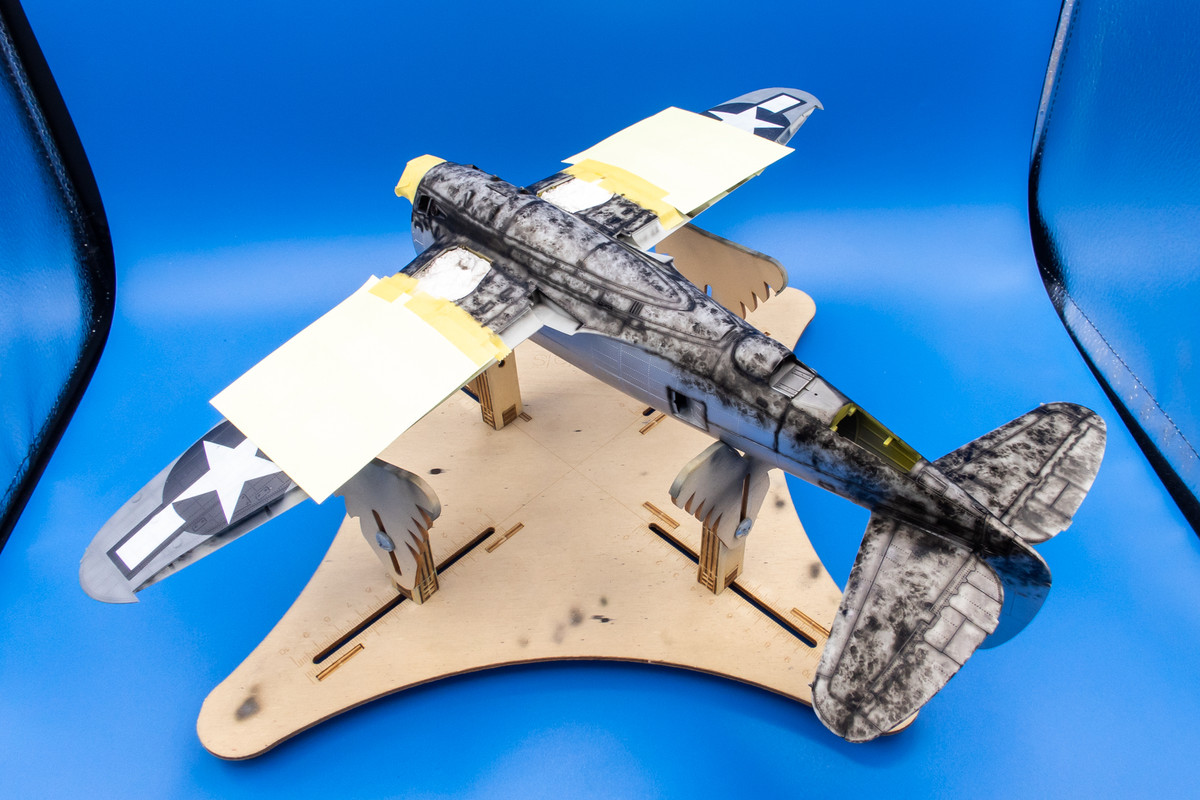
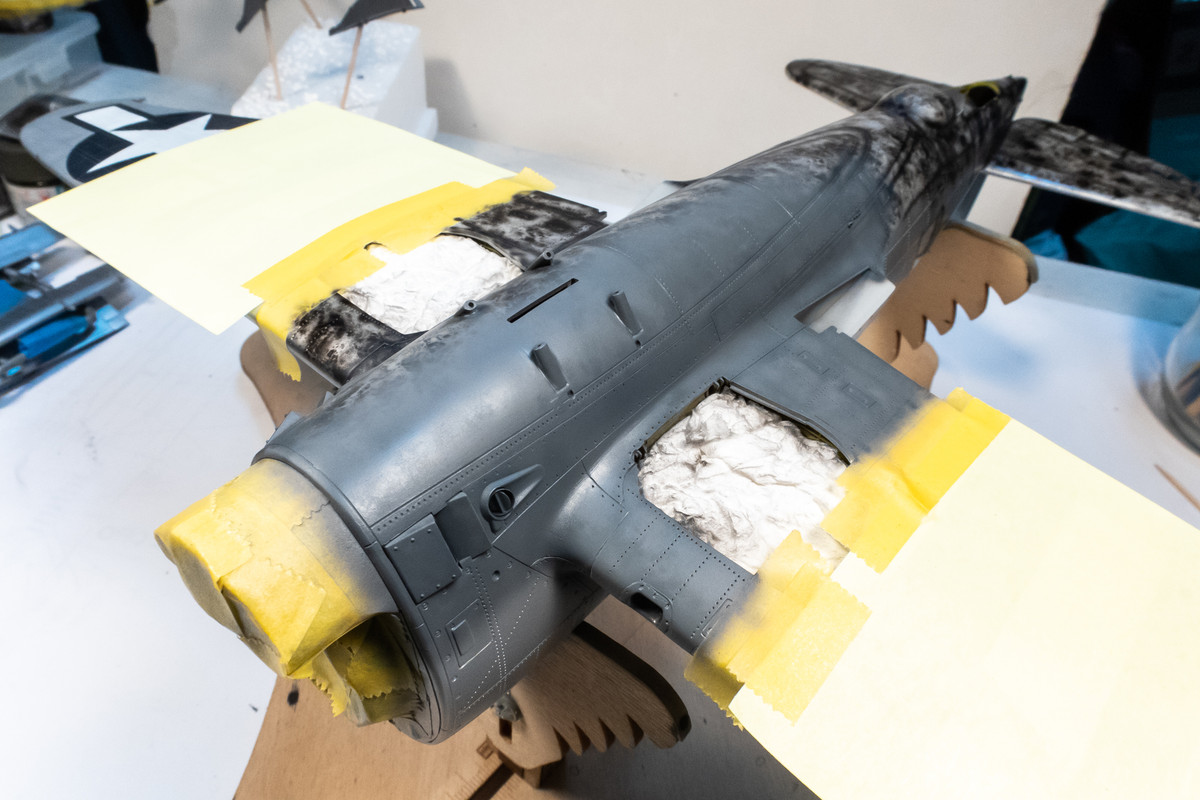
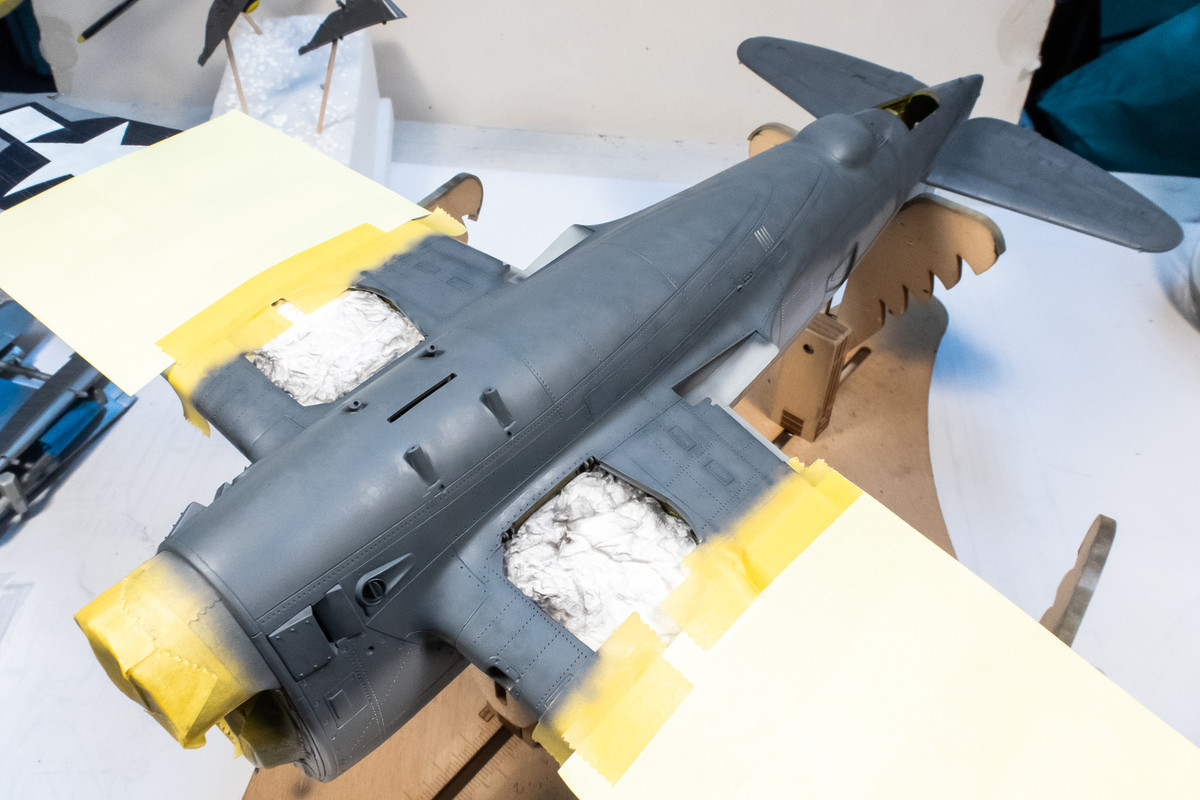
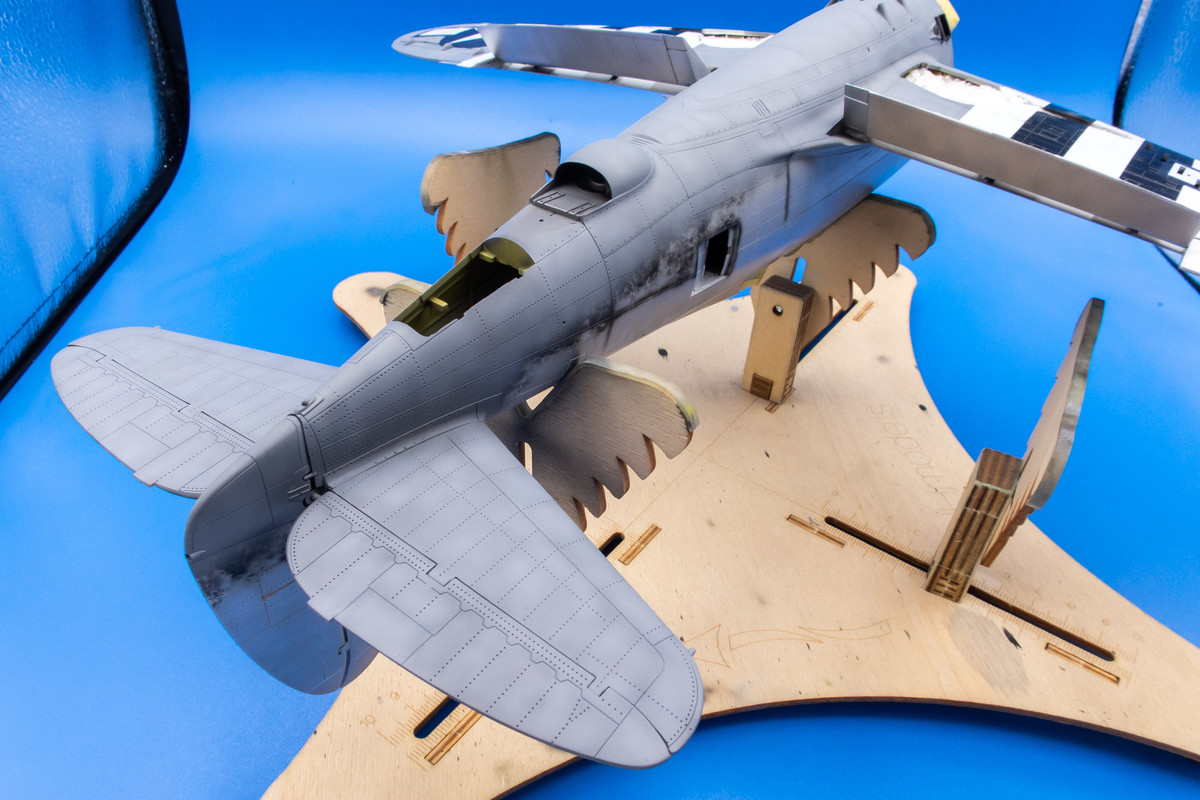
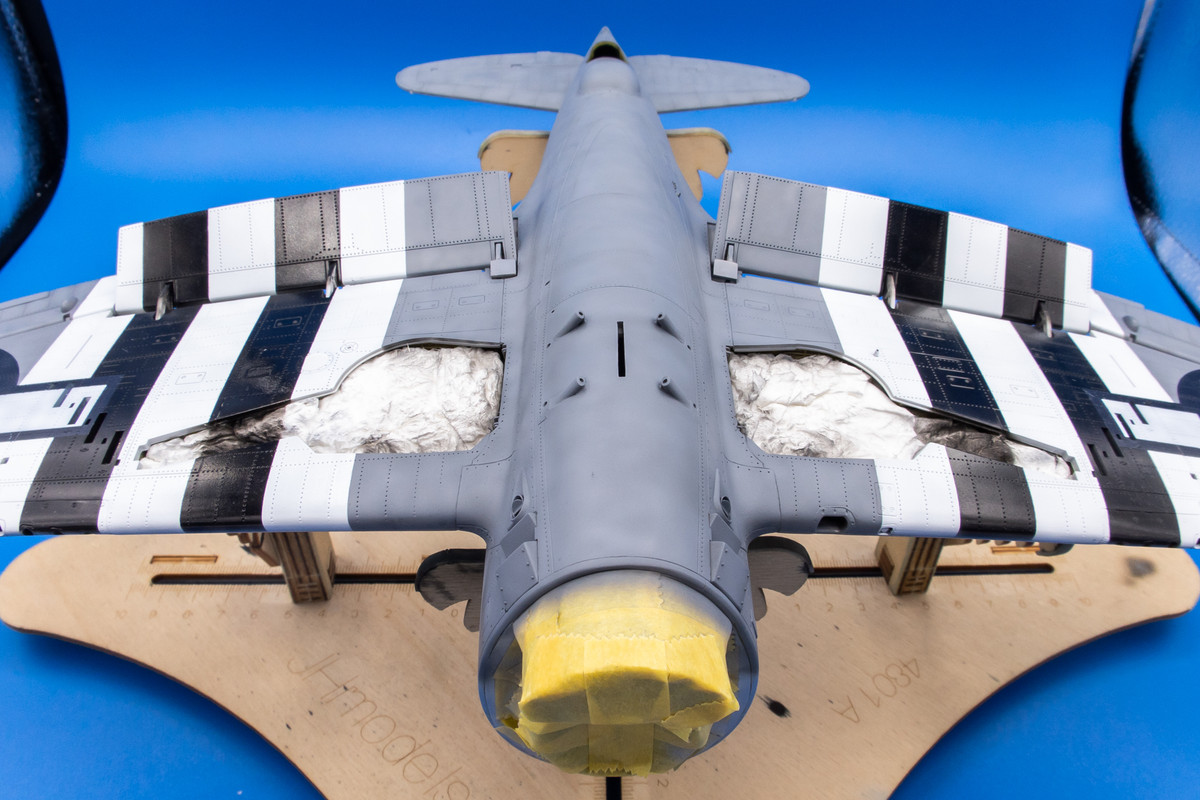
As promised, the returned to the bottom, masked off the wing stripes and proceeded with painting of the Neutral Grey. First came my standard pre-shade mottle.
Image

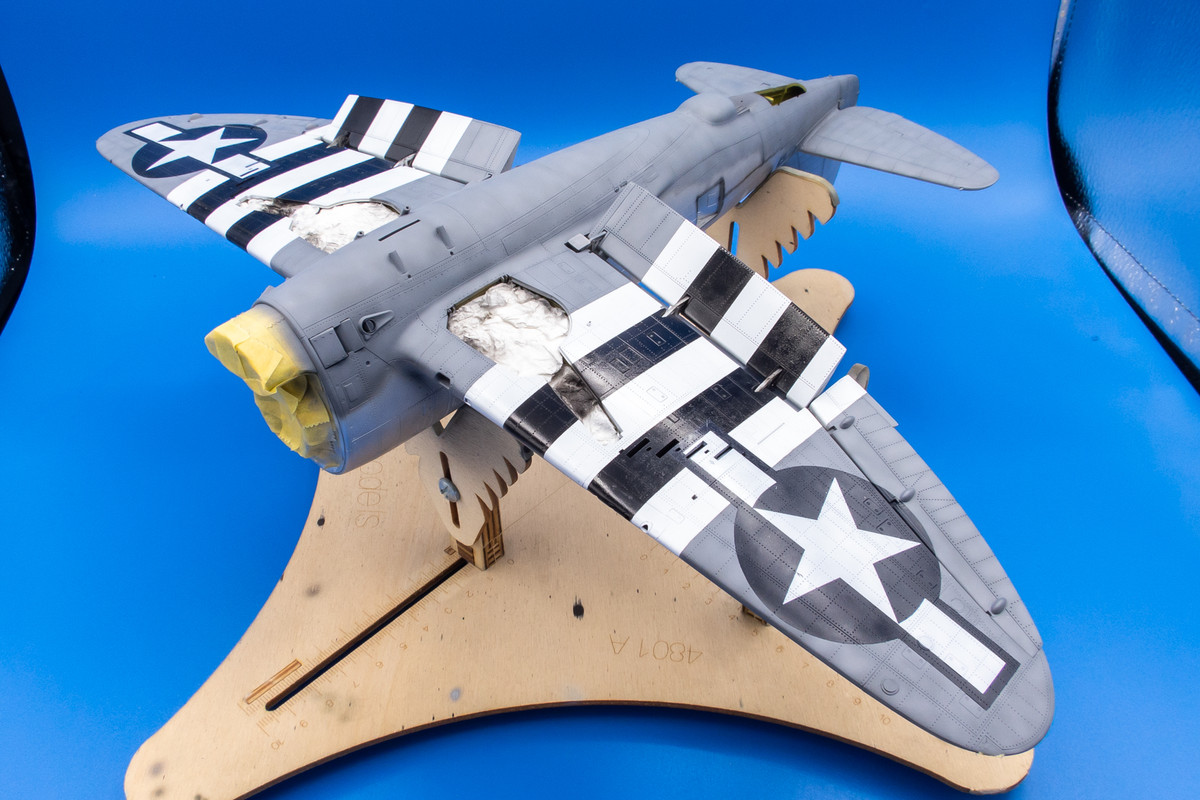
I used the same approach that I developed from painting the landing gear covers. First, layer was the Mr Hobby Aqueous version of the Neutral Grey.
Image
Image

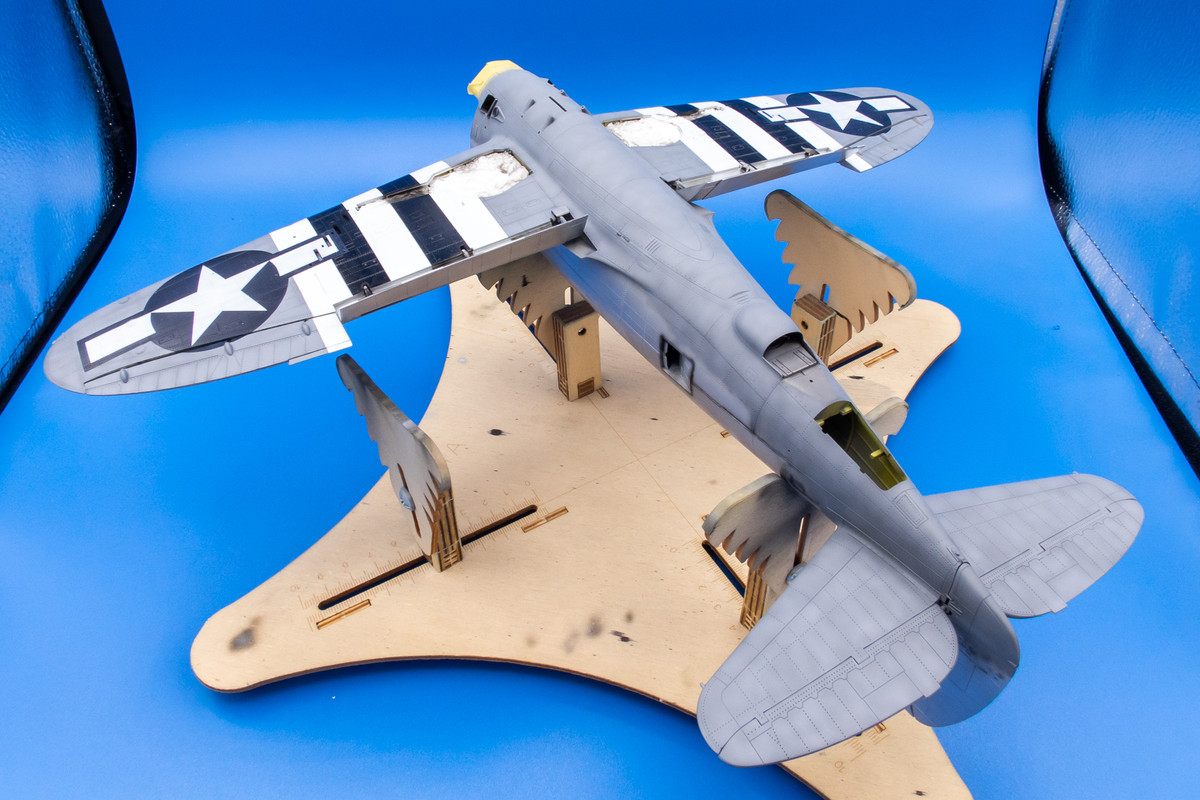
After that layer was finished, I highlighted the entire bottom with the AK Real Color version of Neutral Grey, which is noticeably lighter than the Mr Hobby Aqueous.
Image
Image
Image
Image
Image

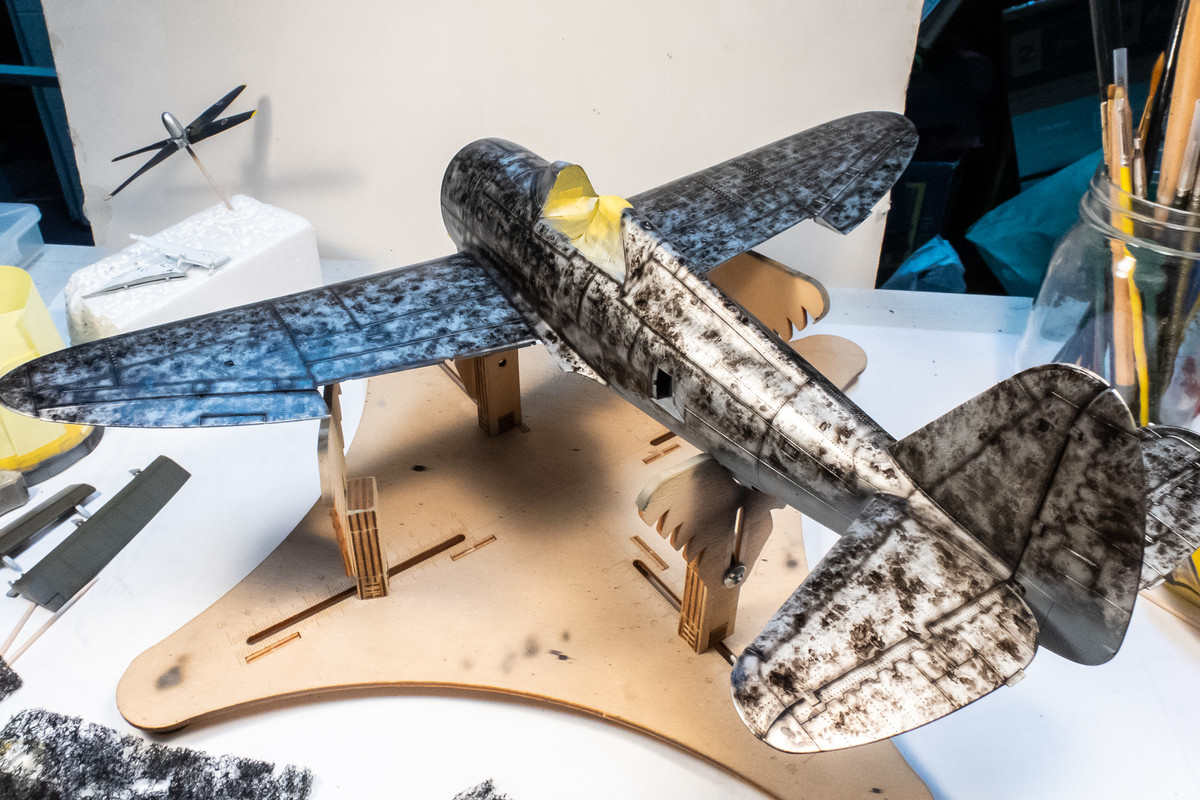
The bottom painting is effectively finished. The top side was then given the same pre-shading treatment as the bottom.
Image
Image
Image

I'm kinda stuck as to what to do next. I don't want or need the Olive Drab 41 on top to be perfectly uniform as the photos of Eileen show some significant tonal differences. And the markings, especially on the rear fuselage (US star and bars, letter codes and bottom invasion stripes) cover lots of real estate. So I may tackle this in a non-typical order to try and minimize masking and the dreaded paint lift.

Re: Trumpeter P-47D Razorback "Eileen"

Posted: Tue Feb 07, 2023 1:50 pm
by Medicman71
Wow! Just wow! :bow: