Wow, despite the fact that I felt like I had no time this past couple weeks to do anything in the Hobby Room; I managed to get a surprising amount of work done. I had been working only about thirty minutes to an hour at a time over the course of the past couple weeks; Hobby Day weekend was the only time I could marathon some builds. Now I have a ton of progress to show, so brace yourselves; this is gonna be a long tour through Maddog Manufacturing. All aboard!!
Lets start in my aircraft hanger.
Some time back I tried shooting another coat of gloss on my 737. It fell down and got a lot of debris on the fuselage. I tried wiping the debris off but this is what happened to the decals:
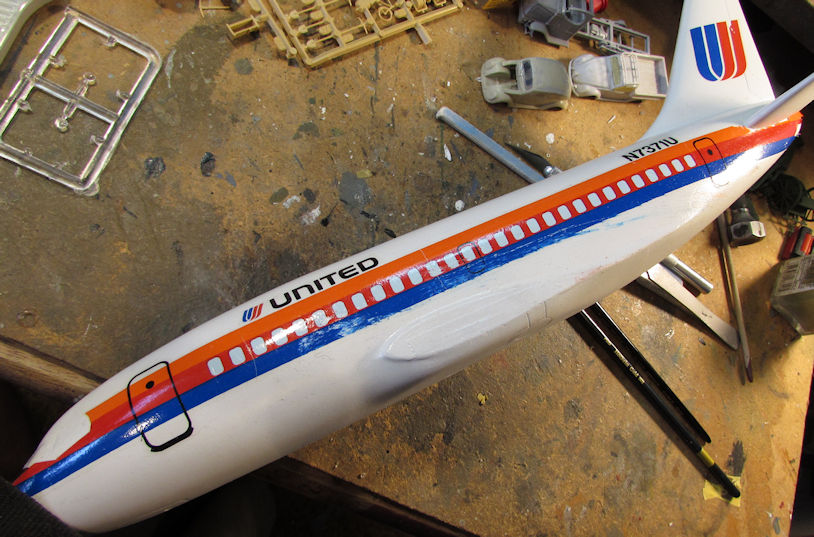
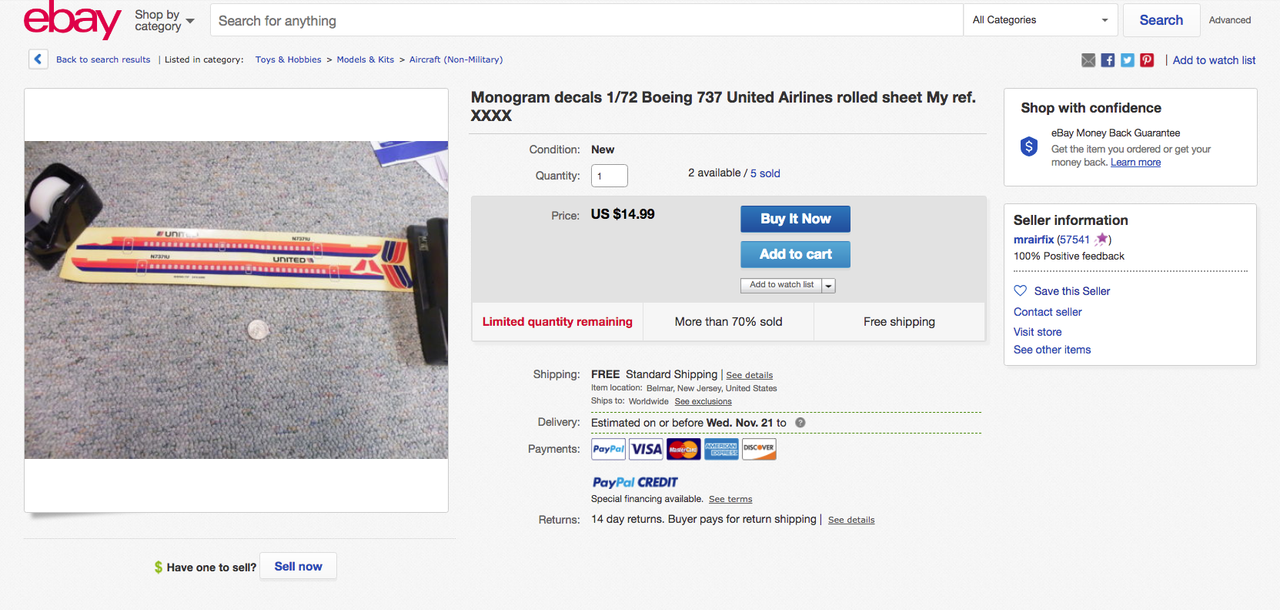
Anybody know where I can source another set of decals for this model? I would love to
someday finish this before I die!
Moving on; I had a similar thing happen with the wing of the commission build Hellcat. This time, I left the debris to dry in place:
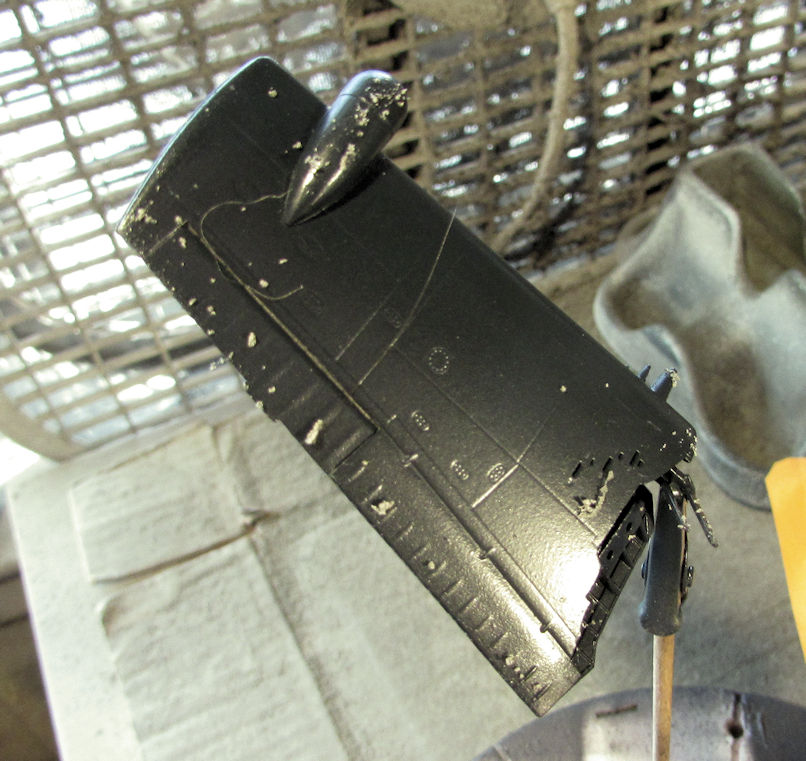
Once it was dry, I simply wiped it off, flaking it away. Lesson learned:
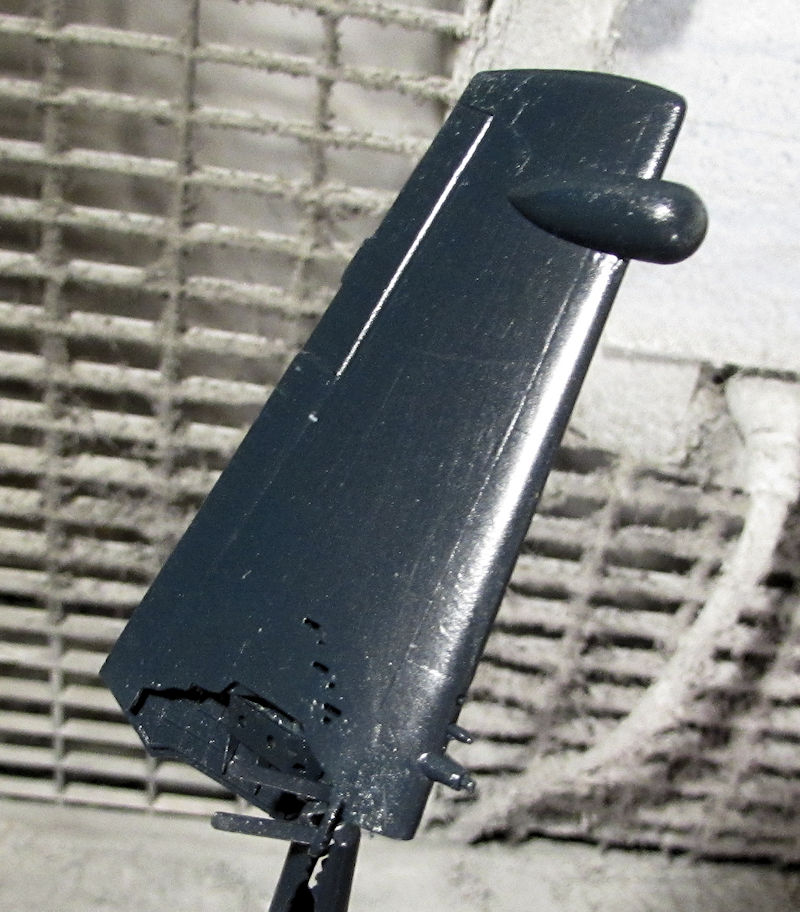
Just another coat of clear to smooth that out and I'll be able to move on.
Earlier in the week I had shot another coat of gloss on the S.R.-53 to get it ready for decals:
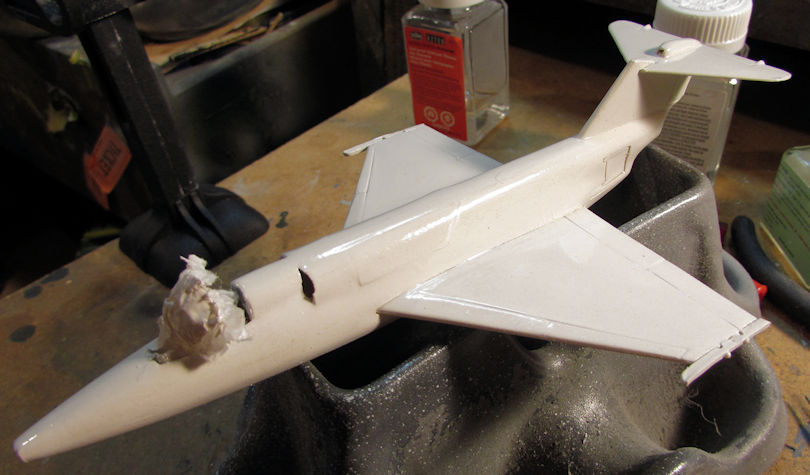
Later on at Hobby Day I applied the original decals to this:
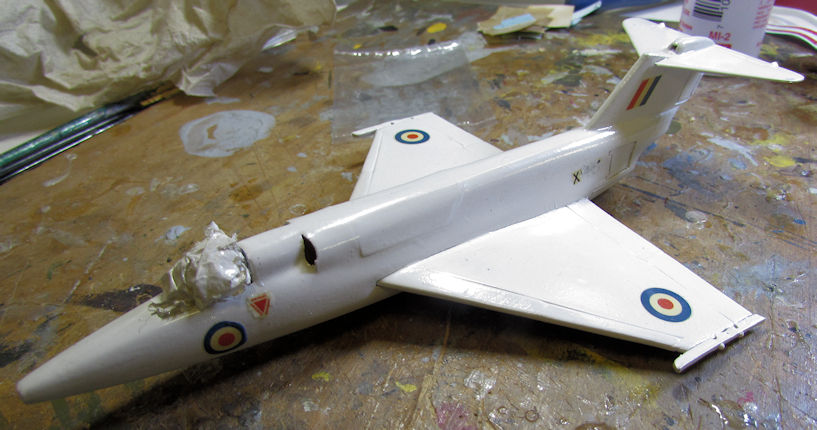
You can see how some of the decals were curling. I had to put about seven or eight coats of Micro-Sol on this to lay them down. In the process I lost one of the registration numbers which came off on the brush and then disappeared. I'll have to try and source another one somewhere. The bottom decals went on fairly well:
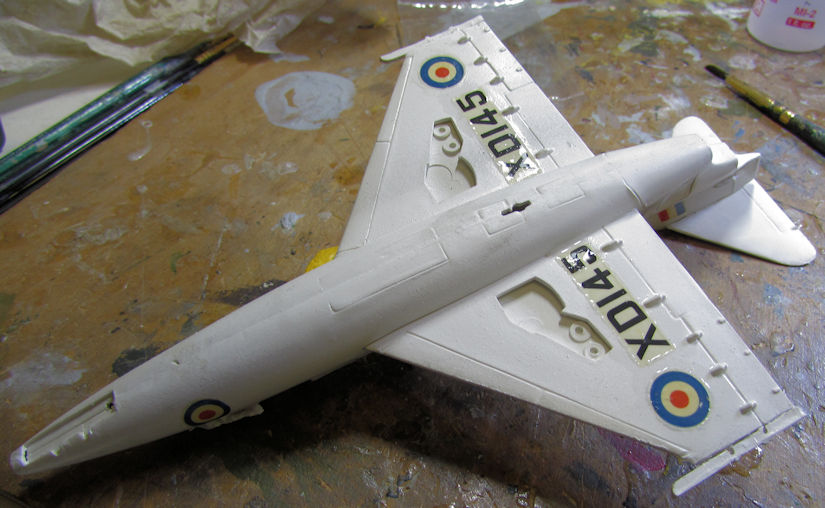
After I'd gotten the decals sufficiently laid down, I finally added all the extra bits like the landing gear, gear doors (most of them; the nose gear door disappeared) the nose probe and the canopy on this model:
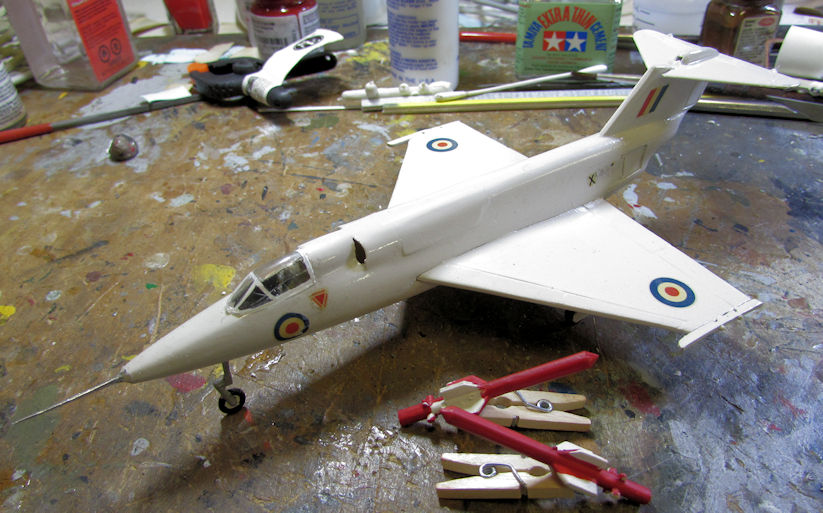
You can also see where I started painting the fire streak(?) missiles. They are all done now and so the next pic you'll see of this aircraft will be in the finished Forums.
While applying decals to this, I also added the decals to my two helicopters which had been waiting for them. First came the Nigerian Hind:
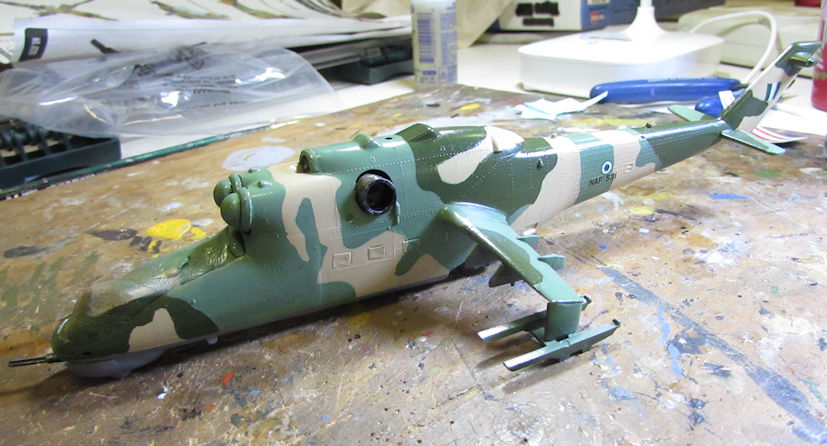
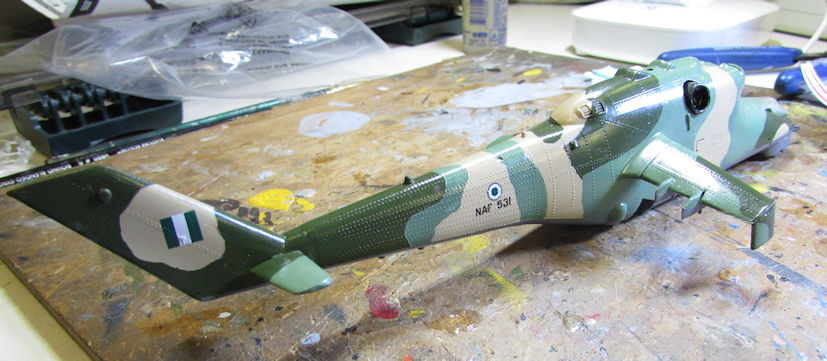
Then I did the Australian HAP Tigre:
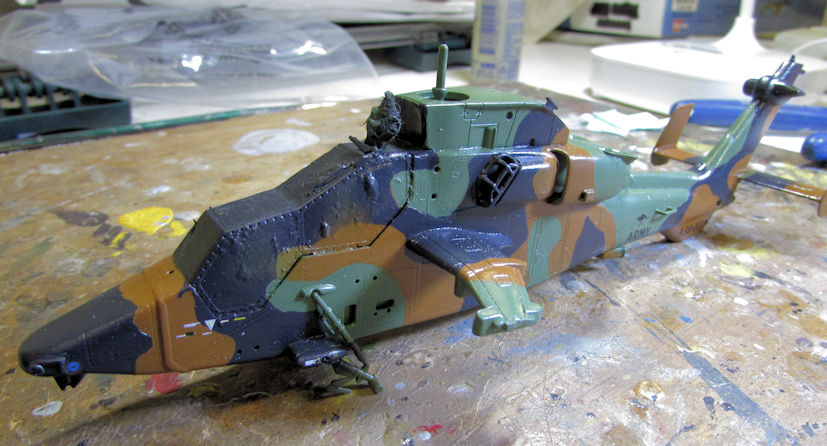
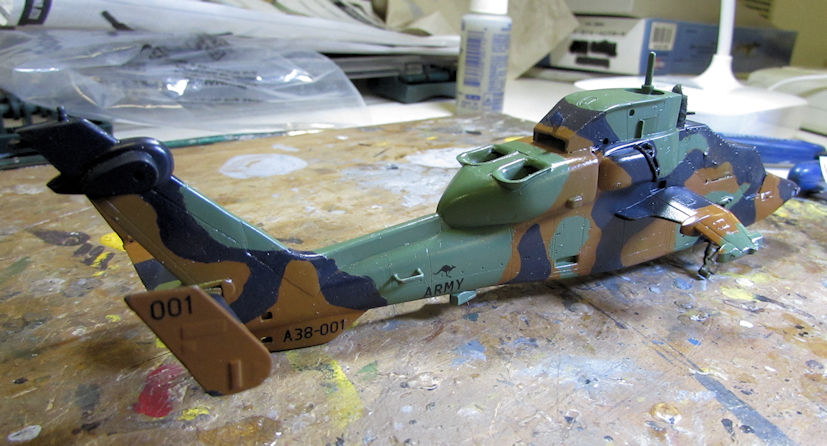
Next I just have to dullcoat this, remove the masking, add the wheels and weapon systems then mount the rotors and this bird will be done. The next pics of this will be in the finished Forums.
That's all did on my aircraft so far. Moving on to my shipyards, I did get some work on my Izumo carrier too. Since it had been masked off for the deck to be painted; I shot a coat of dark grey on the deck surface:
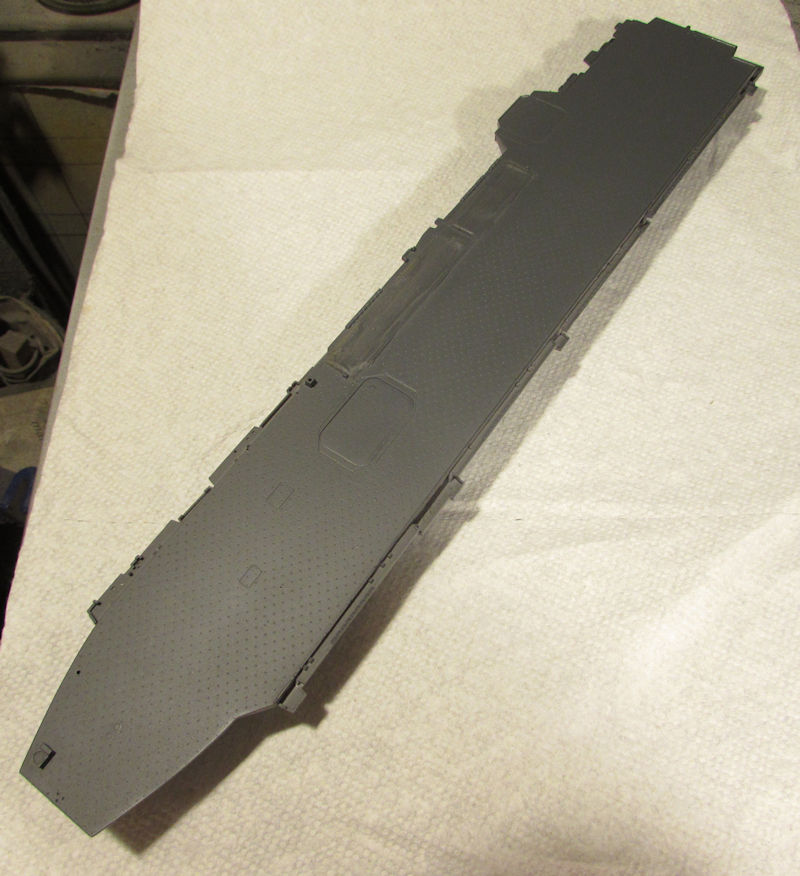
Later when this was dry, I taped off the deck; carefully trimming around the perimeter to uncover where I wanted the lighter grey to go:
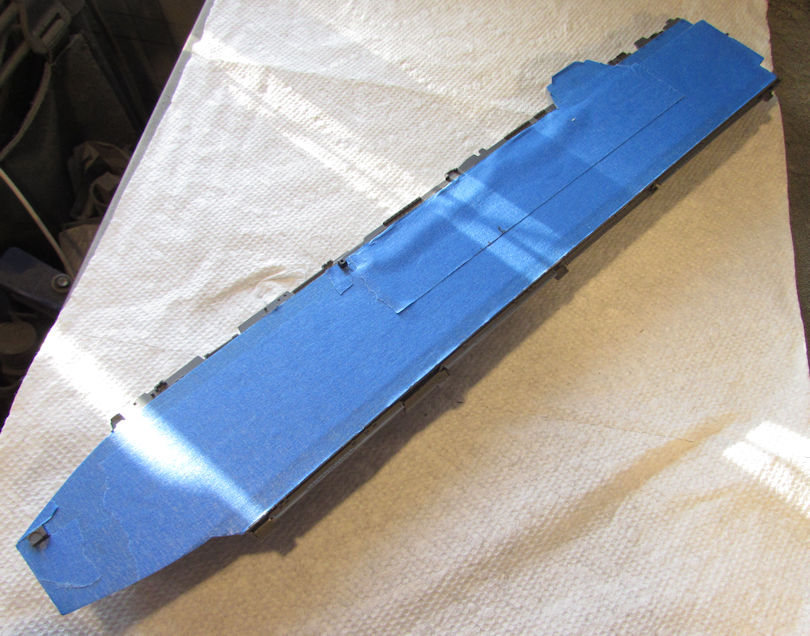
Now to shoot paint on the hull and island assemblies. That will hopefully come later this week.
Now we can move on to my armor models in the motor pool assembly bays. I did a lot of work on these little beasties and even started two more models. So, let's get to it.......
I'll start with the Russian Fire truck. After all the filling I did with the acrylic filler, I shot another coat of red on this truck:
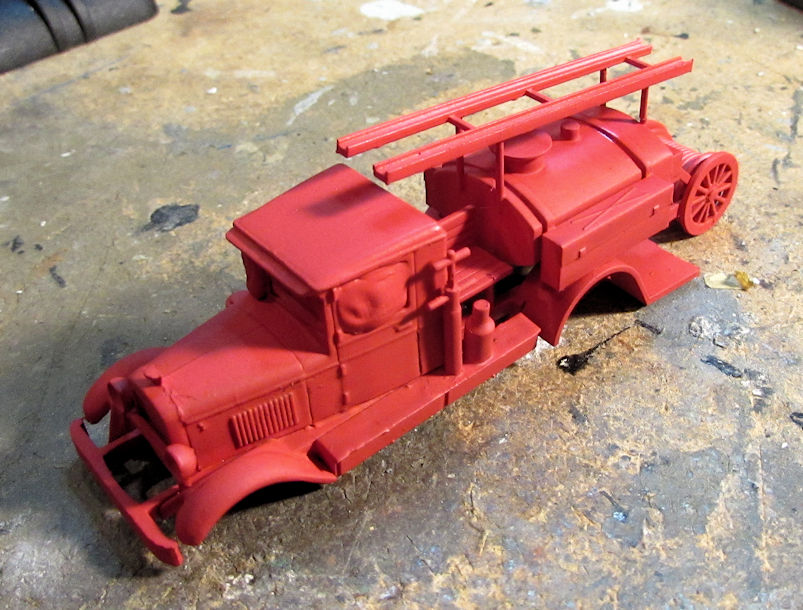
Later on I painted details and trim; added additional parts like the hoses and ladders and wheels and ended up finishing this off before I remembered to take pics. Pics will be in the finished Forums.
Next I worked on the crane for the Russian BREM recovery vehicle. It was a fairly easy assembly:
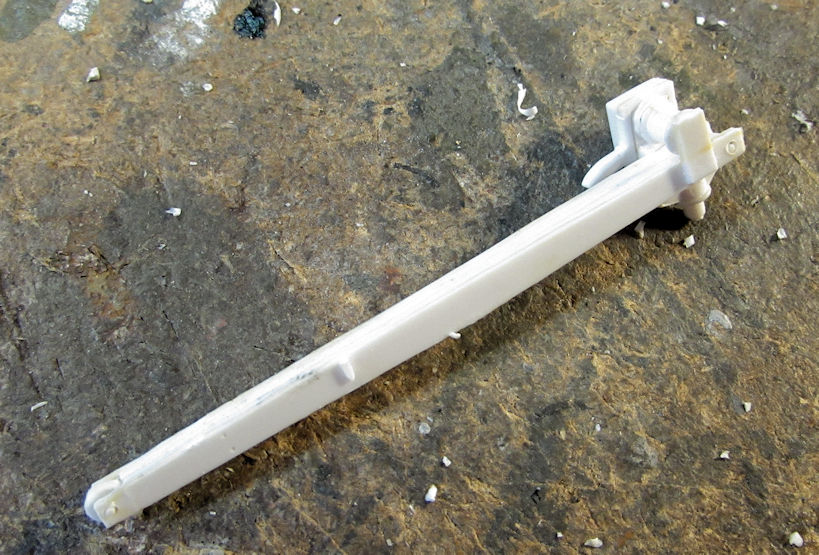
Here is how it looks dry-fit to the vehicle:
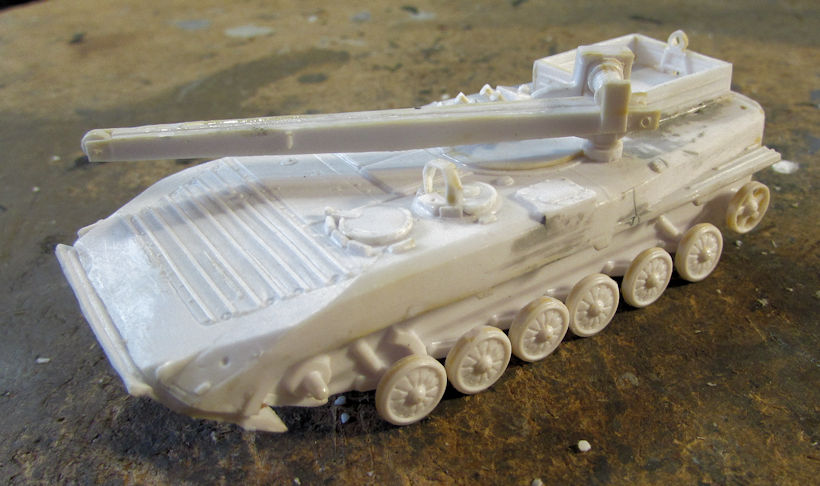
The top hull is also dry-fit into place. That's gonna take a lot of work to look good.
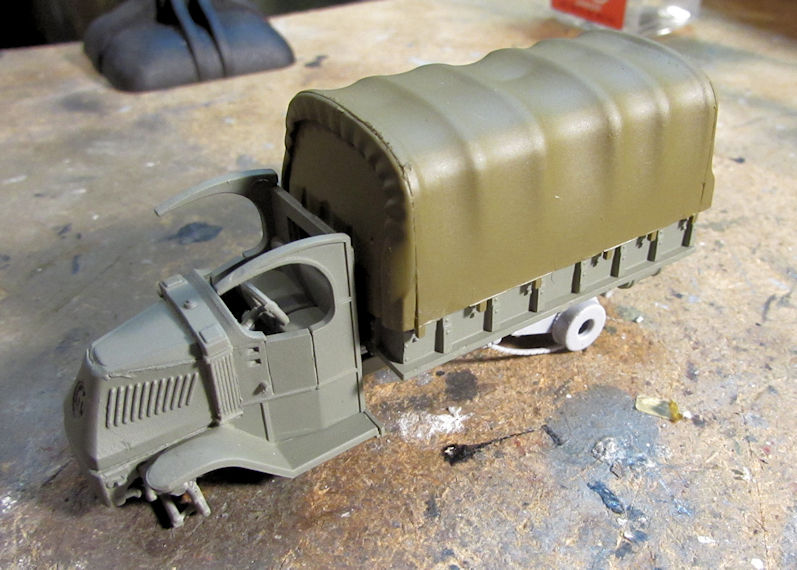
Moving on, I painted the MACK truck. Here it is all dry-fit together:
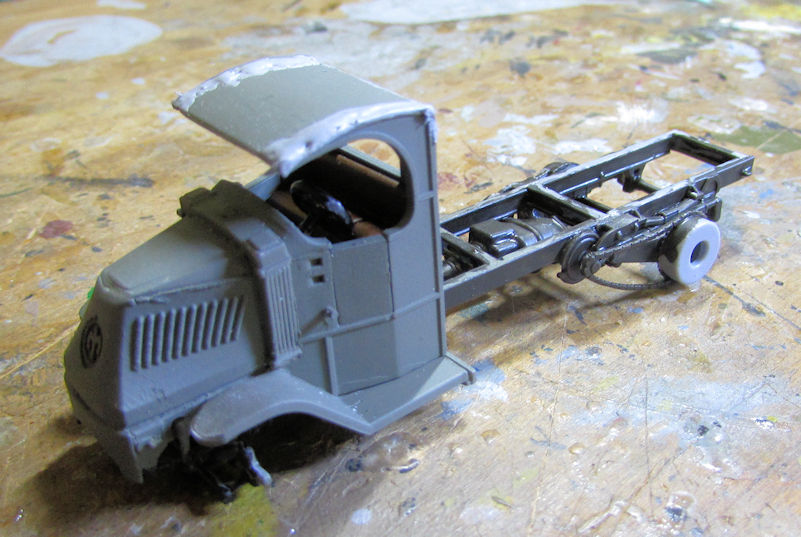
Later on I added the roof to the cab. There was a lot of seams that needed to be filled so I added some Mr. Surfacer 500 to them and let it dry:
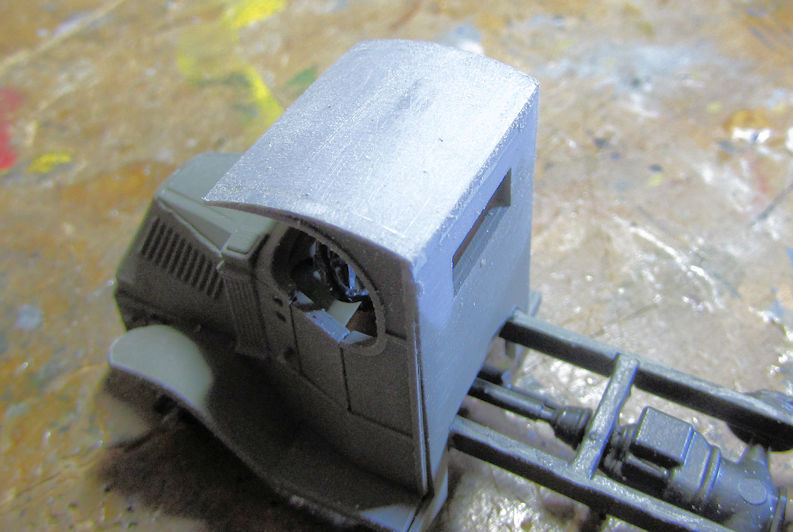
After some judicious sanding, I had a nice smooth roof top:
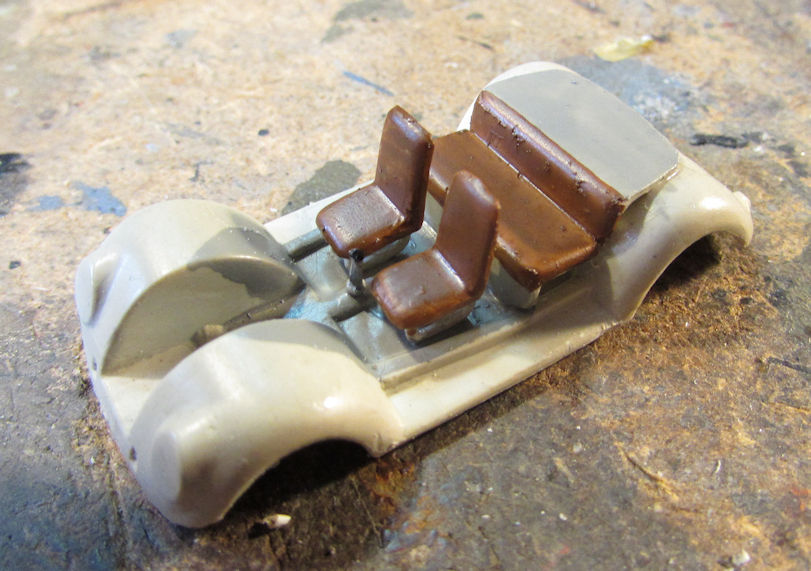
Now, as you all recall I was working on some Volkswagens. I had gotten the pickup version to the paint stage and shot a coat of black over it already, So, I moved on to the big nosed version of this bug (designated Type 230/3) to get it caught up. I painted the interior first:
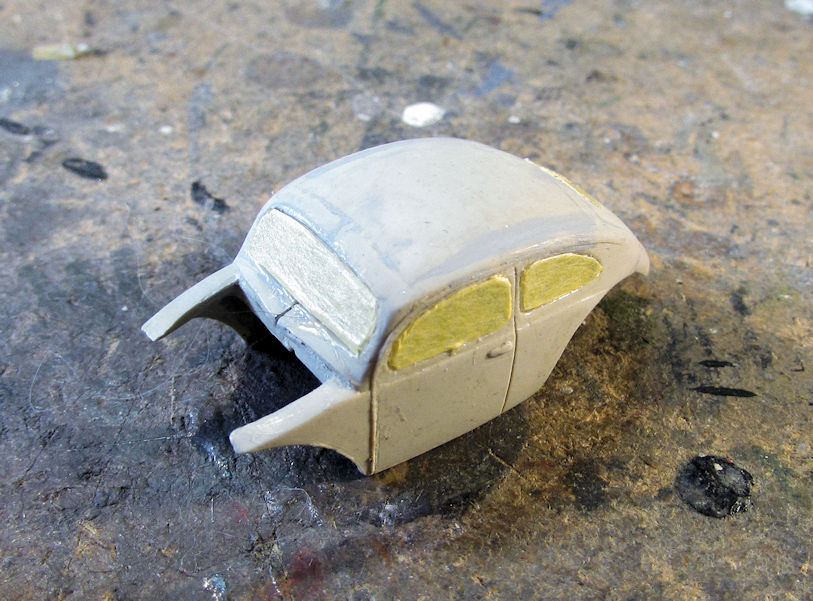
Then I sanded the top of the car to smooth out the gaps and seams and then masked the windows for painting:
After that, I assembled the whole thing, making sure the gaps were as closed as I could get them. I still had a few to fill:
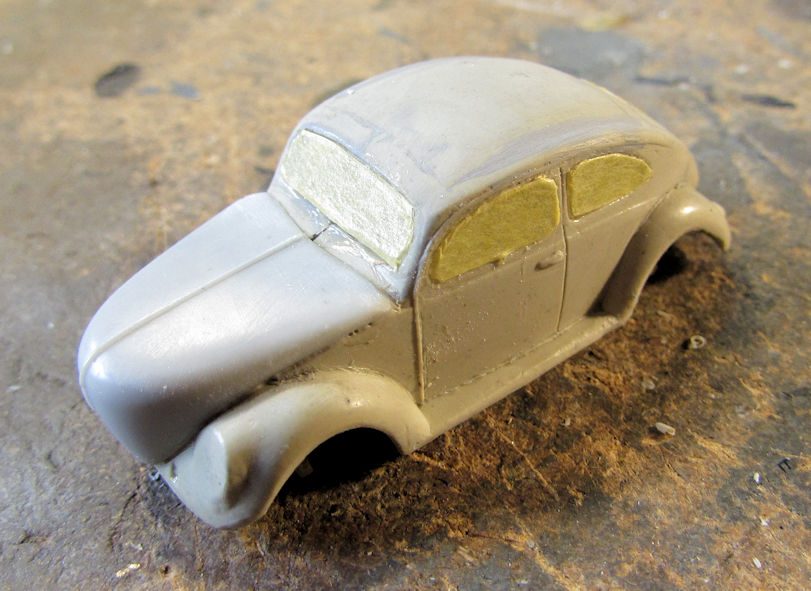
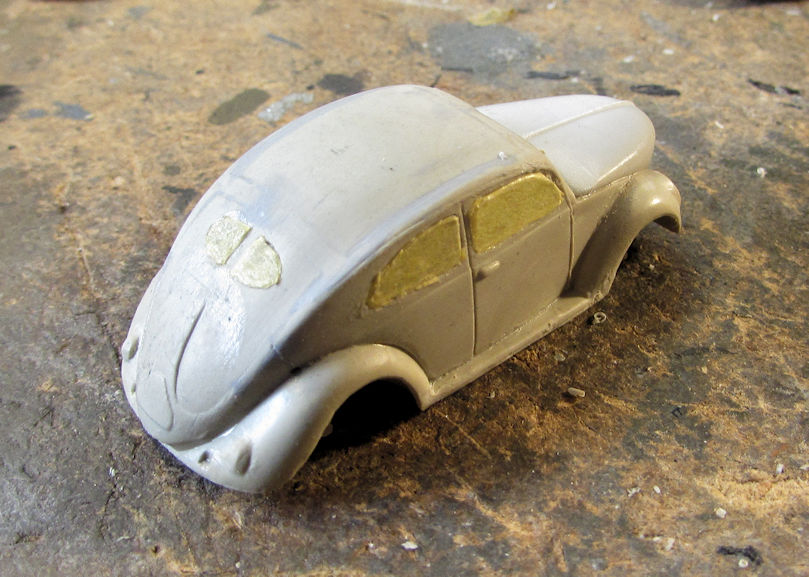
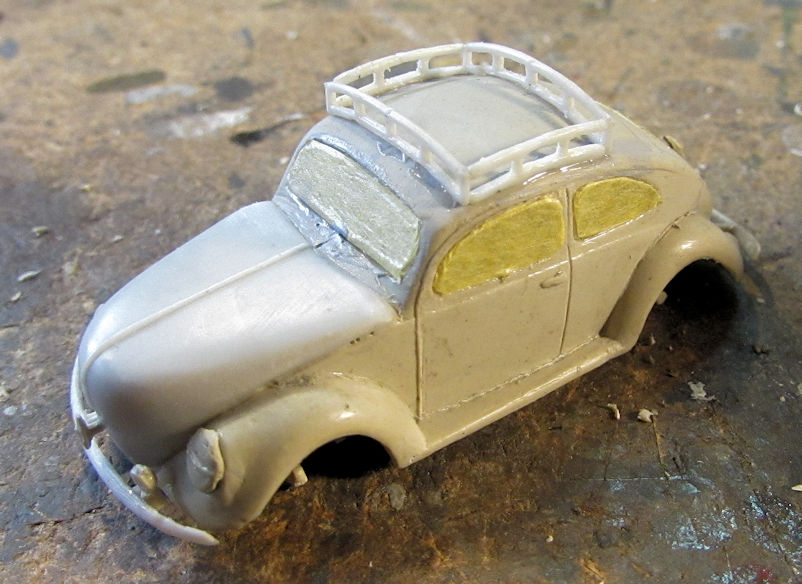
Afterward I finished by adding the roof racks and fenders along with some other small bits:
Now it was ready for paint so I shot a coat of black on it:
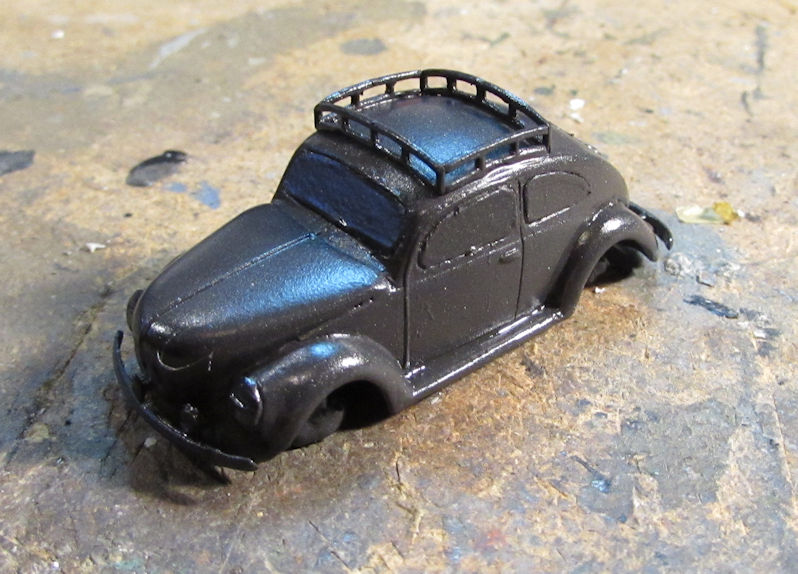
All that was left was to add the wheels, remove the masking and then weather this beastie; along with the pickup version. Pics of both of them will be in the finished armor Forums.
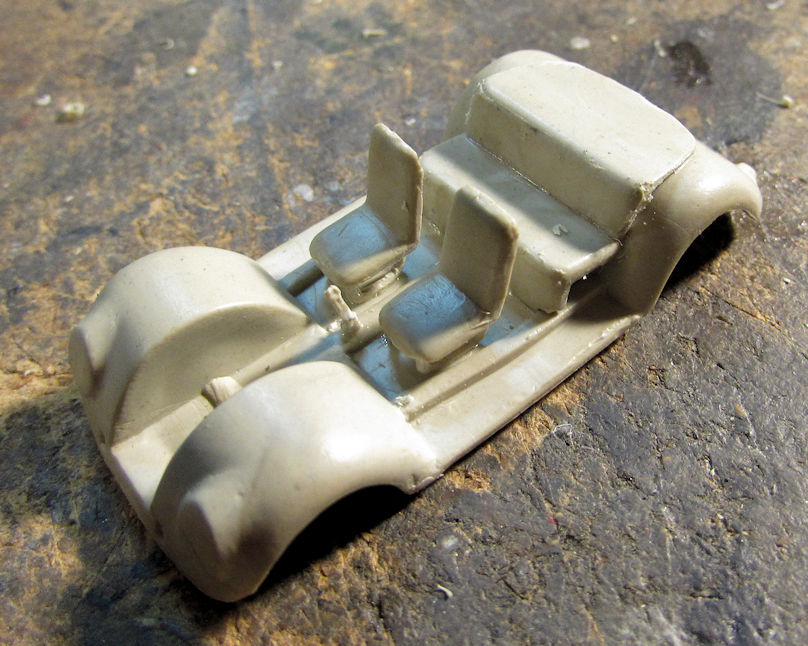
Earlier; as I was going through the stash to pack up some kits to put in storage, I came across yet another Military Wheels Volkswagen. It was a Type 87 modified for use in the desert for the Afrika Korps. I had already built a Type 87, but the kit had parts for the original unmodified bug: the Type 60. So, I pulled that out to work on it too. I started by building the interior as usual:
Then assembled the body. Here it is dry-fit together. You can see this was a more crude model than the other two bugs:
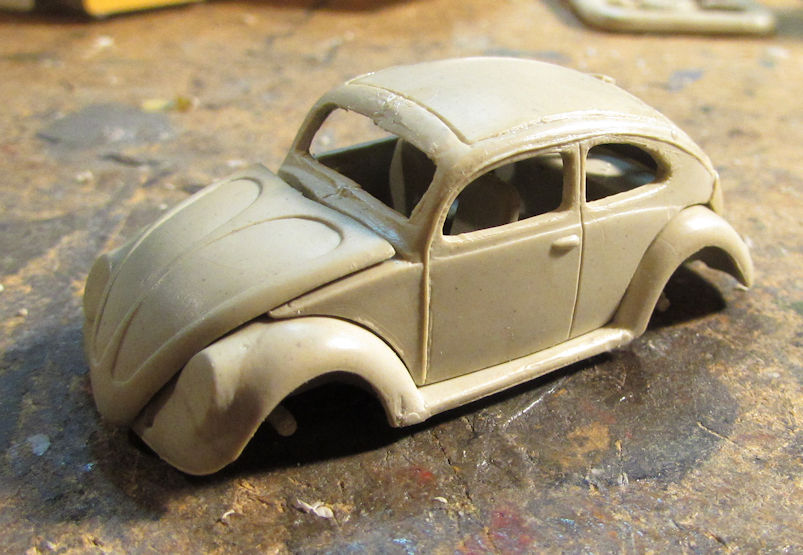
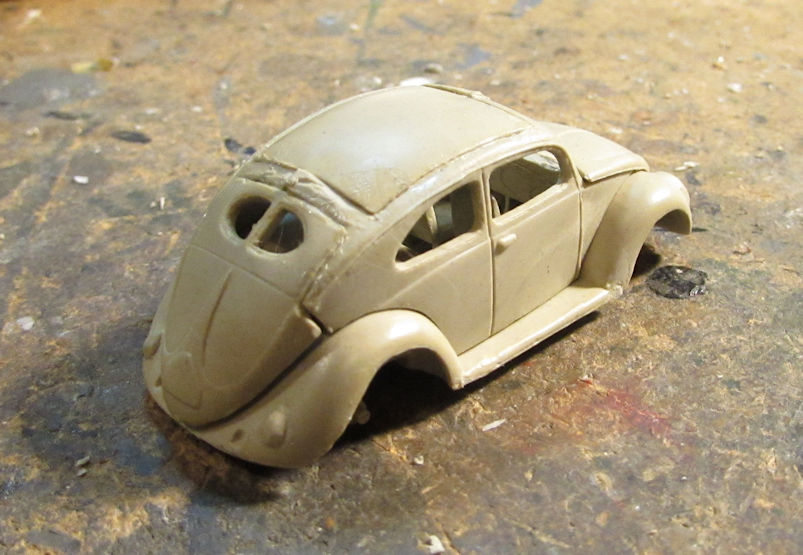
You can also see the huge gap between the fenders and the engine cover. I had thought that I could press that together when I glued it on so I moved on and puttied the top with Mr. Surfacer 500. I put that on thick:
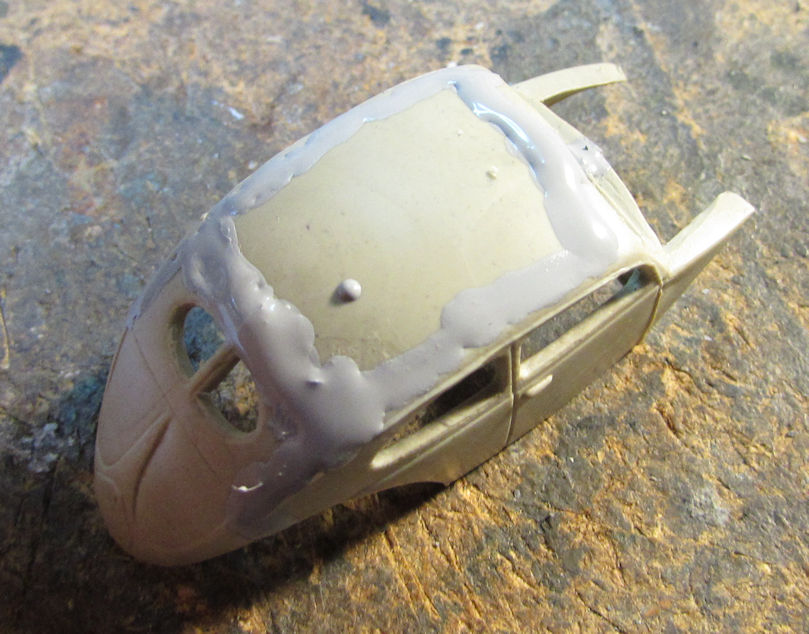
Afterward I sanded it smooth and then added the windows to this:
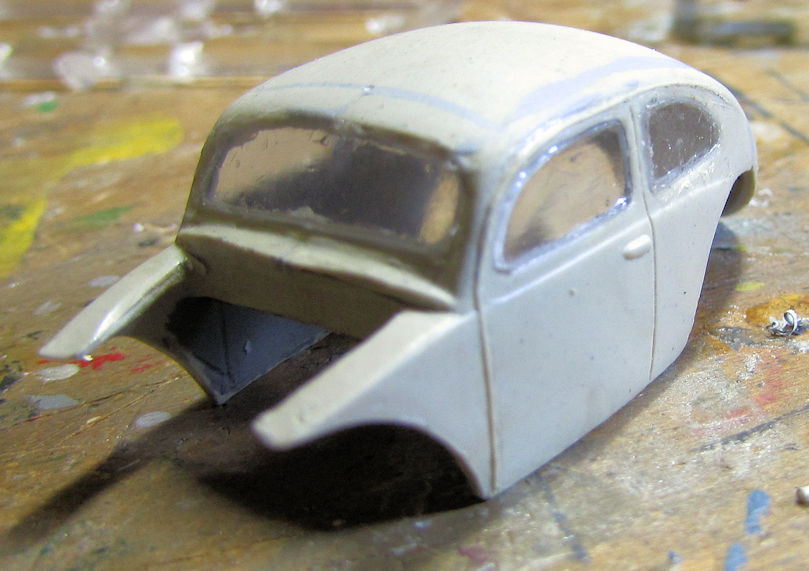
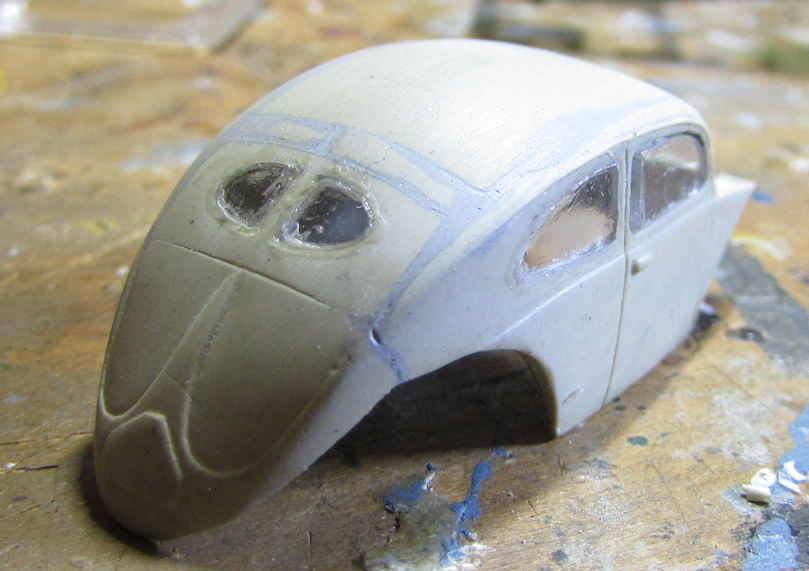
After test fitting it I realized the gap was too big to just squeeze out so I had to add some sheet styrene to the bottom of the engine cover:
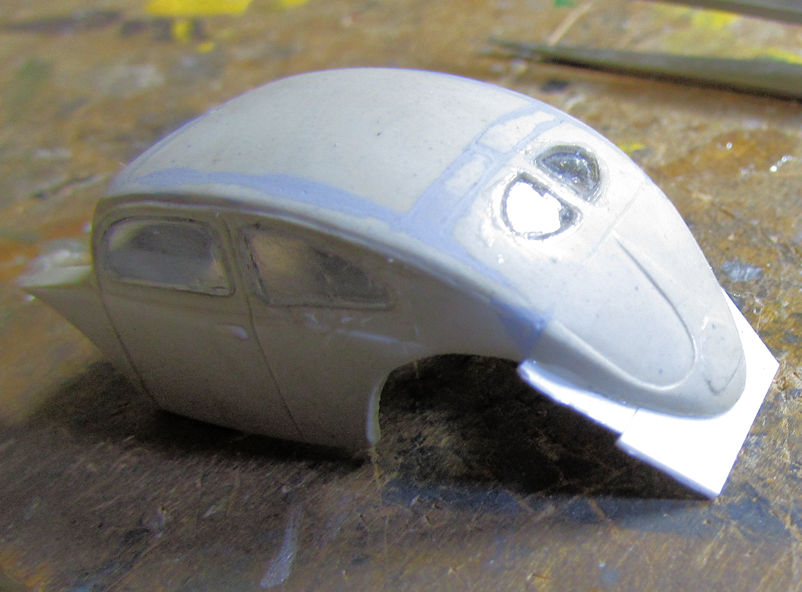
I let it dry and then trimmed it down:
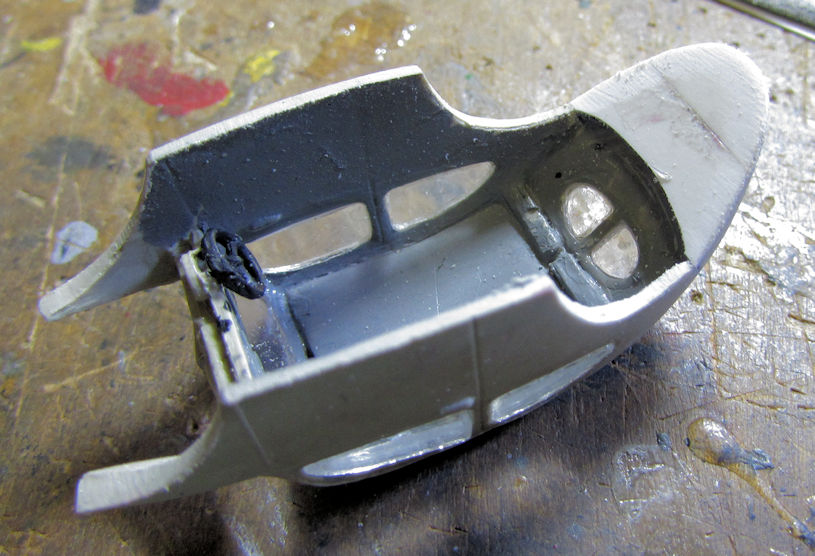
With a little sanding to blend the edges, this looks almost normal:
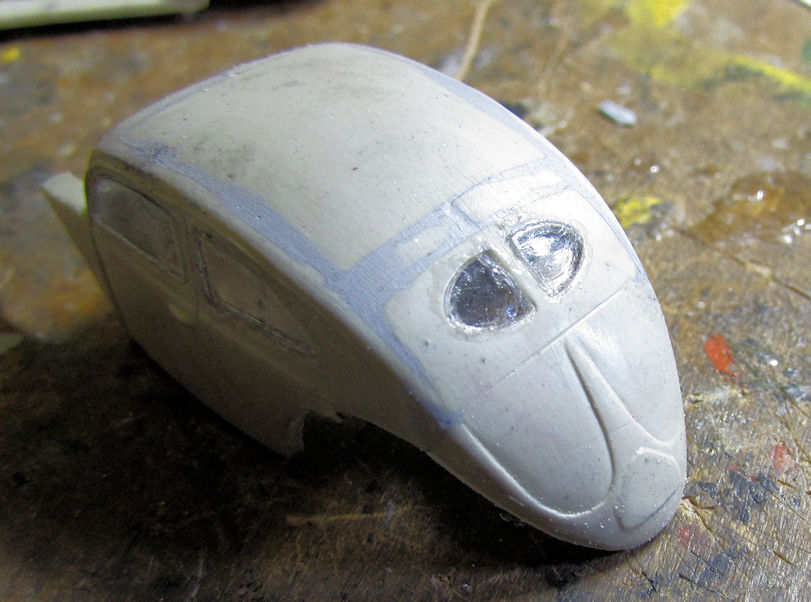
You can see the gap below the engine cover is gone. This was ready to glue into place:
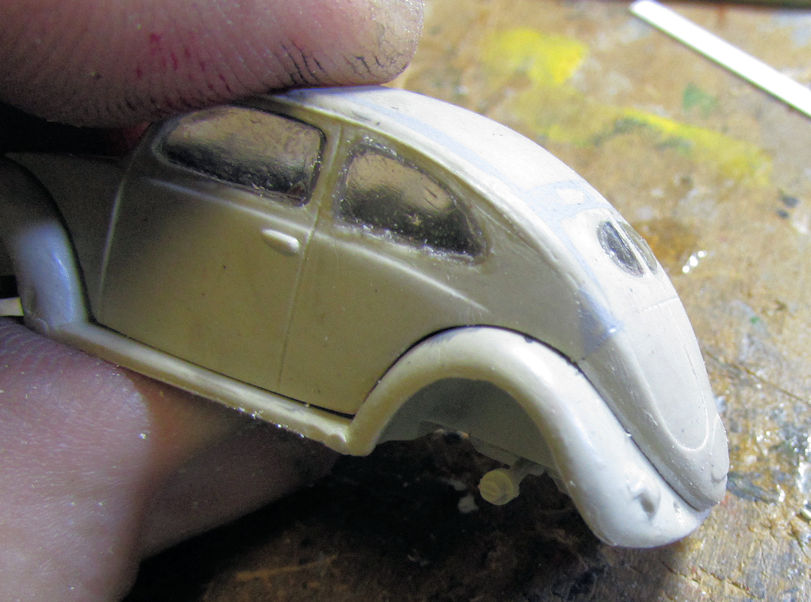
I glued this all together, then used my acrylic putty to fill the seams. This bug was ready for paint:
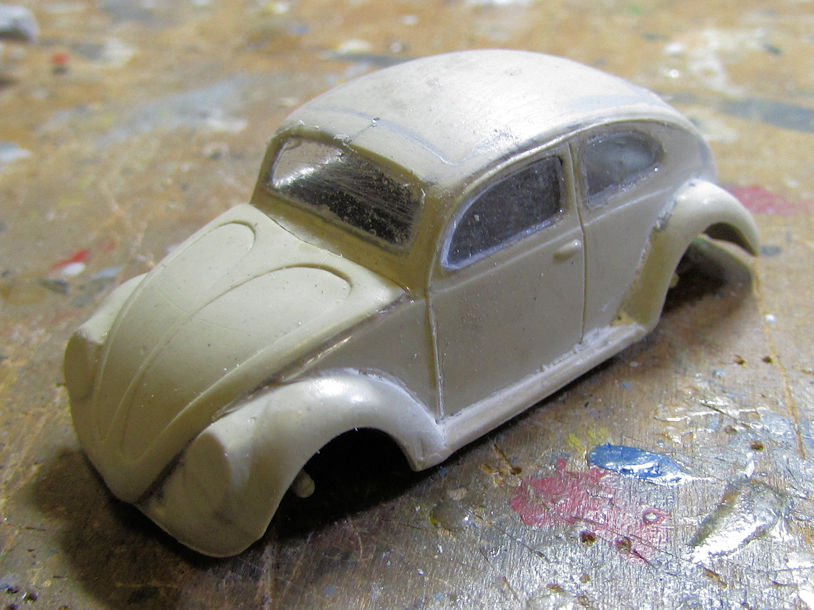
I later painted it black, then unmasked the windows and added the wheels and fenders and other bits. Like the other bugs, you'll see this next in the finished armor Forums.
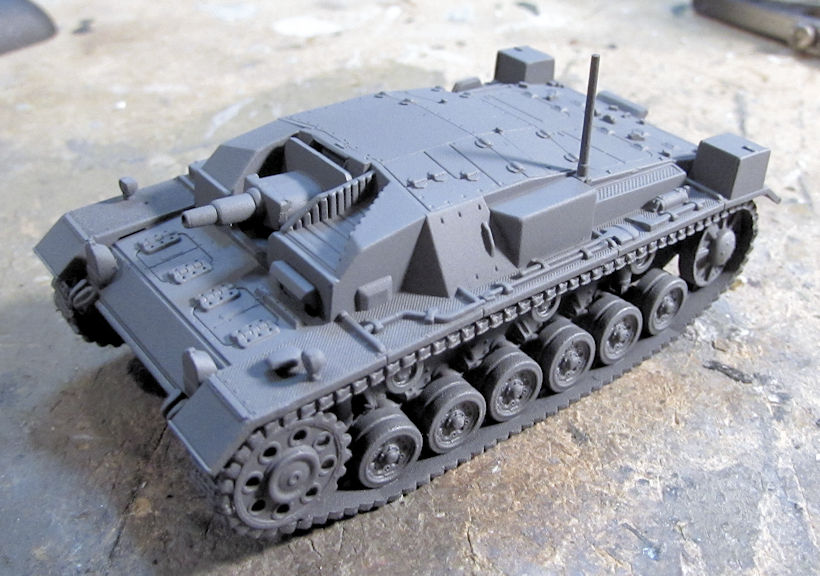
Since I was painting, I also shot a dark Panzer grey over the StuG that was given to me by a friend:
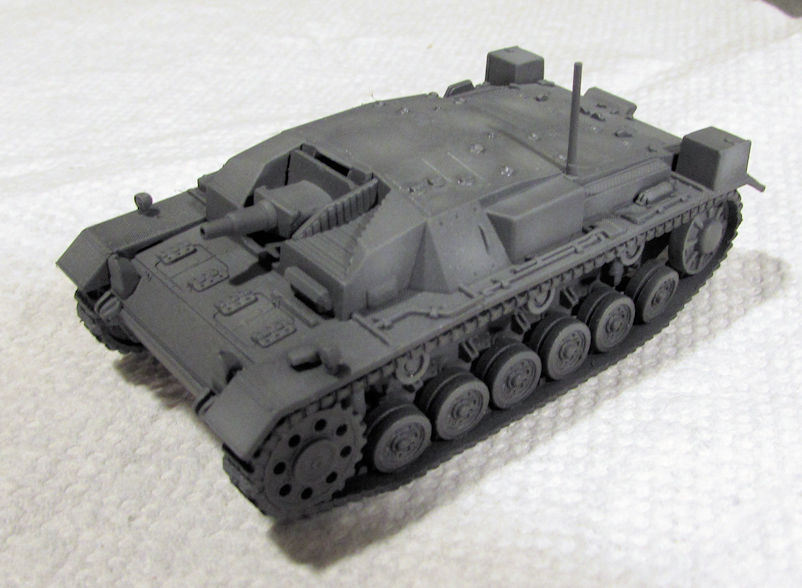
After it dried, I used a lighter grey to modulate the color:
After a coat of gloss, this beastie got decals:
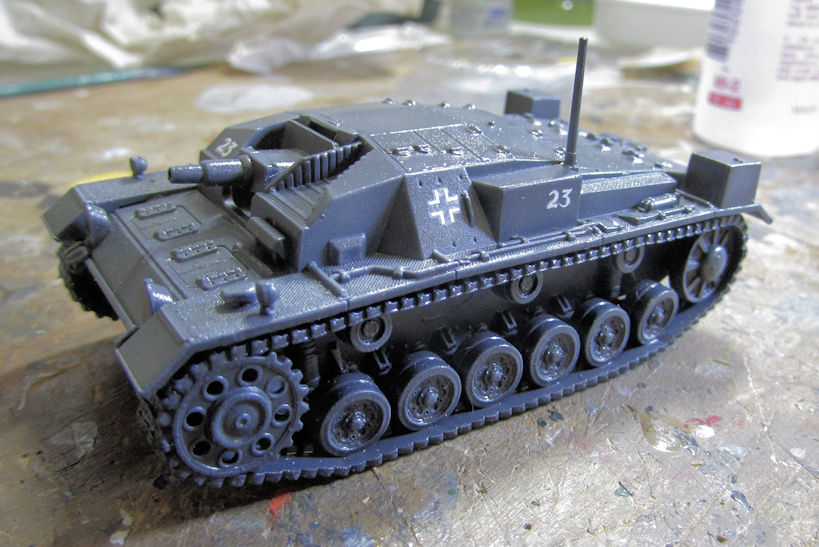
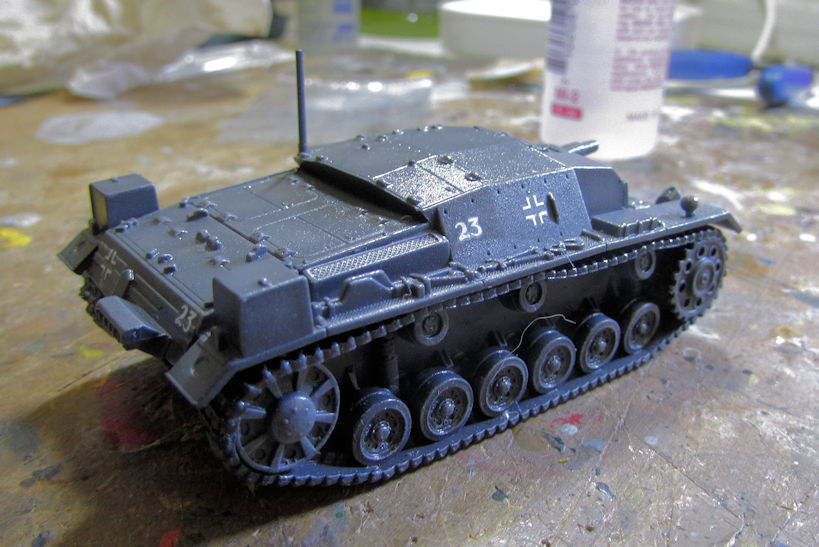
After a dullcoat and some weathering, this StuG was done. This will be joining the bugs and fire truck in the finished armor Forums.
Finally, while packing up models for the storage unit, I also came across this little Italian Lince armored scout car. It looked simple and easy to build and I wanted more vehicles for my Italian army so I kept it out to start.
Beginning was fairly straightforward:
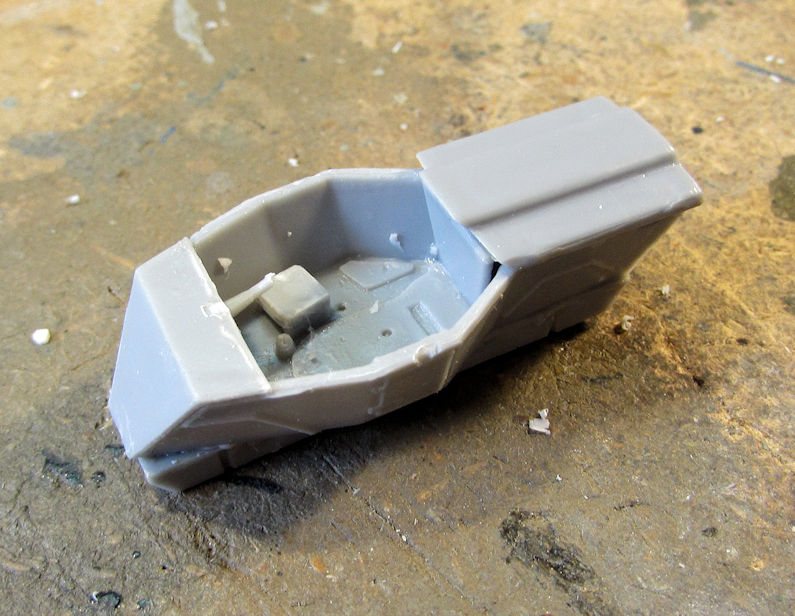
Later I added the full interior to this with grandiose ideas of modeling this with the roof open so everyone could see it:
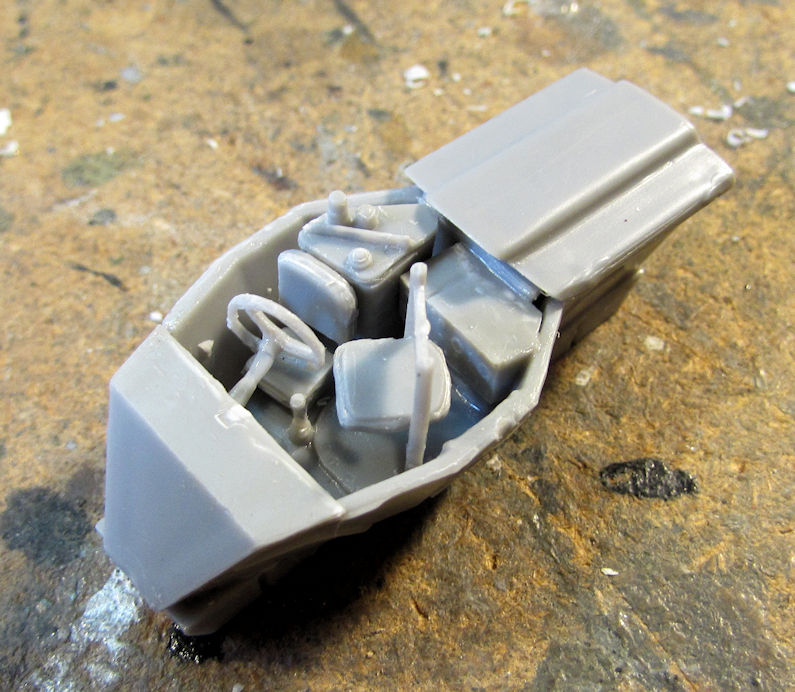
That was a cramped little area! Later I added the upper part of the hull:
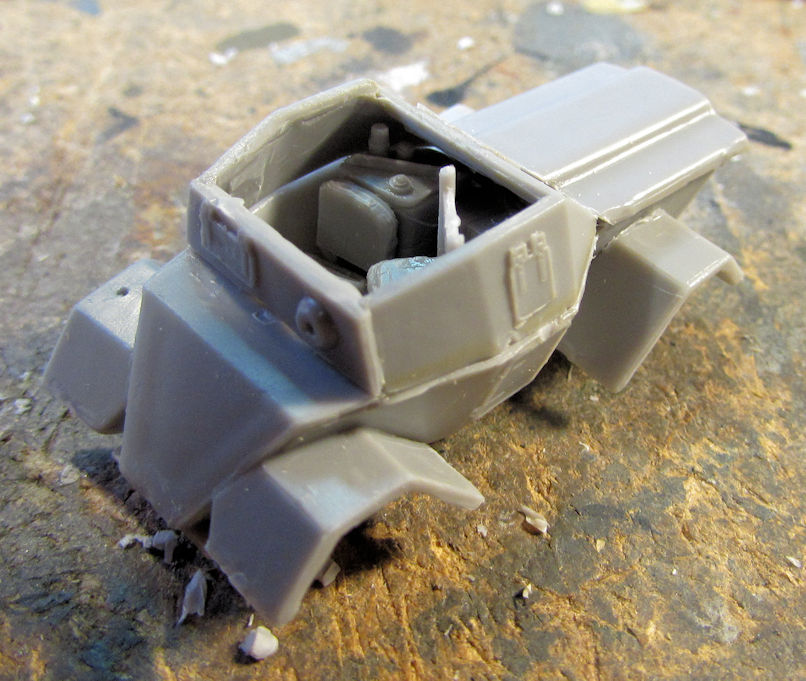
Afterward, I realized I had no idea how to paint the interior and since I was at Hobby Day with no access to references; I just decided to close off the top. ACE gives you a great photo-etch part for the roof:
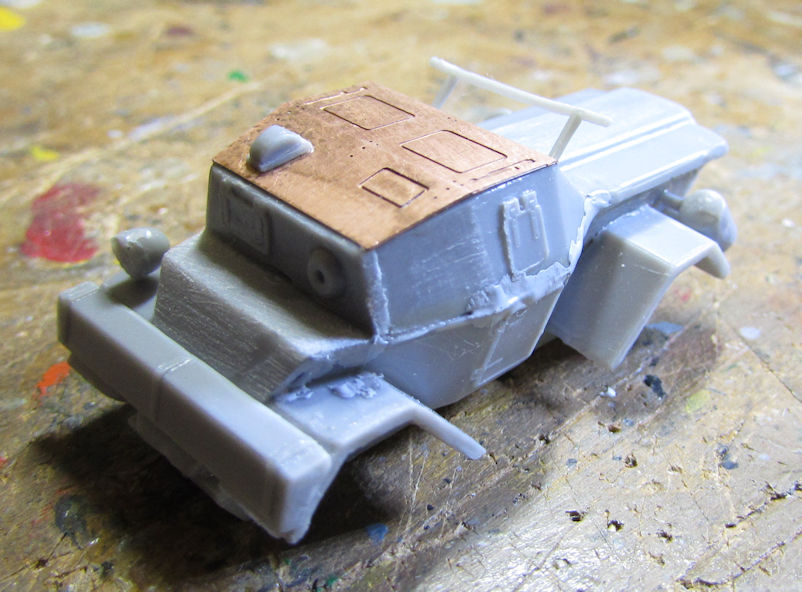
Then when that was dry, I started adding the wheel struts underneath:
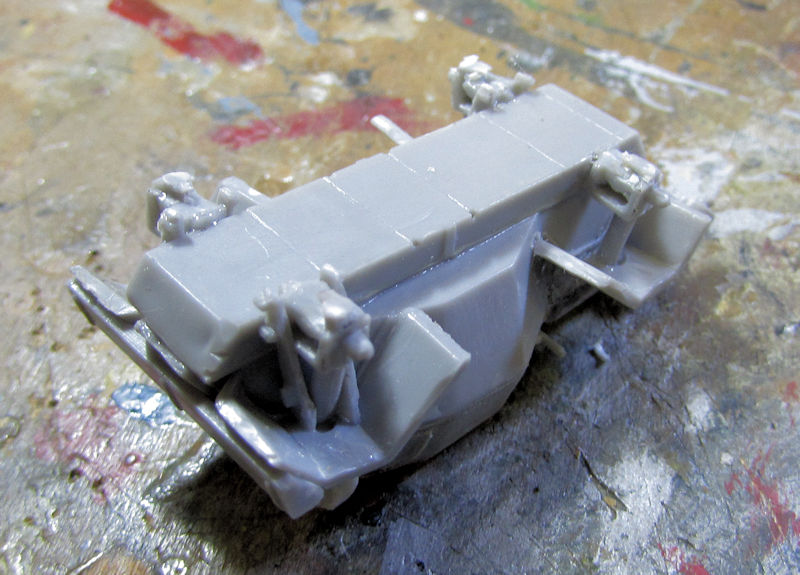
This little thing is now ready for paint.
Alright, that completes this tour of Maddog Manufacturing again, I hope you liked it despite it's length. I hope to have more done later this week, and I'm also hoping to get my finished models posted soon as well. Stay tuned, more to come. Thanks all for looking in, comments are welcome.