Page 22 of 44
Re: 1/32 Hasegawa Fw190D-9 Red One
Posted: Wed Dec 12, 2018 3:34 pm
by jkim
The resin prop sets that Henri Daehne makes represent the pinnacle of enthusiast improvements that are available today. Incredibly well cast, his stuff just oozes with quality and precision.

The VS111 set for the Fw190D-9 comes with a complete prop, including a super-detailed hub, which, unfortunately will go mostly unseen once the spinner is attached.

The multi-page instructions are very well detailed with exact measurements for key pieces so there is none of the guess work and ambiguity that other aftermarket sets are afflicted with. The first order of business is to enlarge the opening in the radiator face to accommodate the brass tube that serves as the prop shaft. Luckily, I have a 3mm drill bit that can be used to for this purpose.

Once the hole is enlarged to 3mm, I can check to see if the prop shaft is perfectly centered. The brass tube is a tight friction fit, which fits my needs exactly since I'll be able to remove the prop for shipping.
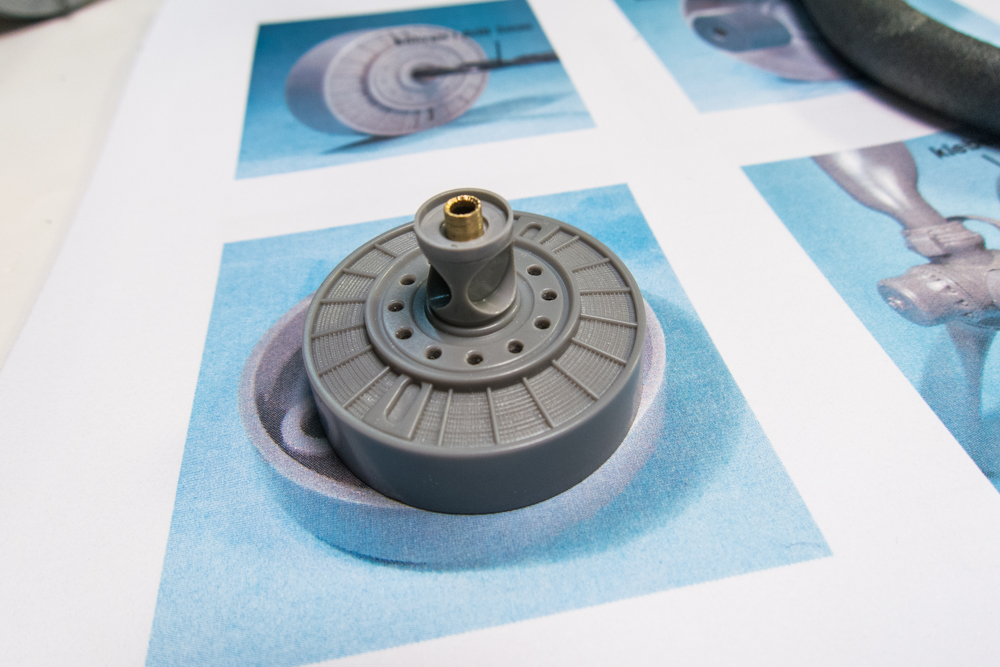
Clean up of the resin parts involves removal of the casting bases and some trimming of excess resin. Most of the bases have pre-trimmed so only minor sanding is needed to get each part down to the exact prescribed dimensions.
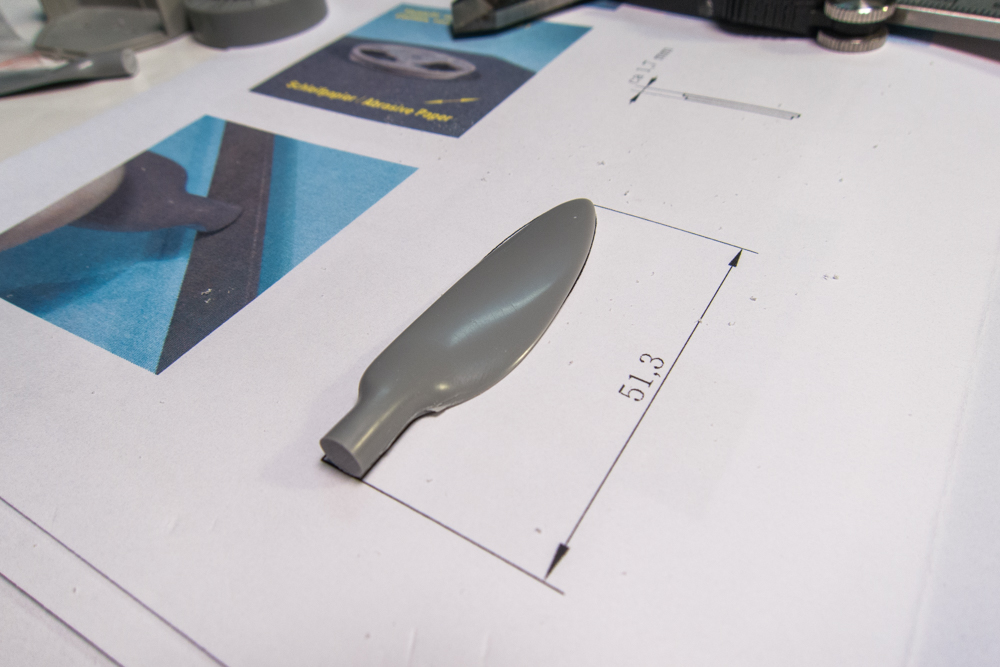
Once the individual parts have been cleaned up, the prop is ready to be assembled.

I'm going to stop here with the HD prop for now, after verifying the fit of the pieces.

Re: 1/32 Hasegawa Fw190D-9 Red One
Posted: Wed Dec 12, 2018 5:08 pm
by Stikpusher
That set almost begs for a vignette base with the spinner left off to expose all that detail...
Re: 1/32 Hasegawa Fw190D-9 Red One
Posted: Thu Dec 13, 2018 1:06 am
by jkim
Yes, but the Dora would lose its beautiful face. I'll leave the dioramas to other more capable modelers and I'll stick with the buttoned-up, ready to take-off look.
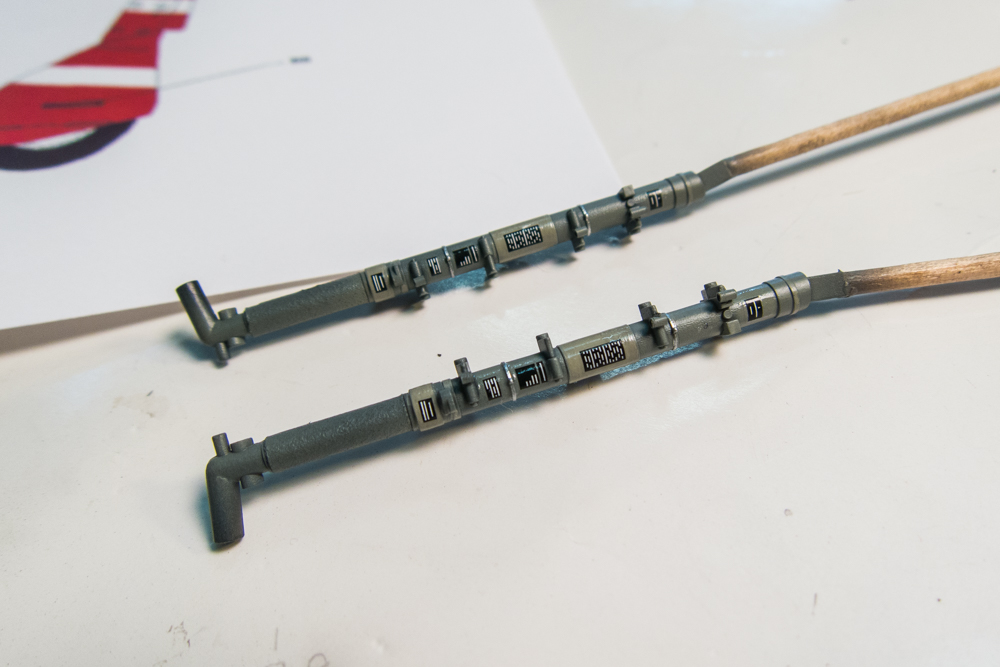
Spent this evening doing a lot of painting. The landing gear legs with shiny oleos masked off and preliminary painting done. The basic RLM02 color of the legs is given some variation by painting some portions in a slightly lighter shade.

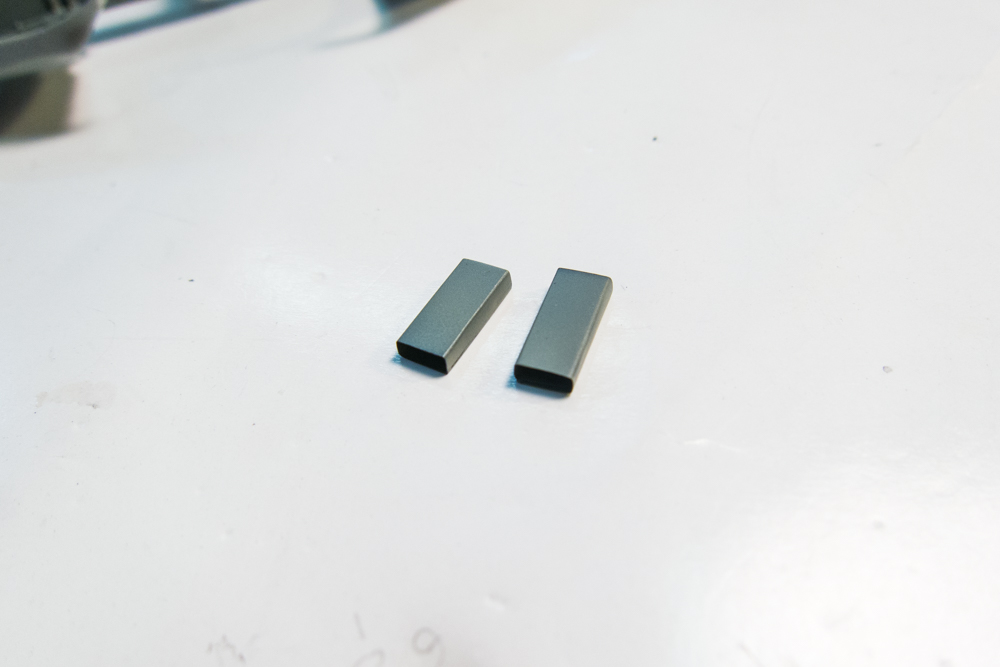
The ammo ejection chutes have been painted... black on the inside and RLM02 on the outside.
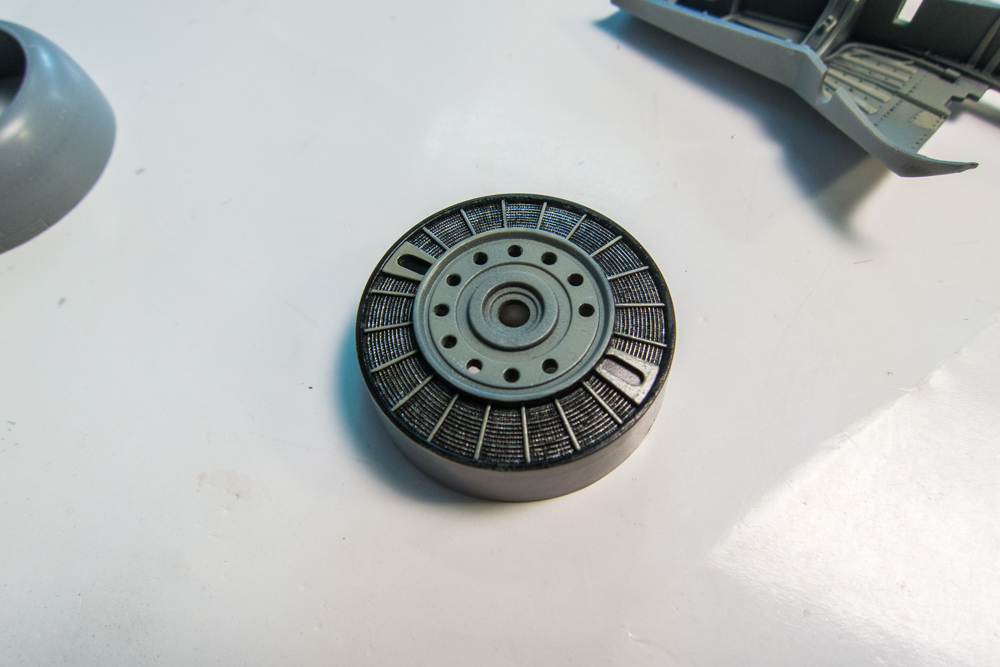
The radiator grill is painted. One of the rare times I've tried to do some dry-brushing.
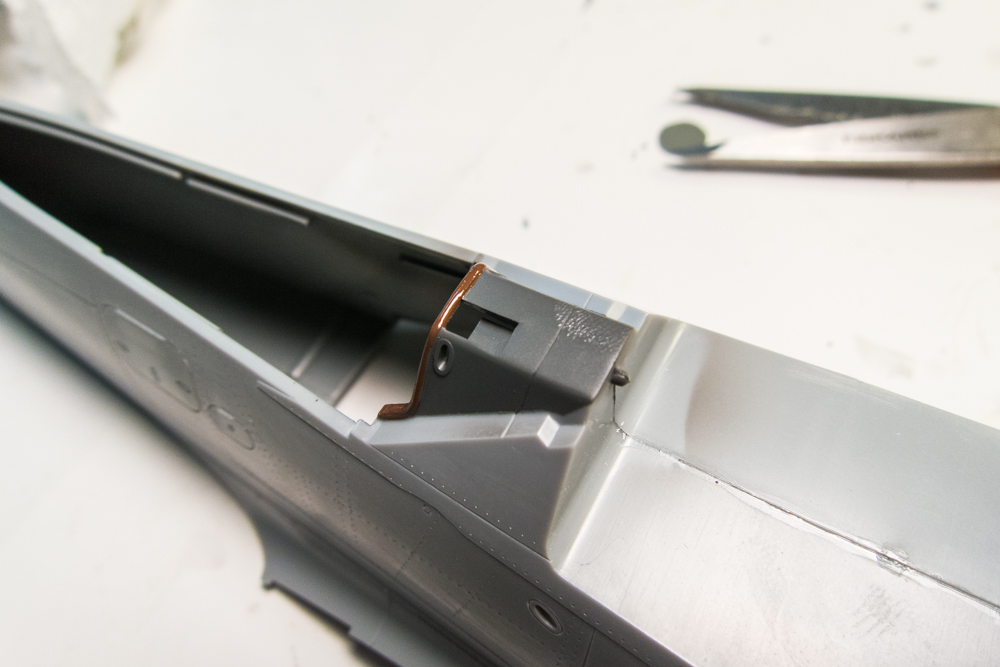
Here's the cockpit coaming or hood after seam repair and some paint. I inadvertently braced one of my fingers on the wet paint... doh!
After sealing the paint with Alclad Aqua Gloss, I applied the data plate decals to the legs. These came from the EagleCal decal sheet.
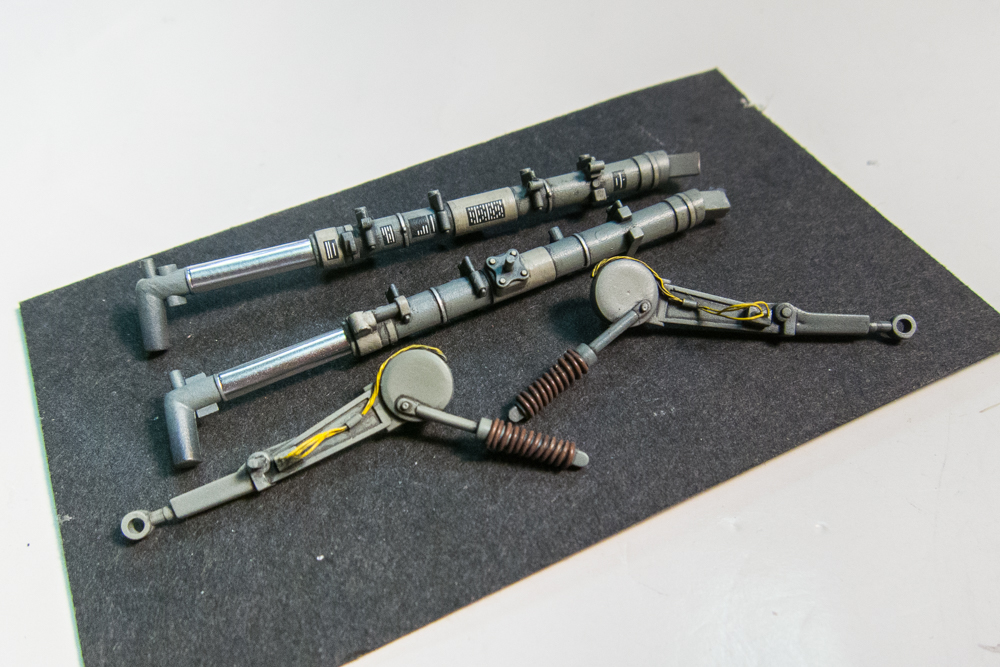
Another gloss coat on the legs and I apply a dark pastel wash to highlight the details and dirty the legs up a bit. The legs are then given a flat coat to seal the effects. I've also painted and washed the retraction arms in a similar manner.
Re: 1/32 Hasegawa Fw190D-9 Red One
Posted: Thu Dec 13, 2018 7:58 am
by Stikpusher
I really appreciate the step by step explanation on the landing gear build process. The final results look outstanding!

Re: 1/32 Hasegawa Fw190D-9 Red One
Posted: Thu Dec 13, 2018 12:08 pm
by Duke Maddog
Magnificent work John! Those landing gear legs look tremendous! Your dry-brushing looks fabulous too, better than I do and I've been doing it for years now! Way to go Man!
Re: 1/32 Hasegawa Fw190D-9 Red One
Posted: Thu Dec 13, 2018 5:35 pm
by speedgraflex
Exquisite work, John! I love the visual “punch” from your yellow Luftwaffe wiring looms—so simple, yet these touches elevate the status of your work.
Re: 1/32 Hasegawa Fw190D-9 Red One
Posted: Thu Dec 13, 2018 5:41 pm
by KennyX
And that is some excellent dry dry brushing, too.
I was thinking about you, earlier today.
I actually have three aircraft going, right now. I should know by now that I love breaking rules, and that goes triple for rules I make up for myself. Rules like “I’m only drinking two pints on weeknights” and “I’m only going to work on one model aircraft at a time” and “I’m not going to test code I write in Production anymore” ... where was I going with this? Oh yeah! I have a 1:32 Emil I’m building, on the side, at the moment. Horst Tietzen’s E3. I’m not logging it, I’m not in a hurry to finish it, I’m not sweating it, I’m just having fun with it. So Inwas in a teleconference today and I was dry brushing some cockpit details because it helps me concentrate. And I was thinking about you and the fantastic job you did on that engine. I’m building this model with an exposed engine and I’m going to refer back to what you’ve done when I get to the engine on mine, because watching this build and your work is helping me learn. I want to achieve a level of detailing and thoroughness that you’ve set a standard for, in my mind. You don’t seem to cut corners and you always seem to go all-in even with the smallest thing, and that makes a huge dofference. I like that about you.
Re: 1/32 Hasegawa Fw190D-9 Red One
Posted: Fri Dec 14, 2018 12:25 am
by jkim
Stikpusher wrote:I really appreciate the step by step explanation on the landing gear build process. The final results look outstanding!
I know it is my third Dora build but I still like presenting things (not everything) step-by-step.
Duke Maddog wrote:Magnificent work John! Those landing gear legs look tremendous! Your dry-brushing looks fabulous too, better than I do and I've been doing it for years now! Way to go Man!
Dry brushing is a technique that I don't often utilize, especially since I prefer using washes to do the highlighting. Plus, you need lots of restraint. I usually err by having a little too much paint and one errant dab will ruin the effect.
speedgraflex wrote:Exquisite work, John! I love the visual “punch” from your yellow Luftwaffe wiring looms—so simple, yet these touches elevate the status of your work.
Thanks Bruce! That wiring IS present on the Doras per the walkarounds I've seen so this is an example of me not making it completely up. The yellow color is speculative.
KennyX wrote:
And that is some excellent dry dry brushing, too.
I was thinking about you, earlier today.
I actually have three aircraft going, right now. I should know by now that I love breaking rules, and that goes triple for rules I make up for myself. Rules like “I’m only drinking two pints on weeknights” and “I’m only going to work on one model aircraft at a time” and “I’m not going to test code I write in Production anymore” ... where was I going with this? Oh yeah! I have a 1:32 Emil I’m building, on the side, at the moment. Horst Tietzen’s E3. I’m not logging it, I’m not in a hurry to finish it, I’m not sweating it, I’m just having fun with it. So Inwas in a teleconference today and I was dry brushing some cockpit details because it helps me concentrate. And I was thinking about you and the fantastic job you did on that engine. I’m building this model with an exposed engine and I’m going to refer back to what you’ve done when I get to the engine on mine, because watching this build and your work is helping me learn. I want to achieve a level of detailing and thoroughness that you’ve set a standard for, in my mind. You don’t seem to cut corners and you always seem to go all-in even with the smallest thing, and that makes a huge dofference. I like that about you.
Thank you Kenny! I like sharing and learning, especially from like-minded hobbyists. Those that are willing to try new things. I like how personal perspective plays such a big part in modeling. We all see things in a different way and I am always trying to see if I can catch something in an archive photo that I hadn't noticed before. I remember taking a fine art class in college. One of the exercises we did was to draw a face from a photograph but the instructor had us invert the photo. Turn it upside down and draw it upside down. It was an exercise to break the assumptions that we often make of familiar objects... we think we know what an eye looks like so we draw it from memory or convention instead of actually looking at the photo in front of us. I'll always remember that and I try to apply that in modeling. I usually break up the model and try to treat each sub-assembly as a model unto itself. Give it full attention so that each piece can stand on its own.
Re: 1/32 Hasegawa Fw190D-9 Red One
Posted: Fri Dec 14, 2018 12:43 am
by jkim
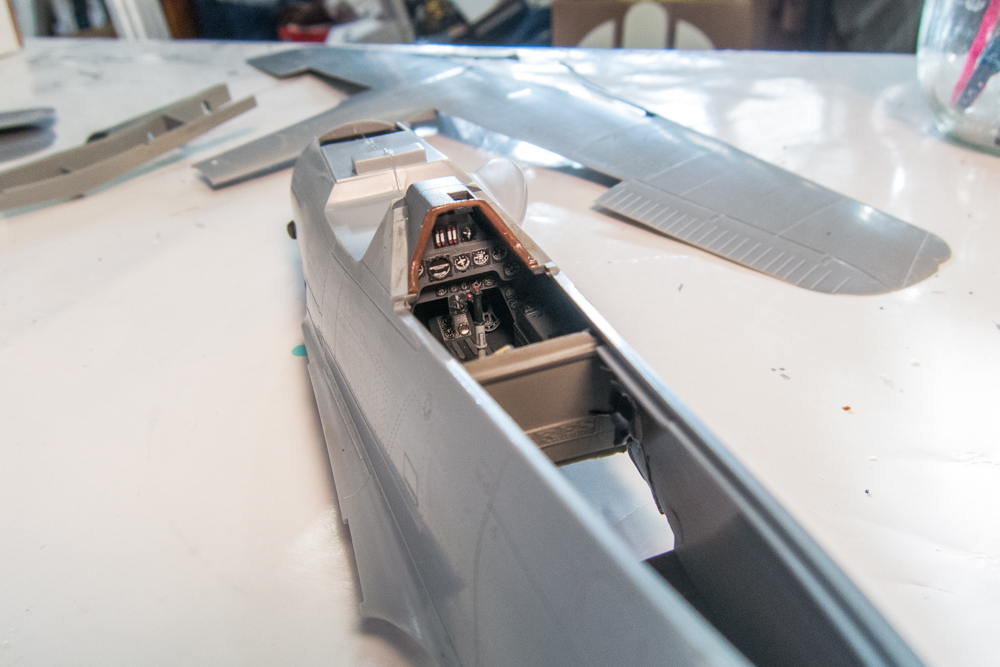
Oh wait... I actually had some modeling to report! Time to install the completed cockpit into the fuselage. That cockpit has been sitting on my desk for months and months and it's finally going to put into place. I used JB Kwik, which is a two-part epoxy that sets very fast. It's perfect when you need a solid bond AND you could benefit from a bit of lag to be able to make fit adjustments as it cures.

The fit of the rear deck is checked as the JB Kwik is drying so I can make last minute adjustments.

The view into the cockpit is limited, especially since the canopy will be posed in the closed position. One of the reasons why I chose the simpler (and cheaper) Aires resin cockpit instead of the Eagle Editions.

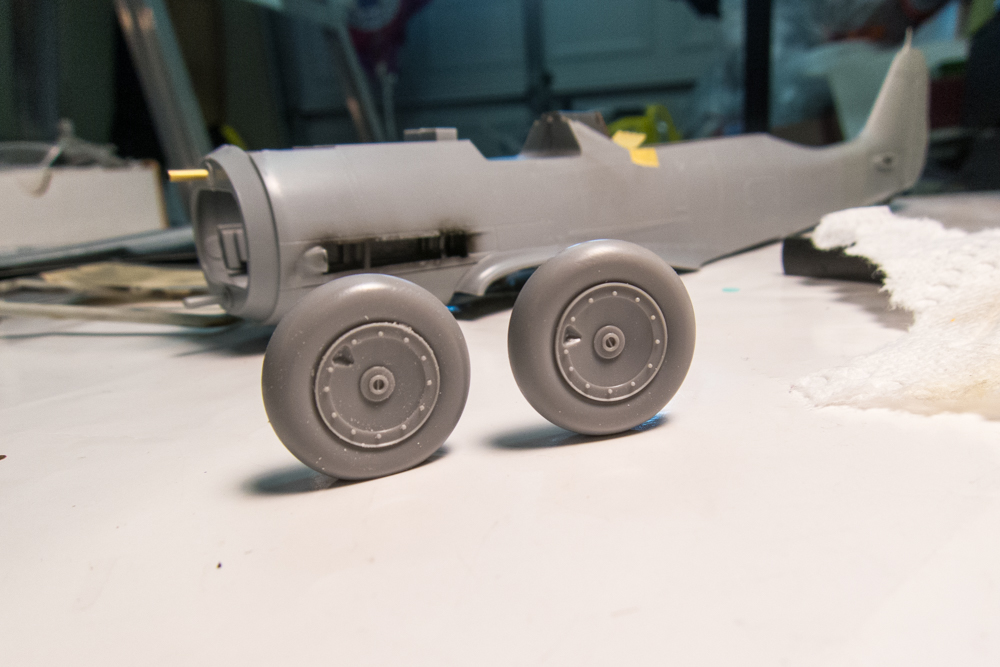
The work on the tires begin by creating a flat spot. To simulate the weight of the aircraft pressing down on the inflatable tires, I simply sand a flat spot using a piece of coarse sand paper taped onto a small sheet of glass. It can be a fairly delicate exercise as it can be difficult to hold the tire perfectly perpendicular to the sand paper during each stroke. Constant checking and adjustments have to made to keep the flat spot on the correct plane.

Can you see the difference between the weighted and unweighted tire? I think it makes a lot of difference and I do this on all of my builds.
Here is the hood above the instrument panel after the fingerprinted paint was removed and the seam and panel line repaired.

Finally, the wheel well insert has been painted and weathered. Besides the minor modifications to the molded brake line and the addition of the Quickboost resin gun bodies, the wheel well is mostly the result of painting and weathering. Like the gear legs, I used highlights of lightened RLM02 to add some tonal variety to the wheel wells. I've tried to tone down the contrast between the light and dark RLM02 as I thought I was a little heavy handed with this variation on my last build.

Re: 1/32 Hasegawa Fw190D-9 Red One
Posted: Fri Dec 14, 2018 10:29 am
by Stikpusher
John, you are achieving a excellent level of detail and realism on this. Even the simple addition of sanding flat spots on the tires for weight simulation. A small touch that to my eye makes a big difference.