Page 22 of 28
Re: 1/32 Hasegawa Bf109K-4 Weisse 8
Posted: Wed Dec 04, 2019 11:41 pm
by jkim
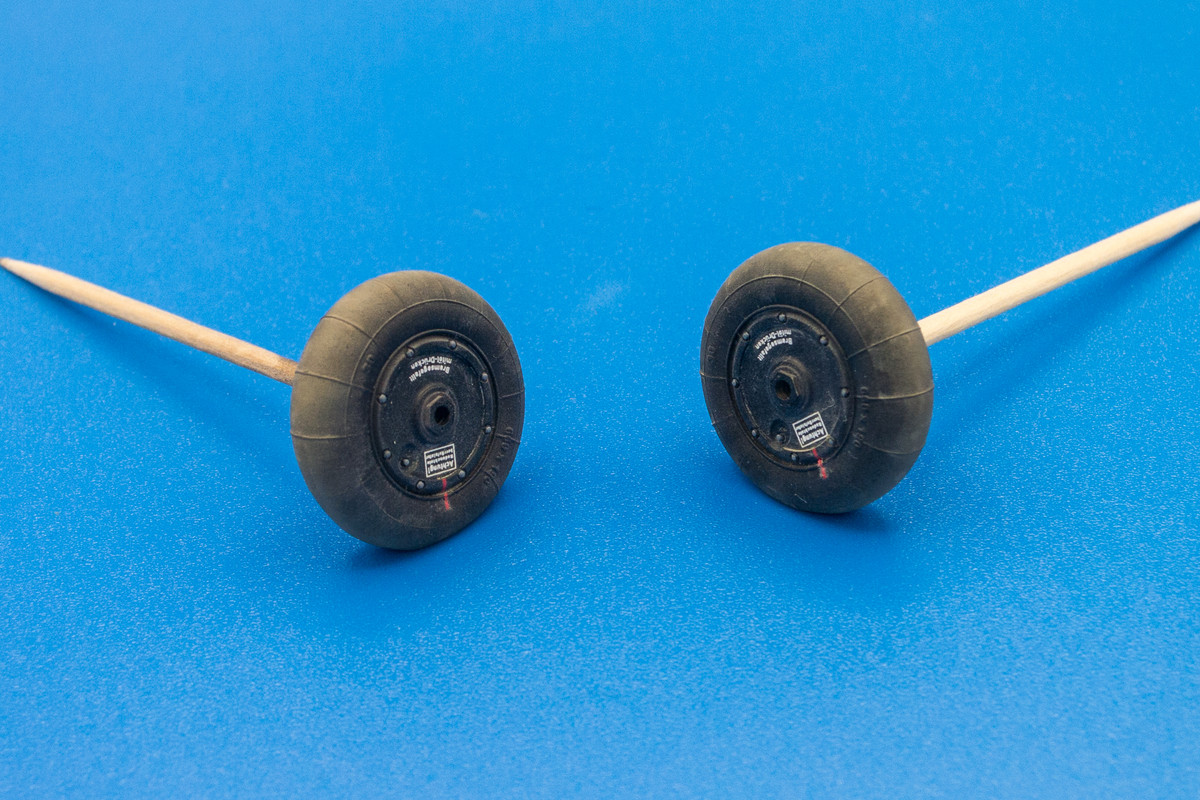
Added a pigment wash to stain the tires a little bit more...
Re: 1/32 Hasegawa Bf109K-4 Weisse 8
Posted: Thu Dec 05, 2019 4:04 am
by Stuart
Beautifully done U/C John - those wheels look real.
Re: 1/32 Hasegawa Bf109K-4 Weisse 8
Posted: Thu Dec 05, 2019 6:08 am
by tempestjohnny
Wow
Re: 1/32 Hasegawa Bf109K-4 Weisse 8
Posted: Sat Dec 07, 2019 12:08 am
by jkim
Thanks for checking in guys!
The tail on this particular aircraft is colored differently than the rest of the aircraft, perhaps a replacement? And since it involves masking hard-edged mottles, I thought it would be easier to paint the tail now before the wings and elevators are glued into place. I can also practice my new mottling preshade technique.
First I highlight the panel lines and other details in black.
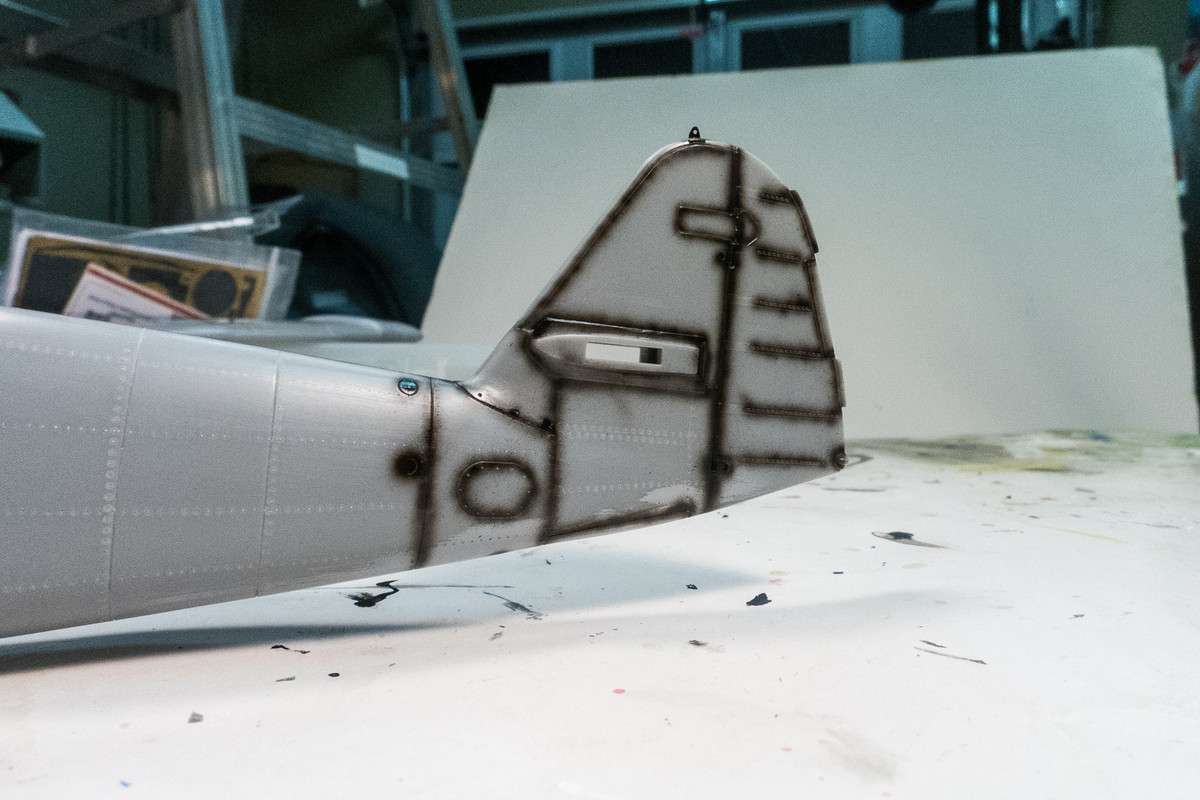
Using a brillo scrubbing pad, I establish the first stage mottle, which is a diffused effect.
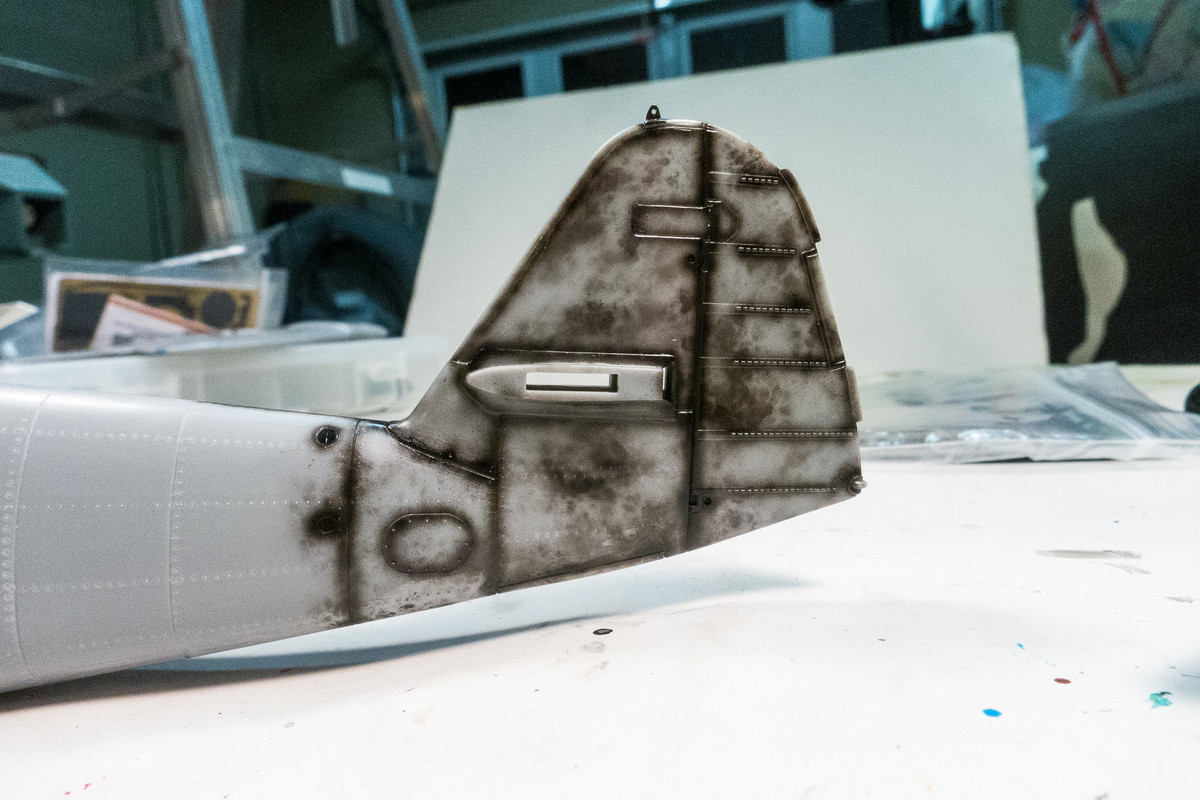
With a artist's template for random hole patterns, I get a second later of harder edged mottling.
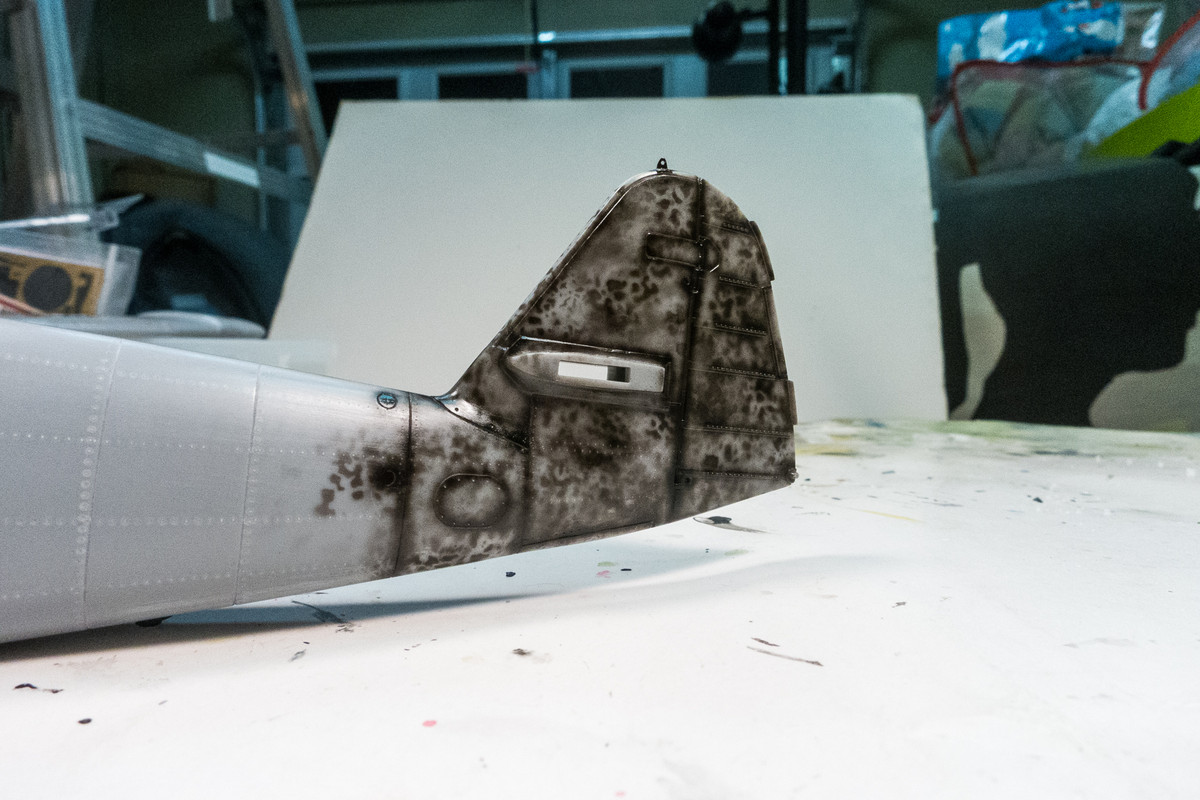
Over this preshading pattern, I spray my Light Blue (RLM 76).
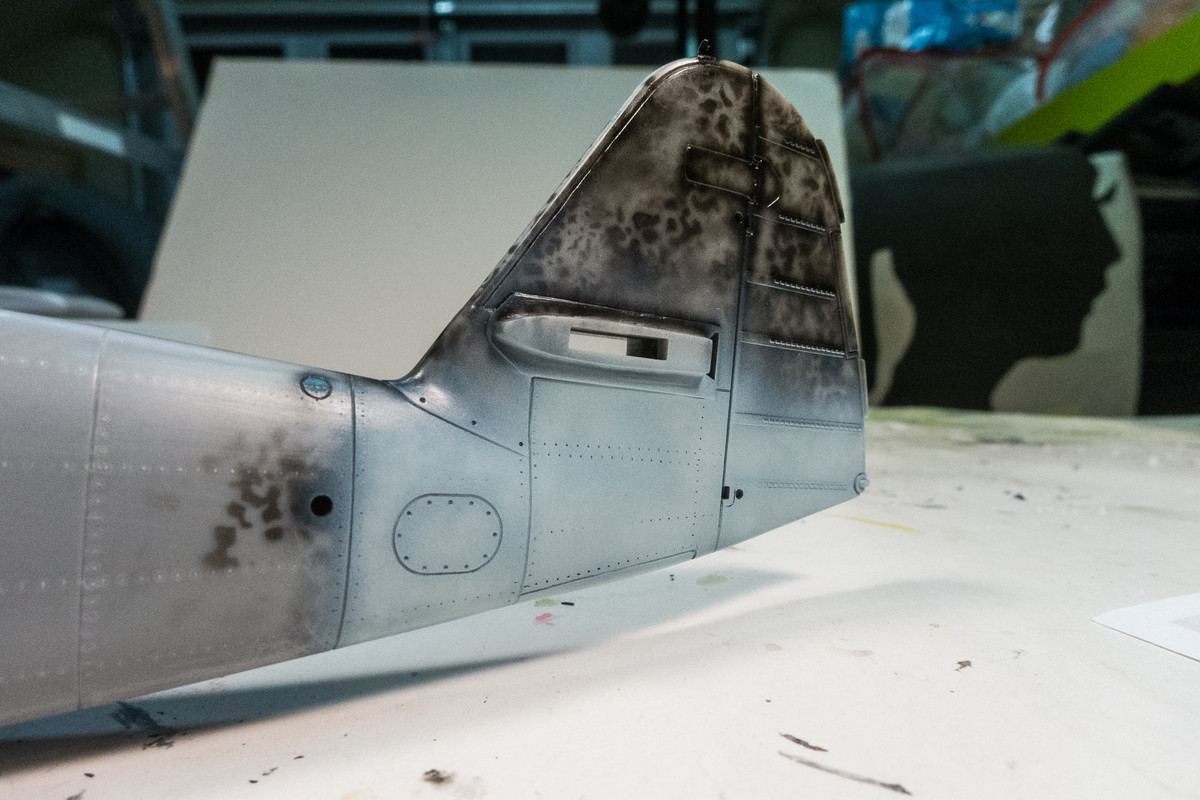
The Light Blue is masked off and the tail unit is painted Grey (RLM 75)
I scaled up the tail mottle pattern from the JaPo 109K book to approximately 1/32 scale and used it trace a mask in AutoCAD to export to my Silhouette cutter.
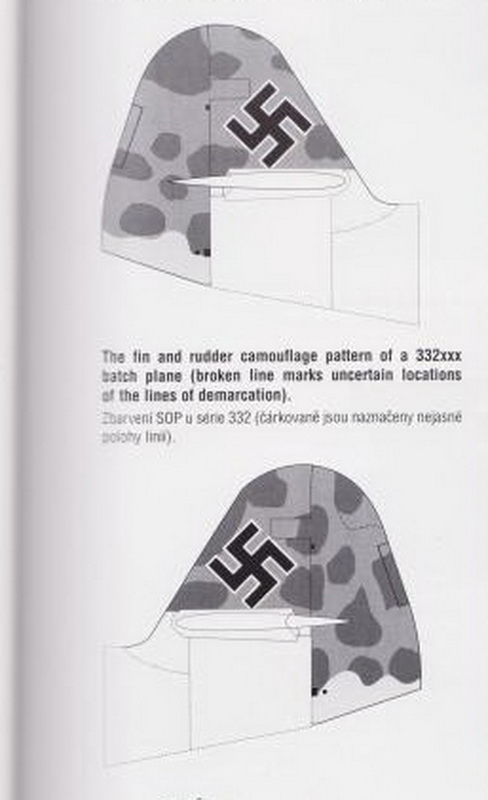
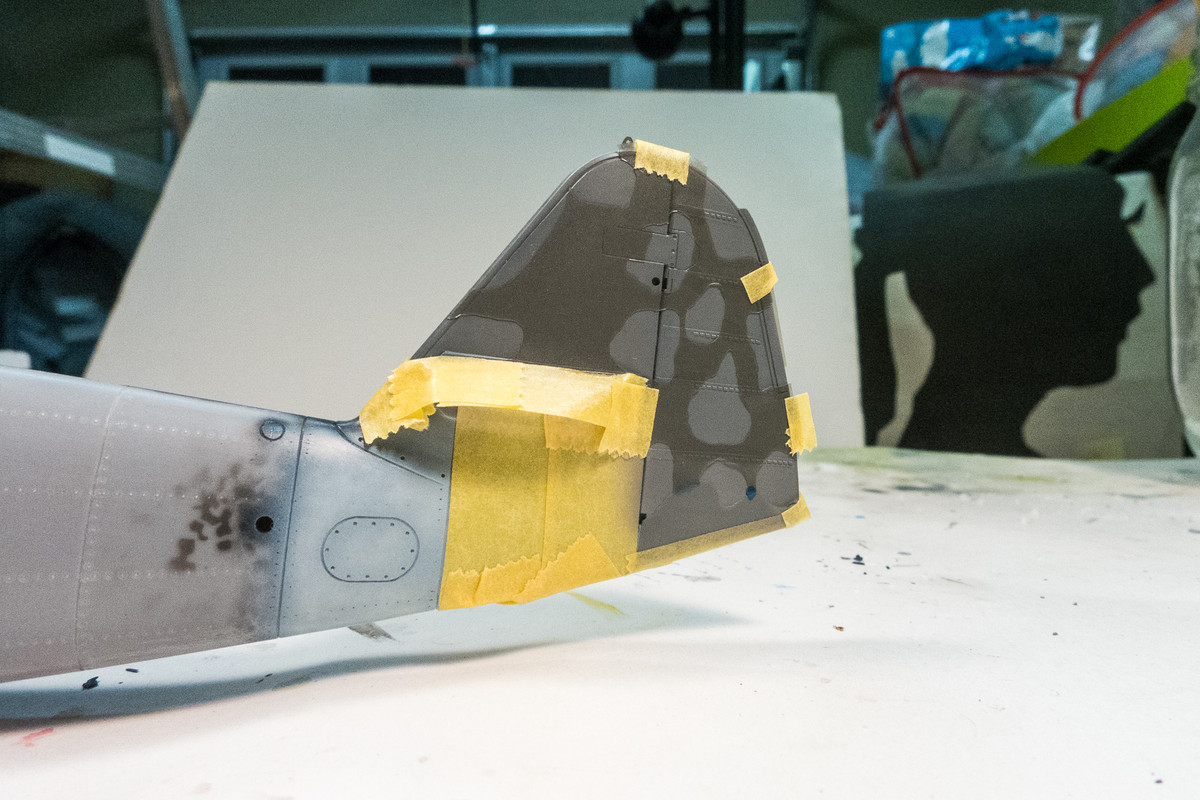
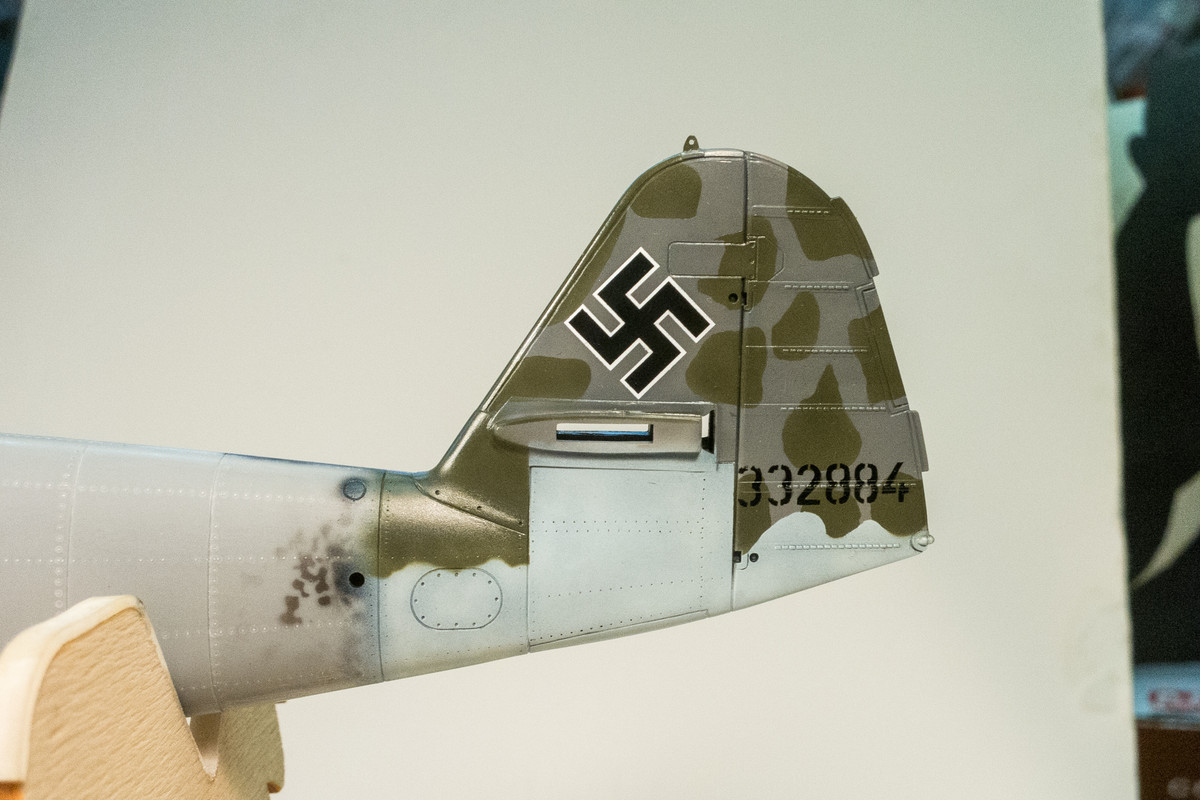
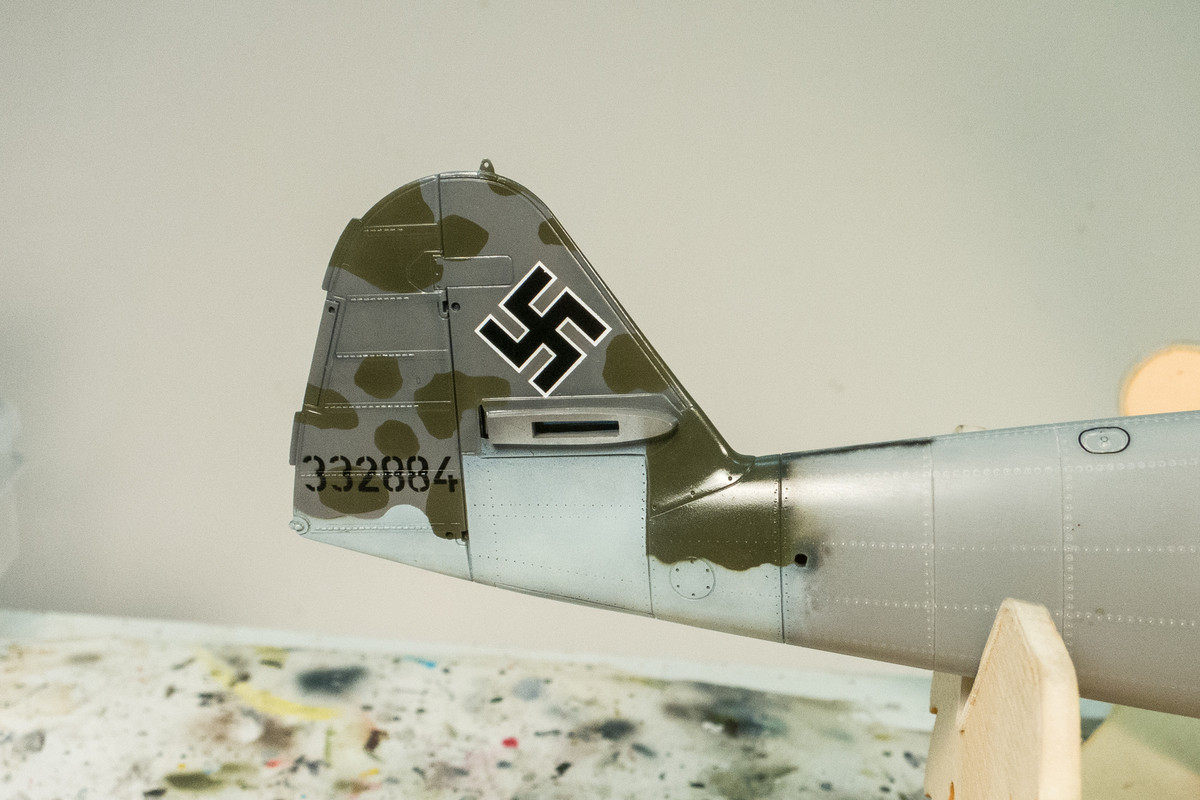
Here is the tail with the final Dark Green (RLM 83).
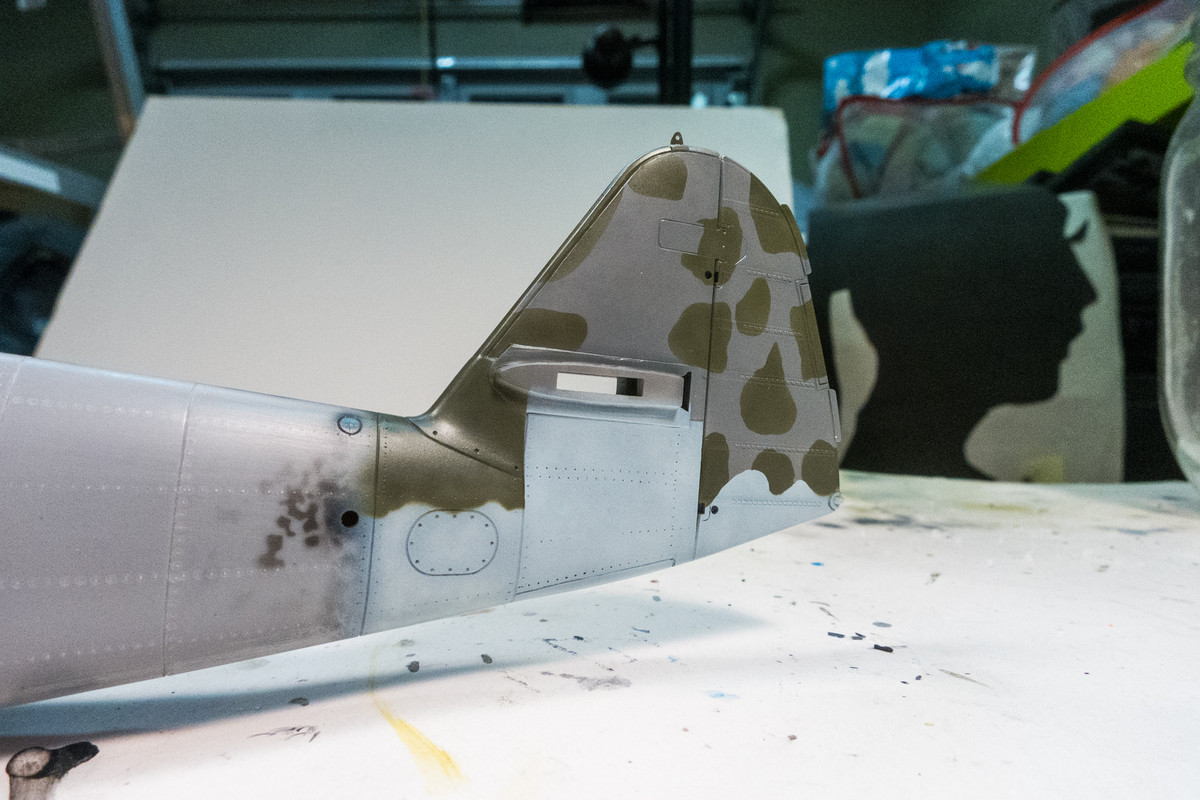
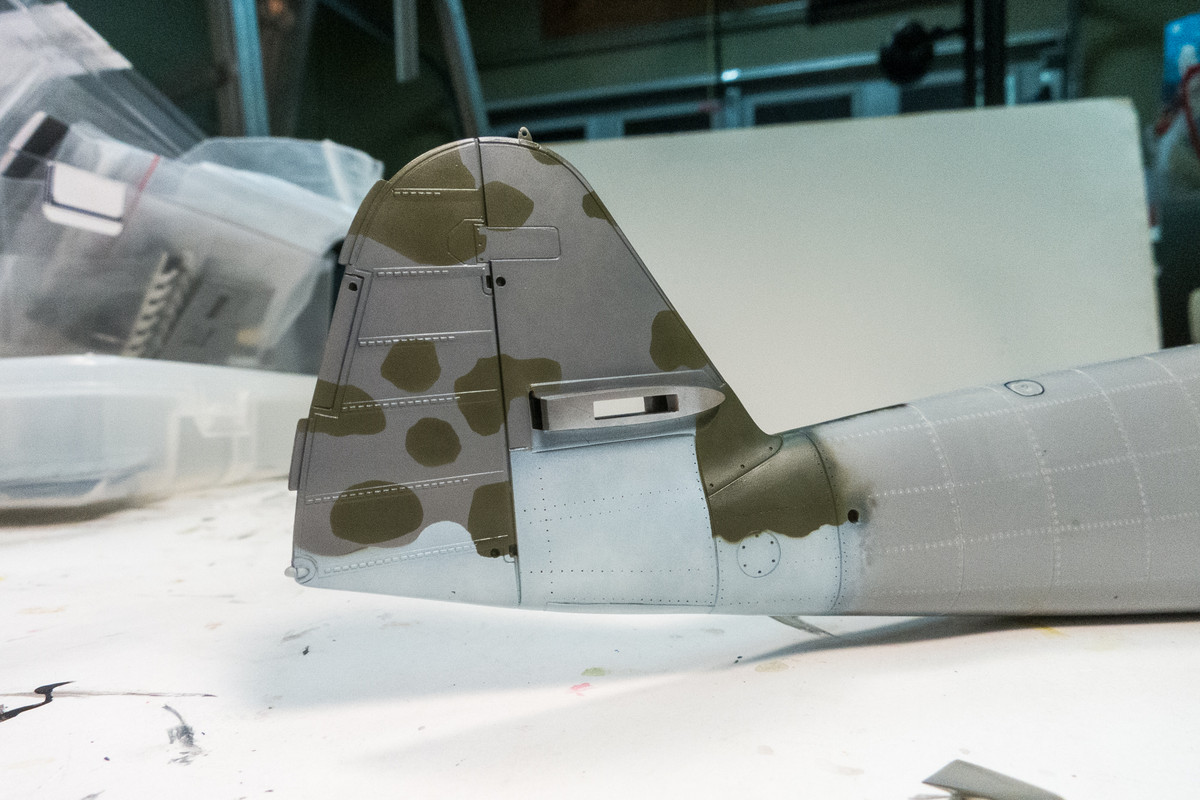
The black swastika is bordered in white and such a thin border is a paint to mask to I'll probably use a decal. The 332884 mask for the tail did not accurately resolve so I'm going to try and cut some new masks. Otherwise, I can also resort to decals.
Re: 1/32 Hasegawa Bf109K-4 Weisse 8
Posted: Sat Dec 07, 2019 3:14 am
by jkim
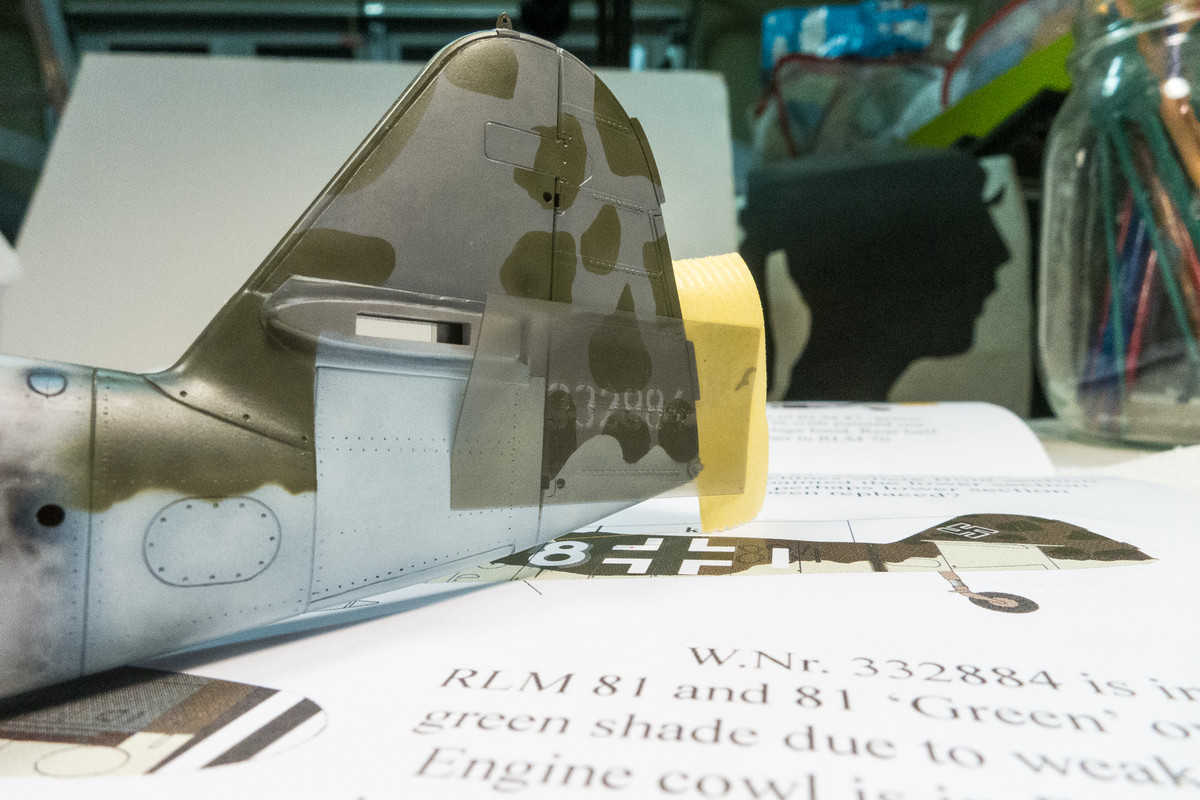
Made new masks of the tail code. You can see the previous mask below where the curves of the "3" and the "8" got translated into straight lines. I figured out that exporting to the oldest DXF format in AutoCAD corrects the problem. Will have to remember that!
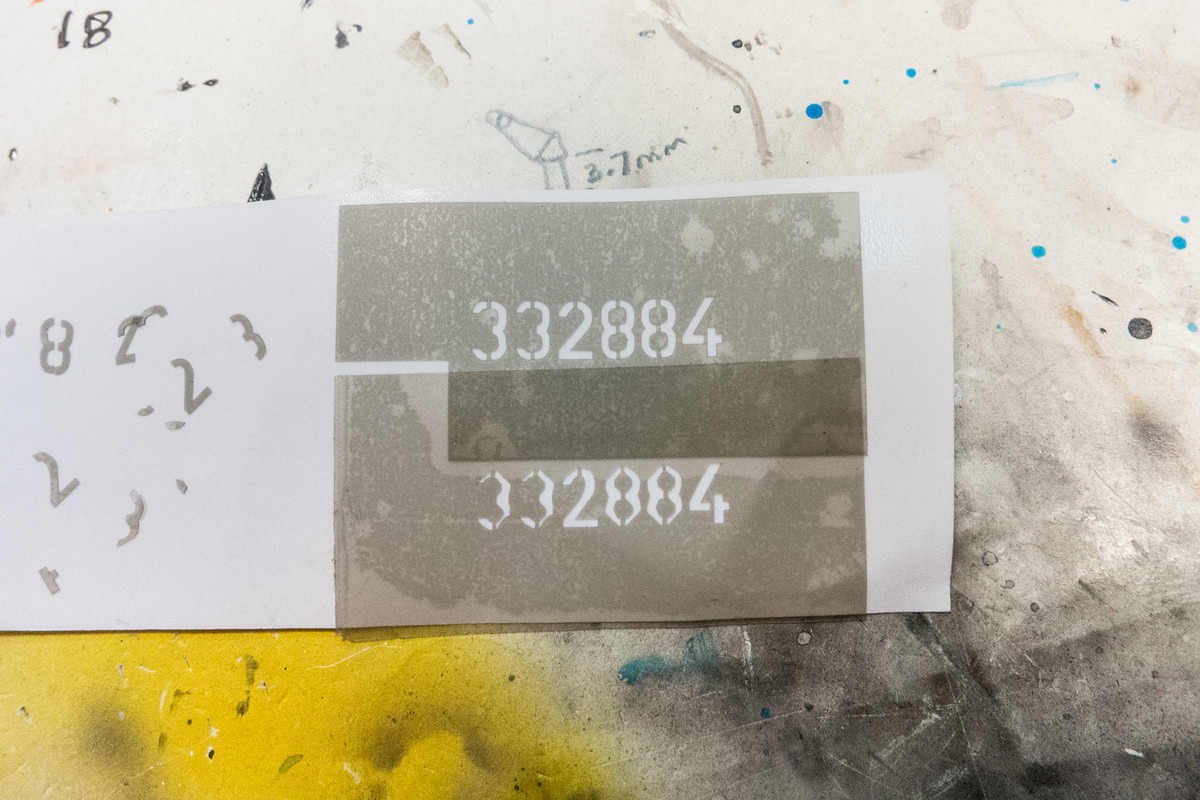
The Werknumbers were painted onto the tail using the new masks.
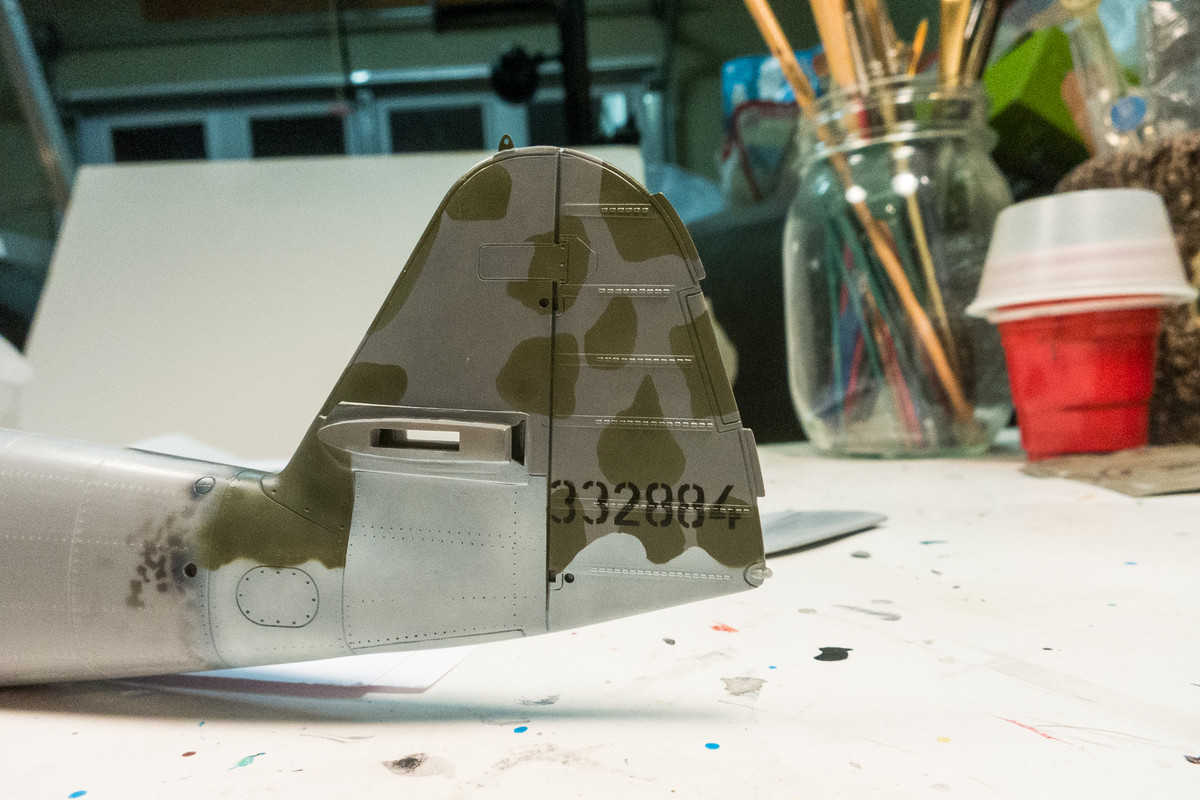
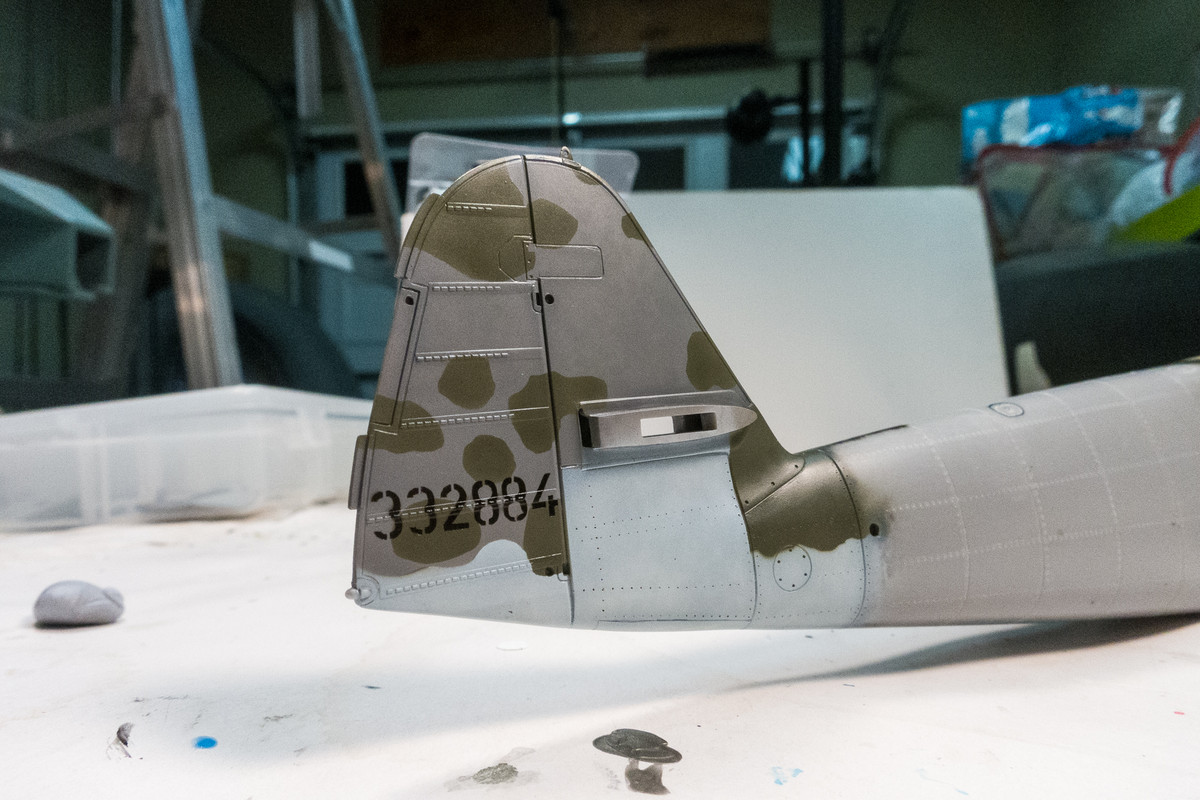
Here's a view from underneath showing the previous work closing the tail wheel doors.
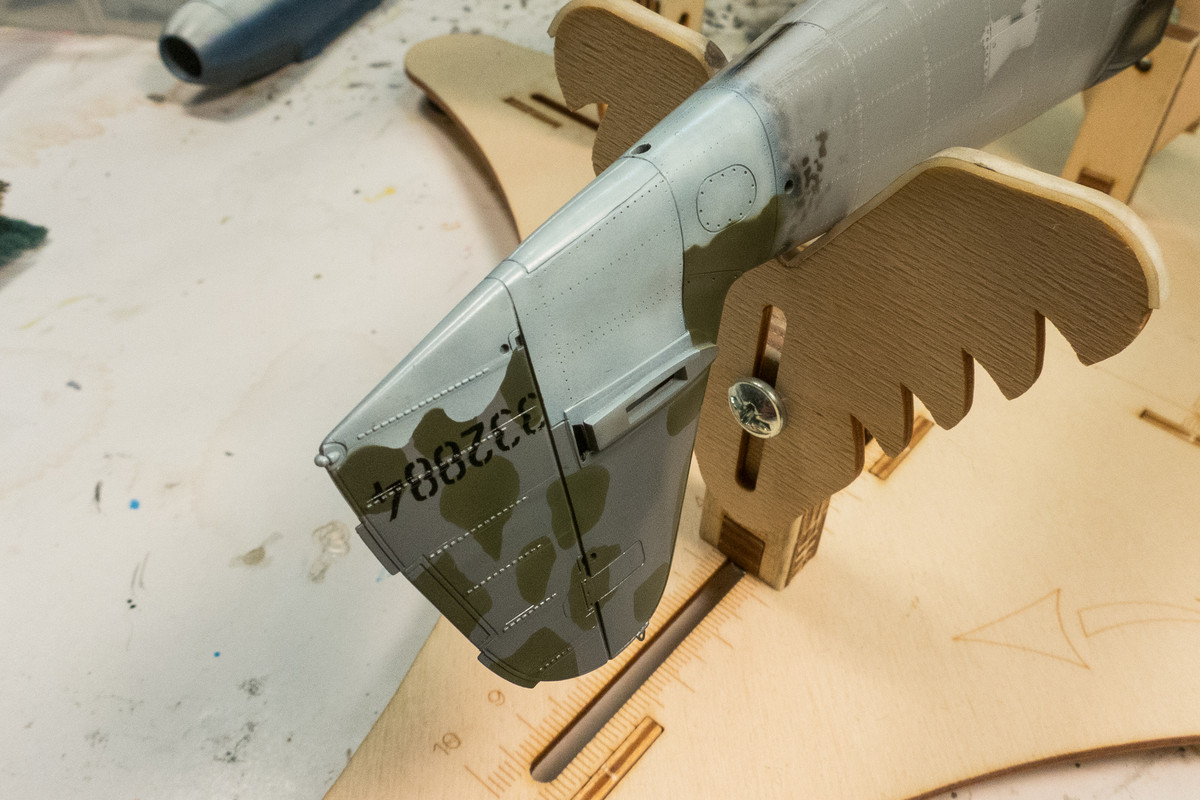
I've given the tail a gloss coat to seal the paint job and I'll apply the swastika decal tomorrow.
Re: 1/32 Hasegawa Bf109K-4 Weisse 8
Posted: Sat Dec 07, 2019 3:23 am
by mostrich
Outstanding work, John. Have those random pattern stencils for a while now and I'm looking forward using them on the next airframe on my bench.
Re: 1/32 Hasegawa Bf109K-4 Weisse 8
Posted: Sat Dec 07, 2019 7:27 am
by LyleW
John, that is amazing work! The longer you look at it, the more you cab see the shading.
Re: 1/32 Hasegawa Bf109K-4 Weisse 8
Posted: Sat Dec 07, 2019 9:36 am
by BlackSheep214
Simply marvelous! I’m actually afraid I’ll mess up mottling and ruin everything on a WW2 Luftwaffe aircraft. I guess I need to find myself a mule aircraft to practice on. I have zero confidence in achieving the same results as yours.
Re: 1/32 Hasegawa Bf109K-4 Weisse 8
Posted: Sat Dec 07, 2019 12:13 pm
by Floki
Amazing work!
Re: 1/32 Hasegawa Bf109K-4 Weisse 8
Posted: Sat Dec 07, 2019 2:18 pm
by jkim
mostrich wrote:Outstanding work, John. Have those random pattern stencils for a while now and I'm looking forward using them on the next airframe on my bench.
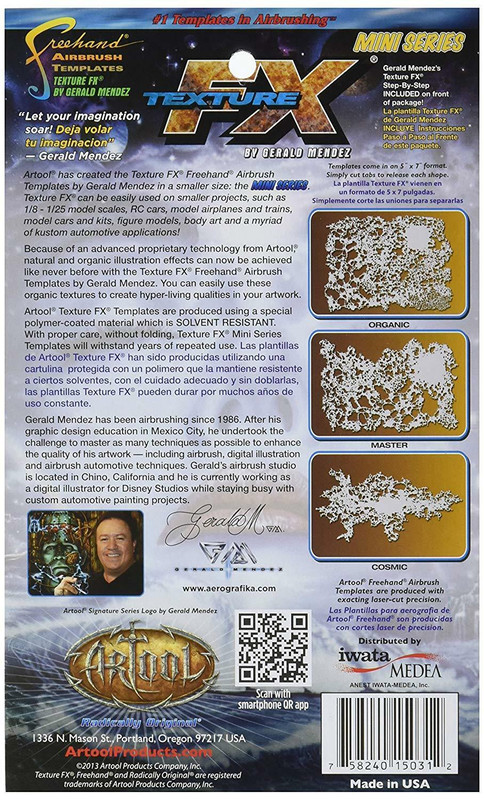
Thanks Torben! I have the Artool Freehand Airbrush Templates plus a small brass template from RB Productions. But the brillo scrubbing pad makes very interesting patterns too!

LyleW wrote:John, that is amazing work! The longer you look at it, the more you cab see the shading.
Thanks Lyle! You can see it a little better in person than in photographs. The pre-shading is not as visible behind a high contrast pattern such as the tail mottles. But the subtle effect is what I am looking for.
BlackSheep214 wrote:Simply marvelous! I’m actually afraid I’ll mess up mottling and ruin everything on a WW2 Luftwaffe aircraft. I guess I need to find myself a mule aircraft to practice on. I have zero confidence in achieving the same results as yours.
Thanks! It's actually a pretty foolproof technique. The worst that can happen is that you lay the paint on too heavy and the pre-shading gets totally covered up, which isn't the end of the world.
Floki wrote:Amazing work!
Thanks Clint!
I've got two sets of swastikas to choose from... AIMS or Eagle Editions. The AIMS were my first choice since it is a single decal (simpler) but since they were ever so slightly out of register, I chose to use the two part Eagle Editions decals. First, the white portion...
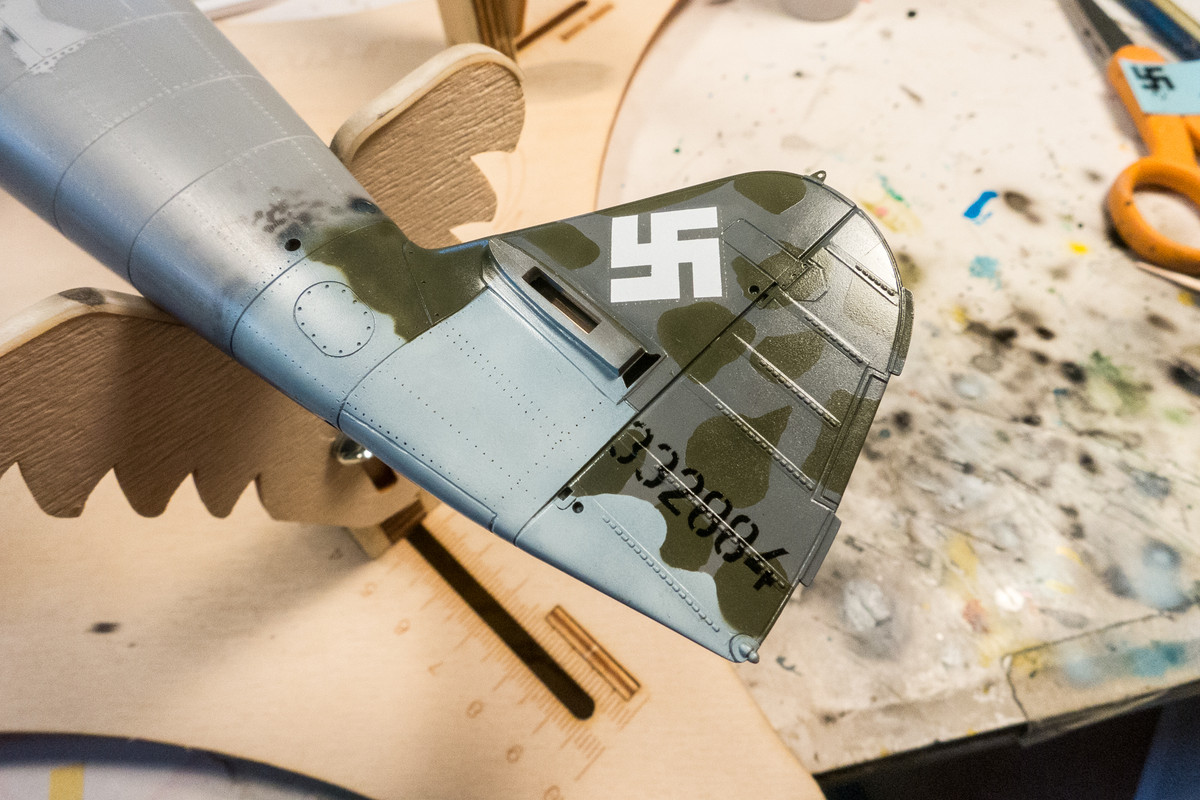
The decal is going on a smooth surface so I am just using the standard Microset/Microsol process. The black portion goes on top of the white with careful positioning to make the borders as even as possible.
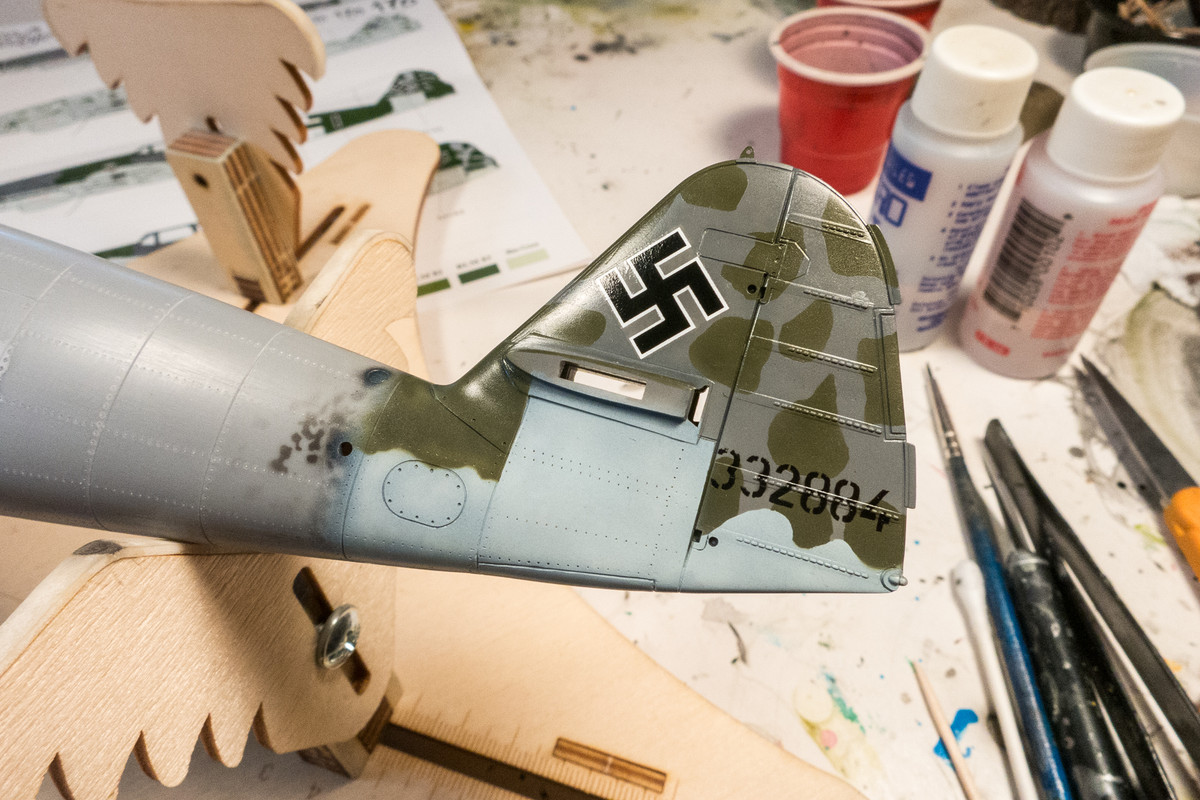
Painting and decaling of the tail unit is done. I'm debating whether to do the pastel wash on the tail now or wait until the rest of the plane is complete.