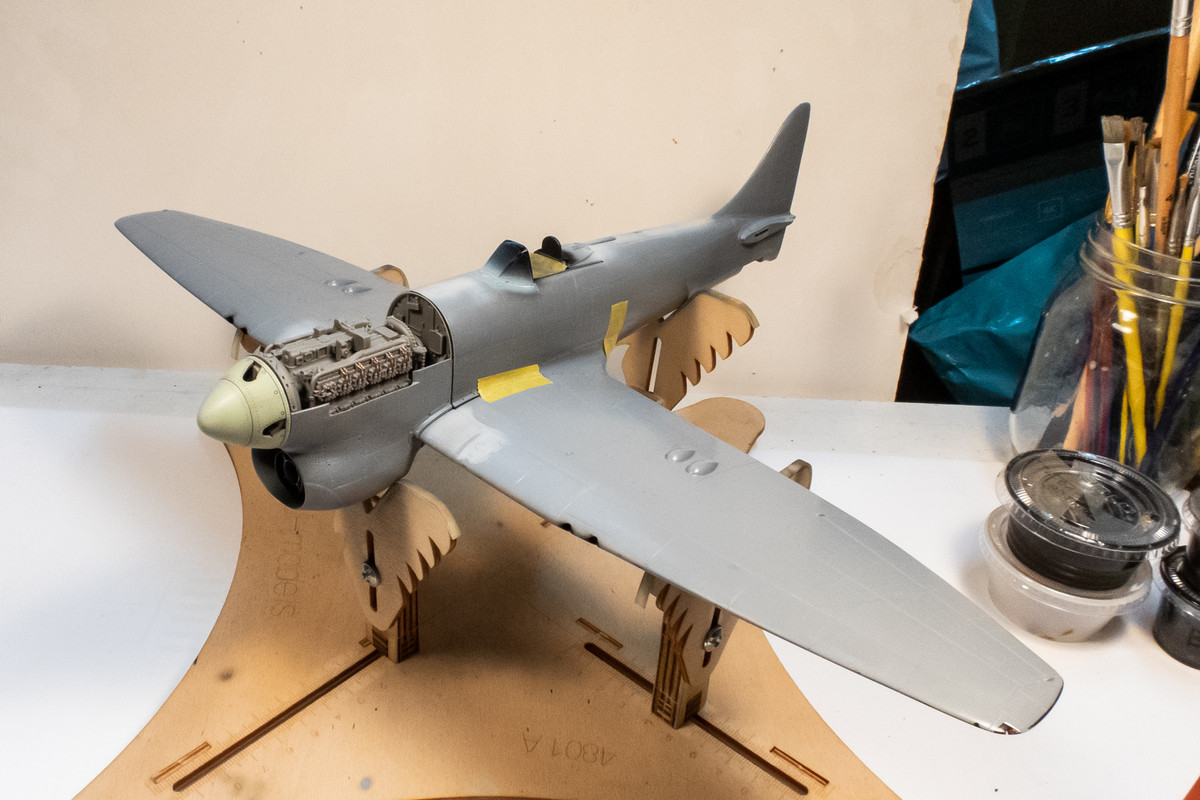
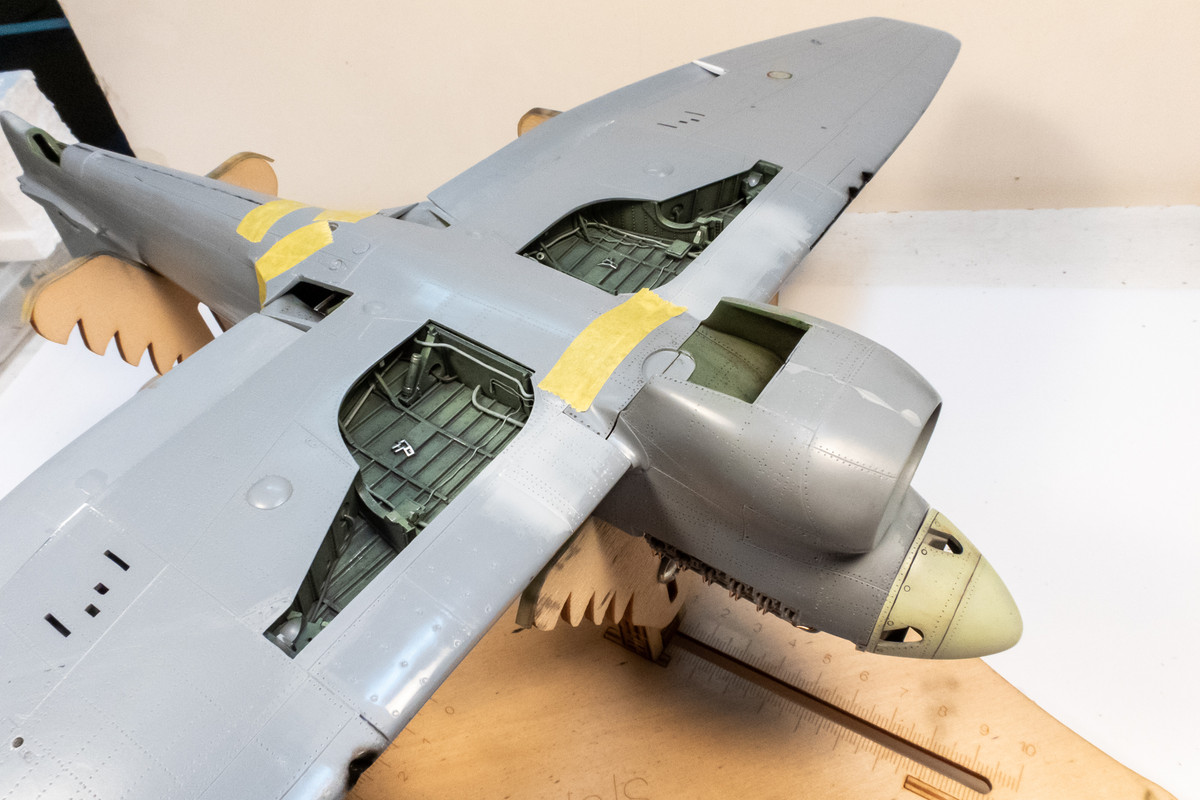
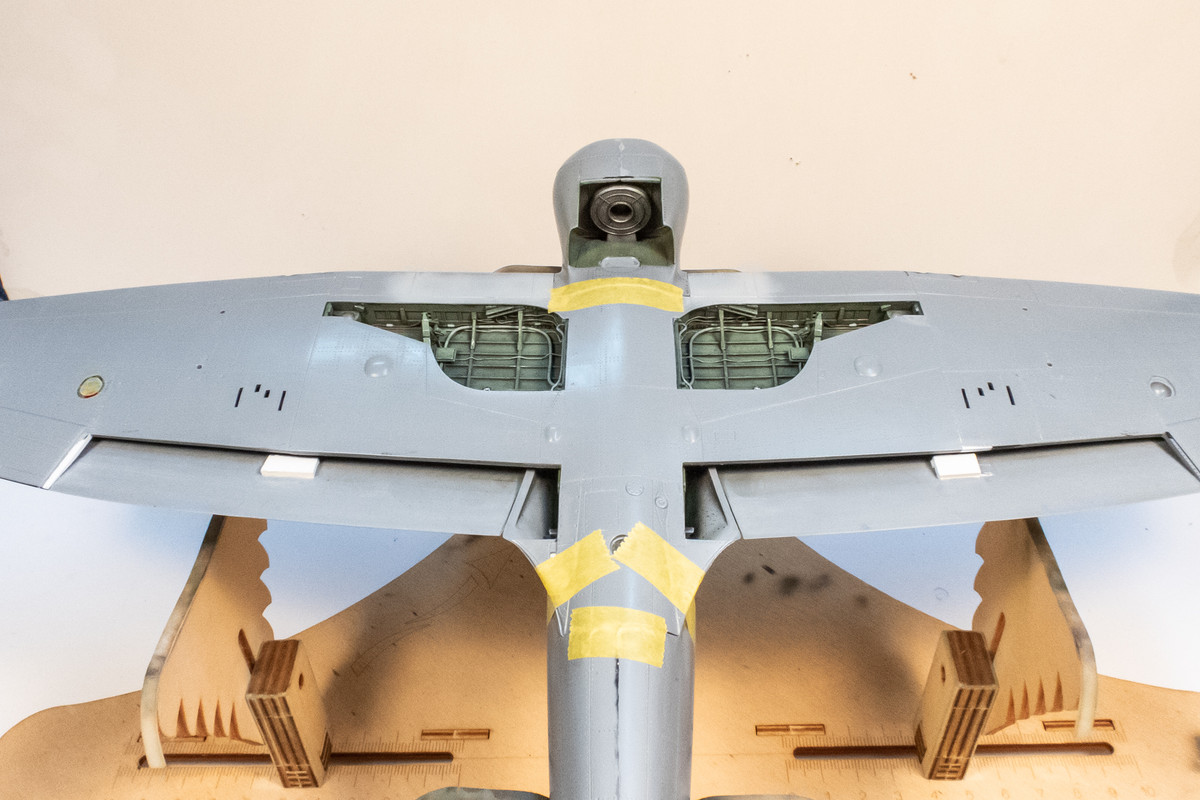
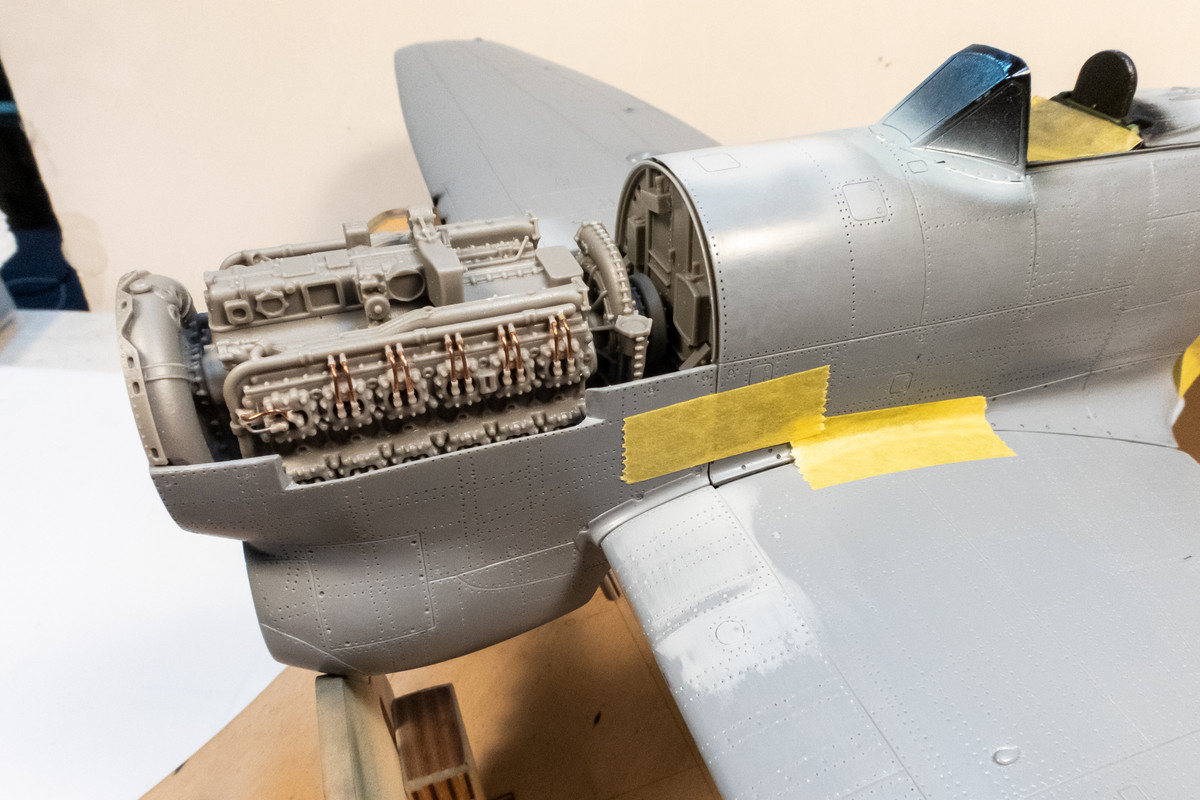
1/32 Special Hobby Hawker Tempest Mk V

Post your work in progress of your aircraft builds in here.
User avatar
jkim
Elite Member
Posts: 4073
Joined: Mon Apr 10, 2017 4:03 pm

Re: 1/32 Special Hobby Hawker Tempest Mk V

Post by jkim »

Thanks guys!

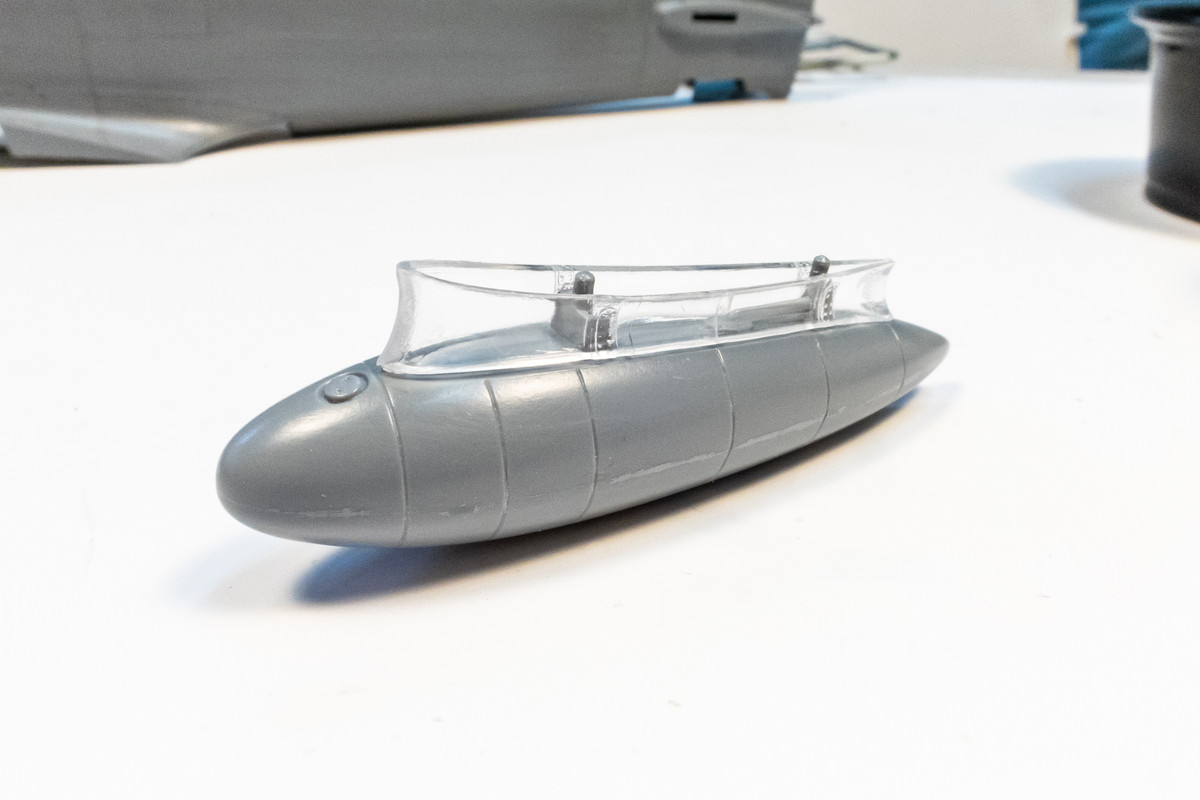
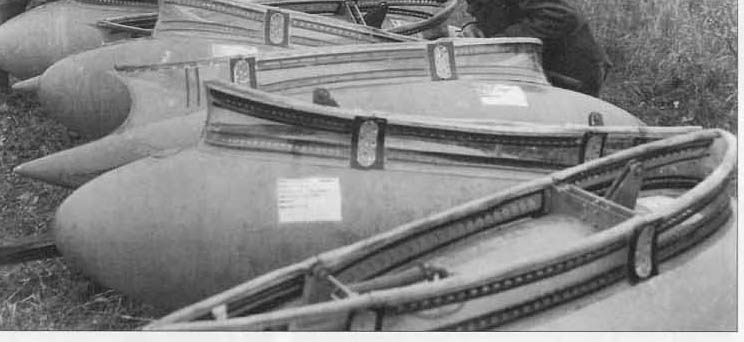
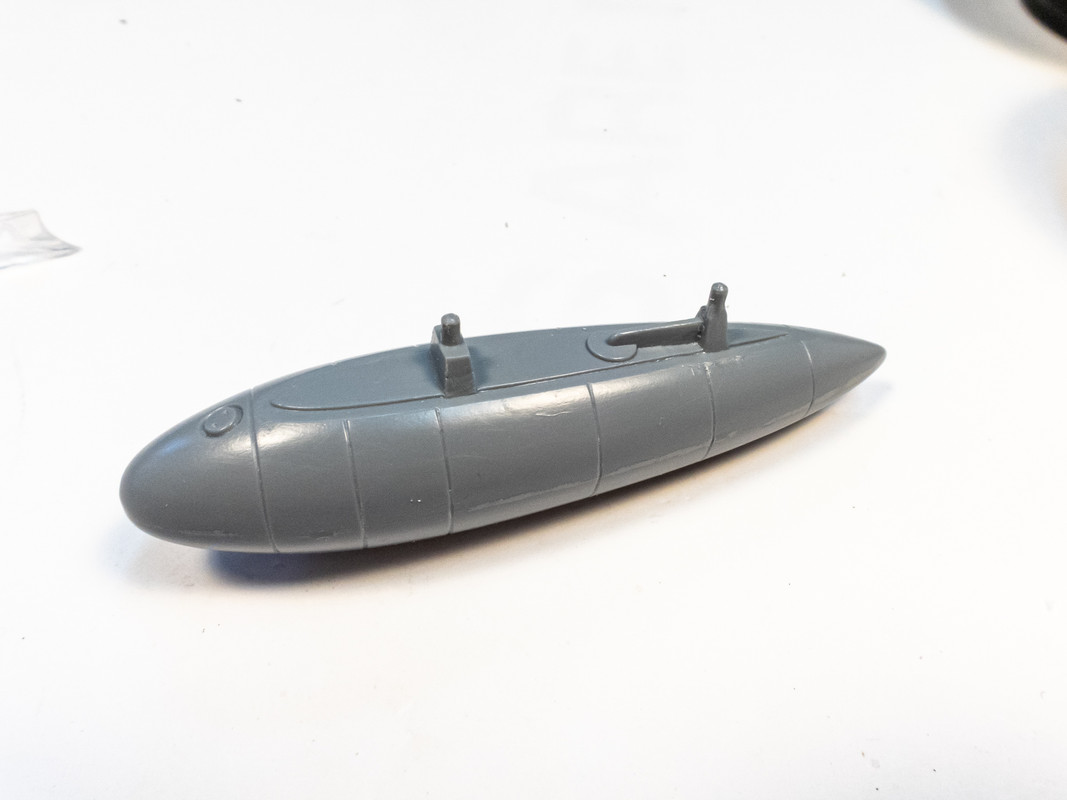
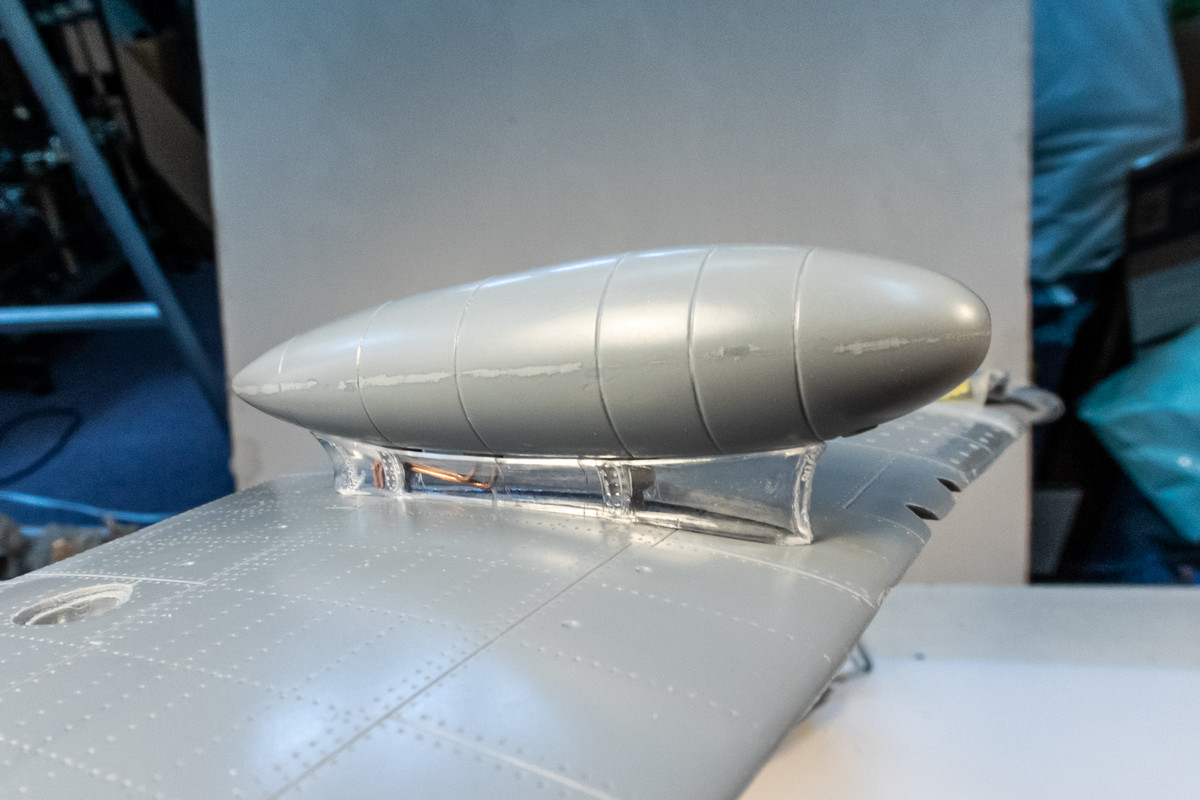
Here is one of the underwing drop tanks. Pretty sparse attachment detail, which normally would not be an issue but since the pylons are actually clear, some fuel connection lines might be needed.
Image
Image

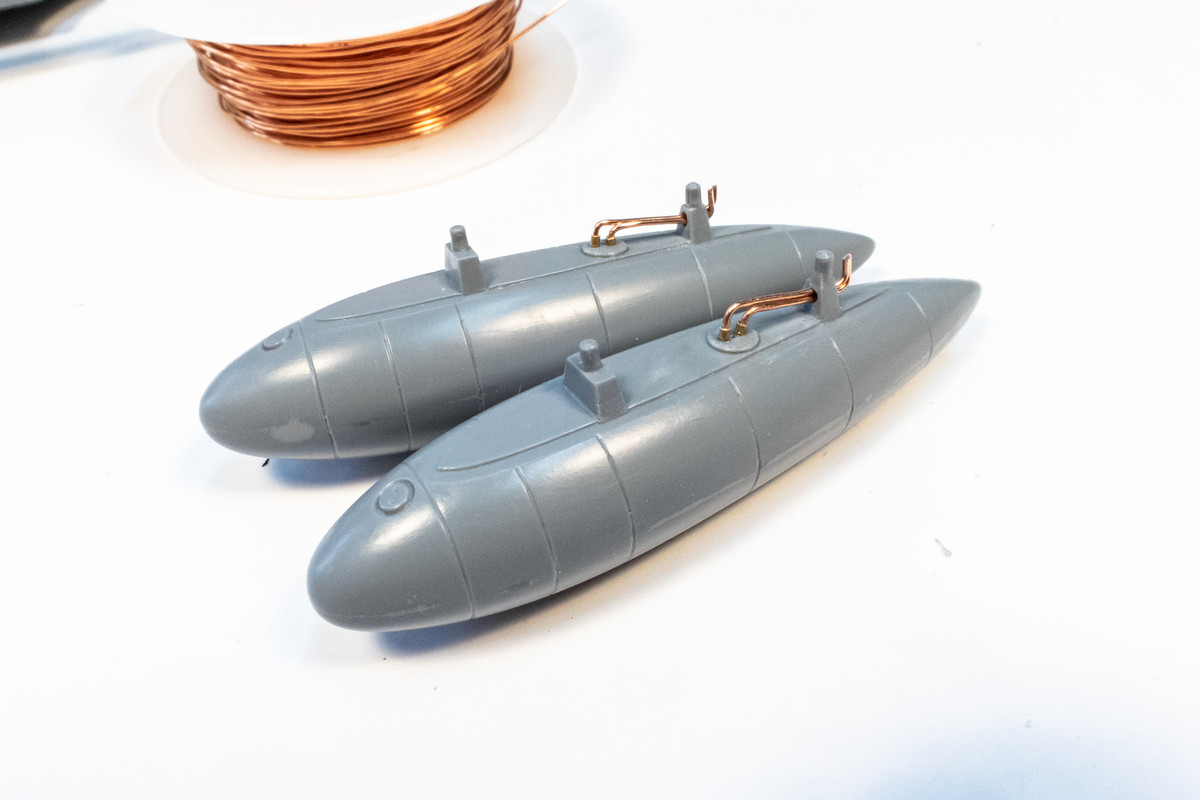
Using what few references, I could find, I fashioned some fuel hoses using copper wire. No room to route the lines around the rear attachment point so I drilled a hole through it.
Image

Not perfectly accurate but it's an improvement.
Image

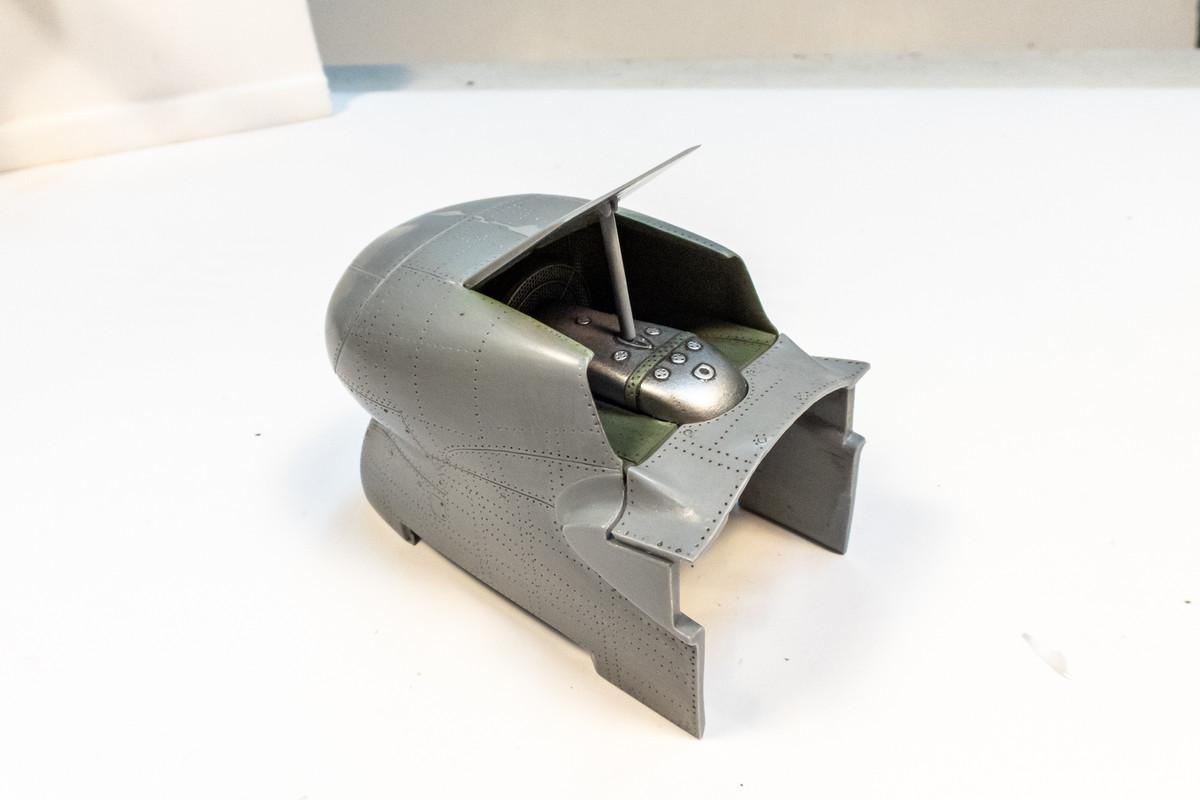
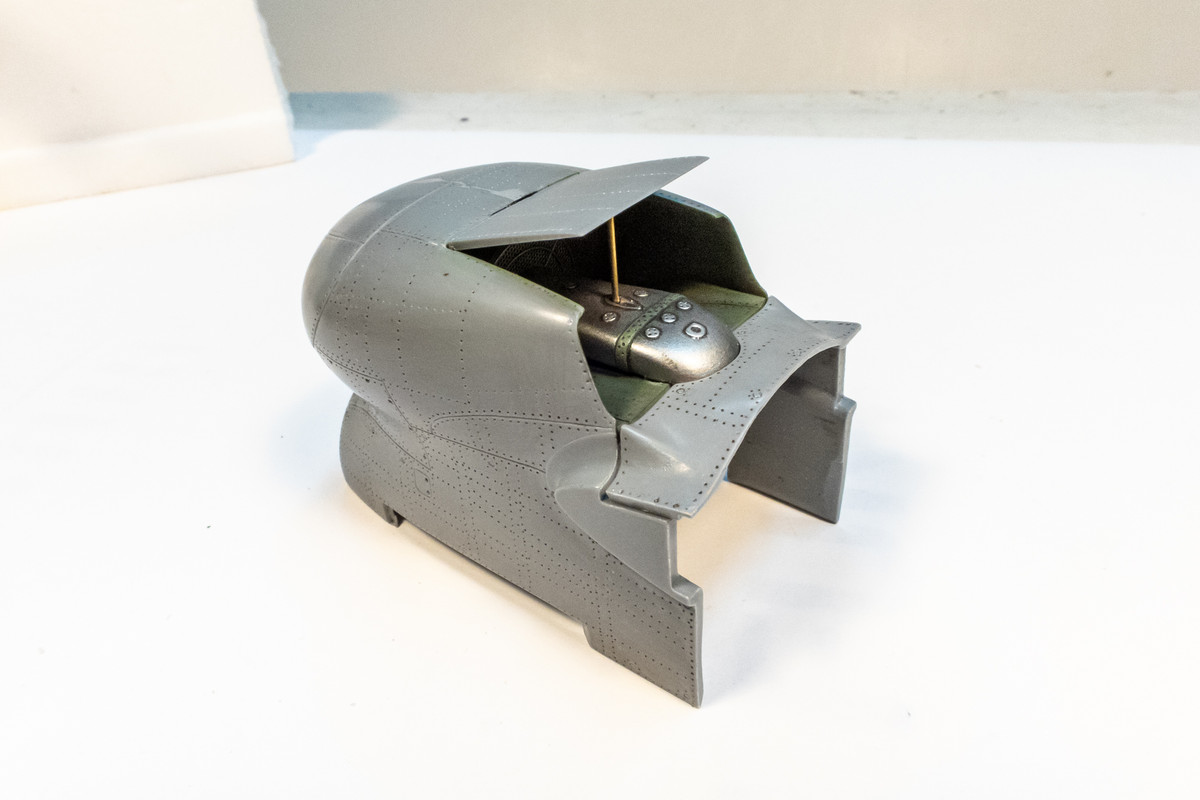
Futzing around with the still detached nose section, I thought that the kit part for the radiator exit flap actuator was way too thick and I also didn't like how far open it held the flap.
Image

So I am going to substitute a thinner brass tube and shorten it so the flap is not open so wide.
Image

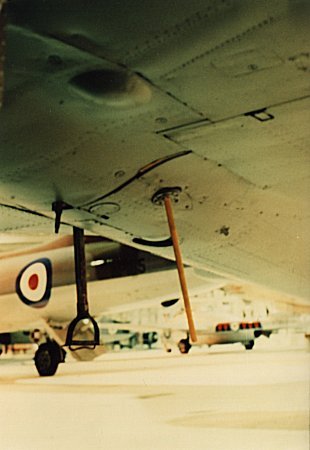
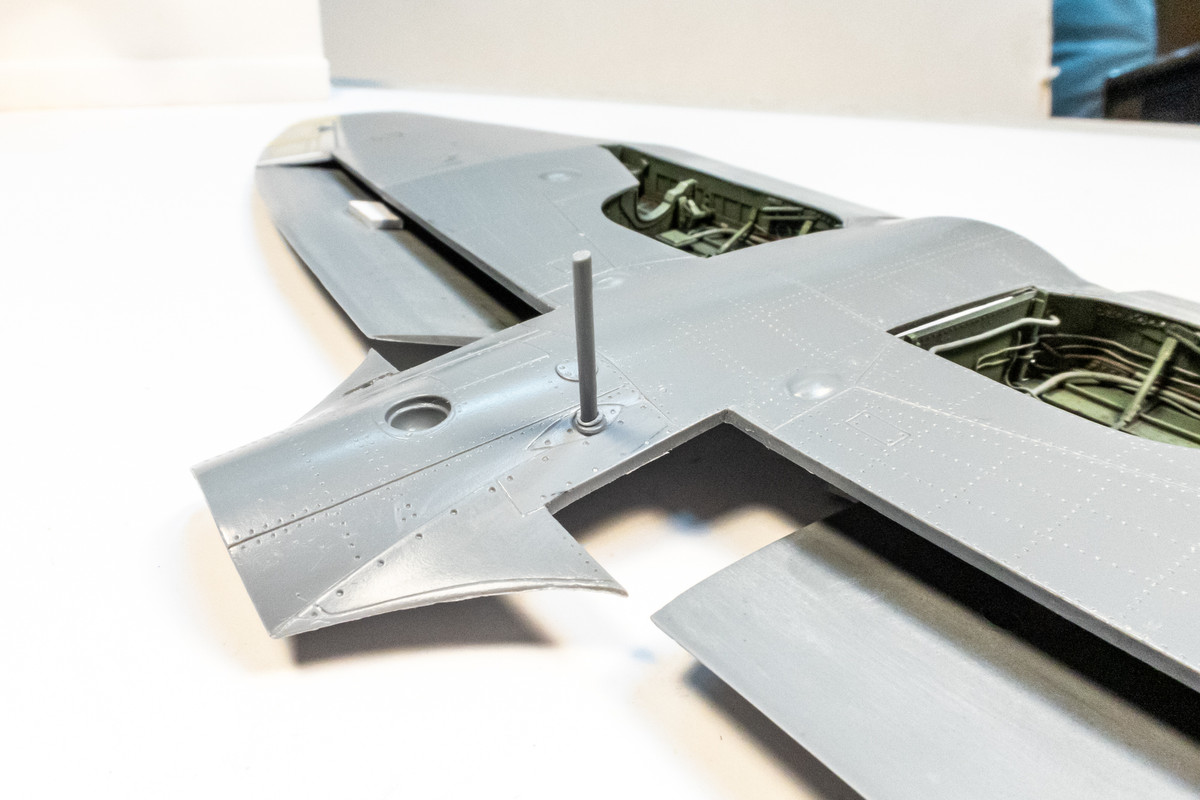
There is also some sort of straight antenna on the belly that looks too thick to me. Haven't found a suitable replacement yet but it will be replaced.
Image

Was it normally painted yellow?
Image

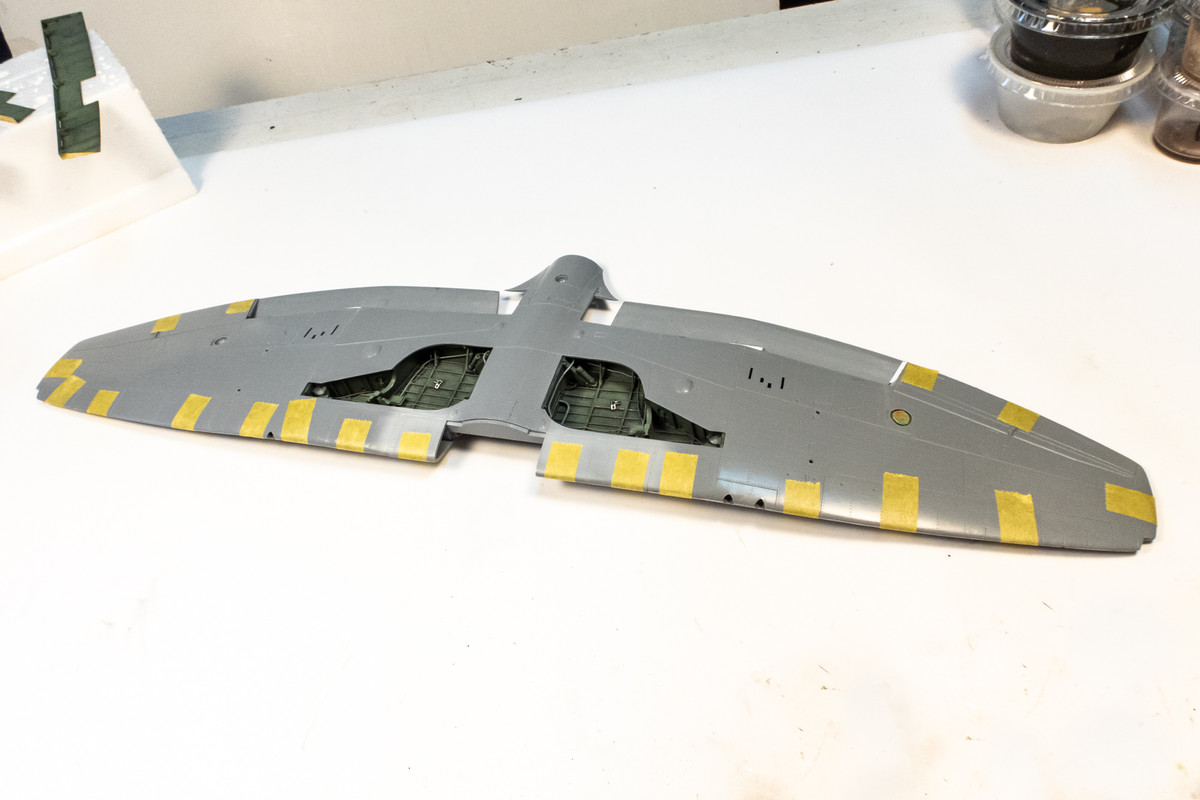
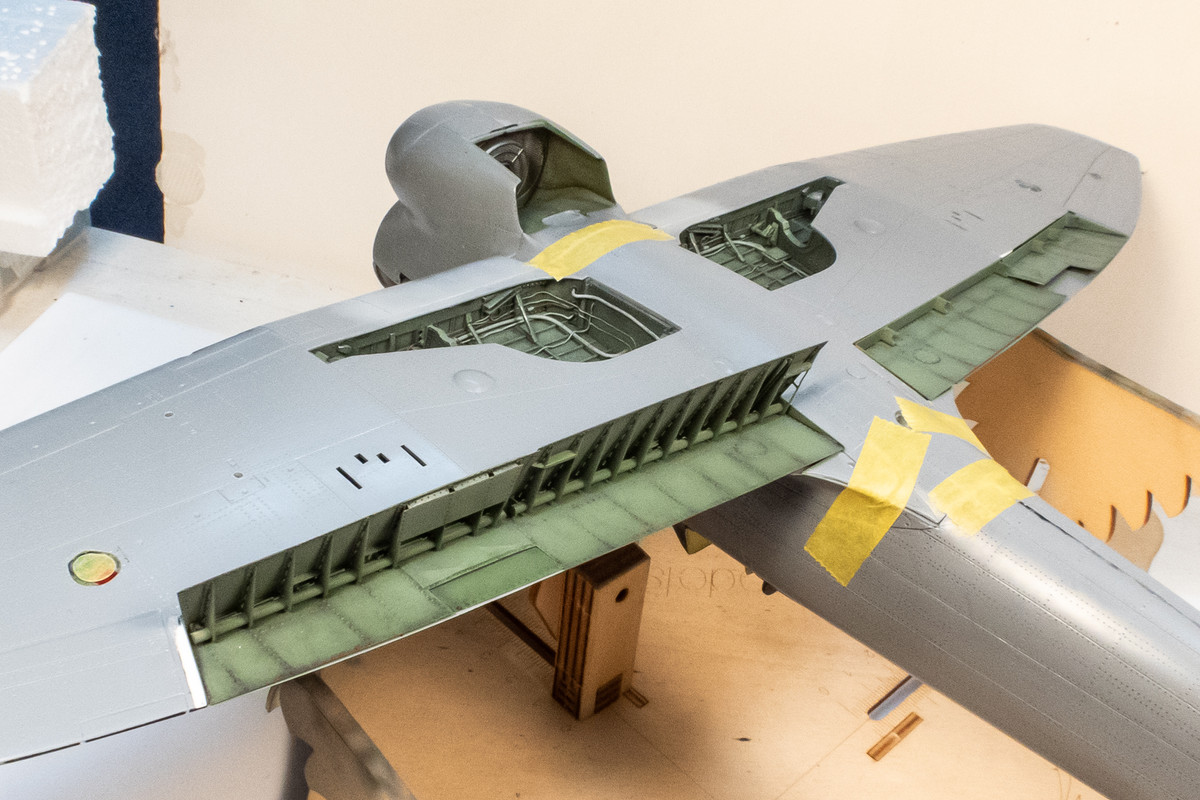
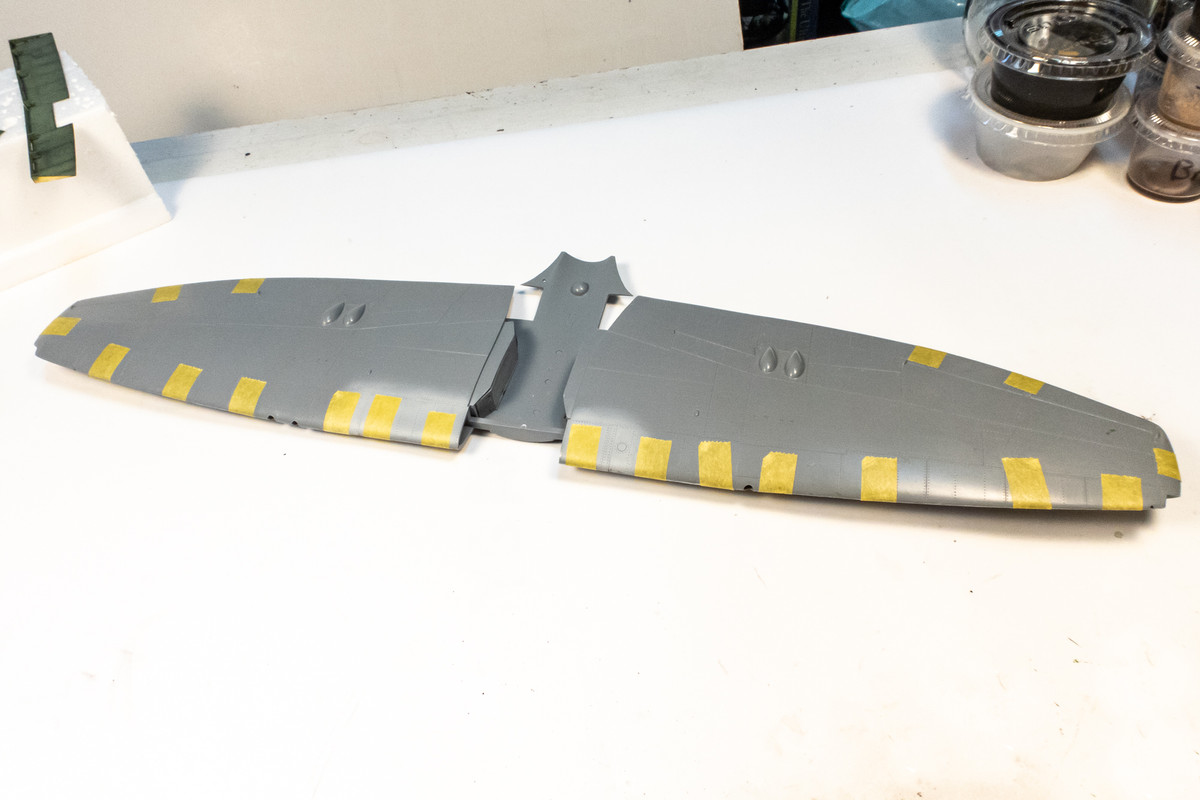
I finally glued the upper wings to the lower wing section, making sure I lopped on some tube glue along the top edges of the wheel well walls to get them to seat properly. I also remembered to put in the dual lens wing light. Some time will be spent cleaning up the joints but it's a good step forward.
Image
Image
John aka JKim
-----------<><
Image
User avatar
tempestjohnny
Elite Member
Posts: 3804
Joined: Sat Oct 15, 2016 4:51 am
Location: Naples. FL

Re: 1/32 Special Hobby Hawker Tempest Mk V

Post by tempestjohnny »

John I'm wondering if that antenna was painted so nobody would bump into it. That pic looks like its from a museum with all the jets in the background
User avatar
Medicman71
Elite Member
Posts: 11292
Joined: Mon Apr 07, 2014 9:32 am
Location: Houston, Tx

Re: 1/32 Special Hobby Hawker Tempest Mk V

Post by Medicman71 »

The drop tank pylon was actually clear? Nice work on the details.
Mike

Sponsored by Boeing, Lockheed Martin, Northrop Grumman, Saab, BAE, and Dassault
User avatar
jkim
Elite Member
Posts: 4073
Joined: Mon Apr 10, 2017 4:03 pm

Re: 1/32 Special Hobby Hawker Tempest Mk V

Post by jkim »

tempestjohnny wrote:John I'm wondering if that antenna was painted so nobody would bump into it. That pic looks like its from a museum with all the jets in the background
Good eye, Johnny! Yes, this was a restored Tempest in a museum and from what I've learned, the yellow is a modern thing to keep people from bumping into it.
Medicman71 wrote:The drop tank pylon was actually clear? Nice work on the details.
Yes, clear! So the crew could see the fasteners attaching the tanks to the wings.
Image

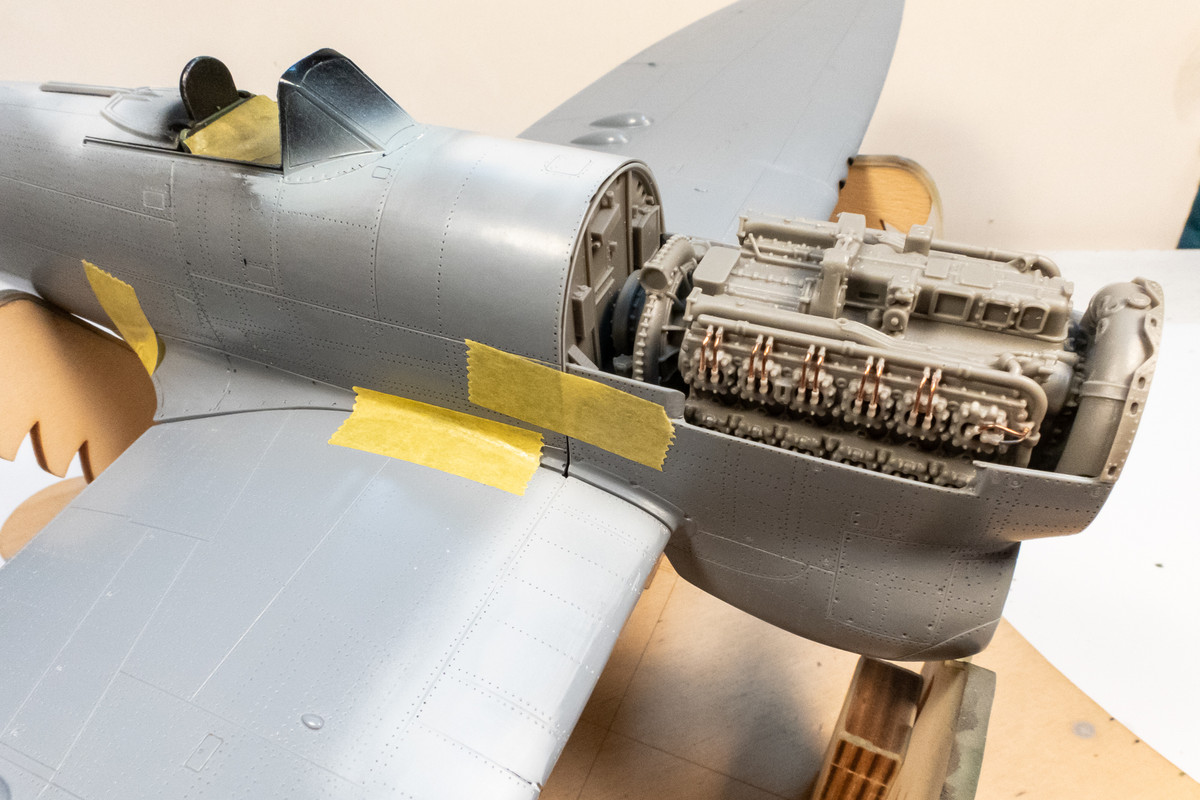
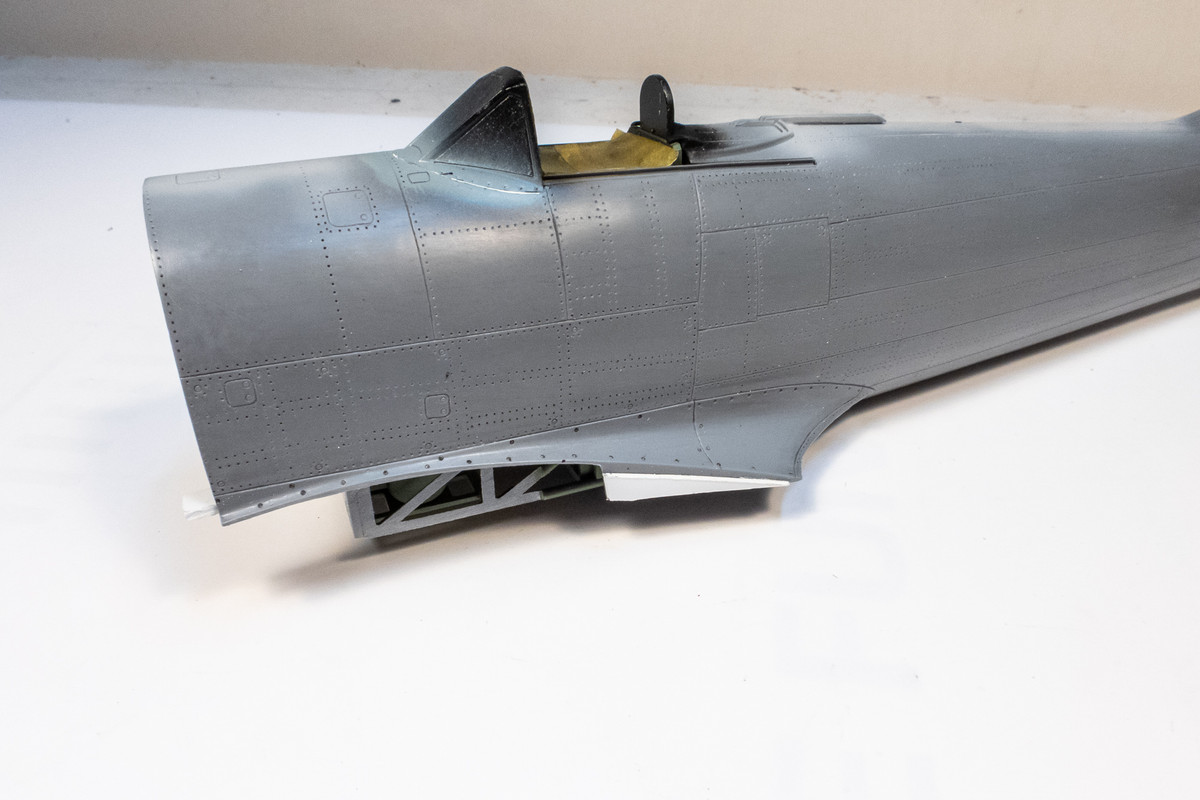
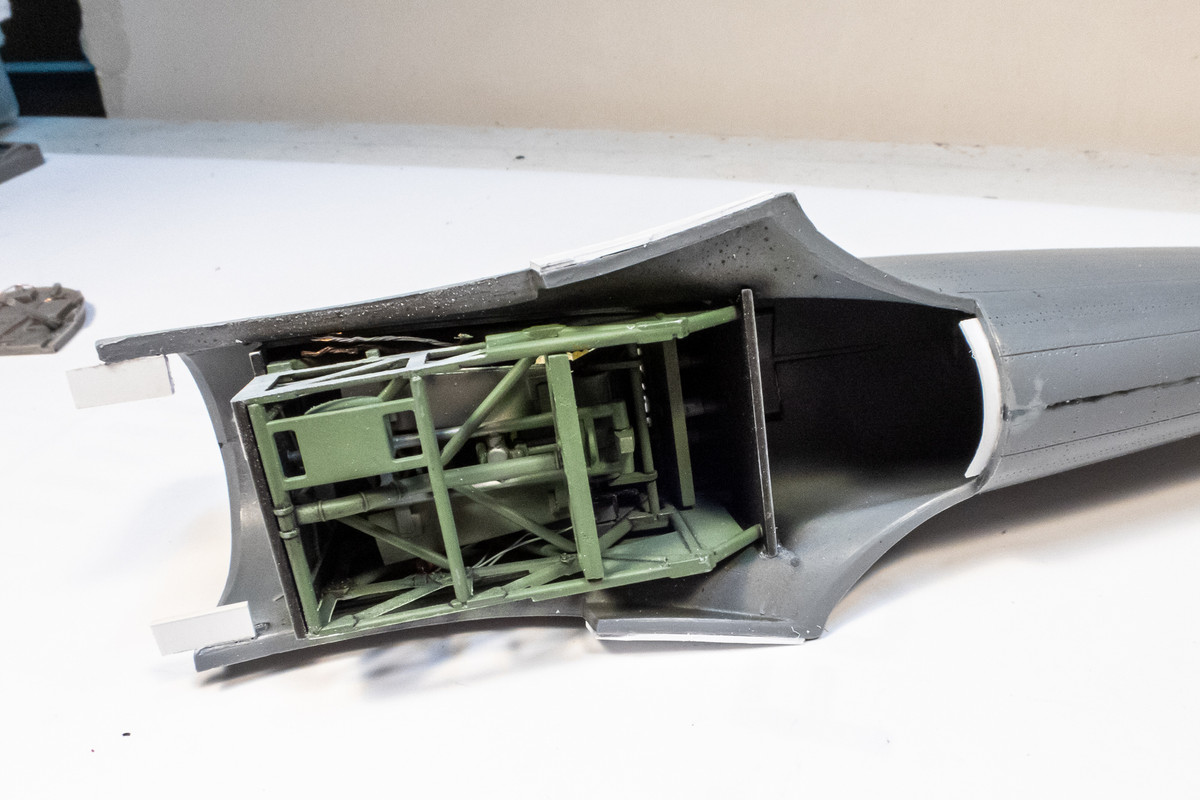
I've been cleaning up the wings and with that almost done, I tried another dry-fit of the engine-bearing front fuselage. The engine bulkhead has two supporting posts that I glued in and they really help keep it upright in the correct position.
Image

The fit isn't great but it's getting better as the big assemblies get permanently attached with glue.
Image
Image

There are some gaps that worry me because I need every inch of contact area to make a solid join but I'm feeling better about it.
Image
Image

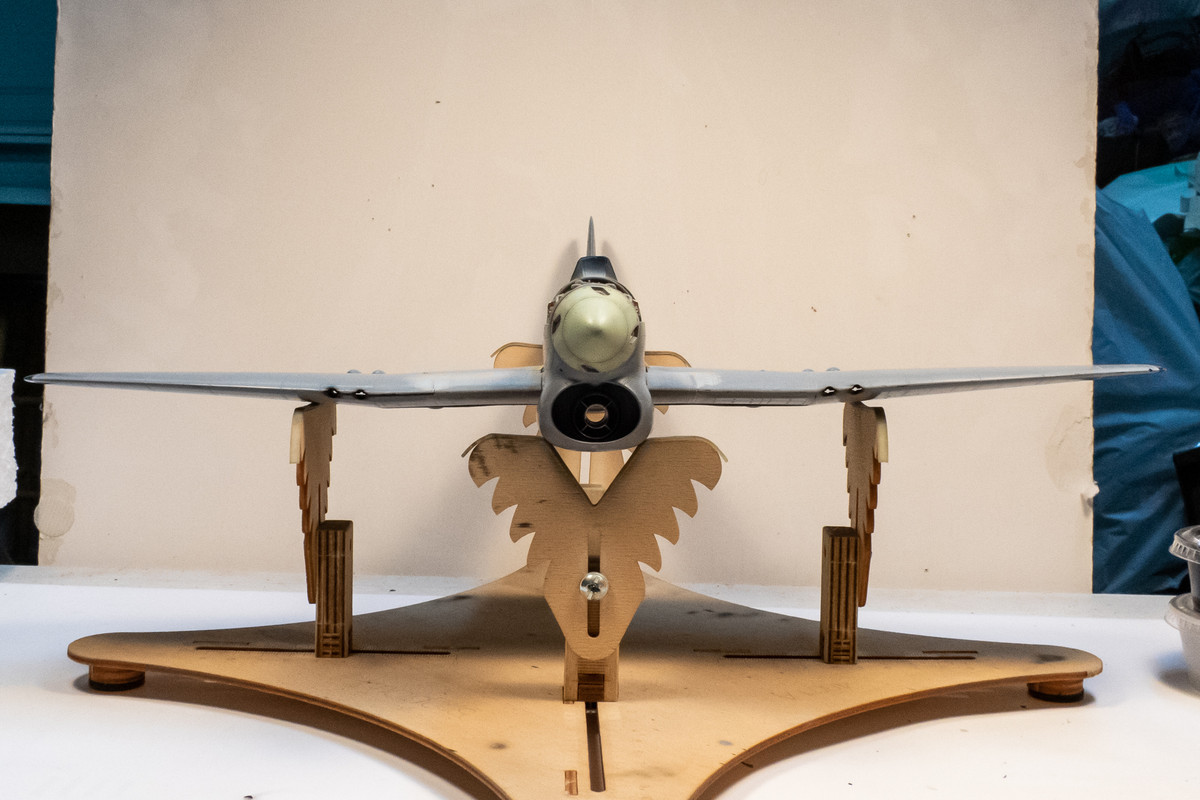
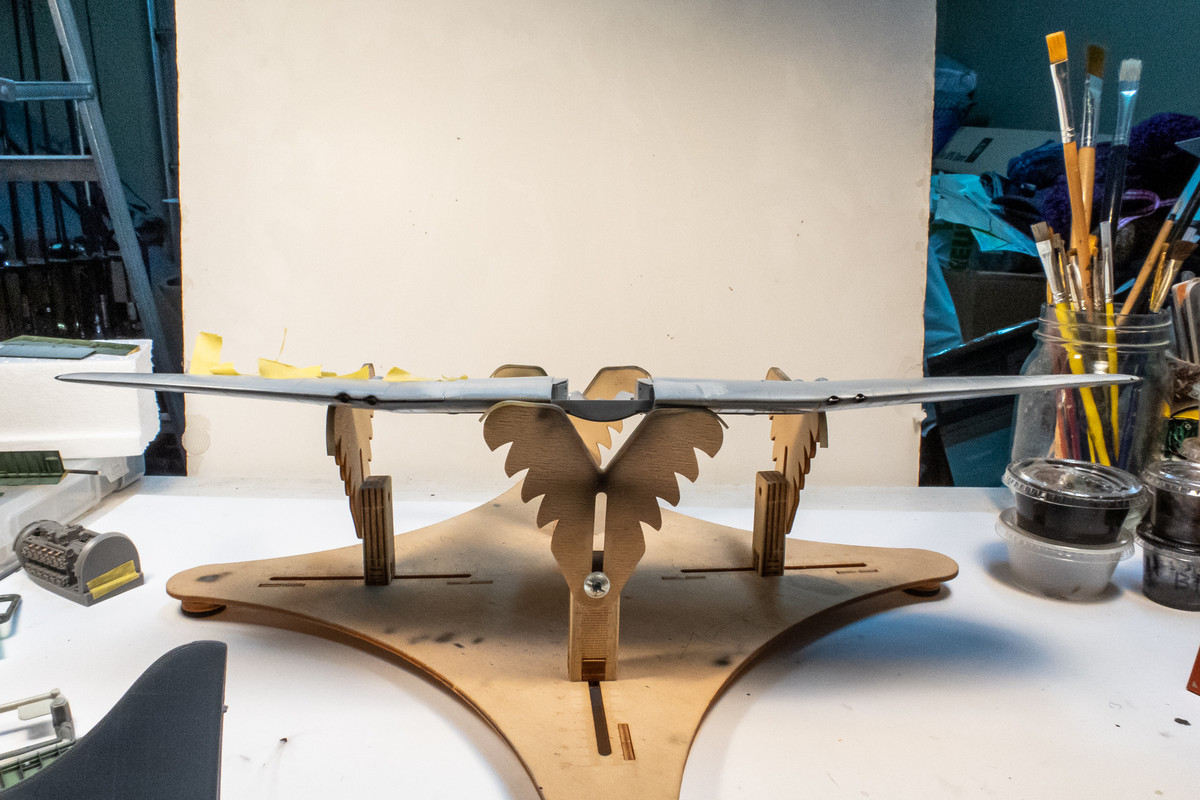
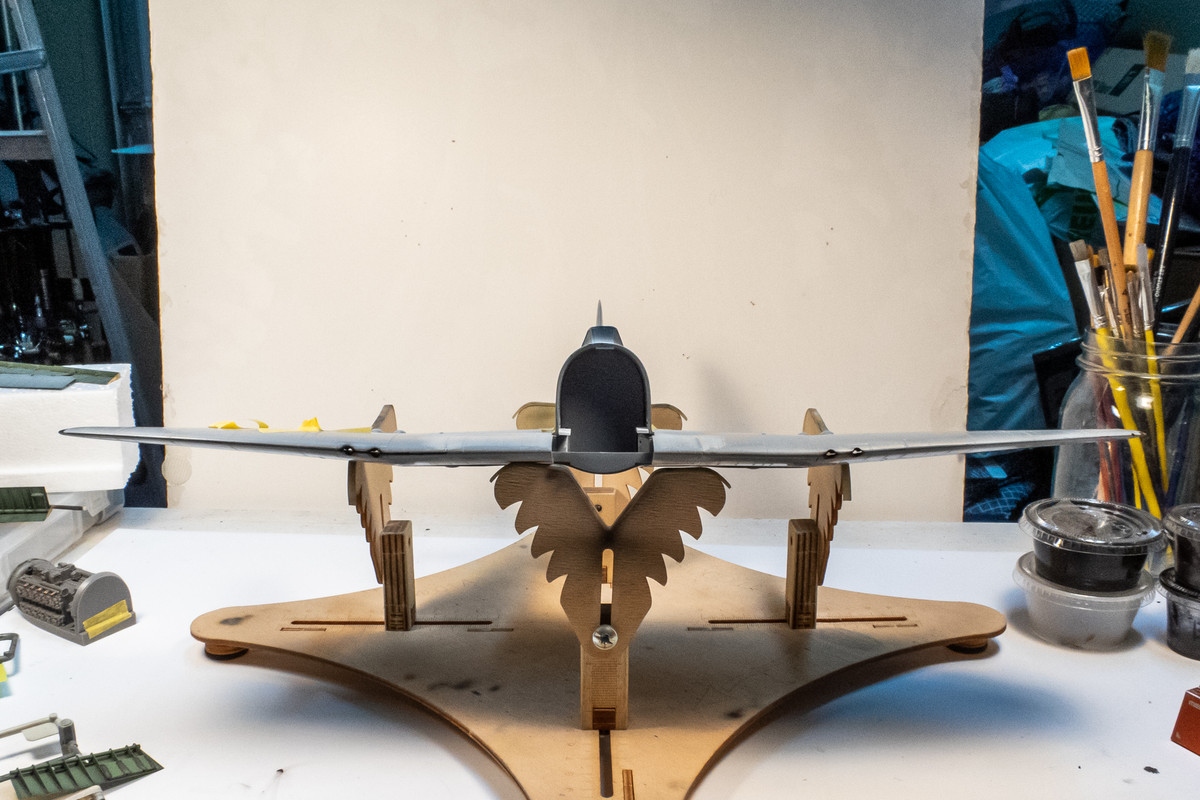
I think I'm getting a little anhedral on the wings so I'll see if I can make some sanding adjustments to make sure the wing bottoms are flat.
Image

Since the flaps are already painted and the fit looks ok, I think I'm going to attach them after all of the major painting is done. It will save on some masking and reduce the potential for damage.
Image
John aka JKim
-----------<><
Image
User avatar
jkim
Elite Member
Posts: 4073
Joined: Mon Apr 10, 2017 4:03 pm

Re: 1/32 Special Hobby Hawker Tempest Mk V

Post by jkim »

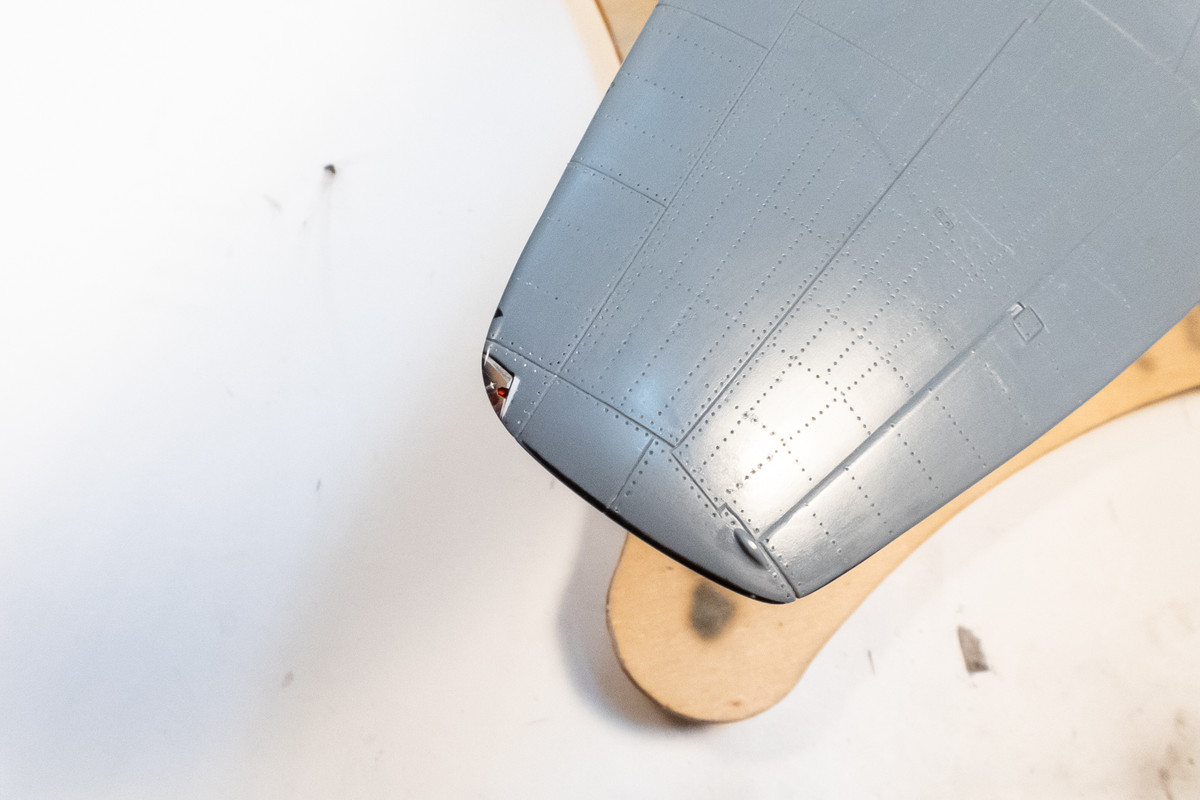
Just a few updates before I jump to the engine. Here is one of the wing tip lights. The clear parts have an annoying sink mark/bubble in the middle of each that I can't really do anything about. When trimming the opening, I cut away too much and had to replace some material with sheet plastic.
Image

I trimmed some of the wing/fuselage contact areas to make sure that the fuselage is not pushing the wings outward, creating an unintended anhedral in the wings. Since the cross section tapers uniformly from wing root to wing tip, the zero angle on the bottom means that the top of the wings slope downward slightly, giving the impression of anhedral. I can fix the wing bottoms but not the wing tops, unfortunately.
Image
Image

Added some fitting shims to increase contact area of the wing/fuselage joints. Dry-fitting the flaps has revealed a previously undetected issue... the rear corners of the cockpit cage interfere with the corners of the upper wing flaps. Some surgery is going to be required.
Image
Image

That's it for now... next update we'll have a closer look at the resin engine components.
John aka JKim
-----------<><
Image
User avatar
jkim
Elite Member
Posts: 4073
Joined: Mon Apr 10, 2017 4:03 pm

Re: 1/32 Special Hobby Hawker Tempest Mk V

Post by jkim »

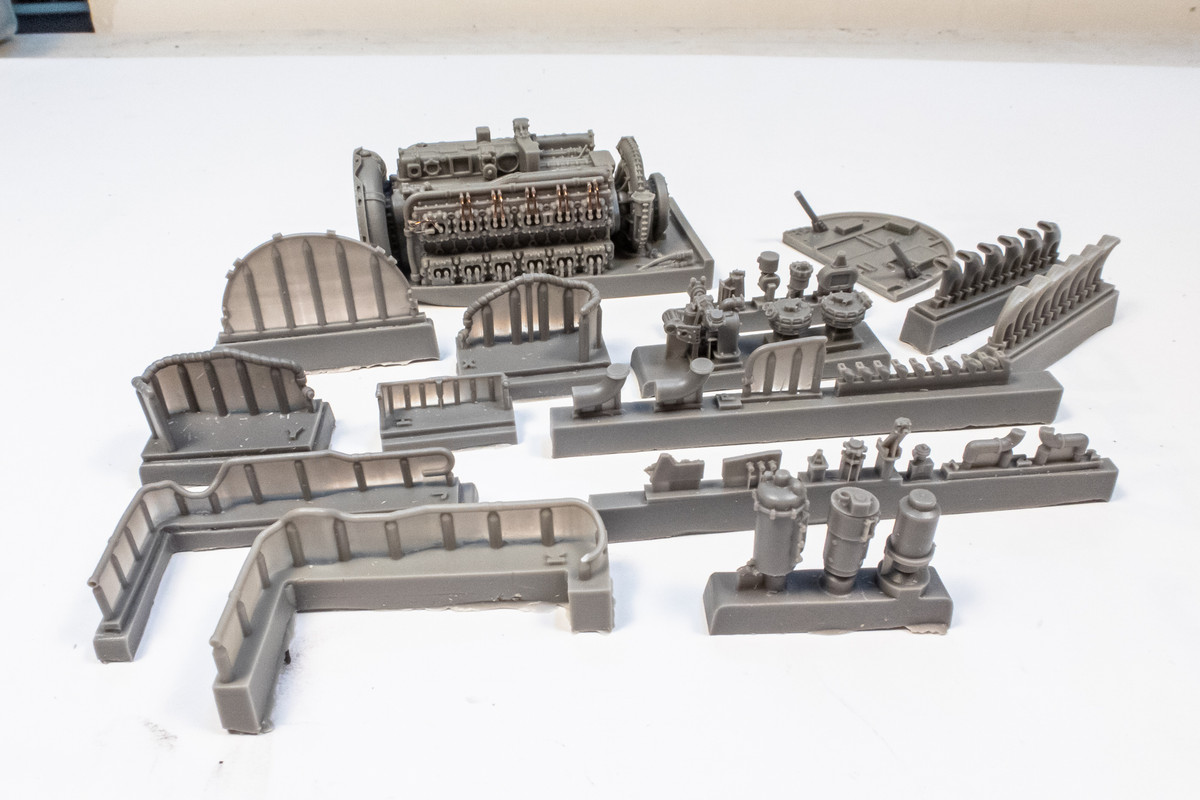
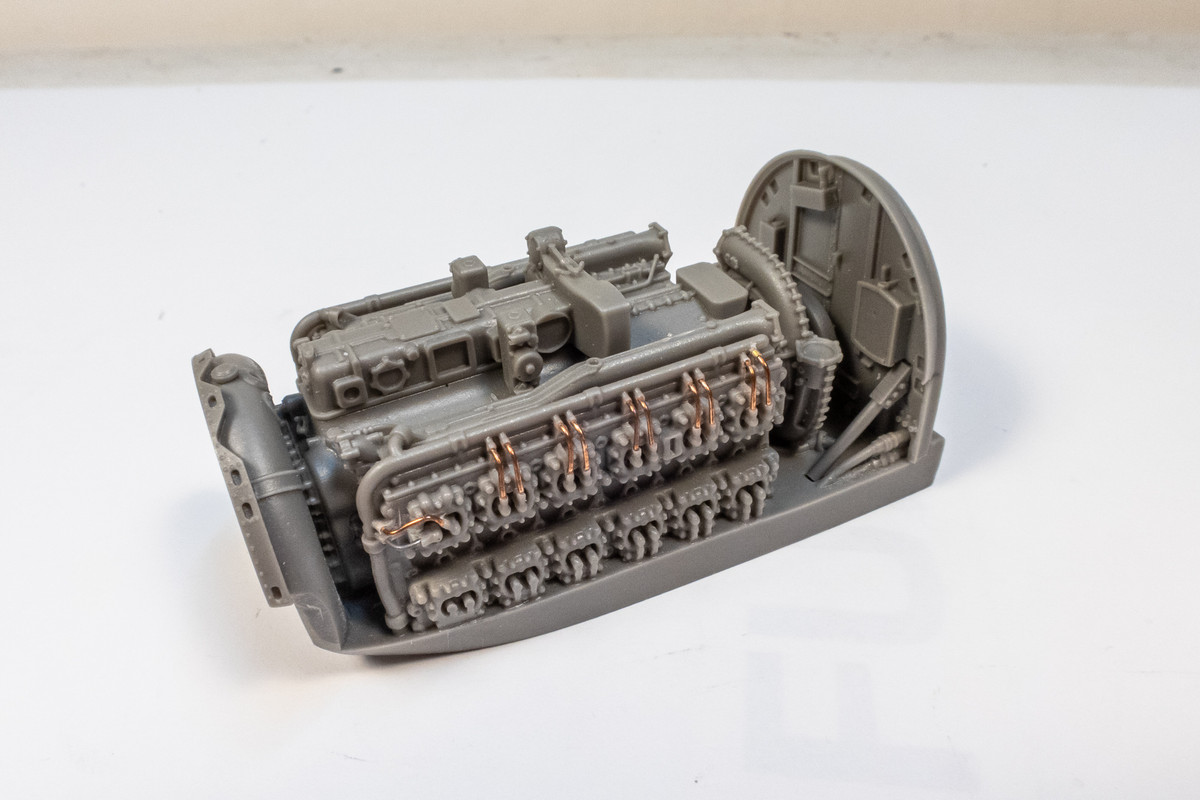
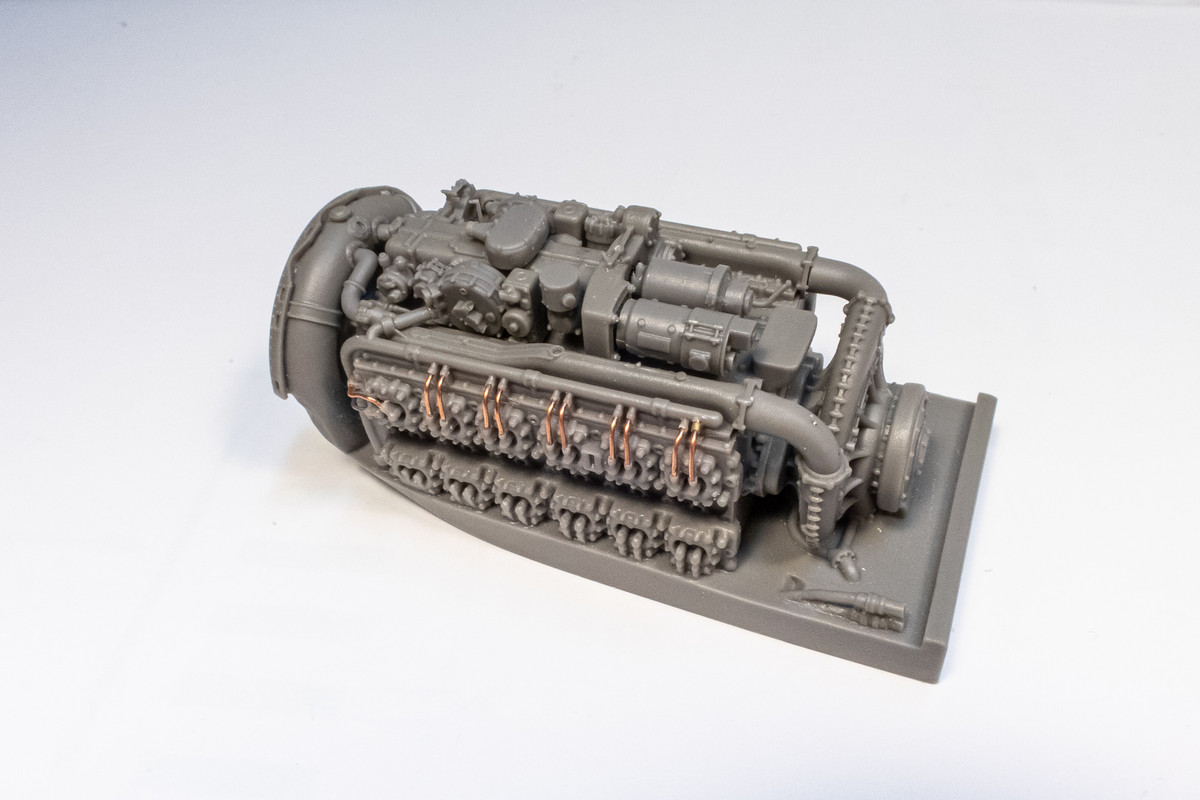
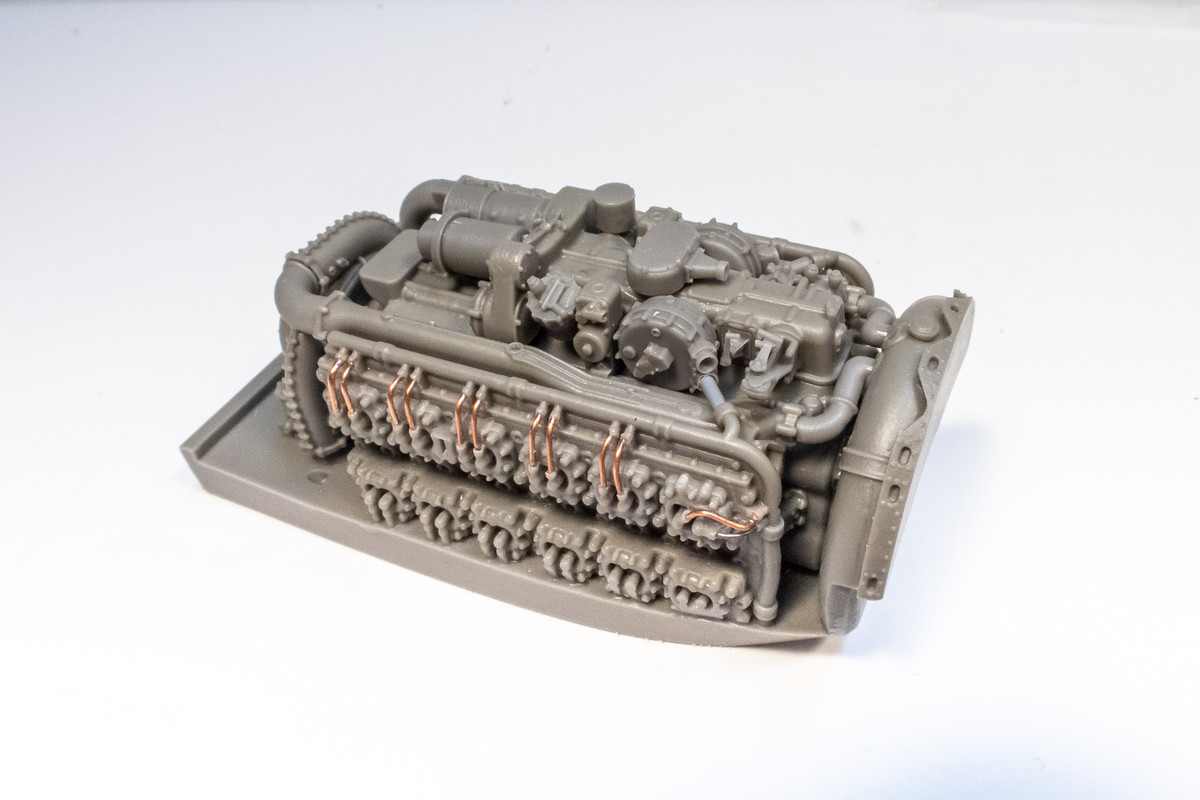
Ok, let's jump over to the engine now! The Napier Sabre engine is beautifully cast by CMK and is almost a model by itself with many parts.
Image

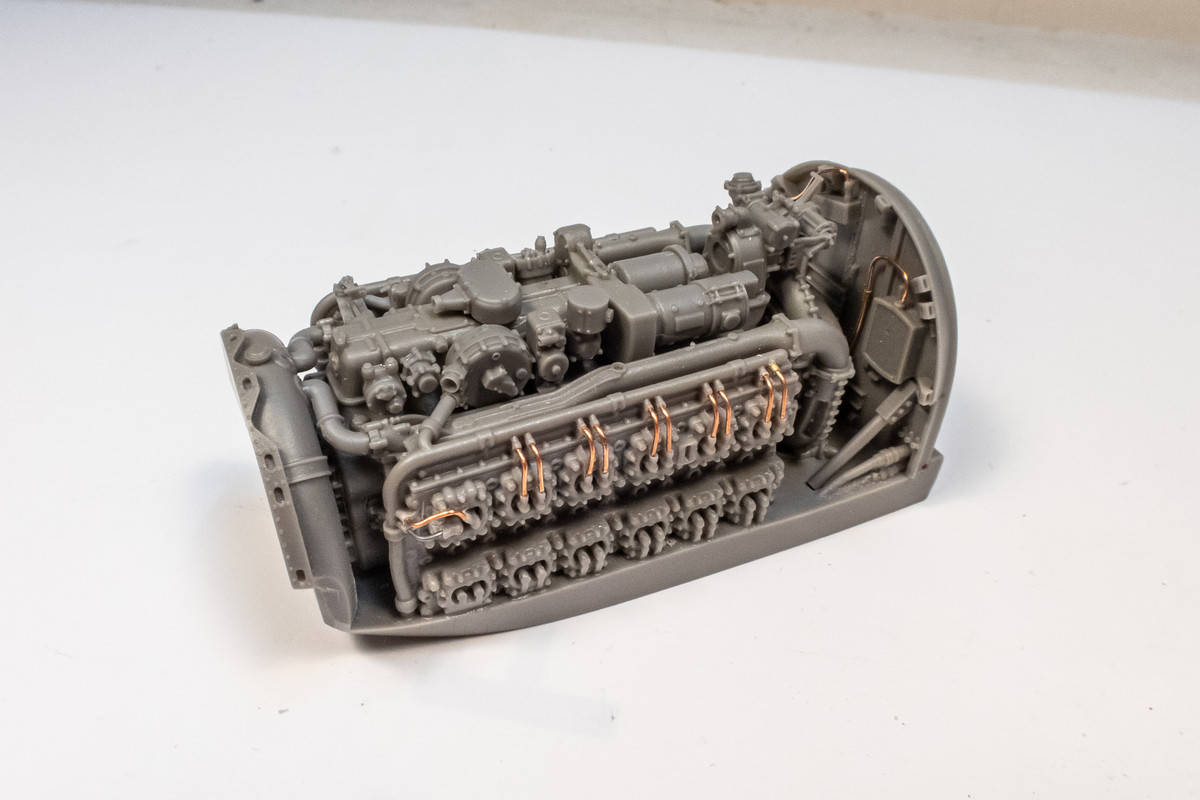
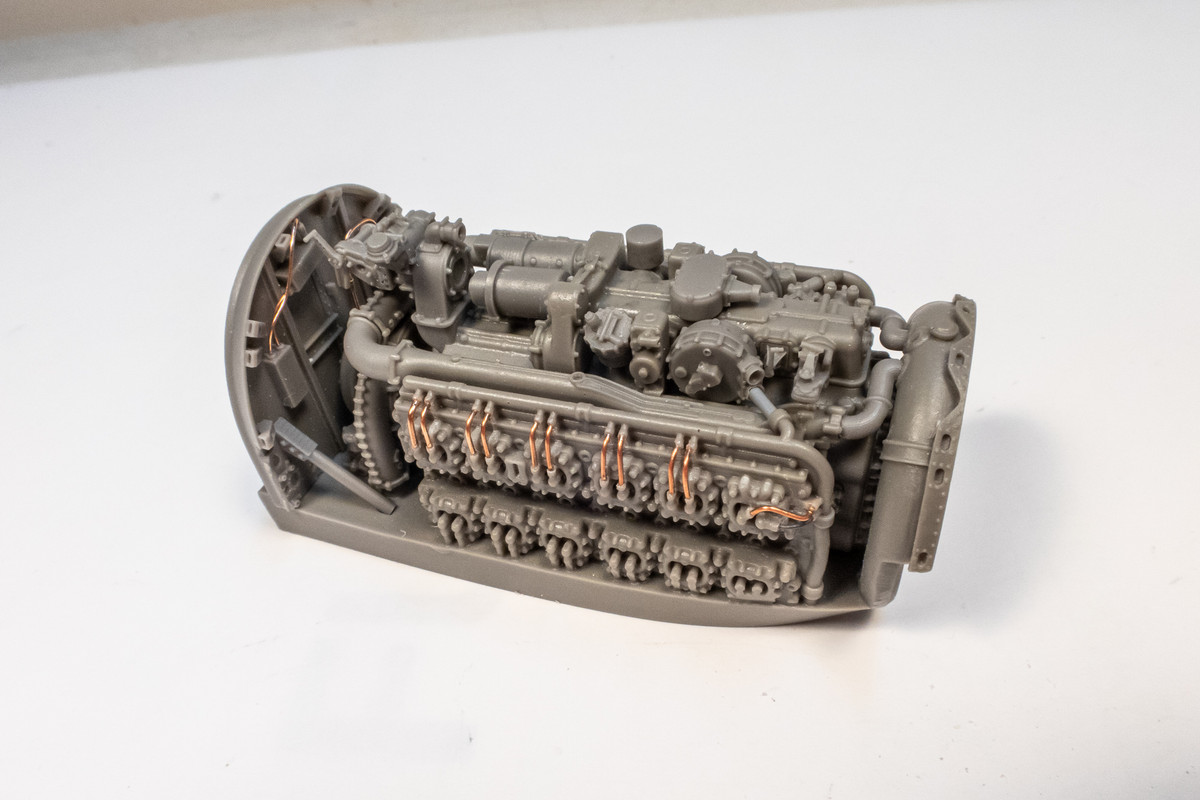
Technically, it is not the full engine and displays a top 3/4 view of the engine from above. There is also a full engine for the Tempest offered by CMK for the more ambitious. One of the earlier things I've done is to replace some of the molded ignition wiring with copper wires. You can also see the support arms on the engine bulkhead that help it stand in place.
Image

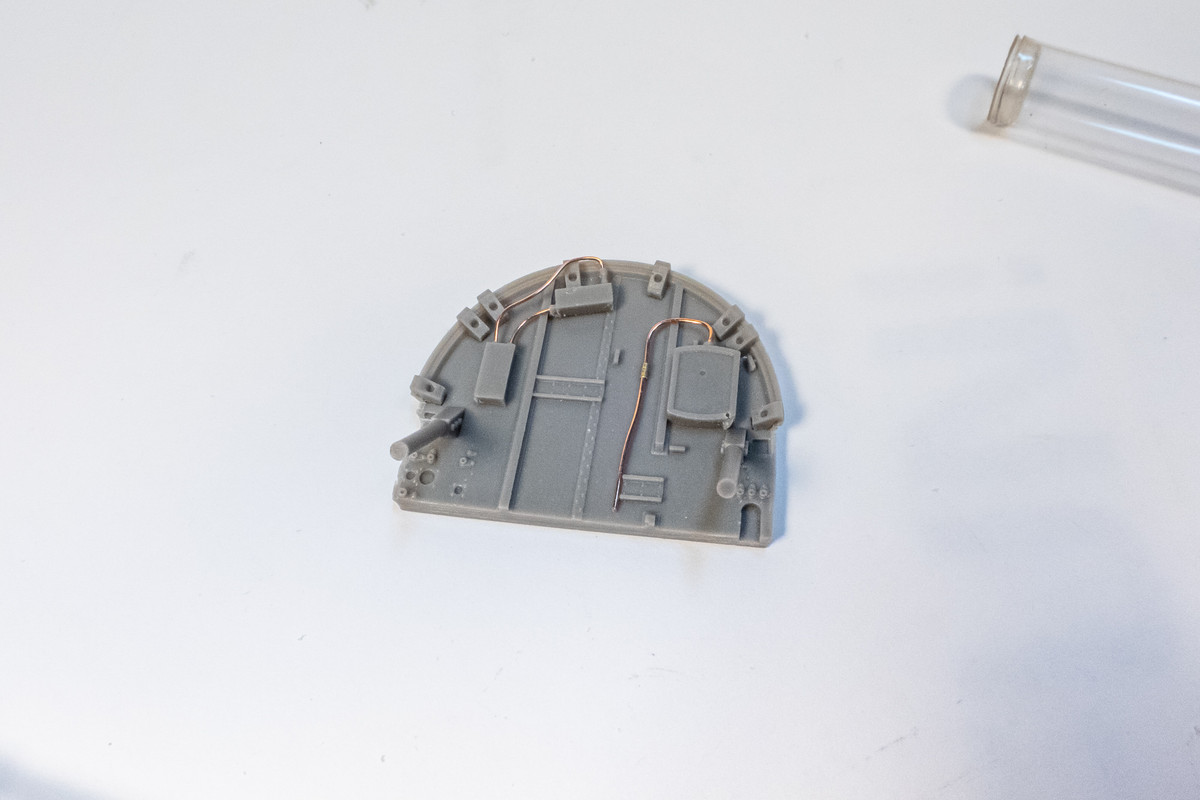
The bulkhead had some small resin latches and wiring added per the instructions.
Image

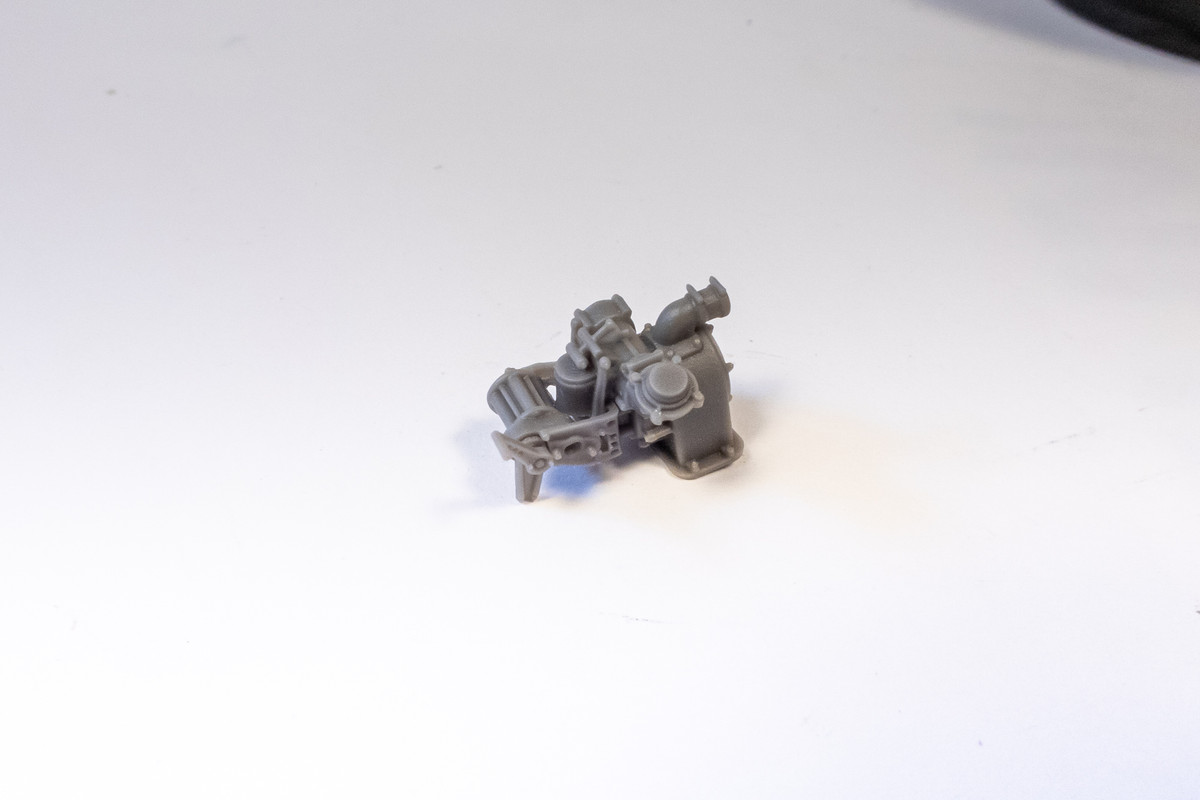
This is the most complicated sub--assembly that goes on top rear of the engine.
Image

Slowly, the individual components of the engine are added. Most of the larger parts have keyed attachment tabs that make for a positive fit.
Image
Image

I am taking a pause here. There are more parts to add but they are mostly hydraulic or electrical lines. The rear bulkhead is a key connection point to the fuselage so I am trying to plan the construction order in terms of painting and assembly. Do I put paint on the engine now and then add the hydraulic lines and wiring afterwards? Or do I assemble it completely and paint afterwards?
Image
Image

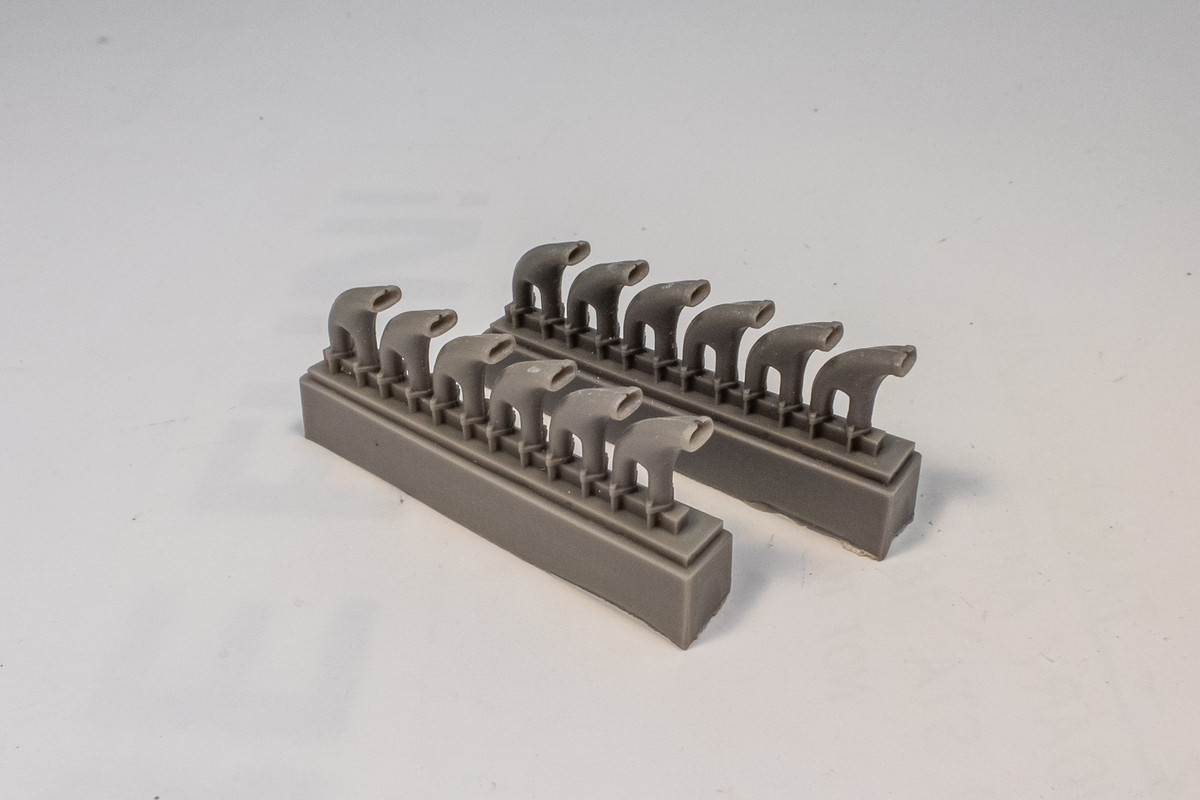
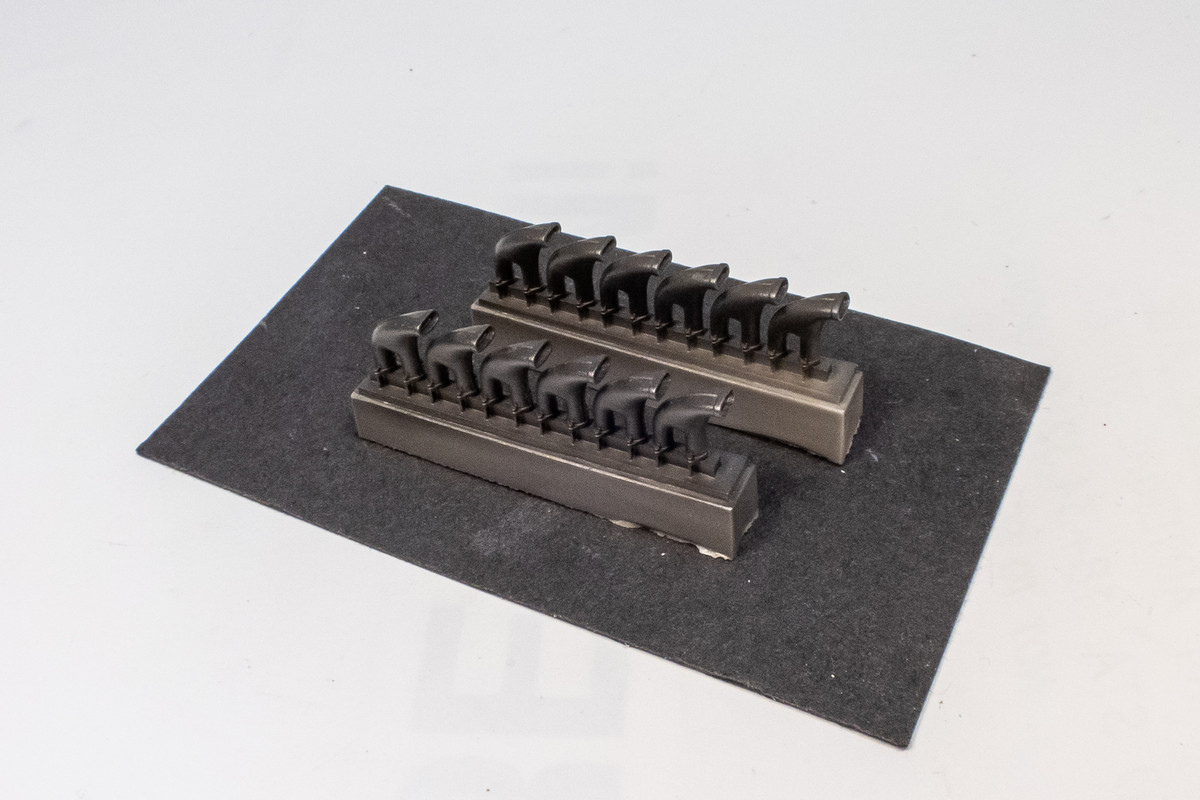
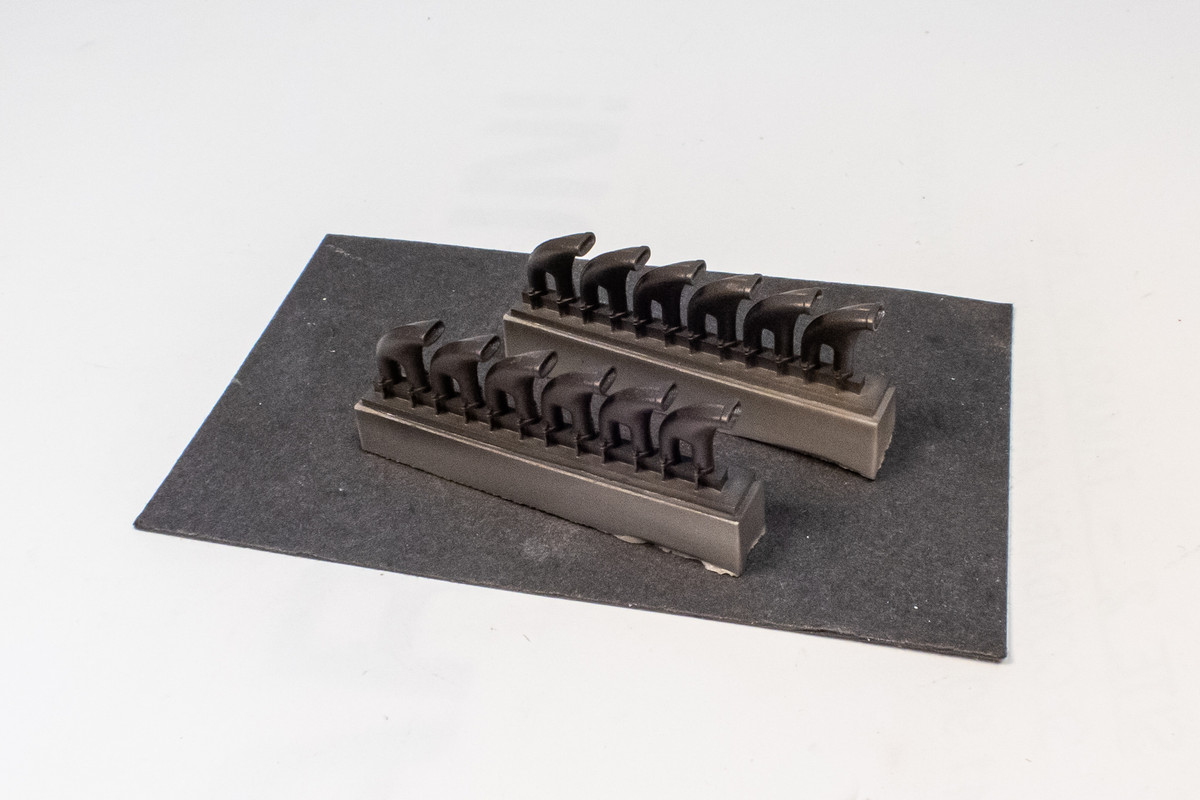
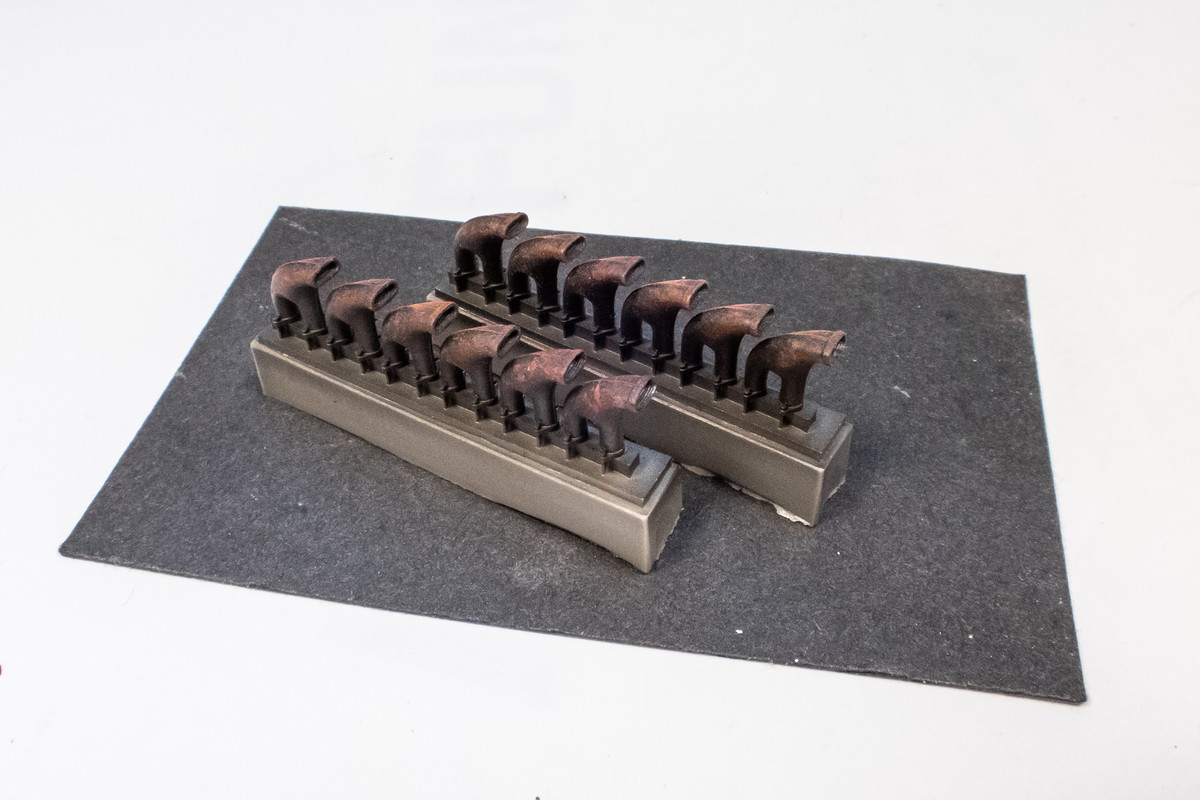
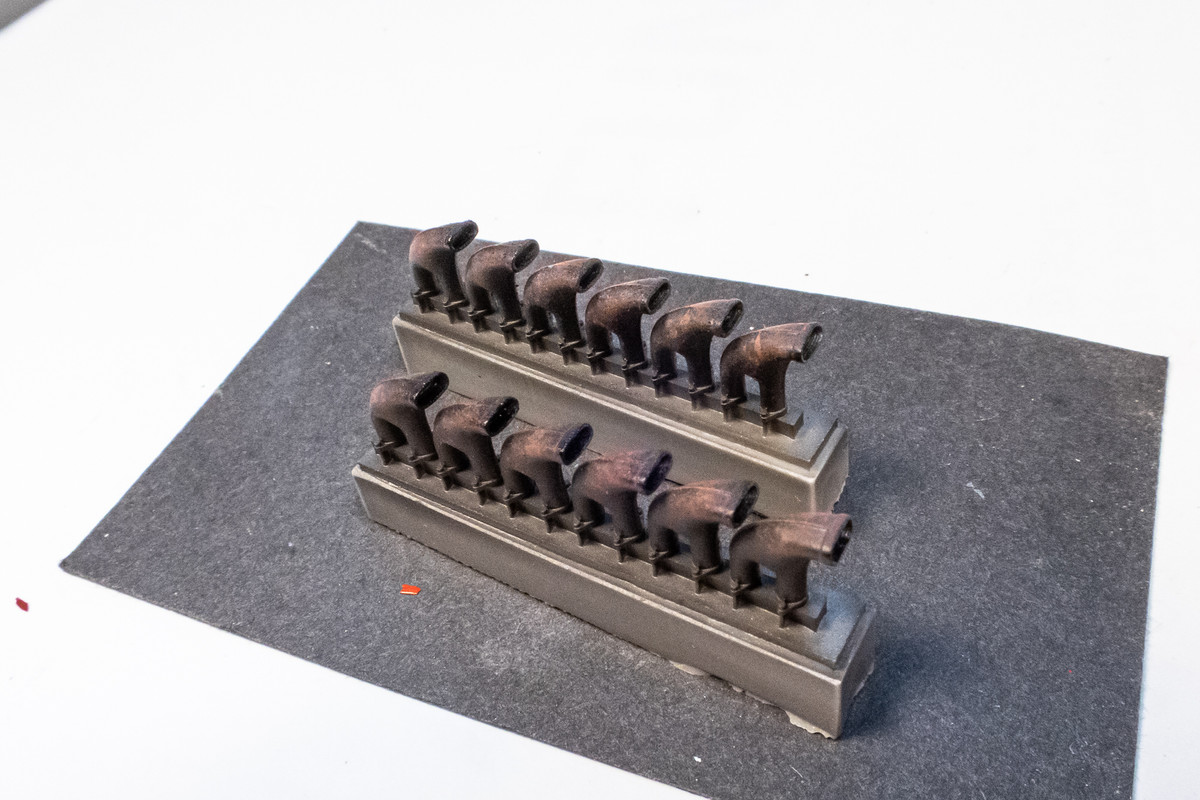
The exhausts are obviously an important component of the engine. Based on the instructions, I think I'll have to cut each pair of exhaust stacks from their casting blocks and attach them individually. So it would be easier to paint them now and glue them in later.
Image

The exhausts were first given a coat of Alclad Steel straight onto the resin without a black base coat.
Image

I then give a light coat of Alclad Exhaust Manifold, which gives the exhausts a nice burnt brownish tone.
Image

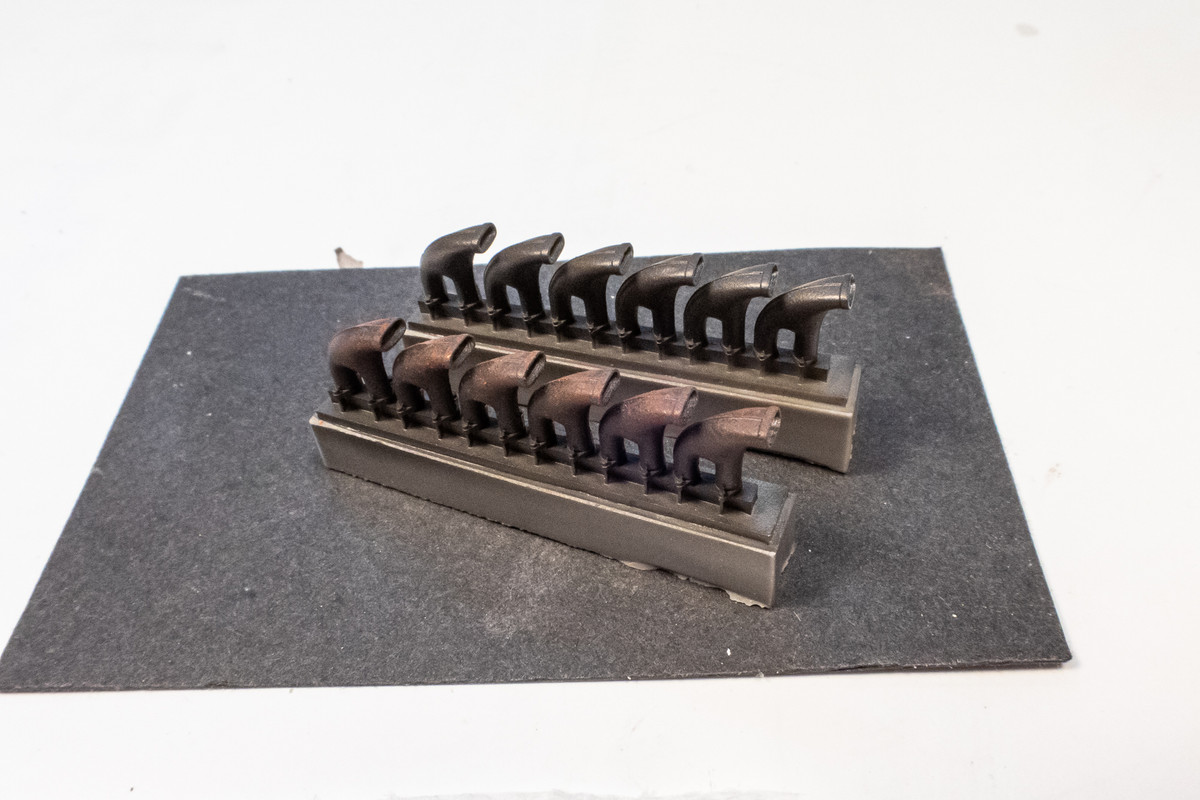
I mixed up a combination of Tamiya Flat Red and Flat Red Brown to create a rusty shade and used that to dry brush onto the exhausts.
Image
Image

Finally, I use my airbrush and shoot a highly thinned black mixture up into and around the exhaust openings, isolating each individual exhaust with a Post-It.
Image

After the paint dries, I'll cut the exhausts from the casting block and give them a test fit. I need to see how the exhaust tips fit in relation to the corresponding openings in the nose part.
John aka JKim
-----------<><
Image
User avatar
Stikpusher
Moderator
Posts: 21179
Joined: Sat Apr 05, 2014 8:37 pm
Location: Ceti Alpha 5

Re: 1/32 Special Hobby Hawker Tempest Mk V

Post by Stikpusher »

Man that engine is one intricate beauty! :wub: I do love the level of detail that can modeled in 1/32. :hmm:

The exhaust stacks are looking mighty good John.
"Surely I have made my meaning plain? I intend to avenge myself upon you, Admiral. I have deprived your ship of power, and when I swing 'round, I intend to deprive you of your life."

FLSM
User avatar
Ceaser_Sa1ad
Master Member
Posts: 916
Joined: Tue Aug 31, 2021 1:23 pm
Location: Ontario

Re: 1/32 Special Hobby Hawker Tempest Mk V

Post by Ceaser_Sa1ad »

:wow: :shoutout: :shoutout: :shoutout: :shoutout: :shoutout: :shoutout:
"In this galaxy there's a mathematical probability of three million Earth type planets. And in all of the universe, three million million galaxies like this. And in all of that... and perhaps more... only one of each of us." - McCoy
User avatar
Duke Maddog
Elite Member
Posts: 7668
Joined: Tue Jun 03, 2014 11:22 am
Location: Rowland Heights, CA

Re: 1/32 Special Hobby Hawker Tempest Mk V

Post by Duke Maddog »

Wow! It almost looks like that engine will run! Brilliant realism there John! I love the exhaust stacks as well; I am taking notes to see how to closely replicate that look in 1/72 scale.
The Duke
Virtuoso of Miniatures

"Do you know what the chain of command is? It's the chain I get and beat you with 'till you understand who's in ruttin' command!"
-Jayne Cobb, Firefly Episode 2 "The Train Job"

We are modelers - the same in spirit, in hunger to insanely buy newly released kits, hustlers in hiding our stash from our better halves and experts in using garbage as replacements for after-market parts.
User avatar
Medicman71
Elite Member
Posts: 11292
Joined: Mon Apr 07, 2014 9:32 am
Location: Houston, Tx

Re: 1/32 Special Hobby Hawker Tempest Mk V

Post by Medicman71 »

Man that's nice! Those exhausts are incredible!
Mike

Sponsored by Boeing, Lockheed Martin, Northrop Grumman, Saab, BAE, and Dassault
Post Reply

Return to “Aircraft Work in Progress”