Page 23 of 28

Re: 1/32 Hasegawa Bf109K-4 Weisse 8

Posted: Sat Dec 07, 2019 5:05 pm
by BlackSheep214
jkim wrote: Image
Image
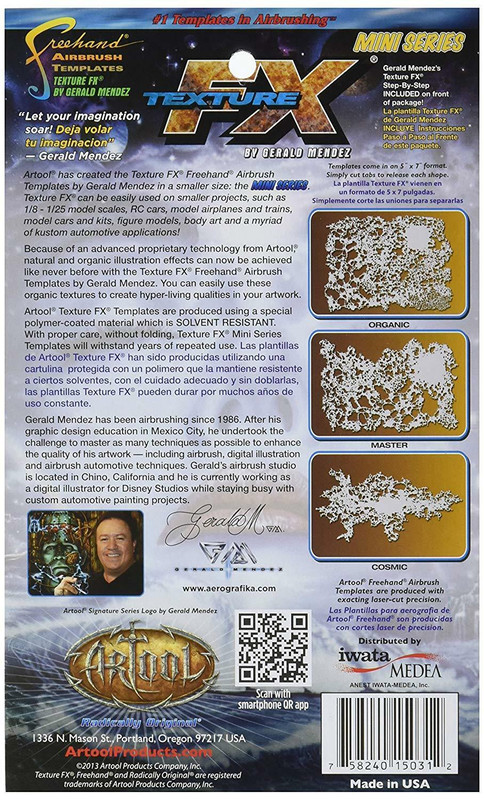
I have seen this template for WW2 Luftwaffe aircrafts. Would come in handy for the Bf109 and Butcher birds.

Re: 1/32 Hasegawa Bf109K-4 Weisse 8

Posted: Sat Dec 07, 2019 7:24 pm
by jkim
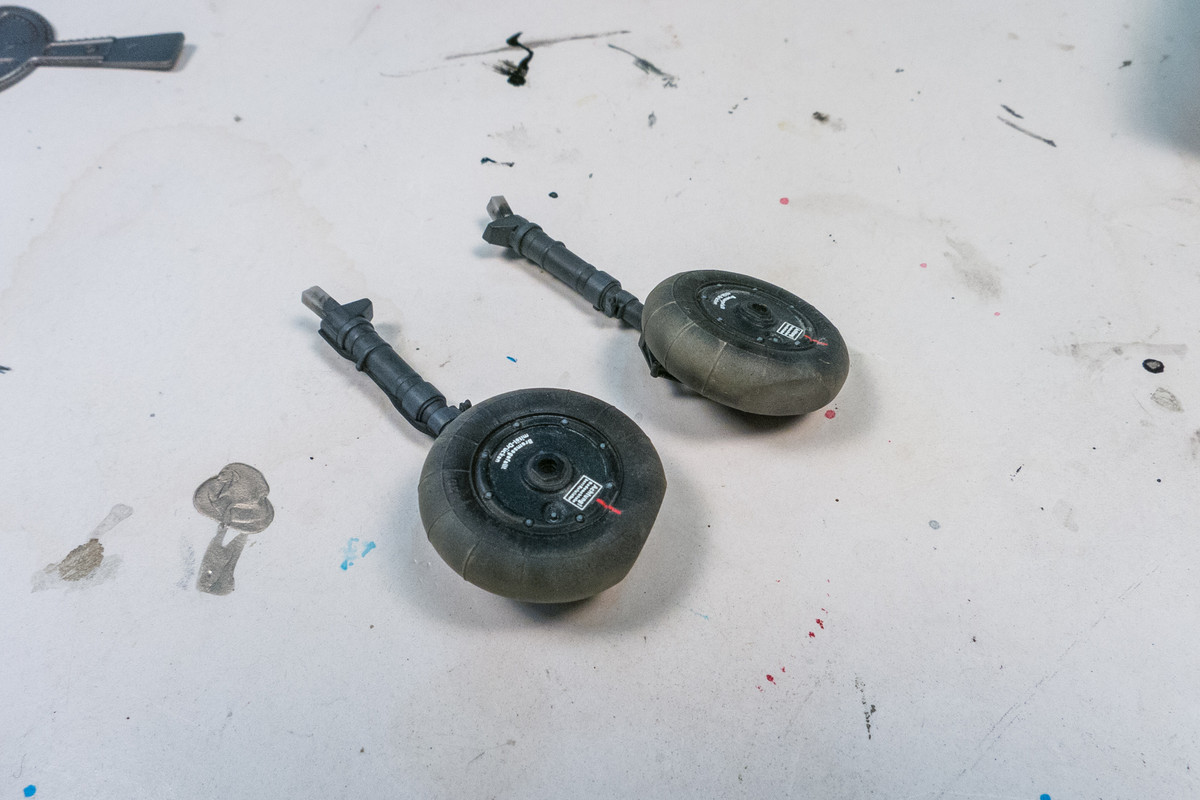
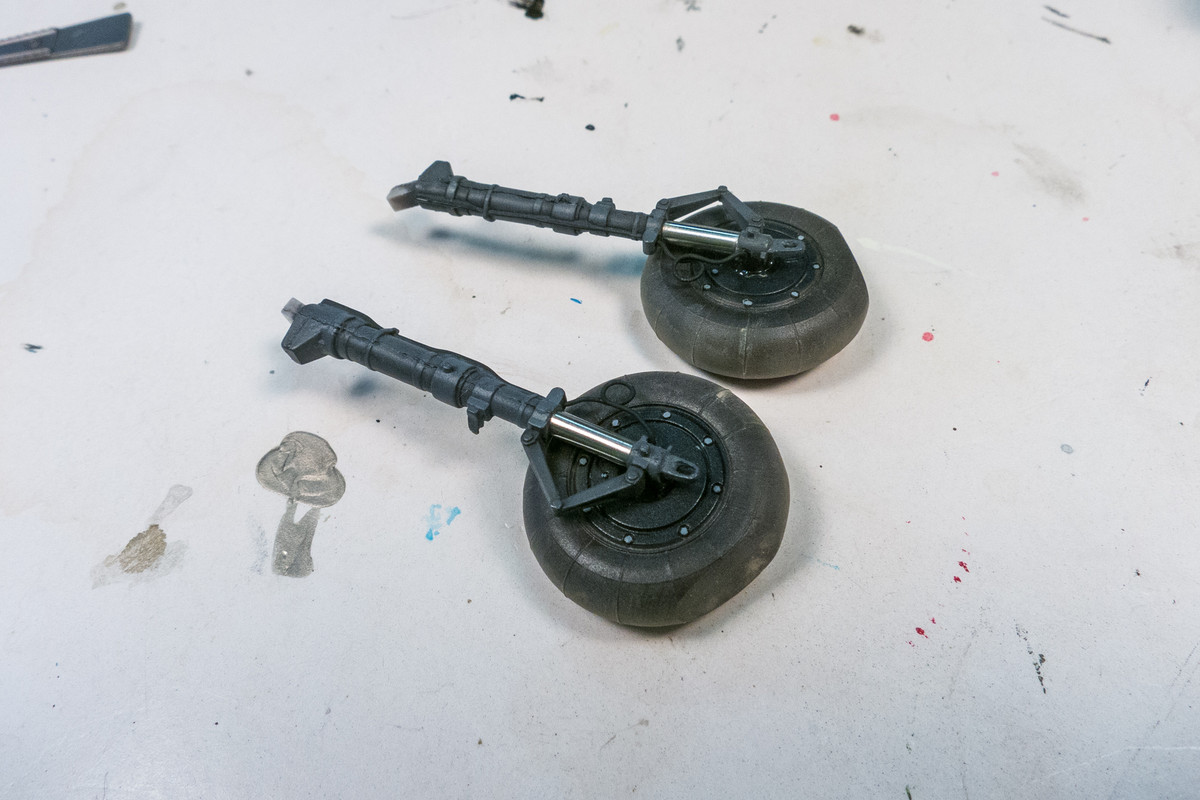
I thought it might be easier to orient the tire flat spots without the wings in the way. I might as well take advantage of the benefits of having the landing gear mounts on the fuselage and not the wings. And the aftermarket legs have a good, positive fit without too much wiggle. I used JB Kwik Weld, which starts to cure in a matter of minutes, to attach the wheels to the landing gear legs, allowing me some time to make sure the flat spots on the tires hit the ground correctly.
Image
Image
Image

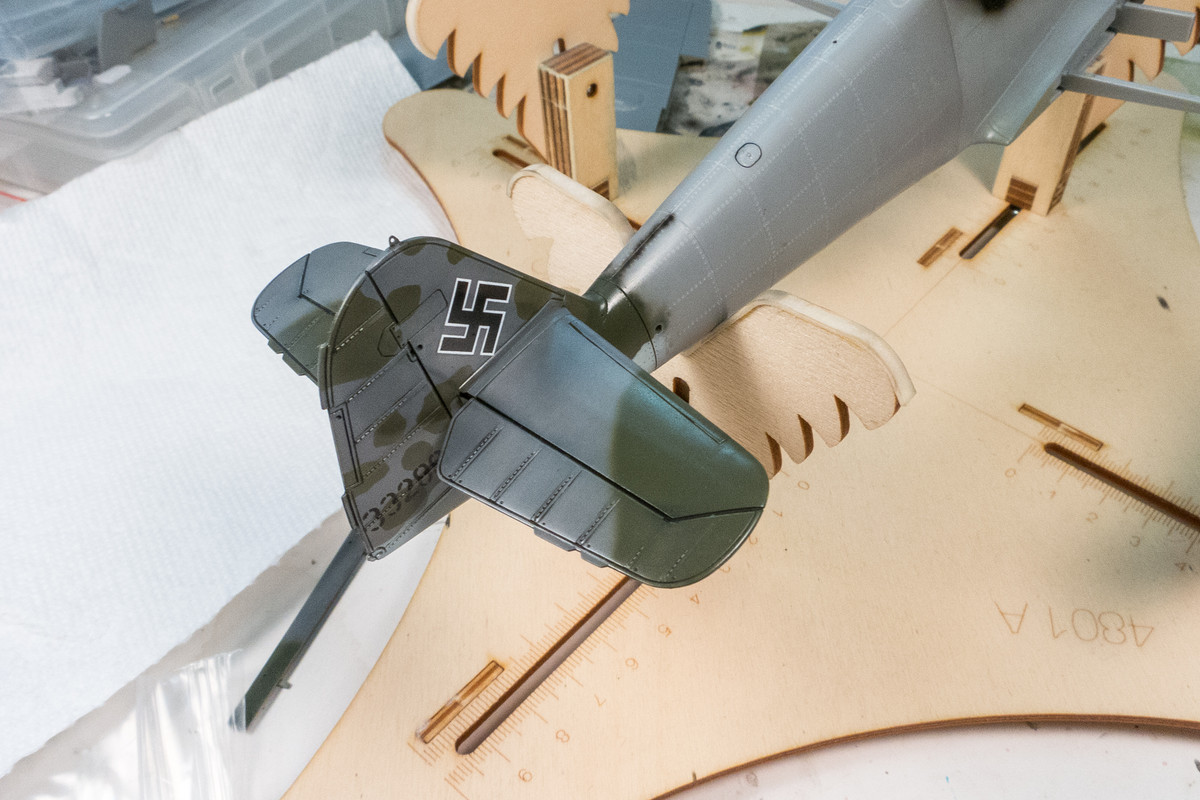
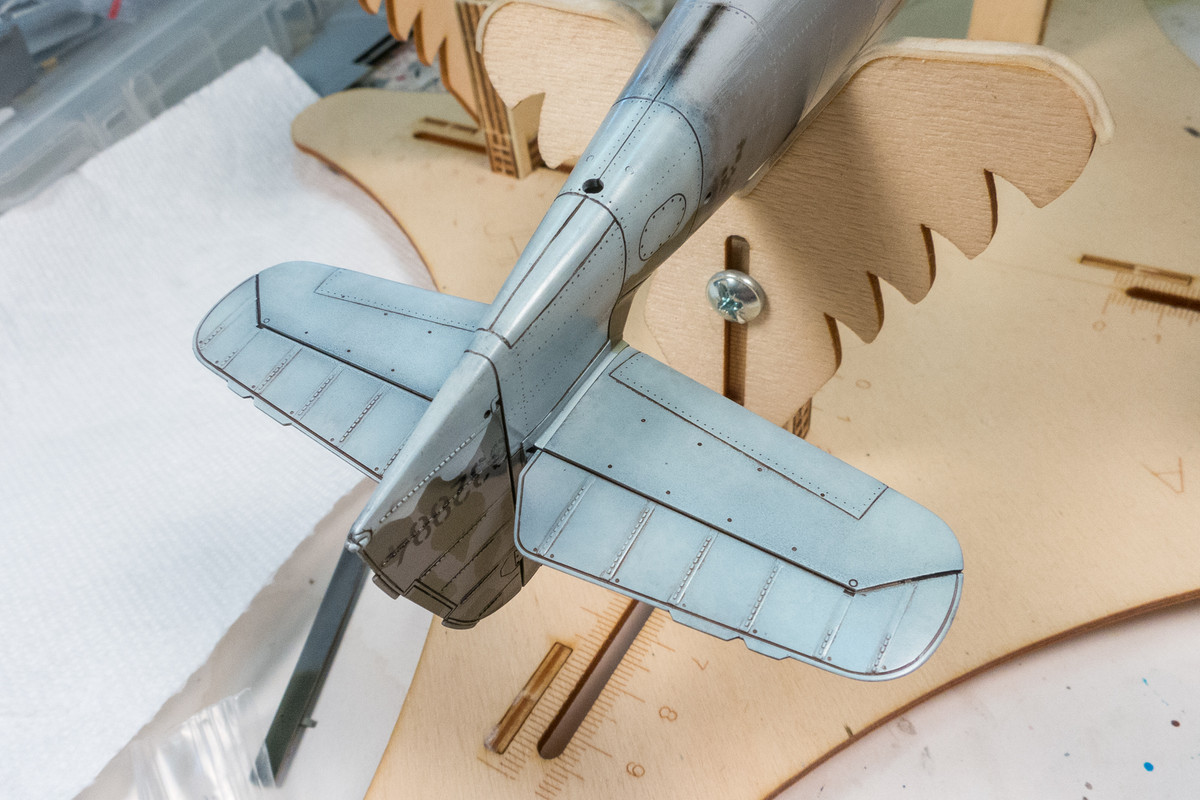
I've painted the elevators but have not glued them in place yet. I went ahead and applied a pastel wash to the tail unit but haven't sealed it with a flat coat yet.
Image
Image

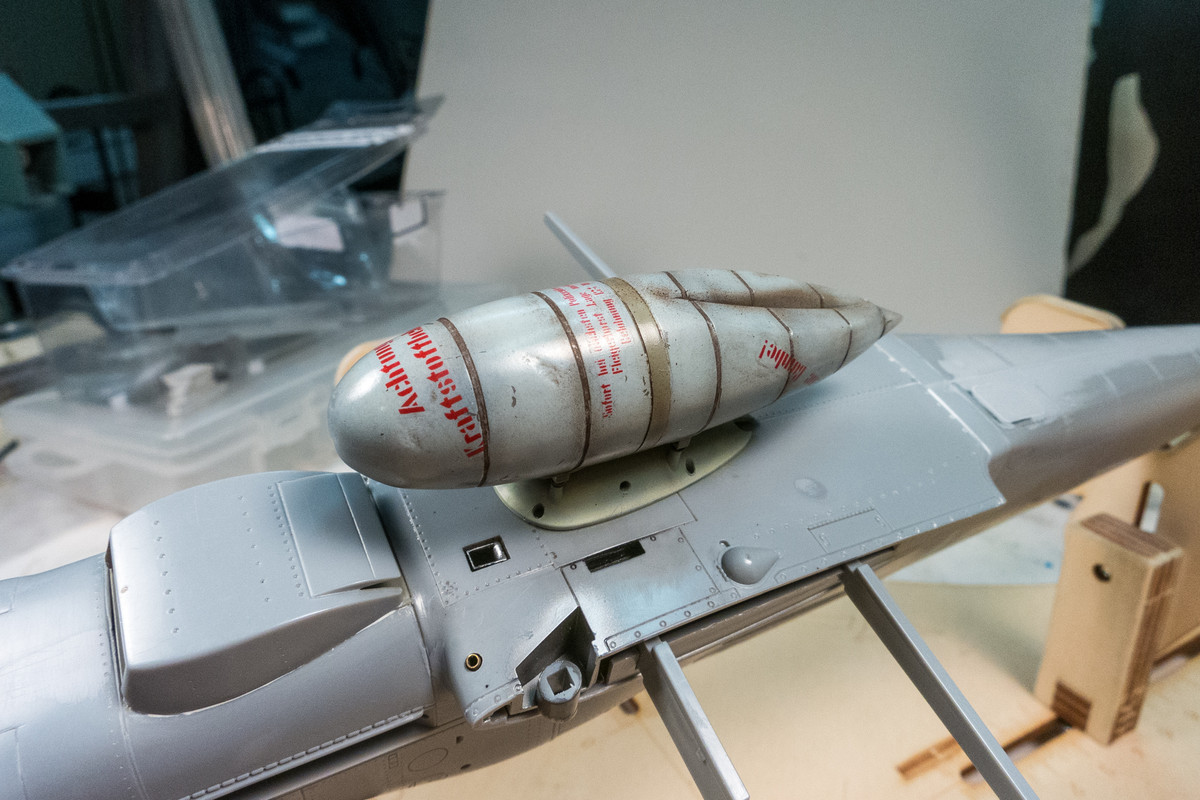
The drop tank has been painted and stenciled. Still some weathering left to do.
Image

I may opt to paint the fuselage before attaching the wings. The wing to fuselage fit isn't perfect but it's pretty good and I don't think the clean-up work around the seams will affect the paint job.

Re: 1/32 Hasegawa Bf109K-4 Weisse 8

Posted: Sun Dec 08, 2019 2:31 am
by Floki
I really like the way your pastel washes turn out, I'm sorry if I missed how you mix them but I would like to give it a try myself if you wouldn't mind sharing your knowledge.

Re: 1/32 Hasegawa Bf109K-4 Weisse 8

Posted: Sun Dec 08, 2019 3:04 am
by jkim
Of course, Clint! If I may, I'll cut an paste the process that I documented on a previous build...

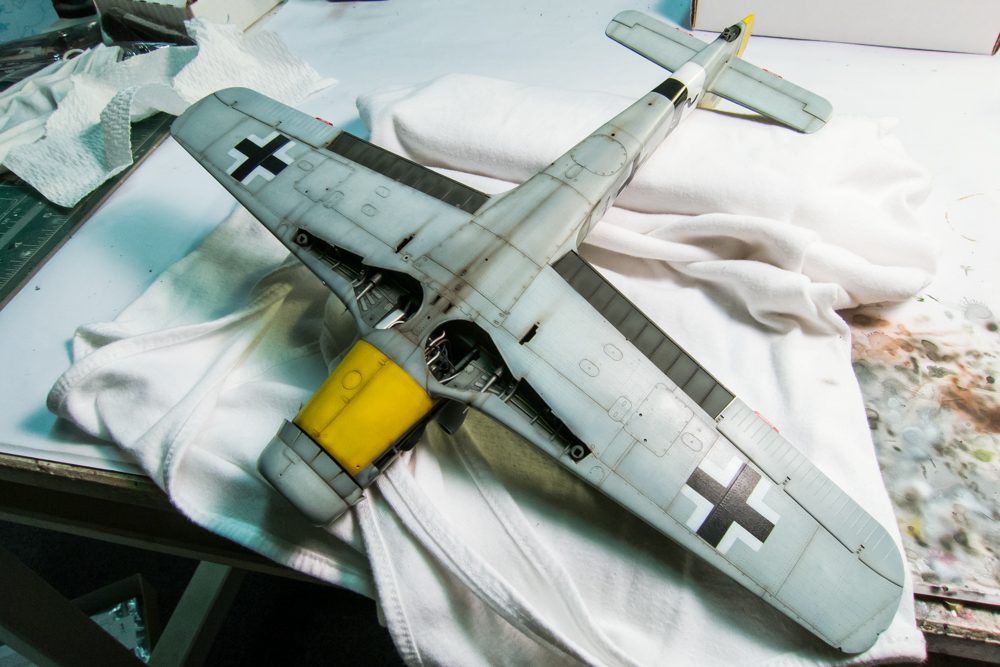
With the post-shading done, I will go to the next weathering step: pastel wash. This will be done using two colors given the color differences between the lower and upper surfaces. The bottom surfaces will be given a dark brown wash to highlight the recessed panel lines and rivets. Here is the bottom prior to the wash.
Image

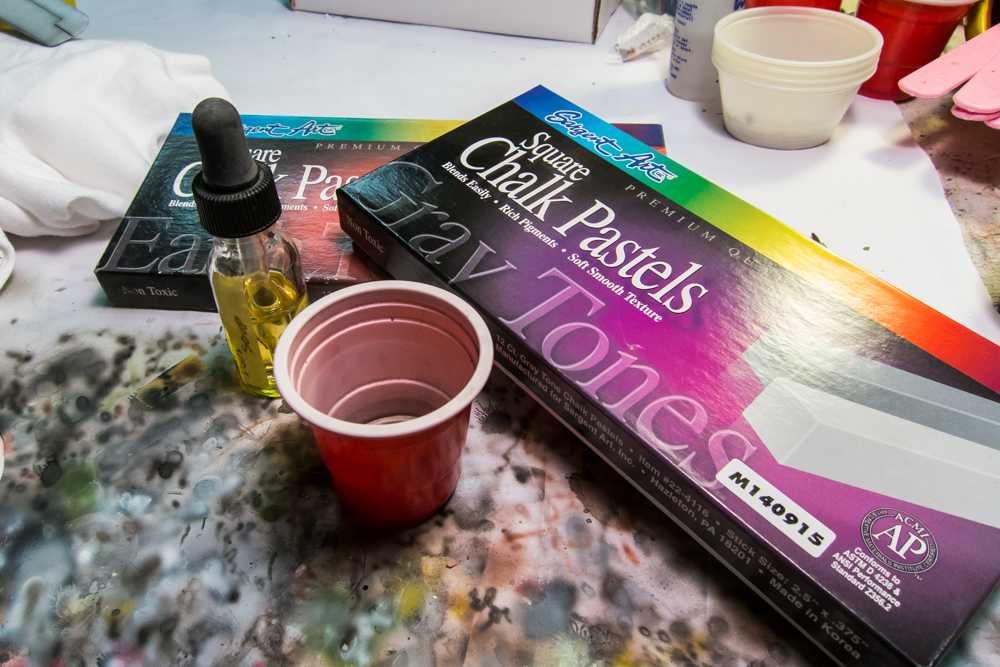
My thinned paint finishes are on the delicate side so I prefer using a wash that is benign to the paint finish. So I make my own water-based wash. It's very easy... all you need are some pastel chalks (not oil), water and some dishwashing soap.
Image

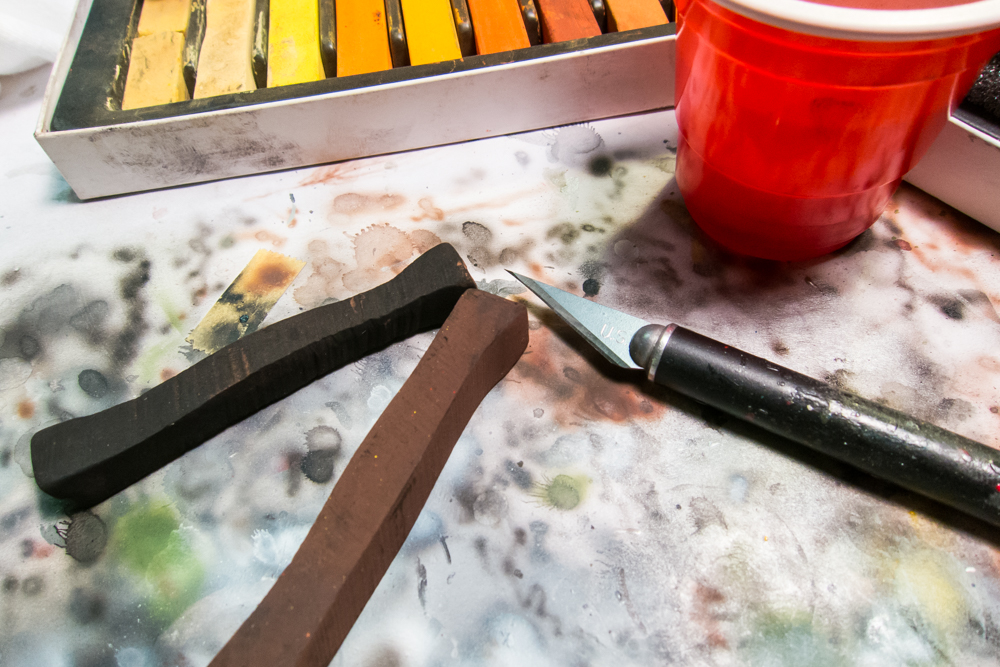
I put a very small amount of water into a small container. For the bottom surfaces, I select a dark brown and a black piece of chalk. Using a knife blade, I scrape fine amounts of both chalks into the water.
Image

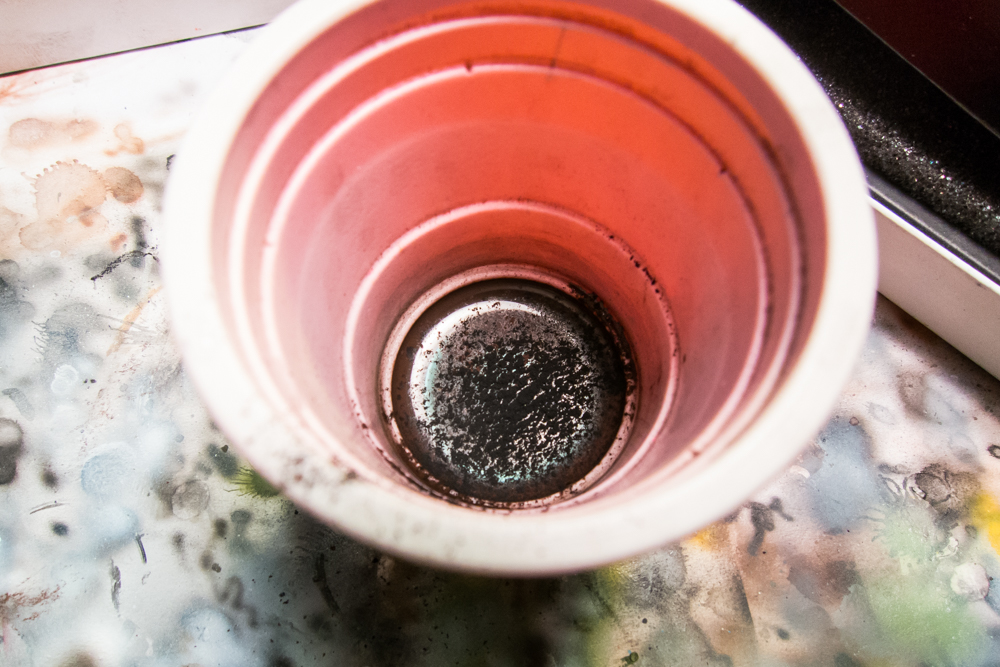
Here are the ingredients prior to mixing. To help reduce the surface tension of the water and allow easier mixing, I add a small dap of dishwashing soap. Note the small amount of water that I am using.
Image

Mix it well and you should get a nice, solidly-colored fluid. This small amount is enough to cover the entire model and then some.
Image

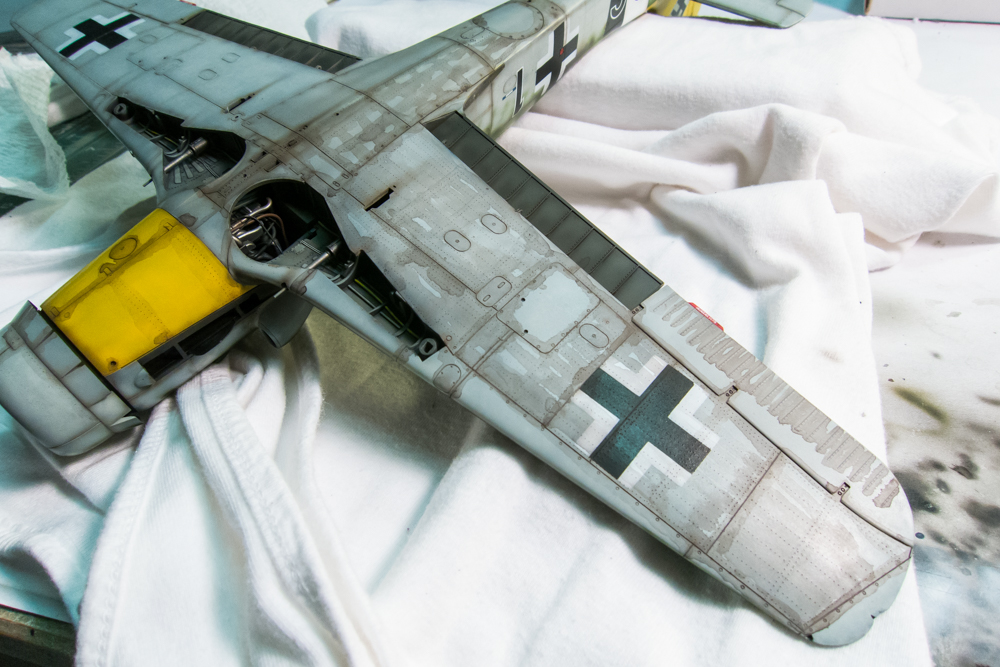
Using a small paint brush, the wash is applied over the bottom surfaces, making sure that it gets into every recessed line, raised detail and rivet. Let this dry COMPLETELY.
Image

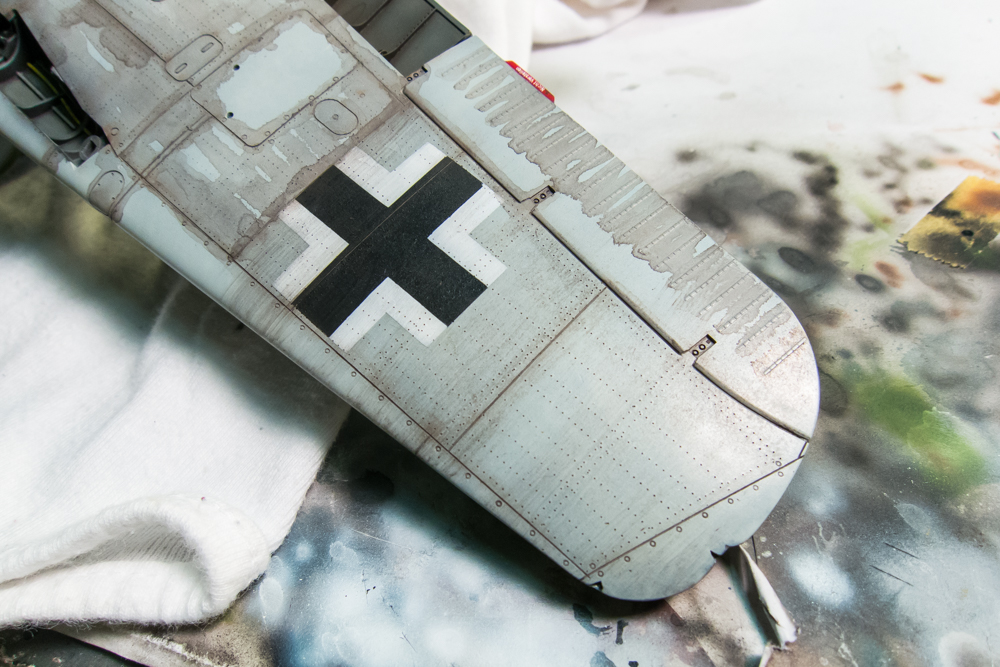
I like to give my washes about 10-15 minutes to dry completely so that it holds in the places that I want it to hold. Wiping off a still wet wash will result in too much removal and you'll have to repeat the application. Once the wash application is dry, I begin to wipe it off using a piece of damp (not wet) paper towel. The dark pastel pigments will remain in any recess, serving to highlight that feature. Always end your wipes in the direction of the airflow.
Image

The wash is systematically removed. Depending on the effect that you want to achieve, you can leave residual streaks of the dirty wash on the model to simulate wear.
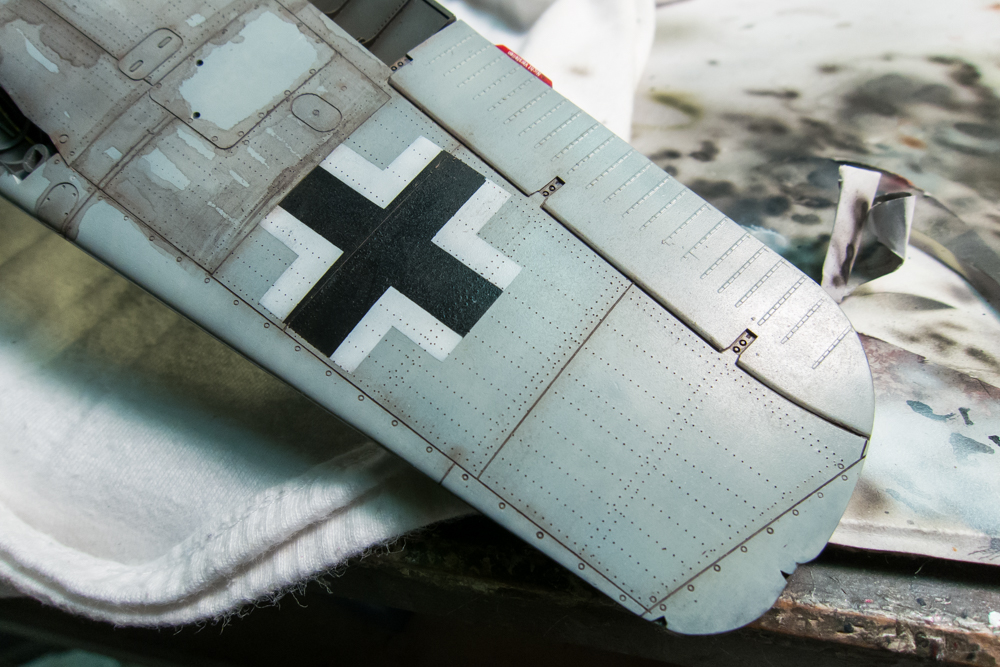
Image

Remember that crazy mottling pattern that I applied to the model before the camo painting? That was the first layer of effects that have been applied to the model. The pre-shading, post-shading and now the pastel wash, all work together to create an illusion of depth on the otherwise flat surface.
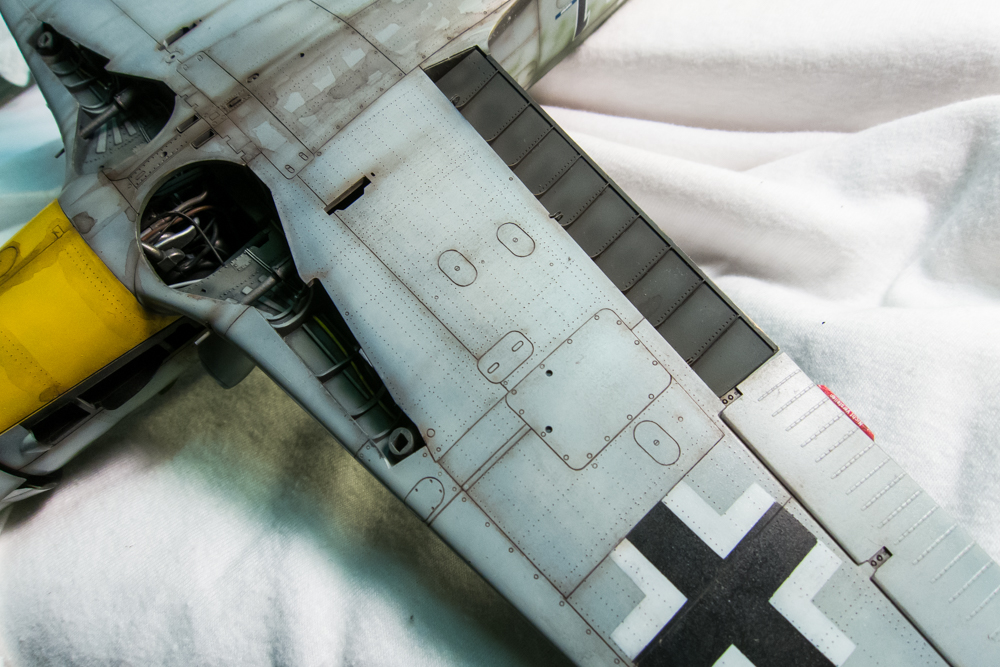
Image

Re: 1/32 Hasegawa Bf109K-4 Weisse 8

Posted: Sun Dec 08, 2019 6:01 am
by Floki
Thank you John for sharing, my only other question is, do you apply a gloss coat before the wash or just go over the flat acrylic?

Re: 1/32 Hasegawa Bf109K-4 Weisse 8

Posted: Sun Dec 08, 2019 10:47 am
by jkim
Gloss coat! Wash may stain a flat finish.

Re: 1/32 Hasegawa Bf109K-4 Weisse 8

Posted: Mon Dec 09, 2019 3:21 pm
by jkim
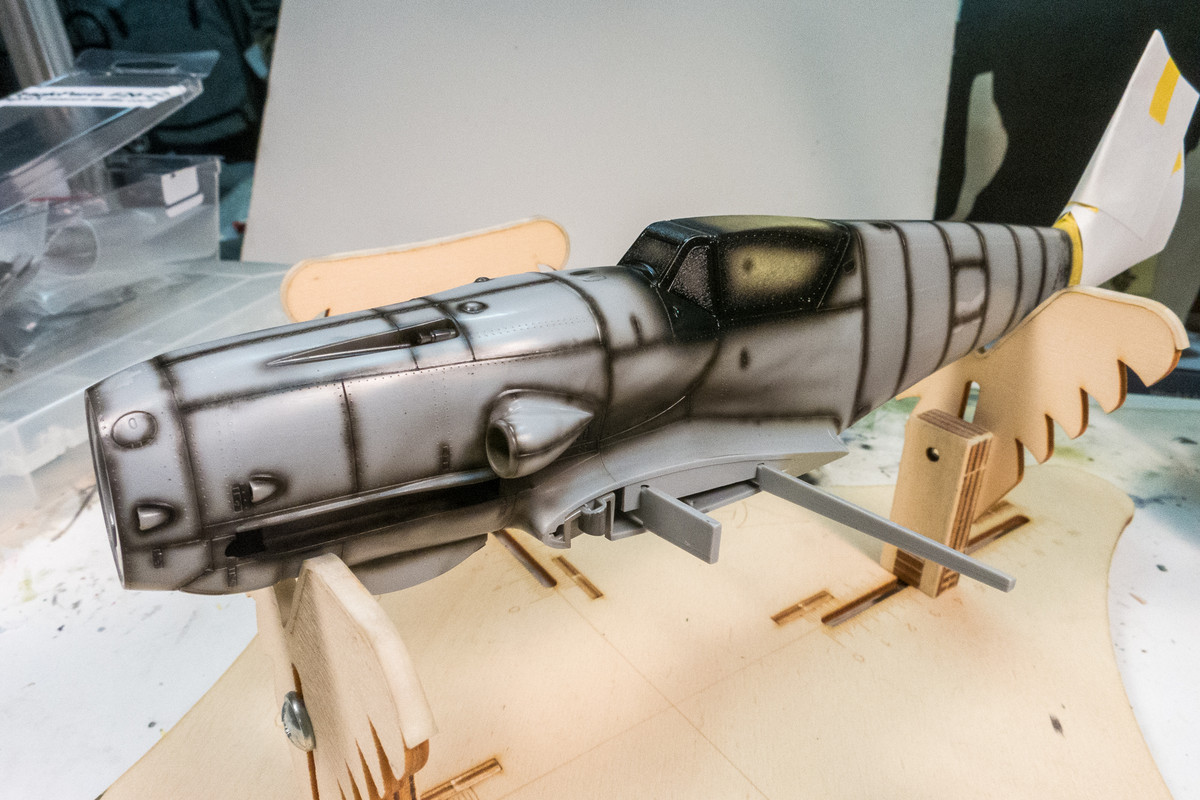
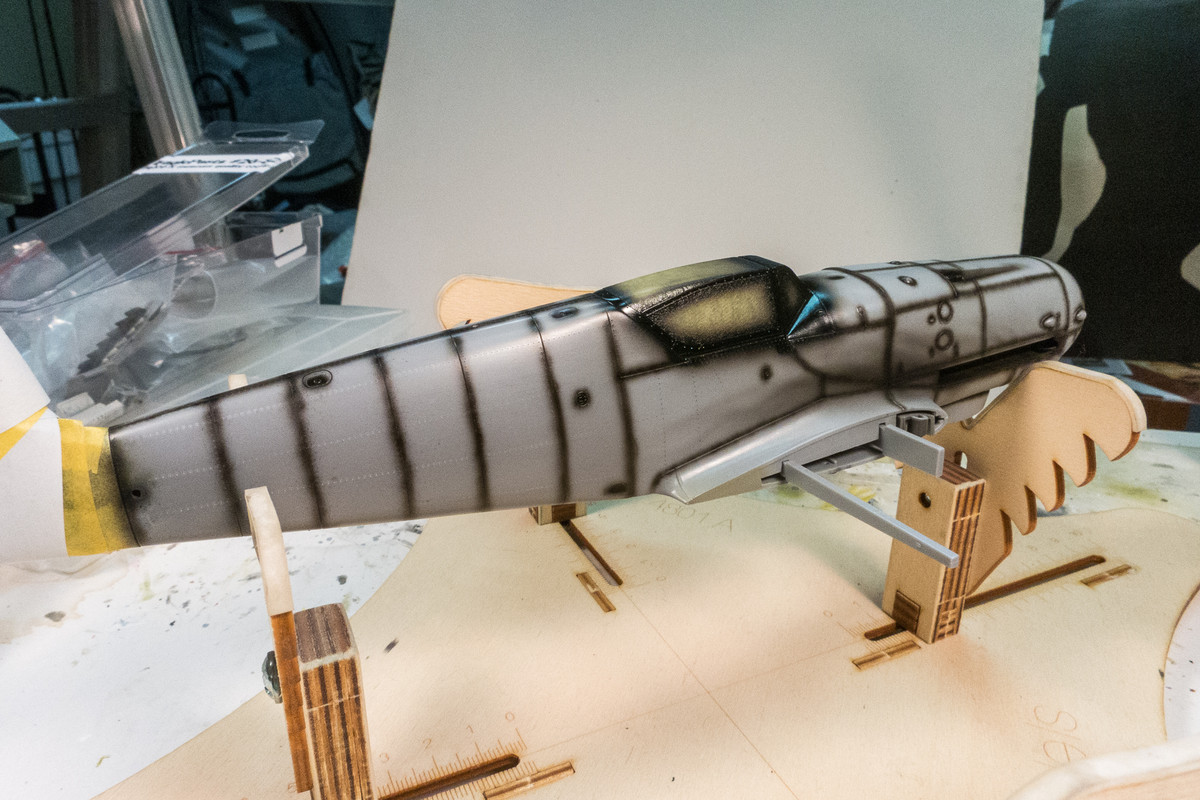
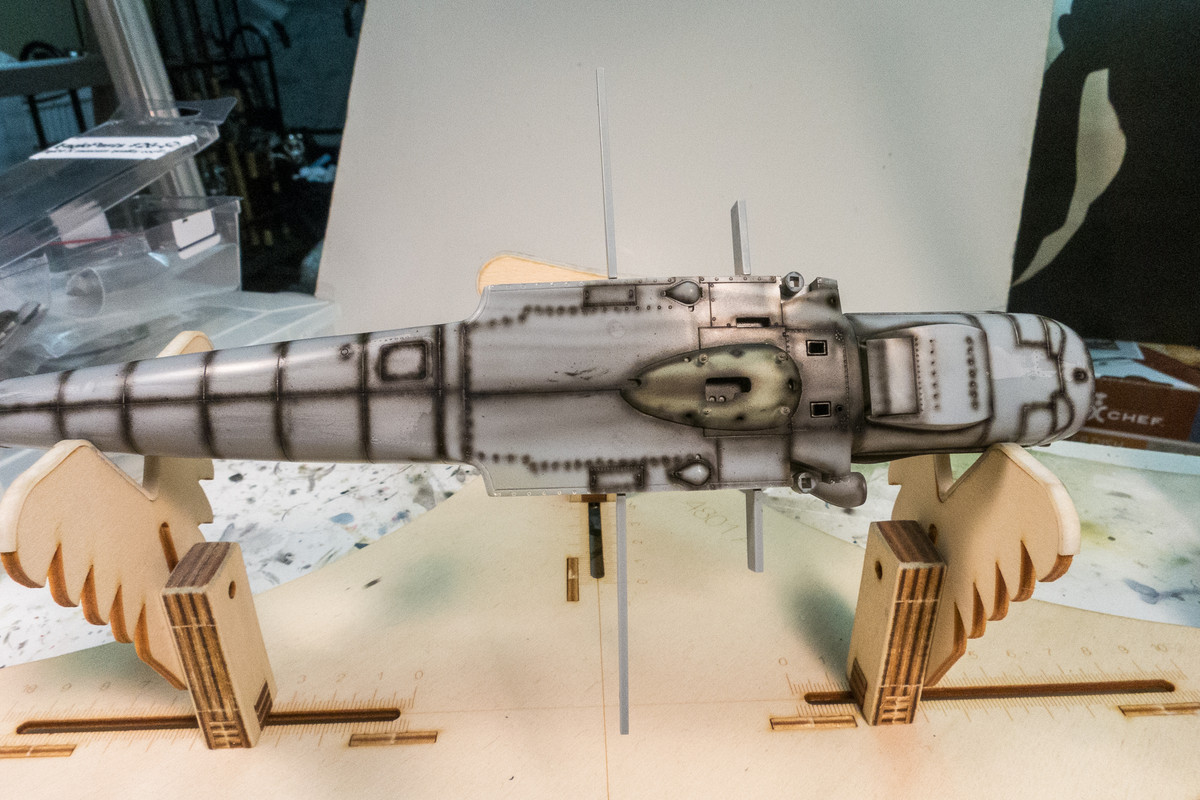
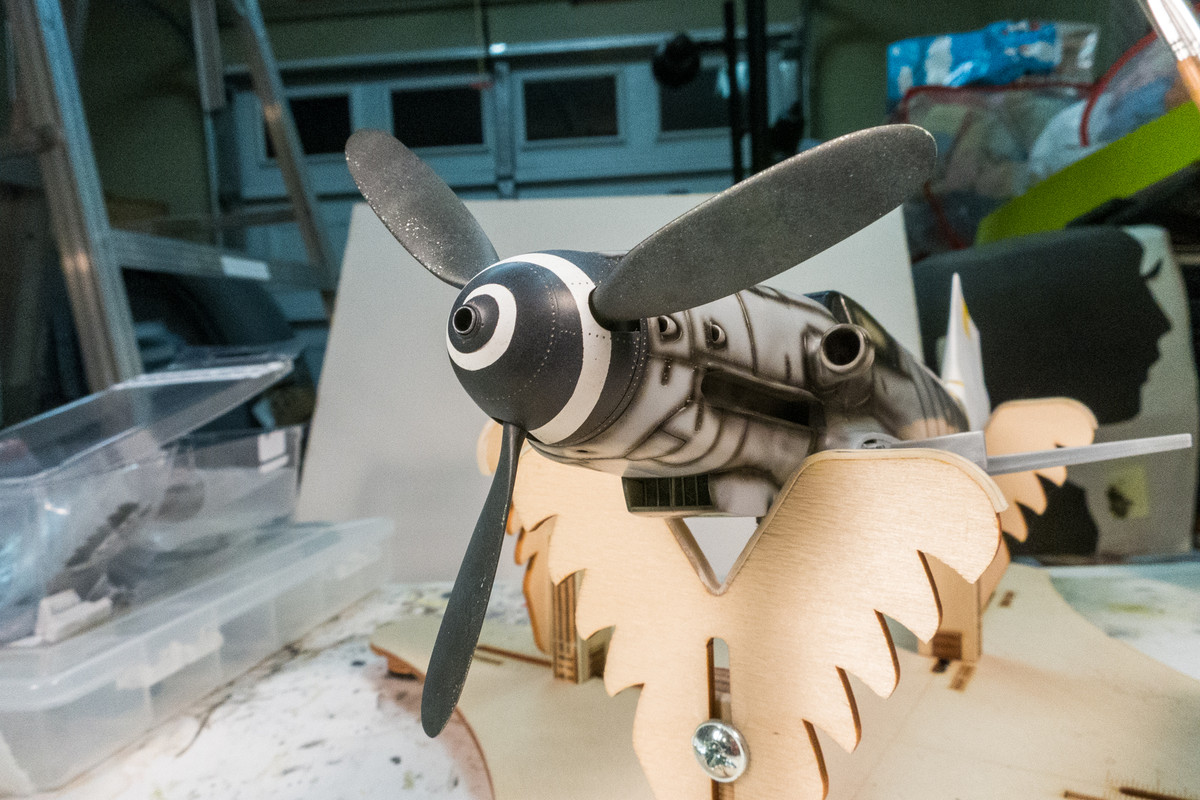
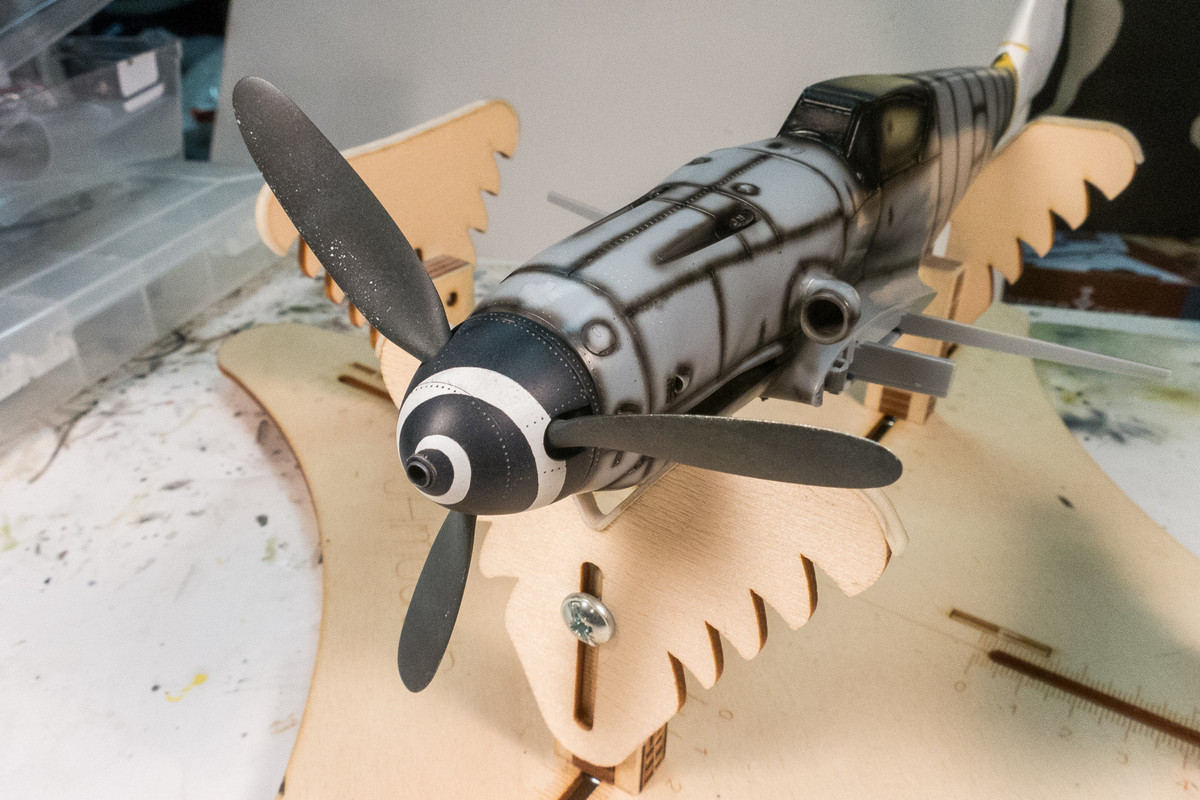
Now that I've decided to paint the fuselage before attaching the wings, I can lay down my pre-shading. First, I do all of the panel lines.
Image
Image

I've also did some darkening around various "waste"' areas such as the exhaust and behind the oil cooler.
Image

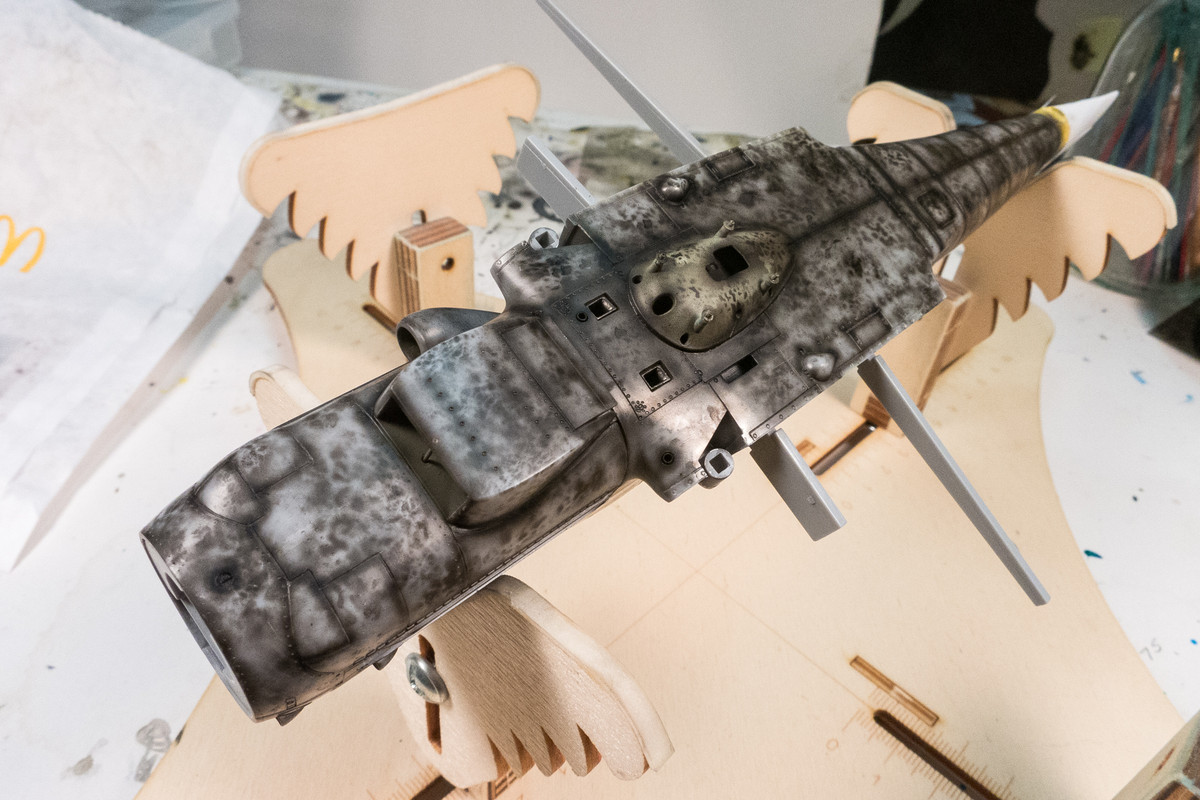
Next, I'll use my brillo pad and splatter templates to add some texture. In the meantime, I've attached the blades to the prop assembly.
Image
Image

Re: 1/32 Hasegawa Bf109K-4 Weisse 8

Posted: Mon Dec 09, 2019 9:14 pm
by mustang1989
Man this is good. I can't get over the detailing and weathering aspects of this build. You may have seen him around the forums but Tucohoward would be proud. May have to ring his bell with this one.

Re: 1/32 Hasegawa Bf109K-4 Weisse 8

Posted: Mon Dec 09, 2019 11:02 pm
by Duke Maddog
I am so overwhelmed at how incredible this all looks. I might also try that wash technique if I can get some pastel chalks.

Re: 1/32 Hasegawa Bf109K-4 Weisse 8

Posted: Tue Dec 10, 2019 12:08 pm
by jkim
mustang1989 wrote:Man this is good. I can't get over the detailing and weathering aspects of this build. You may have seen him around the forums but Tucohoward would be proud. May have to ring his bell with this one.
Thanks! Yes, I know Jay (Tucohoward) from other forums... another 109 fanatic but haven't seen any recent builds from him lately.
Duke Maddog wrote:I am so overwhelmed at how incredible this all looks. I might also try that wash technique if I can get some pastel chalks.
Thanks Duke!

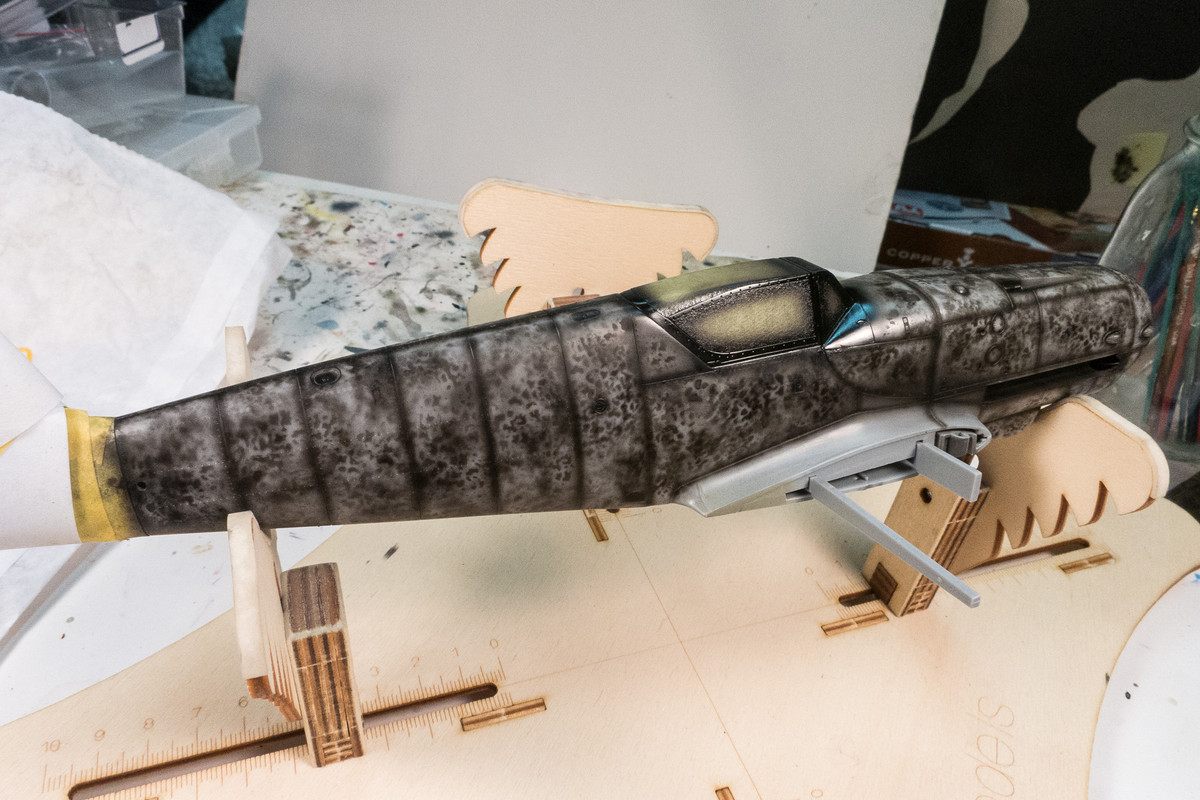
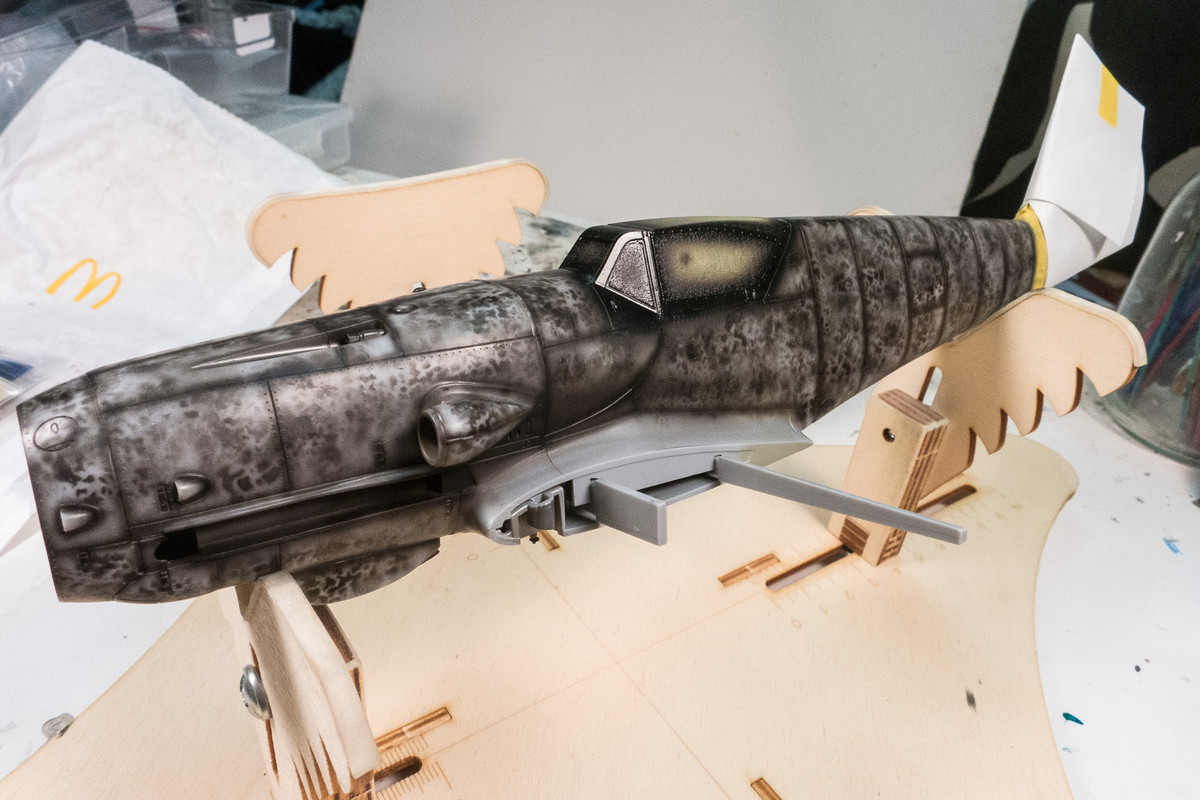
After the panel lines have been blackened, I go to town on the rest of the airframe, shooting black through pieces of brillo pad and also through a splatter template. It looks crazy now but there is no such thing as overdone since the camo colors can cover all of this completely, if one wishes.
Image
Image
Image