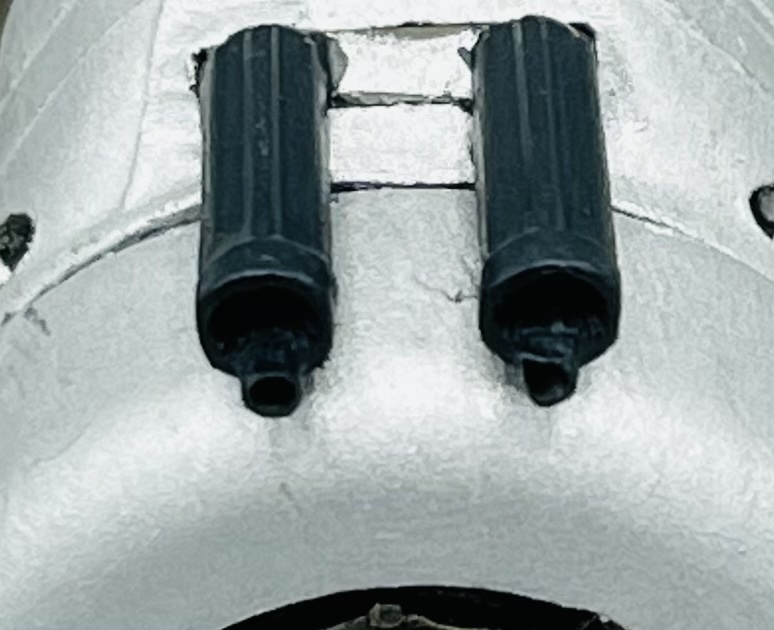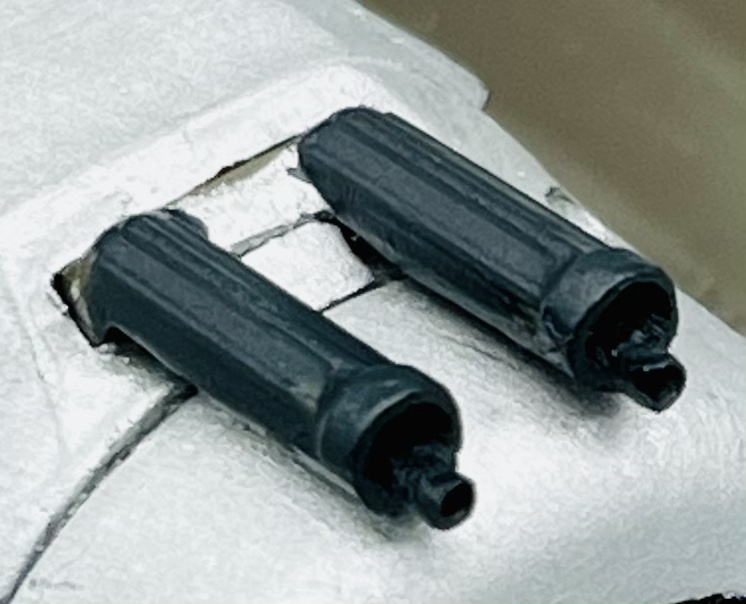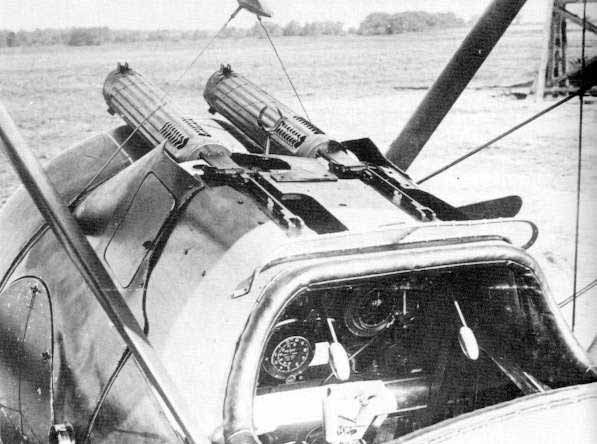
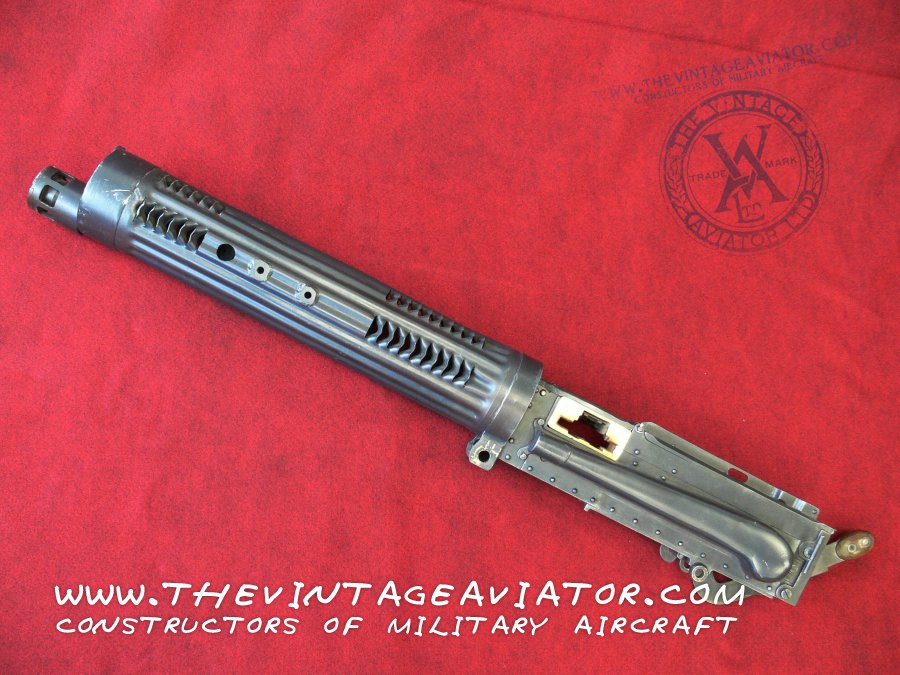
Carlos, The Vickers look great. I like the suggestion of a freshly oiled gun jacket, and muzzle, with a hint of bluing. You asked me what I think, though, and I think some freshly ground graphite dusted then brushed away might add the final “Flourish,” but would not be necessary. I loved the test fit as well (backing up a few posts).
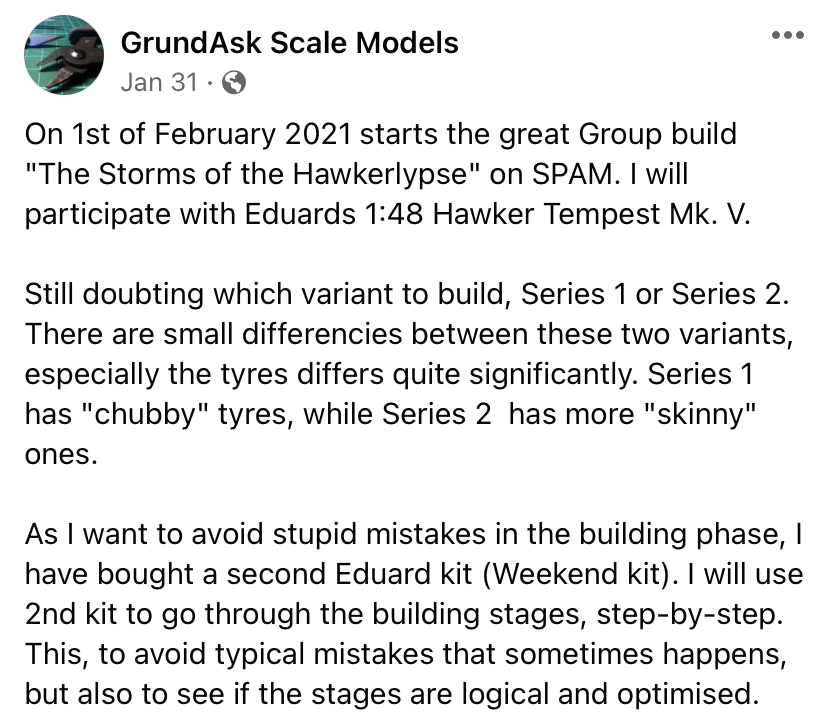
I have been inspired by an idea Kari had about building a test kit (he did so with his Eduard Fokker and now on his “Hawkerlypse Now” build. He purchased two kits, and is building one to prepare for the other. I don’t know if he posted the details here yet, but has added some wonderful photos on his Facebook model building page. I guess I should find them and add them here, but I am going to instead add my progress through the remainder of the Eduard kit set, which may become the winner winner in terms of assembling a Fokker. At any rate, I will add my progress so far.
Ah. Just look at Kari build!
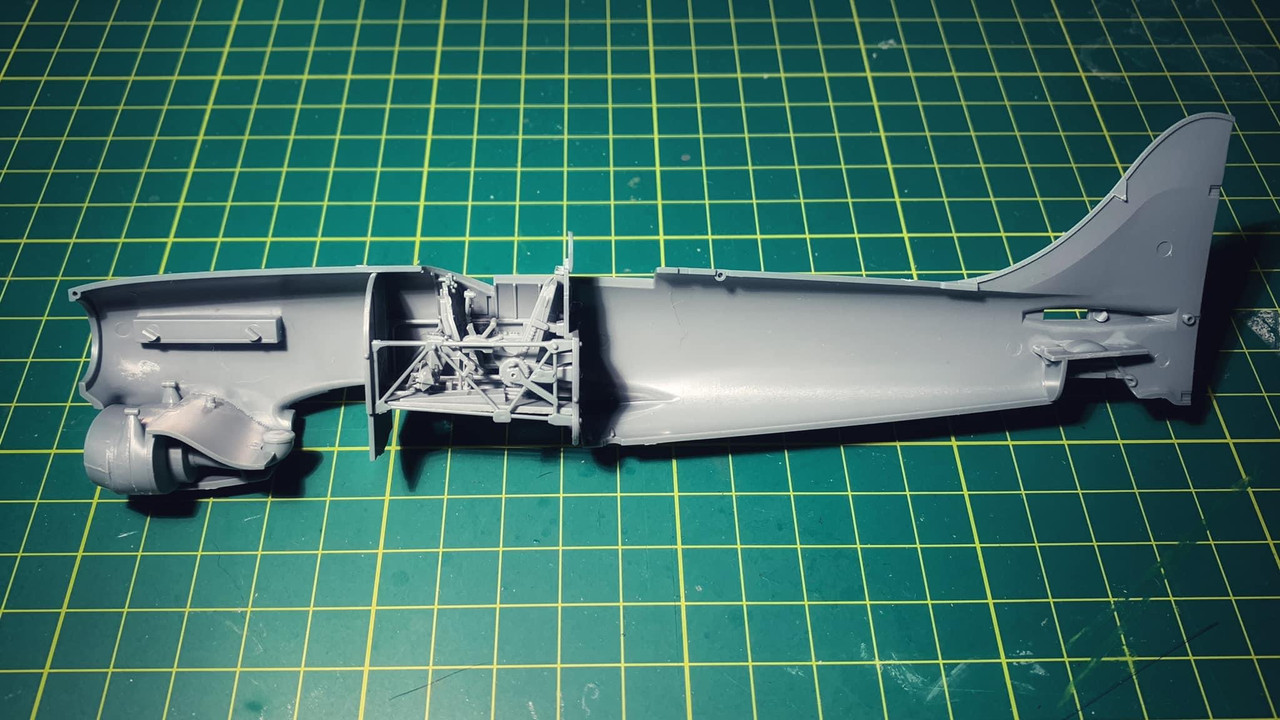 EDUARD “Weekend Build”
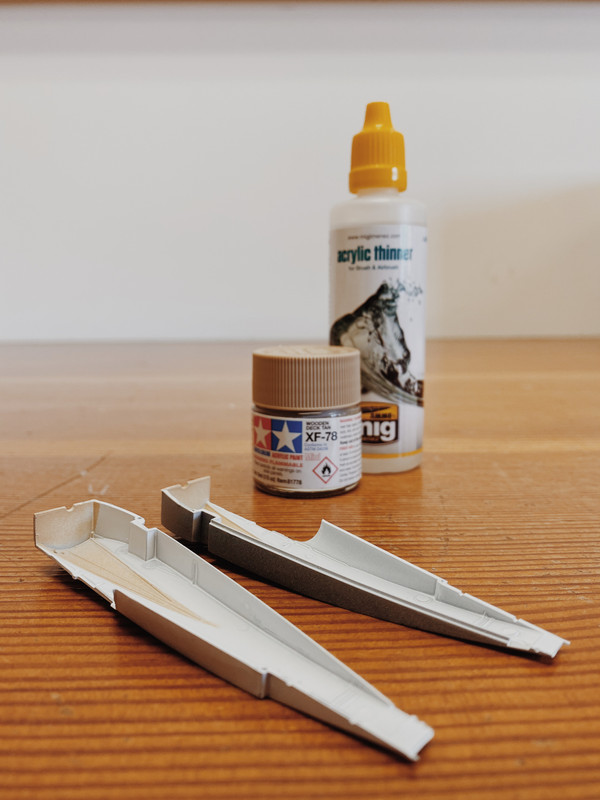
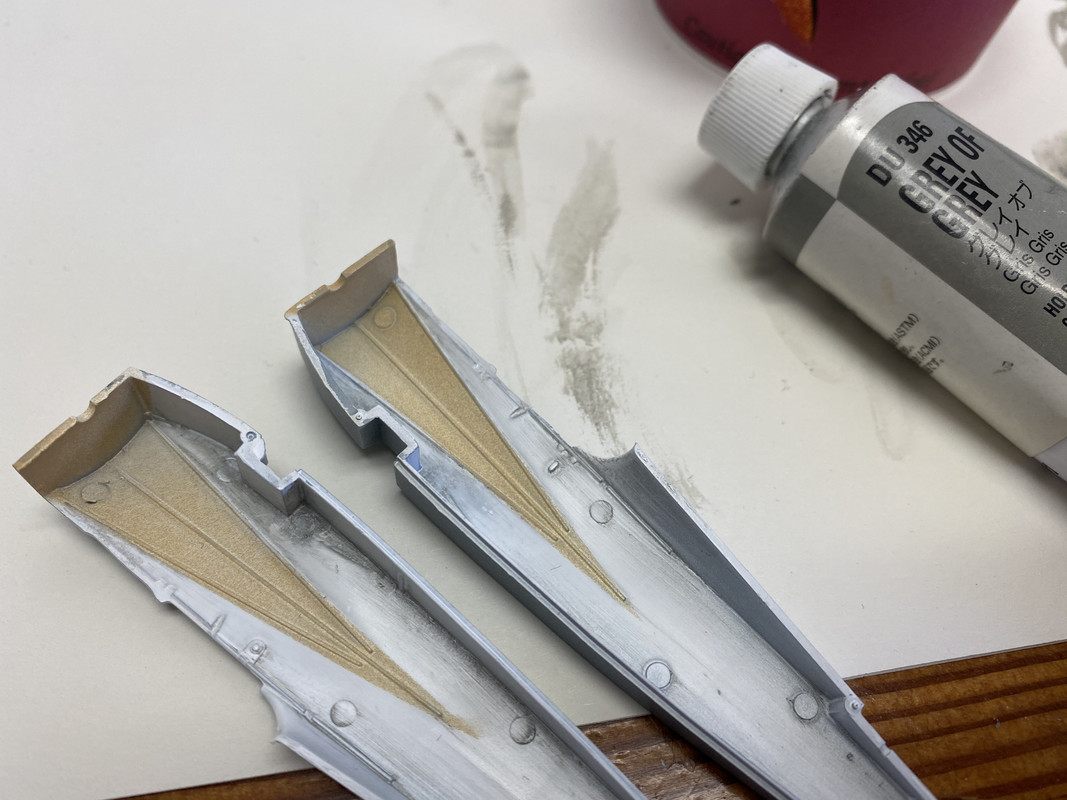
Eduard fuselage. I developed this the same way I did the Aurora, first by spraying Mr Surfacer 1000 to represent raw linen, with a triangular wedge of Tamiya deck tan which I will then add wood grain surface detail when all is dry. I also experimented with adding some color modulation to the stark white linen. And yes, there are a shitload of injector pin nubbins, none of which will be visible due to a full seat bulkhead and front gun tubs or whatever those things are. Do I like leaving ejector pin markings? Hell no! But I did not want to get too finicky especially since this is unwarranted.
Mr Surfacer 1000 and Deck tan:
Initial brushes of Grey of Grey water-based oil paint:

Refinement:
Ultimately this is still a 1/48 Fokker Dr.1, and nothing is going to waste. Like I wrote, I have many copies (Overtrees, Weekend, Profipack) and I don’t mind building to learn how to improve my understanding of aircraft modeling. Lyle has also pointed out that the Tripe loses the fight, but it may have other merits. The main point is my mojo is not going to waste. That’s the most important part of this.
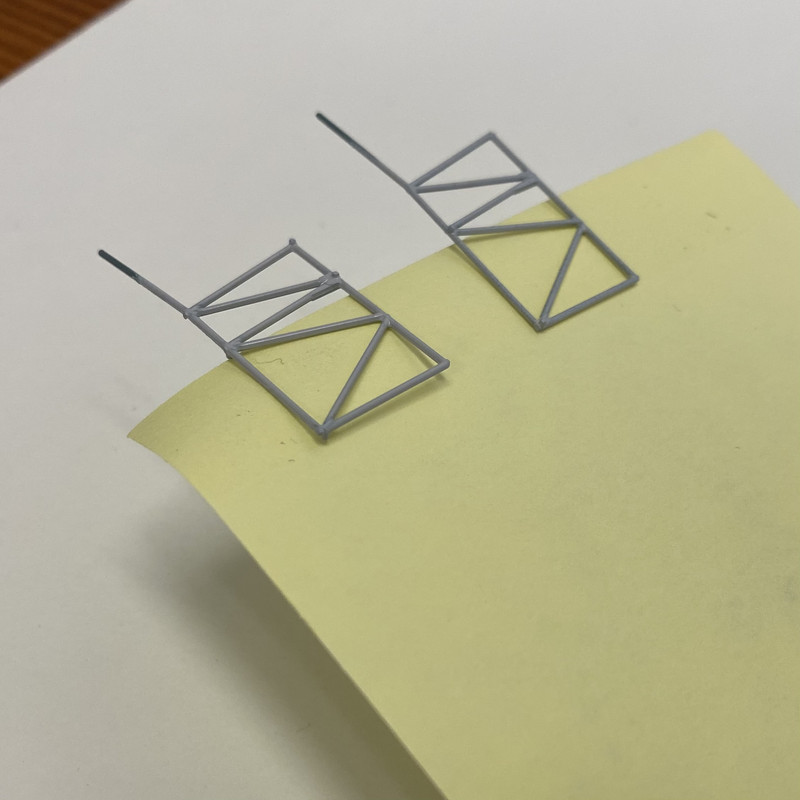
Also this is a trick I use a lot: the yellow post it note as a way to hold a small part for painting. I don’t know if anyone else does this, but it’s very easy.