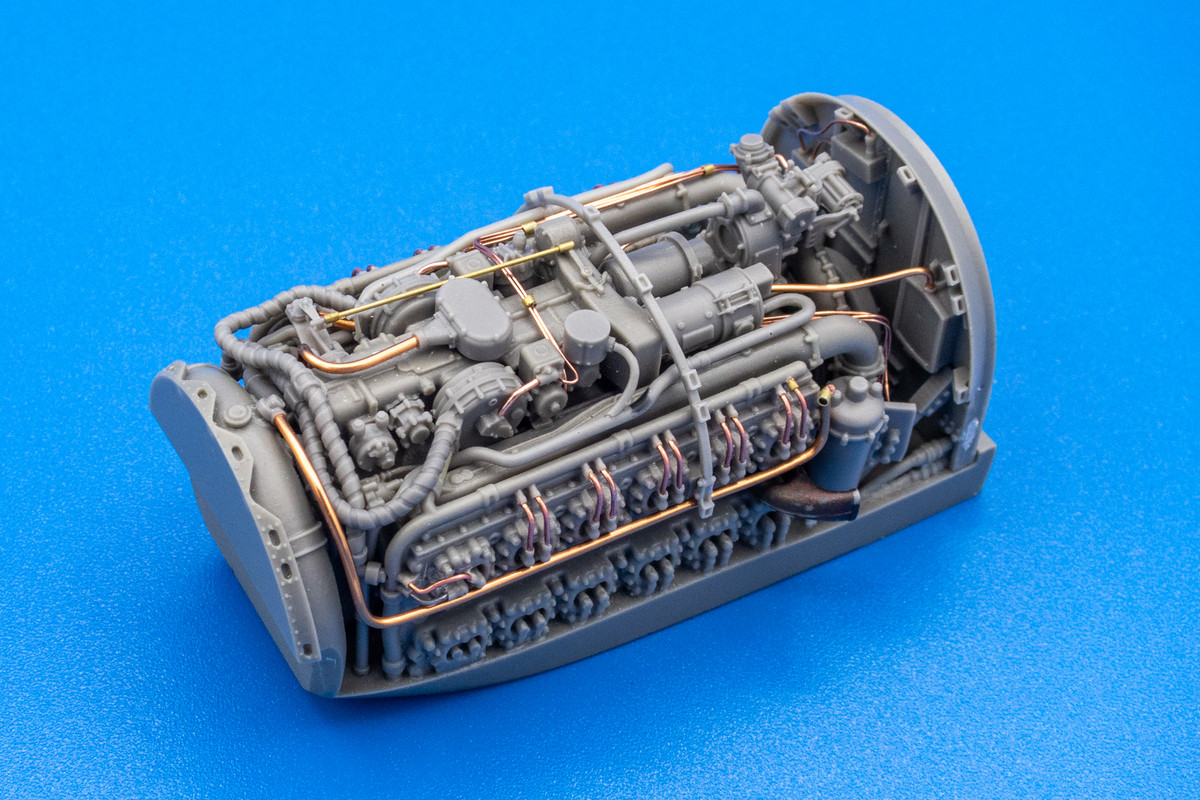
Thanks guys! Still nervous about the nose/fuselage connection and haven't quite figured that out but I am adjusting as I go and hopefully it will turn out acceptably.
As mentioned in my previous update, the rear bottom corner of the cockpit cage was interfering with the sit of the upper wing flap assembly. After wasting hours of slowly grinding and scraping away, I realized it would much quicker just to SNIP the material off with my sprue cutters.
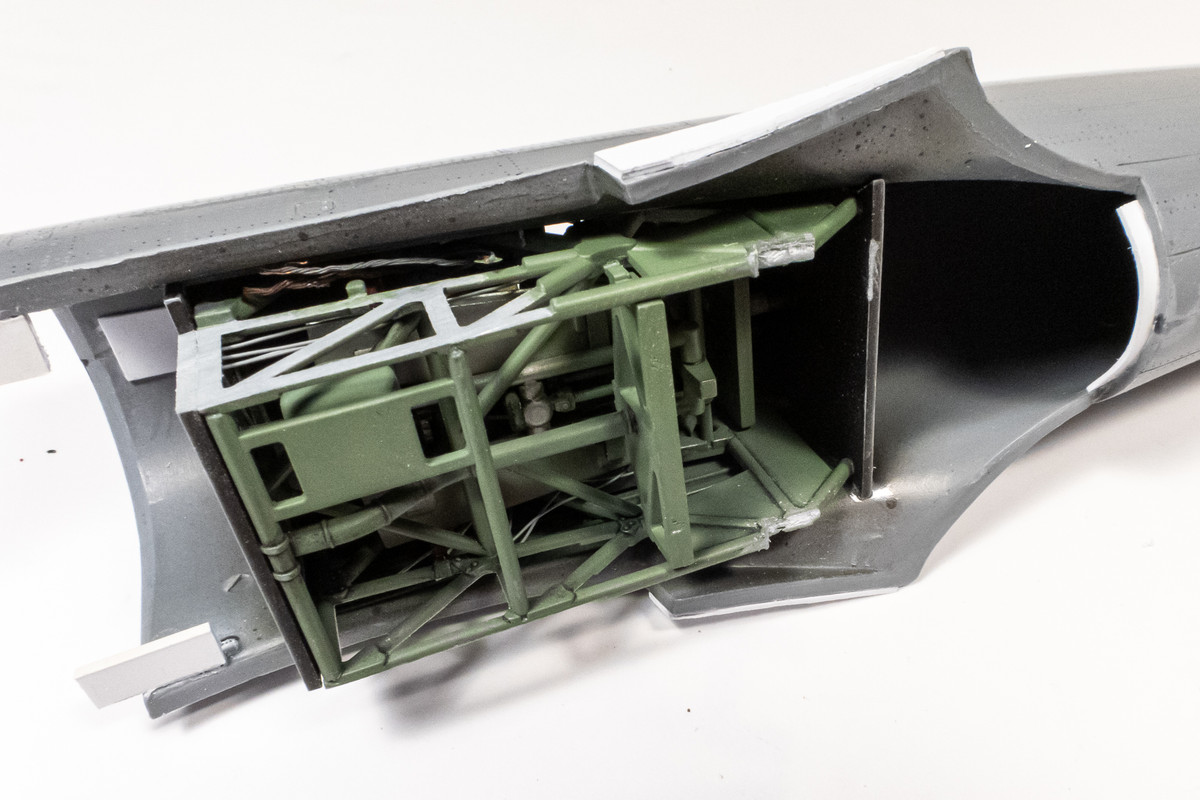
The upper wing flap assembly can now sit without interference.
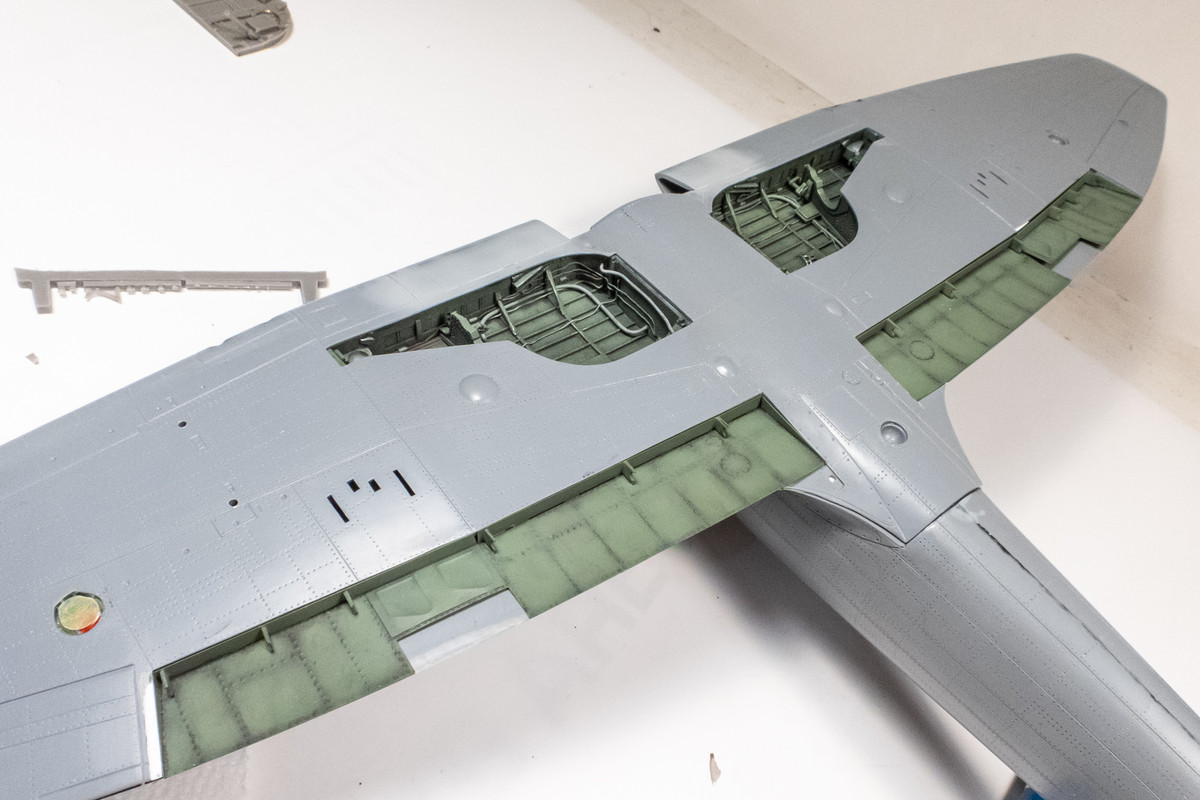
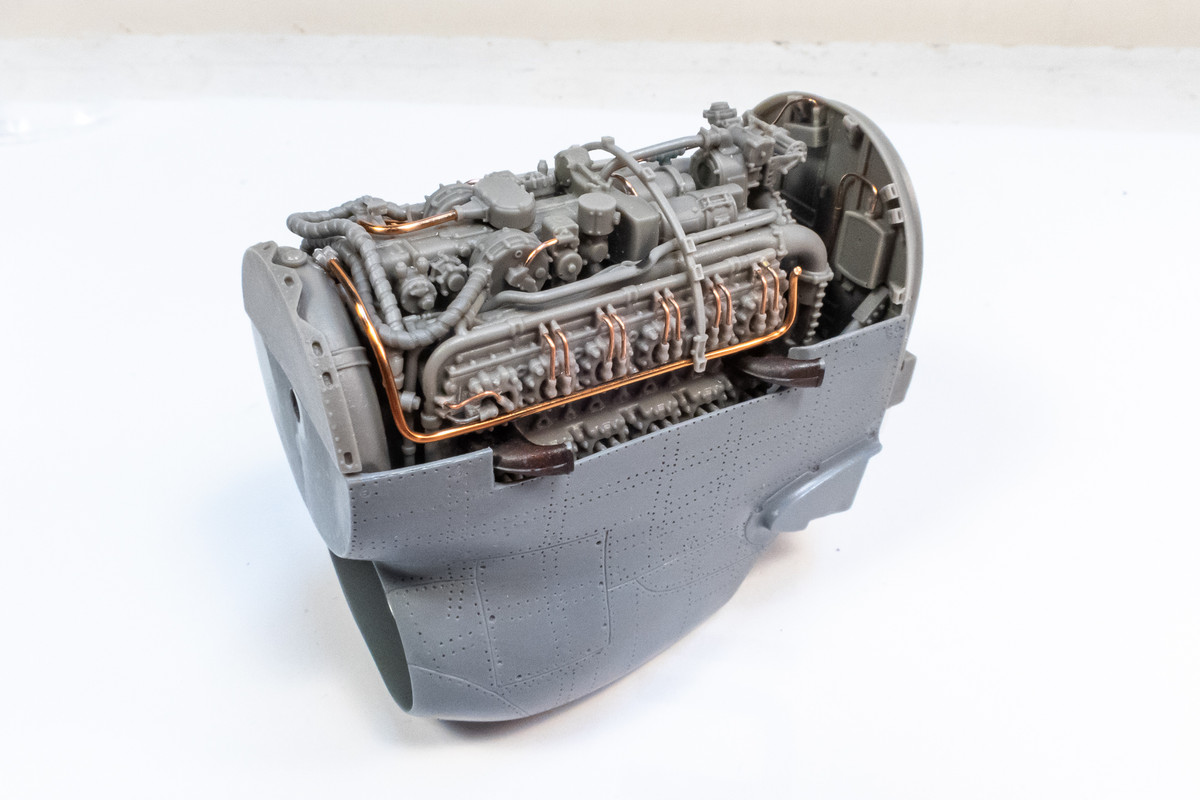
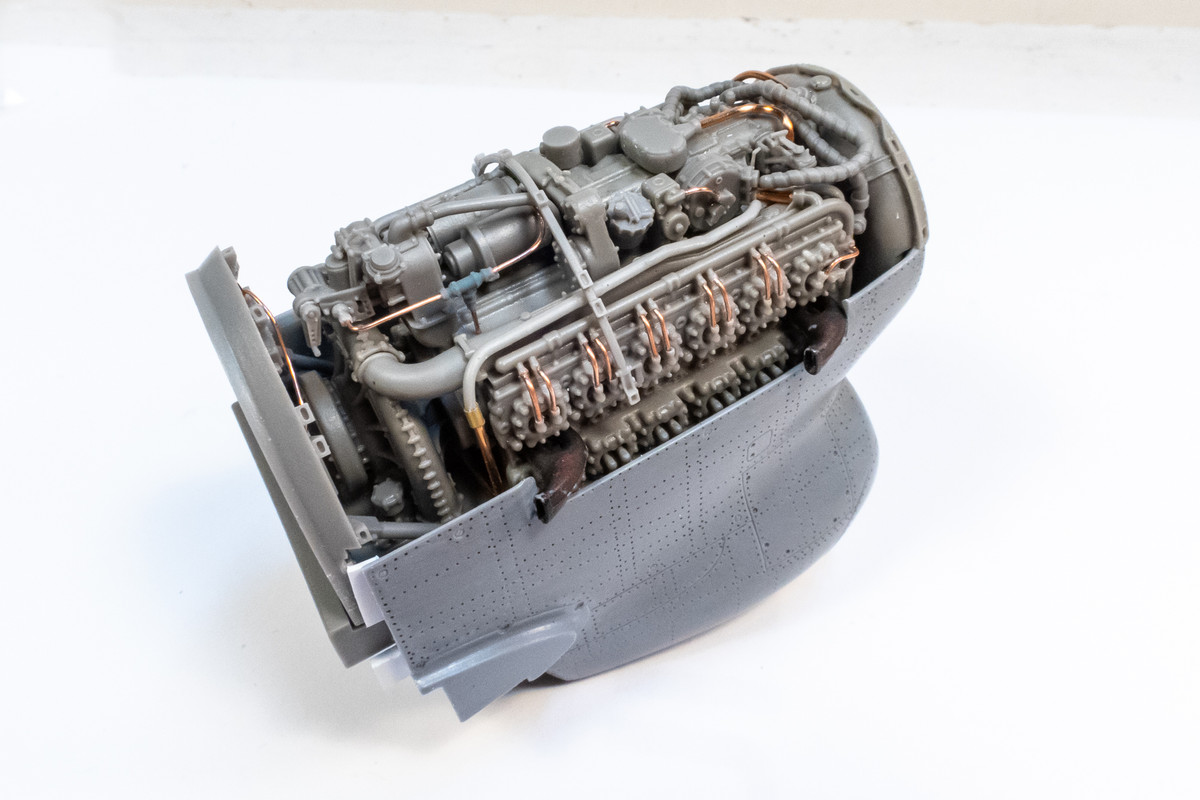
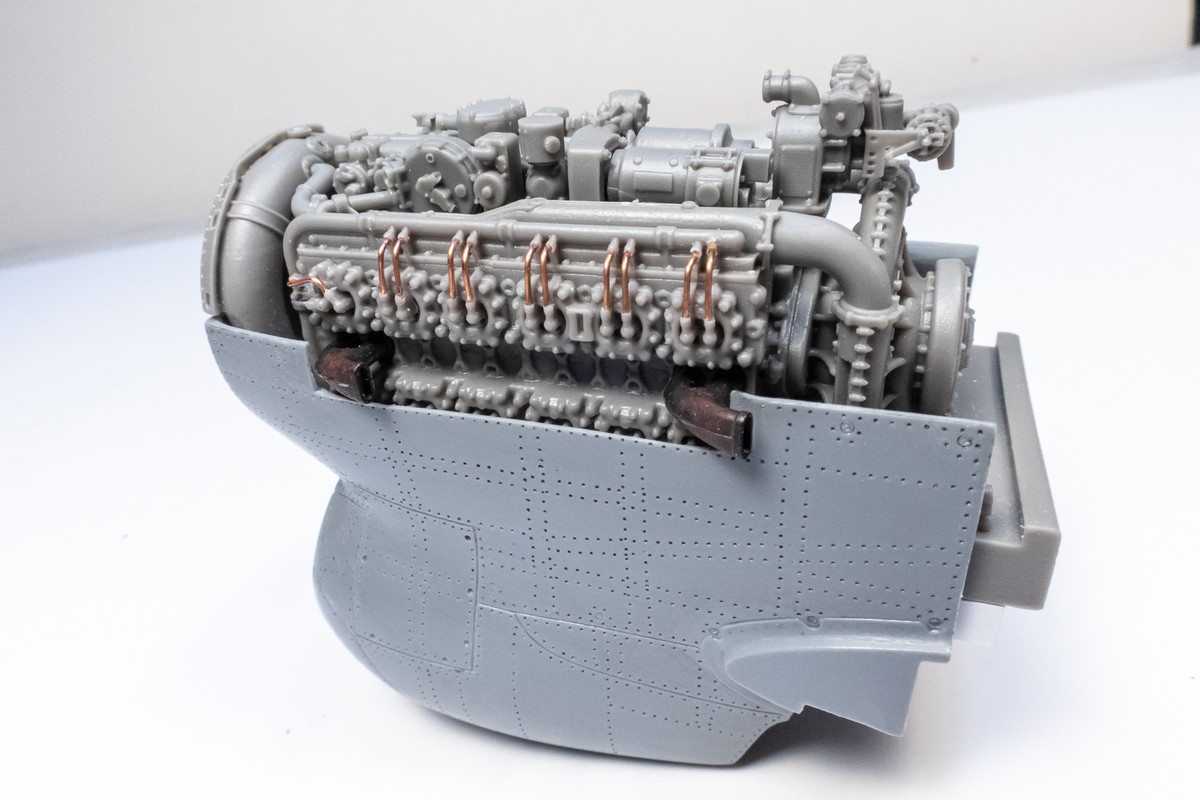
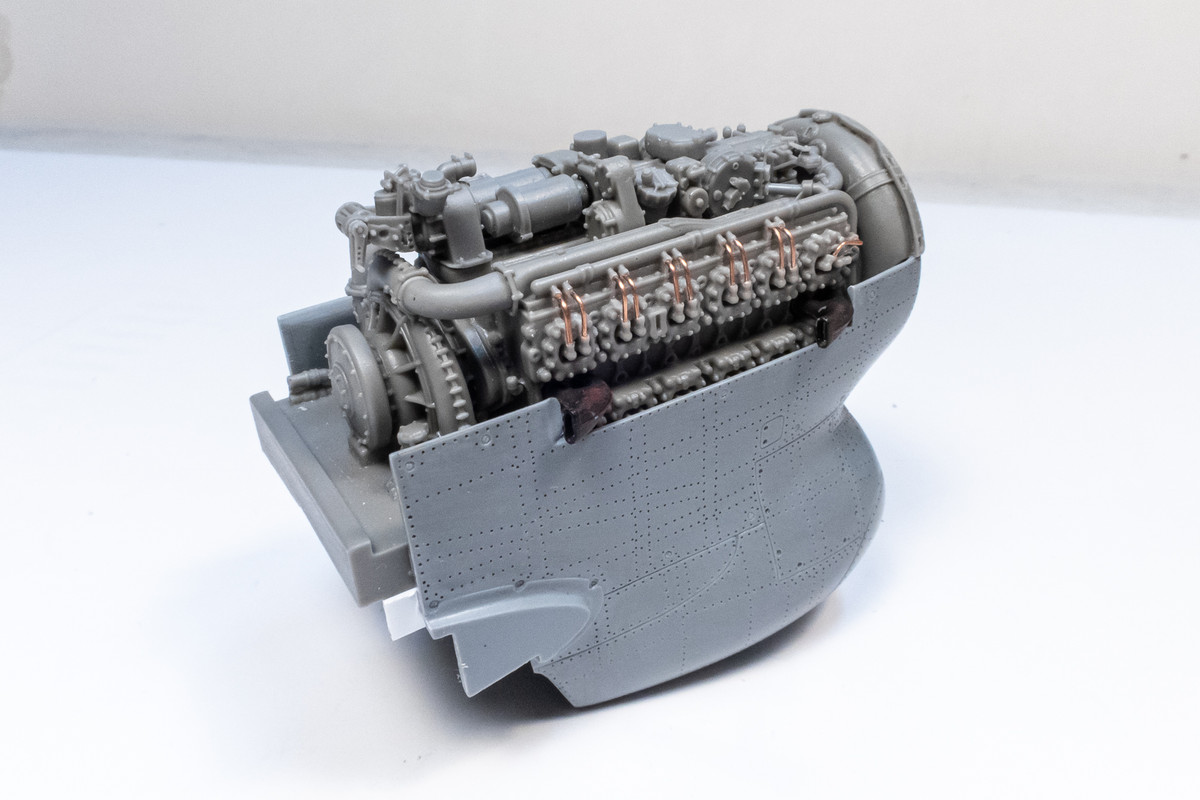
To test the fit of the exhaust tips, I glued them into the engine block with white glue. But they immediately busted off when coming into contact with the nose piece.
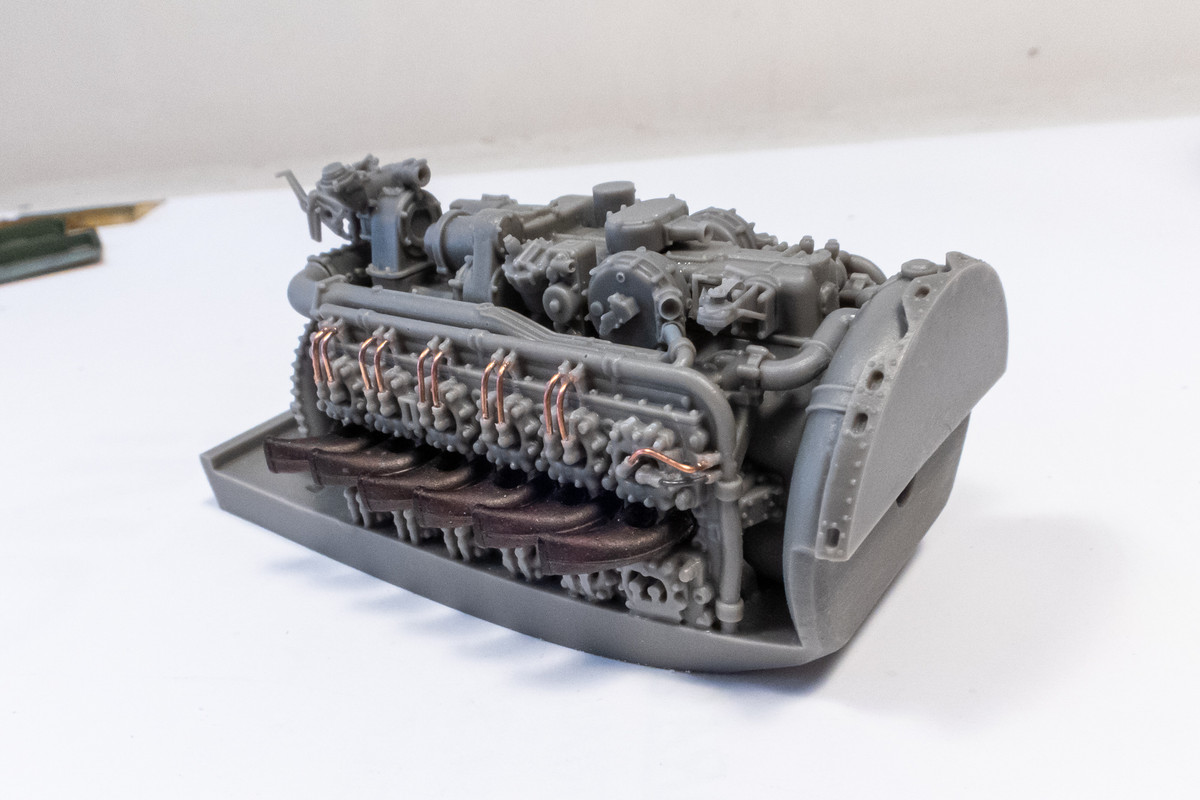
Didn't need the whole row to check fit so I glued the first and last exhaust tip in each row with CA glue. Seems just squeeze into the provided openings. I think I'll need to provide a bit more space in front of that leading exhaust pipe. And yeah, they are getting scratched up with the pre-fitting so I'll probably have to repaint them at some point.
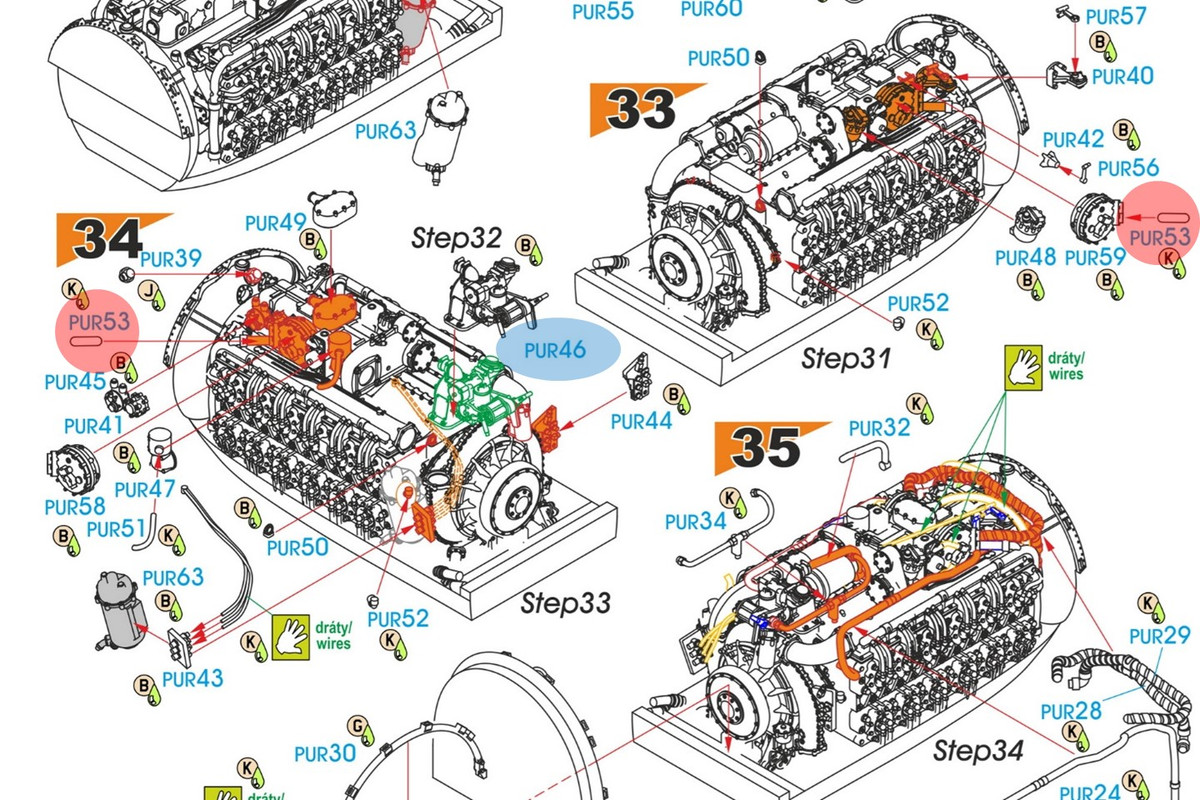
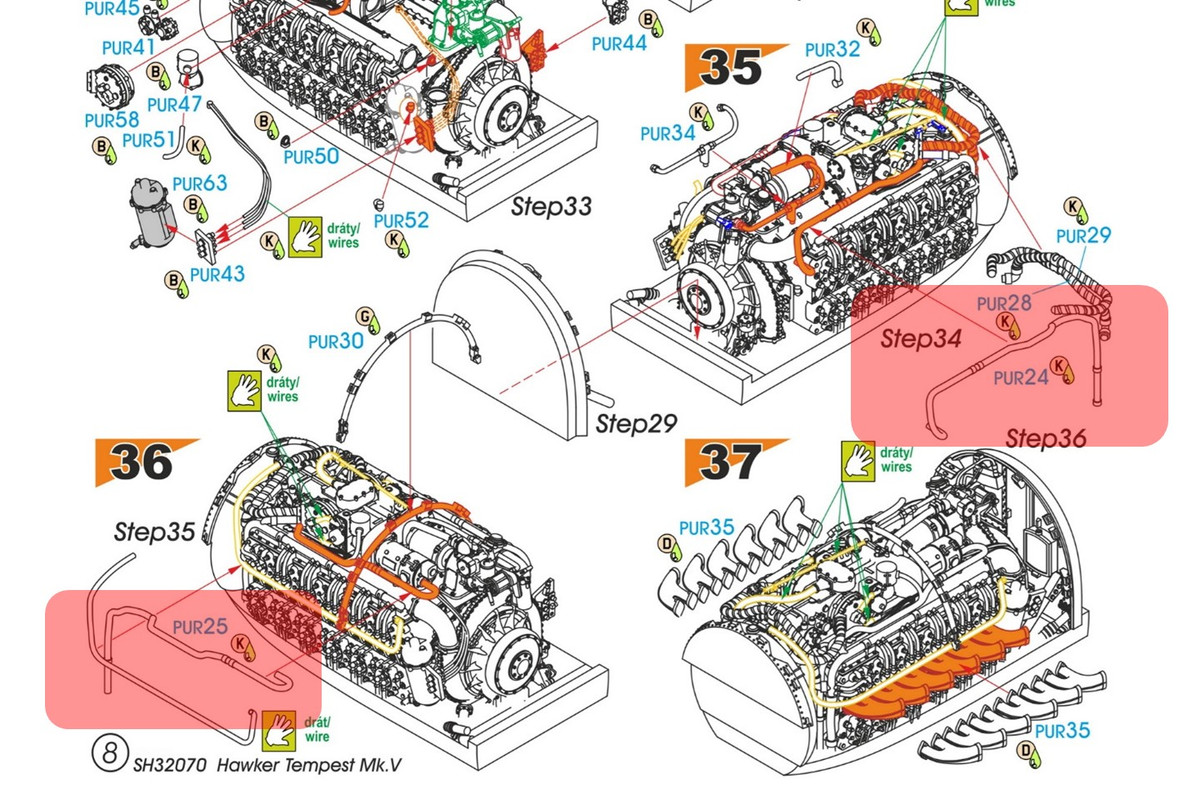
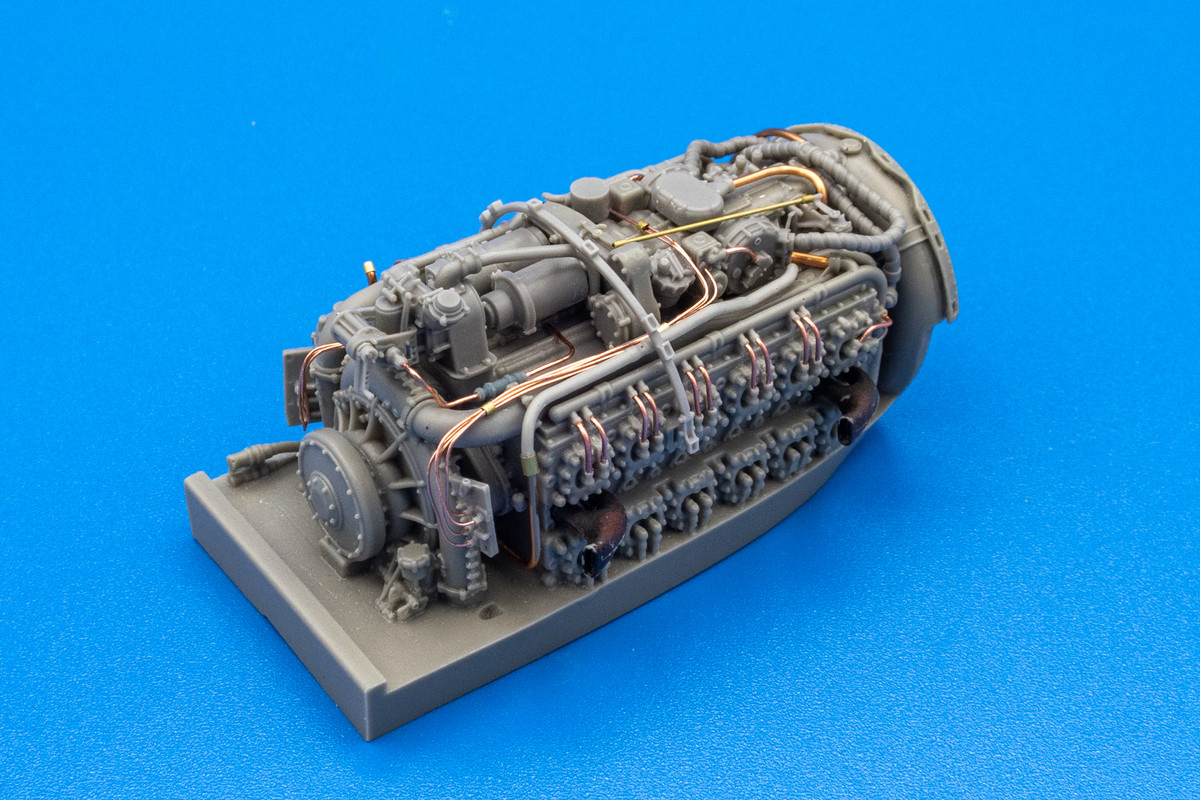
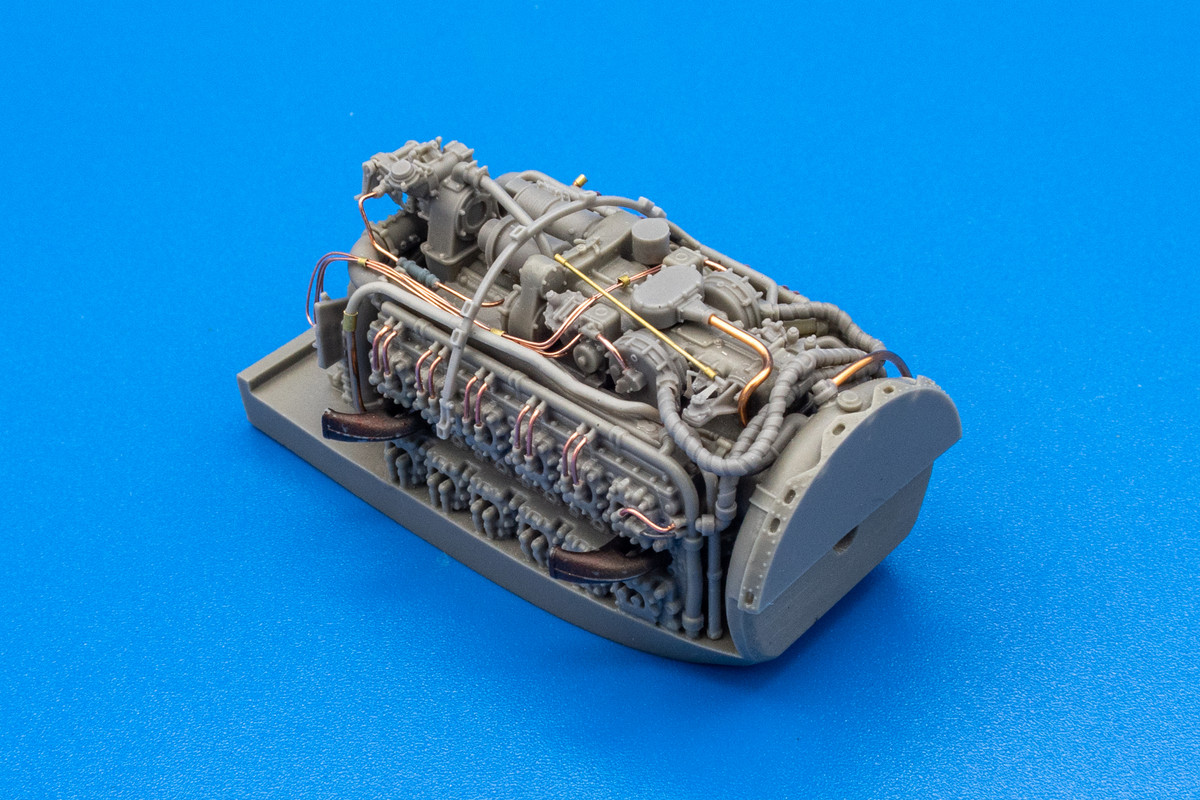
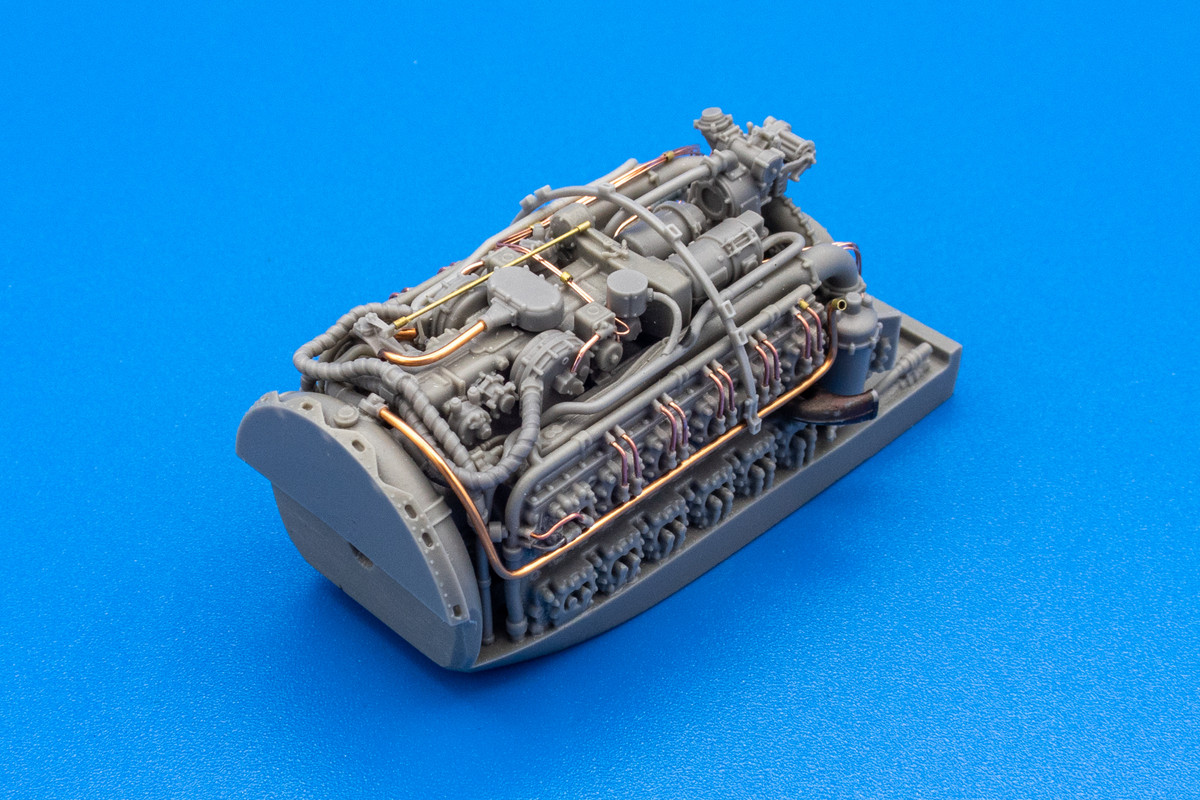
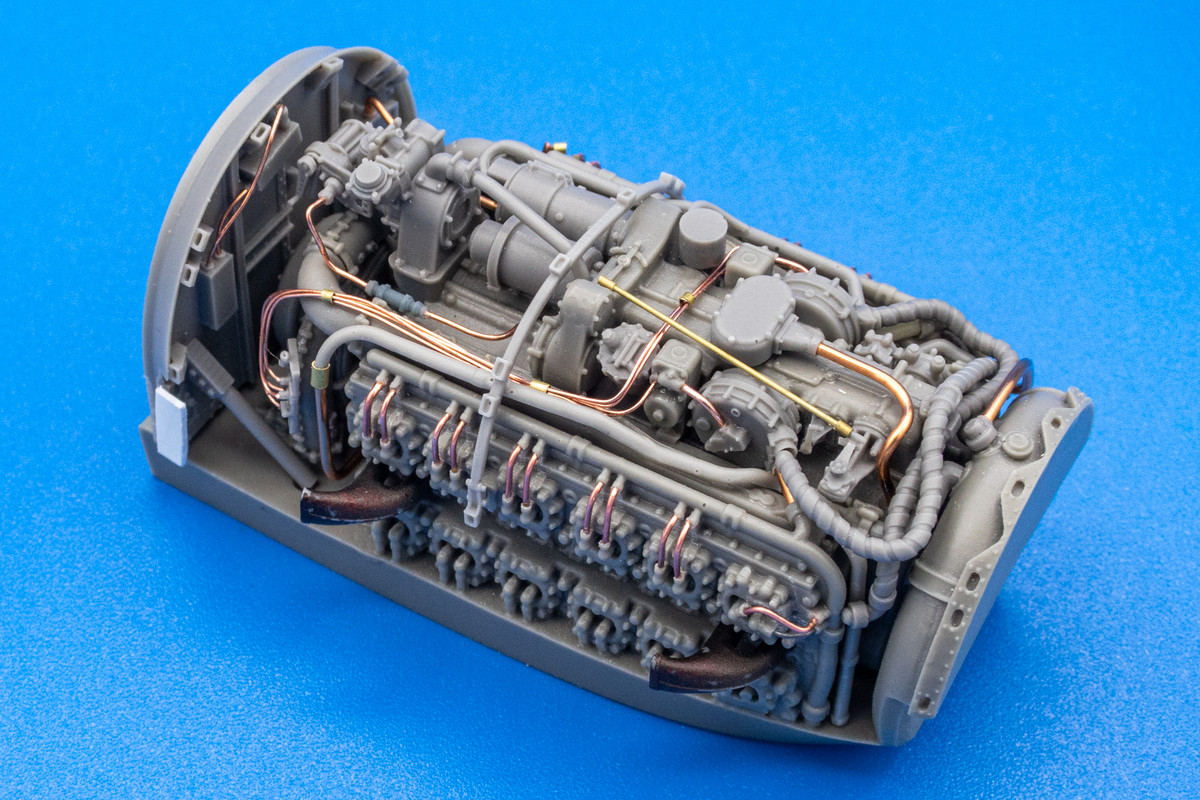
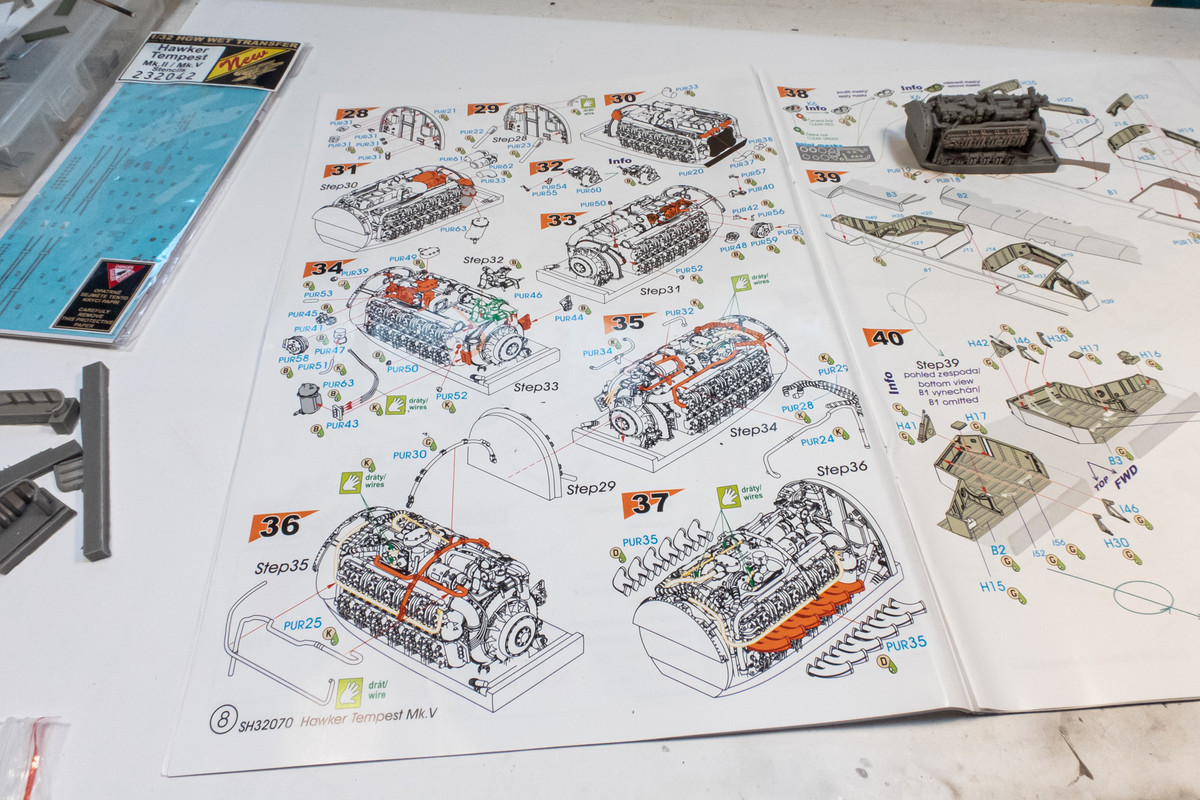
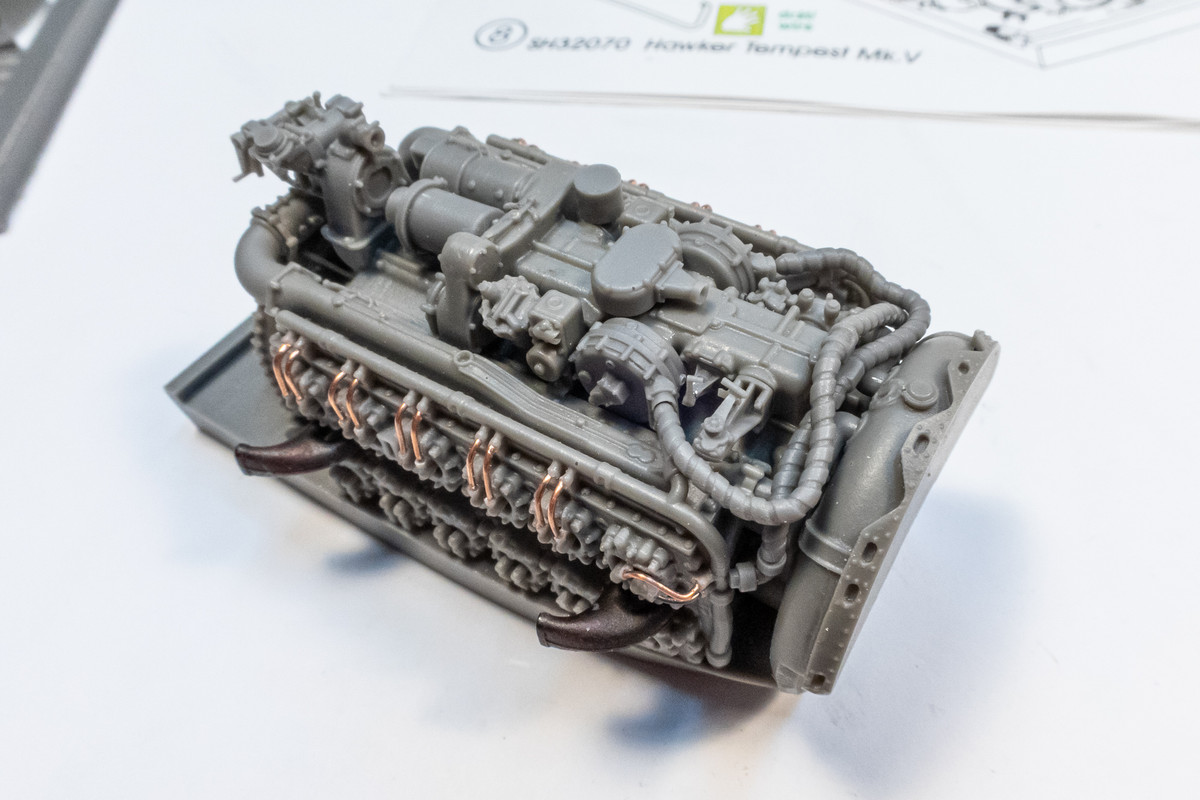
I just wanted to point out the complexity of the engine assembly by showing these instructions. To Special Hobby's credit, the fit of the engine parts has been very good and they have a provided many of the pipes and fluid lines as separately cast resin parts. Instructions aren't crystal clear but usually, if you check closely, most parts have some sort of positive connection in the form of a tab or pin.
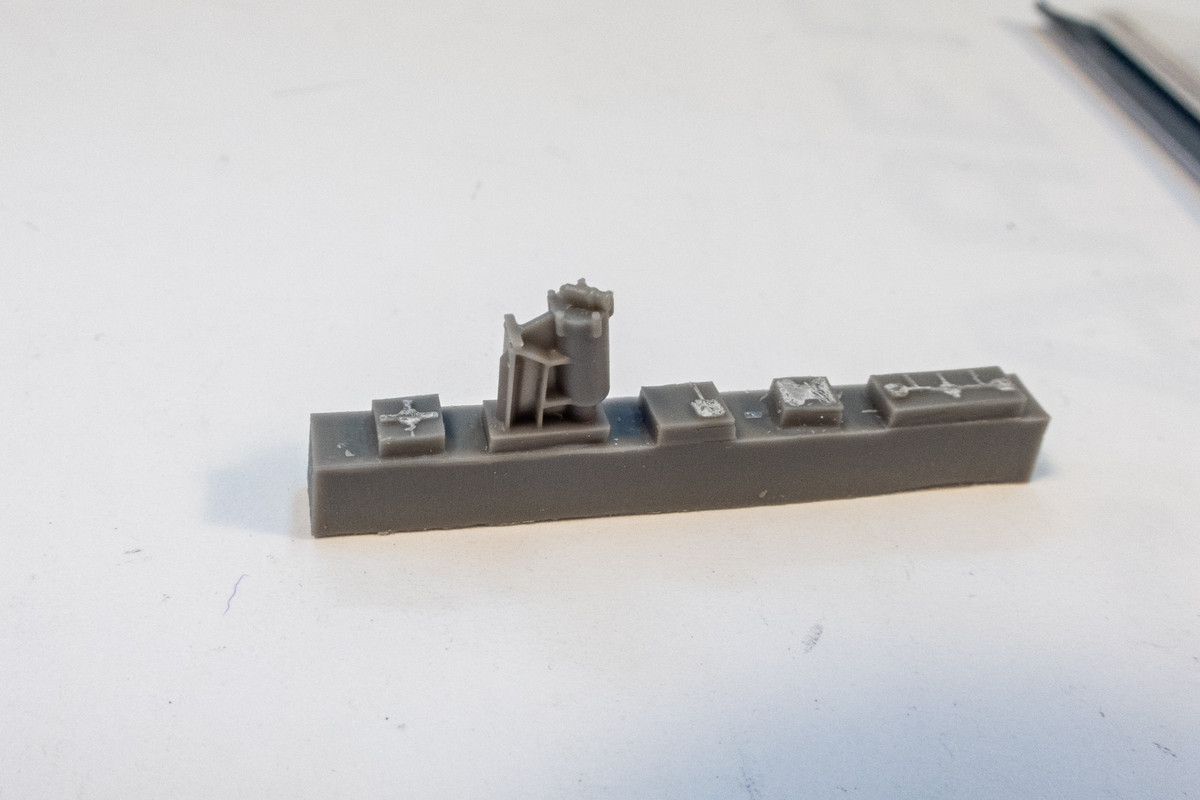
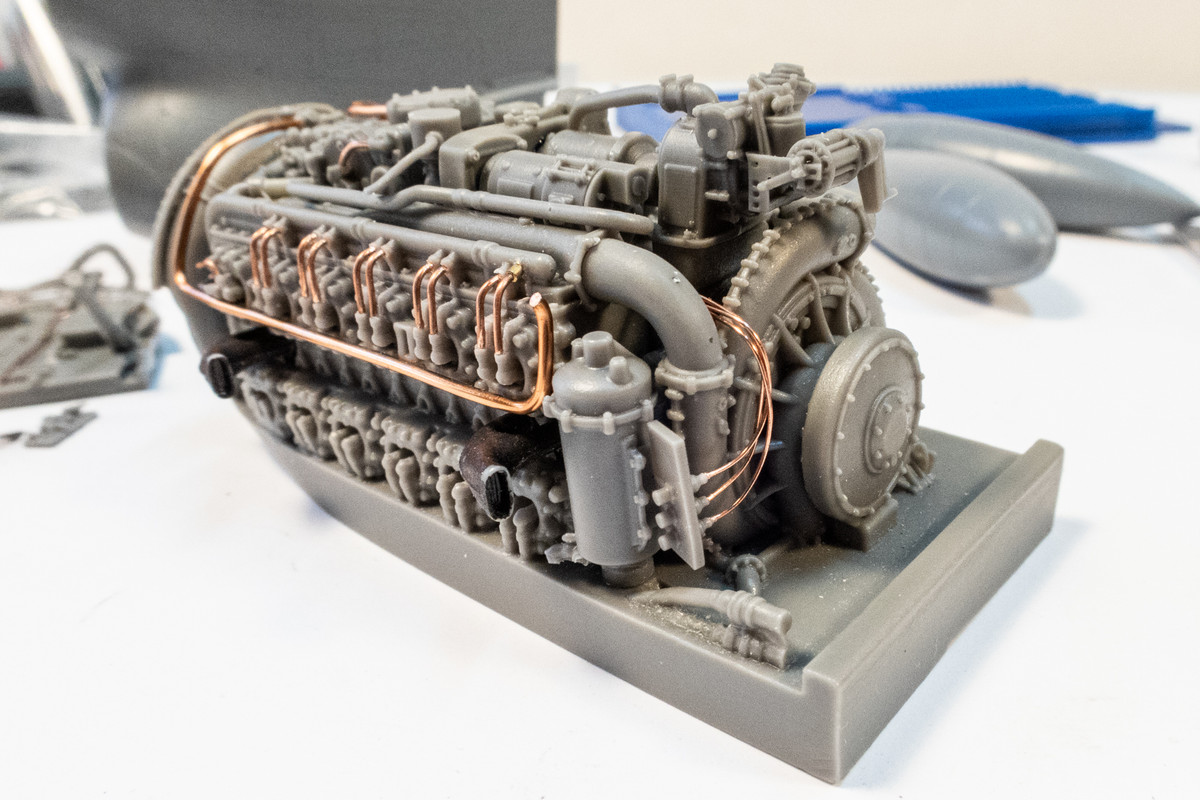
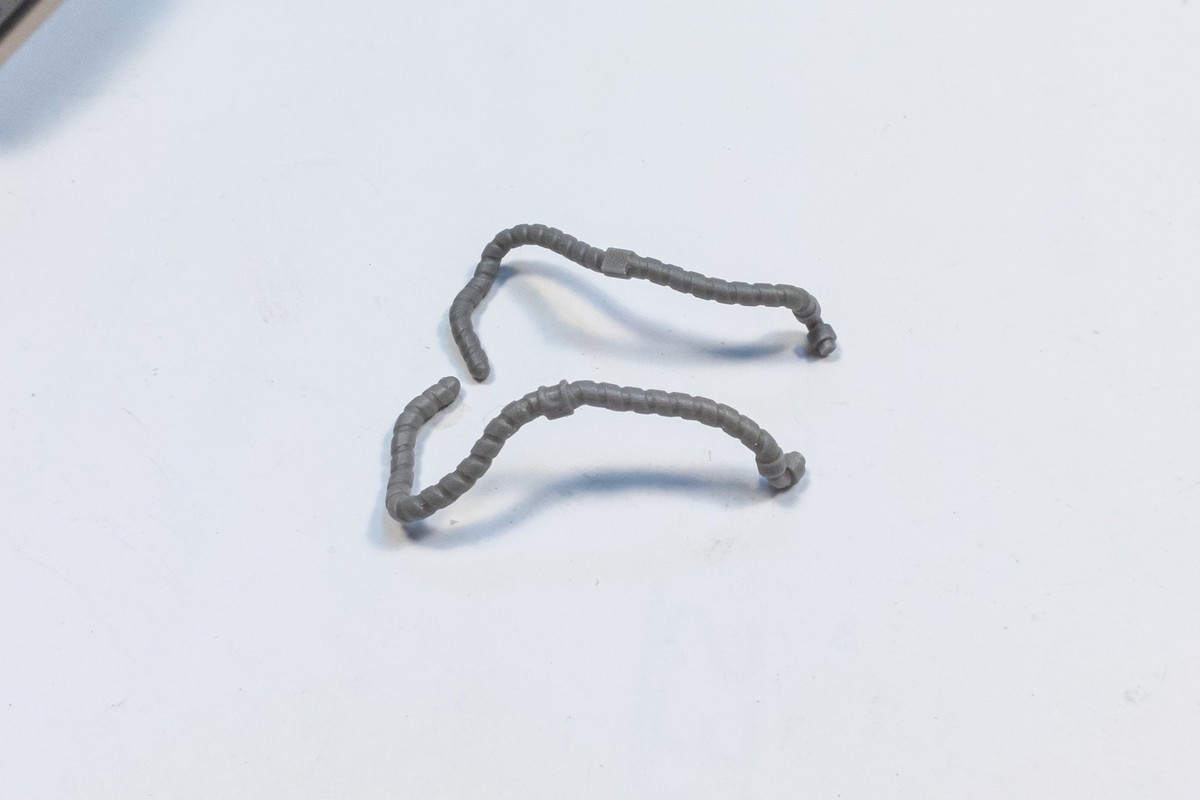
One of the thicker lines is a pair of segmented pipes that I wanted to try and fit. Avoid the temptation of trying to snip these types of parts off with a sprue cutter. A razor saw is recommended.
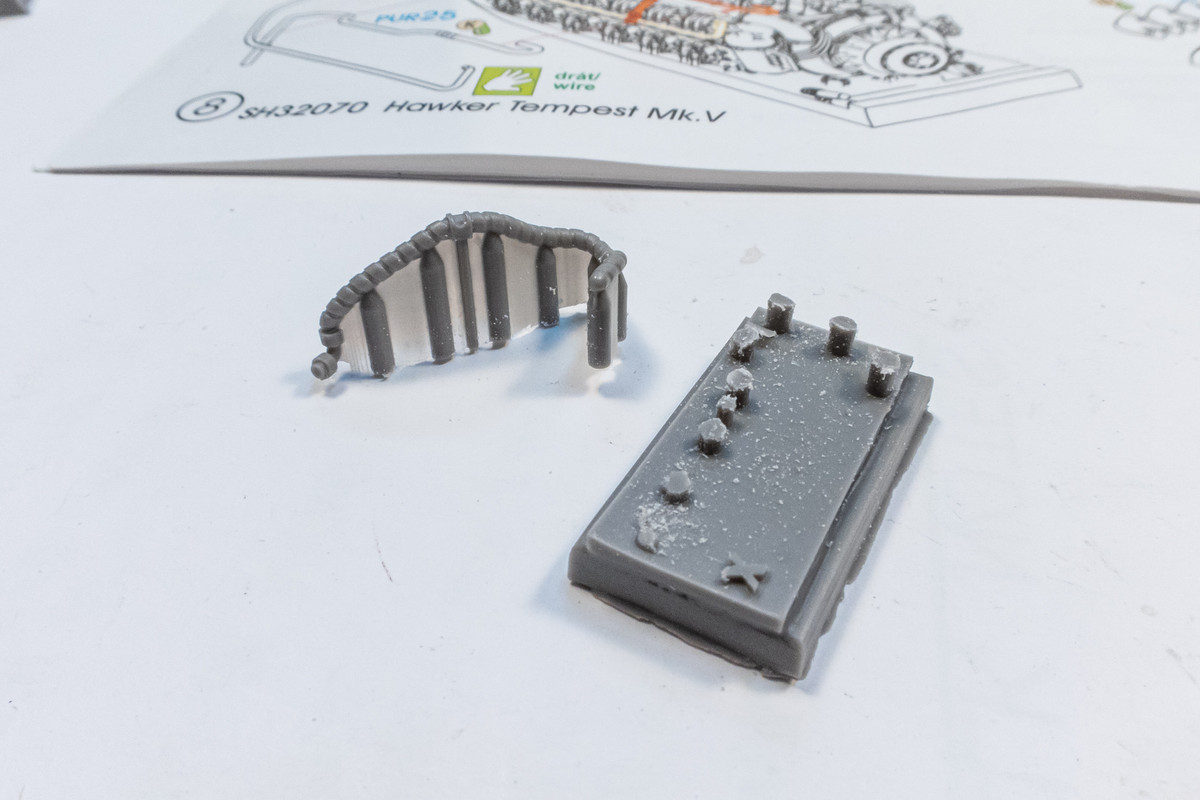
One of the casting runners looked different than the others so I didn't cut it off until I verified that it was indeed not a necessary component.
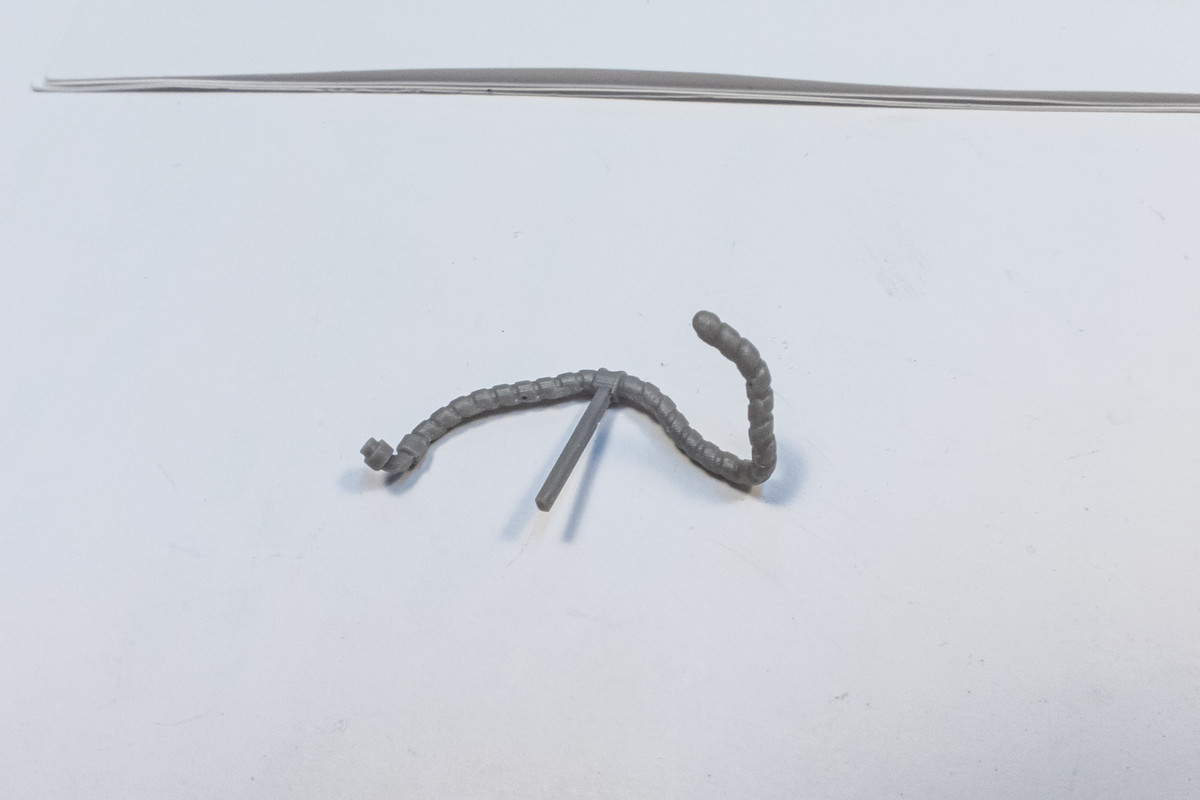
Here are the two pipes that have been carefully cleaned up.
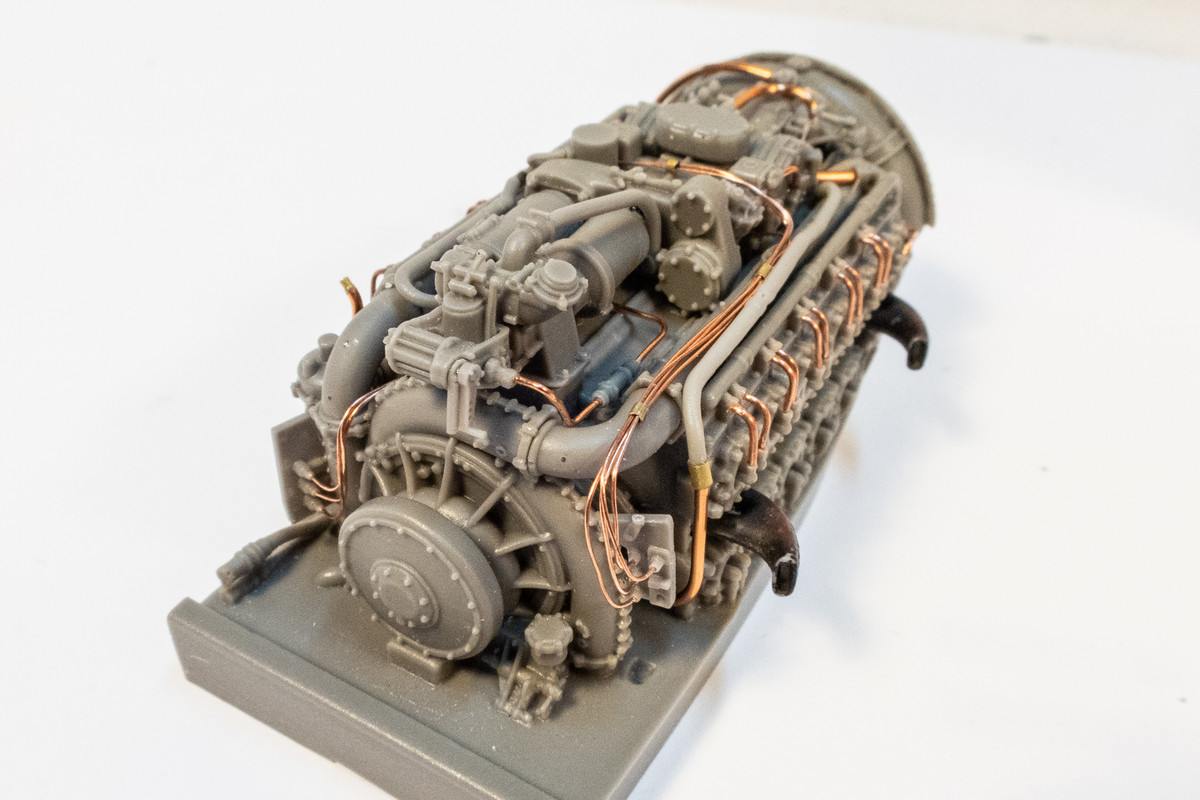
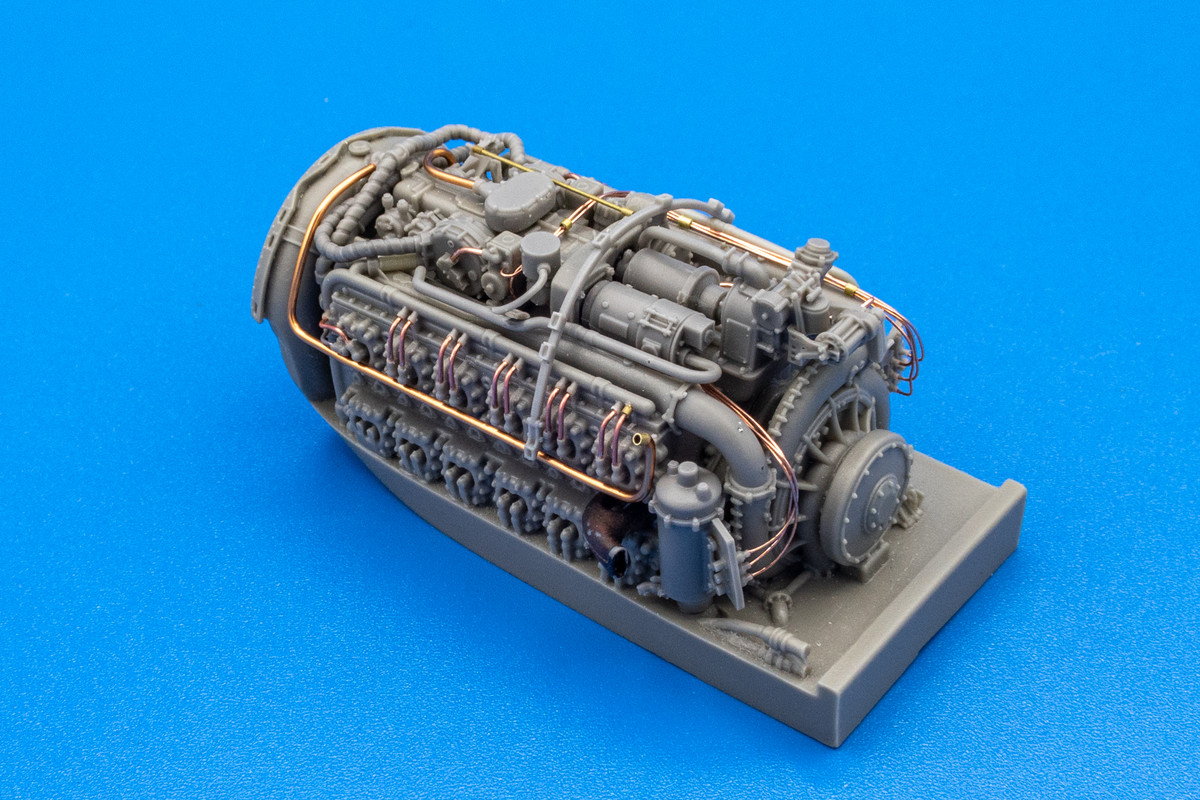
Here is how they fit onto the engine block. In this case, both ends of the pipe fit into openings provided on the engine block even though these openings are not shown in the instructions... you just have to look carefully and find them.
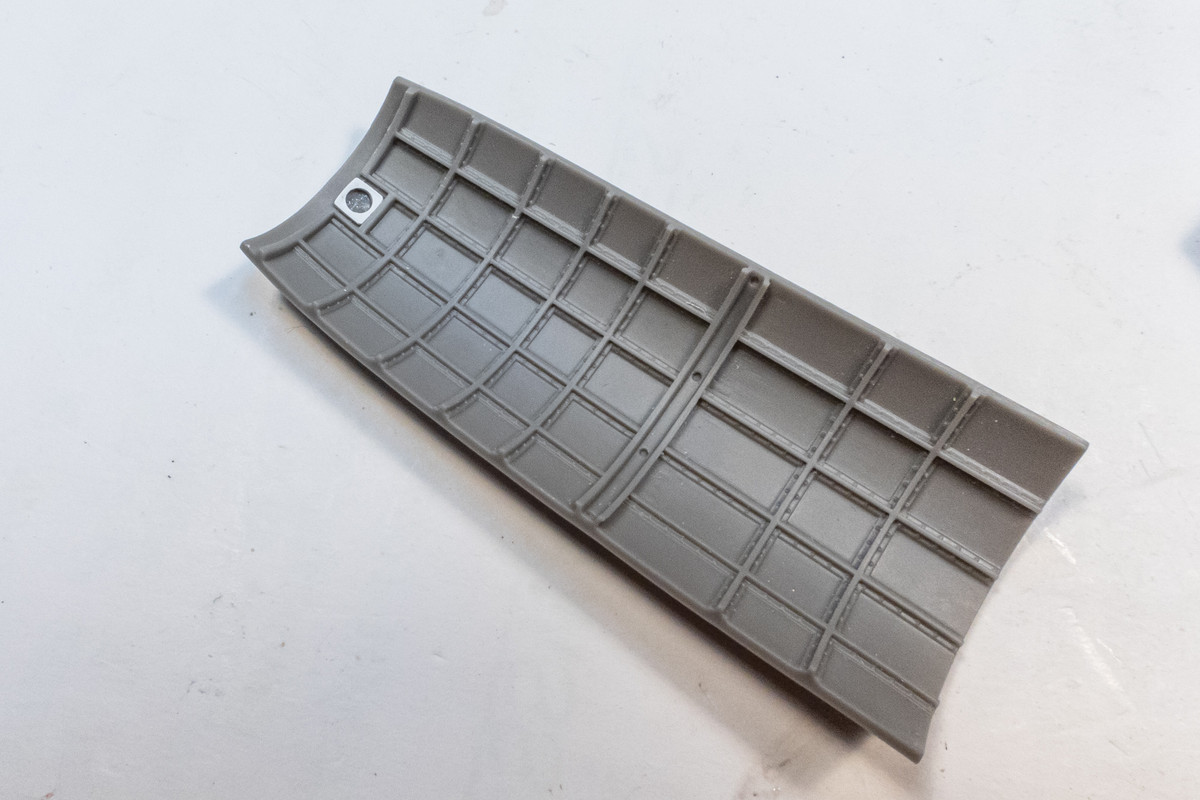
There is a fuel fill port on the front of the engine cover that is not molded onto the kit plastic and I was curious to see if it was present on the resin part... nope. So I scribed one.
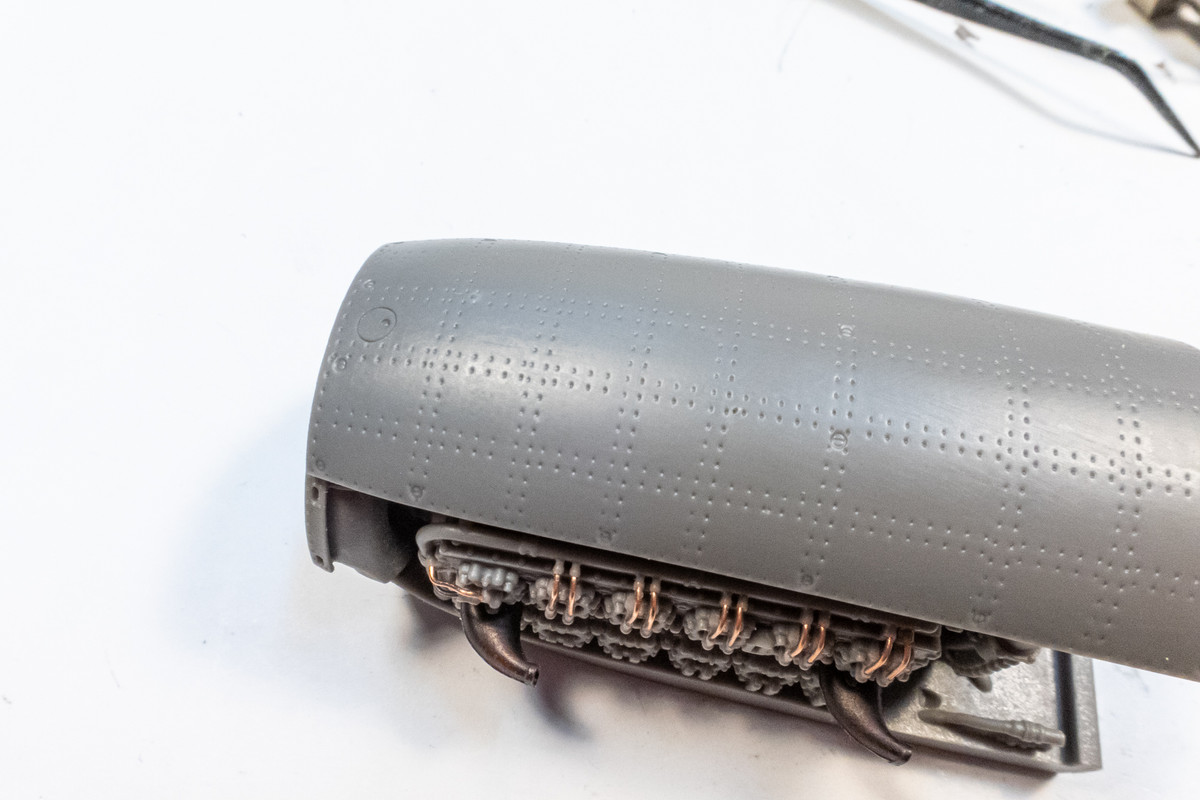
I also added a piece of sheet styrene with a hole punched out on the interior side to match.
 Man I'd mess that up for sure.