Page 25 of 44

Re: 1/32 Hasegawa Fw190D-9 Red One

Posted: Wed Dec 19, 2018 5:18 pm
by Stikpusher
speedgraflex wrote:I try not to break the rule of offering any level of criticism unless asked. Forgive me. I have the same sources, but my Eaglecals sheet is in 1/48. I have not peeked at those in awhile, though. If memory serves, he provides white stripes to lay over a red background; I wonder if this indicates how it was actually done?
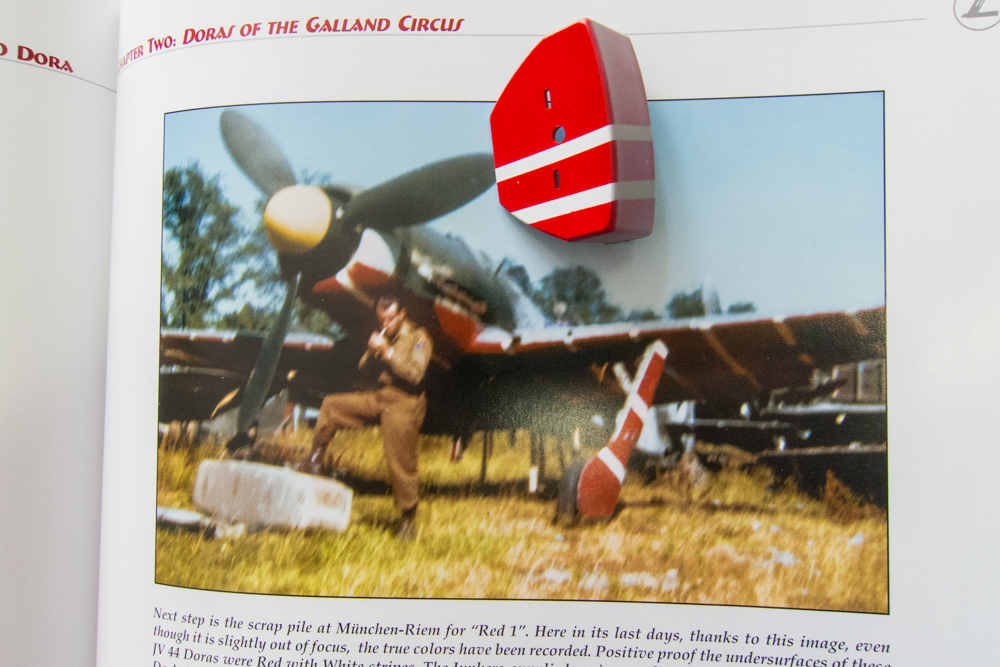
I imagine that, since this was a unit applied local recognition marking, the white was sprayed on over the factory build base color, then masked off, most likely with strips of tape, and then the red sprayed over that, then the white masking removed.
However it was applied in reality, it sure makes for a striking looking subject.

Re: 1/32 Hasegawa Fw190D-9 Red One

Posted: Thu Dec 20, 2018 12:42 am
by jkim
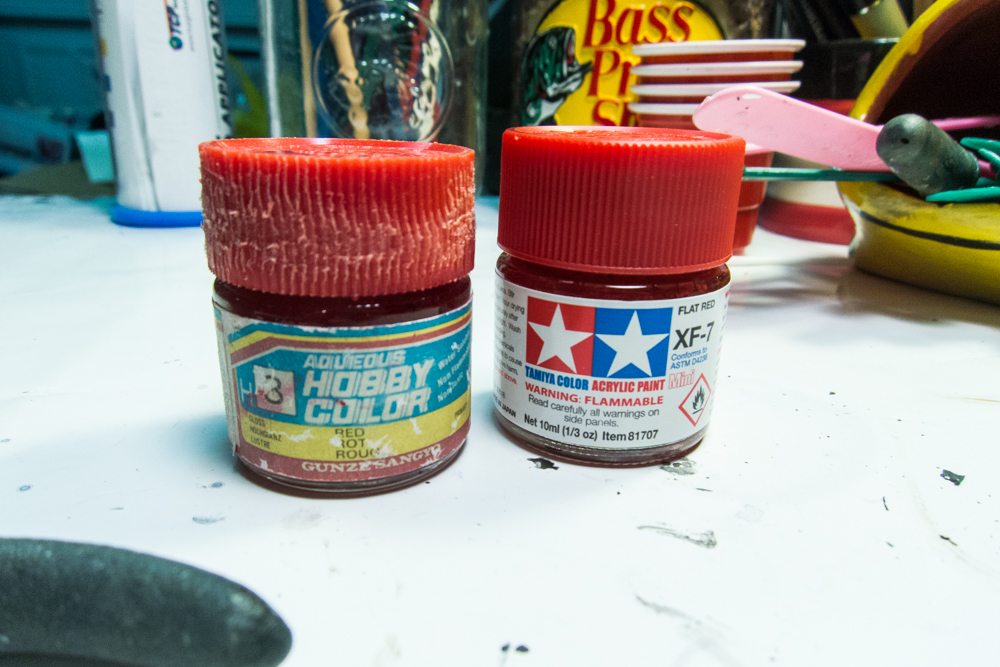
I looked into my paint shelf and found a couple of red alternatives to Tamiya X-7. The Gunze Red is a super old bottle... 30 years old at least. But it was still viable and looked to be what I was looking for.
Image

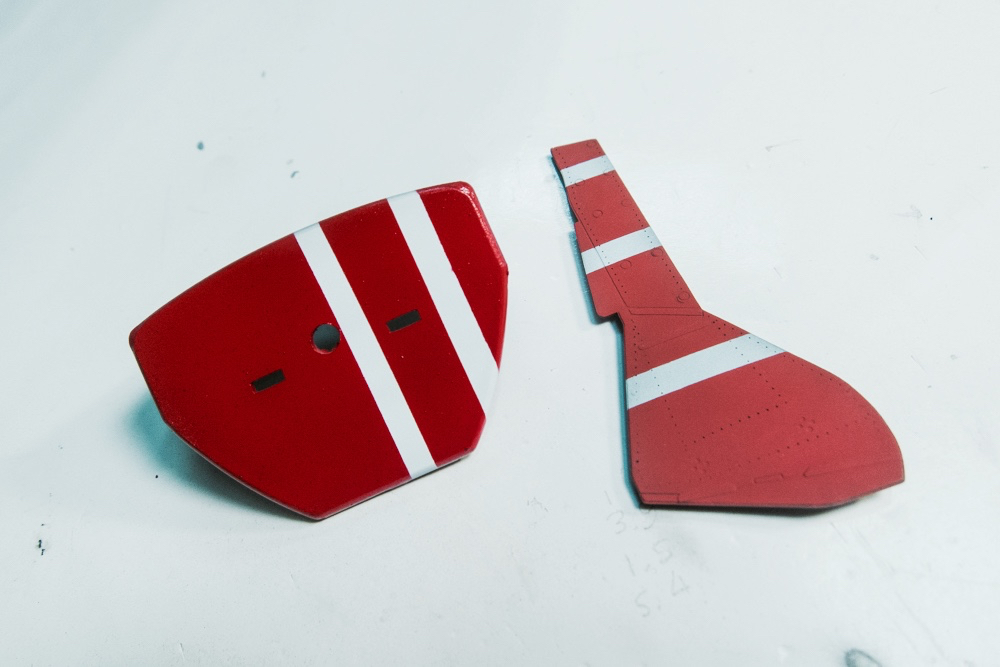
Test shot. I have a feeling I'd get similar results if I had layed the white and red heavier the first time with the original paints.
Image

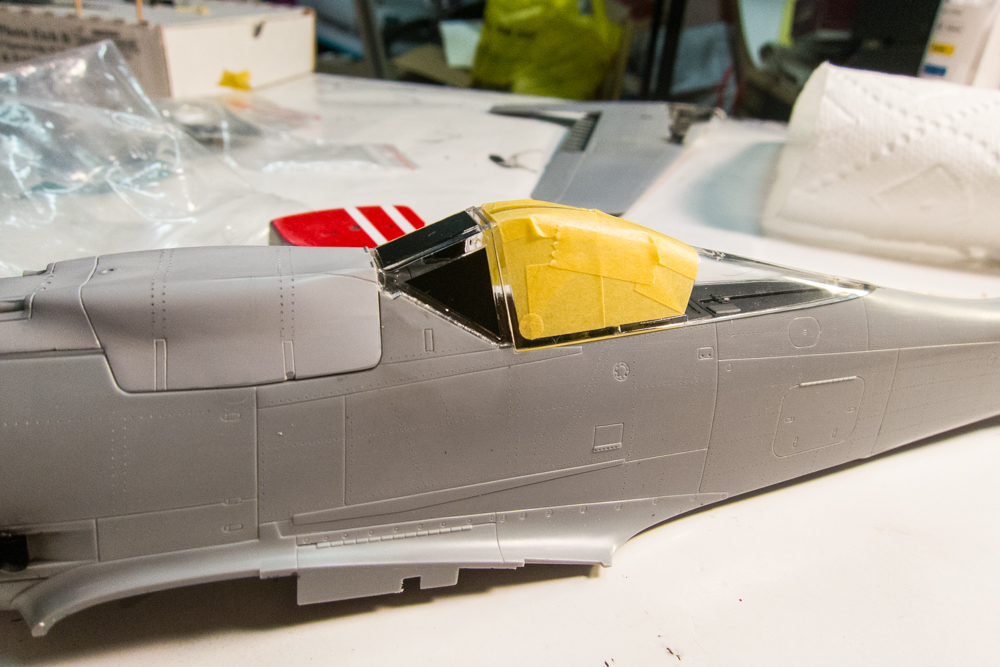
The canopies were masked. I used the Montex masks for the windscreen but cut my own for the sliding canopy as I do not trust Montex masks to stay put over curved surfaces.
Image

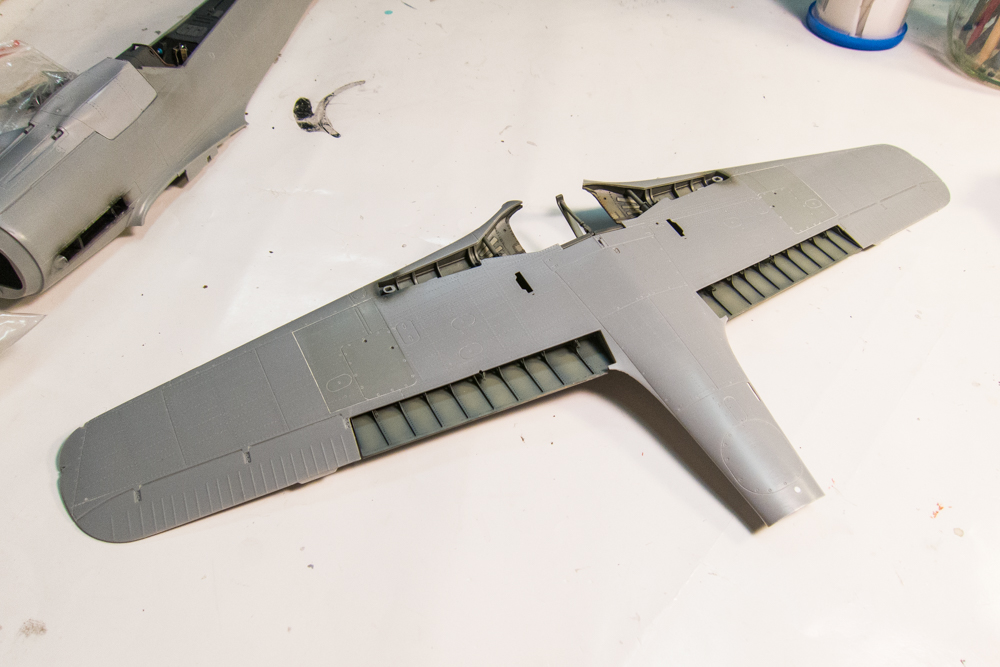
The upper wings have been glued into place. I lost the most recently added brake lines due to handling. I'll replace them when it comes time to glue to wings onto the fuselage.
Image

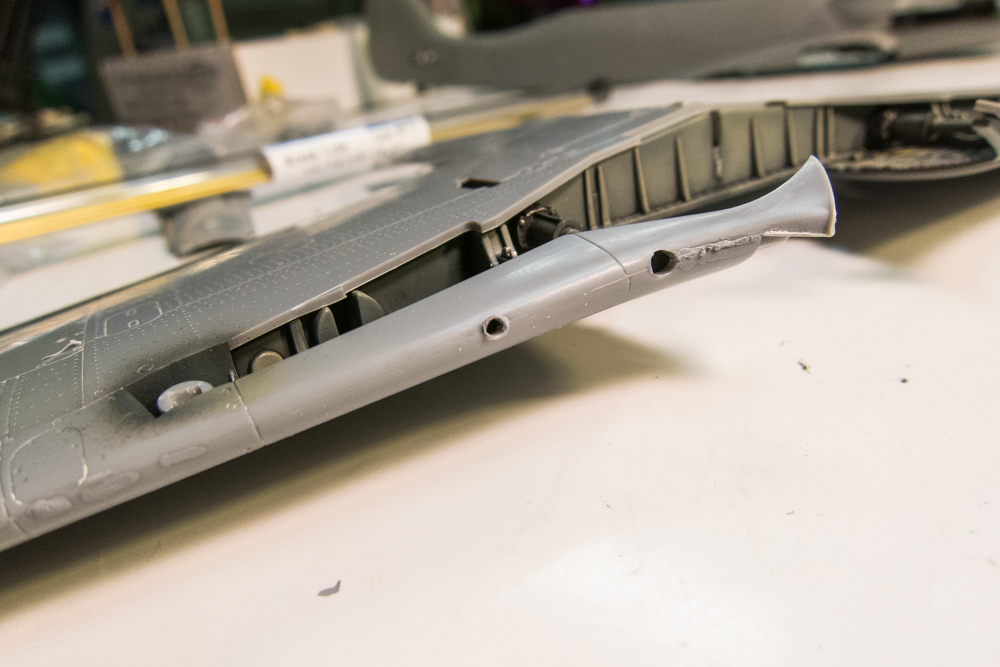
I'm trying to make the cannon wing openings and camera port round. The camera port turned out a little ragged.
Image

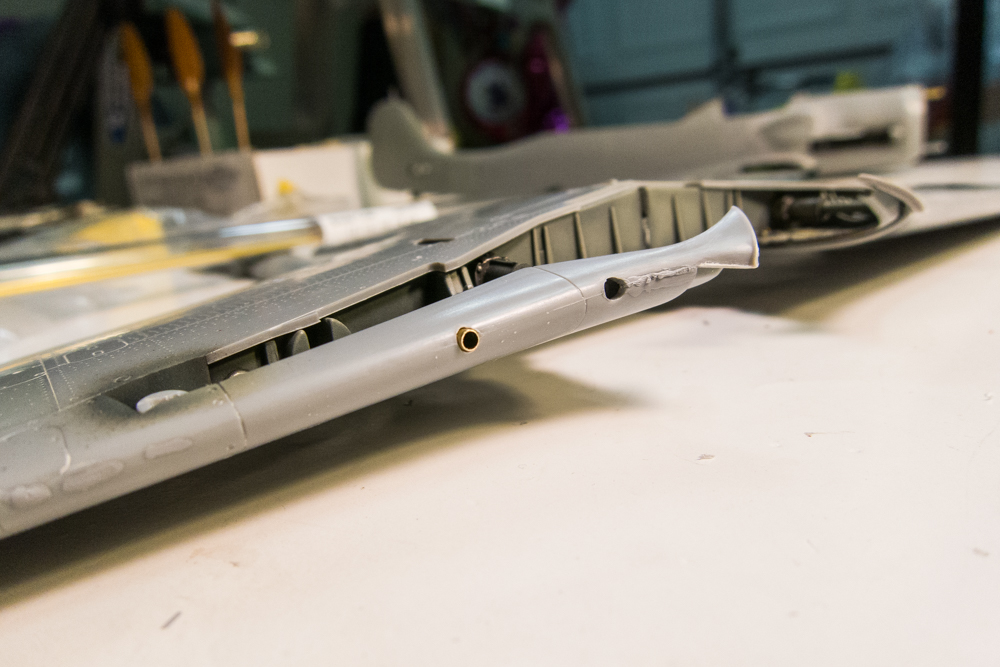
So I drilled it out and replaced it with a piece of brass tubing.
Image

After cleaning up the wing seams and re-establishing the panel lines and rivets, I'll be ready to glue the wings into place.

Re: 1/32 Hasegawa Fw190D-9 Red One

Posted: Thu Dec 20, 2018 3:45 am
by KSaarni
jkim wrote:I looked into my paint shelf and found a couple of red alternatives to Tamiya X-7. The Gunze Red is a super old bottle... 30 years old at least. But it was still viable and looked to be what I was looking for.
Image
The "opening marks" on Gunzes lid look precisely as it had been closed for more than a number of years... :giggles:

- Kari

Re: 1/32 Hasegawa Fw190D-9 Red One

Posted: Thu Dec 20, 2018 10:55 am
by jkim
Yeah, Kari... it took some "coaxing" to get that lid off. :quotes: I'm afraid I put a crack in it too! But happy that it retained its liquid form after so many years.

Re: 1/32 Hasegawa Fw190D-9 Red One

Posted: Fri Dec 21, 2018 8:50 pm
by jkim
Santa delivered a small present the other day...
Image

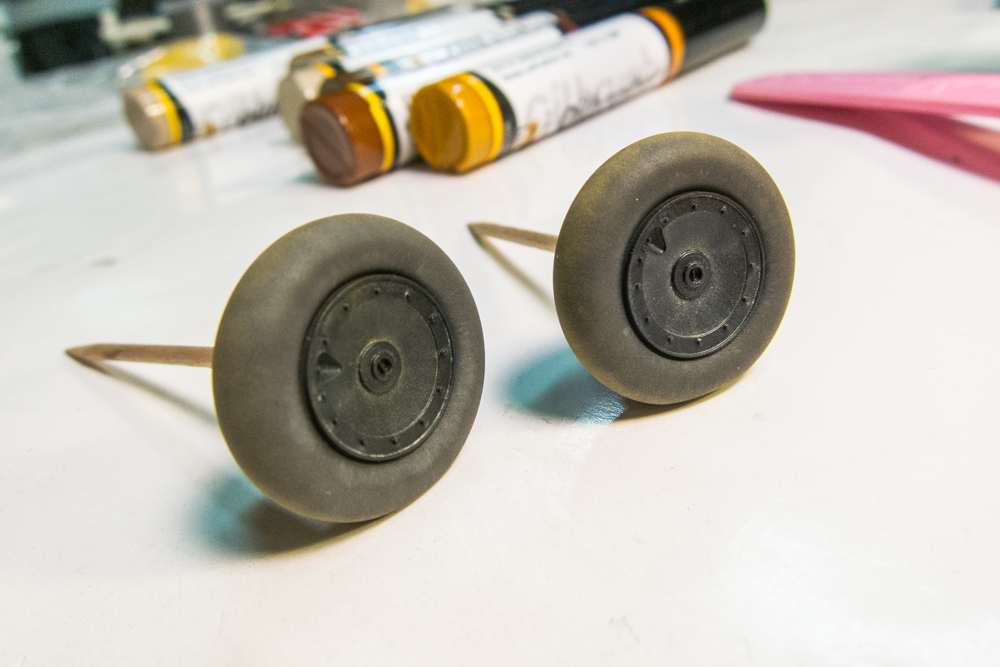
Based on the great work that Kenny was doing with oils on his builds, I wanted to branch out and give the technique a try. Instead oils in tubes, I found these pre-thinned oil mixtures by MIG that are specifically intended for scale modelers. I wanted to try it on the wheel hubs first. I applied one of the lighter colors in dabs around the center of the wheel. Using a brush dampened in mineral spirits, I started working the lighter color outward. Very stark at first.
Image

I started removing more and more of the oil until I was left with just remnants of a light stain around the center hub of the wheel. Kinda underwhelmed with the effect. I tried mixing in other colors but they all seemed to blend into a single shade during my brushing efforts. Gonna revisit this but I got SOMEWHERE, which is good.
Image

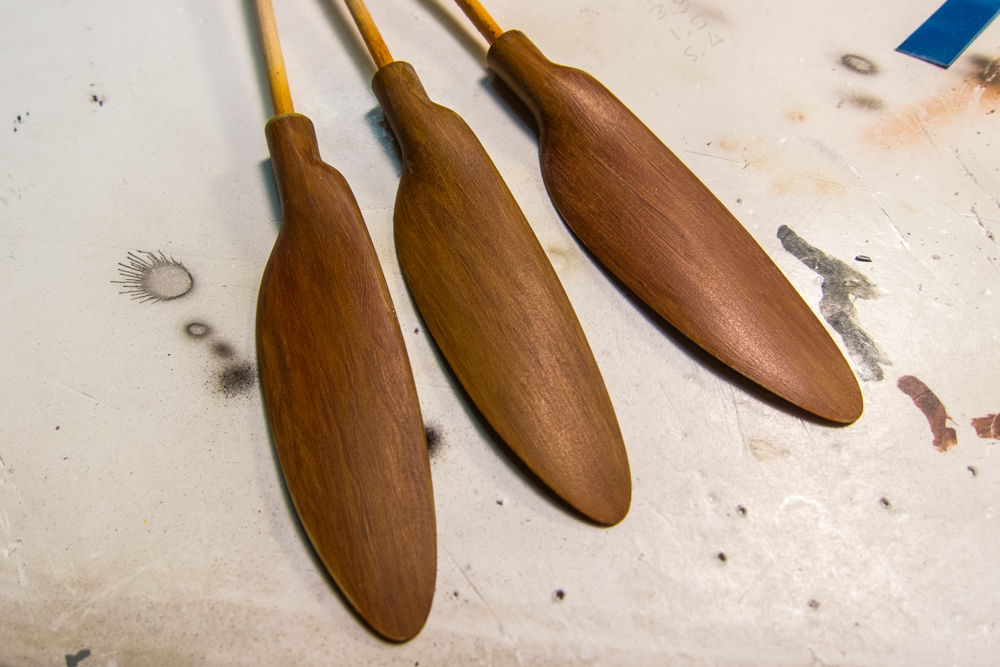
I gave the oils multiple days to dry out before I applied a clear coat over the props. This technique of imparting wood grain using oils leaves physical brush marks, which aren't going to look good when the prop is painted dark green. So I had to run through an iteration of gently polishing the props with Micromesh, reapplying some more clear coat and repeating the polishing process to remove the grain. At some point, the clear coat crackled on me and that led to more clear coats and polishing.
Image

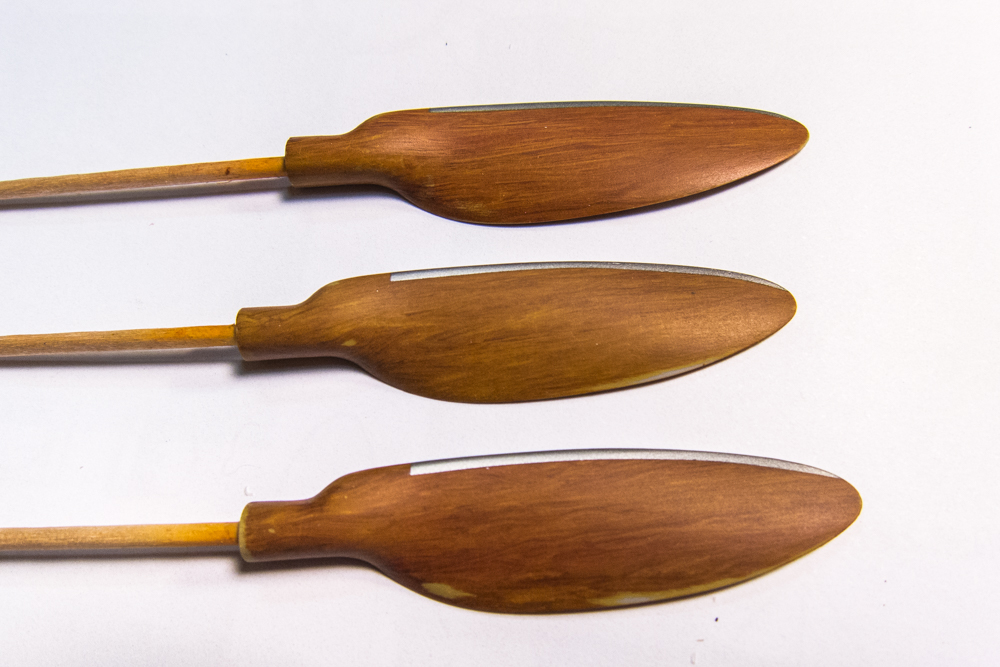
A strip of metal color was put onto the leading edge of each prop. The Micromesh, in some instances, went all the way down to the base paint. Since I'll be applying limited chipping effects on the props, I think this will be a non-issue.
Image

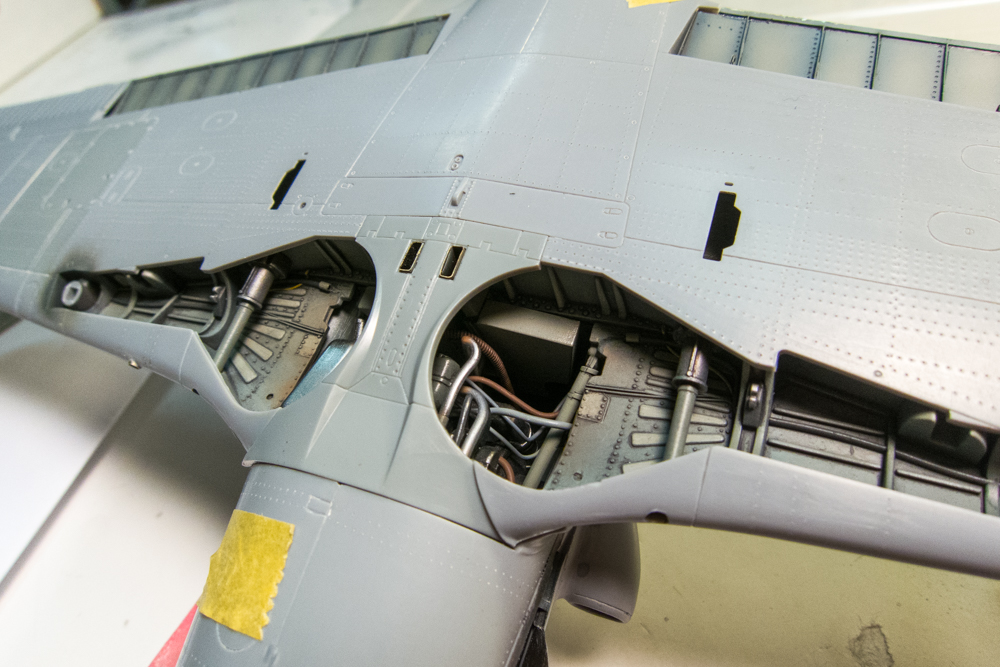
As the wing seams are being cleaned up, there are some things I need to do before I attach the wings to the fuselage. The brass ammo chutes are sanded to the right height.
Image

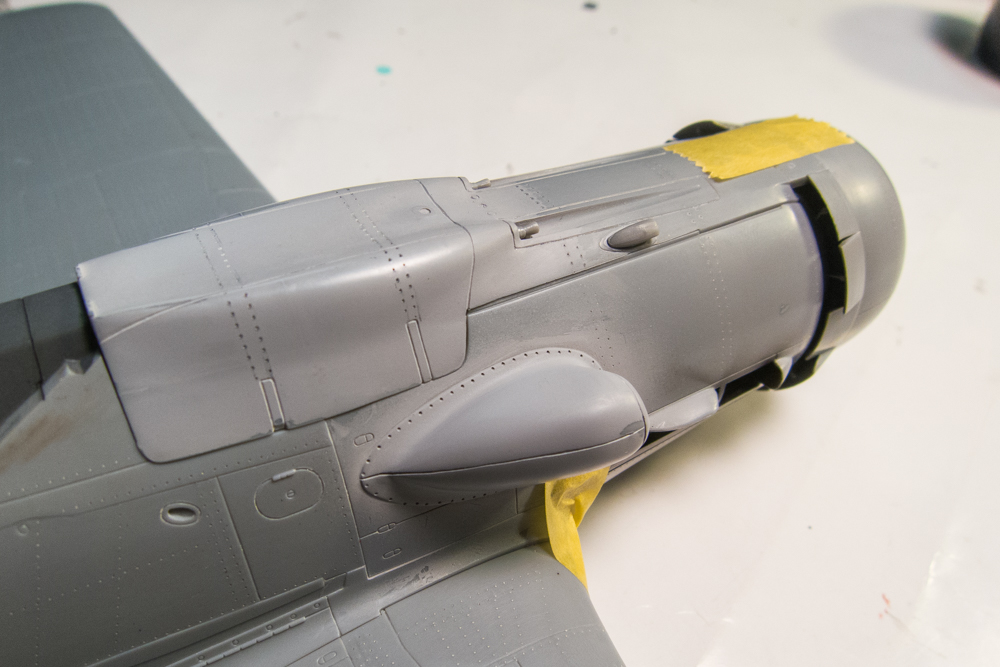
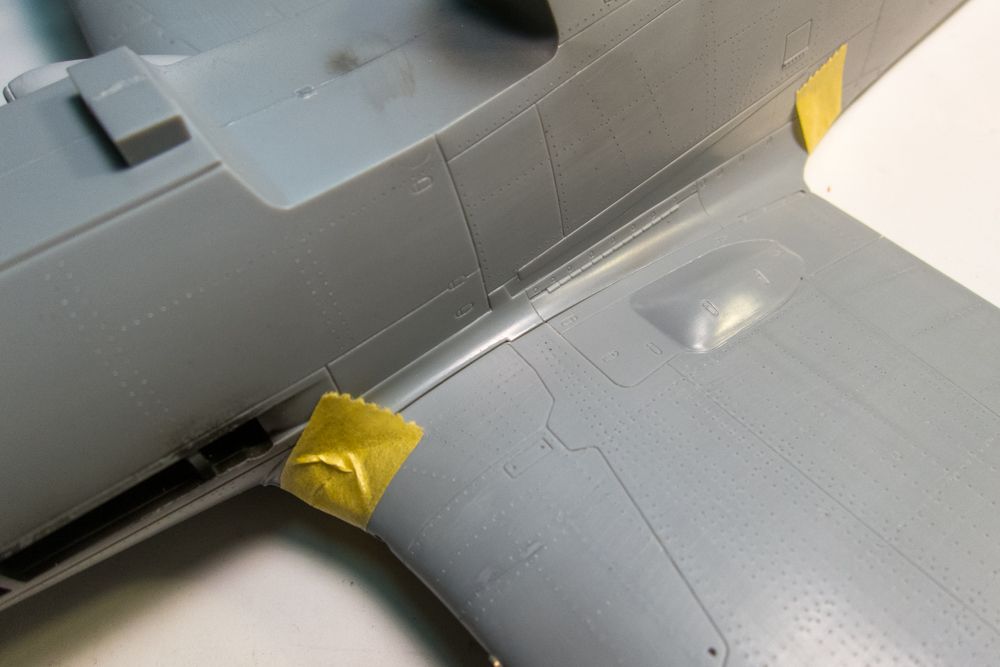
Dry-fitting revealed a slight step at the wing root between the forward fuselage and top of the wing. To address this, I inserted small shims of sheet plastic.
Image

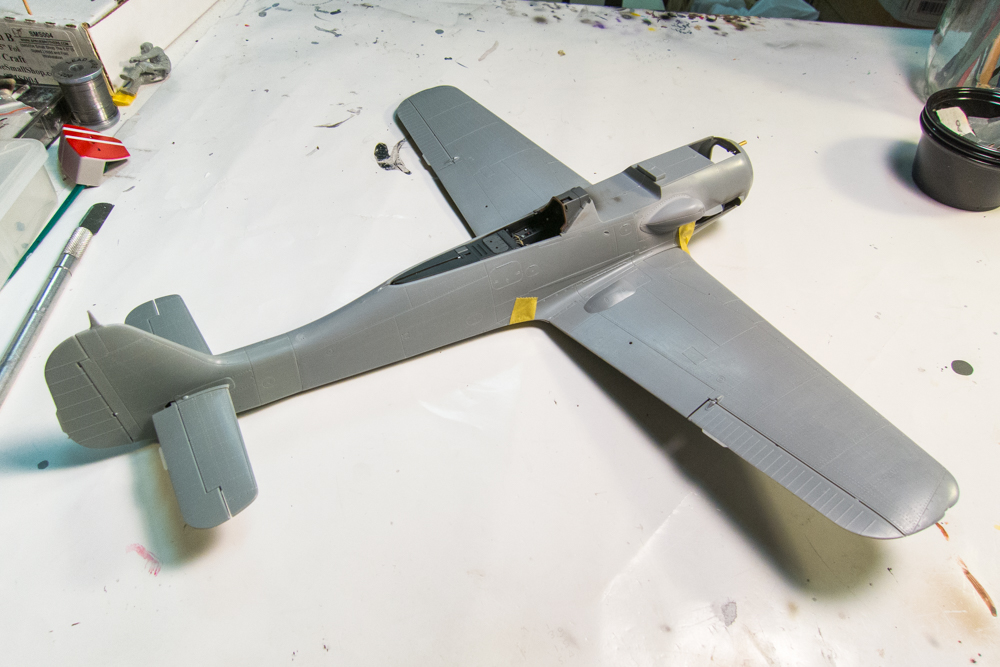
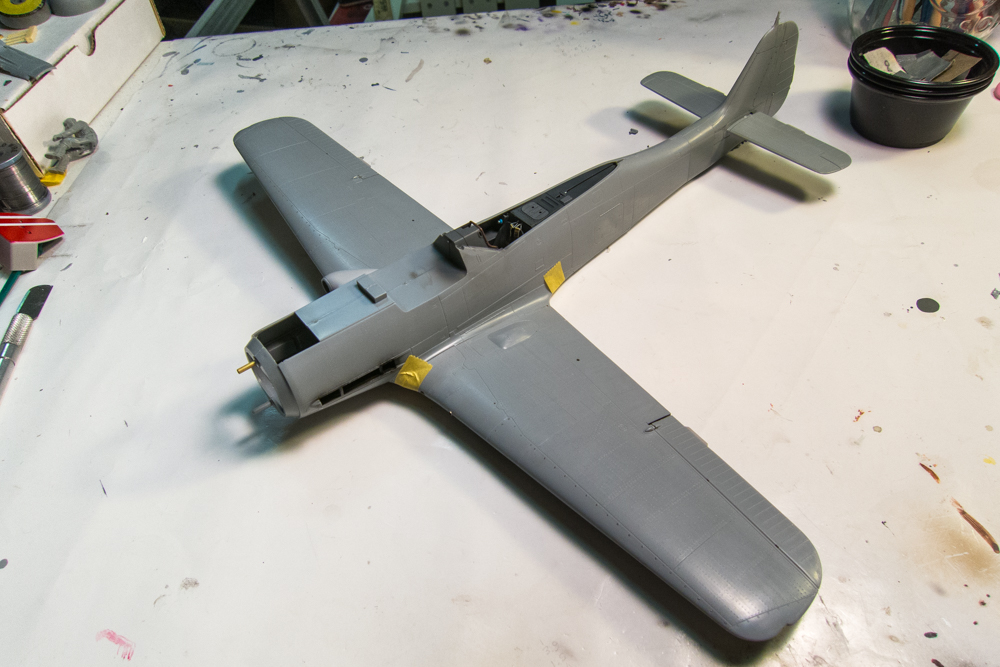
Here is the Dora with the wings taped on and the tail planes inserted into place. I'm going to leave off the tail planes until the end. The fit is pretty good and this will greatly simply the masking process when I get to the red/white striped bottoms.
Image
Image

The fit at the wing root looks very good after my shim adjustment!
Image
Image

The front cowling pieces are placed into position. I usually do a great number of test fits before committing any major pieces to glue. Better safe than sorry. Everything seems to fit well and I'm fast approaching the point where these major components are going to come together.
Image
Image

Re: 1/32 Hasegawa Fw190D-9 Red One

Posted: Fri Dec 21, 2018 10:09 pm
by Medicman71
Man those props look awesome!

Re: 1/32 Hasegawa Fw190D-9 Red One

Posted: Fri Dec 21, 2018 10:46 pm
by KennyX
You did a hella good job with the oils. I’m really glad you ventured out into that territory. The work you did on the patio most especially is very good! I also like what you’re doing with those wheels.

And I see you went with a different red as well. It’s a very nice-looking red.

This is an exciting build to watch. She’s coming together very well.

Re: 1/32 Hasegawa Fw190D-9 Red One

Posted: Fri Dec 21, 2018 11:29 pm
by speedgraflex
Hi John—I hope you don't mind, I color corrected your previous image a bit, mainly to remove the blue cast. Here:

Image

You're right—you probably would have ended up here with more paint on Test 1. How do you feel about Test 2 based on your understanding of the aircraft?

Re: 1/32 Hasegawa Fw190D-9 Red One

Posted: Sat Dec 22, 2018 10:24 am
by BlackSheep214
First, I am in awe with the props. Definitely loving the metal strip on the edges. Brilliant showing!

Now to the red, it all depends on what you're looking to achieve - the weathered look or sort of newly painted. I don't know. Myself, I do like the one on the right now that we've seen it in a better light with a white background. Thoughts?

Re: 1/32 Hasegawa Fw190D-9 Red One

Posted: Sat Dec 22, 2018 3:46 pm
by jkim
Thanks for the comments. As for the red, I like the second try better than the first. Because JV44 was formed in the last months of the war and since the red is on the bottom of the plane, I'm guessing that the red and white bottom treatment would be in fairly good condition and not faded.
Image

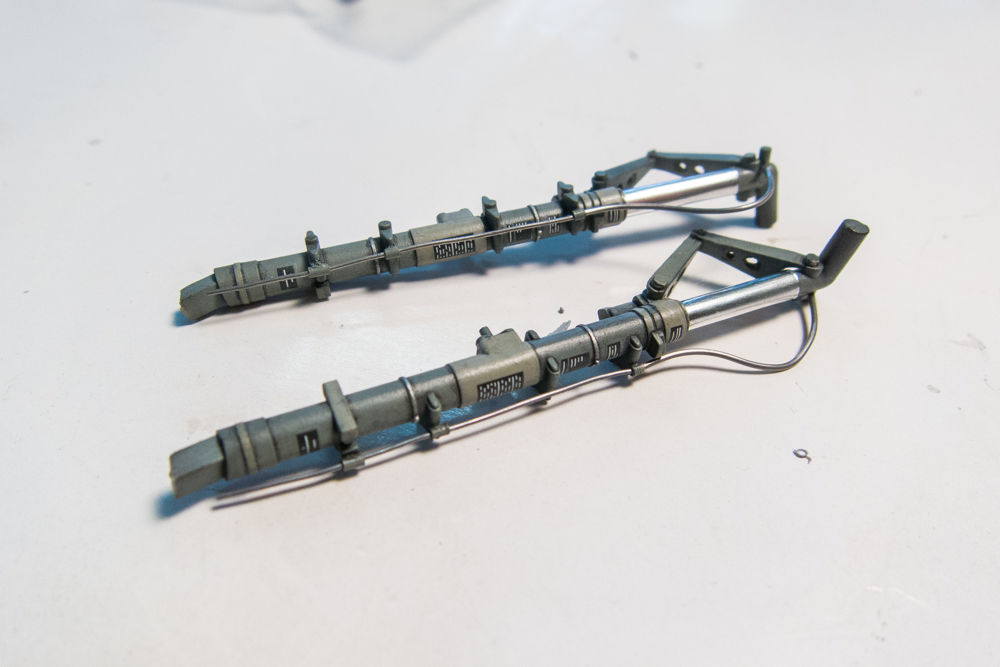
In between major tasks, I added the brake lines to the legs. The brake lines will be painted before the legs are attached to the plane.
Image

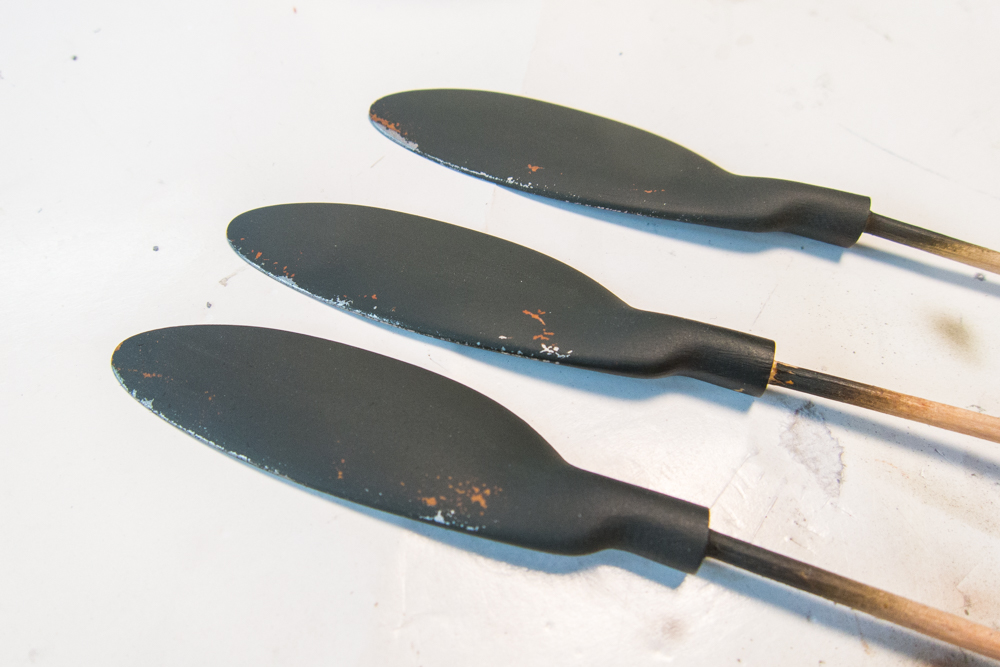
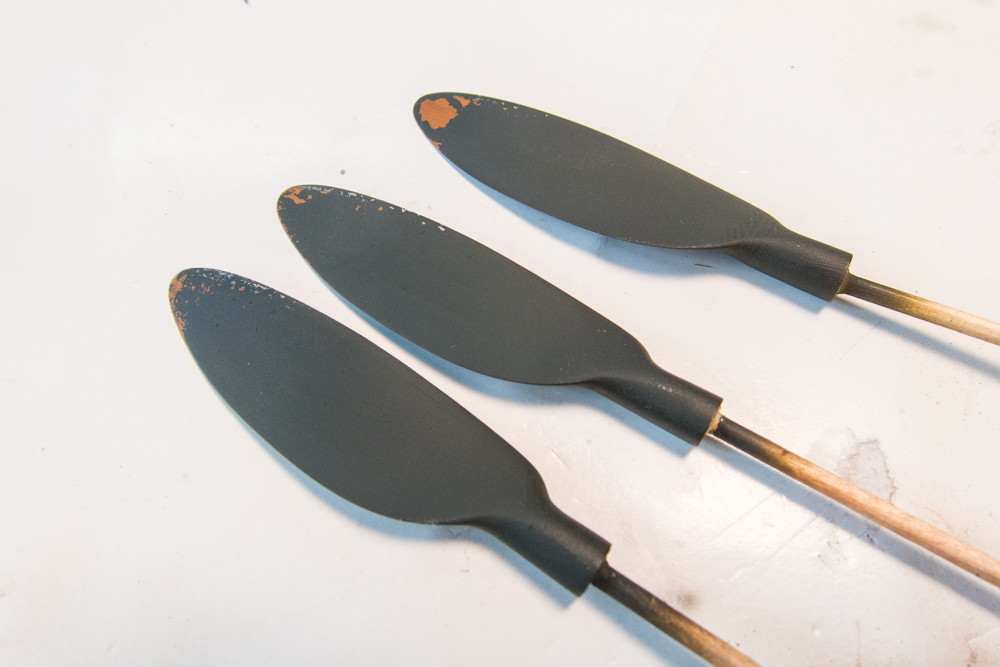
The wooden props were coated with MIG Scratches Effect and then painted RLM70 Black Green. The Scratches Effect liquid is water soluble. When water is applied to the Green, the underlying Scratches Effect turns to liquid and breaks up the Green in tiny fragments. Just brush some water on and the brushing action is enough to start dislodging paint and leaving a chipping effect. I've had mixed results with both MIG Scratches Effect and Heavy Chipping solutions. I think I'll go back to plain old hairspray, which seems to deliver a more consistent effect. The chipping was kept light and I think I'll have to dial back some of it.
Image
Image

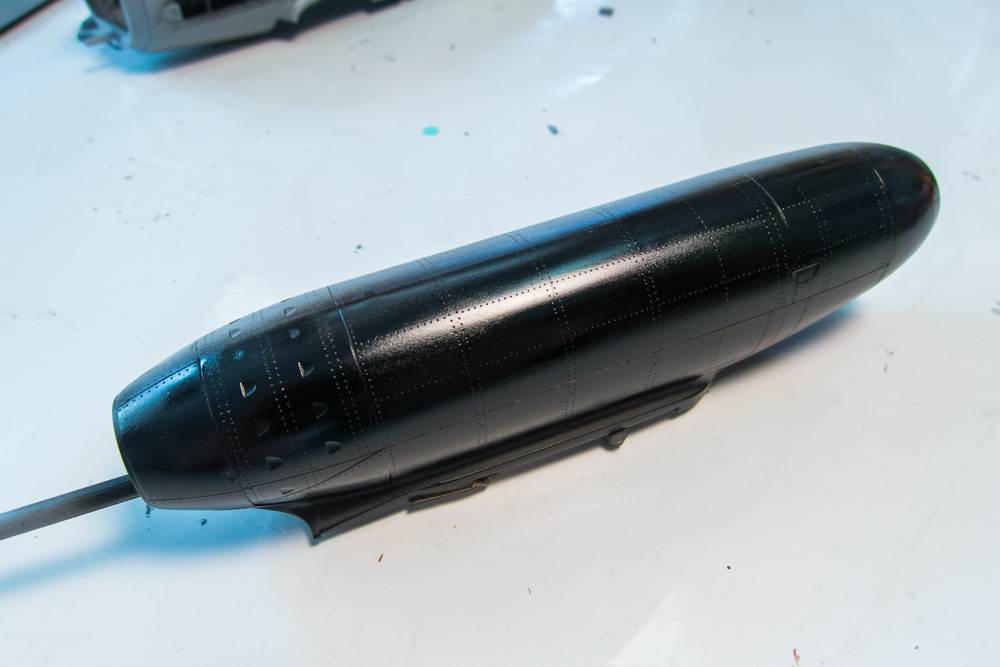
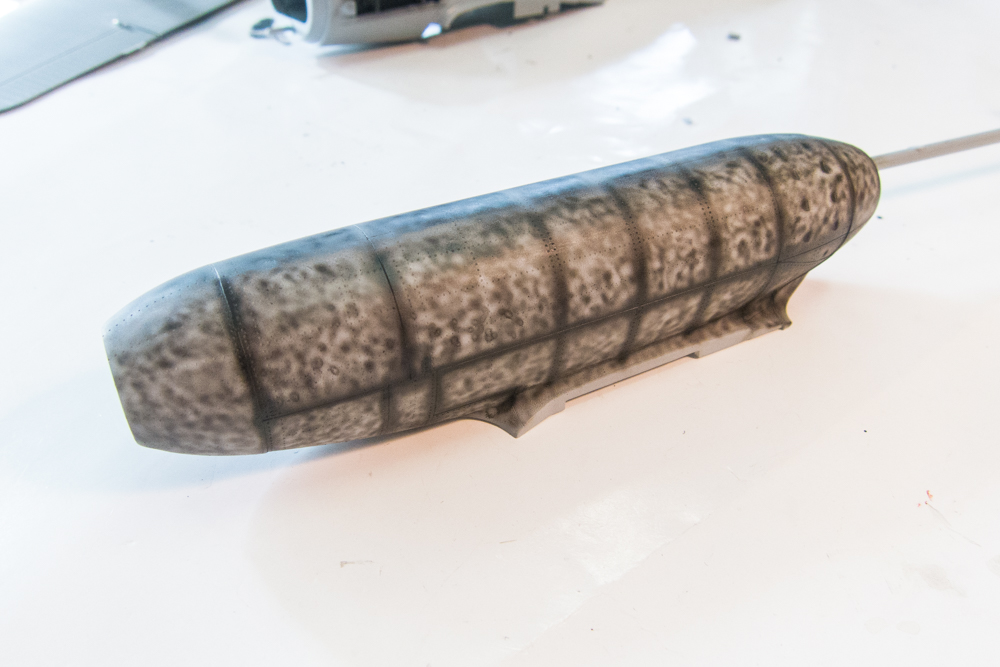
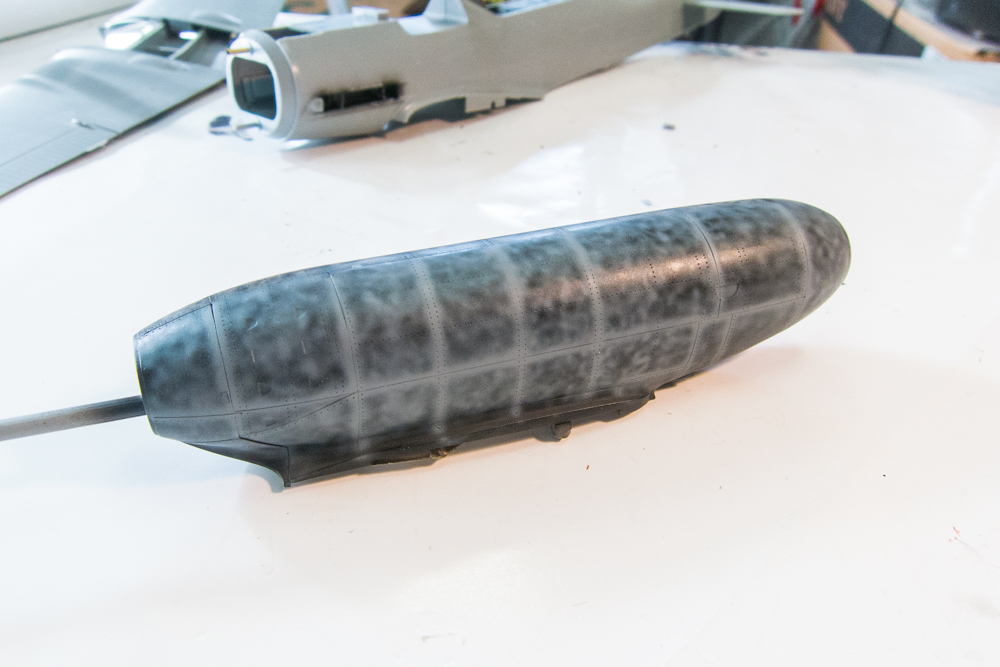
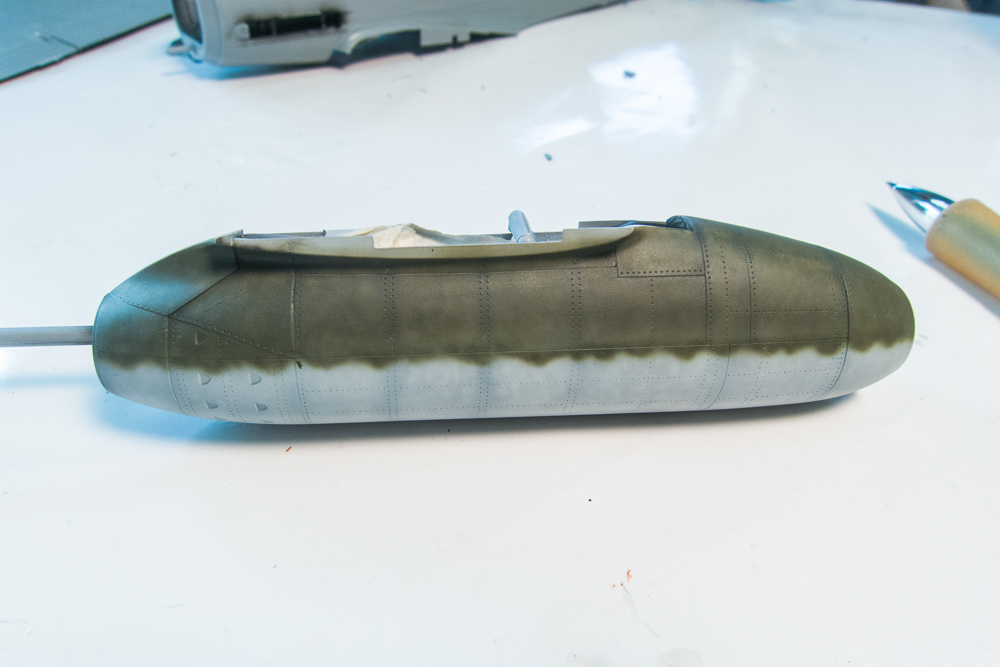
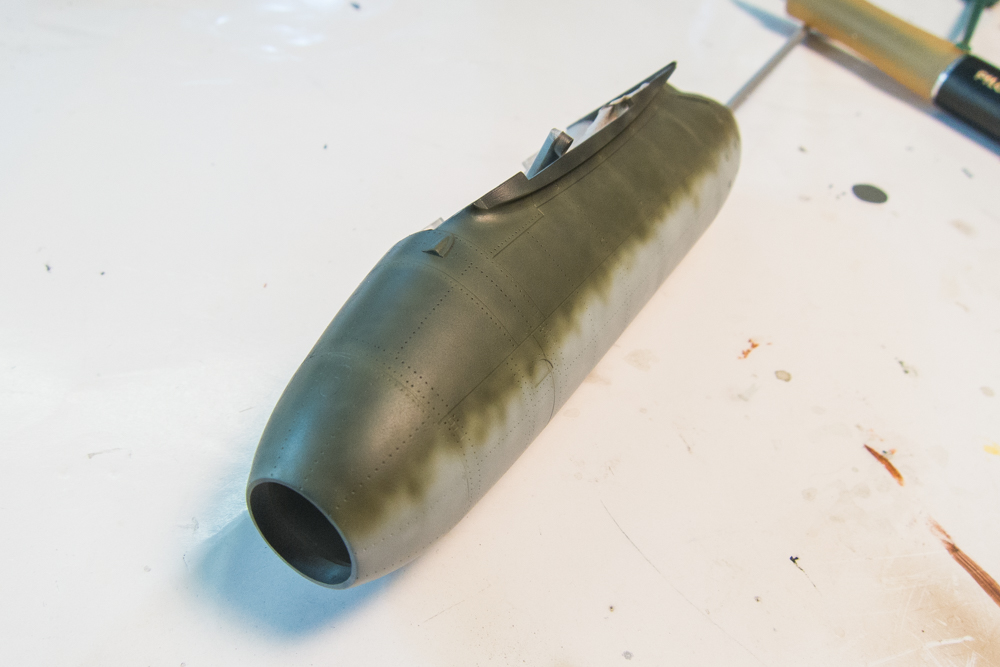
Thinking about the Me262 build, I thought I'd do a little exercise in pre-shading. The Trumpeter kit has some extra engine nacelles in clear plastic so I glued together one of those as a paint mule. The nacelle was given a grey primer coat. I'm going to do one half in my normal black mottling pre-shade and the other side will be black-based.
Image

Here's my normal pre-shading on one side... black is used on the panel lines and the mottle pattern.
Image

On the other side is my attempt at black-basing. The 262 I am building is noted to have grey primer showing through along the panel lines. So my initial base coat on top of the black is Neutral Grey.
Image

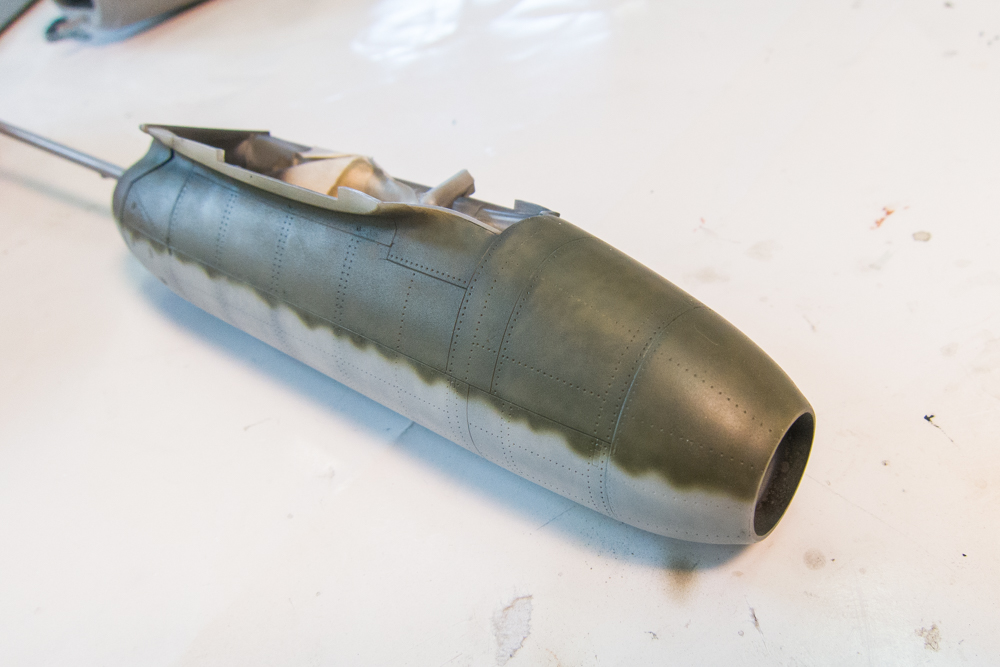
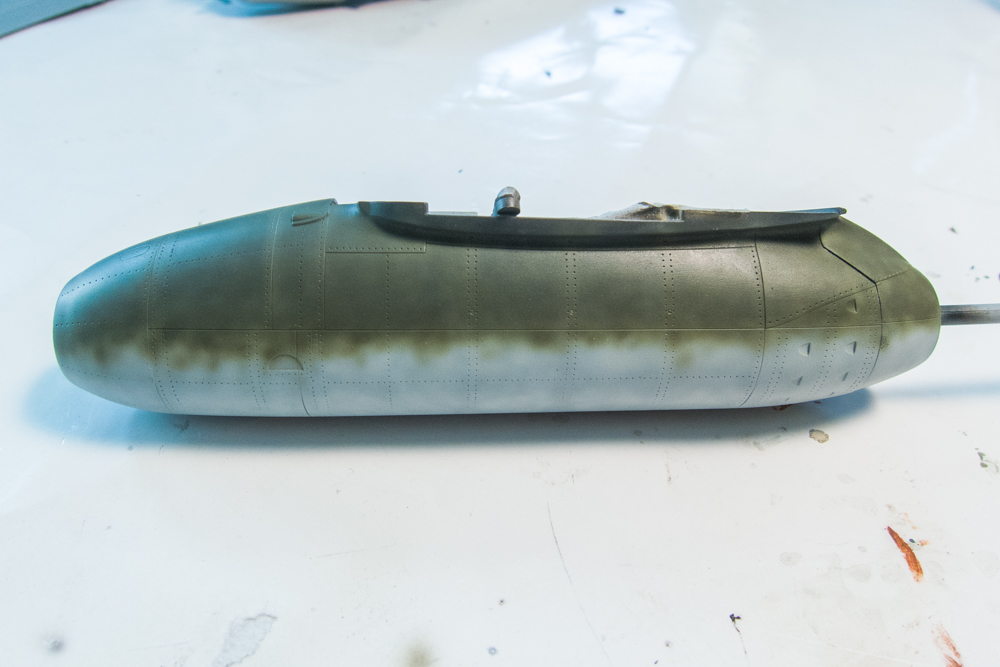
RLM76 Light Blue and RLM83 Dark Green are the camo colors for this test. My normal mottle technique results in panel lines that are darker than the camo.
Image
Image

The black basing technique with the grey on the panel lines resulted in panel lines that are lighter than the camo. That is the primary difference between the two techniques. The modulation effects are similar and if I had not highlighted the panel lines in grey on the black base side, the two would be even more similar.
Image
Image