Page 25 of 39

Re: A6M3-3A Zero Fighter, Maj. Saburo Shindo

Posted: Wed Apr 03, 2019 12:34 pm
by KennyX
portman wrote:I suspect that'll look very good when it shows through on the chipping - well done that man.

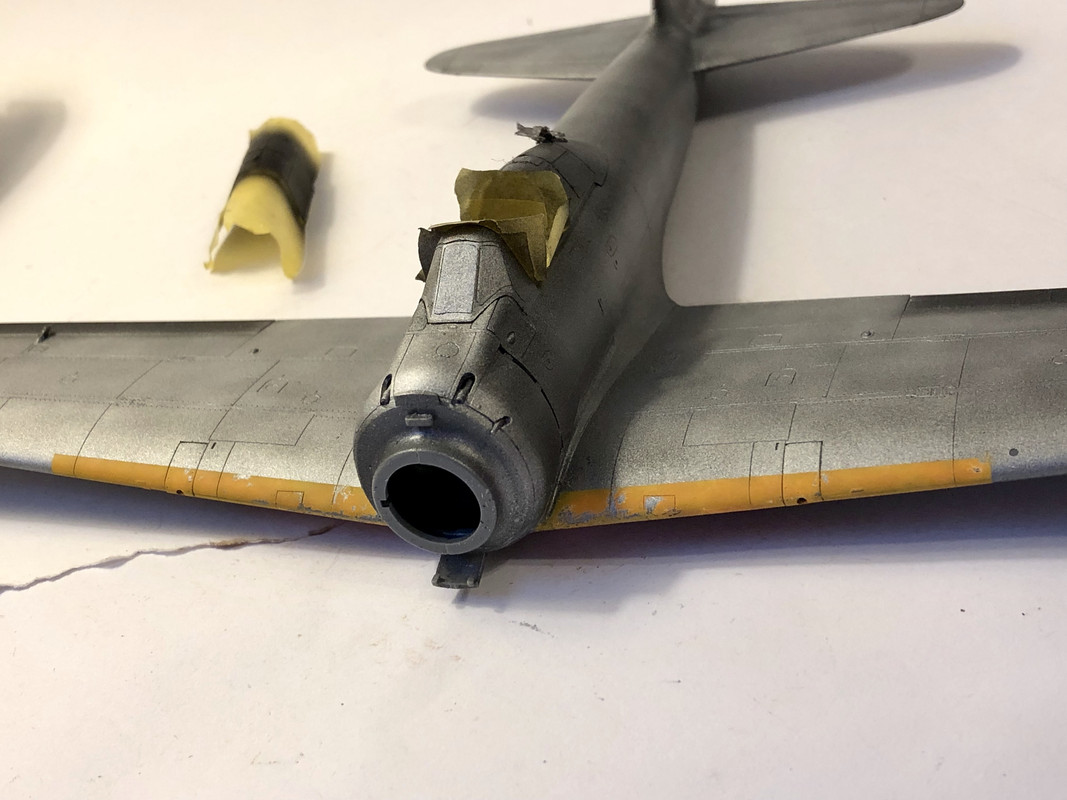
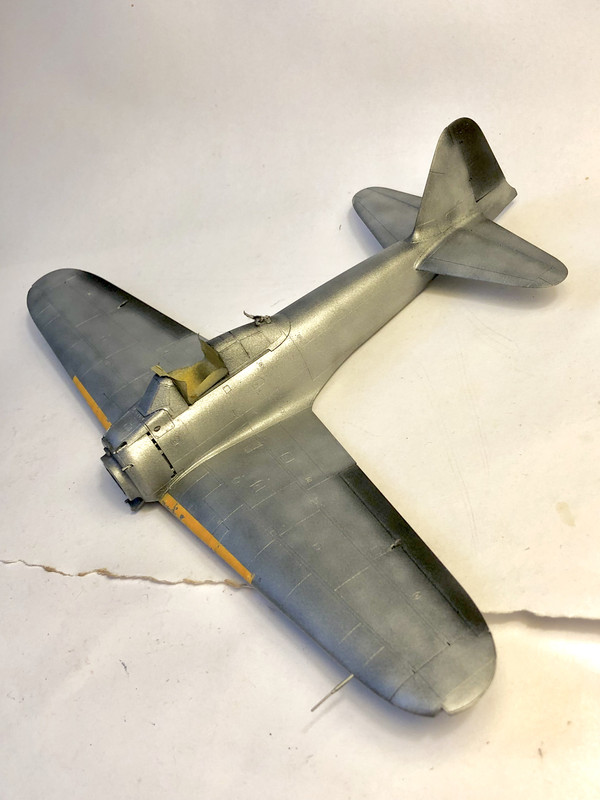
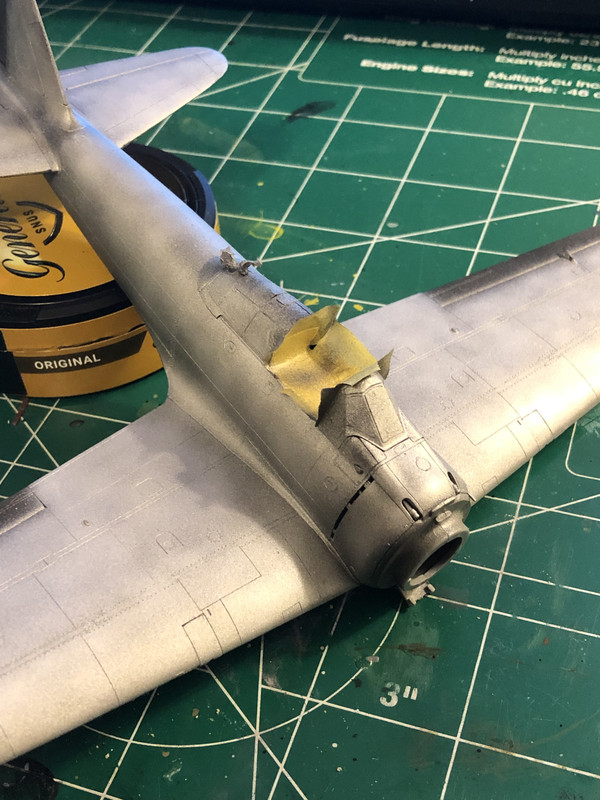
Thank you, Stuart! One big issue I had on my last Corsair was the unwieldy nature of trying to deal with chipping on a localized level. Too much masking. Bad steps. This way makes it much easier for me, plus- I like the look of these colors sprayed over bare metal. I’ll pre-shade in spots as well to add depth in certain places of course, but yep, I’m digging this way of doing things.

Re: A6M3-3A Zero Fighter, Maj. Saburo Shindo

Posted: Wed Apr 03, 2019 3:40 pm
by speedgraflex
Such great techniques and a great technical discovery! Congratulations!

Re: A6M3-3A Zero Fighter, Maj. Saburo Shindo

Posted: Thu Apr 04, 2019 4:57 am
by Handiabled
I'm really liking the approach you are taking with this! Love the variations of the finish on the fuselage

Re: A6M3-3A Zero Fighter, Maj. Saburo Shindo

Posted: Thu Apr 04, 2019 8:16 am
by KennyX
Bruce,

Thank you! That’s where I’m trying to be. In a place where I’m out of my comfort zone, and I’m refining techniques and approaches, and learning new ones.

Mr. Handiabled,

Thanks so much! I’m having a really good time with this one...

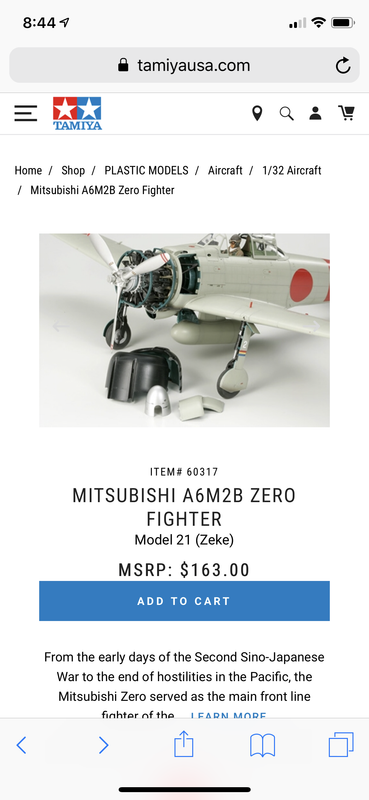
So much so that I just bought one in 1/32!

Image

Re: A6M3-3A Zero Fighter, Maj. Saburo Shindo

Posted: Fri Apr 05, 2019 9:15 am
by KennyX
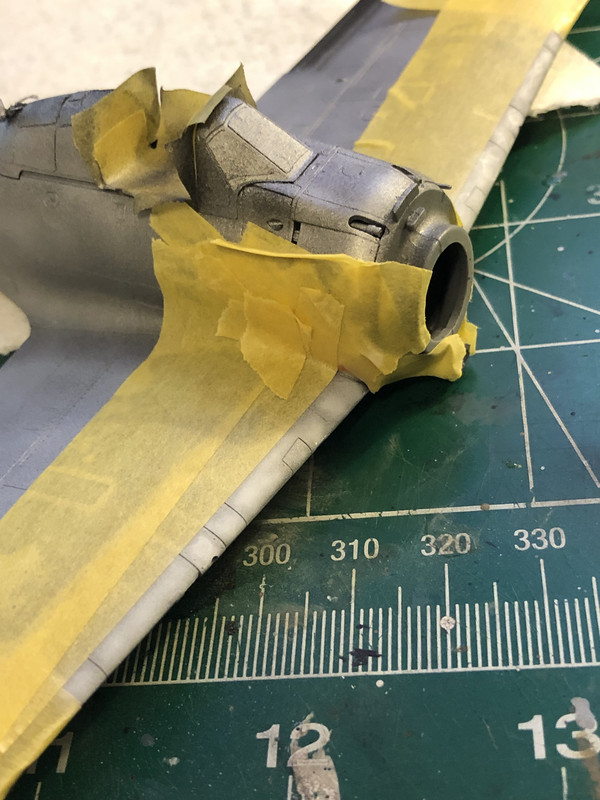
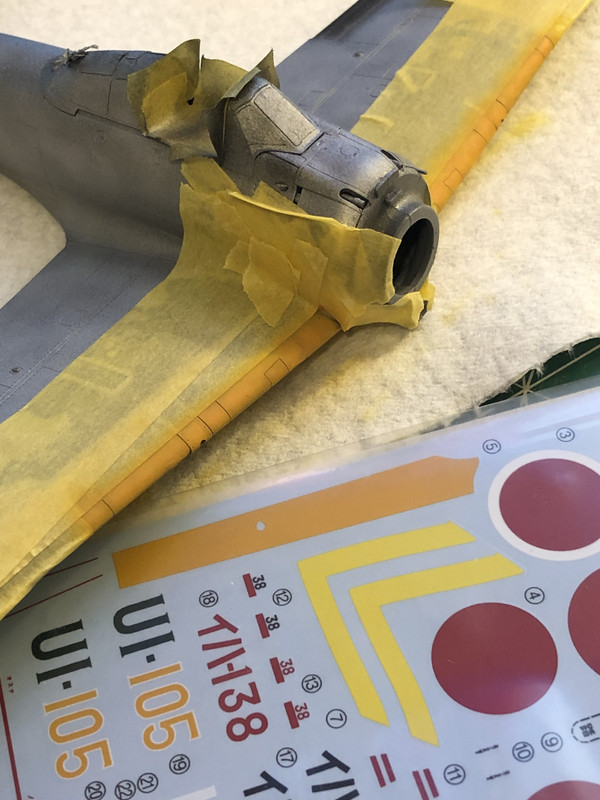
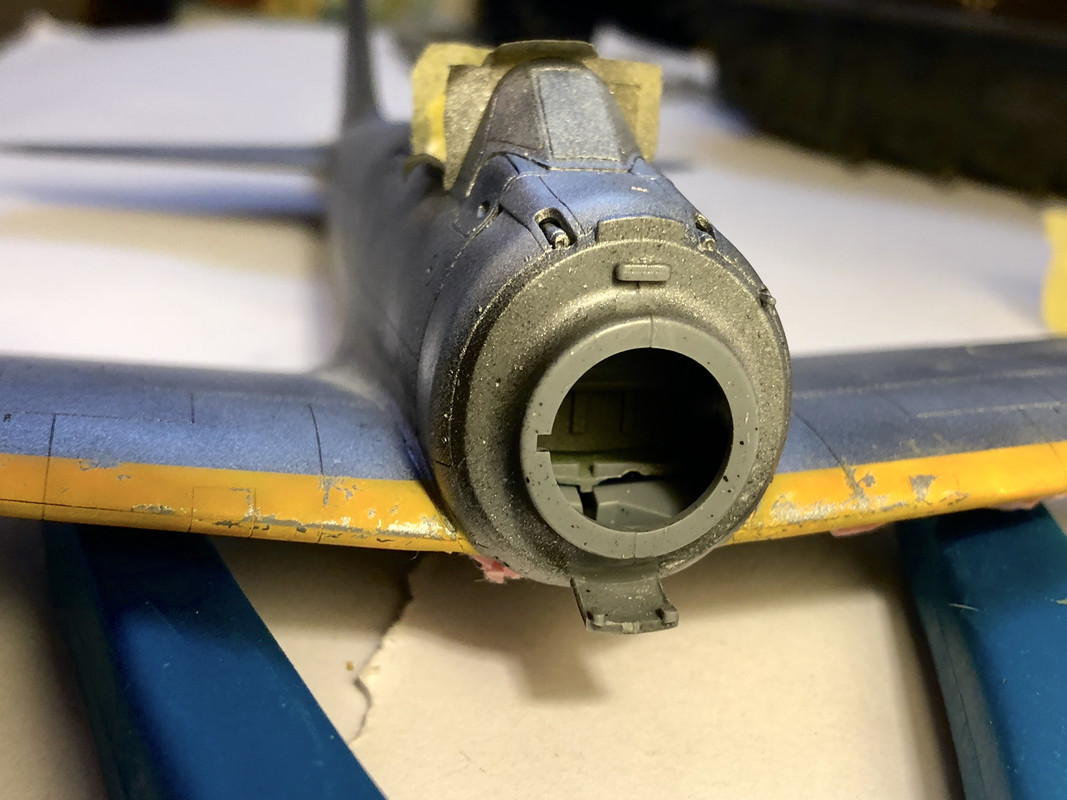
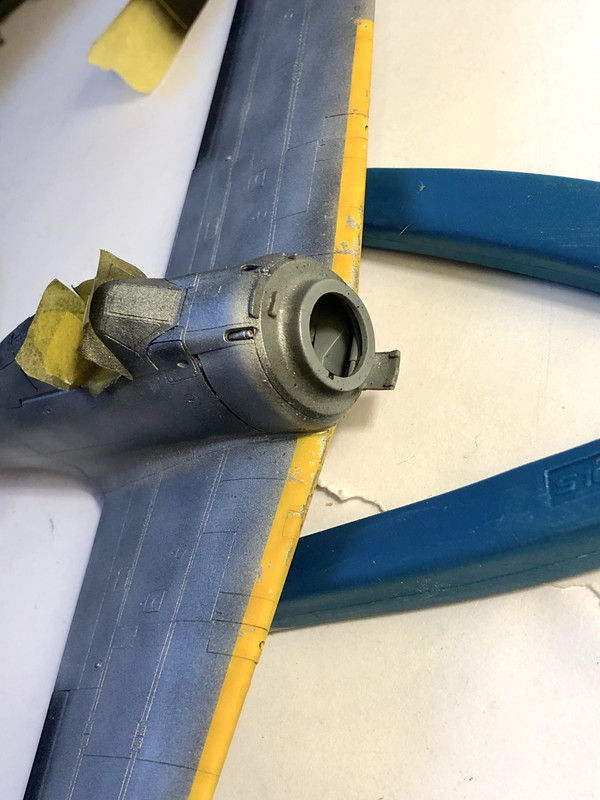
I’m stoked. I got the leading wing edges painted and chipped early this morning. Here’s a photo set of the progression:

After the Mr. Hobby Super Clear has 24 hours to cure:
Image

Here the aircraft has been masked, and Aqua Net hairspray has been applied via airbrush to the targeted areas, and painting has begun. Here was a light, misting coat of Flat White, followed by another coat or two marbled, just shy of the panel lines:
Image

Next came the orange. I mixed equal parts Red and Yellow, and then added white. That initial attempt was far too red-leaning. So I took two drops of that and mixed it with four drops of Yellow. It immediately became too Yellow, but I sprayed it anyway. After a light coat of that, I mixed one drop of red, three drops of yellow, and one drop of white. BOOM. Here’s the final product with the decal for comparison:
Image

Chipping came next, followed by a buffing with a microfiber pad. Here are the results:
Image

Image

Image

Image

Up next: Insignias!

Re: A6M3-3A Zero Fighter, Maj. Saburo Shindo

Posted: Fri Apr 05, 2019 9:44 am
by Stikpusher
Very nice on those leading edge ID stripes! Both on the chipping, and on the color mix... :shoutout:

Re: A6M3-3A Zero Fighter, Maj. Saburo Shindo

Posted: Fri Apr 05, 2019 10:24 am
by LyleW
great match on the yaller. Now, if that were me? I'd have about a gallon of yellow mixed up. Who da thought to use drops!

Re: A6M3-3A Zero Fighter, Maj. Saburo Shindo

Posted: Fri Apr 05, 2019 2:05 pm
by KennyX
Thanks fellas! And Lyle- yessir, drops. I can’t afford to waste much of anything in my modeling. Especially paint. So I use glass medicine droppers and small tattoo ink cups for dispensing and mixing paint. Drop by precious drop. Any time I give a formula like Flat Yellow:2, White: 1 it’s always by the drop.

Okay, so back to it, lunch break Hinomaru! Two down, four to go. Let’s take it from the top!

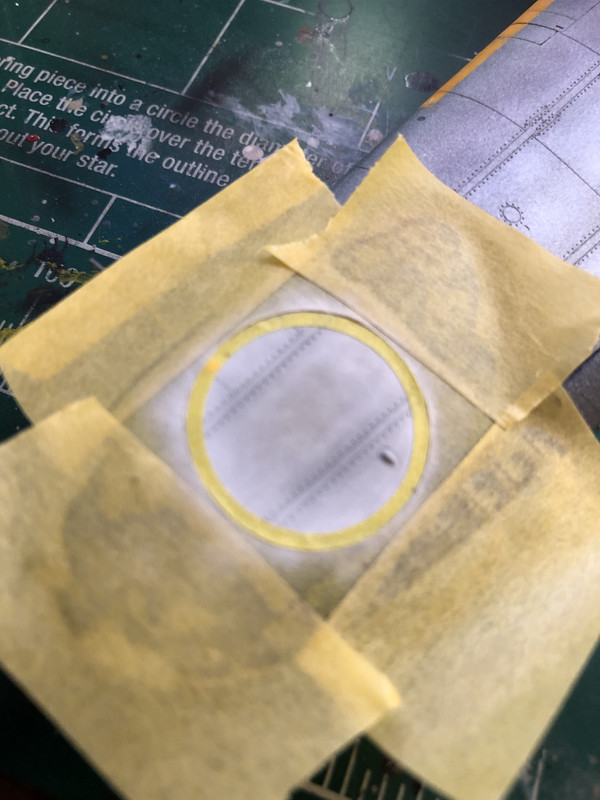
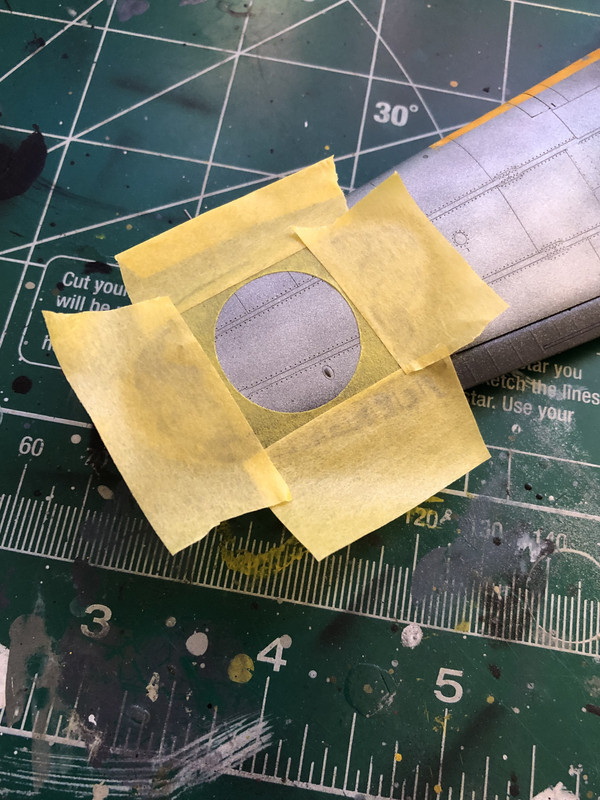
I cut the mask out of wide Tamiya tape using the circular cutter John recommended earlier in the thread. It got the job done easily. First I cut out a square of the Tamiya tape. Then cut out the large circle which encompasses both the white and the red, and from that large circle I cut the mask for the white.
Image

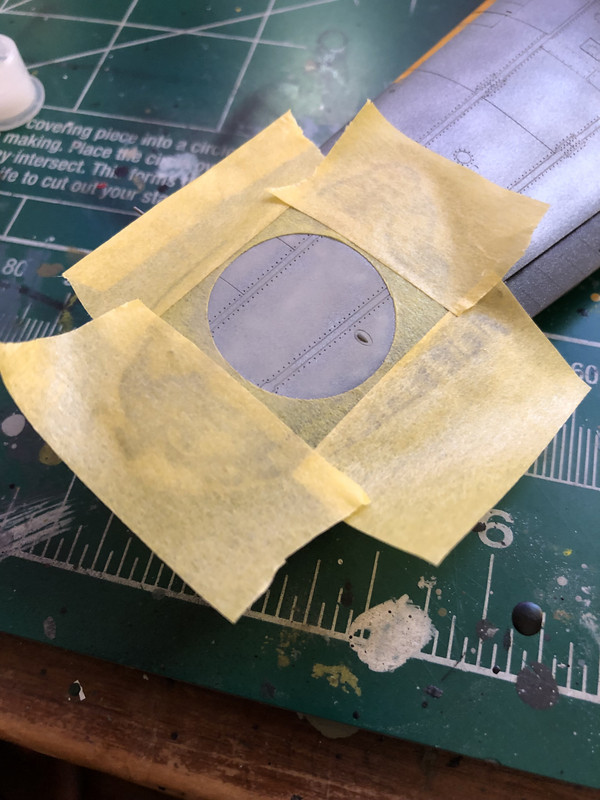
Next I thinned some Deck Tan down, 3:1 thinner to paint and marbled it on the inside of the insignia. I kept the pressure at 10PSI and was very light on the trigger.
Image

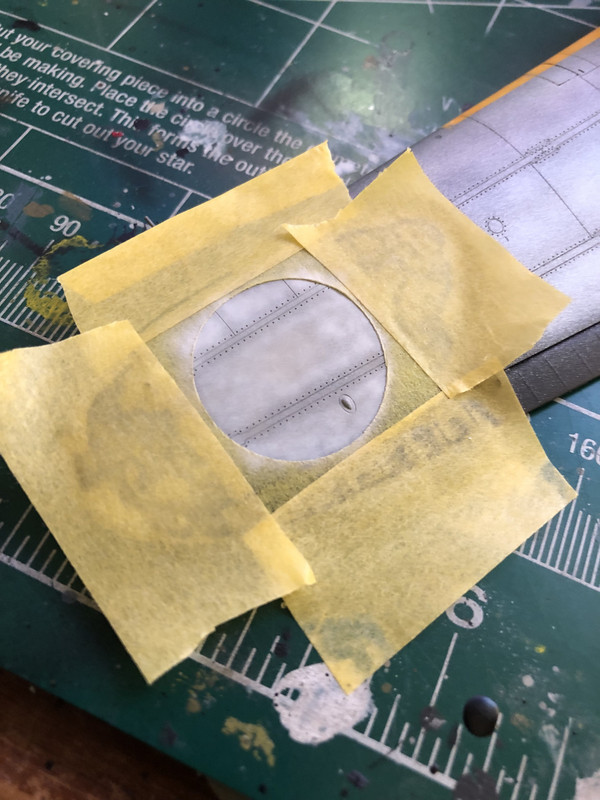
Next I thinned White down 3:1 thinner to paint, and began applying it in the same careful, easy-going, marbled manner, building it up very slowly.
Image

Image

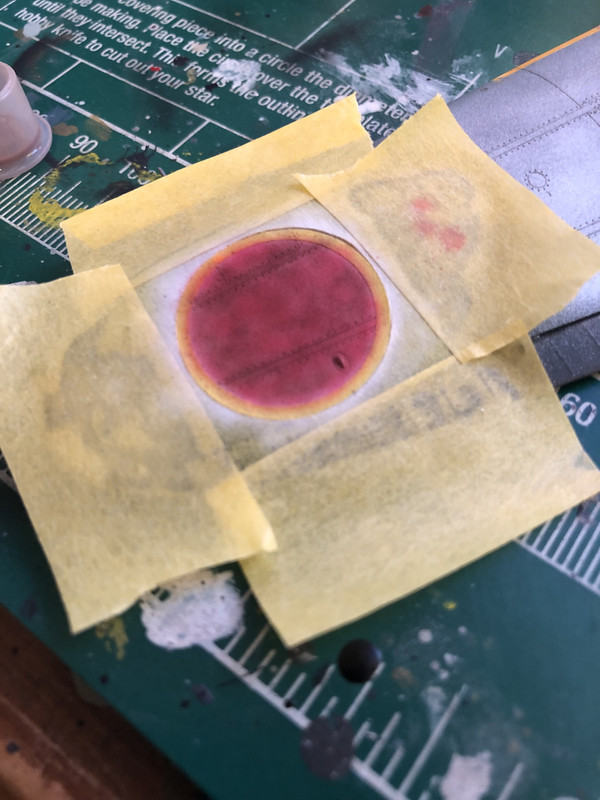
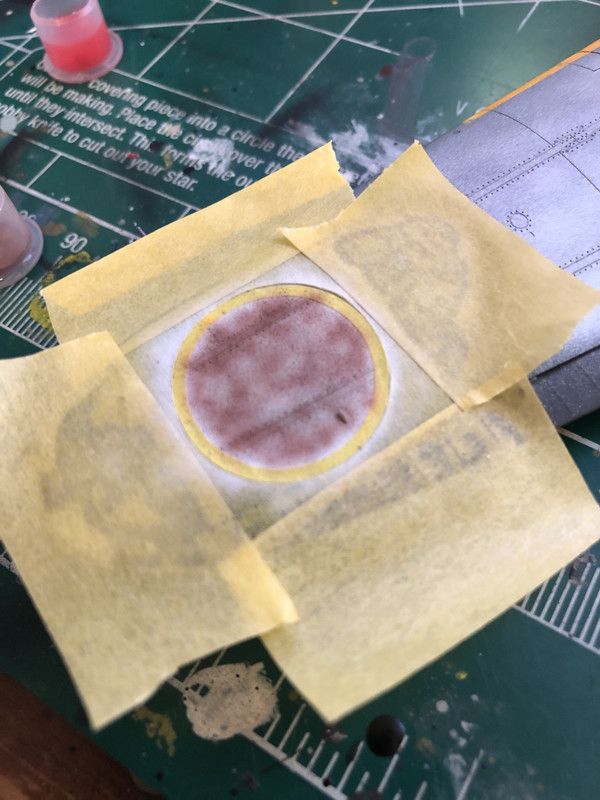
After that, I applied the mask I’d cut and set aside for the white very carefully, and began laying down the red. I began with Hull Red, thinned 3:1 thinner to paint
Image

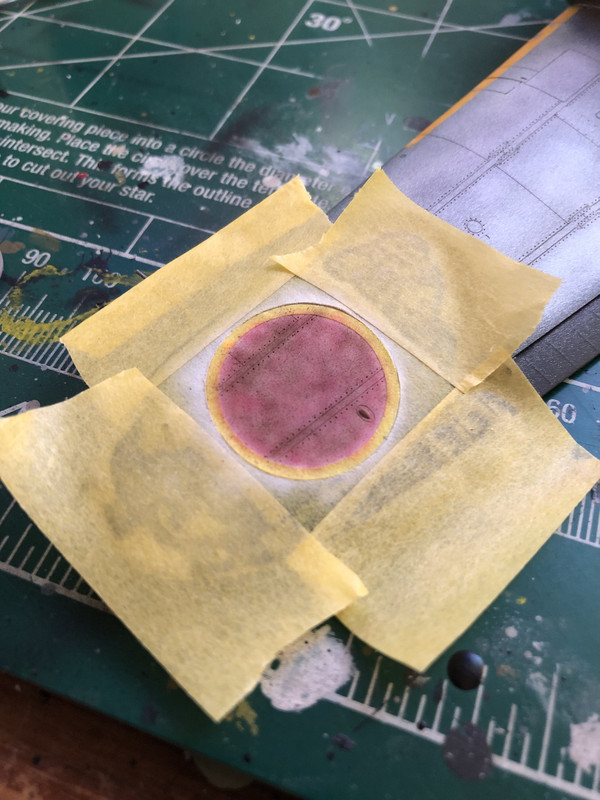
And next came Red, thinned 3:1 thinner to paint, same protocol, thin, marbled coats.
Image

Image

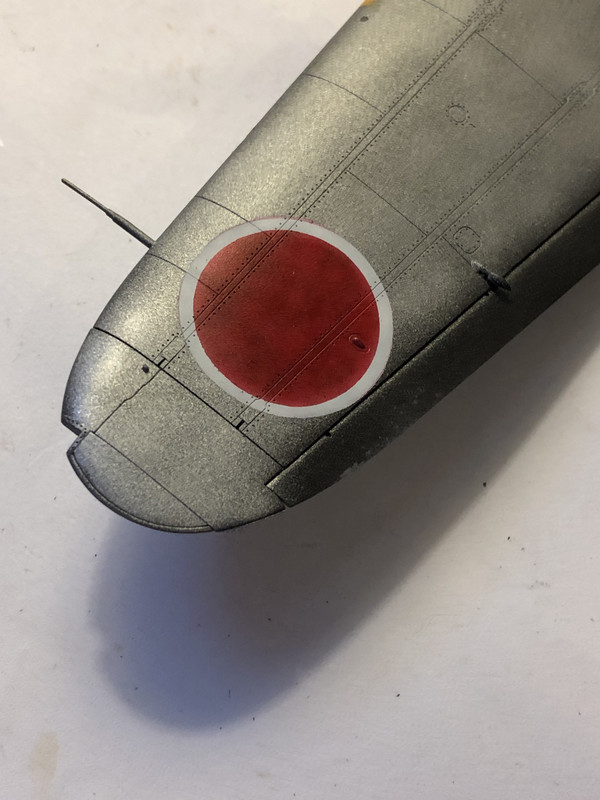
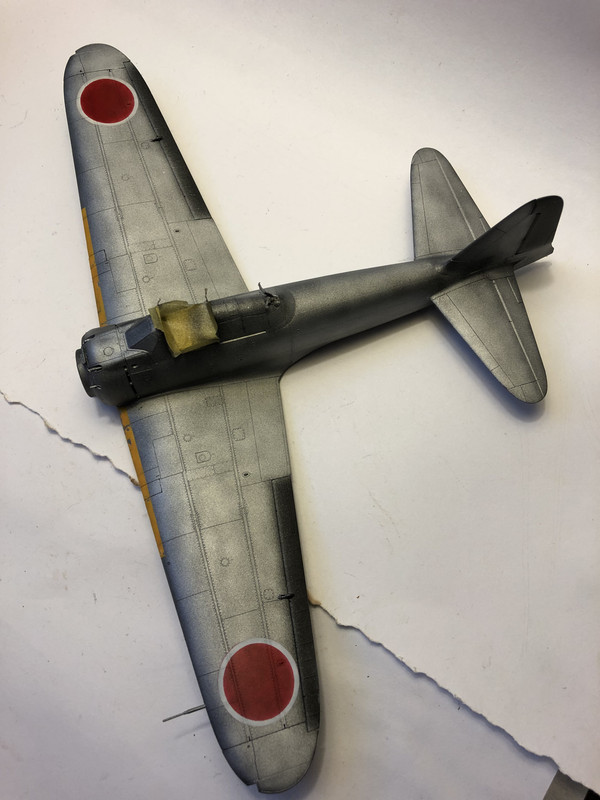
And the results!
Image

Image

This is the first time I cut masks and painted insignia. I’m very stoked about how these came out. And I don’t foresee the use of decals for insignias like roundels or crosses anymore if I can help it. I really like how they look painted on.

These will be left to dry and cure over the weekend while I work on the other four. Then they’ll cure for a few days. After that comes the Green and Gray green.
Re: A6M3-3A Zero Fighter, Maj. Saburo Shindo

Posted: Fri Apr 05, 2019 3:38 pm
by LyleW
Outstanding!

Re: A6M3-3A Zero Fighter, Maj. Saburo Shindo

Posted: Fri Apr 05, 2019 5:13 pm
by Floki
Beautifully done, I'm getting ready to paint insignia for the first time using maketar masks. Hope they come out looking this good. I also use tattoo ink cups to mix paint drop by drop and when ever I find a formula I like it gets wrote down for the next time.