Page 25 of 27

Re: 1/32 Hasegawa N1K2-J Shiden Kai

Posted: Sat Nov 14, 2020 1:41 am
by Stuart
That looks fantastic with the engine out and the prop on :bow: :bow: :bow:

I like the simple but effective nature of your wash.

Re: 1/32 Hasegawa N1K2-J Shiden Kai

Posted: Sat Nov 14, 2020 5:59 am
by tempestjohnny
Simply amazing

Re: 1/32 Hasegawa N1K2-J Shiden Kai

Posted: Sat Nov 14, 2020 12:19 pm
by BlackSheep214
Just caught up on this fantastic build. I give up.... I could never be this good. As I said before, you are truly a master. I'm actually afraid to try all your methods without someone here physically showing me how hands on step by step.
So.. can you come to my home and show me? LOLOLOL!!!

I need to find a cheap garbage WW2 kit to practice on for both WW2 Axis and Allied subject. And a Modern jet era kit as well.

Re: 1/32 Hasegawa N1K2-J Shiden Kai

Posted: Sun Nov 15, 2020 3:15 pm
by mostrich
Image
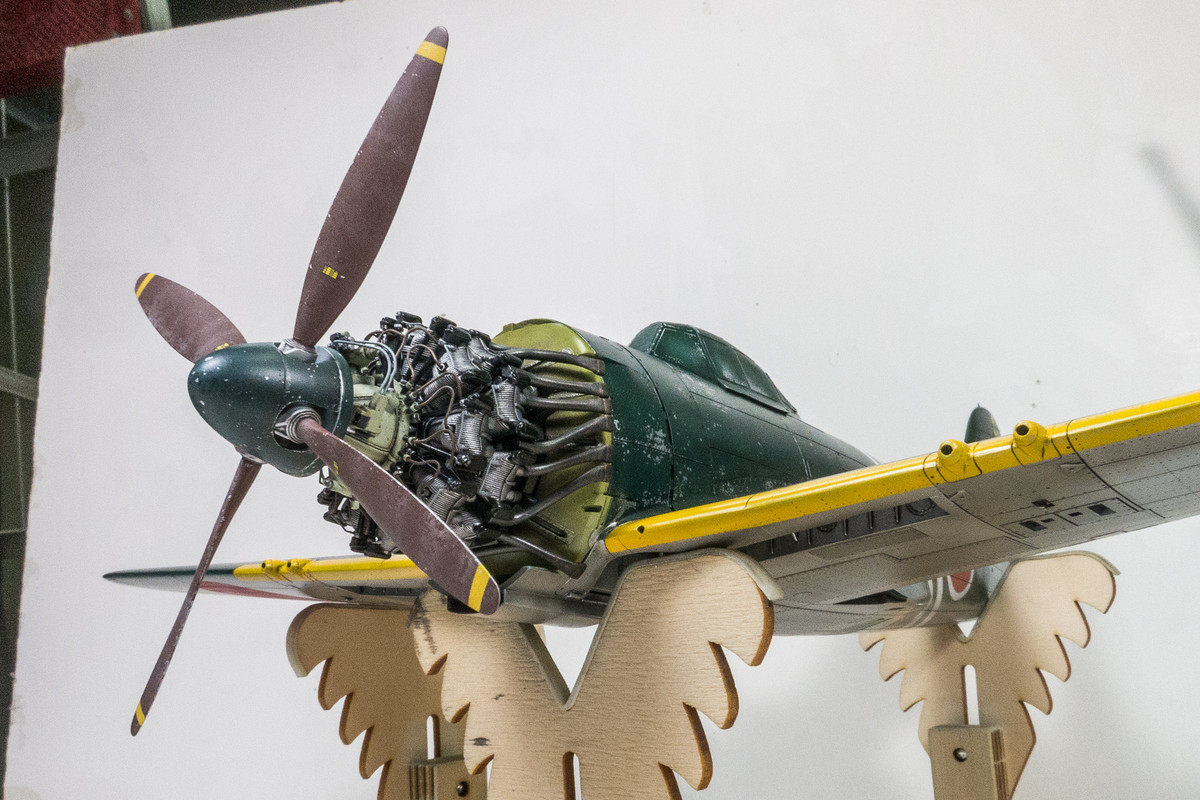
This, John, is absolutely stunning work. The engine looks so heavy and powerful.

Re: 1/32 Hasegawa N1K2-J Shiden Kai

Posted: Sun Nov 15, 2020 6:07 pm
by jkim
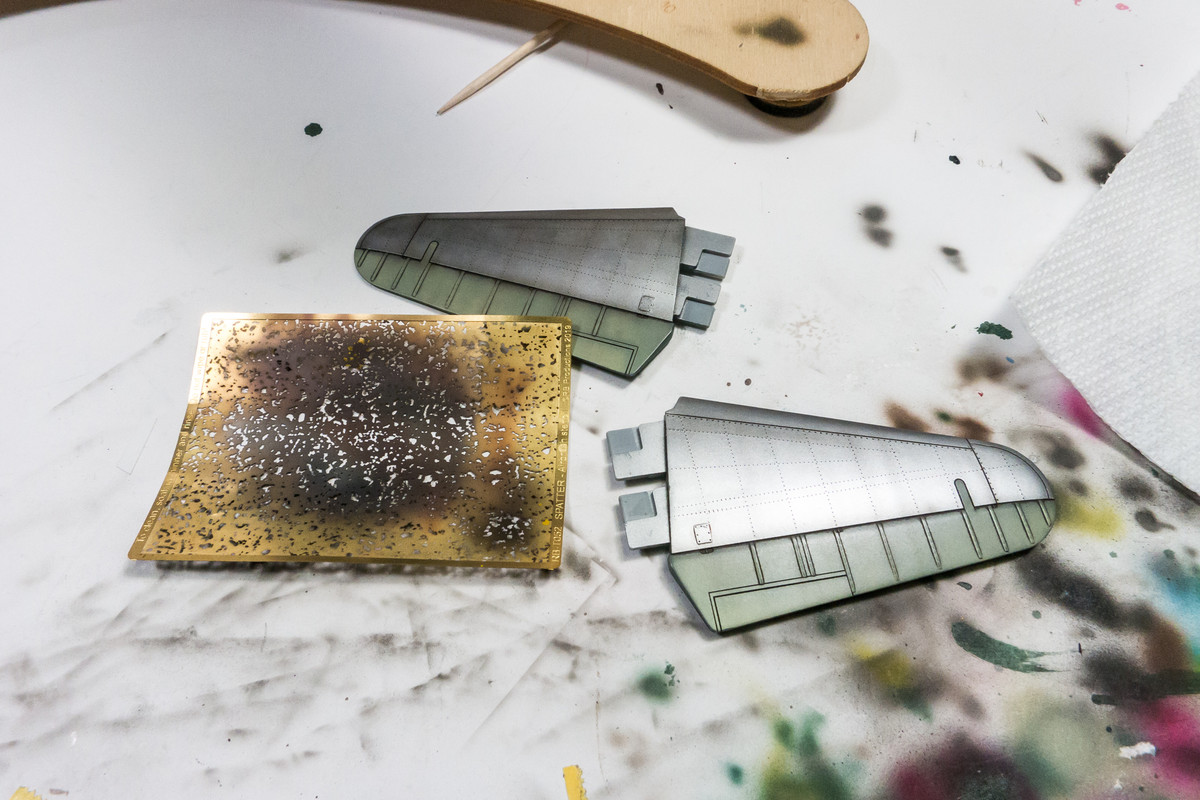
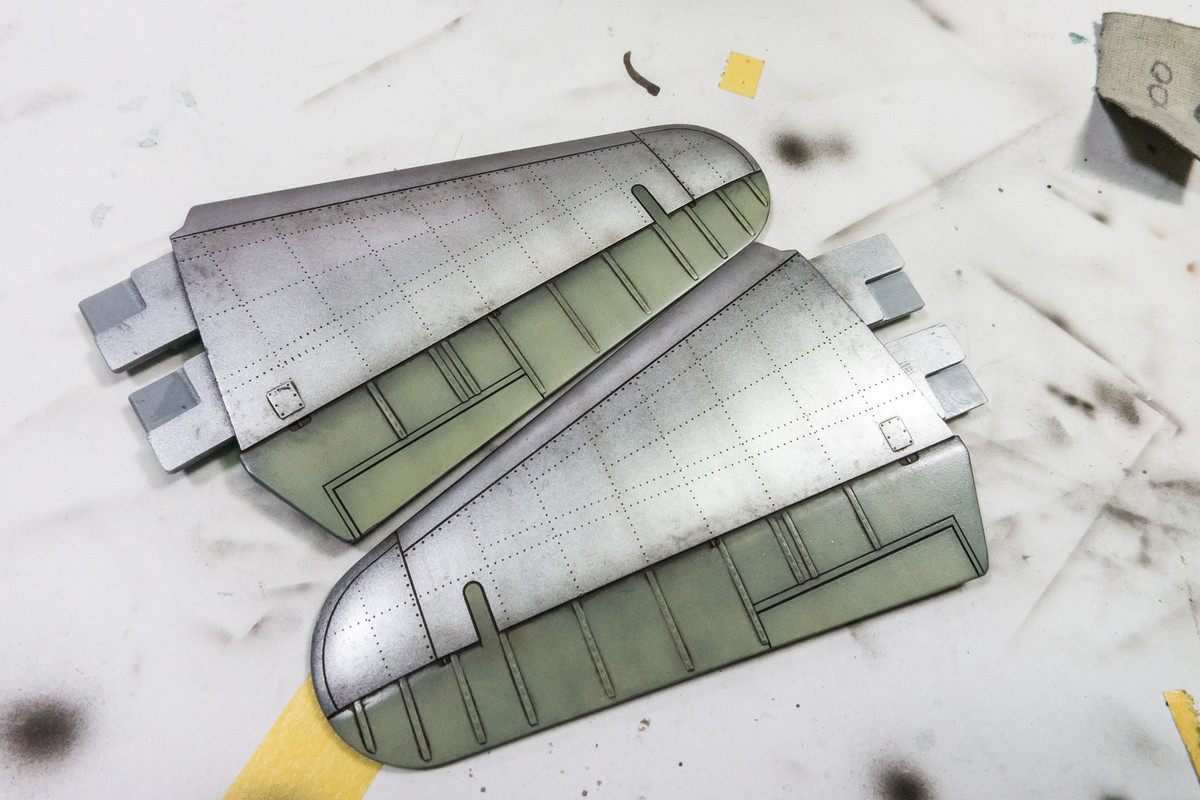
Thanks guys! Did some more work yesterday but Postimage was down the whole day and I wasn't able to post pics. I gave the bottom some post-shading using a highly-thinned blackish brown. I also decided to add some random wear marks using a metal stencil (this one is from RB Productions).
Image
Image
Image
Image

The model was given another flat coat.
Image
Image
Image
Image

Next will be salt fading on the upper surfaces.

Re: 1/32 Hasegawa N1K2-J Shiden Kai

Posted: Sun Nov 15, 2020 6:21 pm
by jkim
Ooops... I skipped a couple of steps! Prior to the second flat coat, I applied the stencil decals. The kit decals are very well detailed but are on the thick side.
Image
Image

After the decals were sealed with a gloss coat, the model was given two flat coats.

Re: 1/32 Hasegawa N1K2-J Shiden Kai

Posted: Sun Nov 15, 2020 6:34 pm
by Floki
Looking amazing! I'm really excited to see the salt fading steps. That's something I'm really wanting to learn more about.

Re: 1/32 Hasegawa N1K2-J Shiden Kai

Posted: Mon Nov 16, 2020 10:17 pm
by jkim
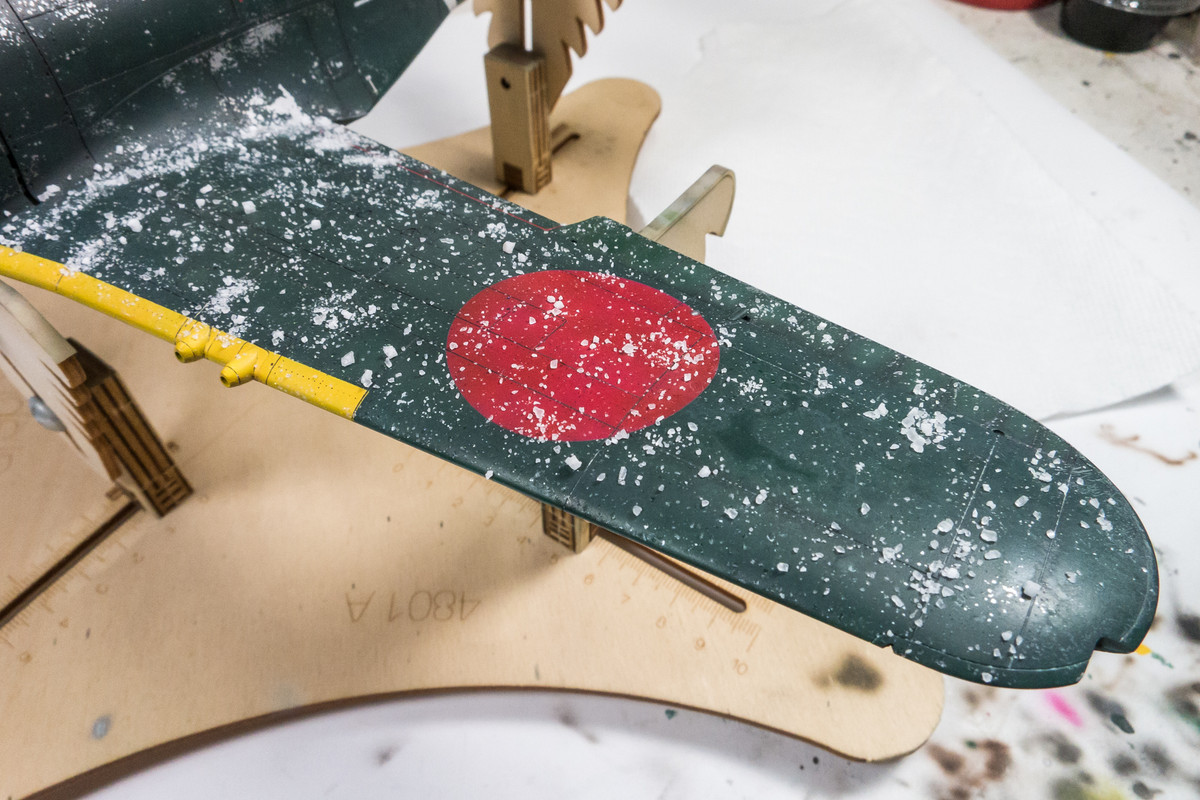
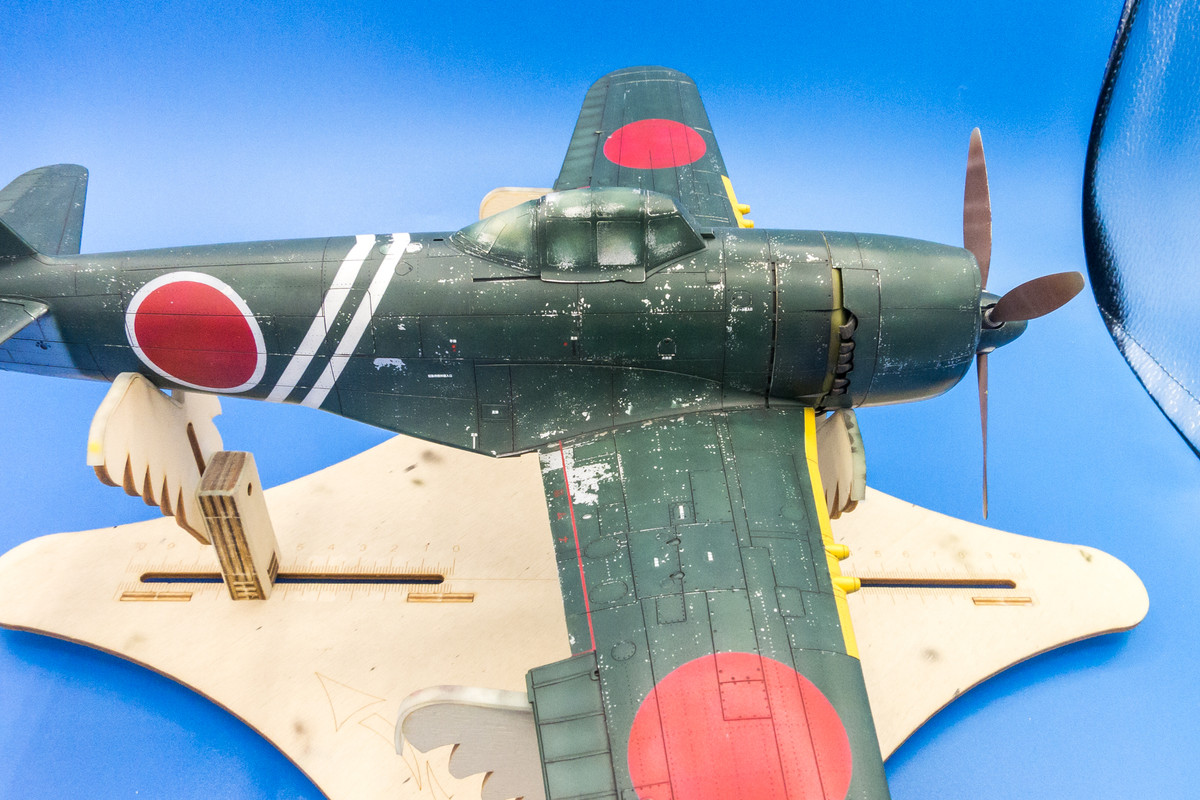
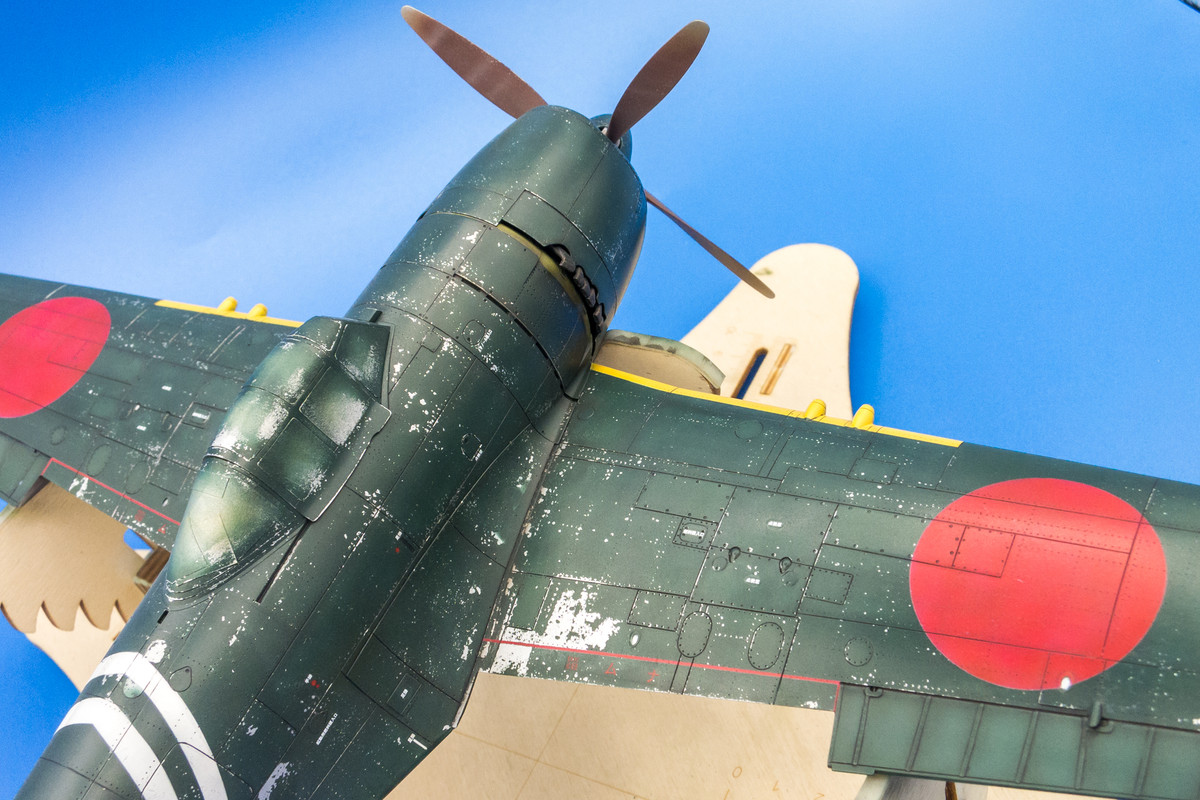
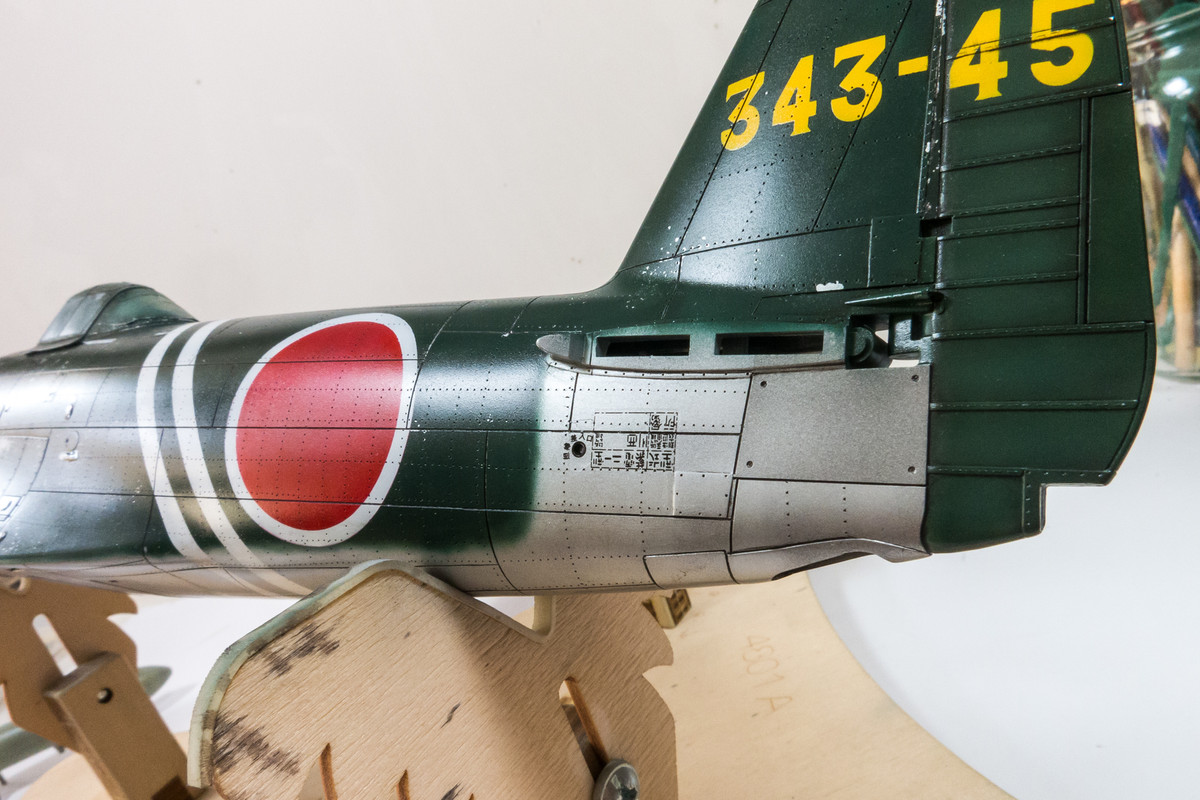
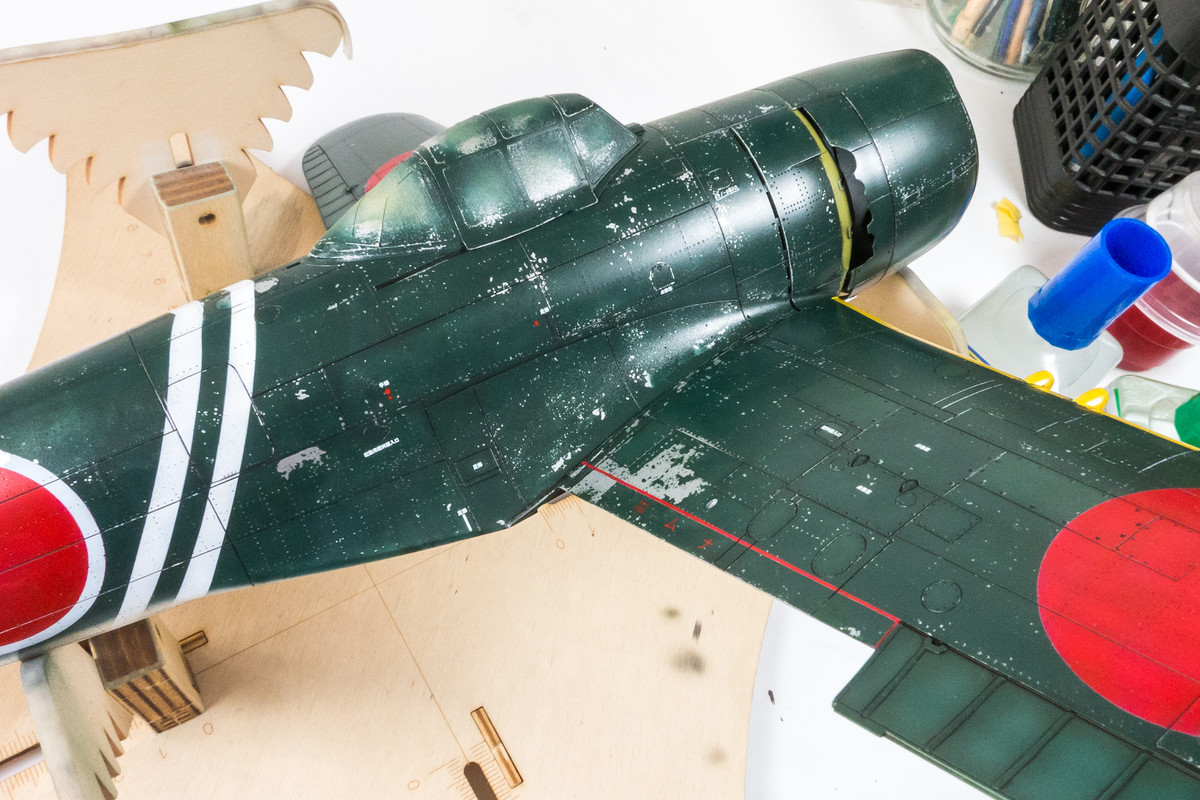
Thanks Clint! And now we present the salt fading stage of this build. I imagine there are a number of ways to do this but it essentially uses salt crystals to form a random pattern mask to replicate the staining/wear you might find on an aircraft that's parked outside all of the time. Based on my own inconsistent results using this method, I claim no expertise and simply offer this as a document to this stage of the build.

Salt can only be used as a mask if it stays affixed to the model and we can accomplish that by using water, which dissolves salt. I like to perform this technique after a flat coat at the end of painting/weathering process for a couple of reasons. Number one is that subsequent clear coats, both flat and gloss tend to reduce the effect of the salt fading, sometimes to the point of making it disappear completely. Another is that water covers a flat coat uniformly and doesn't bead like it would on a glossy finish. Finally, salt residue, which can deposit itself unseen in the little nooks and crannies, can be flared into a white frost when an additional flat coat is applied.

I use rock salt that I crush to appropriate grain in a small ceramic dish. I like to use small salt crystals and try to avoid salt dust. Too much salt dust simply liquefies in water and can dry in a pool, preventing a random pattern to imparted to the treated surface.
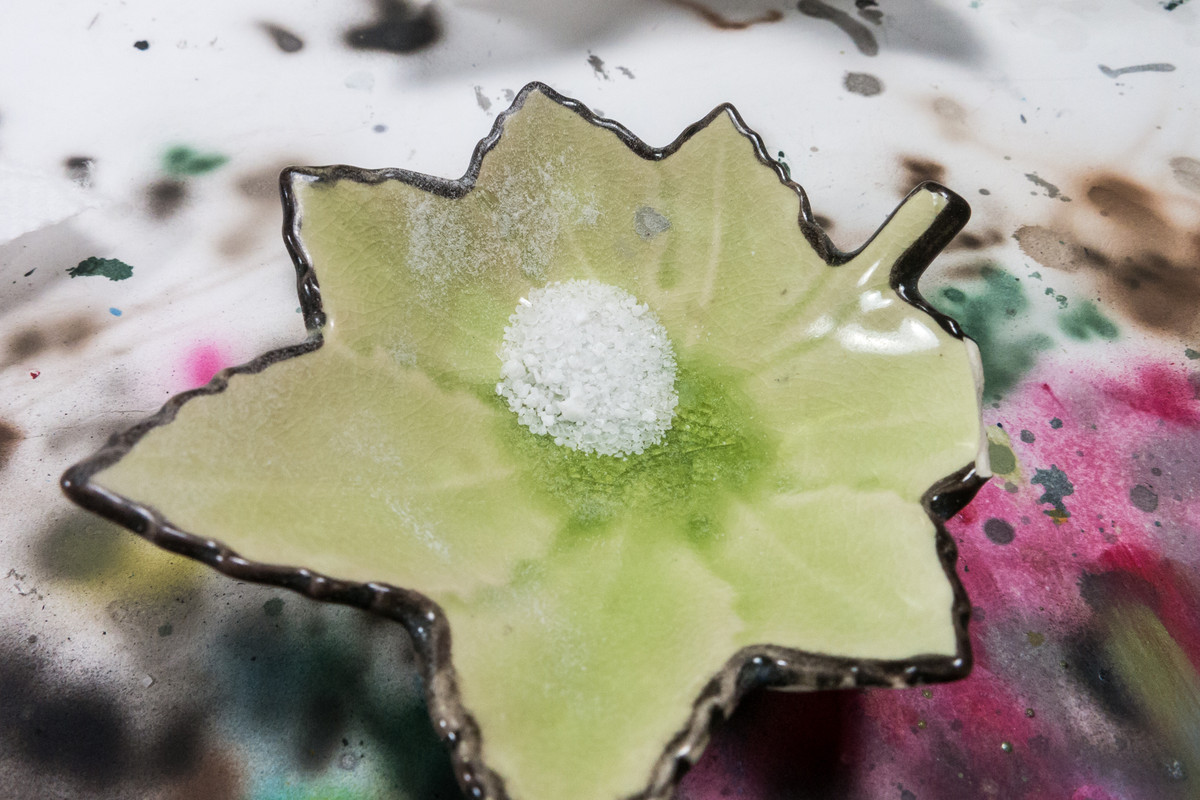
Image

Using a soft paint brush, I cover the area with a coat of water. Before the water dries, I sprinkle my salt crystals onto the wetted surface. Hopefully, the majority of the crystals should stick to the wet surface, otherwise it'll just bounce off.
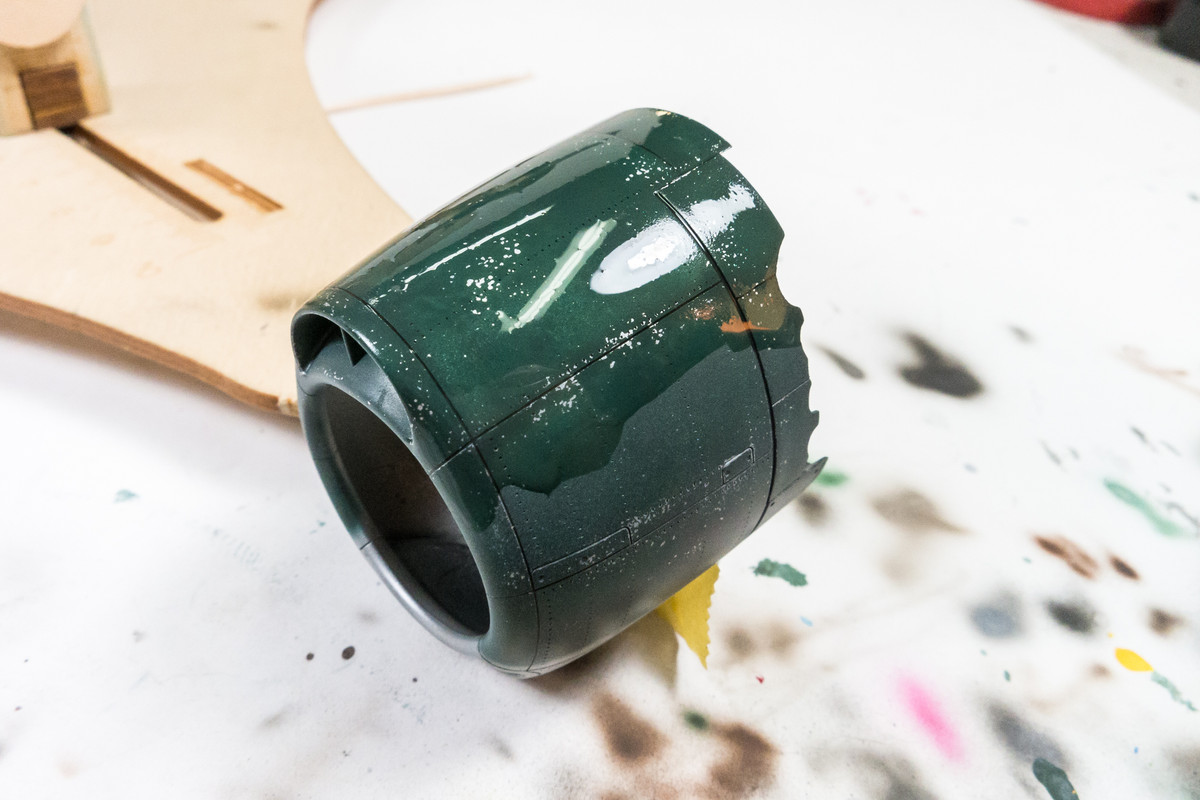
Image

I work across the model, wetting the surface and adding salt as I go. It's mostly random but I try to concentrate the salt a little more along the panel lines.
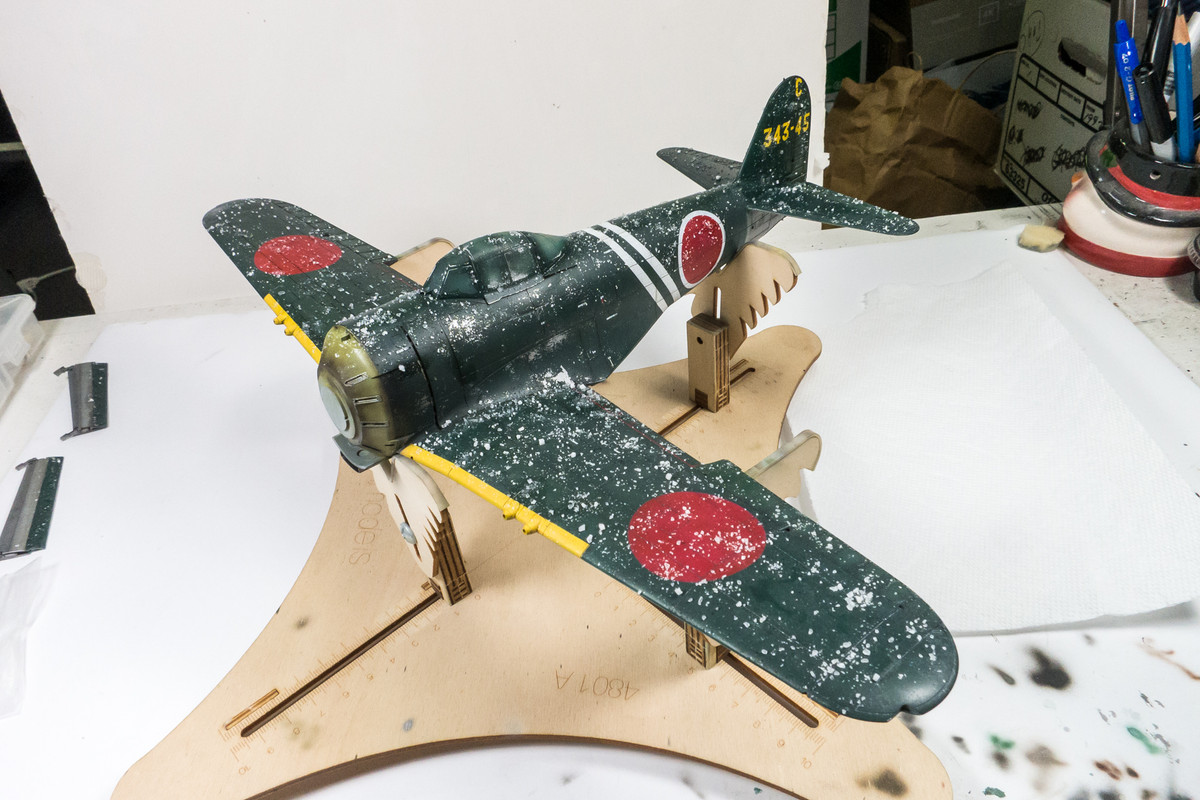
Image

We let that dry completely. I just leave it on my modeling desk for a couple of hours.
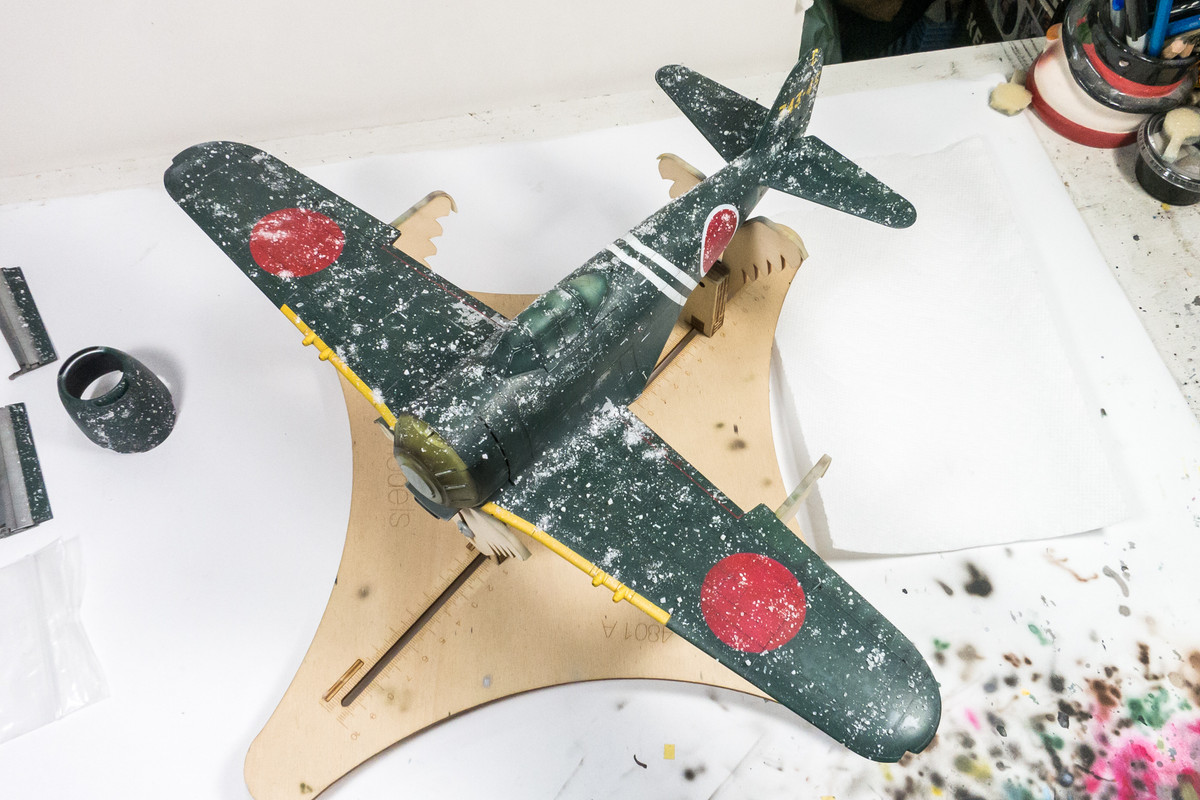
Image
Image

Once this is dry, we can spray paint on it. I use a highly-thinned light grey or beige color, in this case Tamiya Deck Tan. It is thinned at a 12:1 thinner:paint ratio. This is the tricky part. It is very difficult to discern the effect as you are spraying. I mist the lighter color on in random swipes corresponding to the airflow over the wings and perpendicularly to airflow over the top of the fuselage. Too much and you get a chicken pox pattern that is difficult to correct so I tend to err on the side of too light.

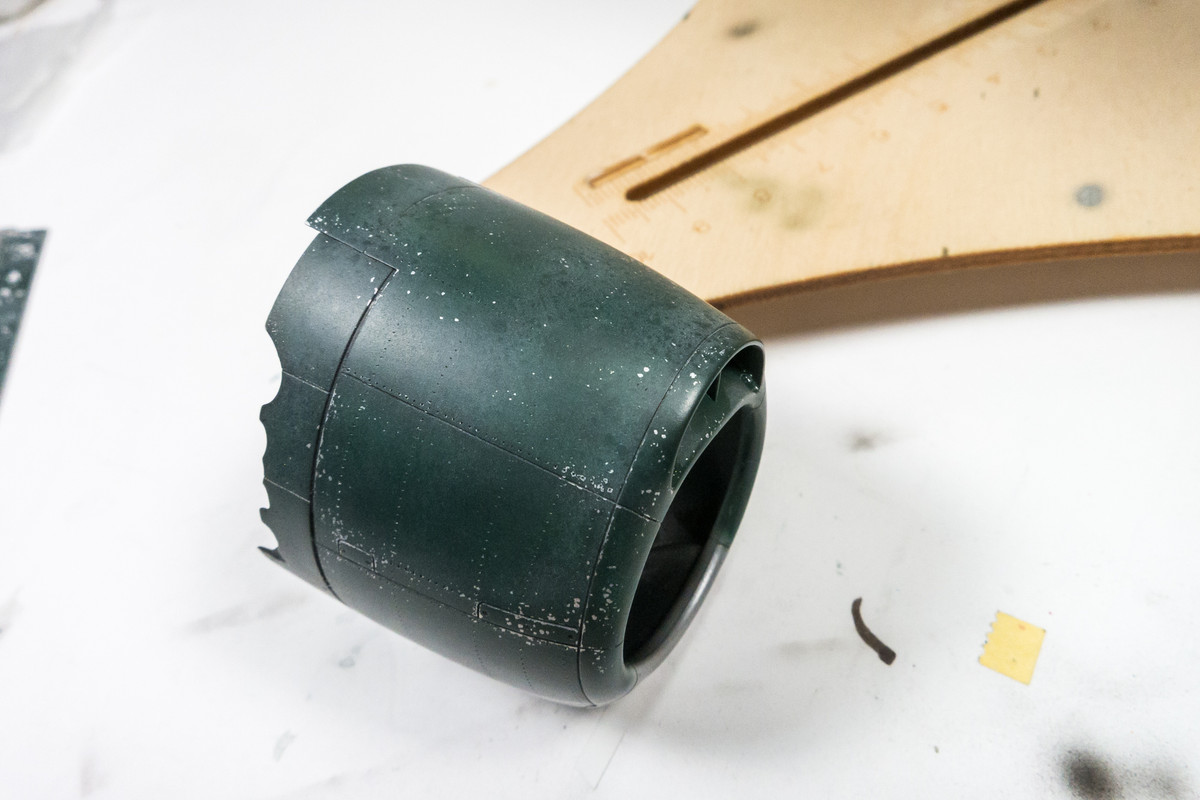
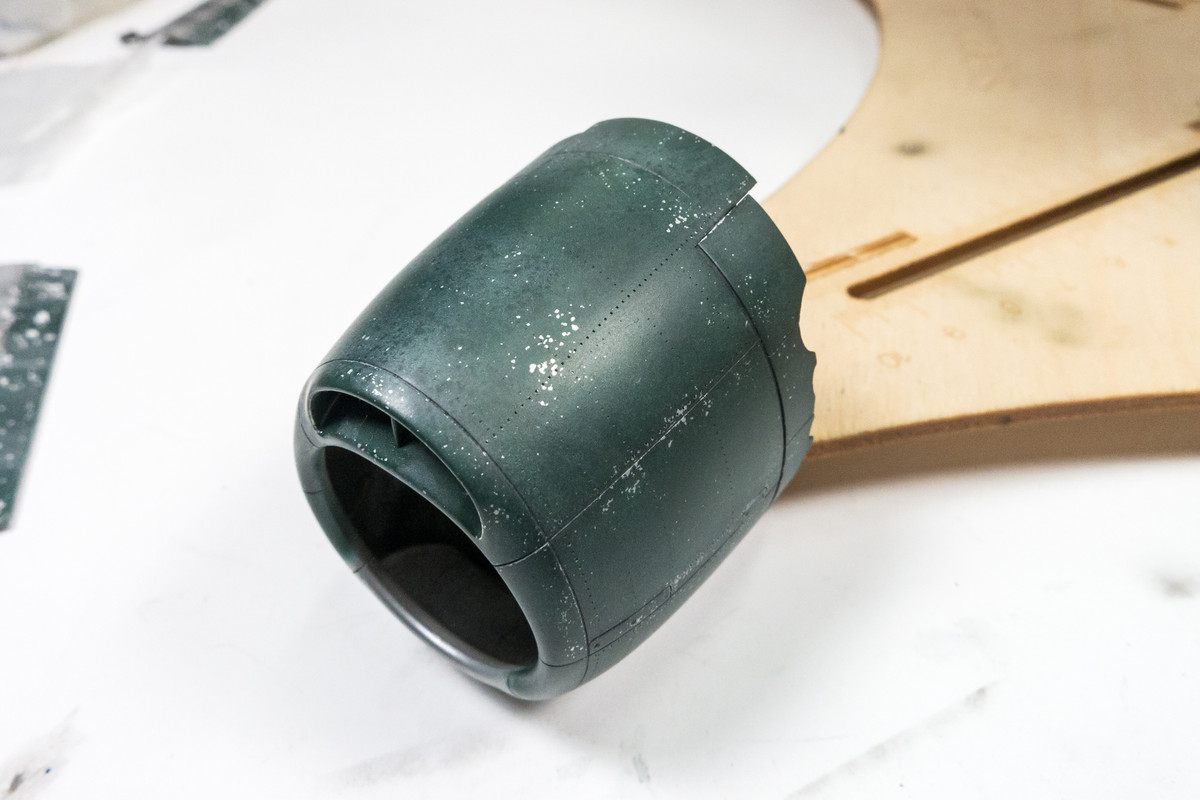
After the paint is dry, you can remove the salt crystals. I usually brush off the big salt crystals by hand or with a stiff brush into a trash can. And then I'll spray down the area with water and then gently wipe off the remainder with a clean cloth. Hopefully you'll get some realistic wear patterns left behind. Here is the engine cowling after the salt fading.
Image
Image

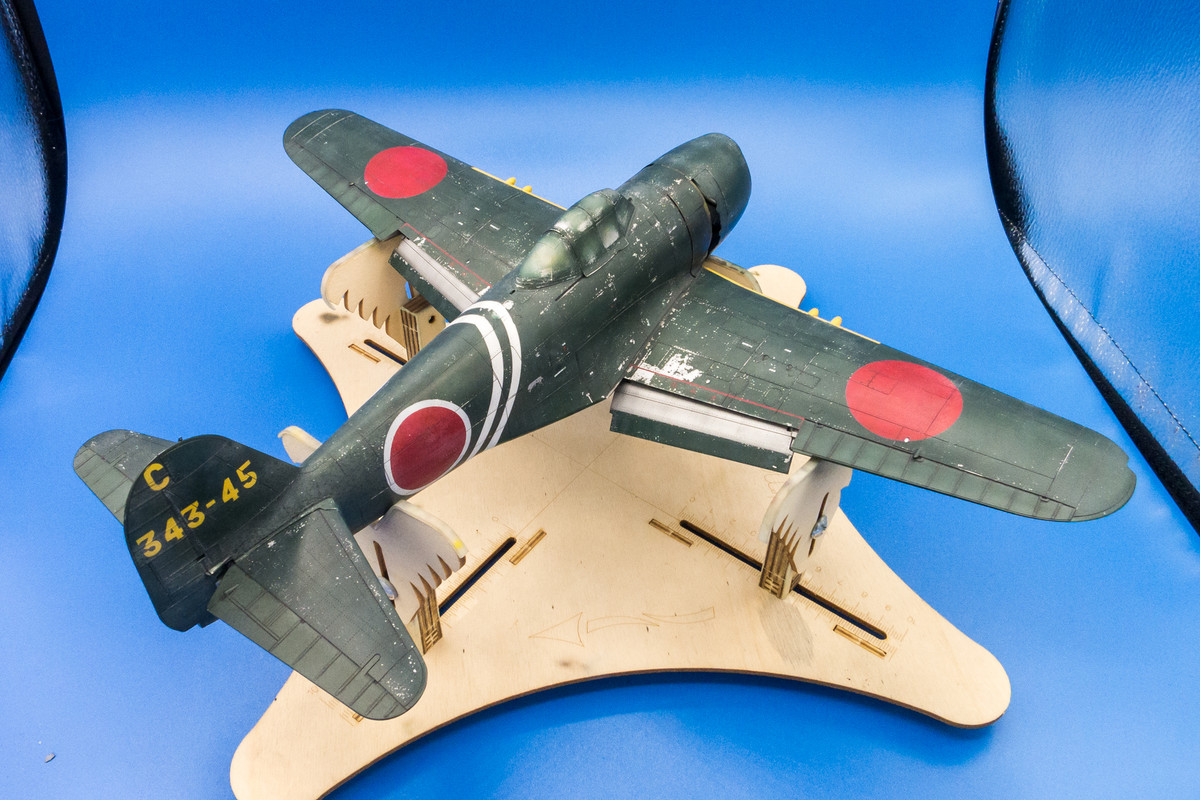
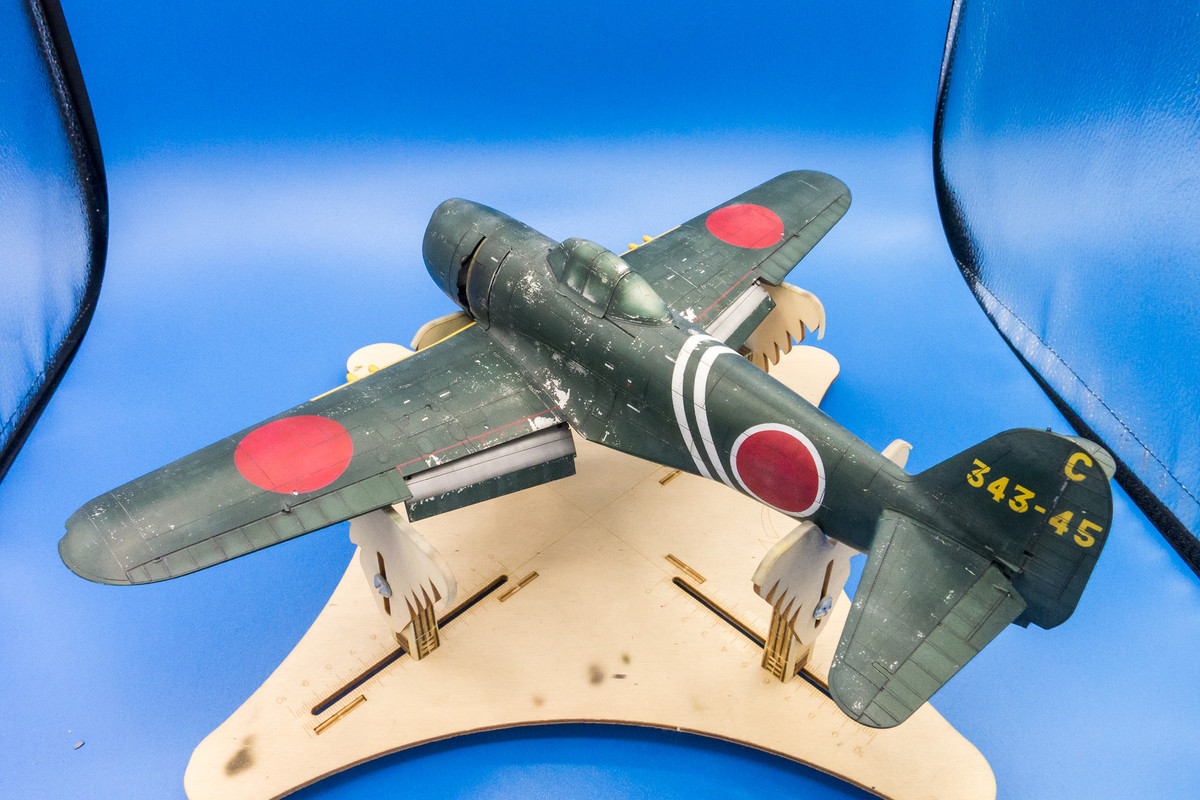
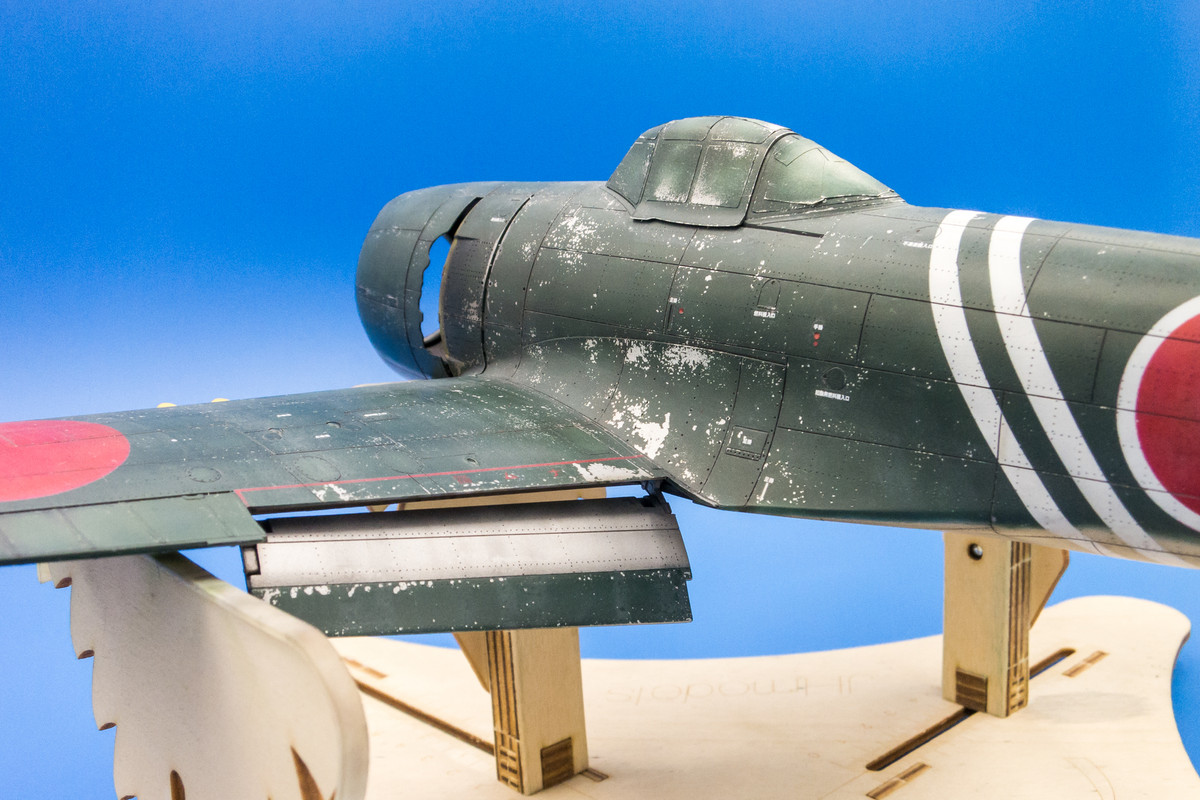
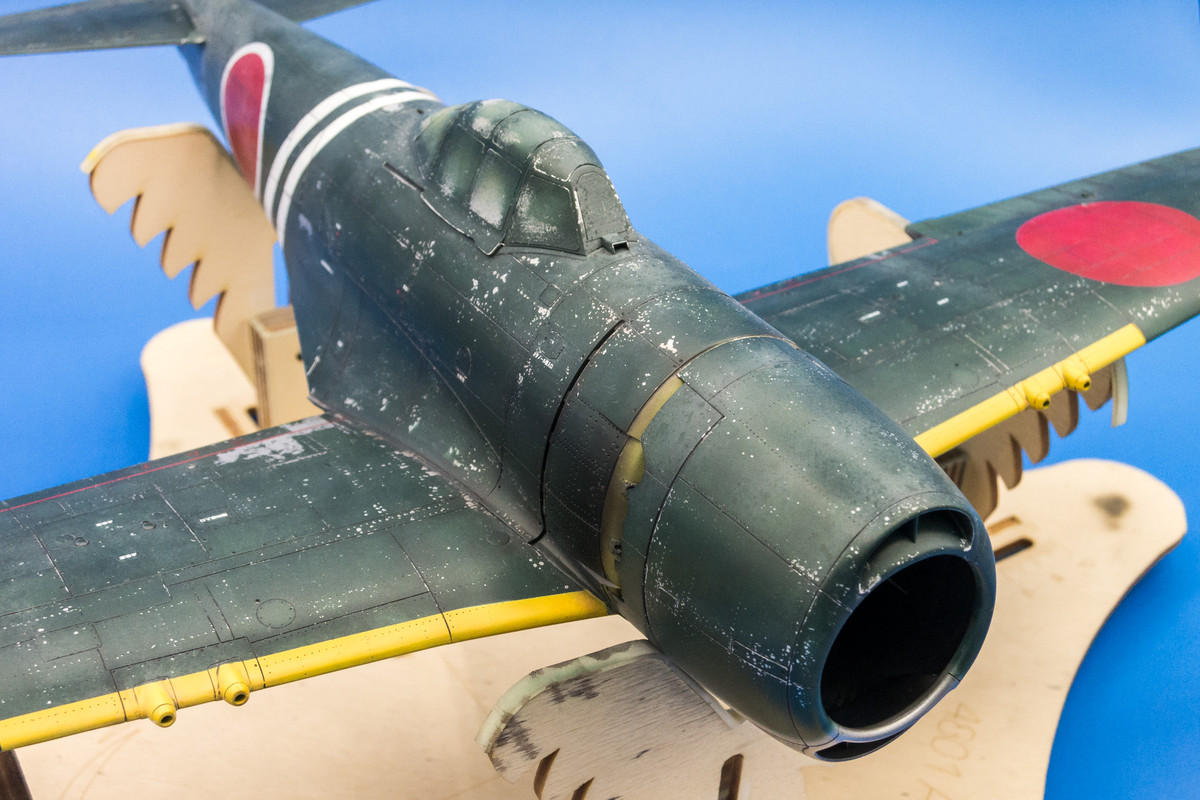
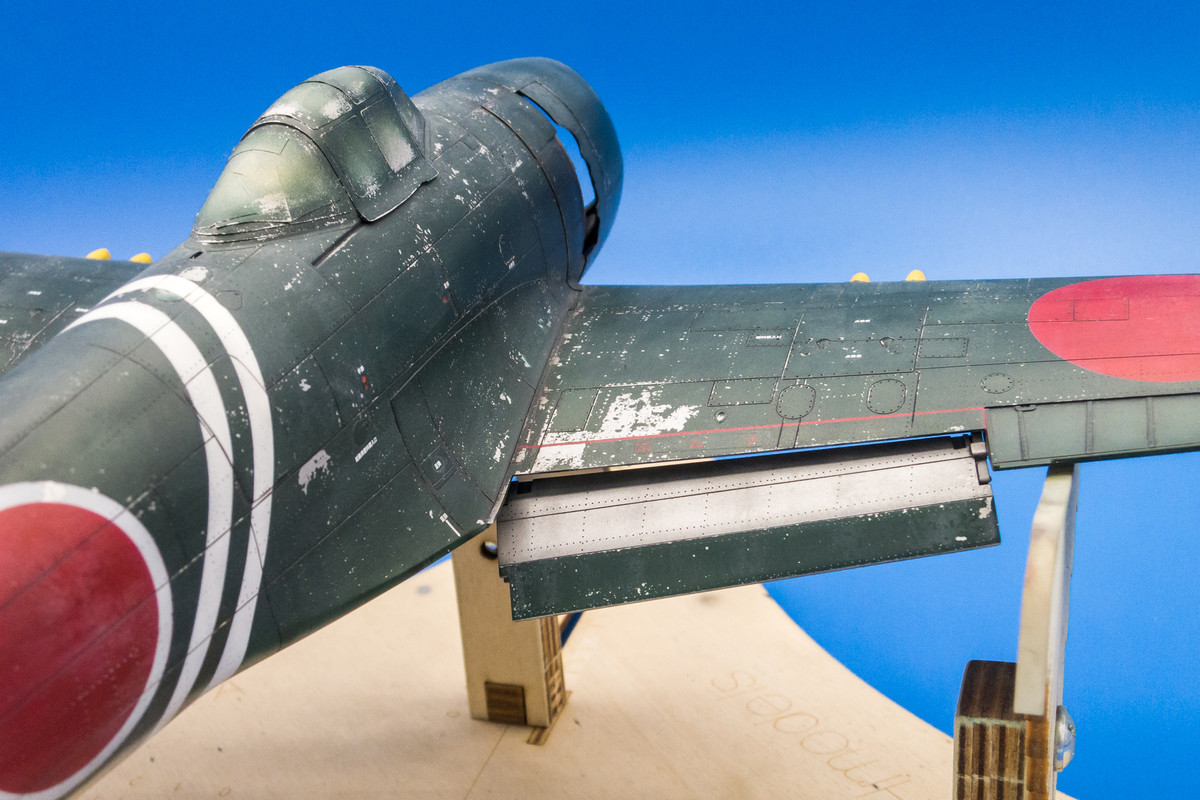
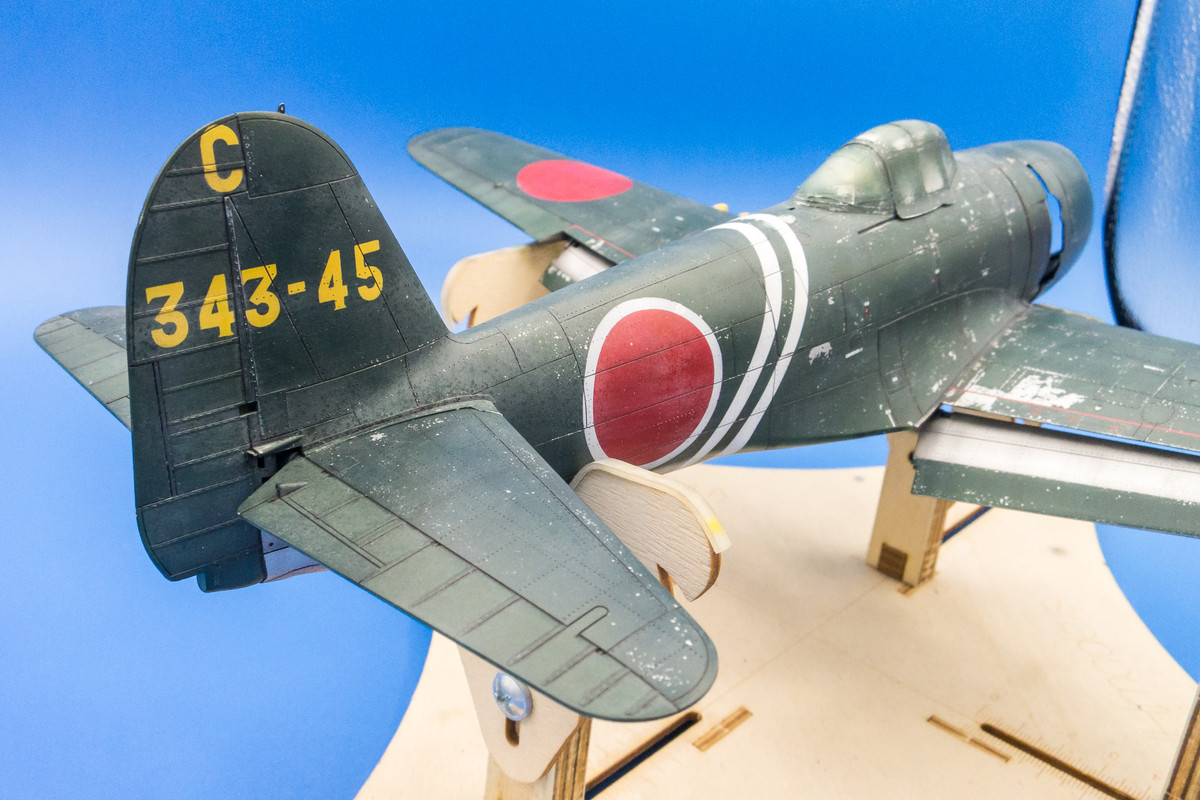
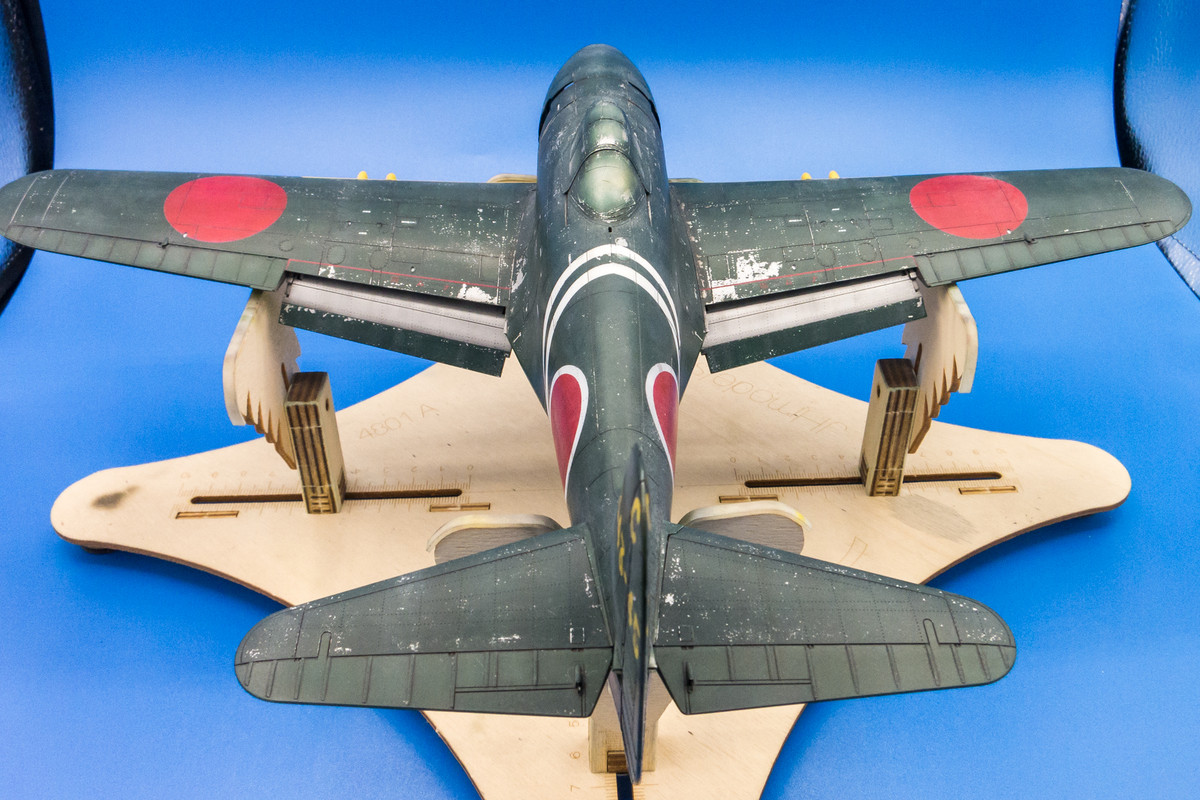
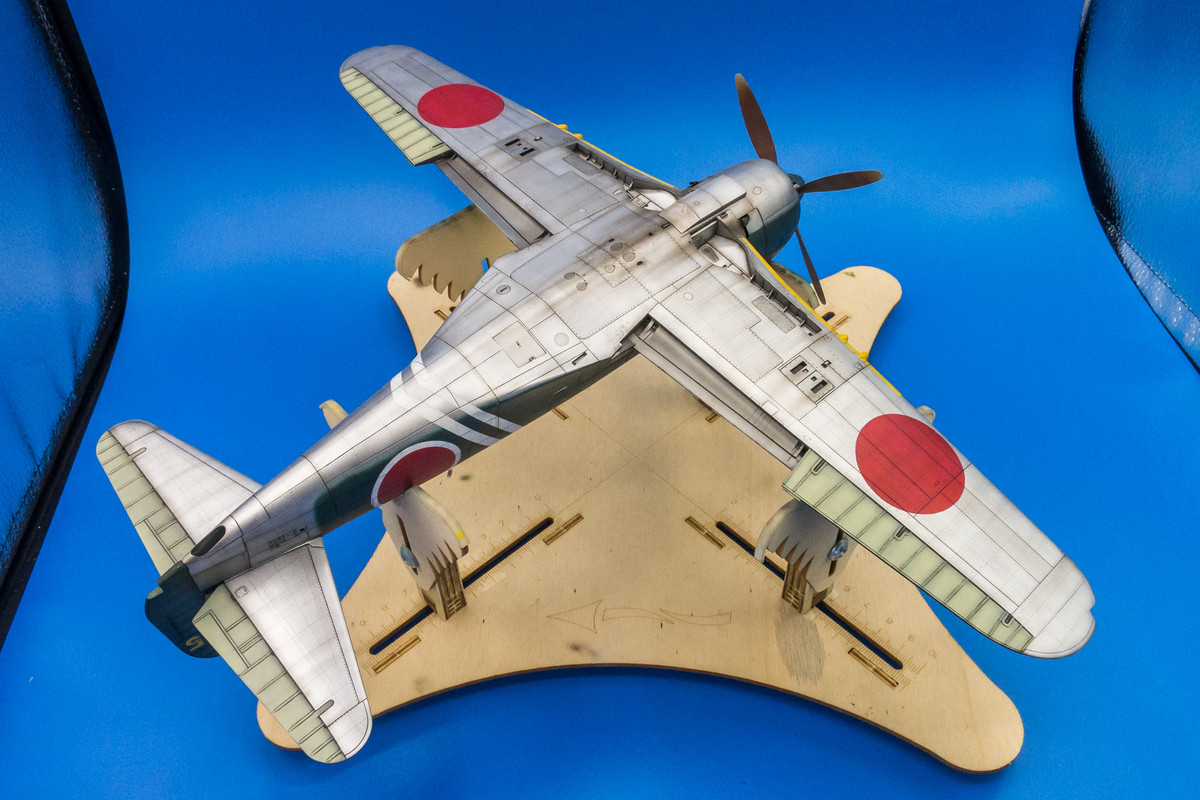
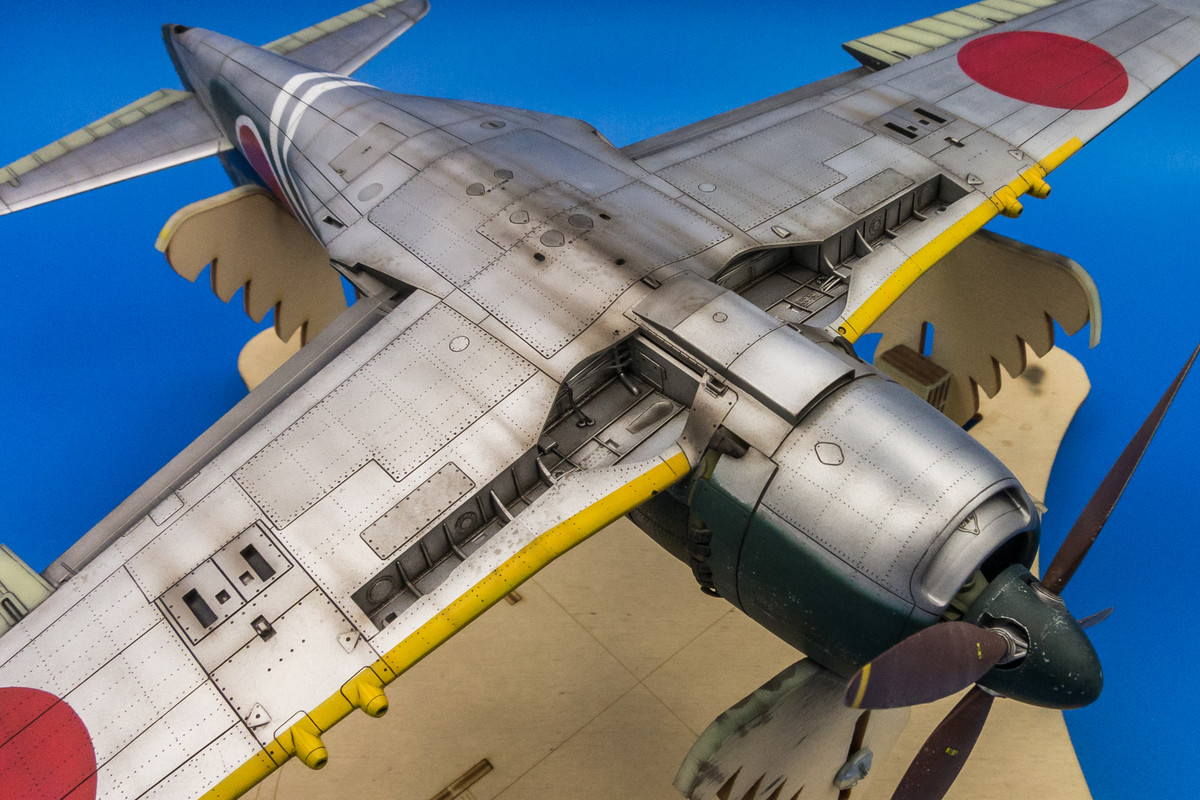
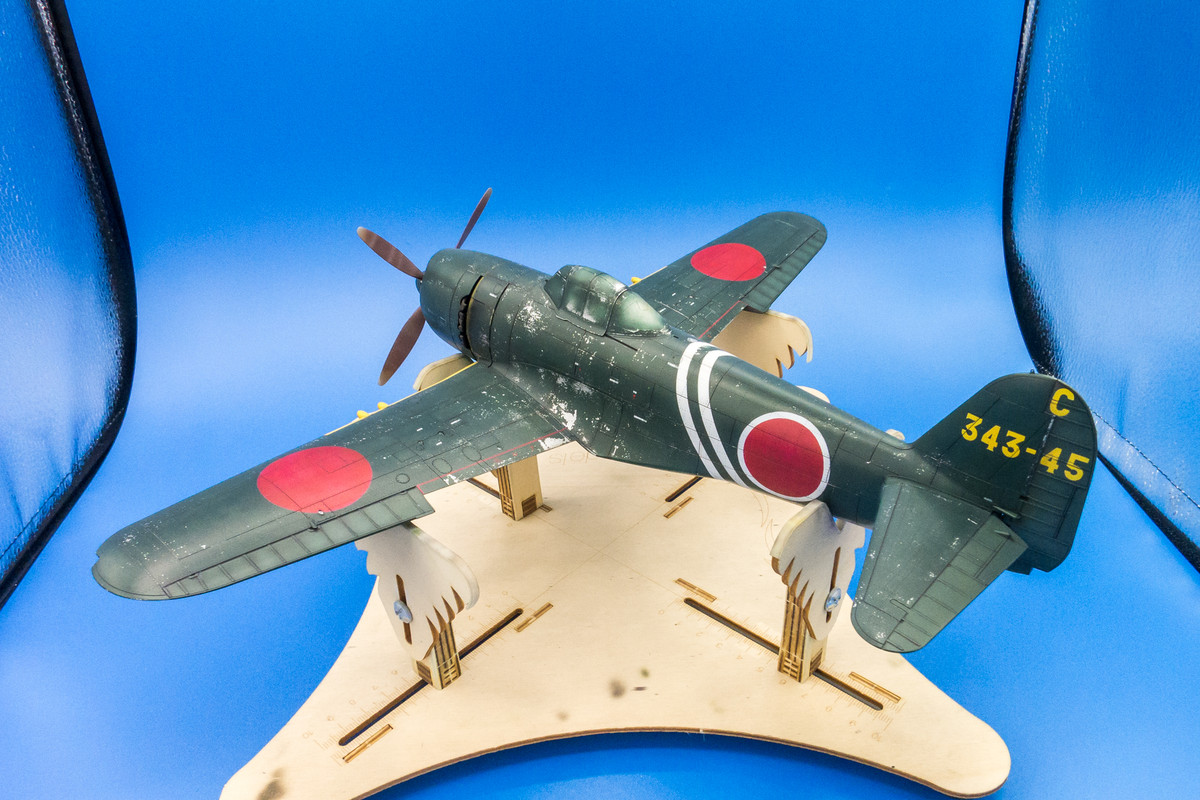
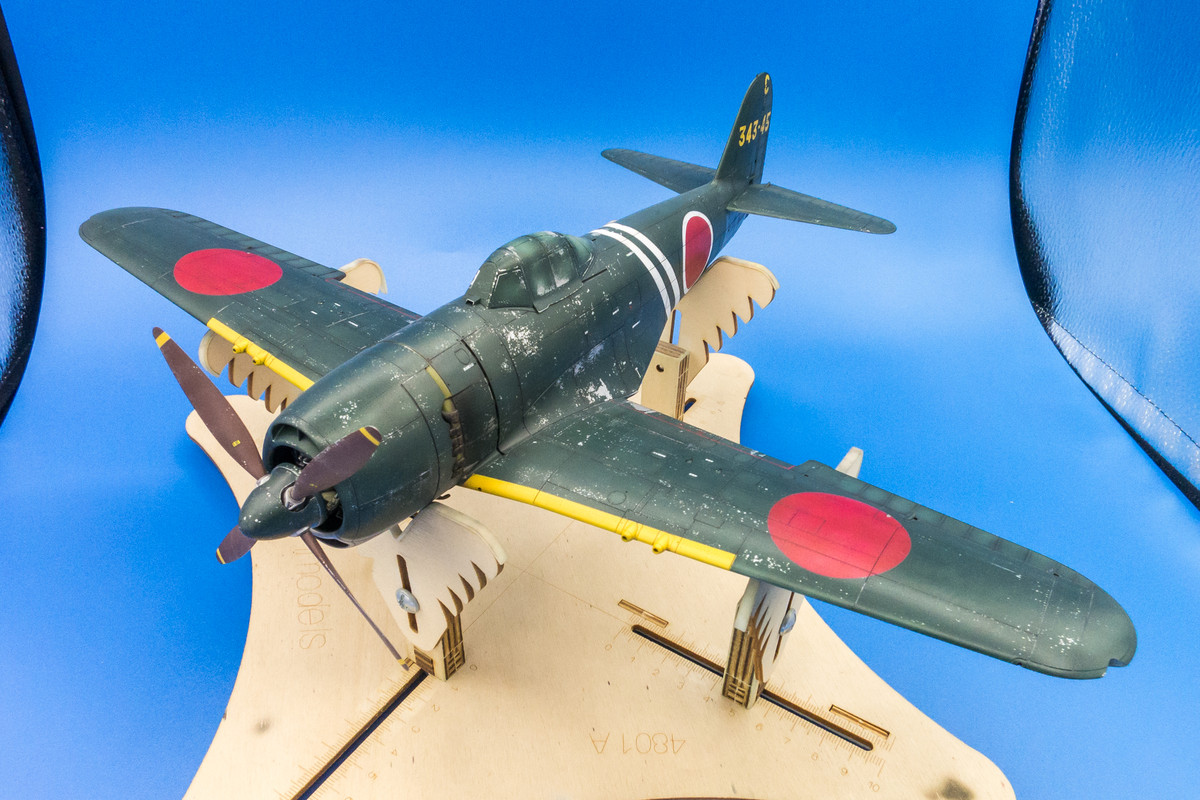
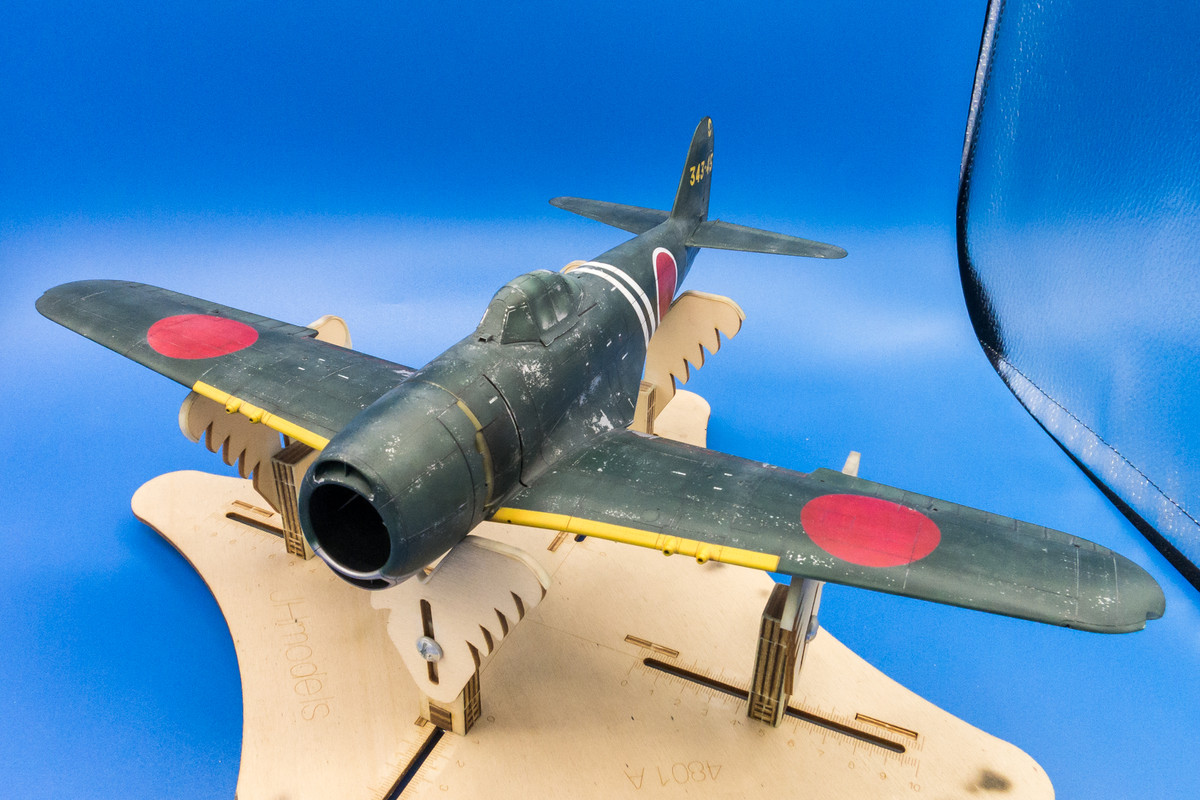
The effect, I think, is pretty effective. I erred on the light side again and the result is a very subtle and almost imperceptible effect in most places. There was some inconsistency with my paint application and I had to dial down some of the more obvious streaks using Micromesh.

Here is the model in the light box after the salt fading. I'm going to let this completely dry out before going any further to make sure that no remaining salt frost gremlins remain.
Image
Image
Image
Image
Image
Image
Image
Image

Re: 1/32 Hasegawa N1K2-J Shiden Kai

Posted: Mon Nov 16, 2020 11:11 pm
by speedgraflex
I really don’t like to just show up here and leave a one word response. I’m still back on how good the engine looks in the low angle viewpoint. The last few images of your salt fade technique are quite beautiful. I think this is an extremely good technique for any aircraft in the Pacific Theater in particular (your Corsair, Mama Mia). I am really grateful you are here, John. It was a long day and reading these last two posts really took me someplace special.

Beyond words.

Thanks very much for all you do!

Re: 1/32 Hasegawa N1K2-J Shiden Kai

Posted: Tue Nov 17, 2020 12:14 pm
by Stikpusher
John, it’s really a shame that we were not in any of the same model clubs in So.Cal. when I was living there. I would love to see your work in person. The camera catches so much, but seeing them in real life and merely by moving one’s head a few inches allowing the light to come in from a different angle shows of all the subtlety of your finishing techniques like this to maximum effect.
Bravo! :shoutout: