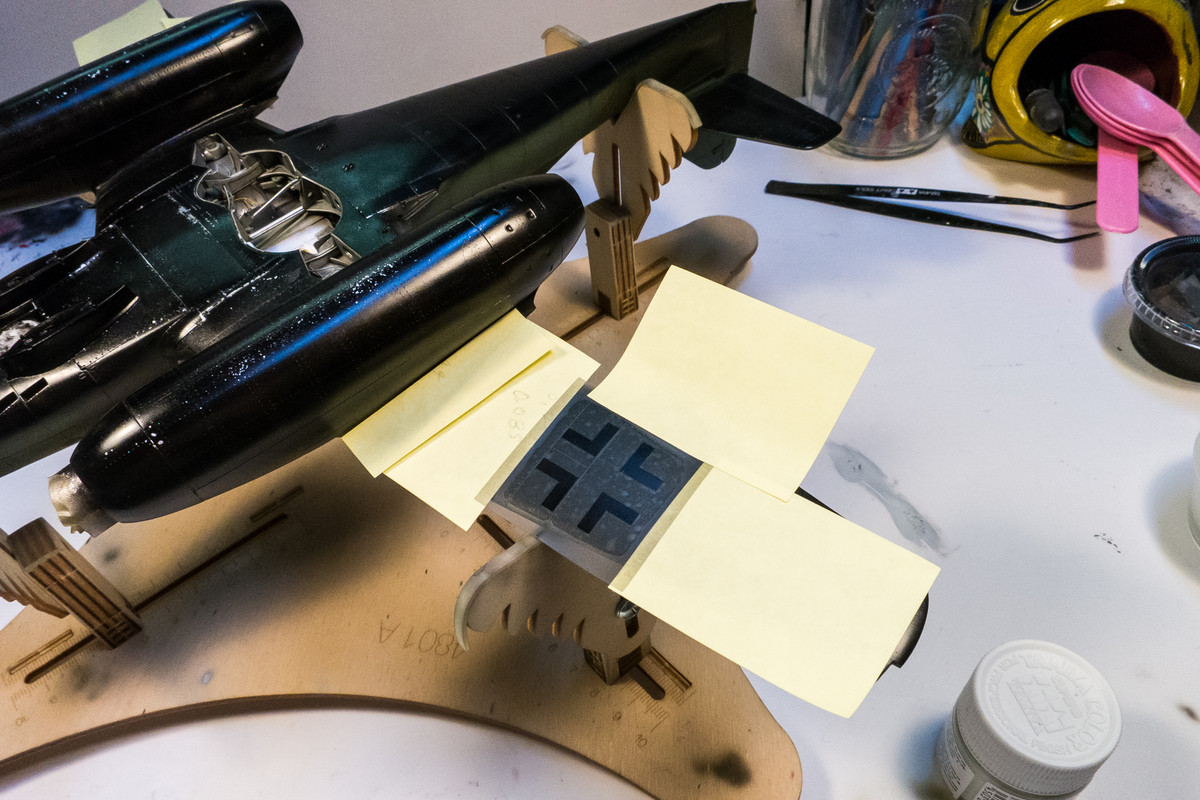
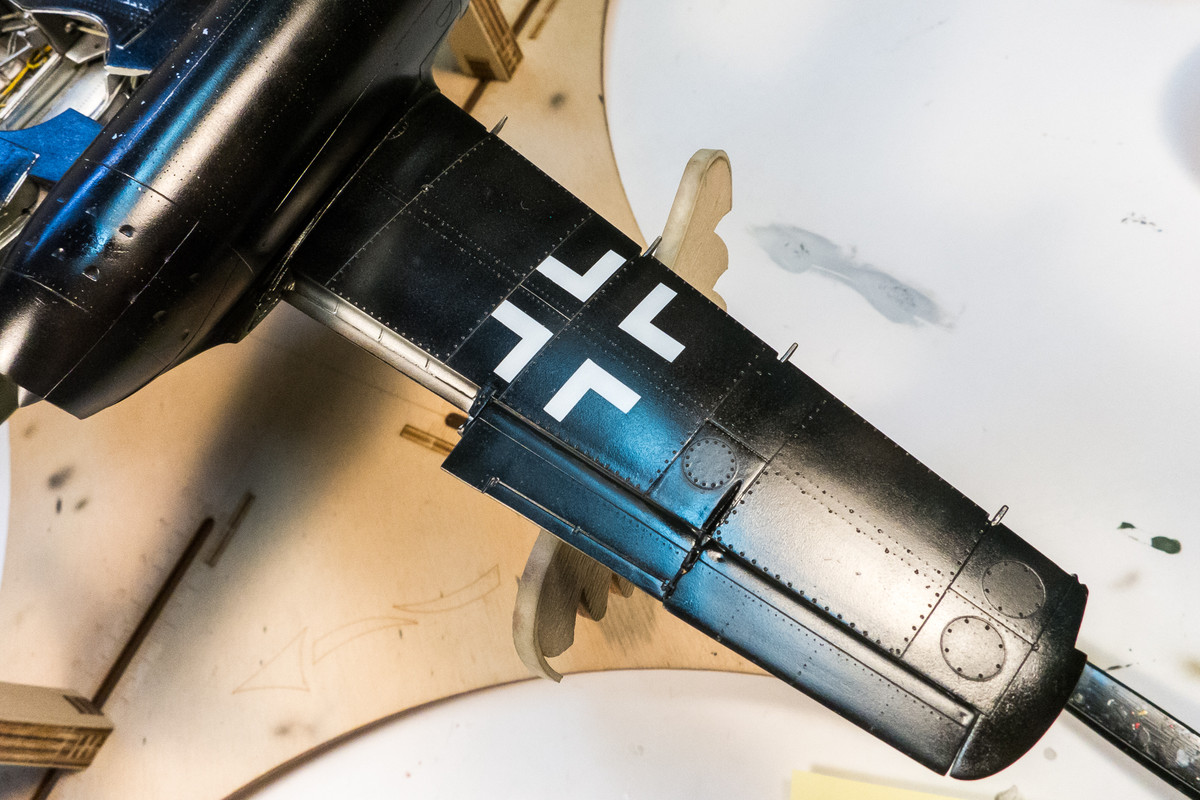
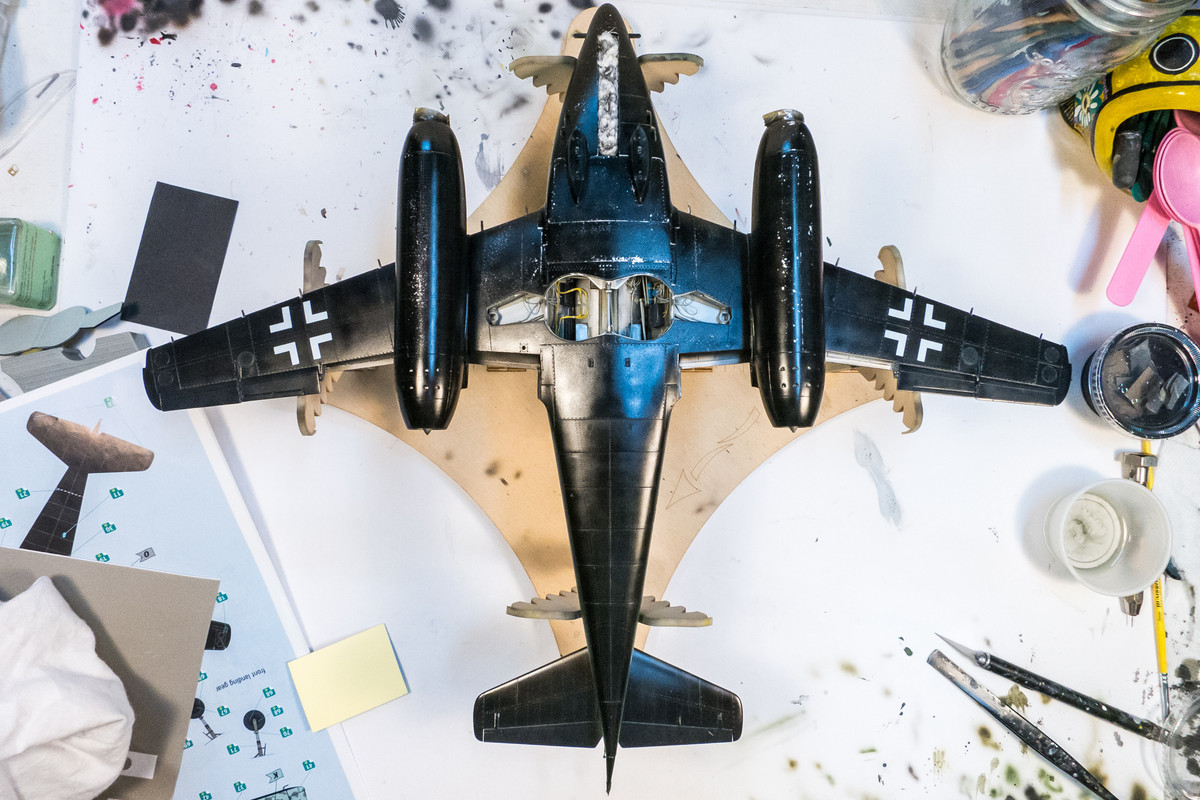
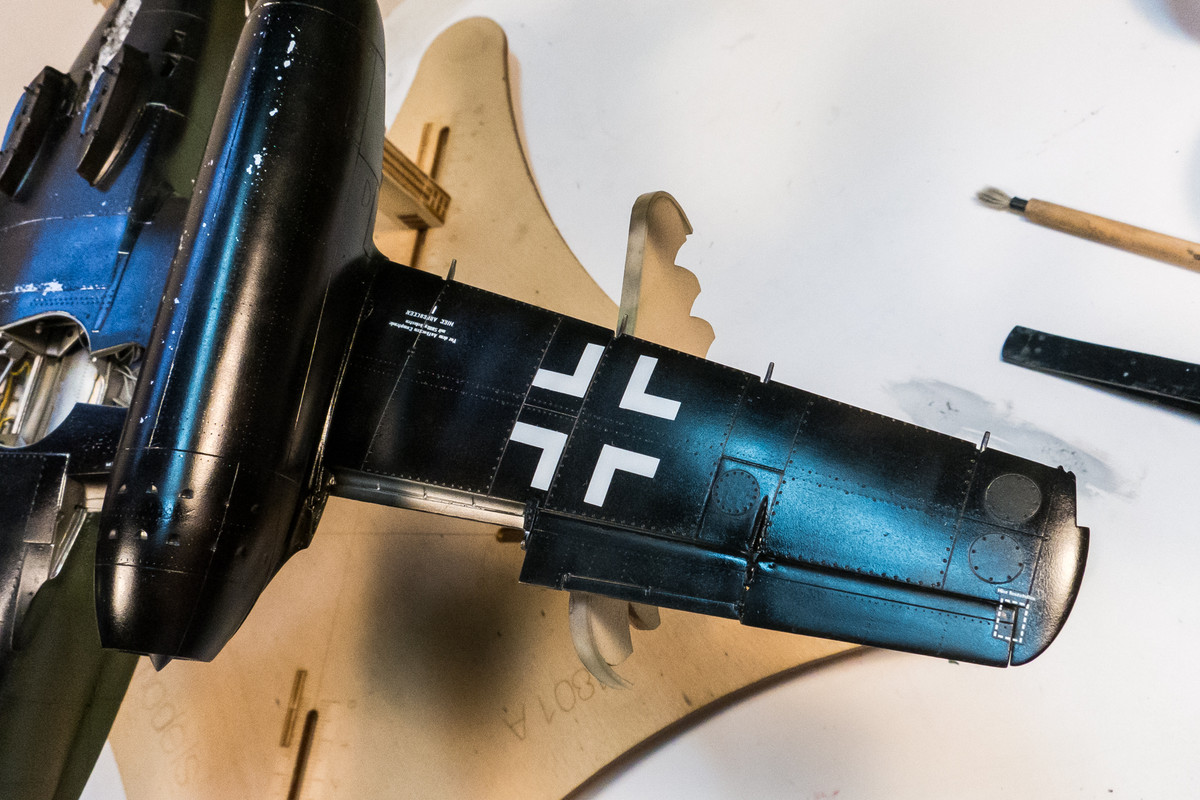
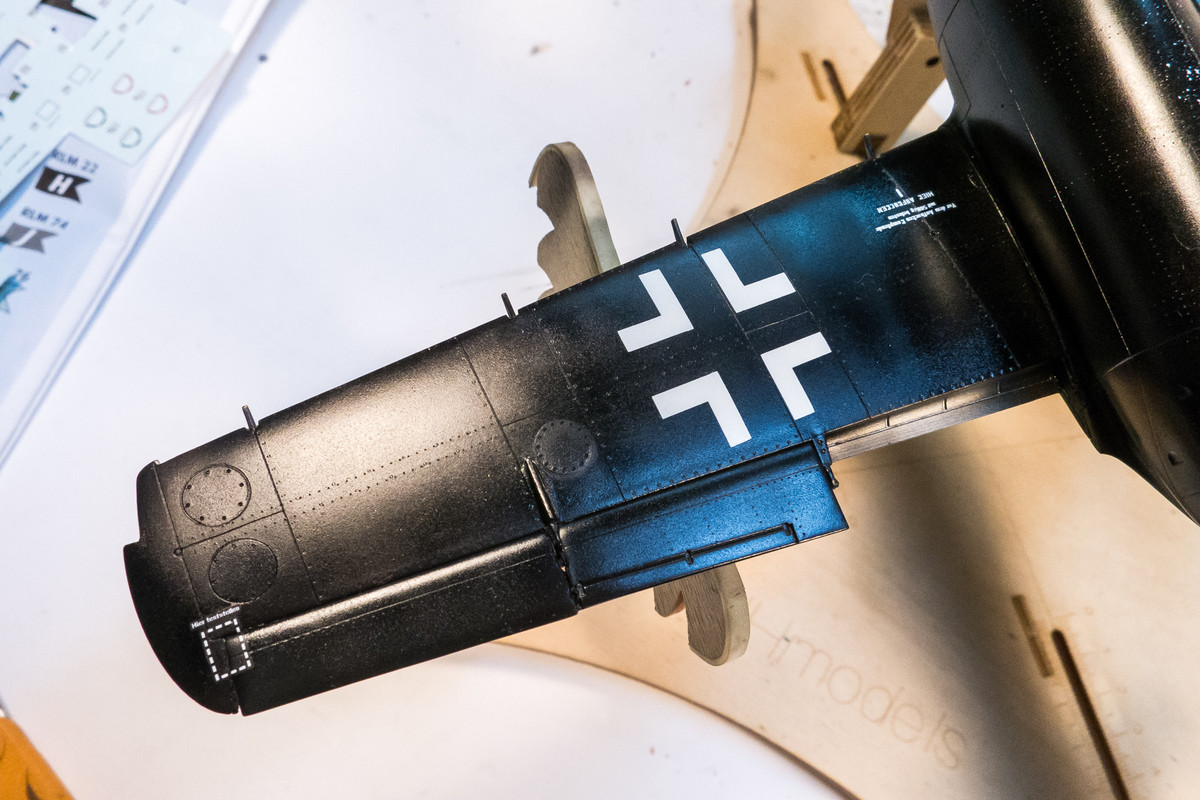
Thanks Carlos! The black will get dirtied up in time but I am trying to prepare for the mottle camo painting first and then do the weathering in one step.
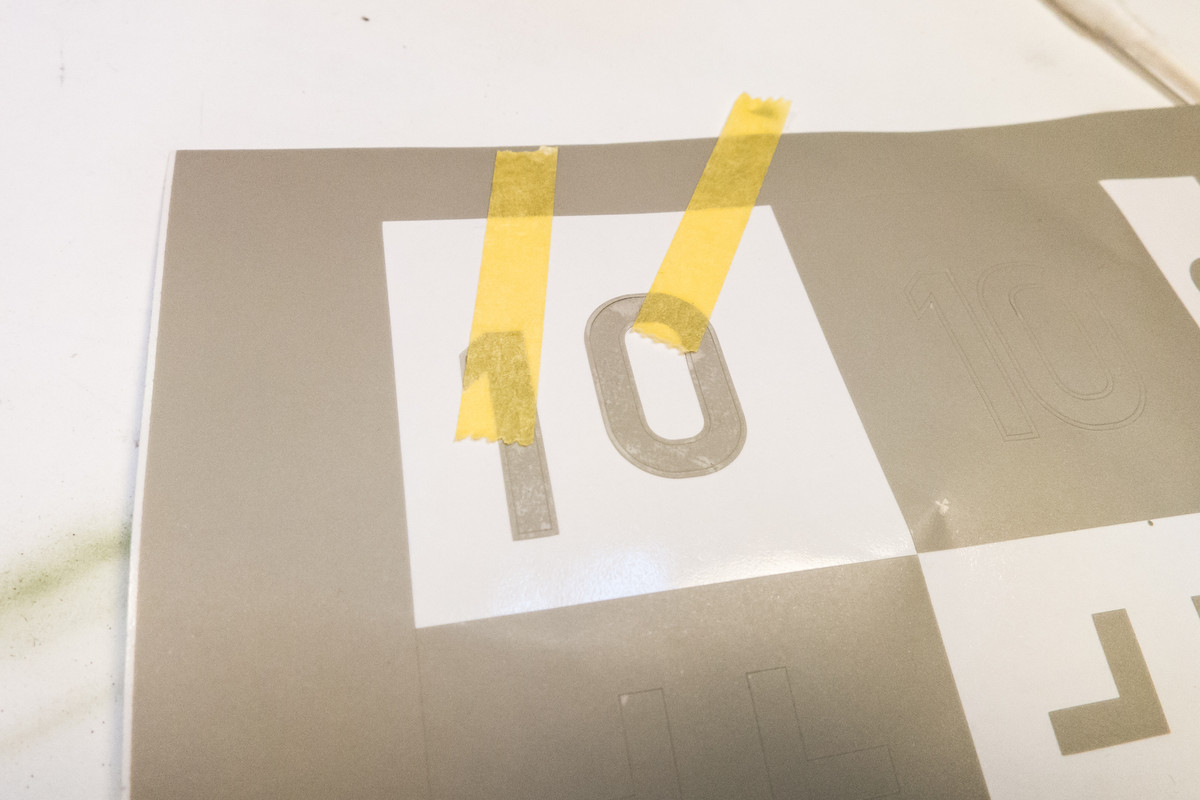
So... let's do the red "10" markings! One of the first things that I do when I get a new kit is to scan the decal sheet. The decal sheet for this build was used to create custom masks for the major markings including the "10". Since the numbers have a thin white border, masking is a little bit trickier than single color markings. First, I transfer the entire mask onto the model using tape to hold the different components together. This is necessary since there is a free-floating oval within the "0". The Oramask 810 material is translucent and really helps facilitate the proper positioning and alignment of the marking.
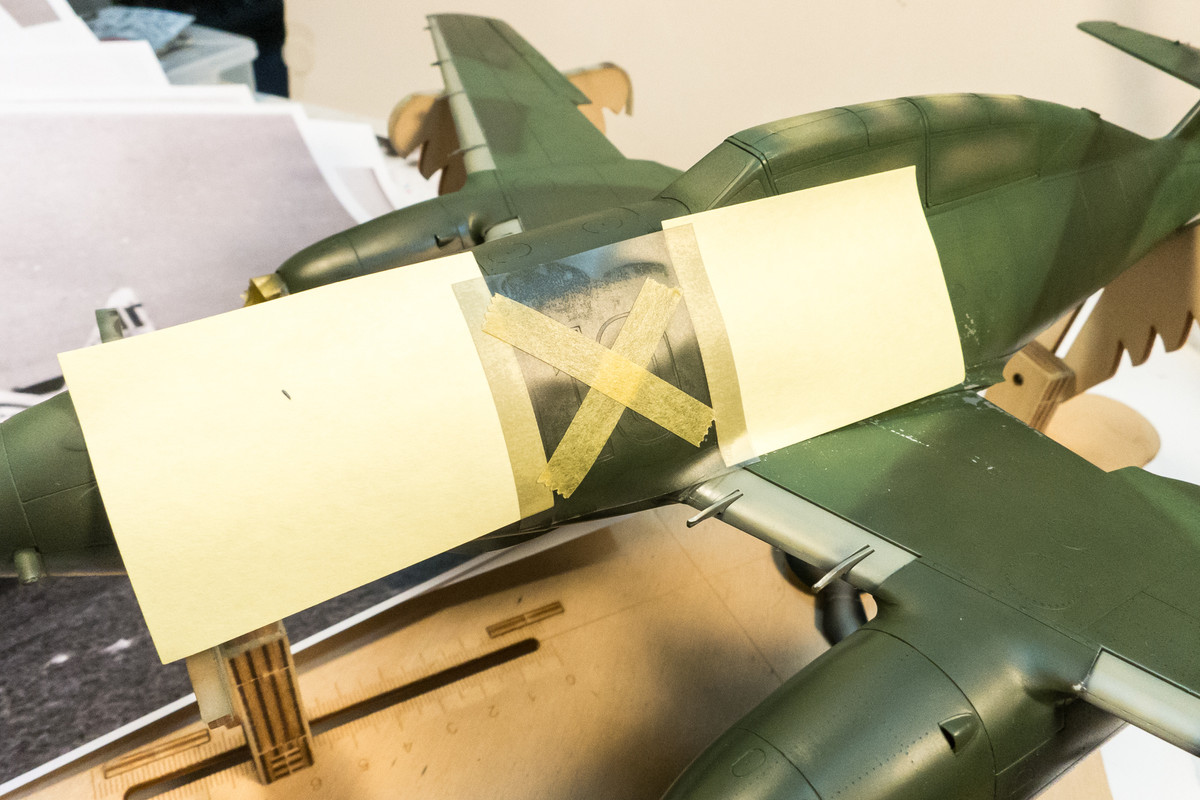
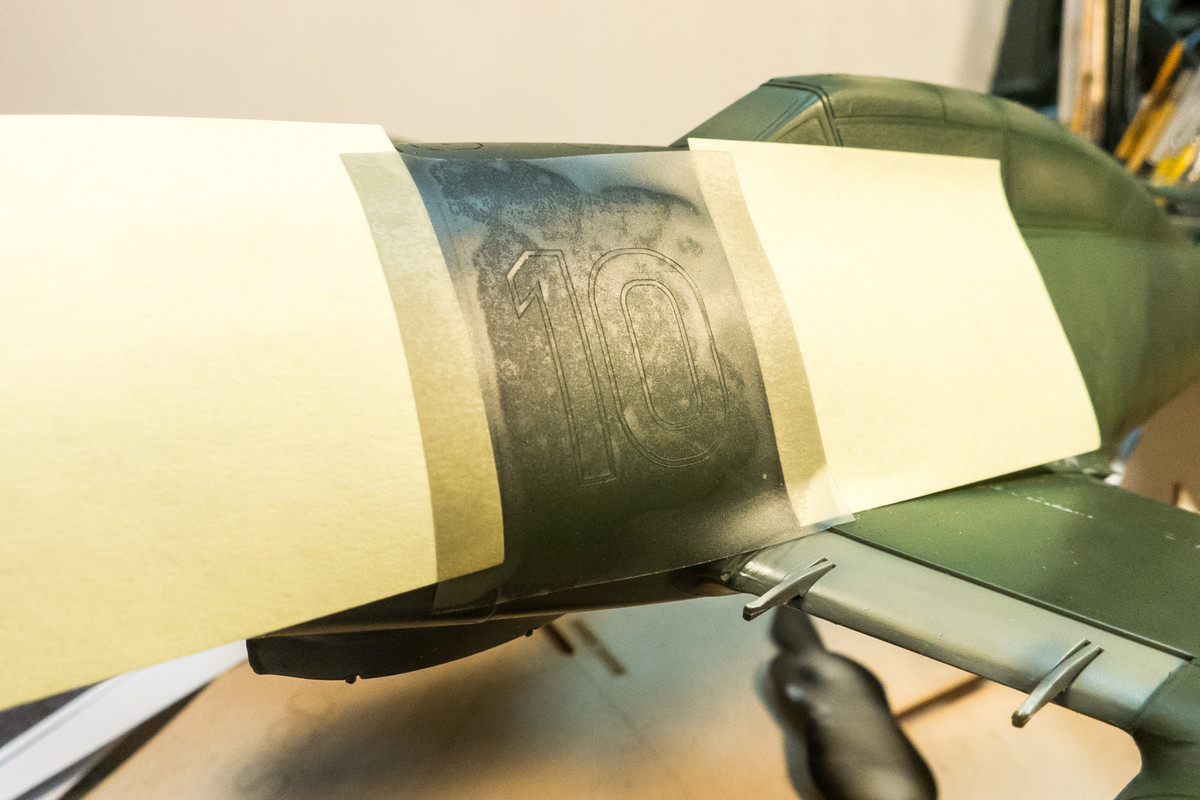
Leaving the oval in place, the other components of the mask are carefully removed and saved for later use.
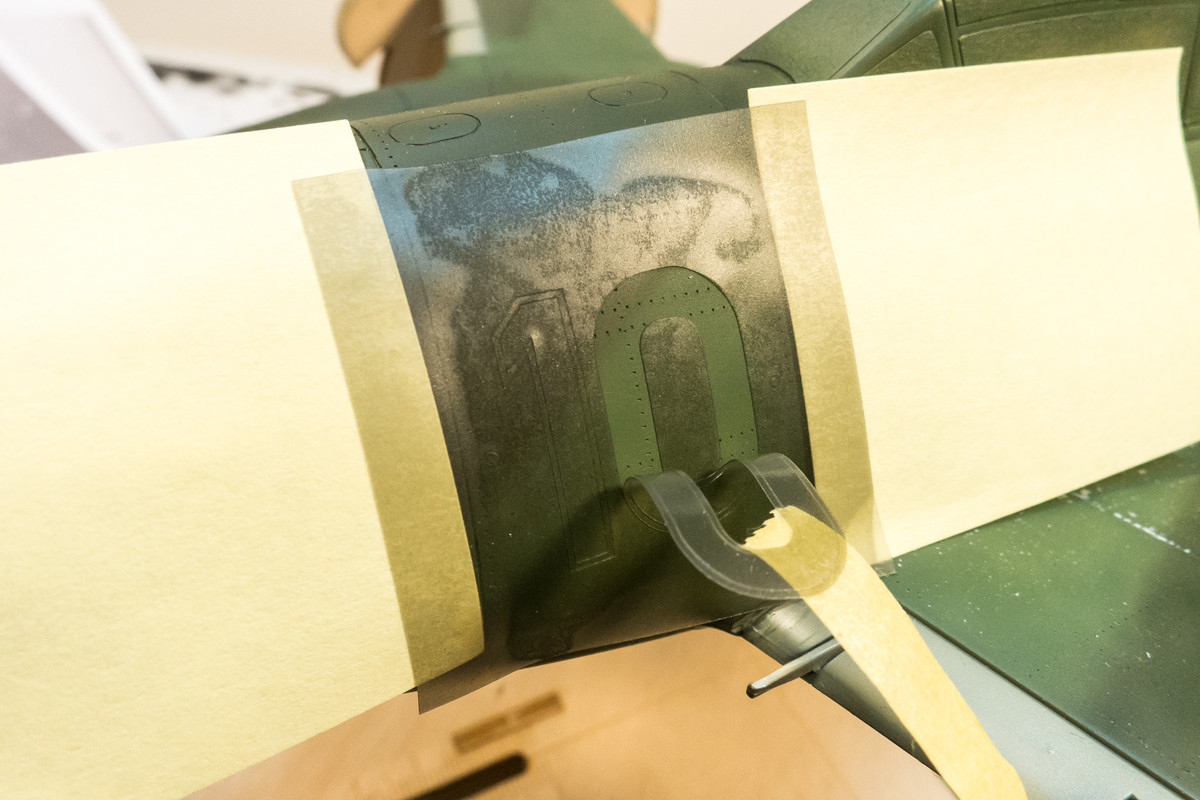
The first color, which will be the white for the outline, is now ready to be sprayed. Make sure that the edges of the mask are uniformly flat on the surface.
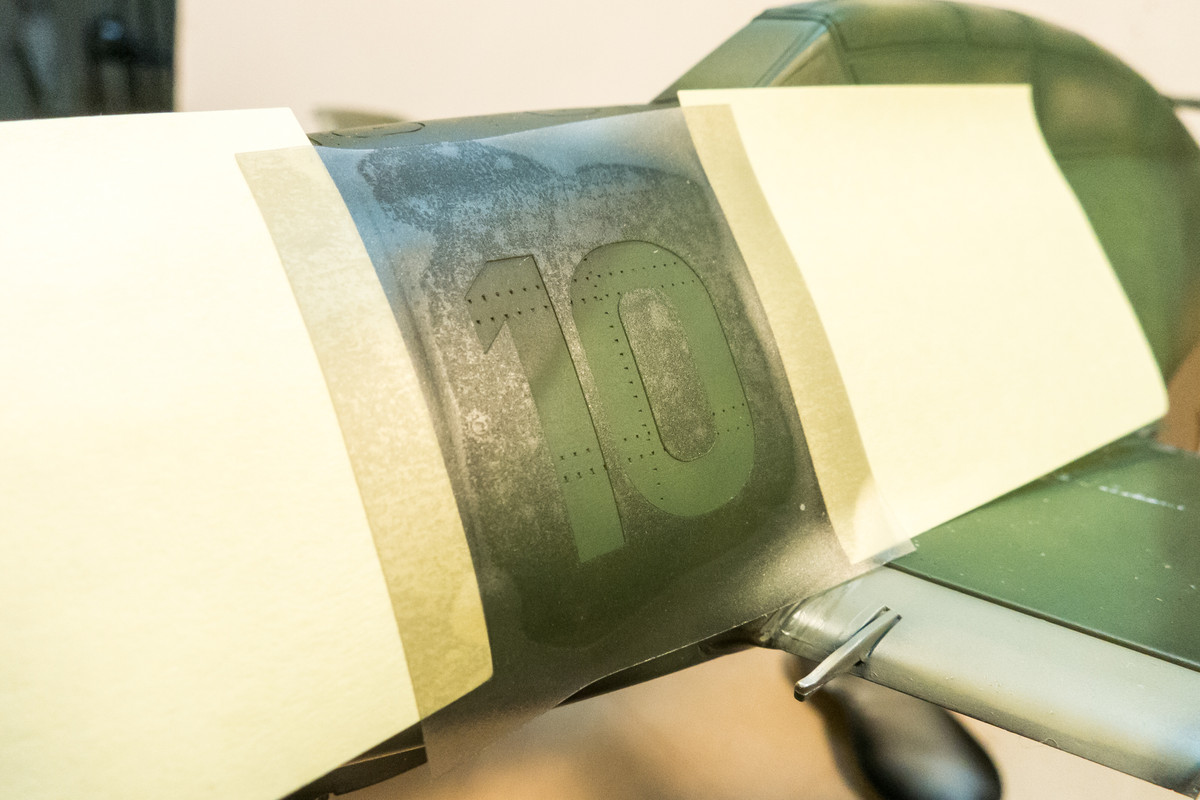
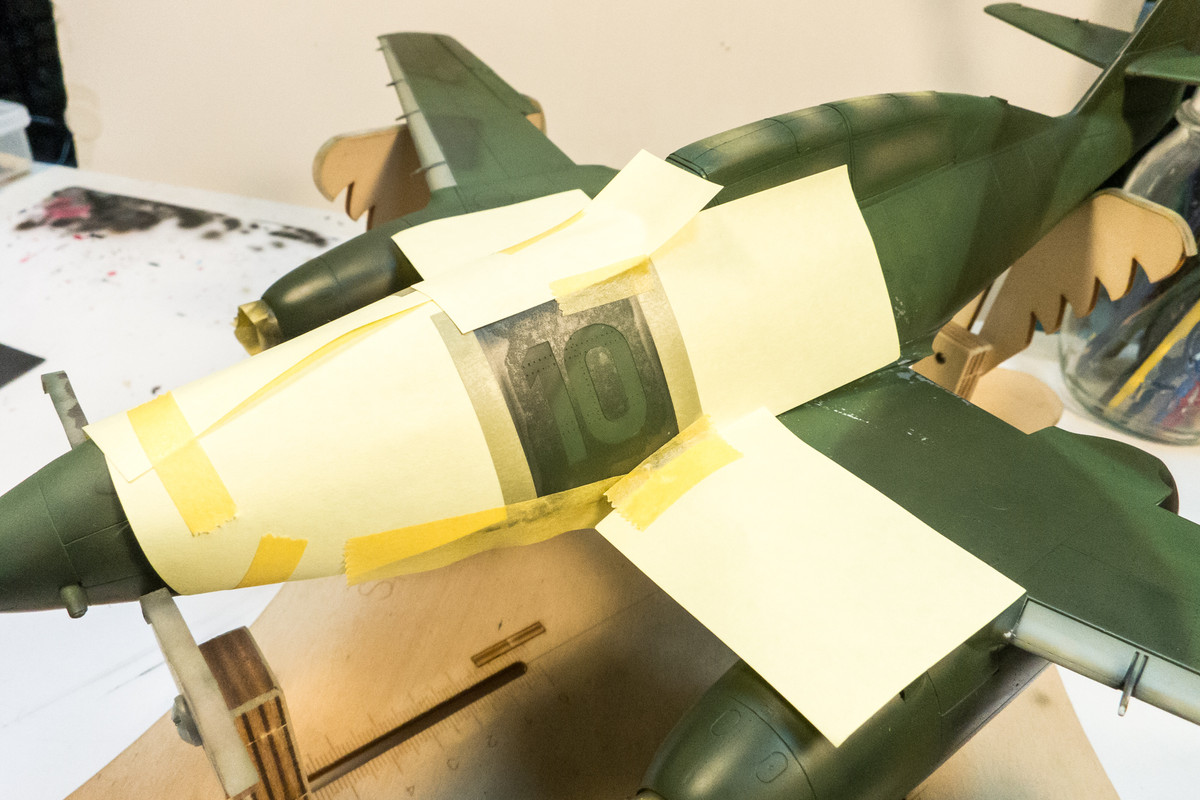
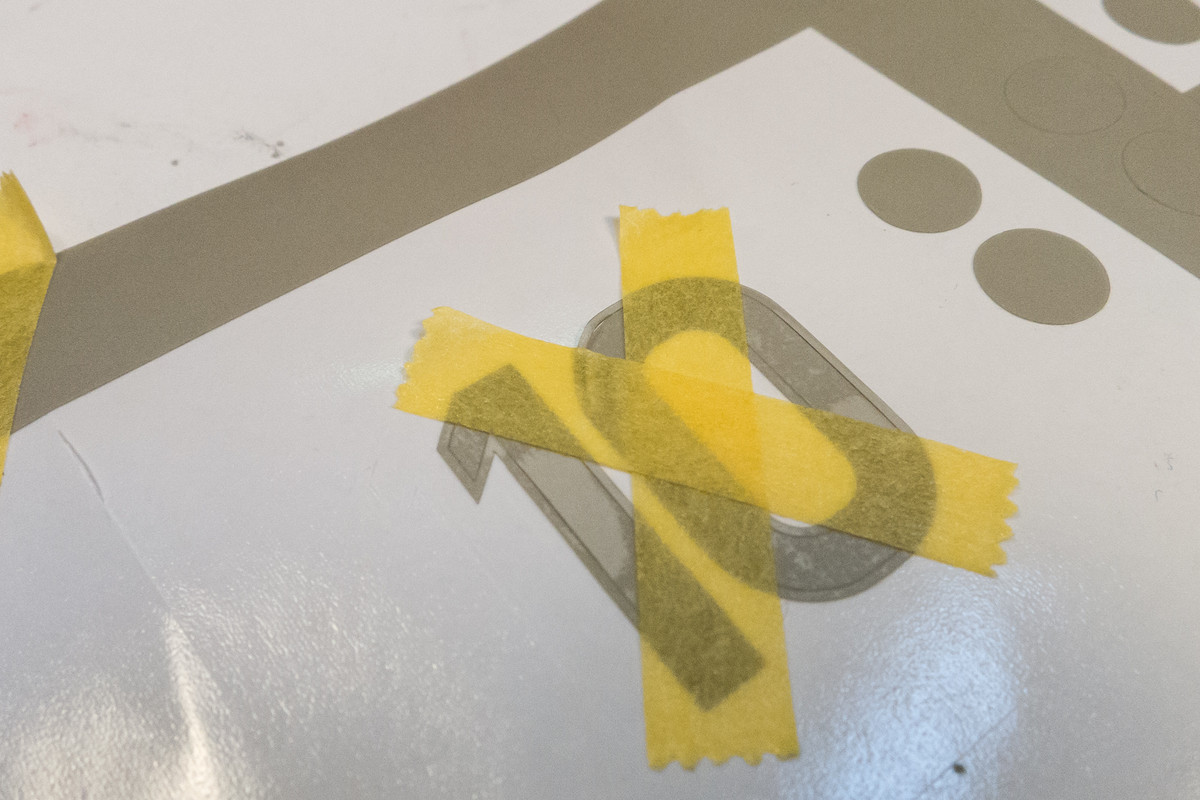
Before I spray the white, I repeat these steps for the starboard side. Upon removal of the inner mask components for that side, a tiny sliver of backing paper got caught on the mask's adhesive. Poking it out stretched the skinny part of the mask a bit... you can see the kink on top of the "0". I could possibly make this work but I thought it would be prudent to cut an identical mask just to avoid any potential issues.
The white is sprayed and allowed to dry for a few hours before moving on.
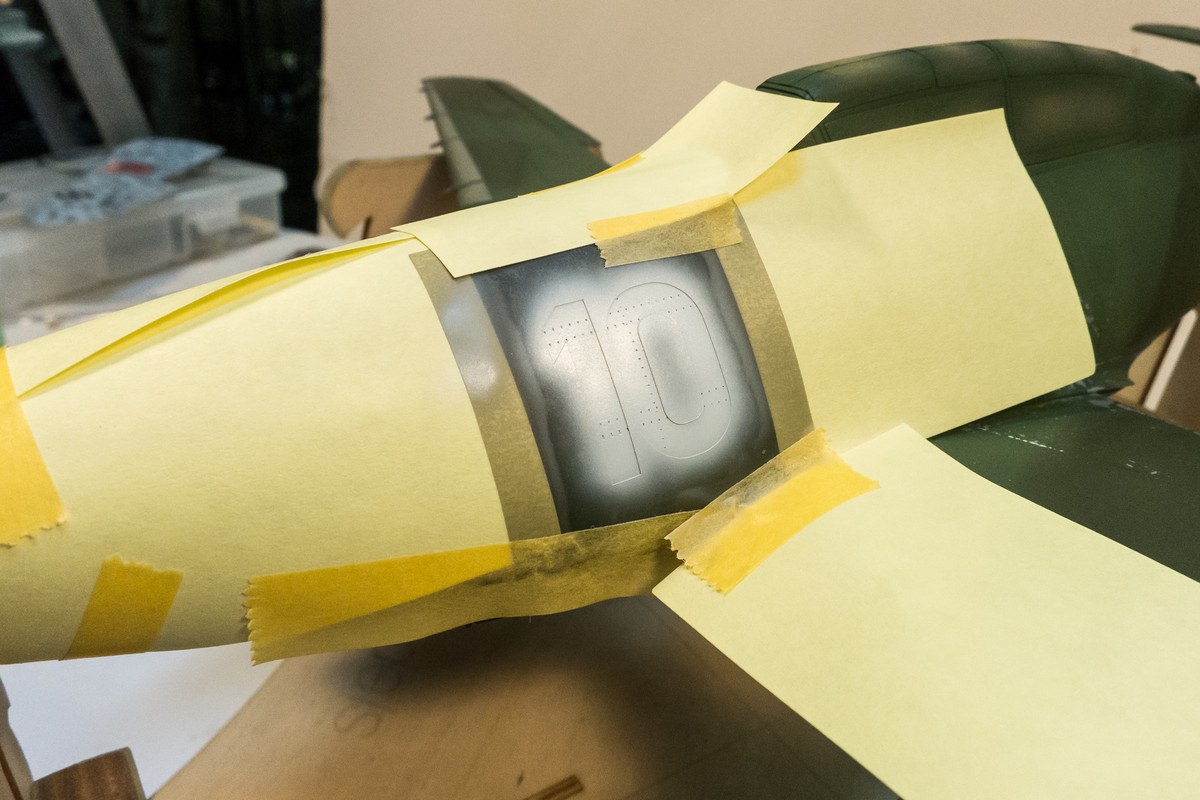
The thin border masks are then carefully put into place. This is the most fiddly part of this operation and it pays to make sure that these thin masks butt up nice and tight to the masks that are already in place.

Even with magnification, it is difficult to see the fine gaps that might allow some paint to seep through. To prevent this, additional masking is recommended. You can used bits of tape but for this example, I chose to use a liquid mask.
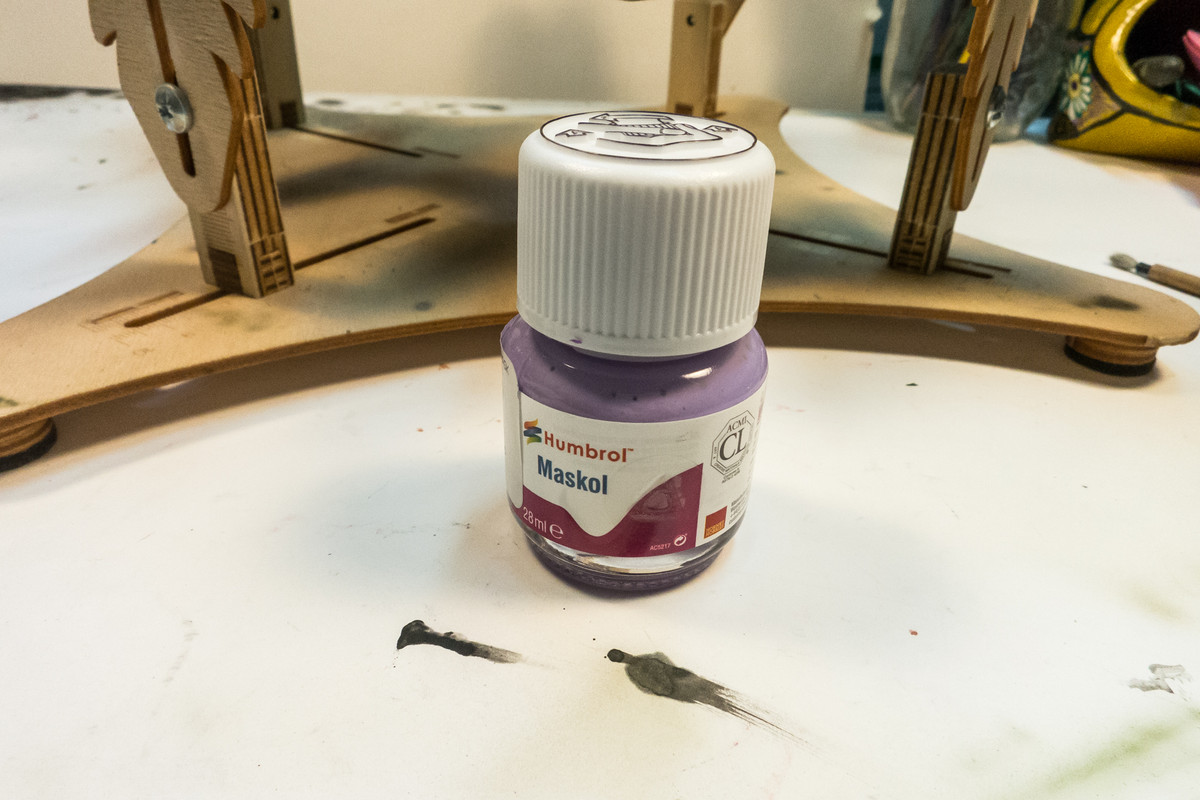
It looks sloppy but I've been careful to make sure that the liquid mask stays away from the mask edges.
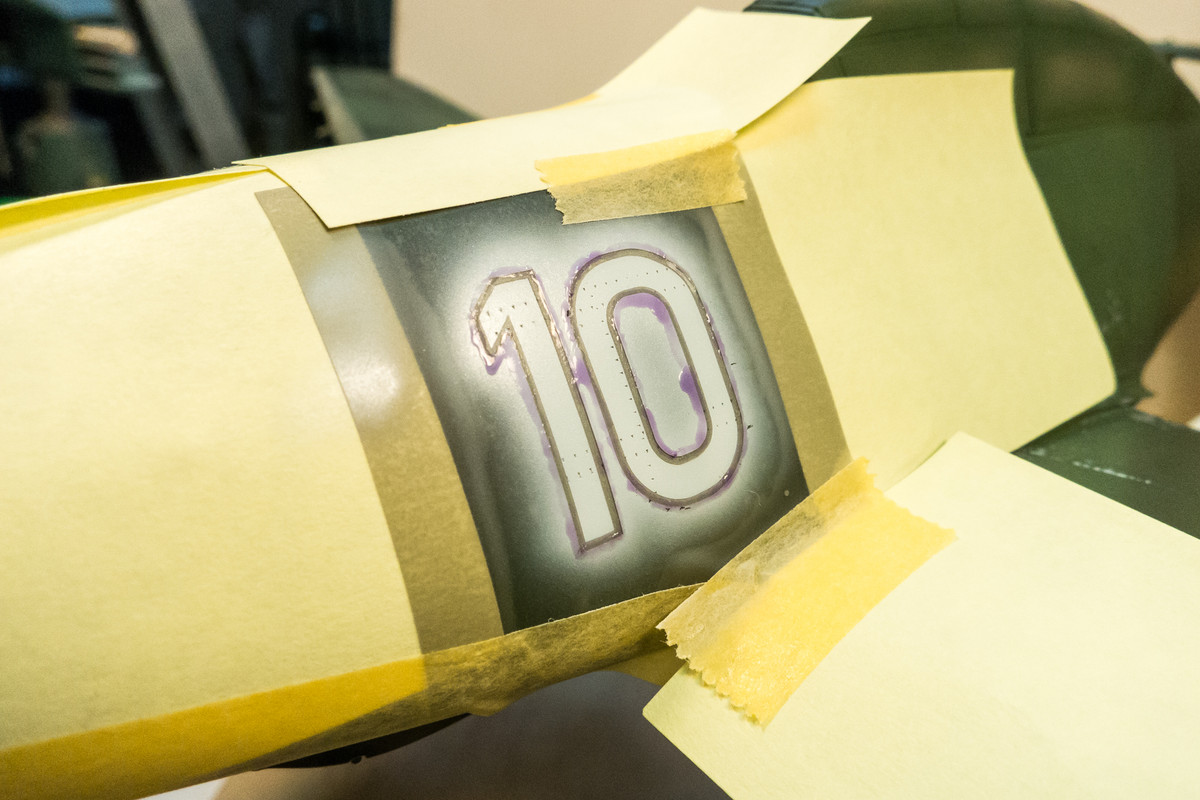
The red is sprayed on. I like to use thin mixes to minimize the paint build-up and resultant edge that might develop with thicker paint.
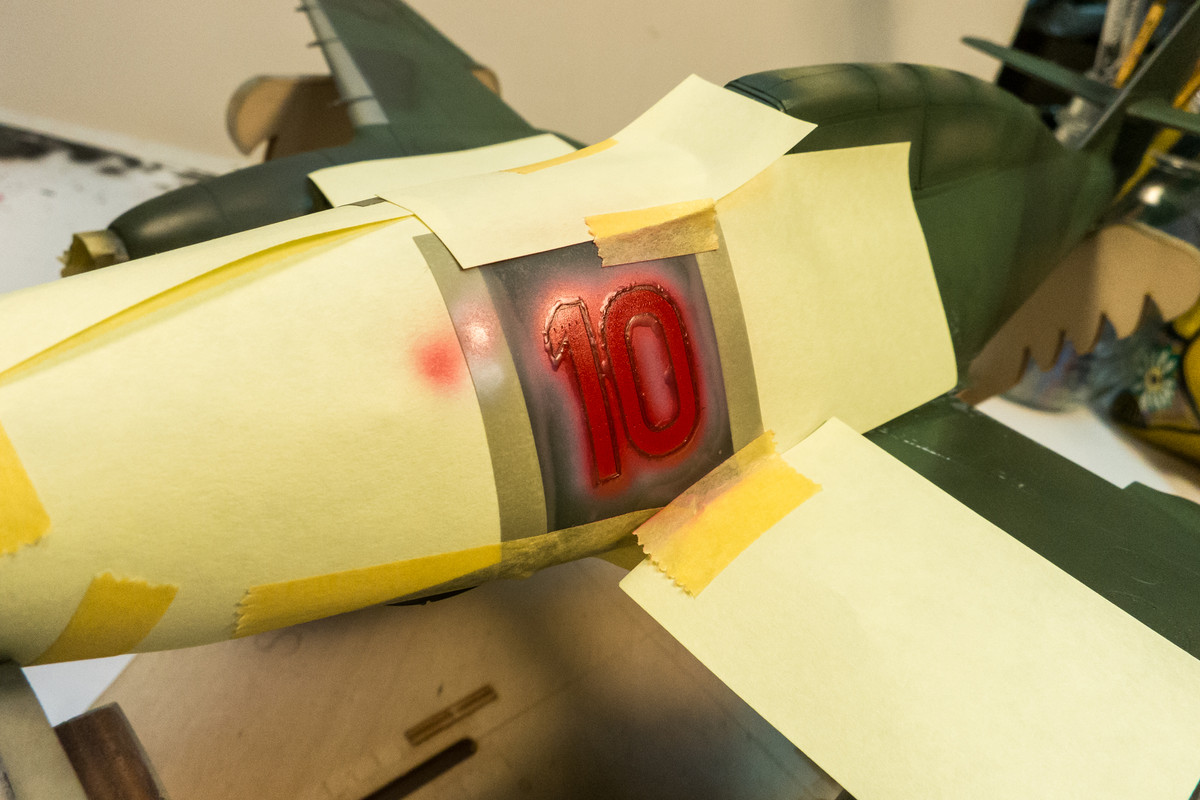
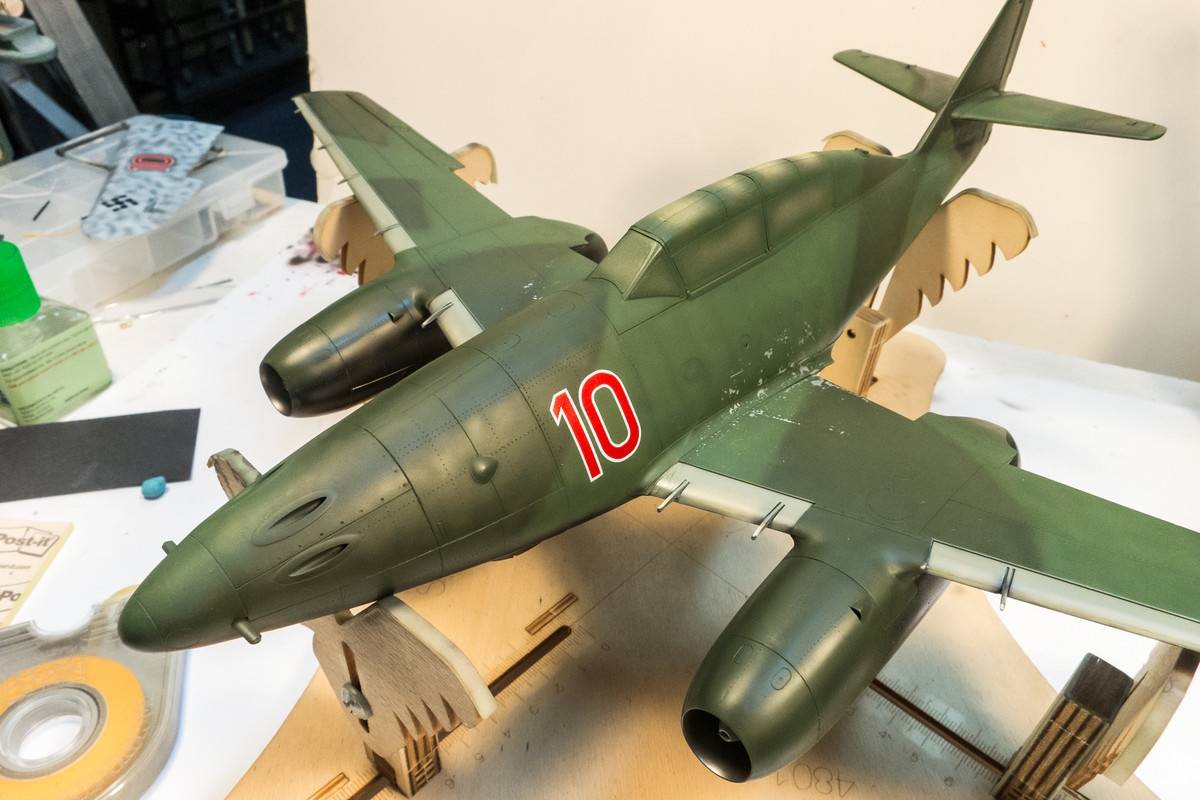
The masks are pulled off to reveal the completed red "10" markings. There were a couple of small spots of paint lift but very minor... a very acceptable result.
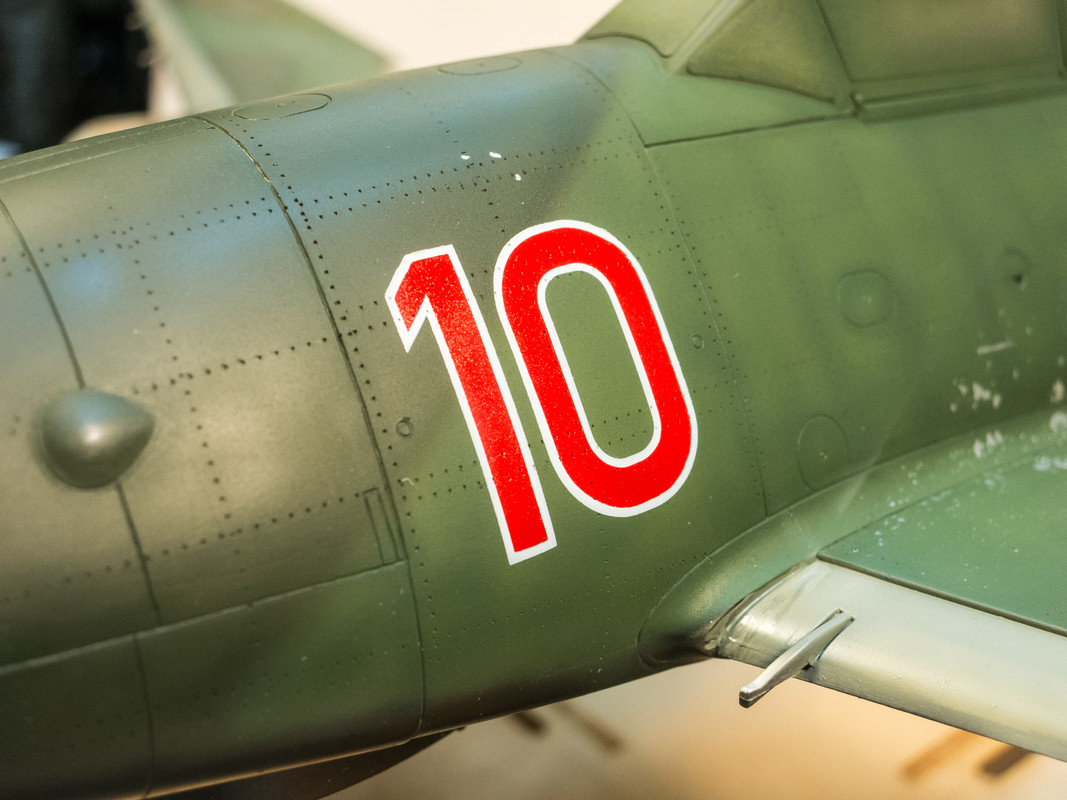
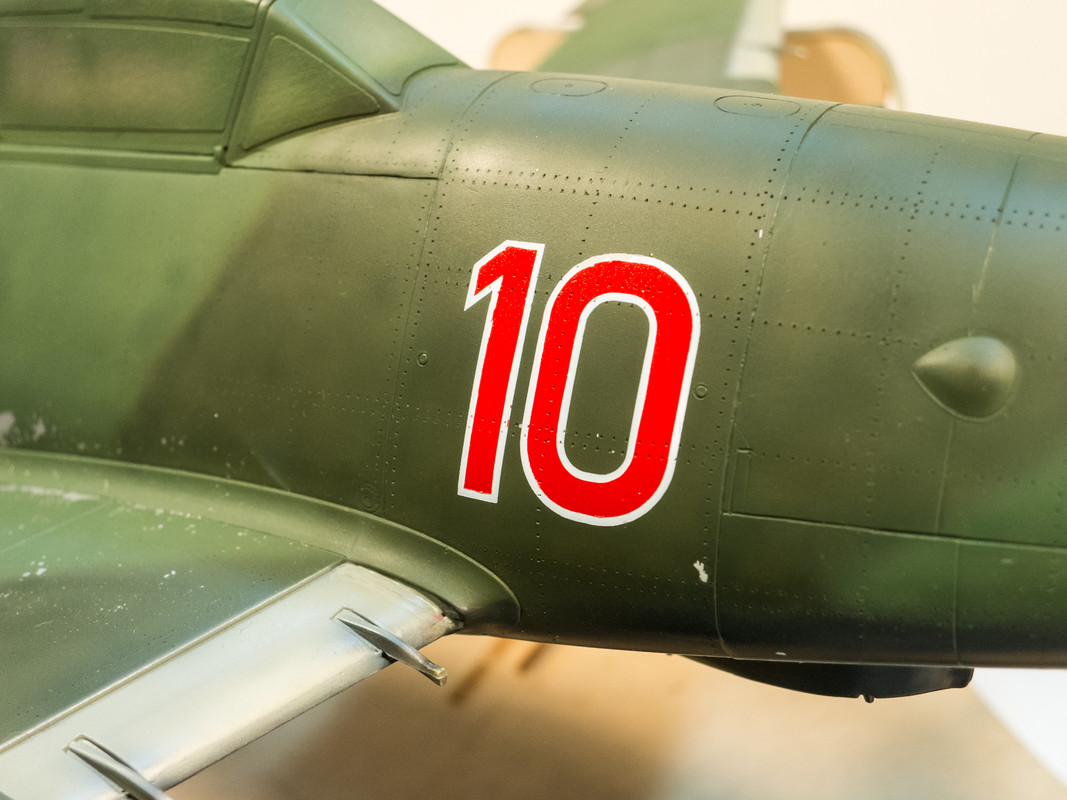
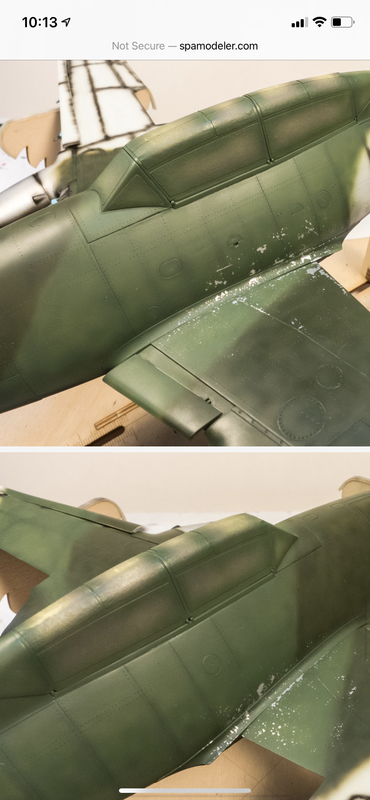
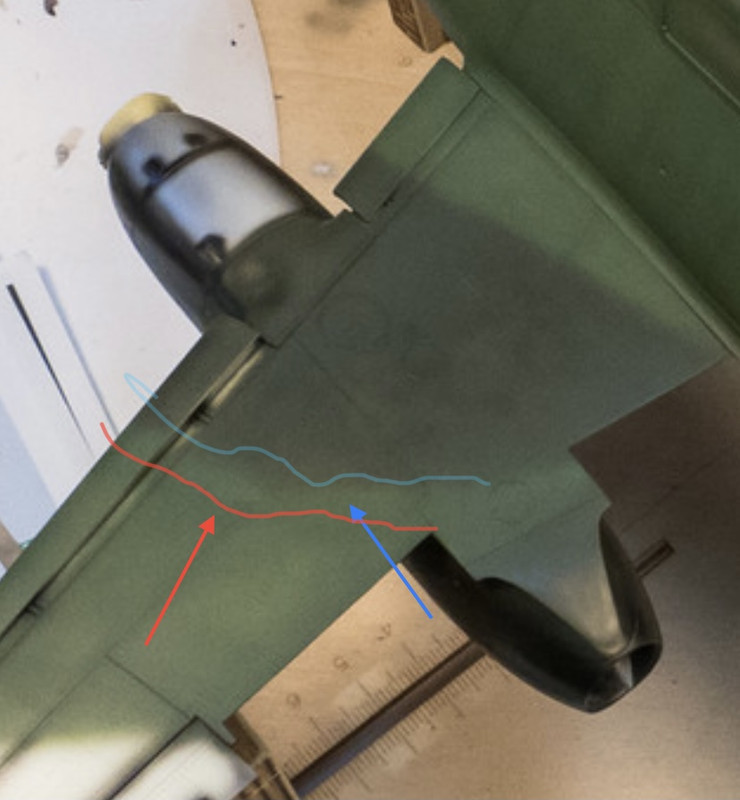
The lifted paint spots are sprayed with Neutral Grey first, which helps blend in the repair, and then sprayed with the camo color.