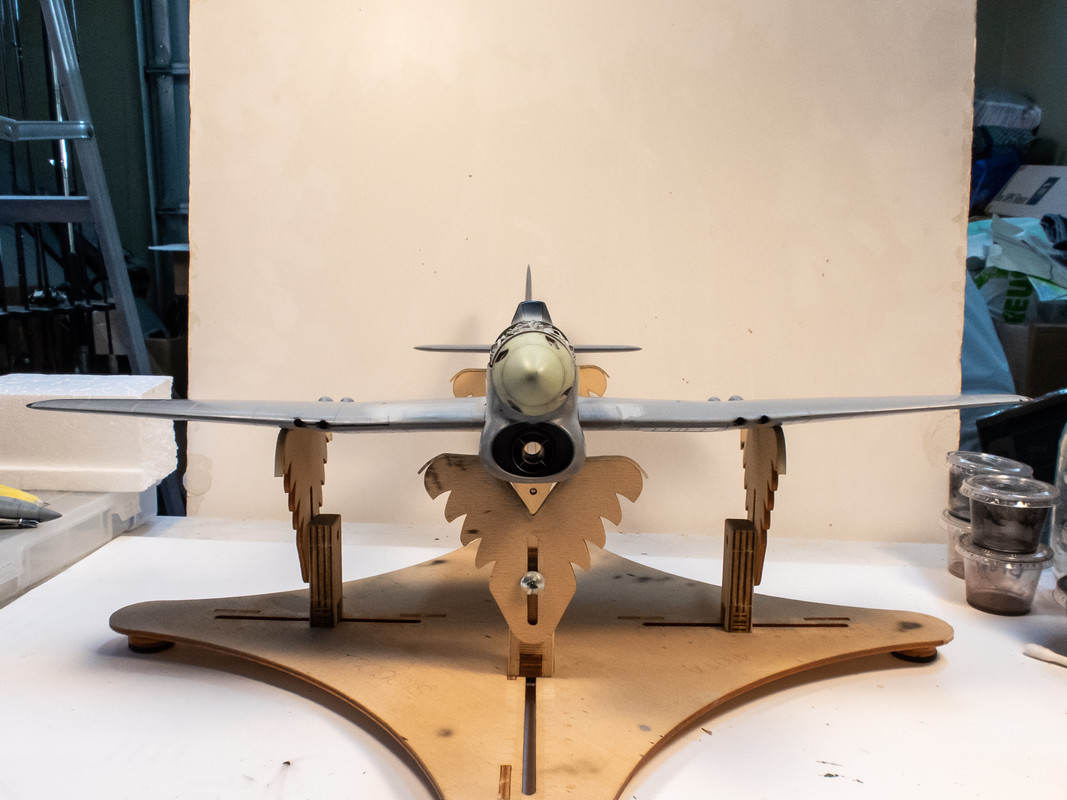
1/32 Special Hobby Hawker Tempest Mk V

Post your work in progress of your aircraft builds in here.
User avatar
jkim
Elite Member
Posts: 4073
Joined: Mon Apr 10, 2017 4:03 pm

Re: 1/32 Special Hobby Hawker Tempest Mk V

Post by jkim »

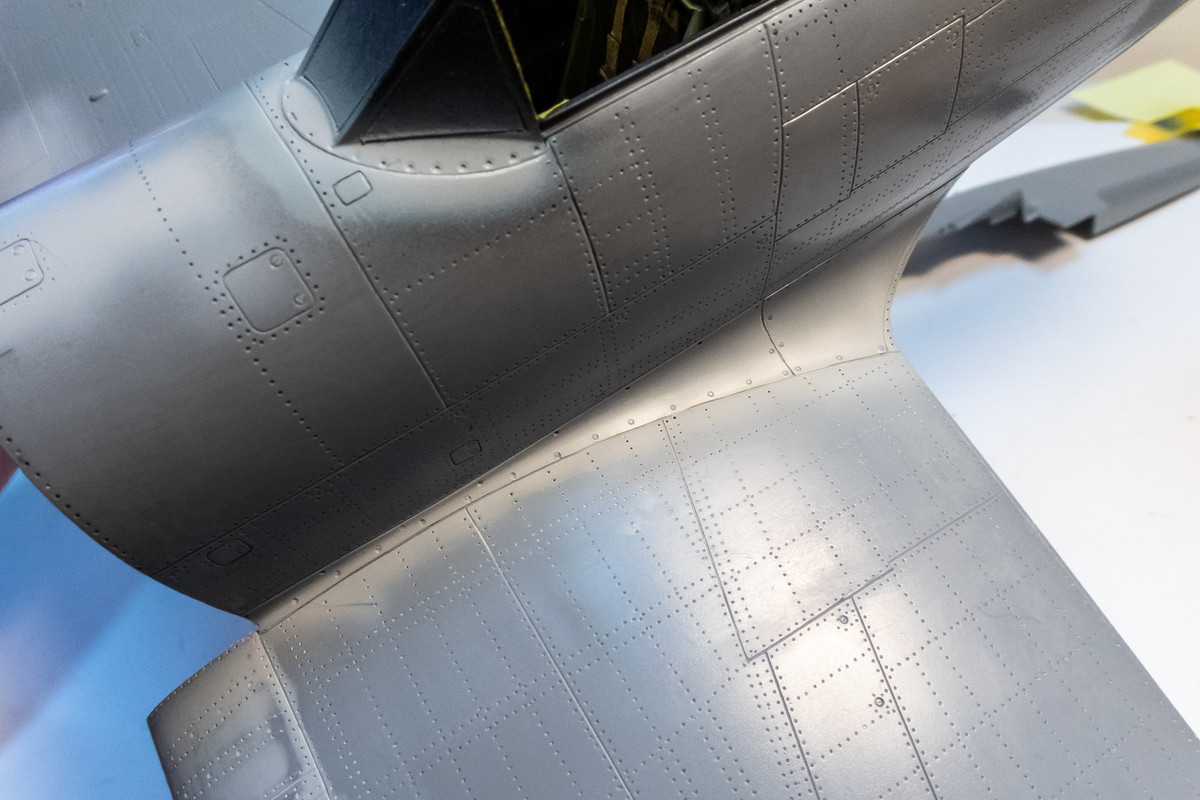
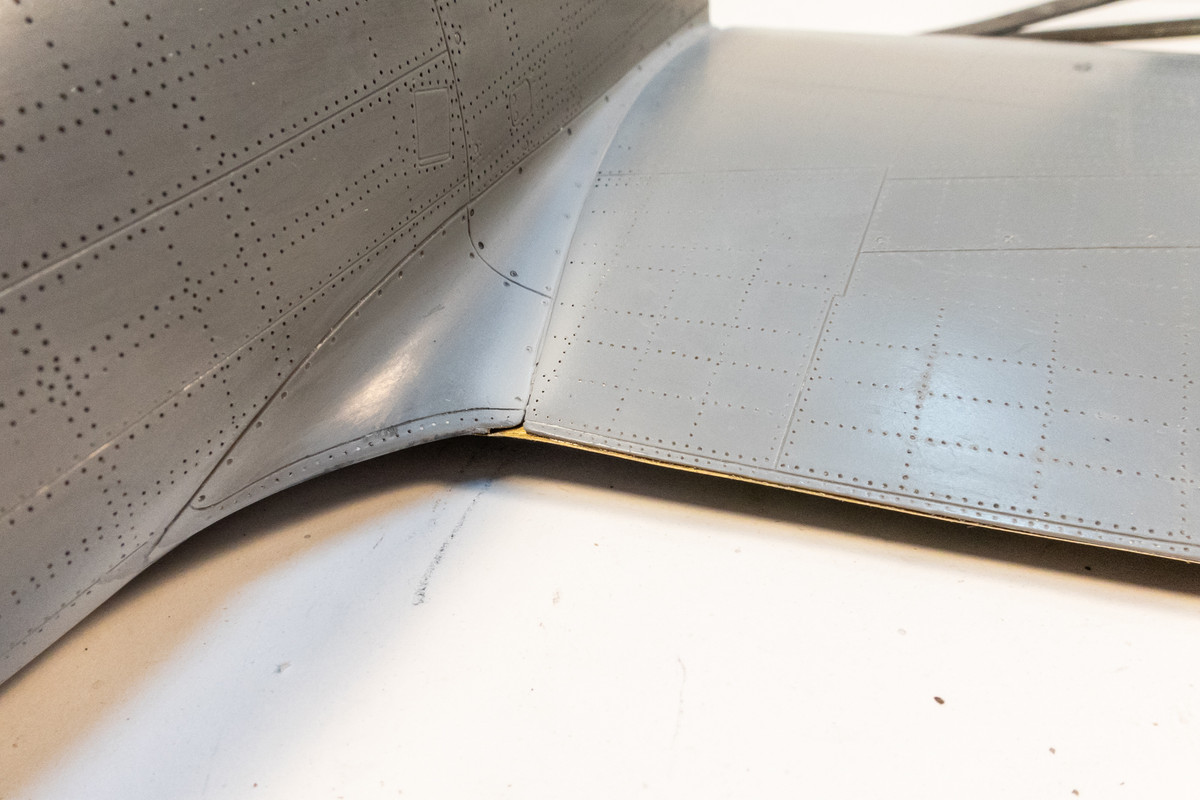
I figured out that I should glue the upper wing flaps in now so that I can address any issues that show up on the top side of the wings. A combination of a light grind along the brass and a bead of CA glue along the edge should smooth this out.
Image
Image

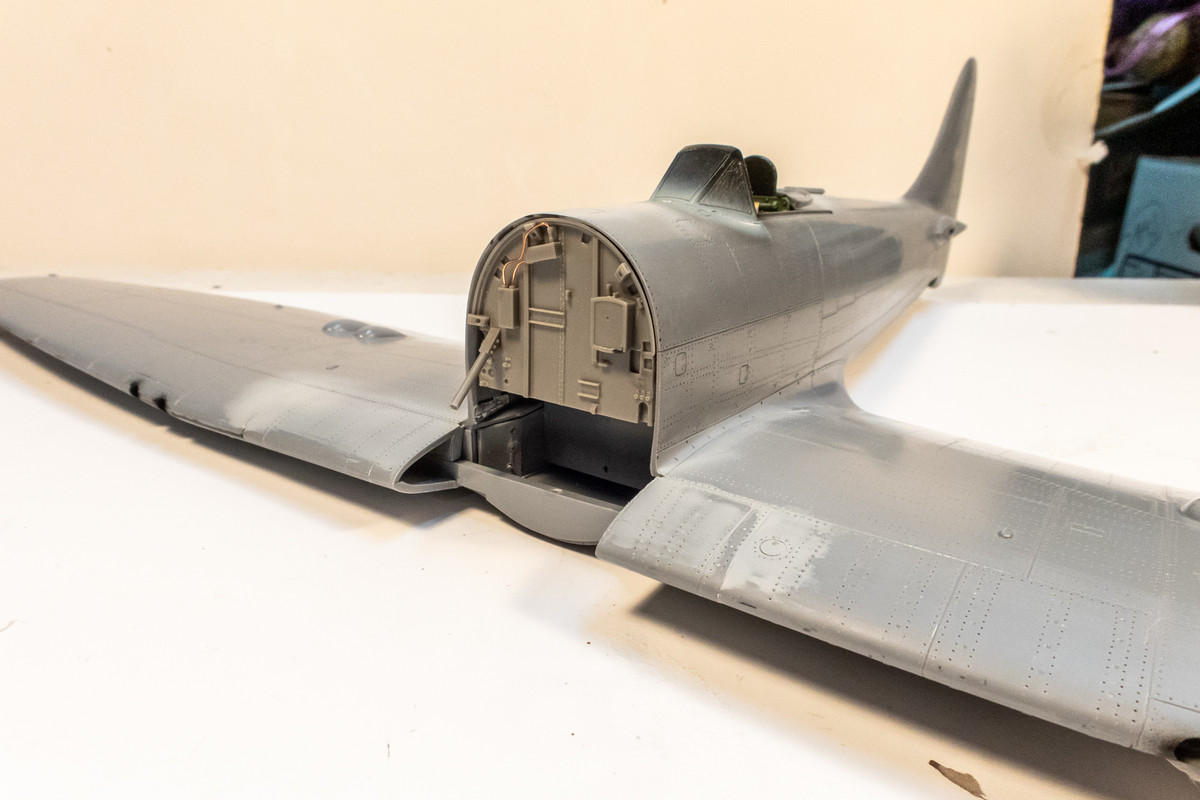
With the game plan established for the attachment of nose/engine assembly, I decided to test fit the bulkhead using two spots of CA glue. No tabs or alignment aids here so I just eyeballed it.
Image

Pretty close... the engine slide into place without interference.
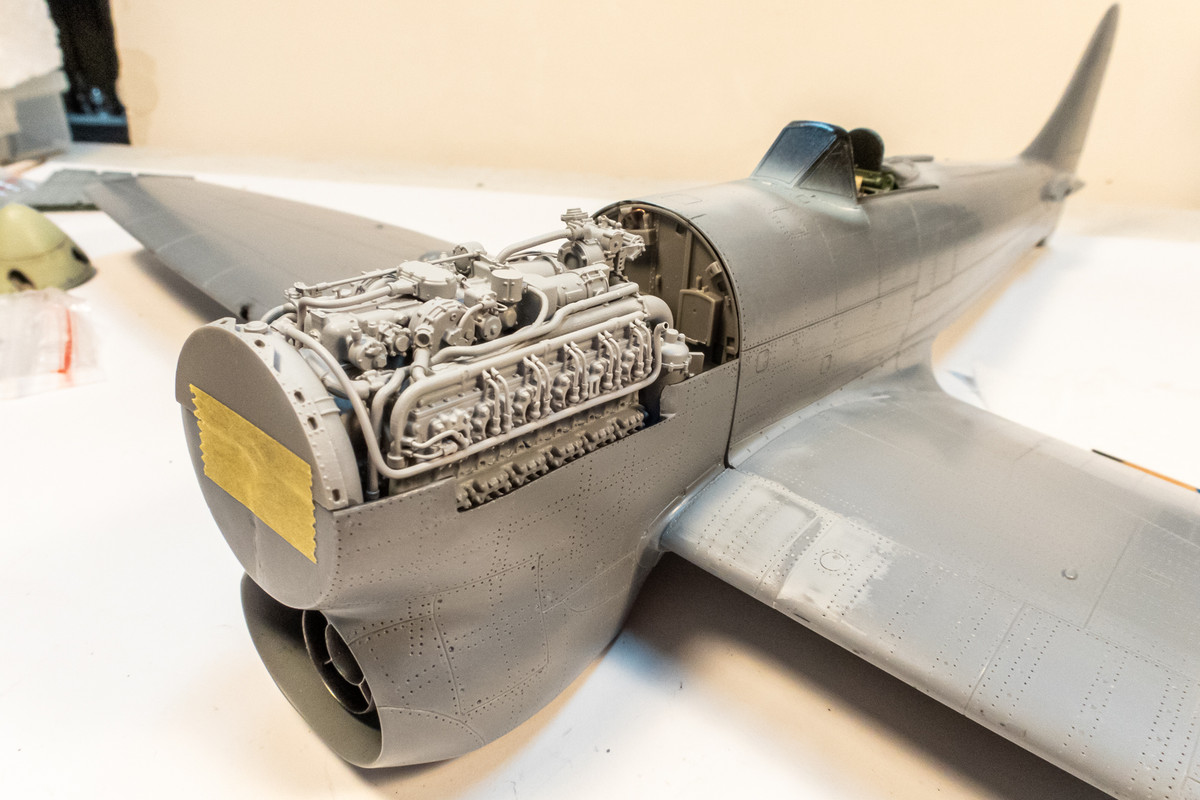
Image

But the nose would not shift up completely, leaving this gap. I need to trim the bulkhead height down a touch to allow the engine block to shift up. In pencil I marked the bulkhead stringers on the fuselage so that I could line the bulkhead up in this same position.
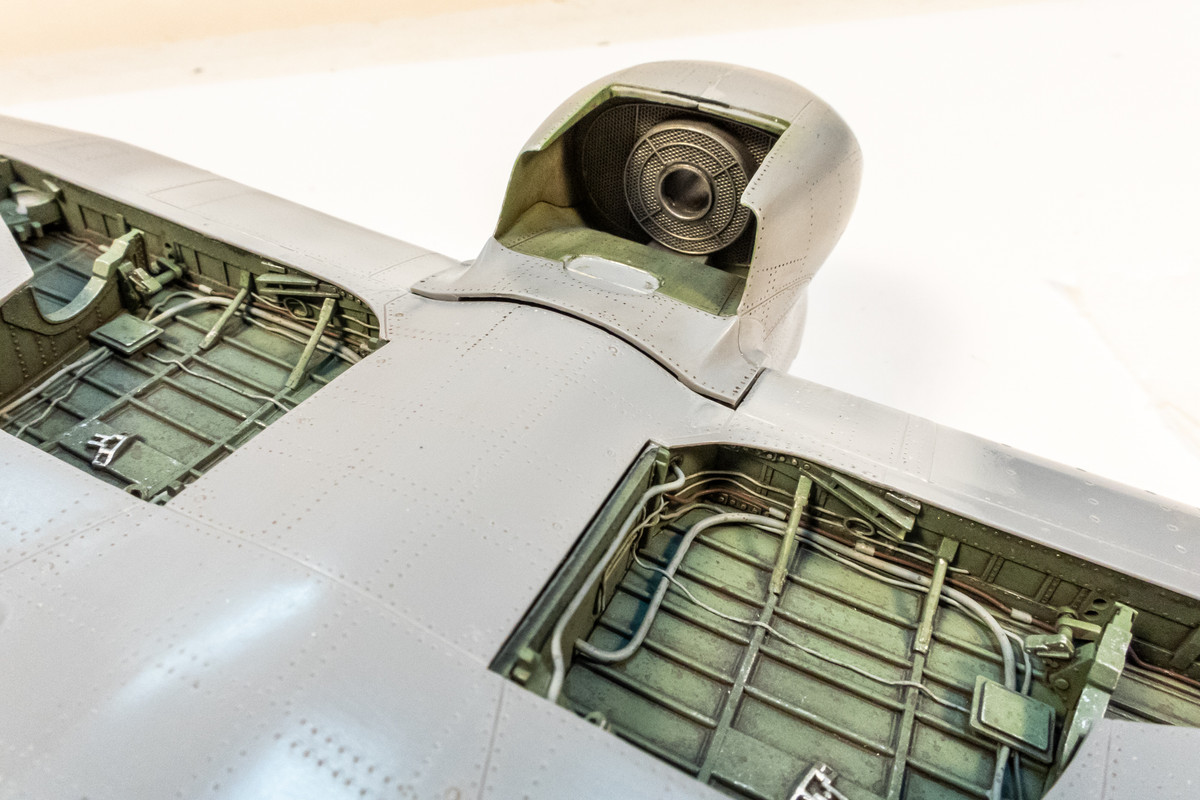
Image

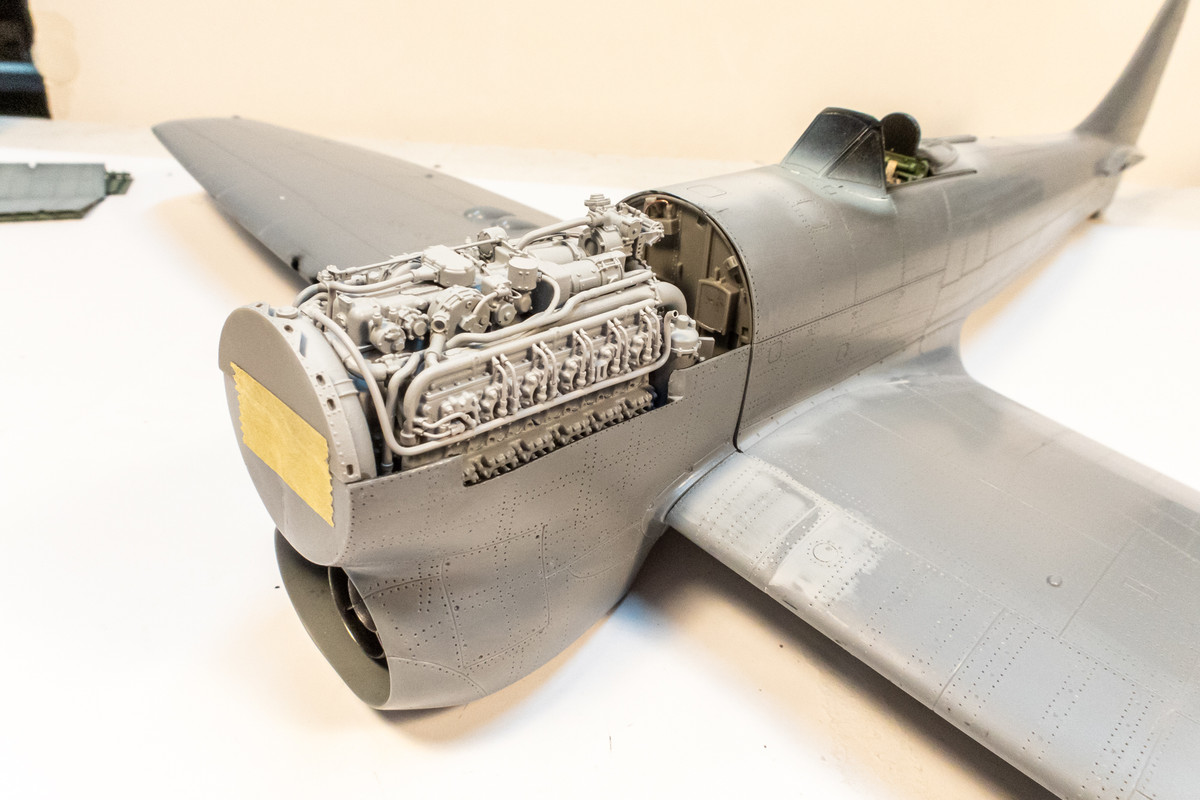
I shaved the bulkhead bottom a few millimeters and tried again.
Image

This allowed me to close the gap on the bottom. Ok... I think this is do-able.
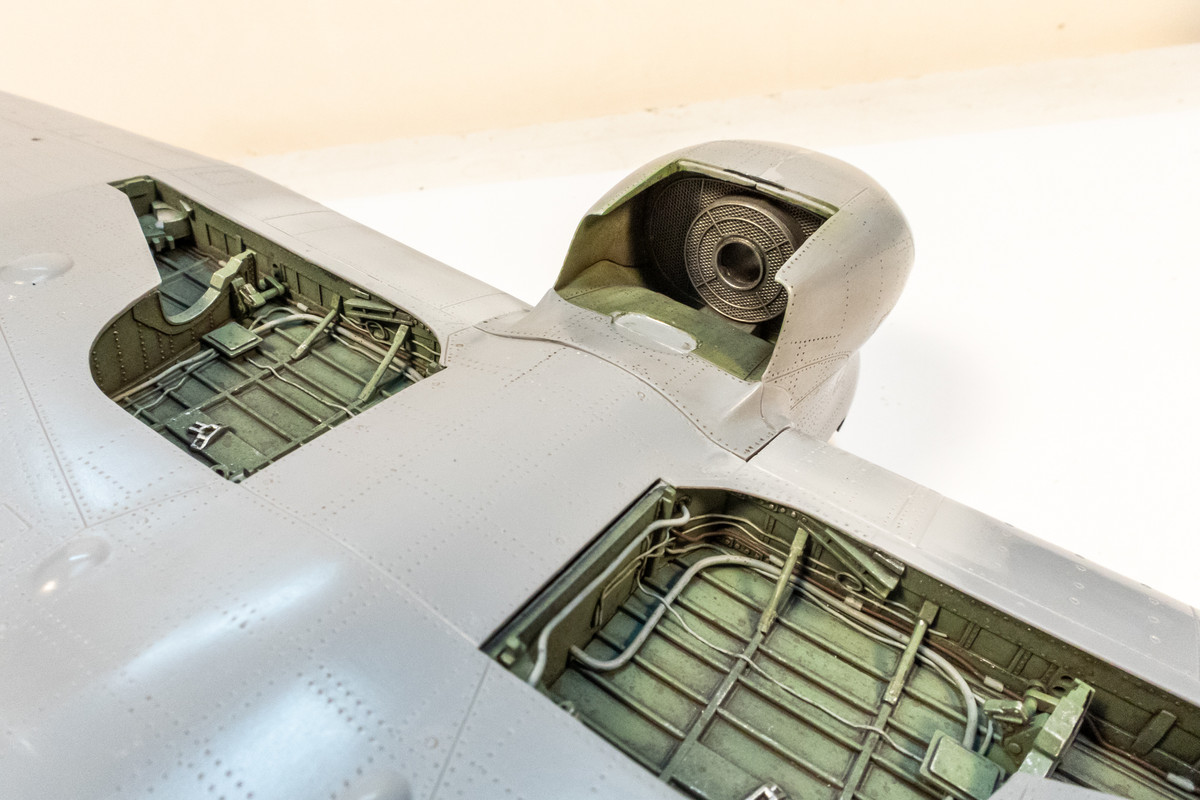
Image

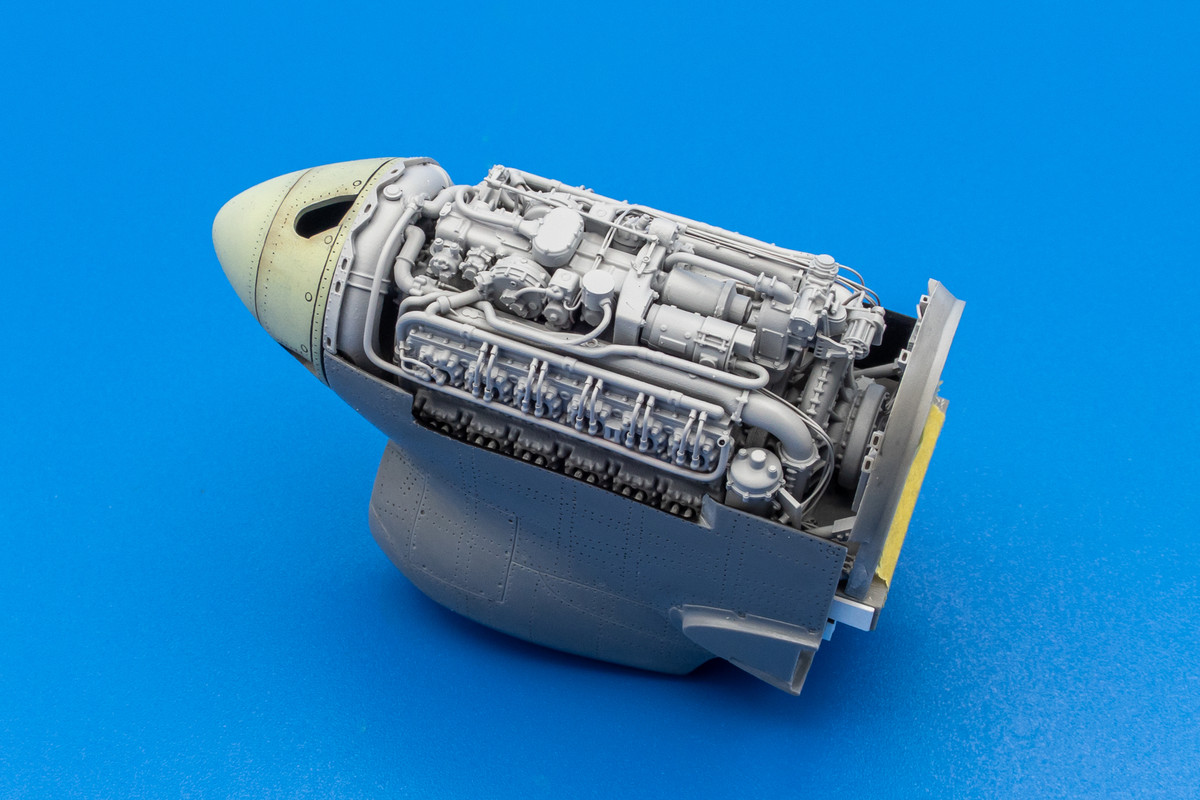
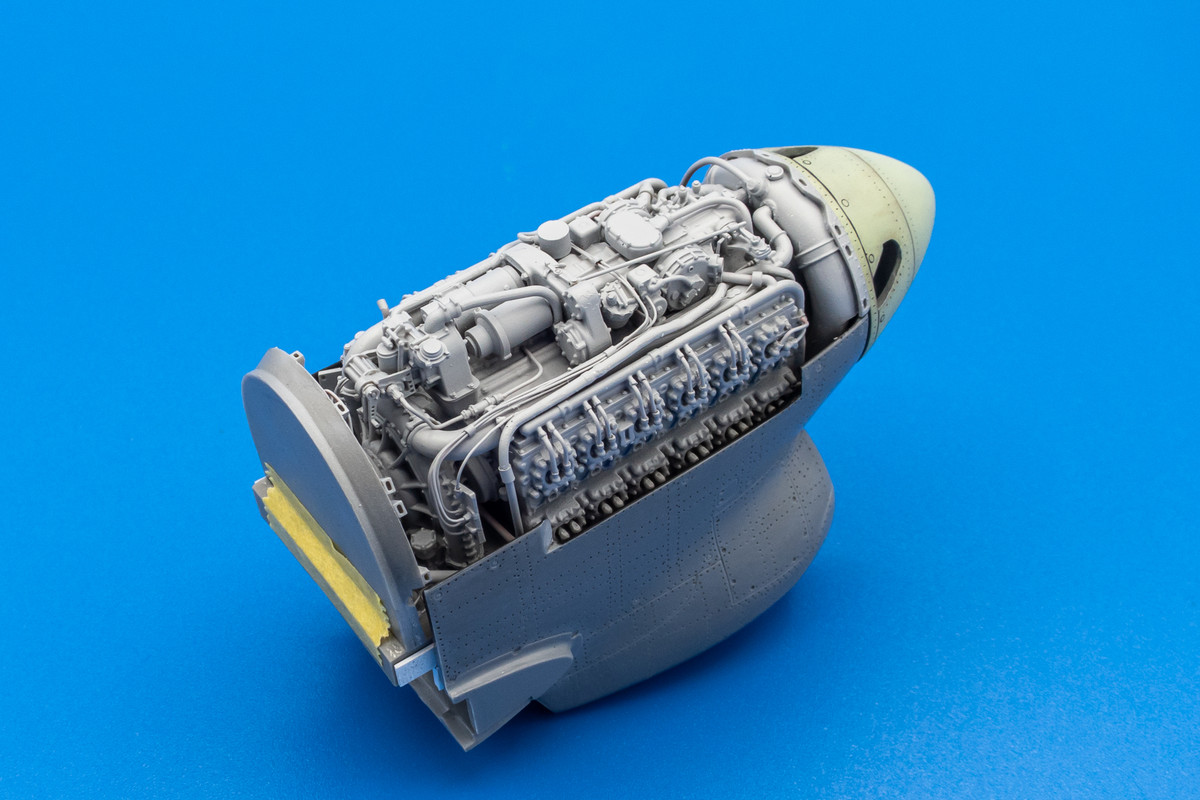
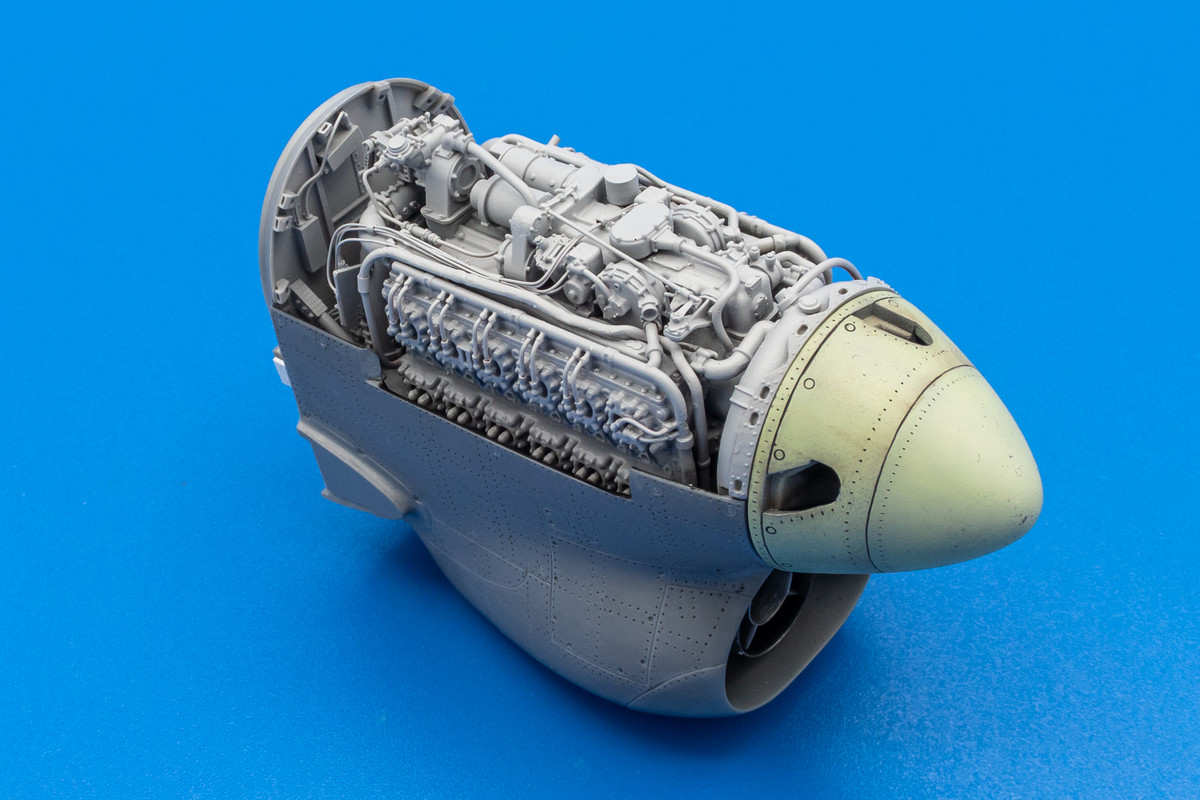
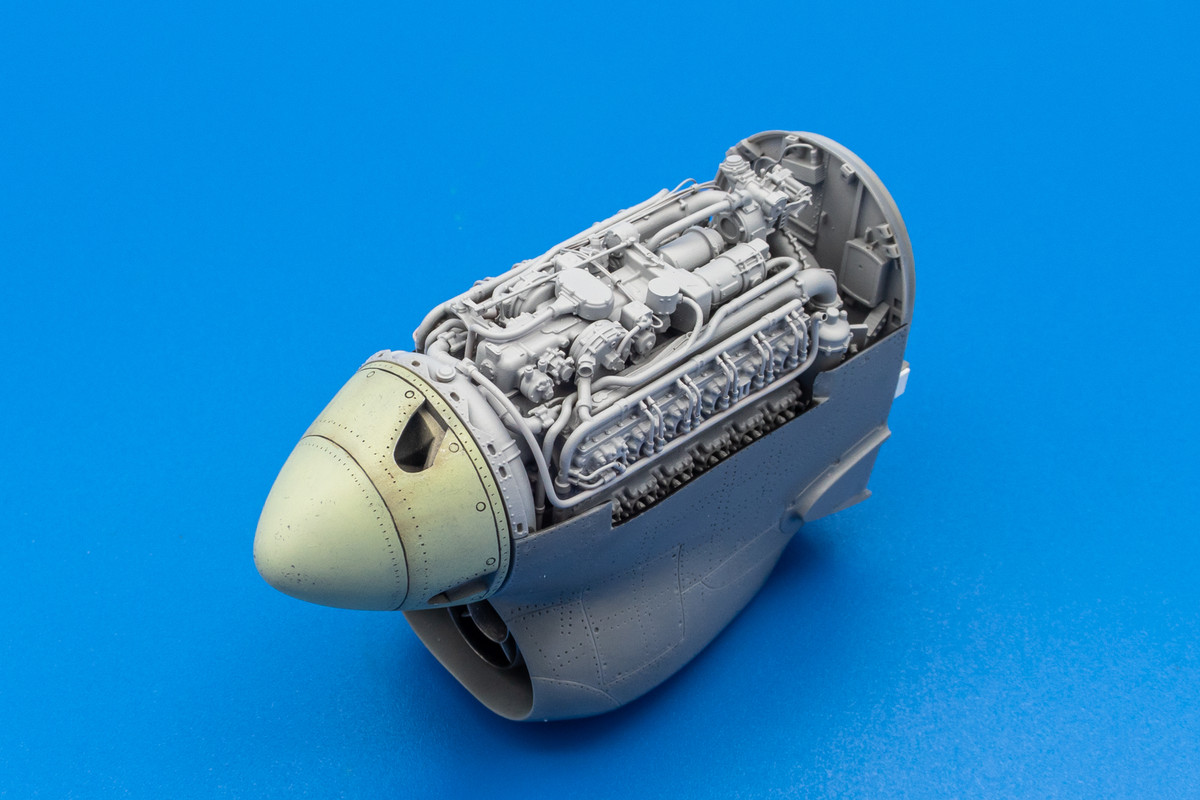
I'm going to paint the bulkhead before I glue it into place so I've primed with Mr Primer Surfacer like the engine. Here is the engine + bulkhead together mounted on the nose. Can you tell I am procrastinating on the painting of the engine?
Image
Image
Image
Image
John aka JKim
-----------<><
Image
User avatar
keavdog
Elite Member
Posts: 4776
Joined: Thu Jan 10, 2019 1:14 am
Location: Earth

Re: 1/32 Special Hobby Hawker Tempest Mk V

Post by keavdog »

Amazing detail. Looking forward to your skillful painting of that beauty.
Thanks,
John
User avatar
Stuart
Elite Member
Posts: 11887
Joined: Sun Apr 06, 2014 1:06 pm
Location: North Wales

Re: 1/32 Special Hobby Hawker Tempest Mk V

Post by Stuart »

Good work on sorting out all those fit issues John!
Stuart Templeton 'I may not be good but I'm slow...'
User avatar
Stikpusher
Moderator
Posts: 21179
Joined: Sat Apr 05, 2014 8:37 pm
Location: Ceti Alpha 5

Re: 1/32 Special Hobby Hawker Tempest Mk V

Post by Stikpusher »

keavdog wrote:Amazing detail. Looking forward to your skillful painting of that beauty.
:P1:
"Surely I have made my meaning plain? I intend to avenge myself upon you, Admiral. I have deprived your ship of power, and when I swing 'round, I intend to deprive you of your life."

FLSM
User avatar
jkim
Elite Member
Posts: 4073
Joined: Mon Apr 10, 2017 4:03 pm

Re: 1/32 Special Hobby Hawker Tempest Mk V

Post by jkim »

Thanks guys! Haven't gotten started on the engine painting but have been moving forward on other aspects of this build.

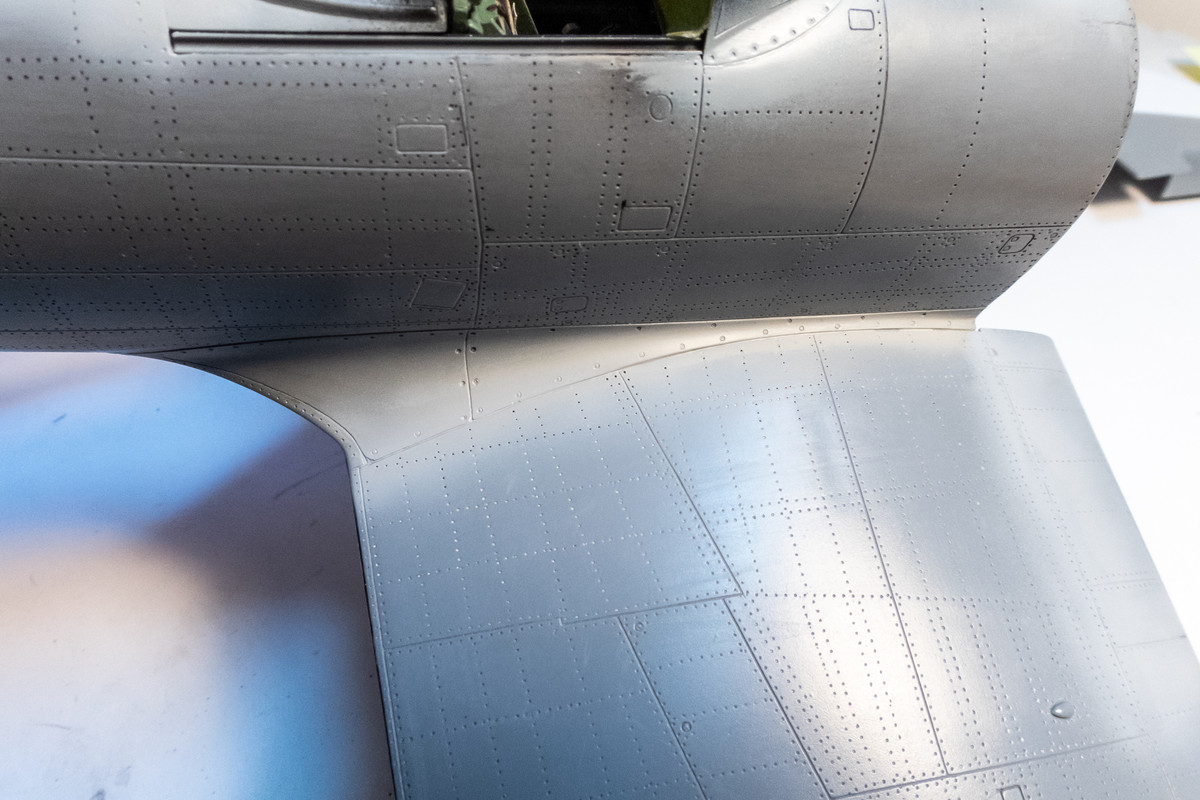
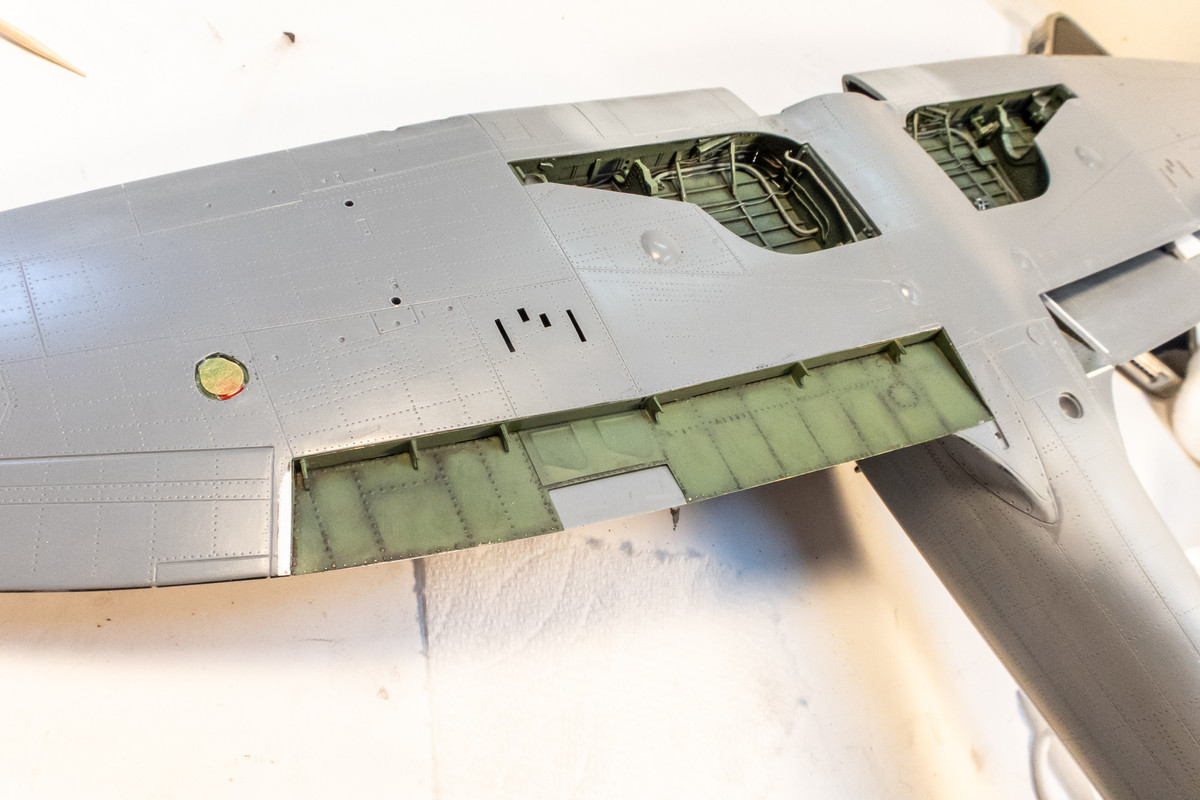
Slowly finishing the clean up work on the wing roots...
Image
Image

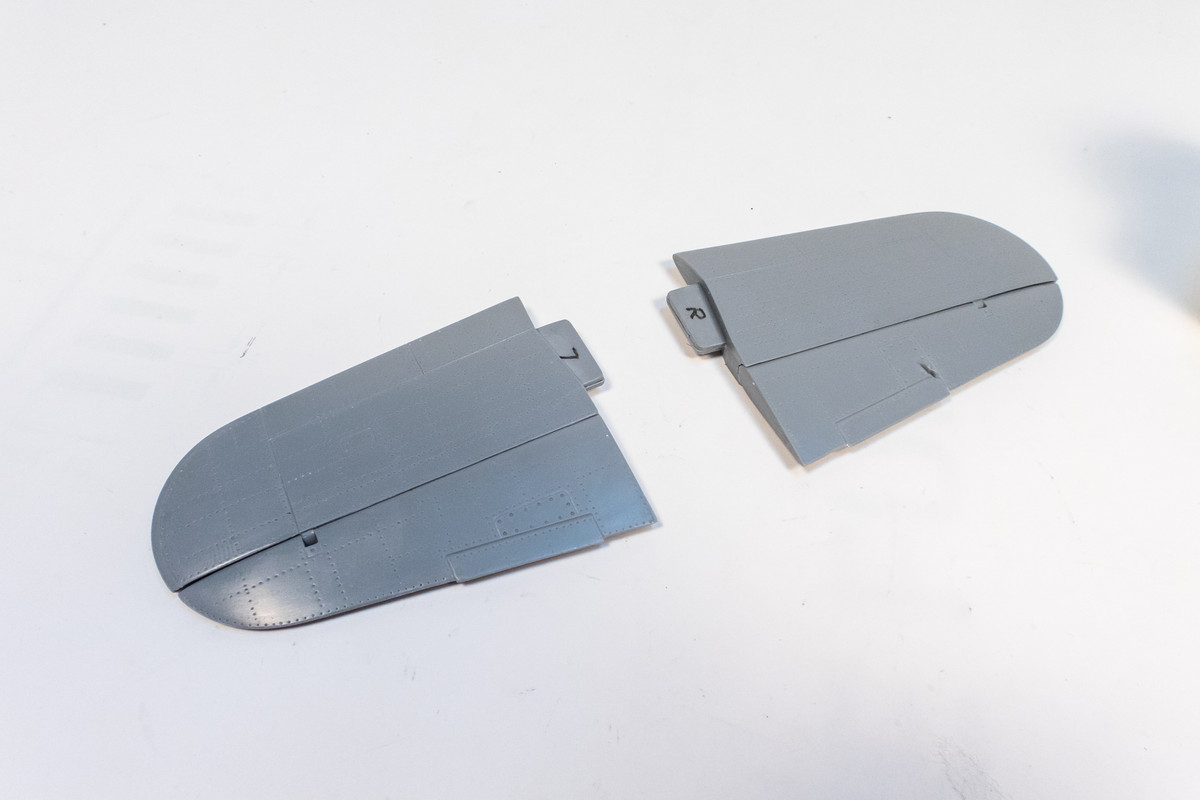
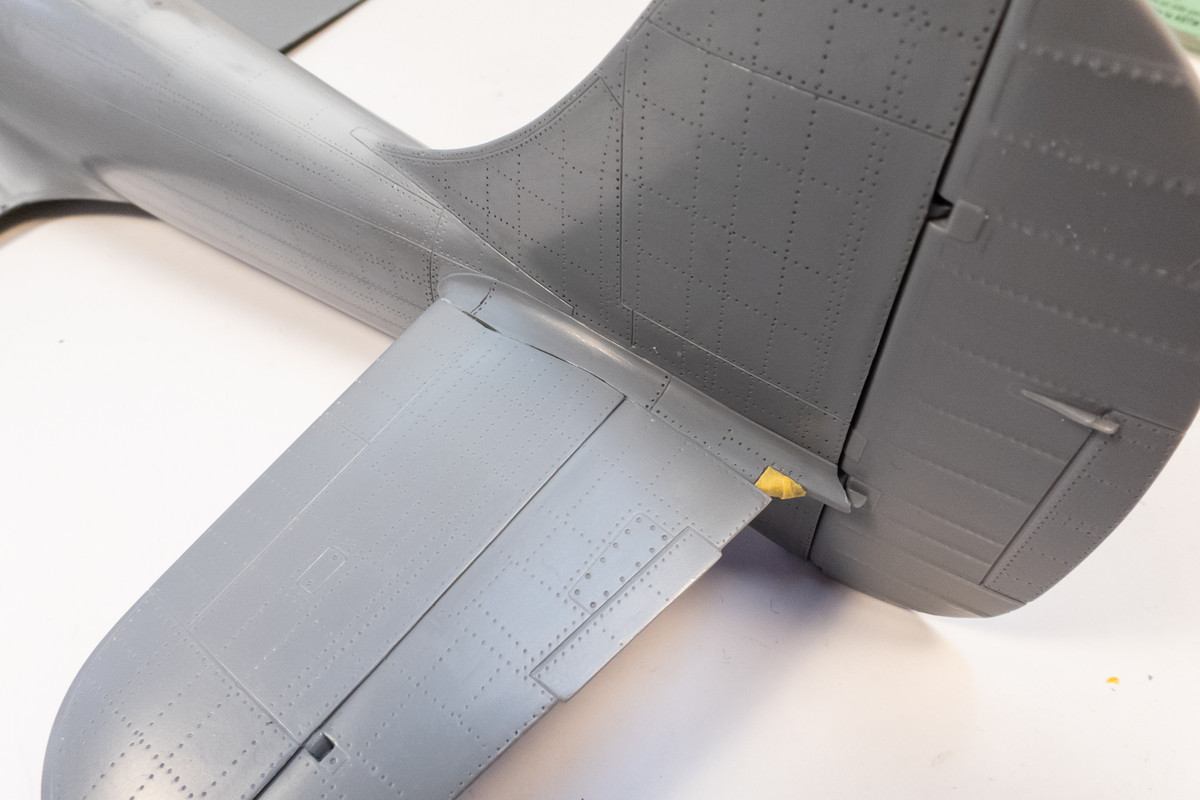
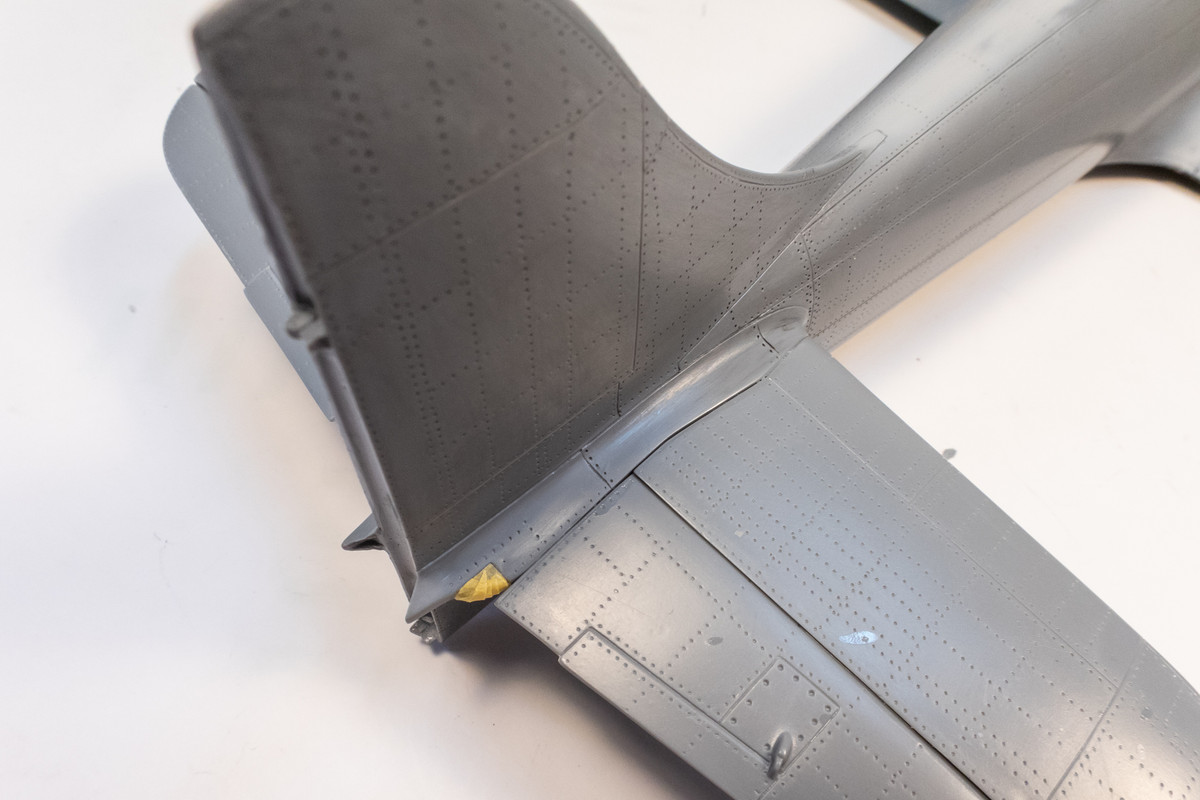
The tail stabilizers aren't a perfect fit so I'll probably want to glue them in and do the necessary putty work at the joints before I go any further on the engine.
Image

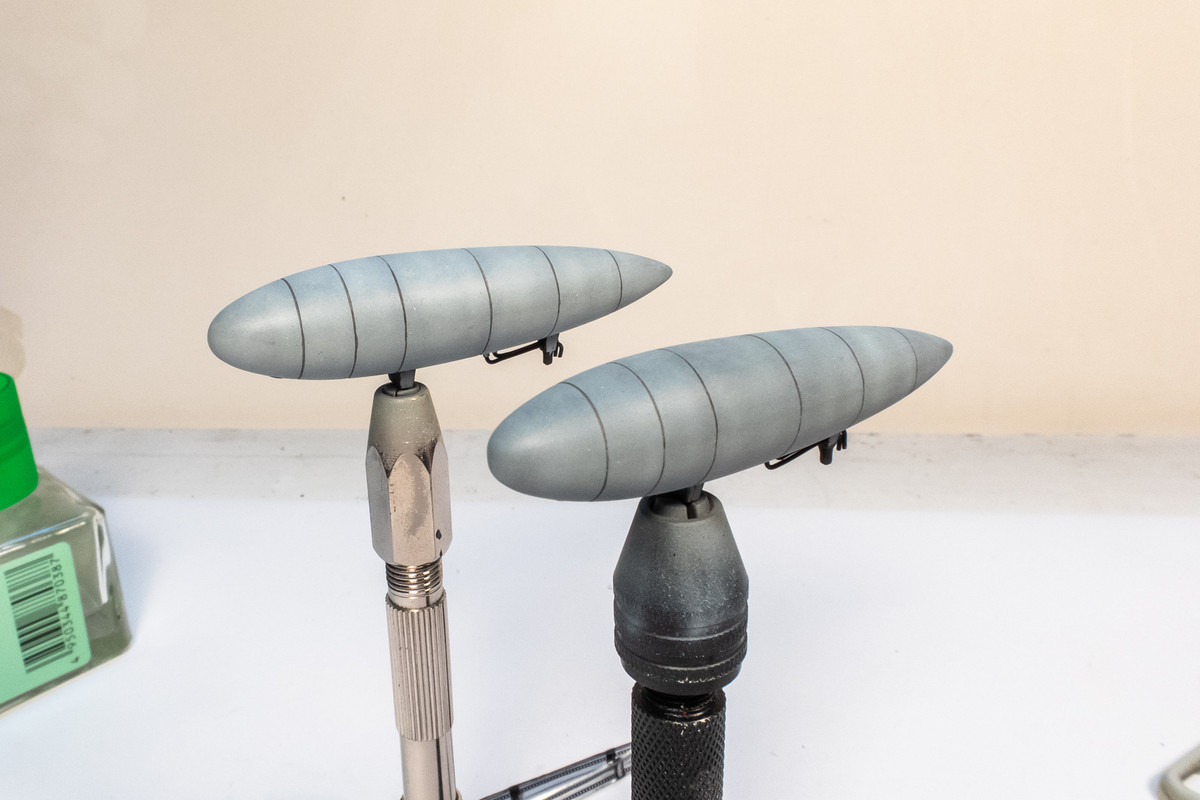
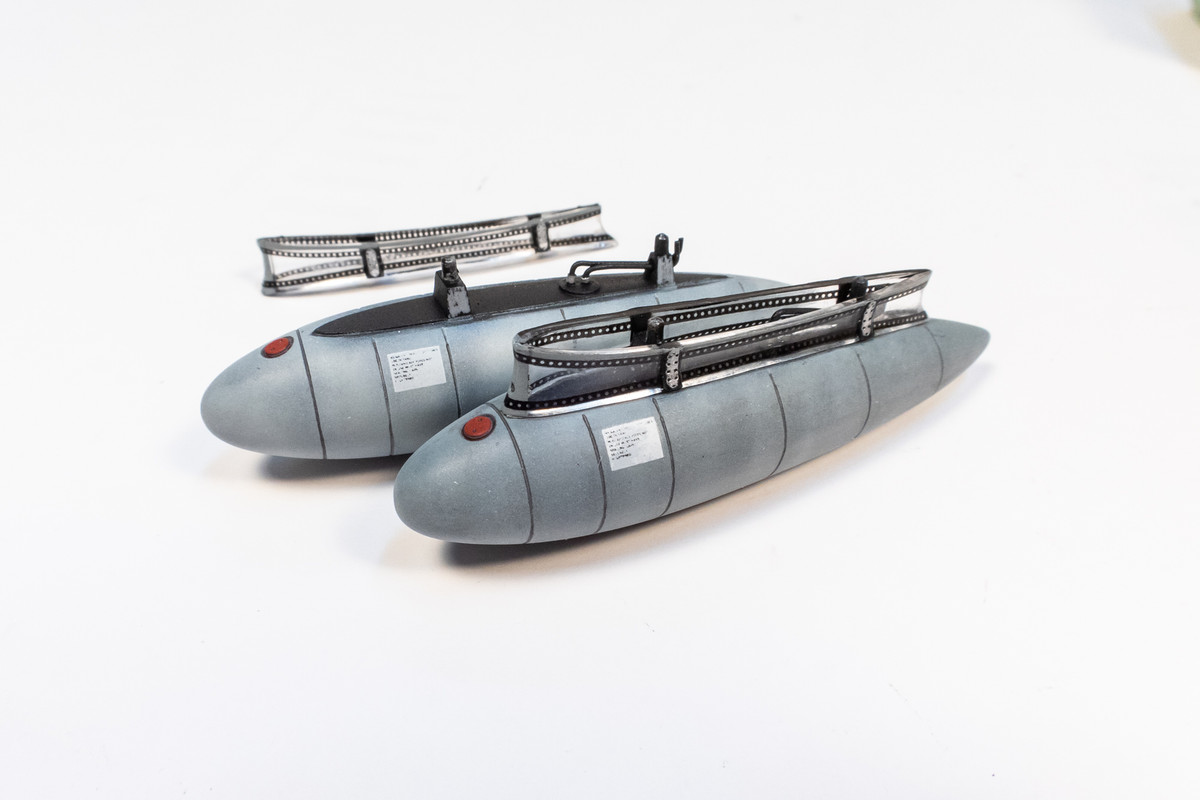
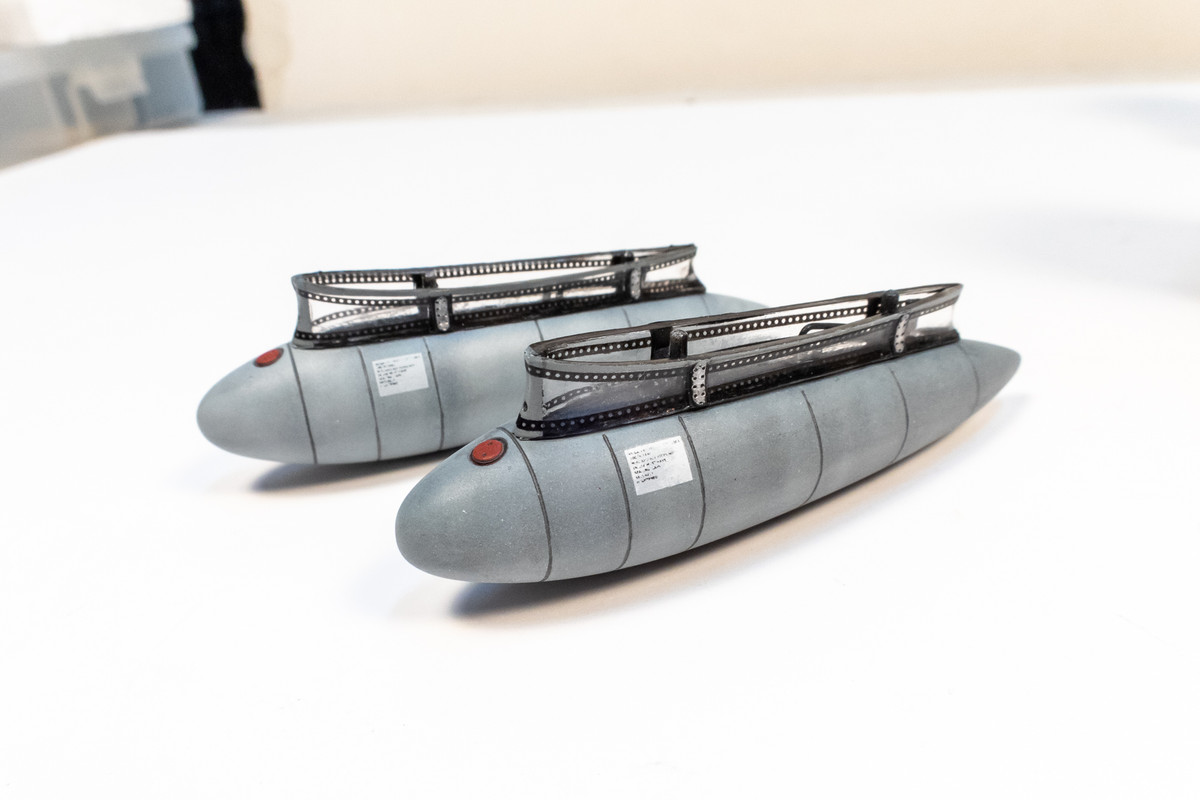
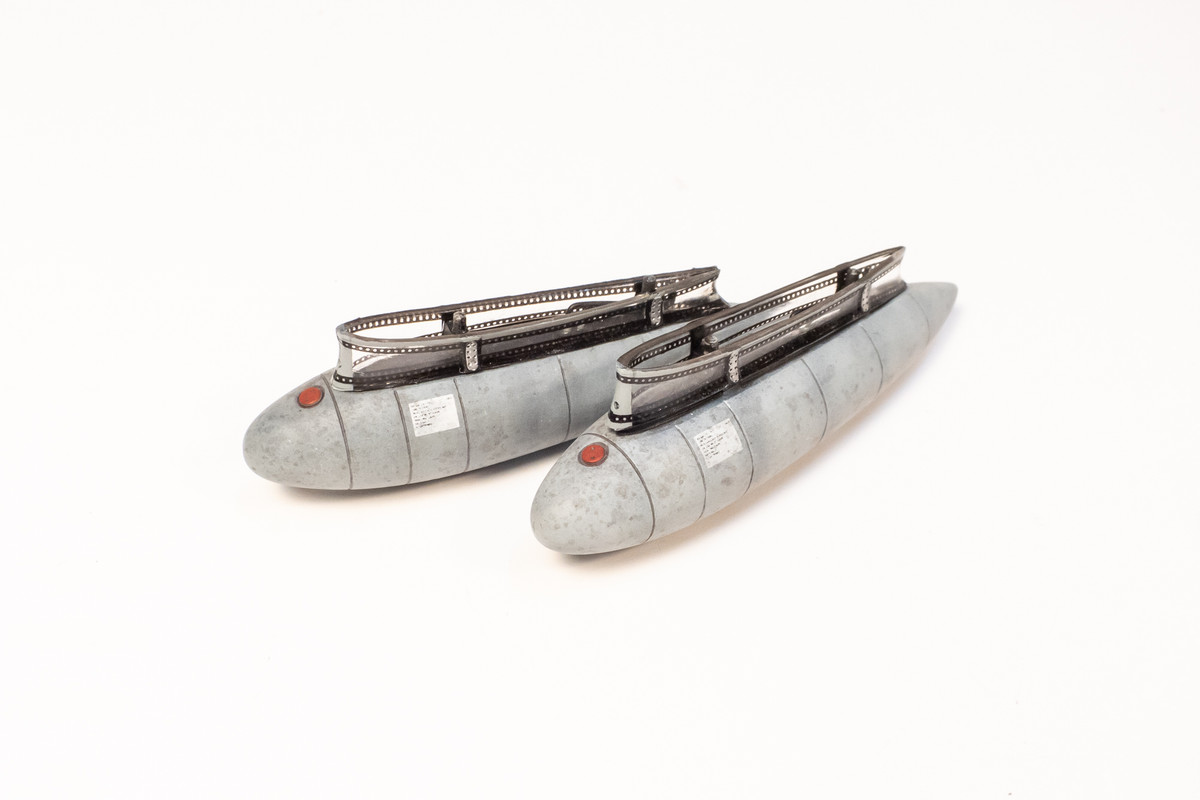
The underwing drop tanks have been painted. Yes, one is darker than the other! This was intentional!
Image

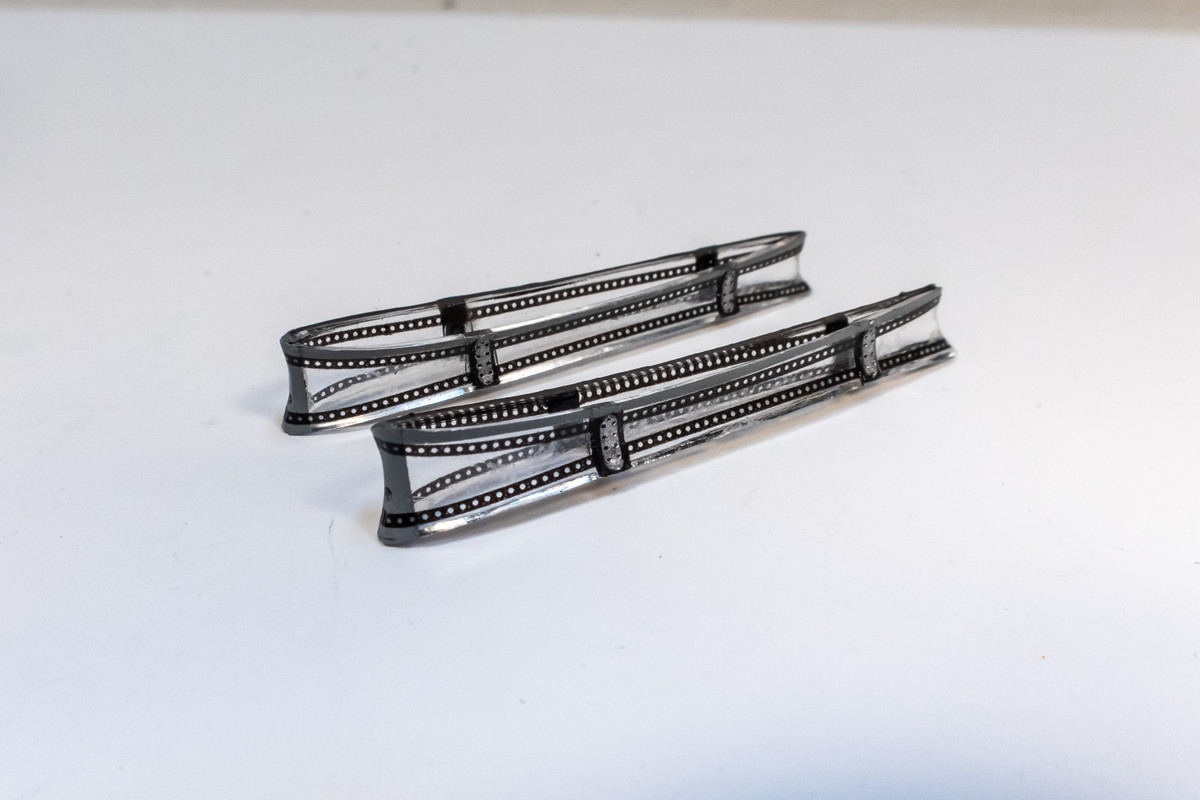
The funky clear drop tank pylons have been painted and decaled. Extreme care needs to be taken when handling these parts as they are very delicate and prone to cracking/snapping.
Image

Drop tank mounted on the pylon... the edge reflection through the clear part is not good.
Image

So I brush painted the contact surfaces black. I still need to weather the drop tanks.
Image

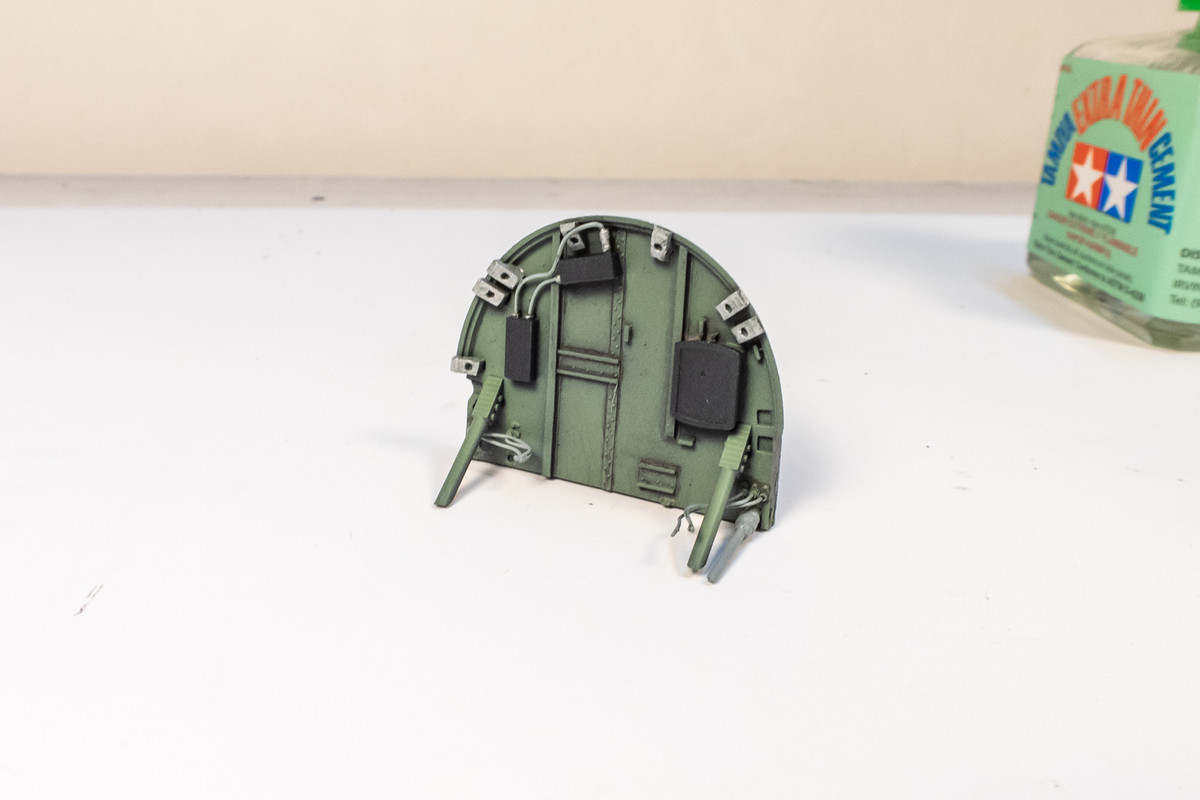
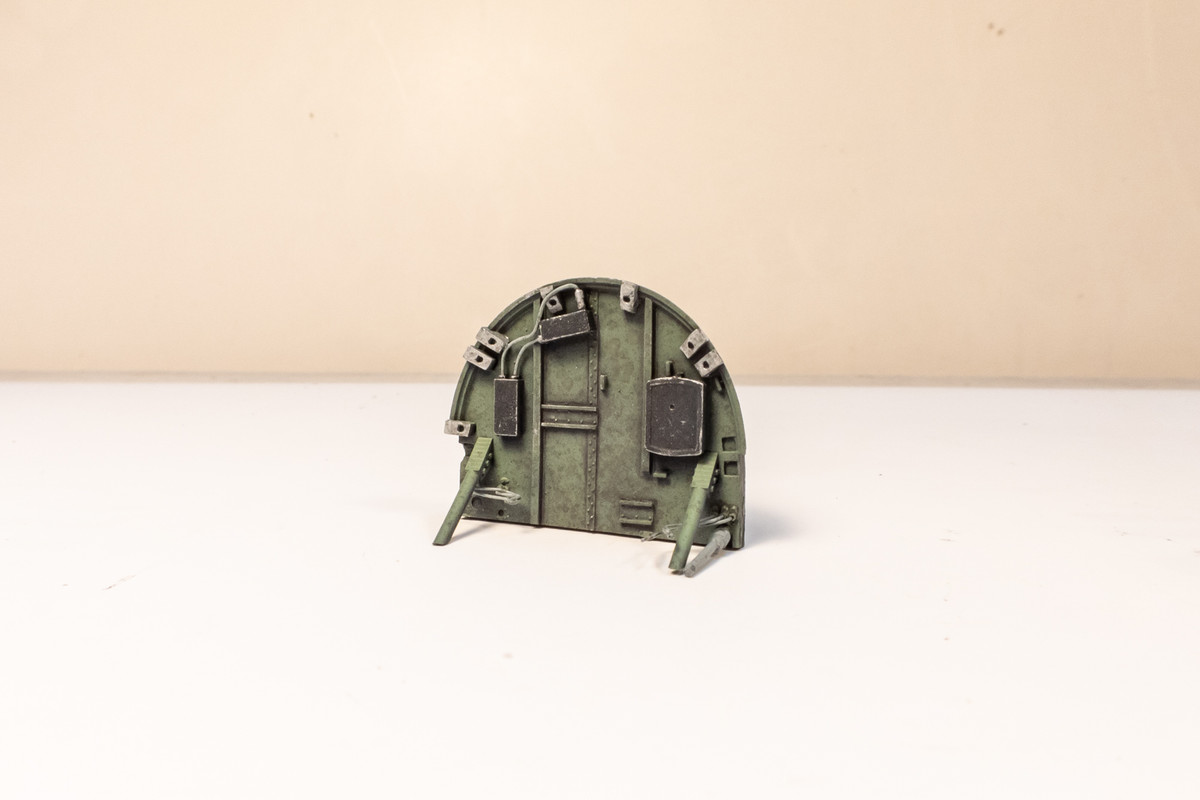
And finally... I've painted the engine bulkhead but have yet weathered it.
Image
John aka JKim
-----------<><
Image
User avatar
jkim
Elite Member
Posts: 4073
Joined: Mon Apr 10, 2017 4:03 pm

Re: 1/32 Special Hobby Hawker Tempest Mk V

Post by jkim »

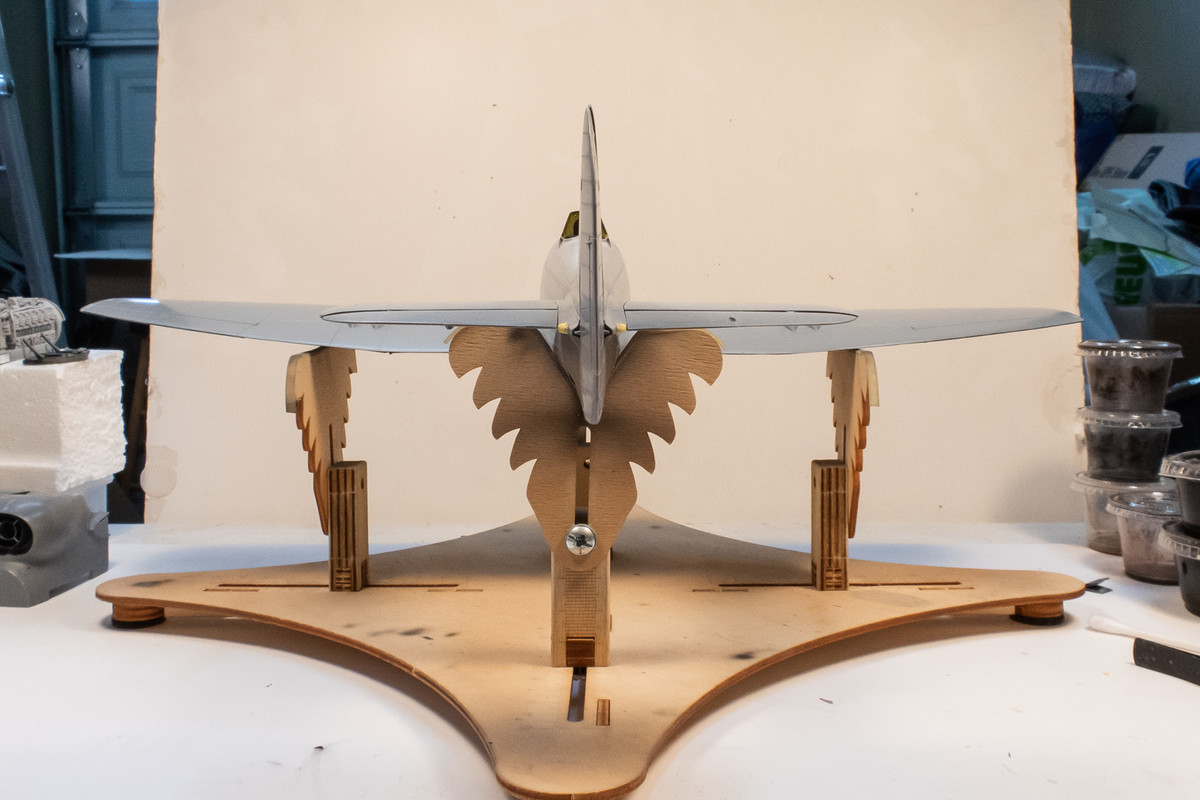
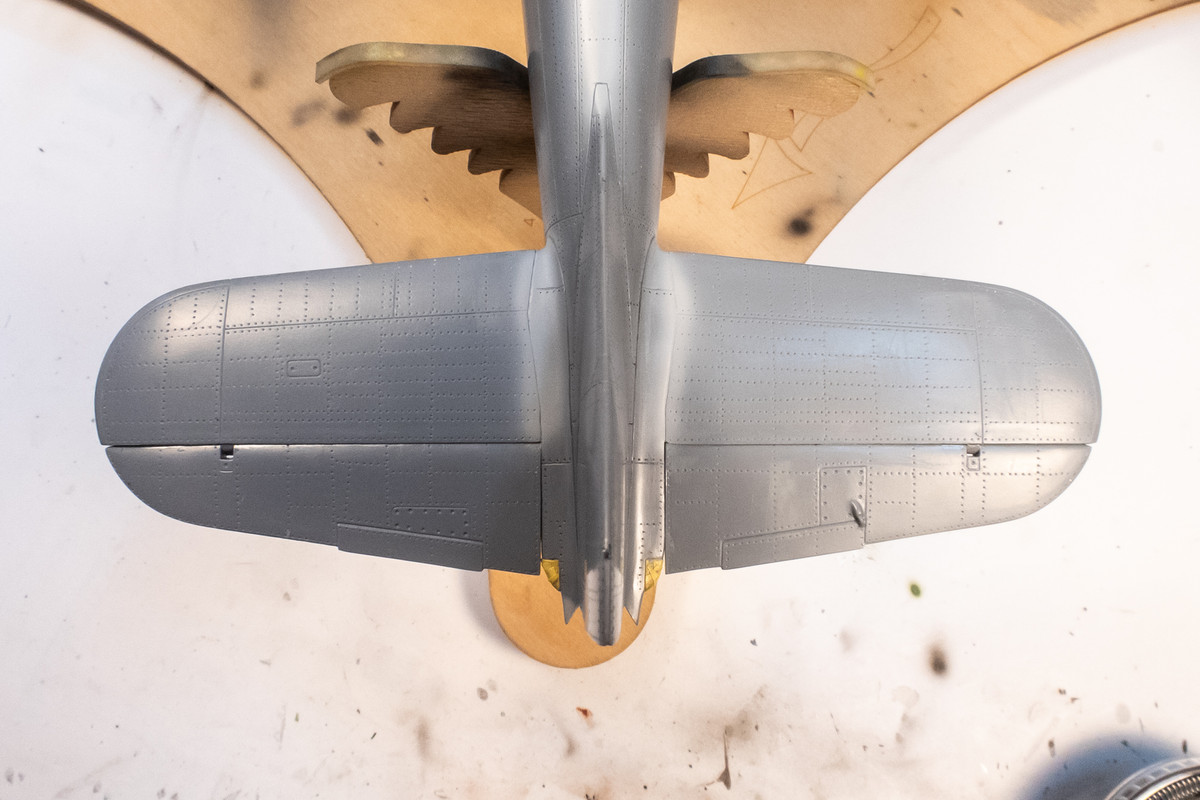
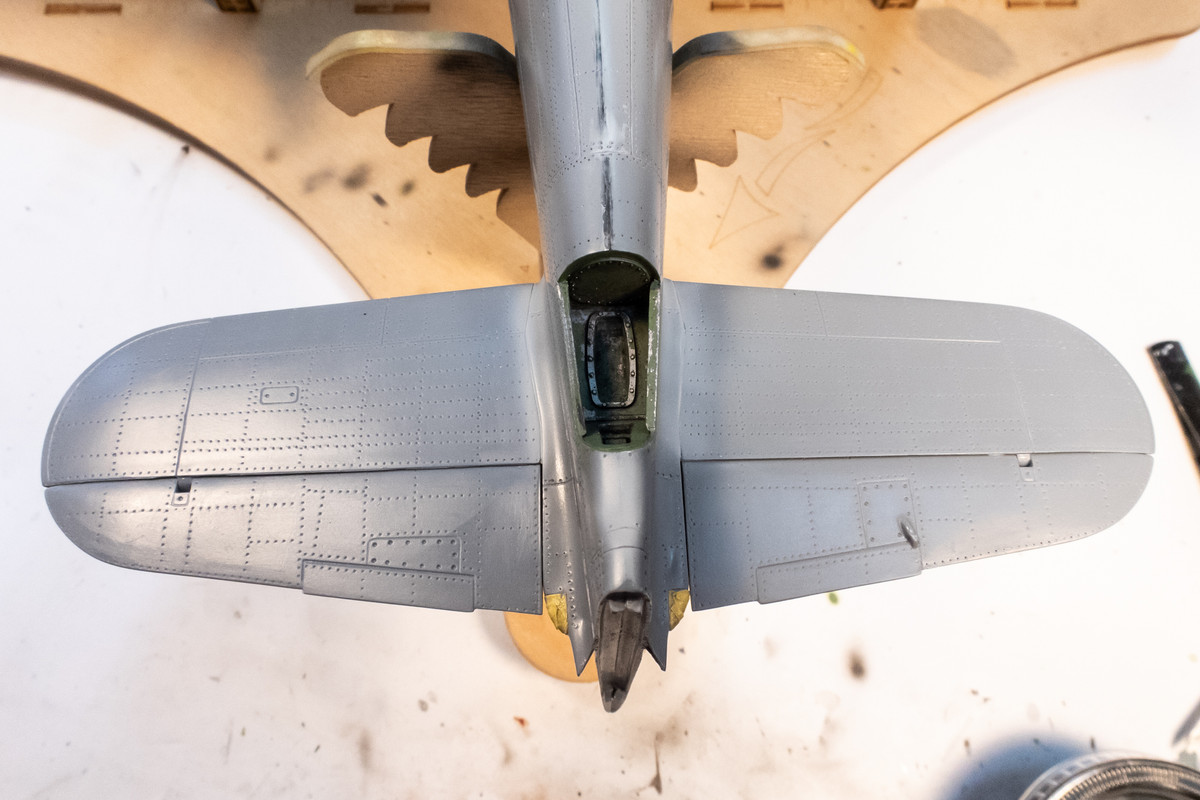
The horizontal stabilizers have been glued into place. I'll be addressing the gaps with Milliput and Mr Surfacer.
Image
Image

Making sure the stabs are on straight.
Image

Weathering applied to the drop tanks. Kind of a lazy approach I've been tinkering with lately. Splattering watered down pastel wash onto a flat finish. Creates little stains that can be wiped off to modulate the effect. You can build layers of this stuff in different colors to achieve some tonal depth to the stains. The clear pylons have not been glued on yet so I can still work on the weathering if I feel like it.
Image

The engine bulkhead has been similarly weathered.
Image

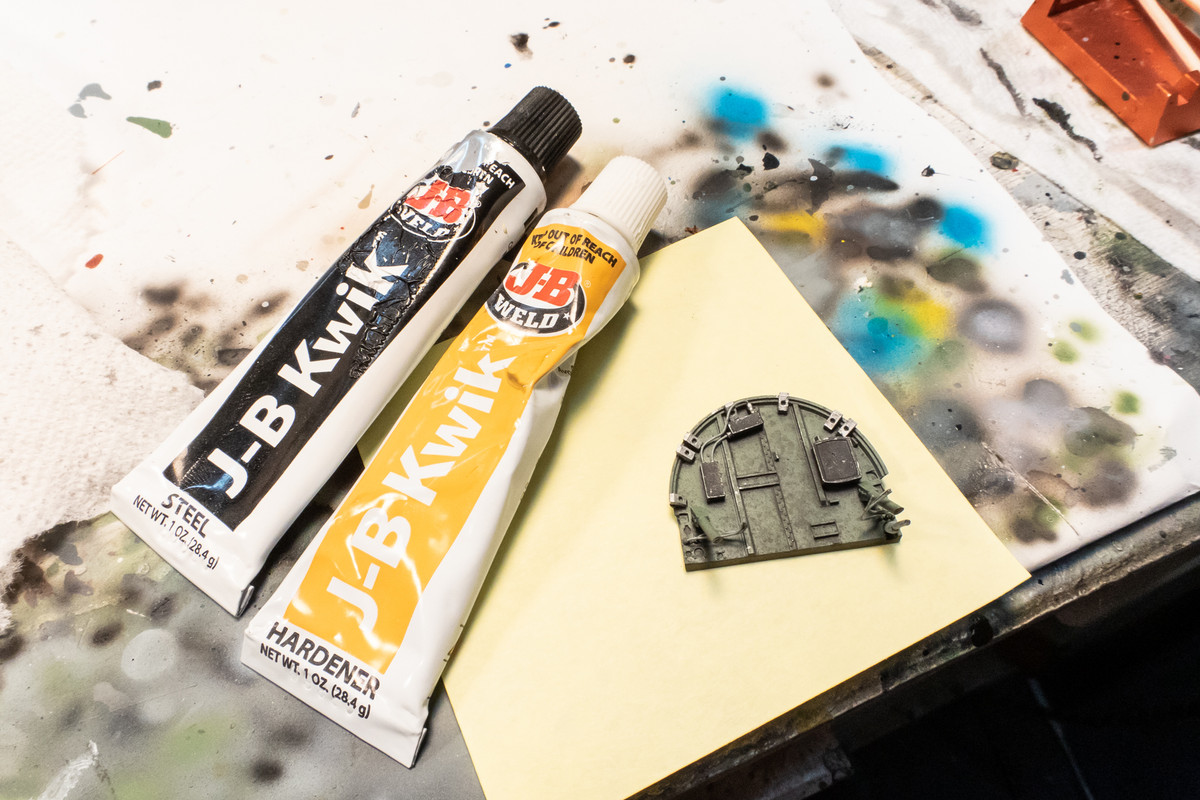
I'm ready to glue the bulkhead into place. I need a strong attachment but I also some time to finesse the positioning so this JB Kwik Weld is a good choice. It starts hardening about five minutes after mixing.
Image

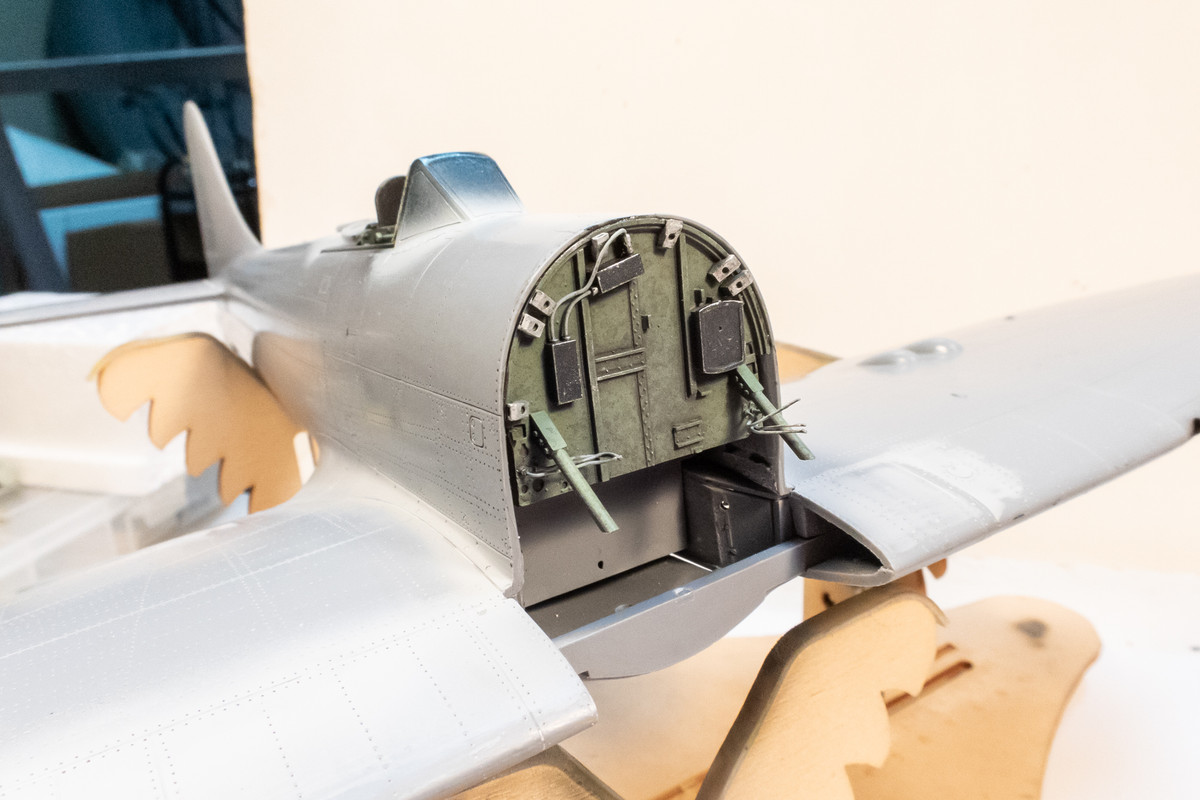
The bulkhead has been glued into place. There are some gaps around the circumference that I'm going to have to tidy up but before I do that, I'll verify that the engine/nose assembly fits without interference. Hopefully, the dry-ftting has avoided the need for any awkward trimming.
Image
John aka JKim
-----------<><
Image
User avatar
BlackSheep214
Elite Member
Posts: 13409
Joined: Sun Apr 06, 2014 8:47 pm

Re: 1/32 Special Hobby Hawker Tempest Mk V

Post by BlackSheep214 »

:wow: :wow: :wow: :wow: :wow: :wow:
“Who controls the skies, controls the fate of this Earth”

Author unknown- 352nd Fighter Group, Blue-Nosed Bastards of Bodney

“Send one plane it’s a sortie; send two planes it’s a flight; send four planes it’s a test of airpower. - Richard Kohn
User avatar
LyleW
Admin
Posts: 15035
Joined: Fri Dec 13, 2013 7:25 am
Location: Mt. Washington KY

Re: 1/32 Special Hobby Hawker Tempest Mk V

Post by LyleW »

BlackSheep214 wrote: :wow: :wow: :wow: :wow: :wow: :wow:

Exactly!
To make each build less crappy than the last one. Or, put another way, "Better than the last one, not as good as the next one!"..
User avatar
tempestjohnny
Elite Member
Posts: 3804
Joined: Sat Oct 15, 2016 4:51 am
Location: Naples. FL

Re: 1/32 Special Hobby Hawker Tempest Mk V

Post by tempestjohnny »

BlackSheep214 wrote: :wow: :wow: :wow: :wow: :wow: :wow:
Yeah that .....
User avatar
jkim
Elite Member
Posts: 4073
Joined: Mon Apr 10, 2017 4:03 pm

Re: 1/32 Special Hobby Hawker Tempest Mk V

Post by jkim »

Thanks guys! Appreciate it!

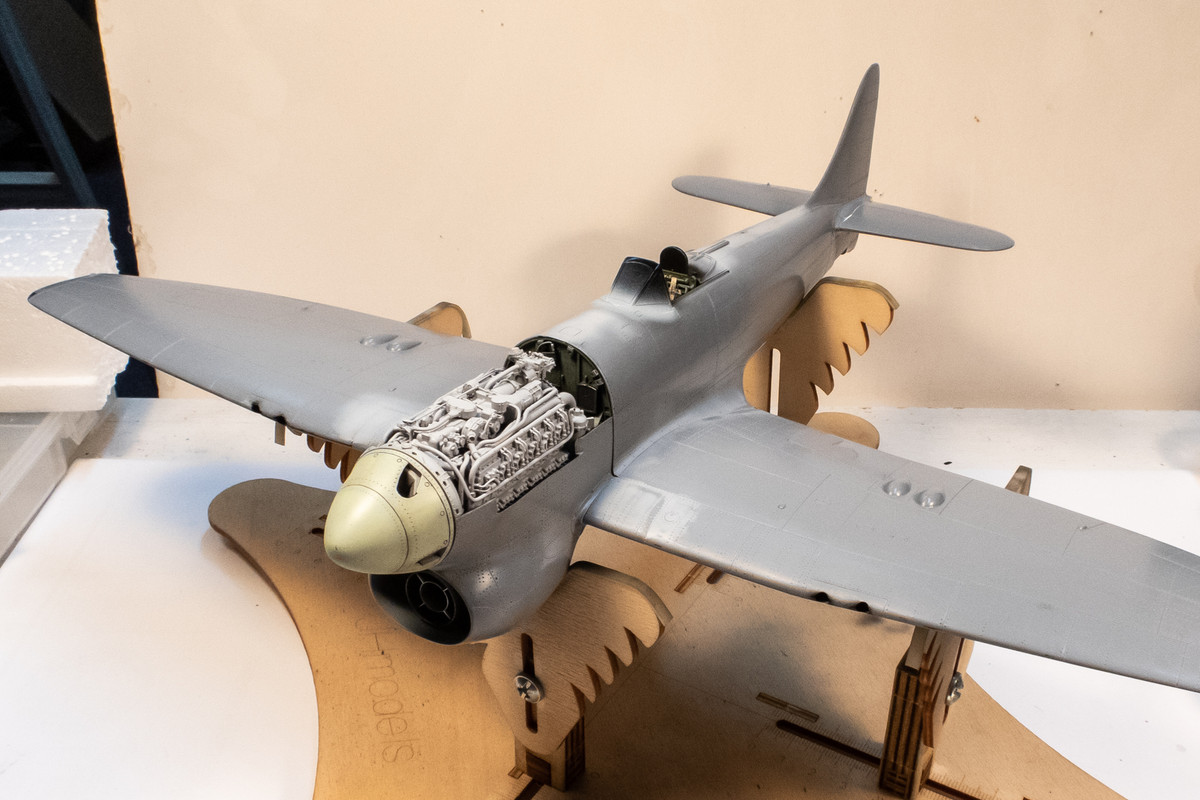
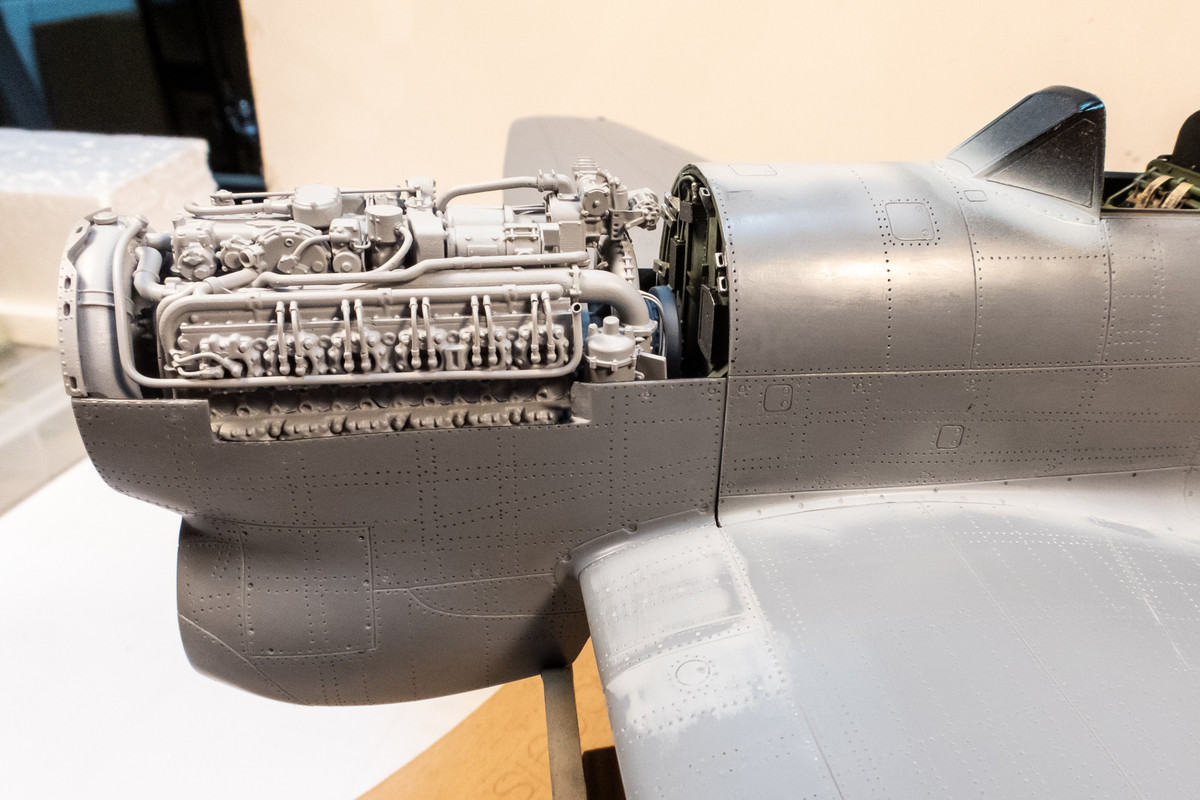
After the bulkhead was glued into place, I verified that the nose/engine was able to slide into place without interference.
Image

There are some slight overhangs that I'm hoping can be corrected with finger pressure during the gluing process. Bigger gaps will be filled with sheet styrene or sprue so that I can increase the joint strength as much as possible.
Image
Image

The width of the nose section is a bit tight at the forward edge of the wing roots. It may be causing a bit of anhedral so some slight trimming might be necessary.
Image

After the test fit, the seam around the edges of the bulkhead were filled and cleaned up. I'm not going to bother doing any paint touch-ups now as it will be easier to do that after the fuselage camo painting is done.
Image

The stabilizer joints have been cleaned up as well.
Image
Image
John aka JKim
-----------<><
Image
Post Reply

Return to “Aircraft Work in Progress”