Page 25 of 29
Re: Hasegawa 1/32 Fw 190D-9 Brown 4
Posted: Sat Oct 22, 2022 10:21 pm
by keavdog
The masks come off and boom! Fantastic
Re: Hasegawa 1/32 Fw 190D-9 Brown 4
Posted: Sun Oct 23, 2022 4:28 am
by tempestjohnny
Gorgeous results.
Re: Hasegawa 1/32 Fw 190D-9 Brown 4
Posted: Sun Oct 23, 2022 12:44 pm
by Medicman71
Wow! The painting looks perfect!
Re: Hasegawa 1/32 Fw 190D-9 Brown 4
Posted: Sun Oct 23, 2022 10:09 pm
by jkim
Thanks guys!
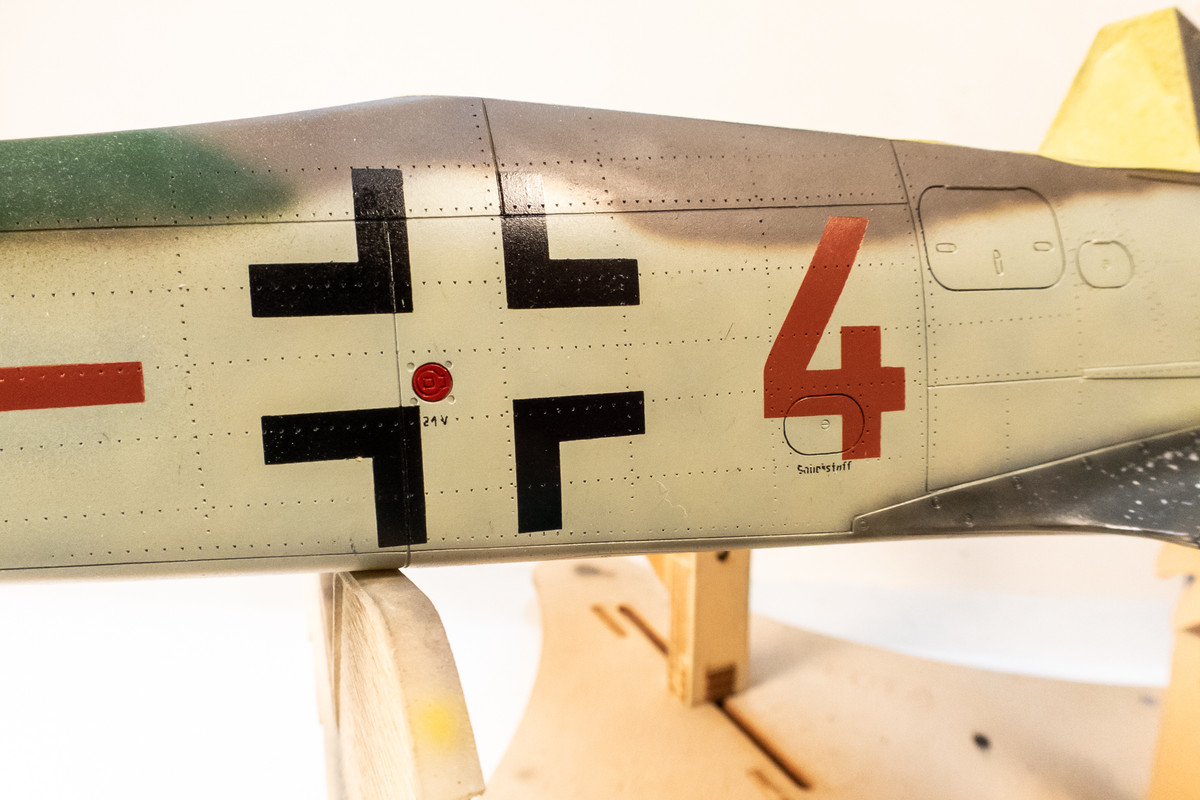
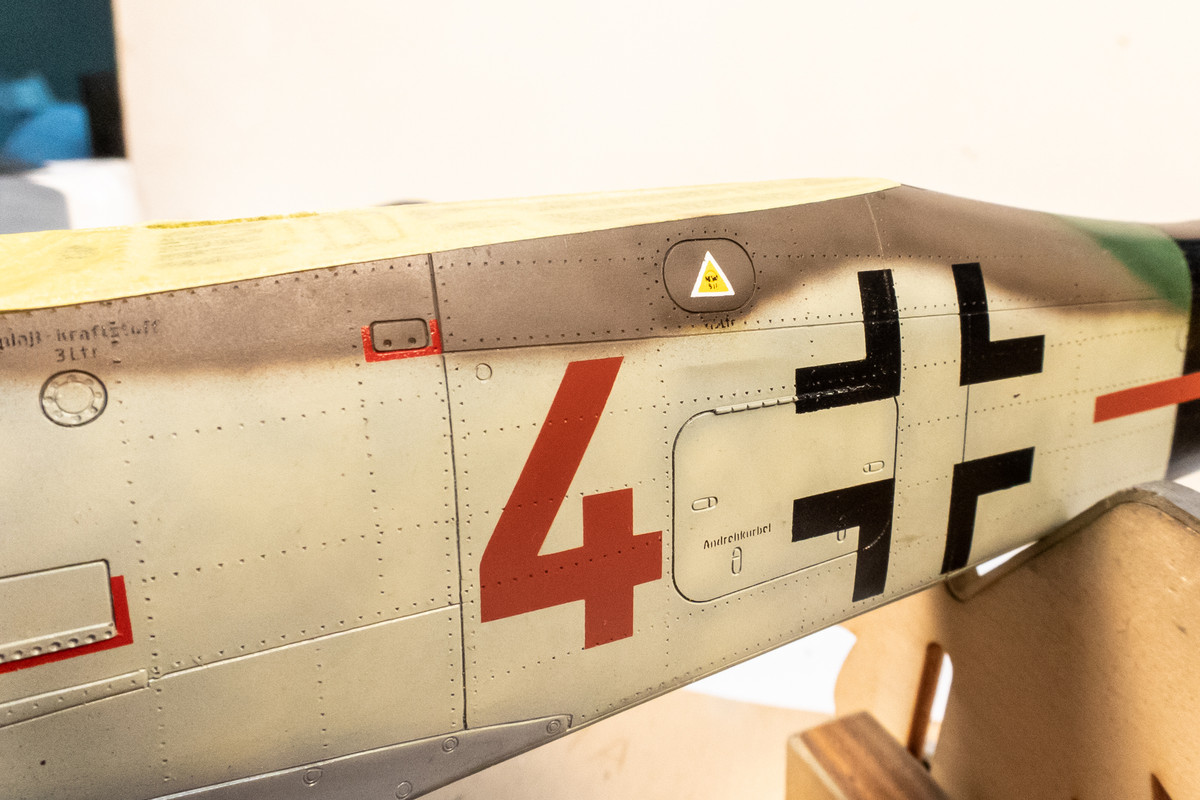
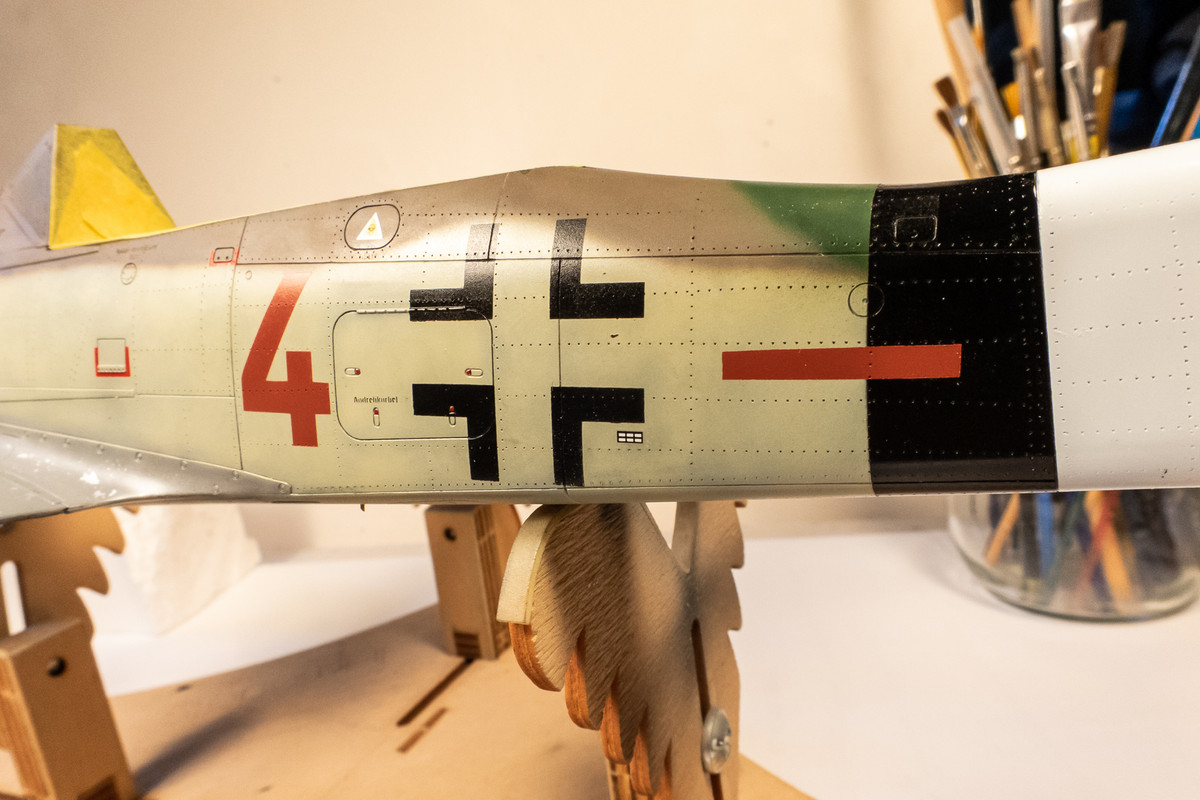
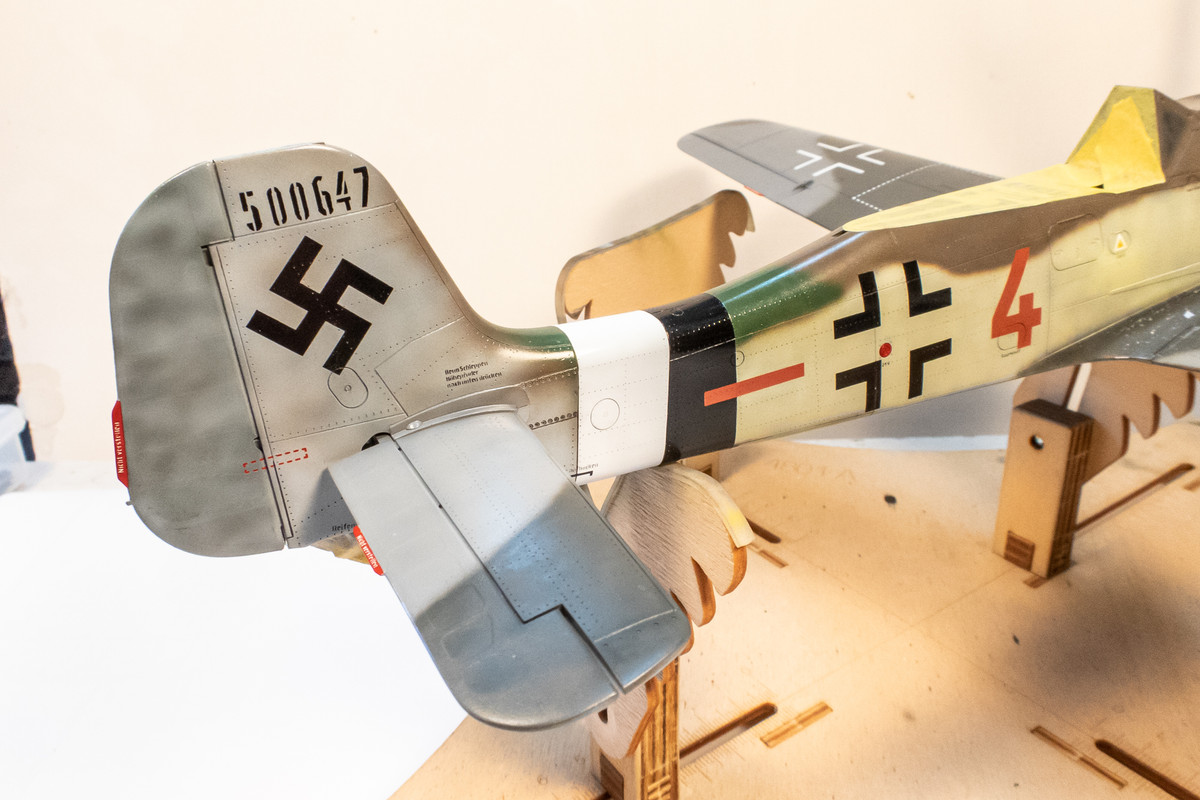
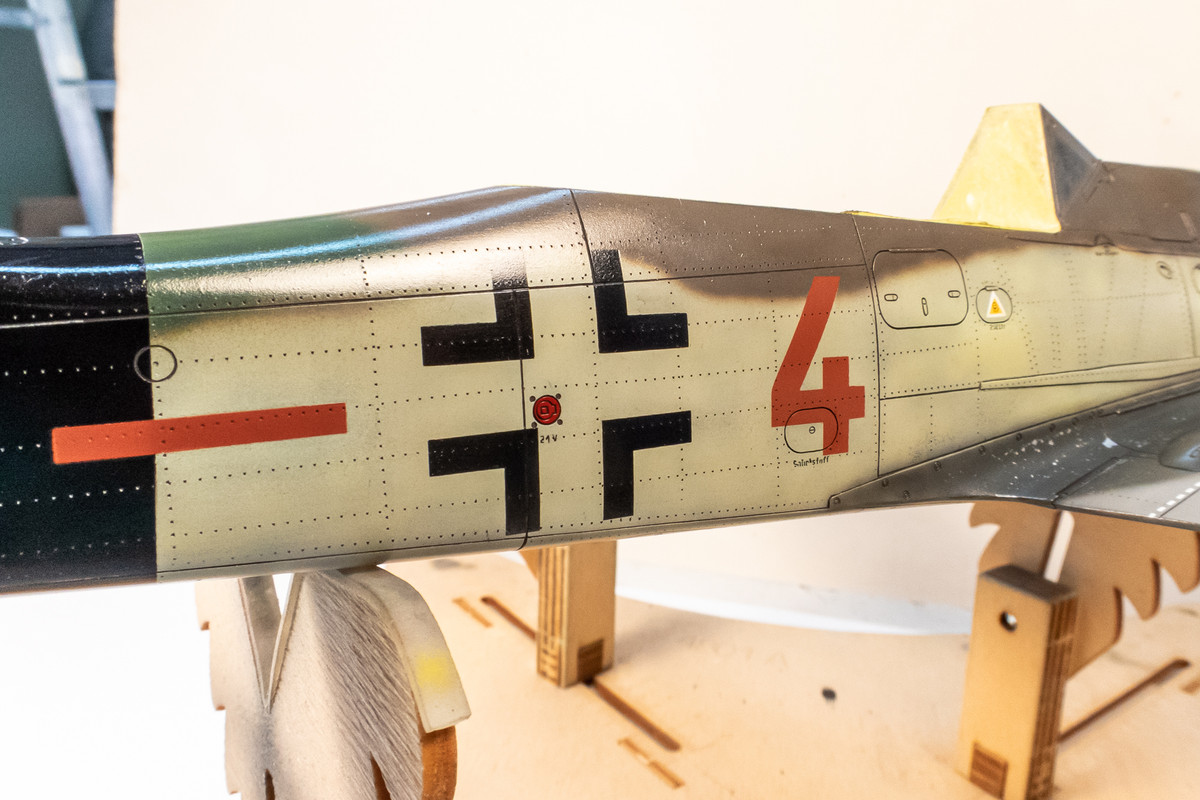
Not quite finished with the painting yet as I wanted to make a few corrections. First is the demarcation between the upper and lower camo colors in the vicinity of the fuselage cross.
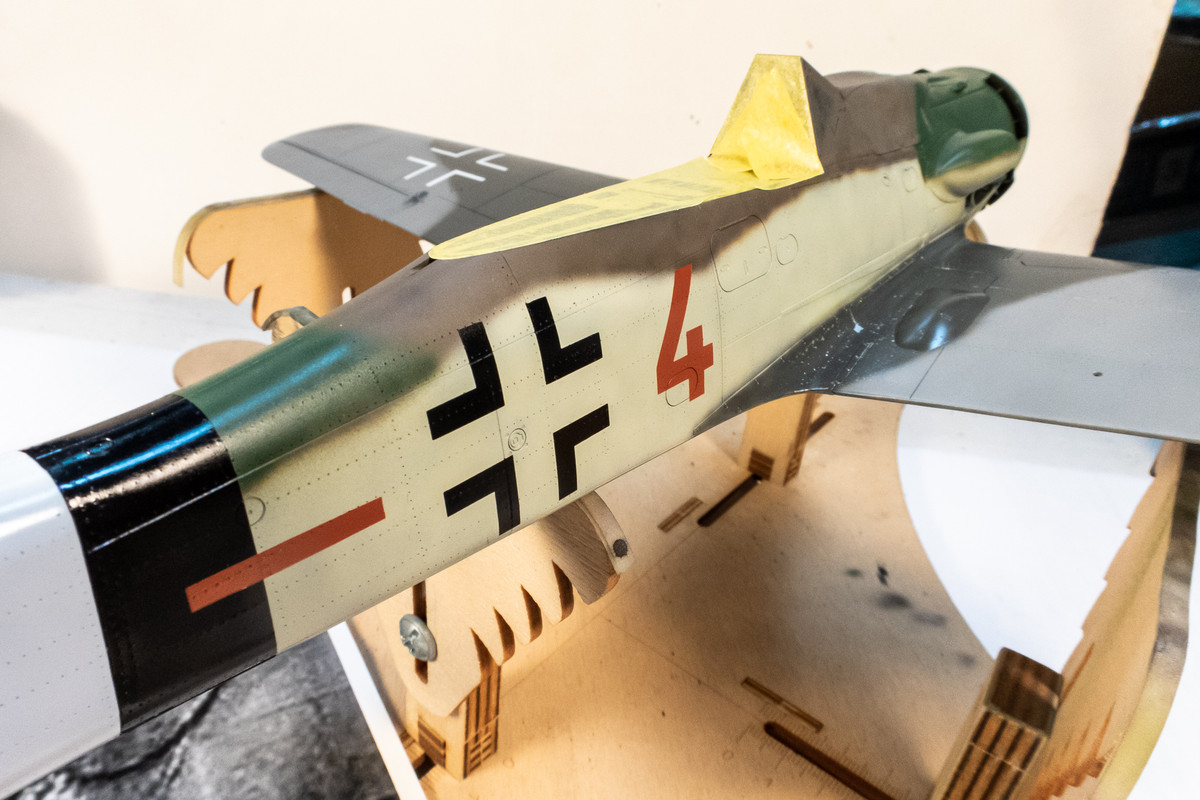
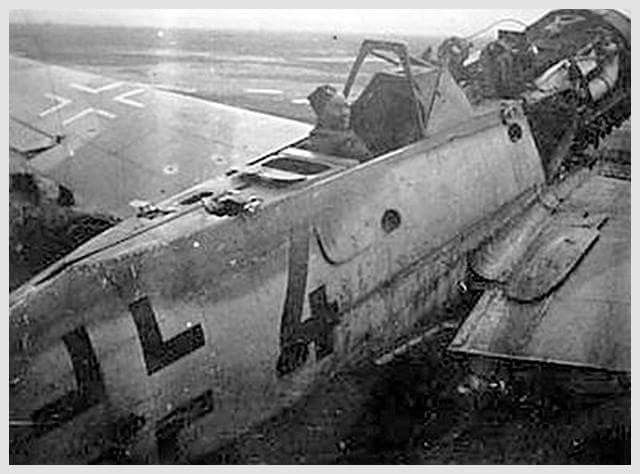
Since I have a photo of the starboard fuselage of Brown 4, I thought I'd try to match the demarcation line a little more closely.
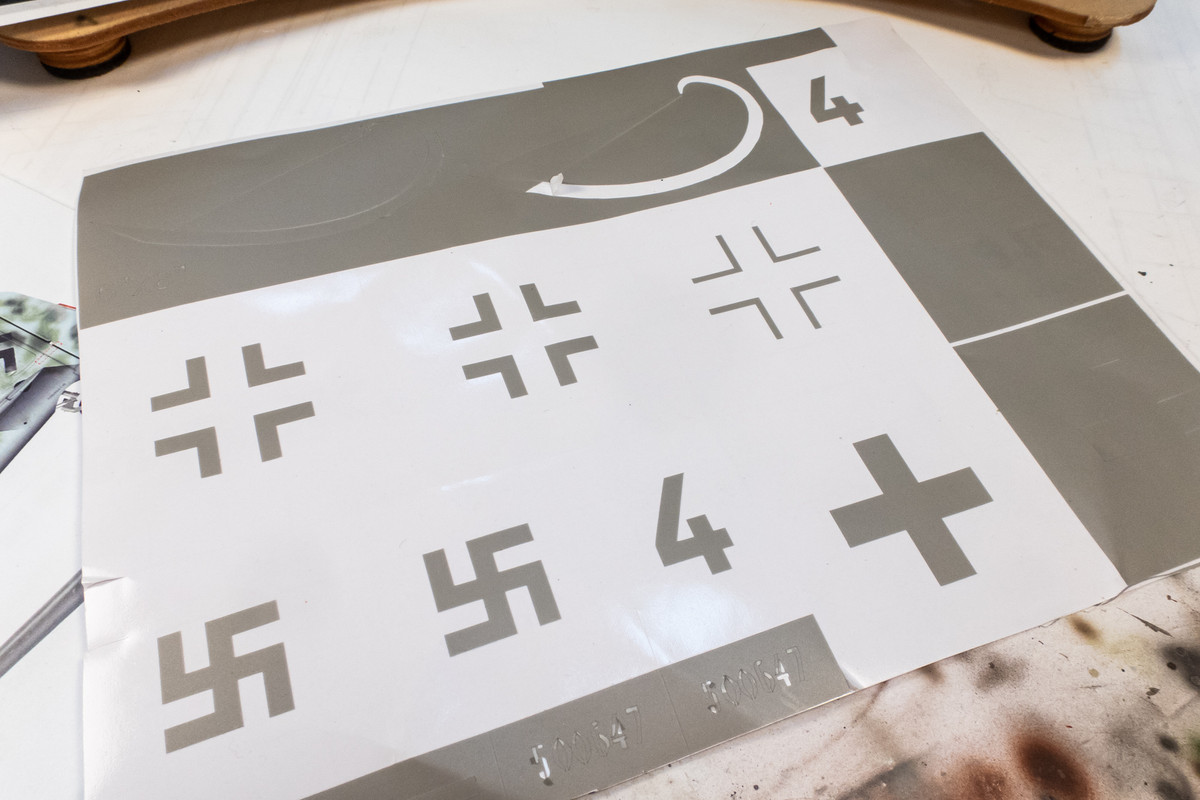
I'm not a huge stickler for this type of matching but this one is easy enough since I can use the leftover mask materials to protect the markings I've already painted.
After the minor correction...
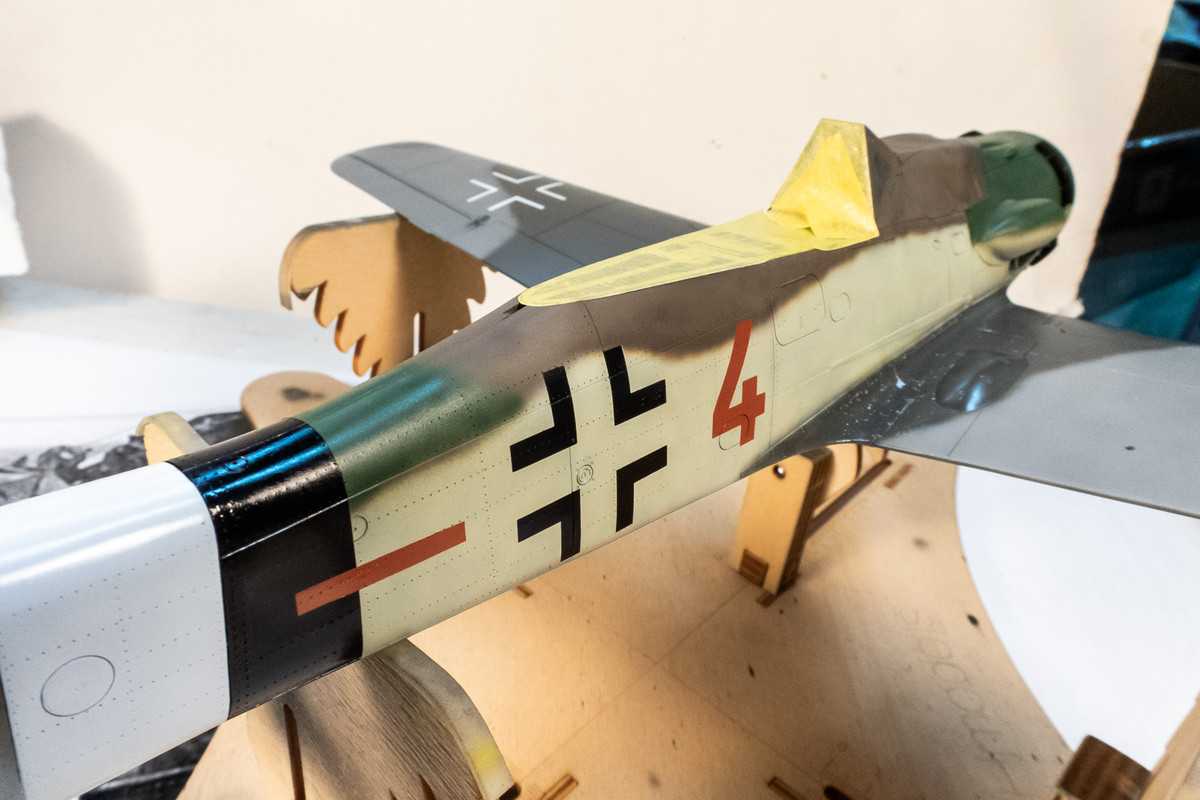
I also noticed that the brown bar on this side is slightly drooping so this was fixed as well. Yes, the bar is noticeably lighter than the "4" so I'll need to adjust that as well.
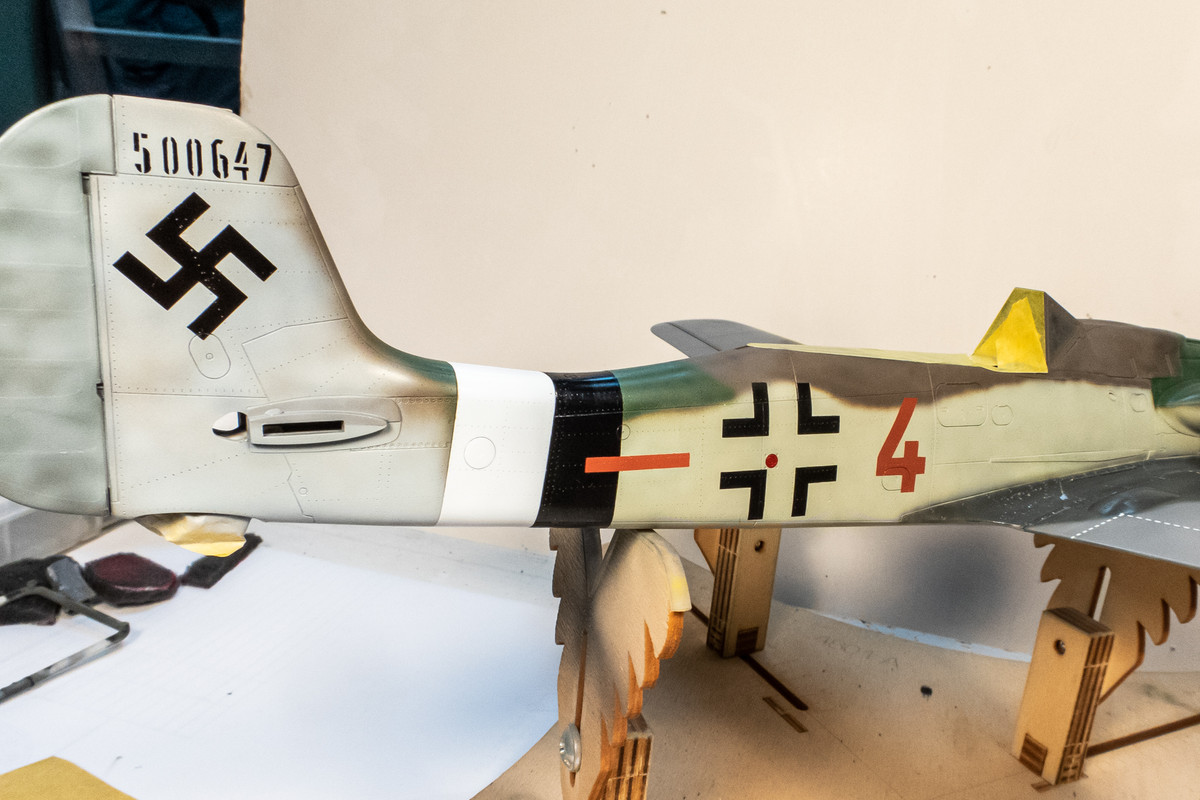
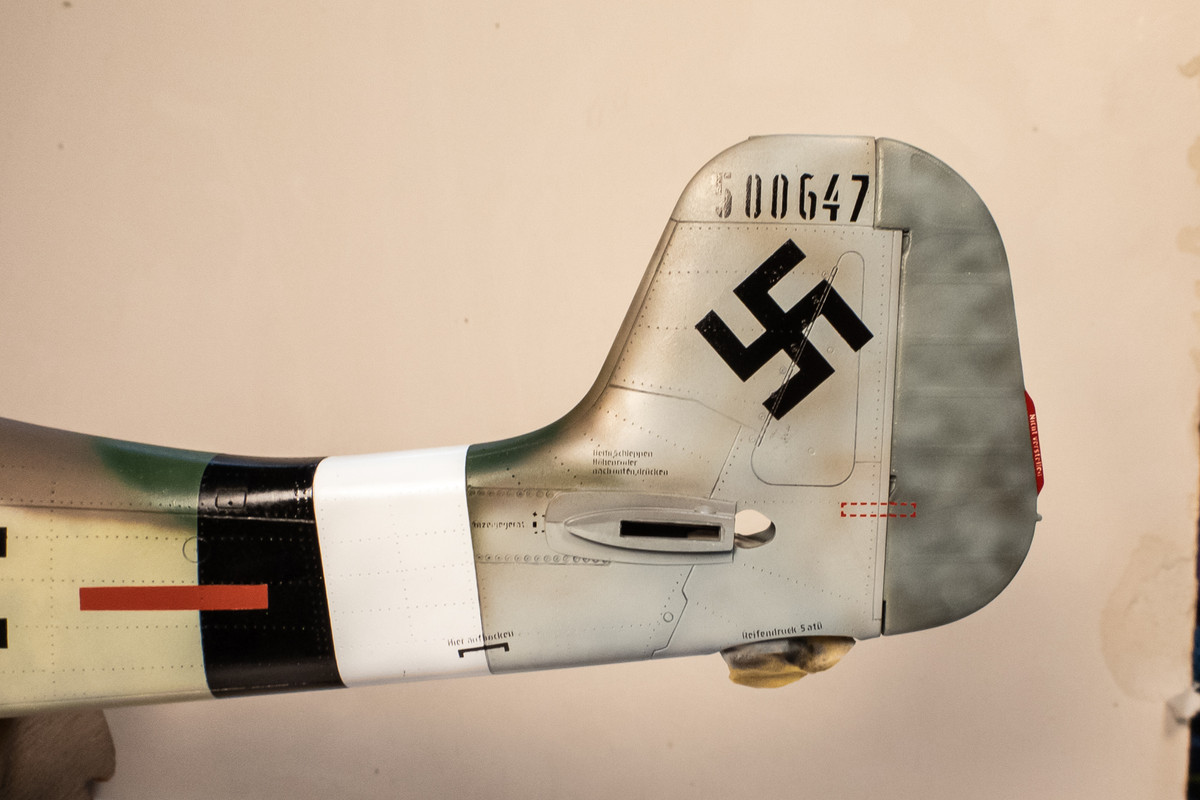
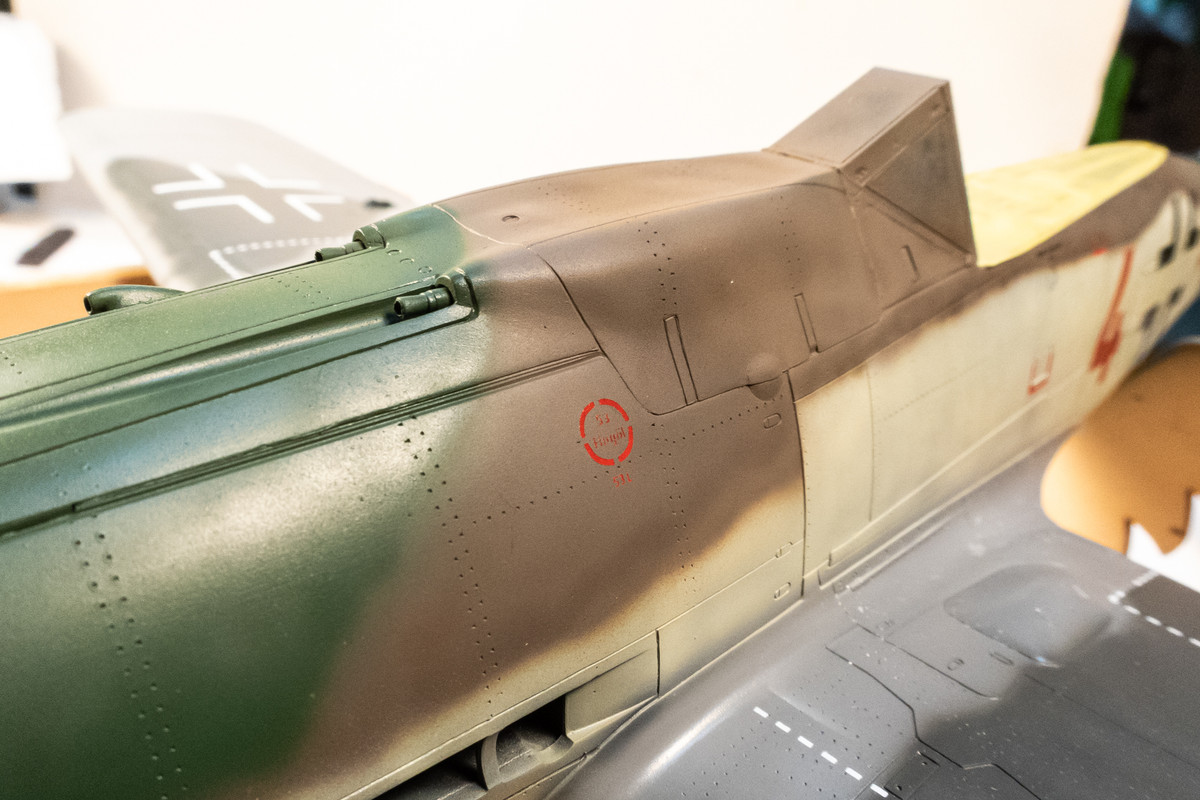
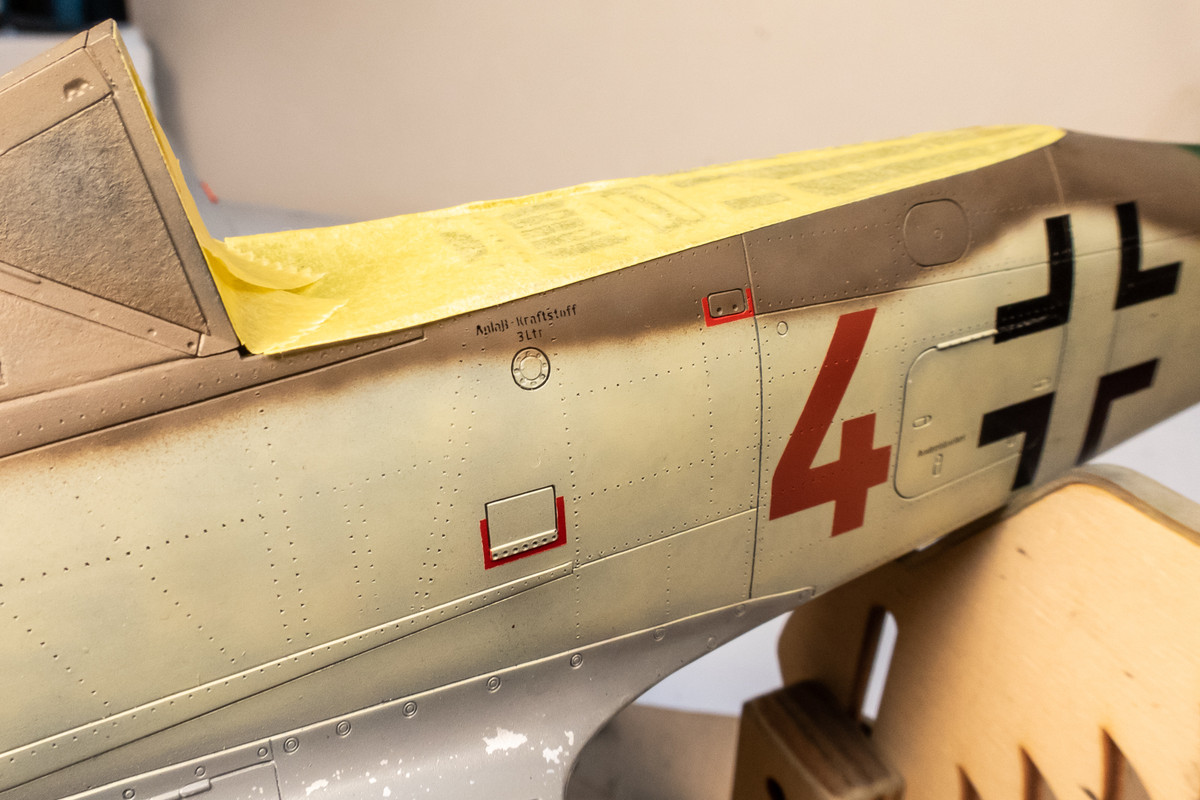
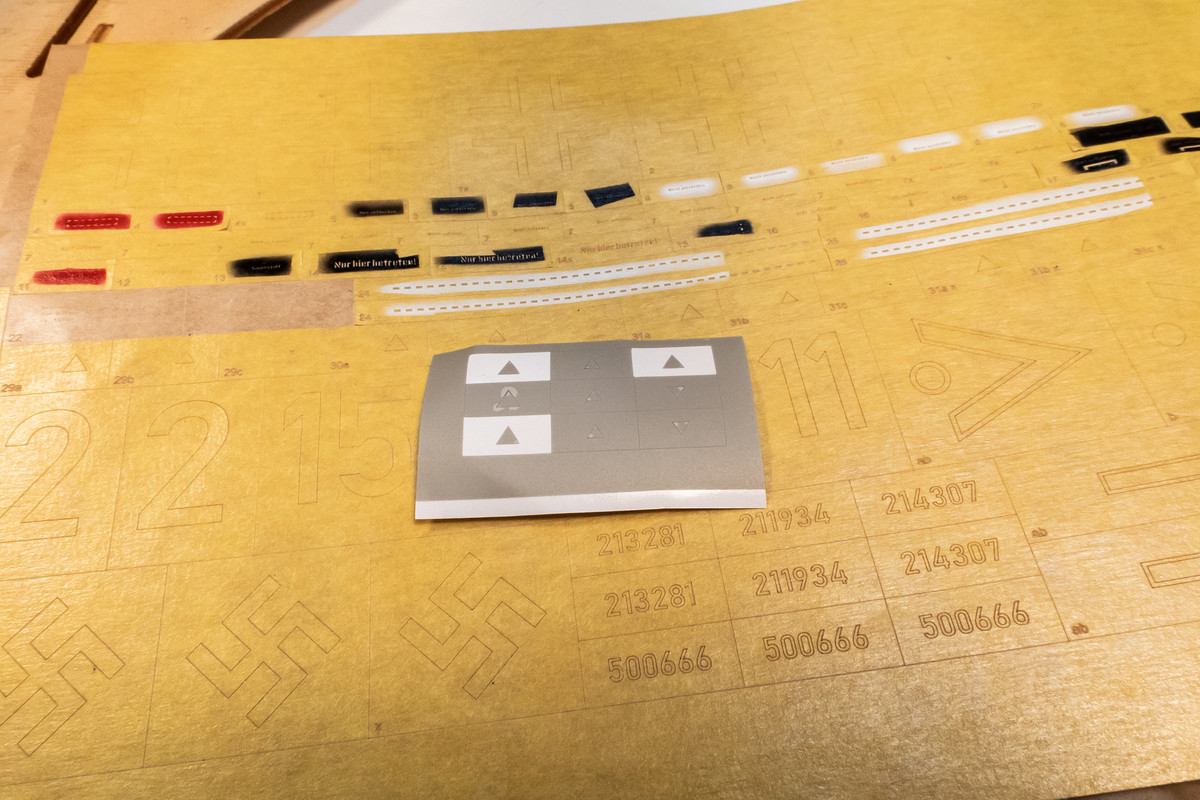
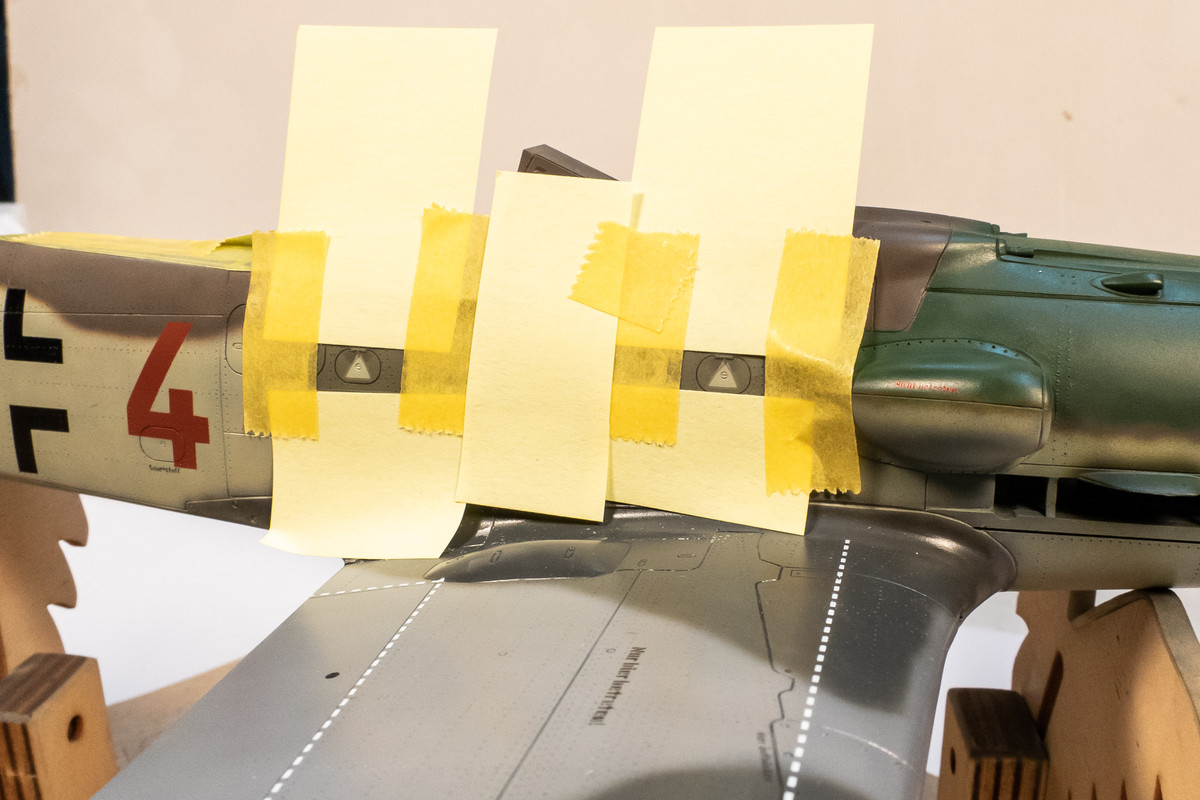
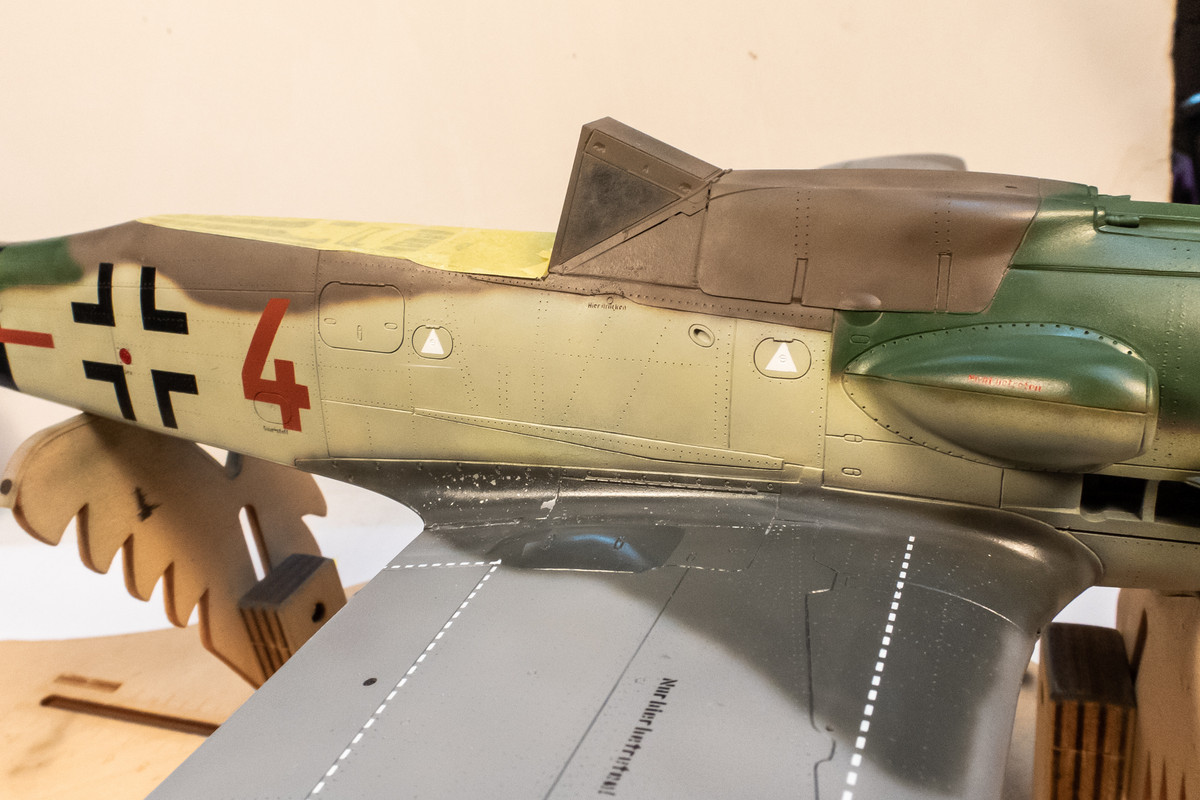
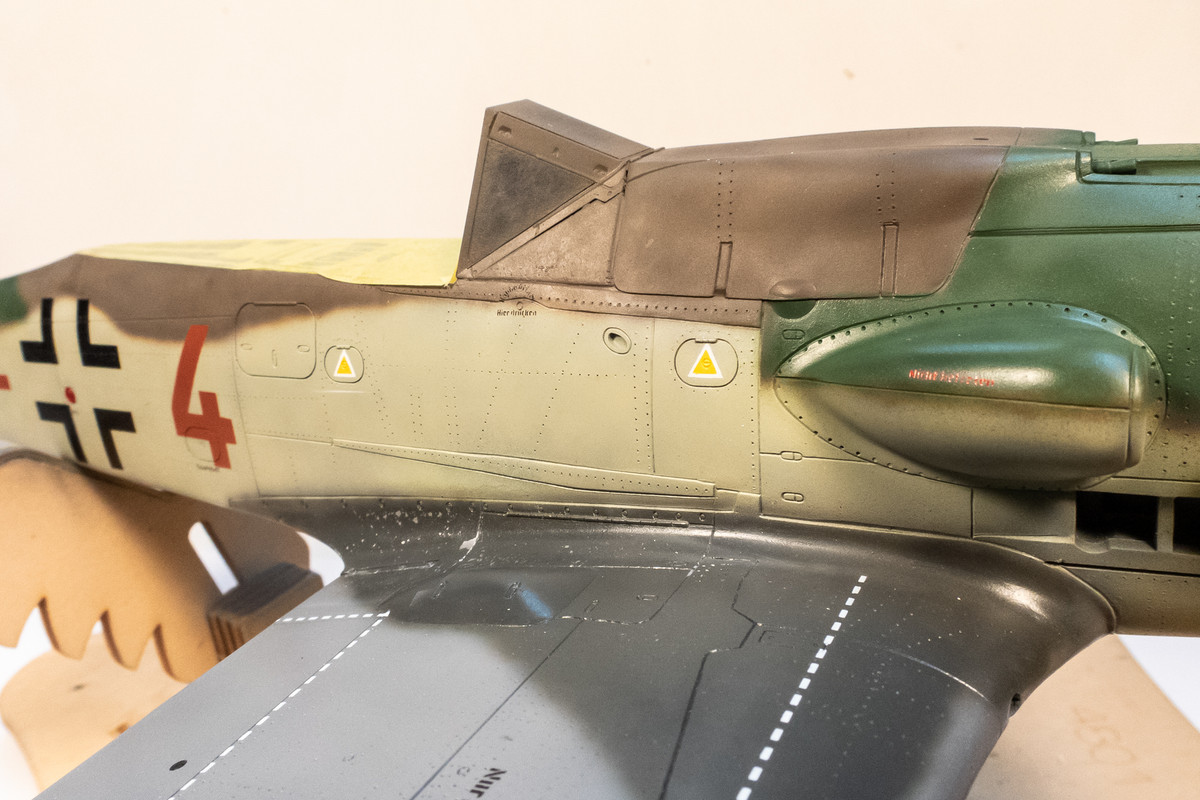
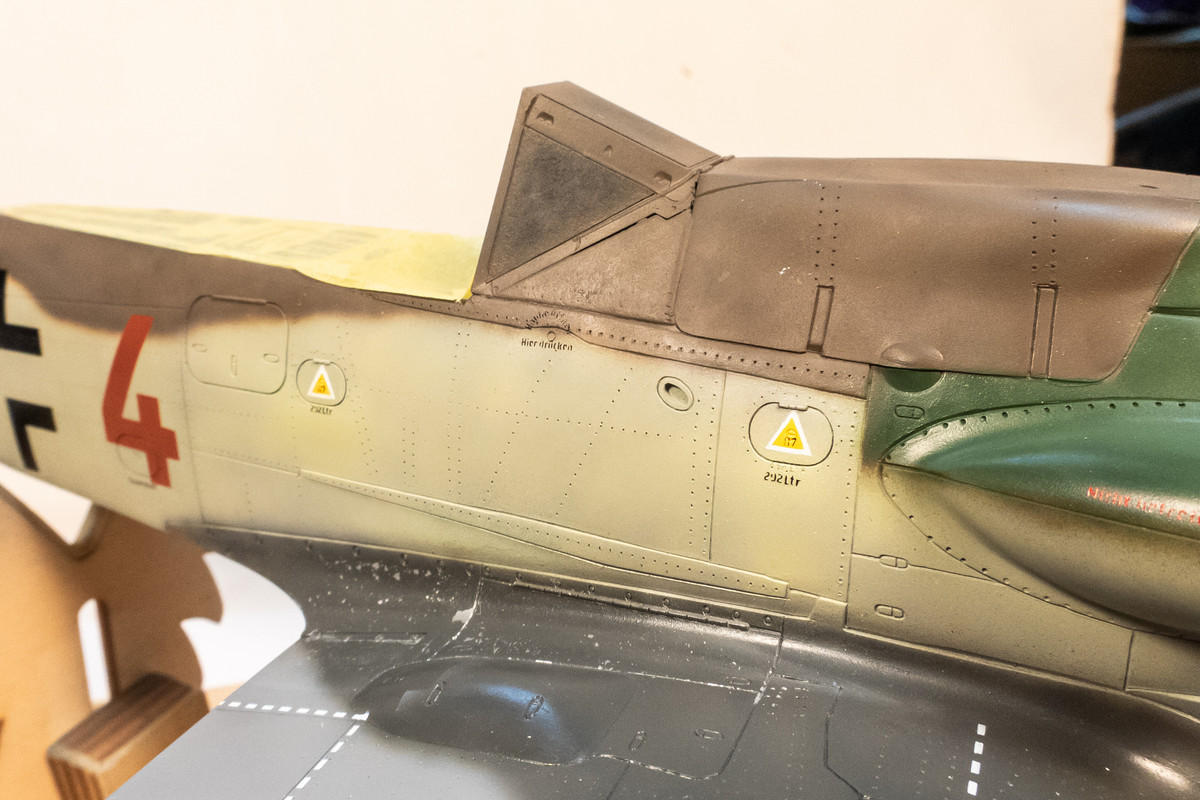
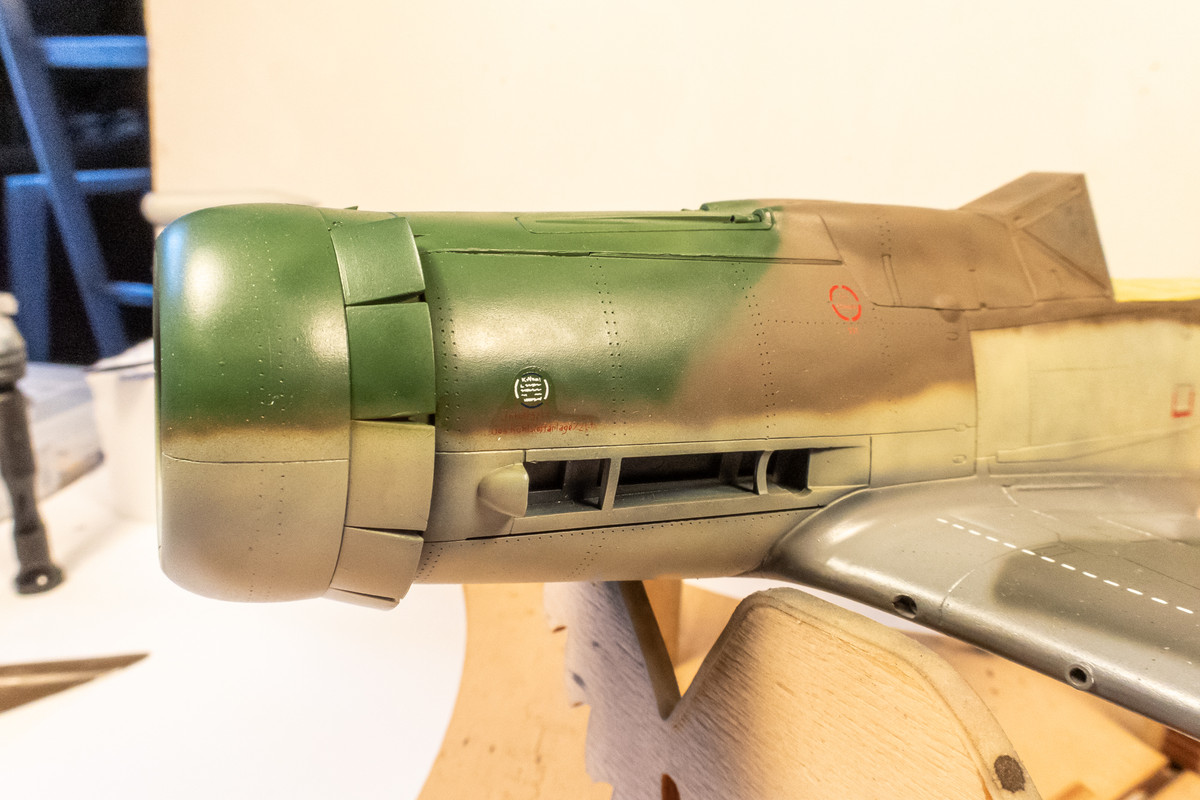
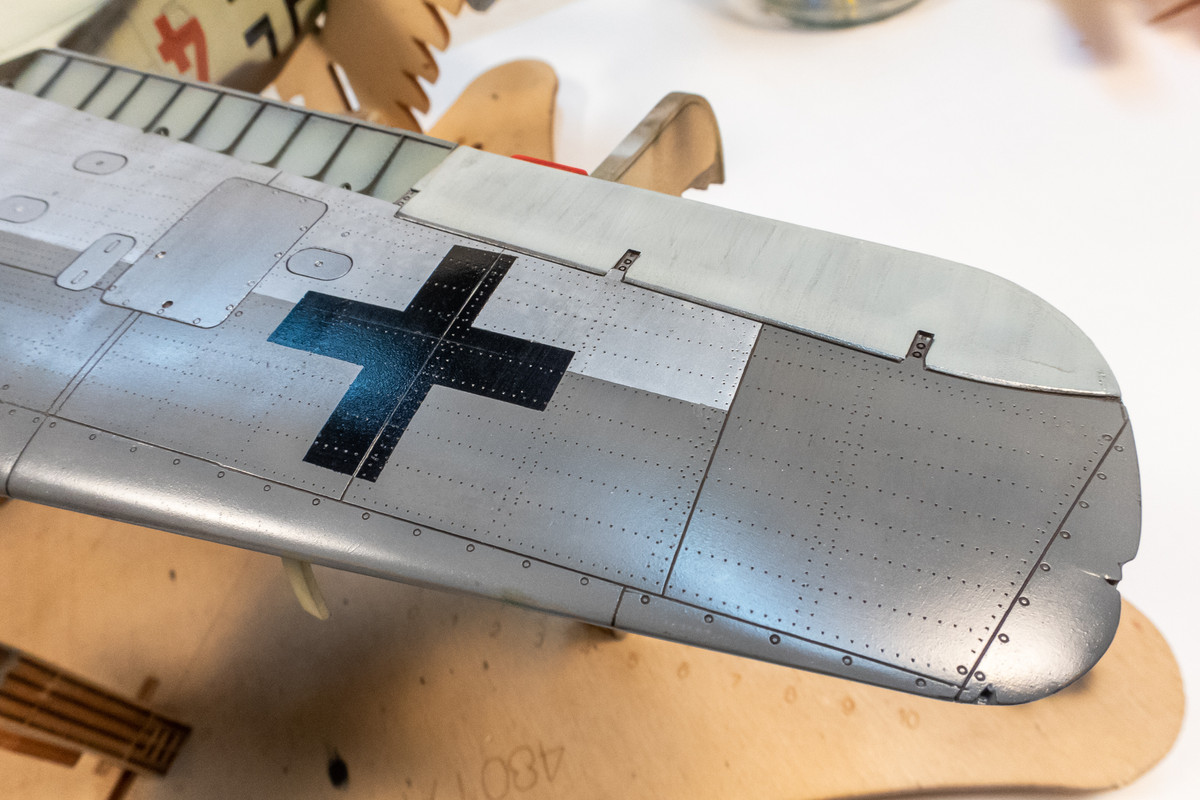
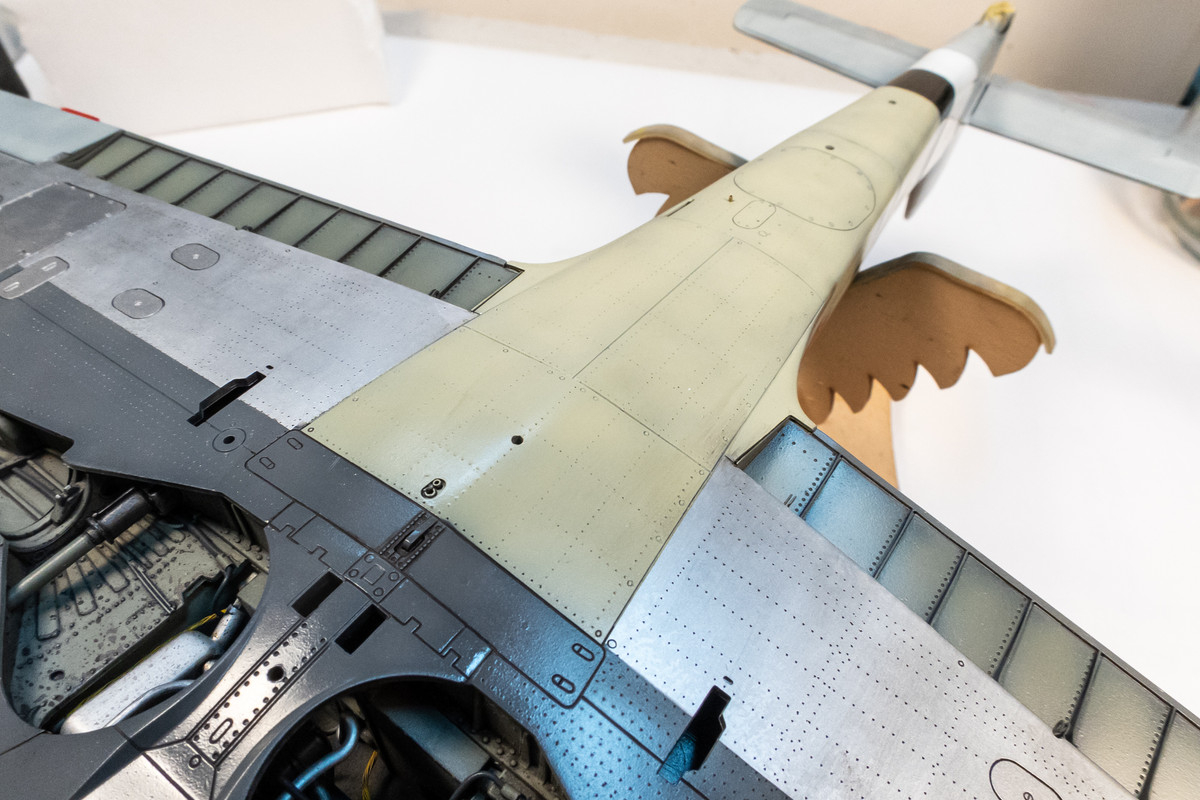
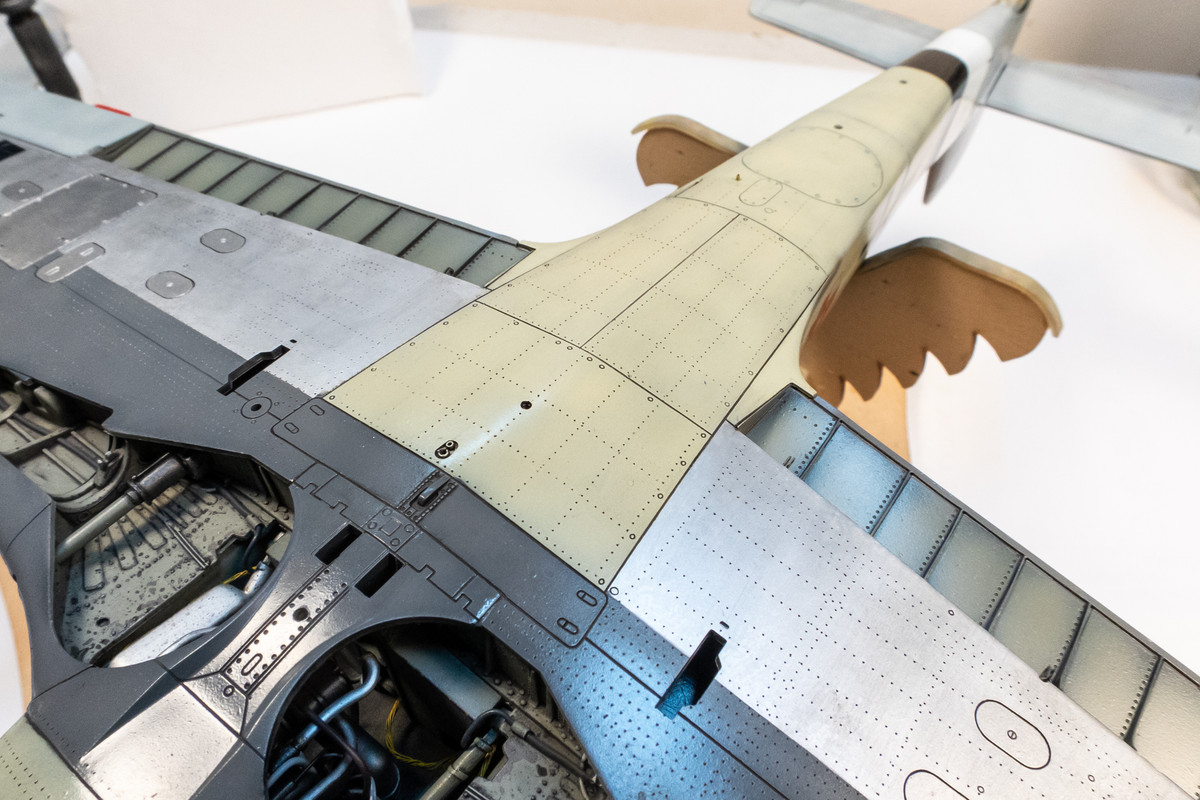
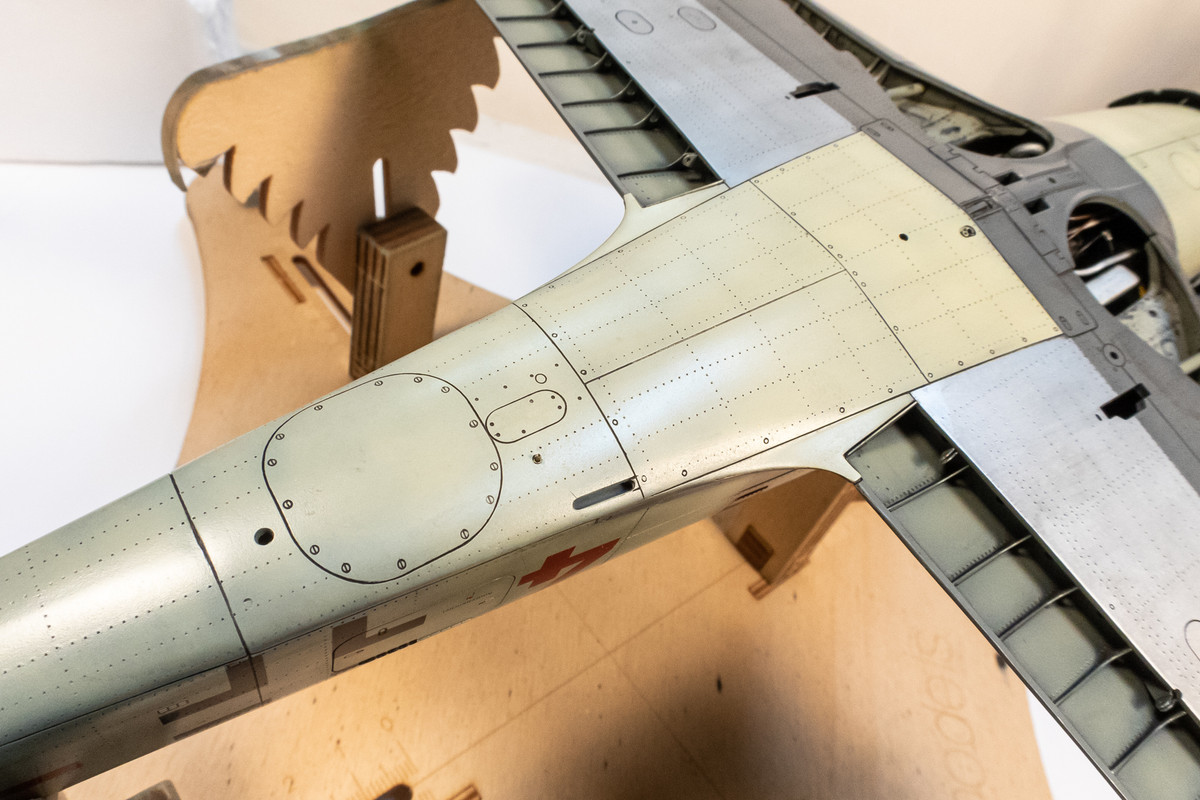
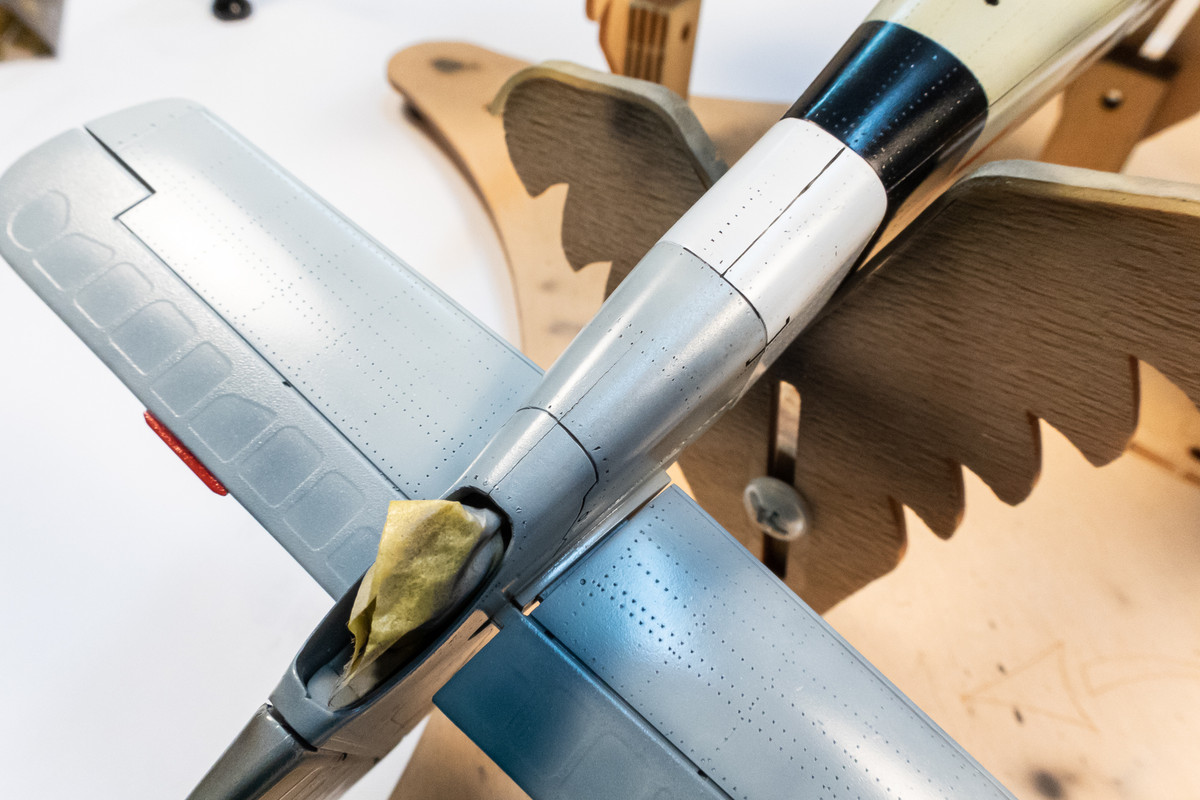
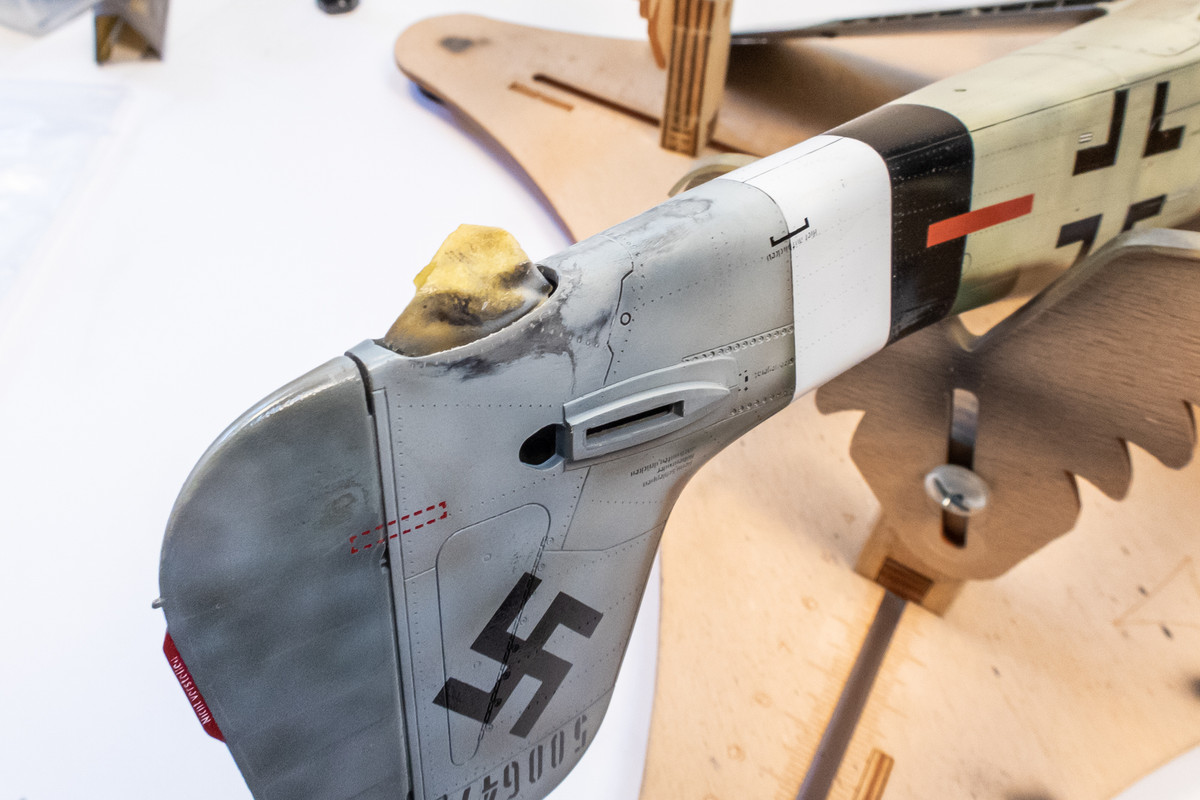
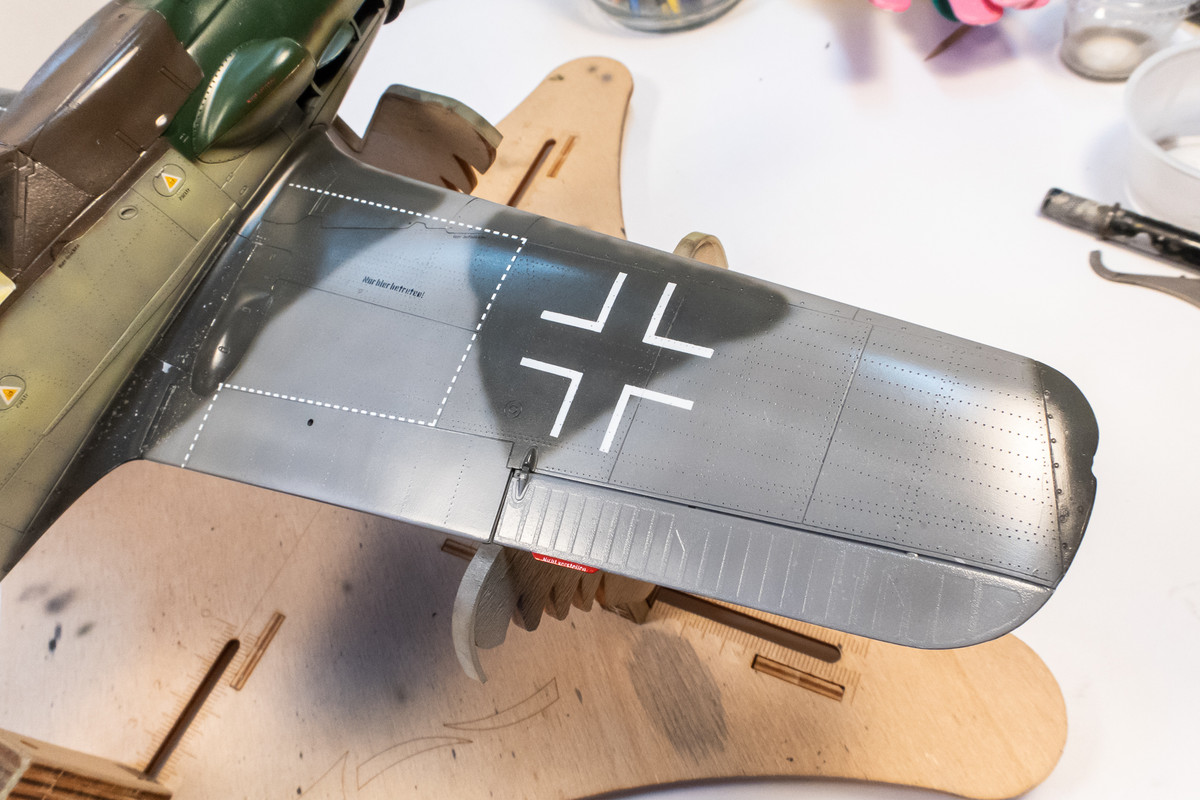
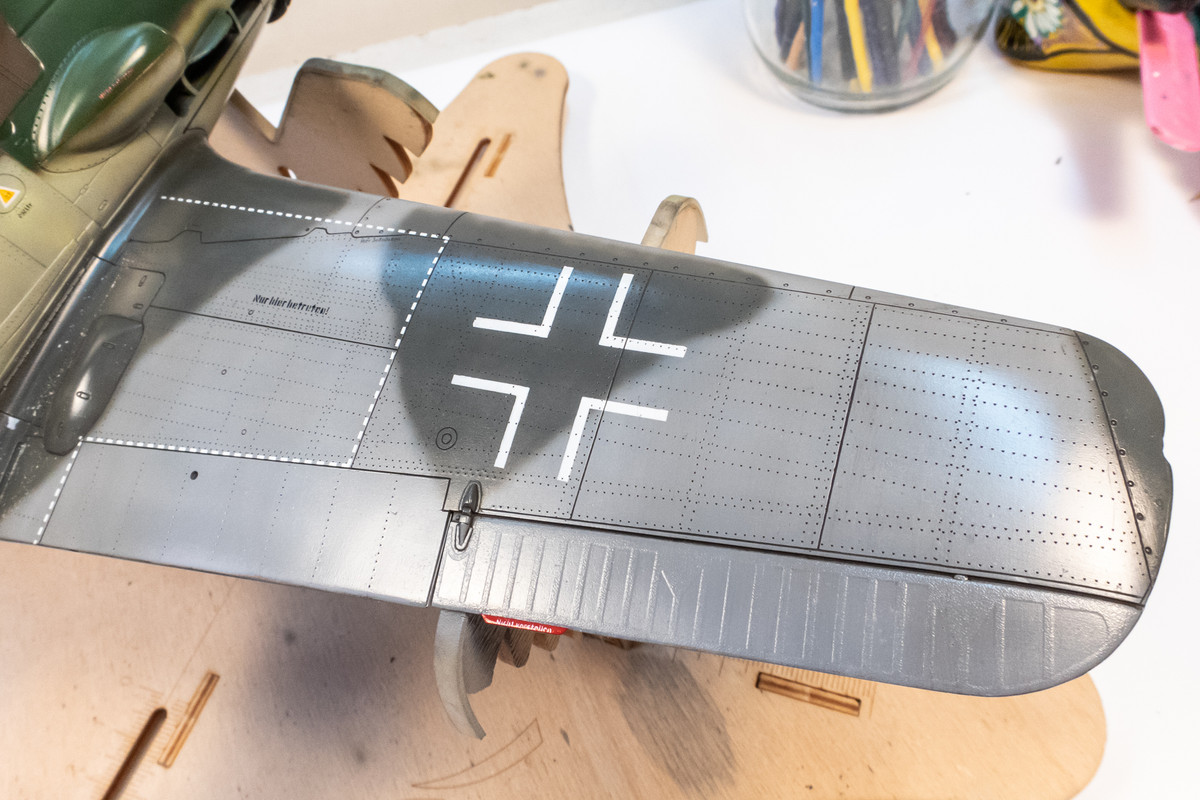
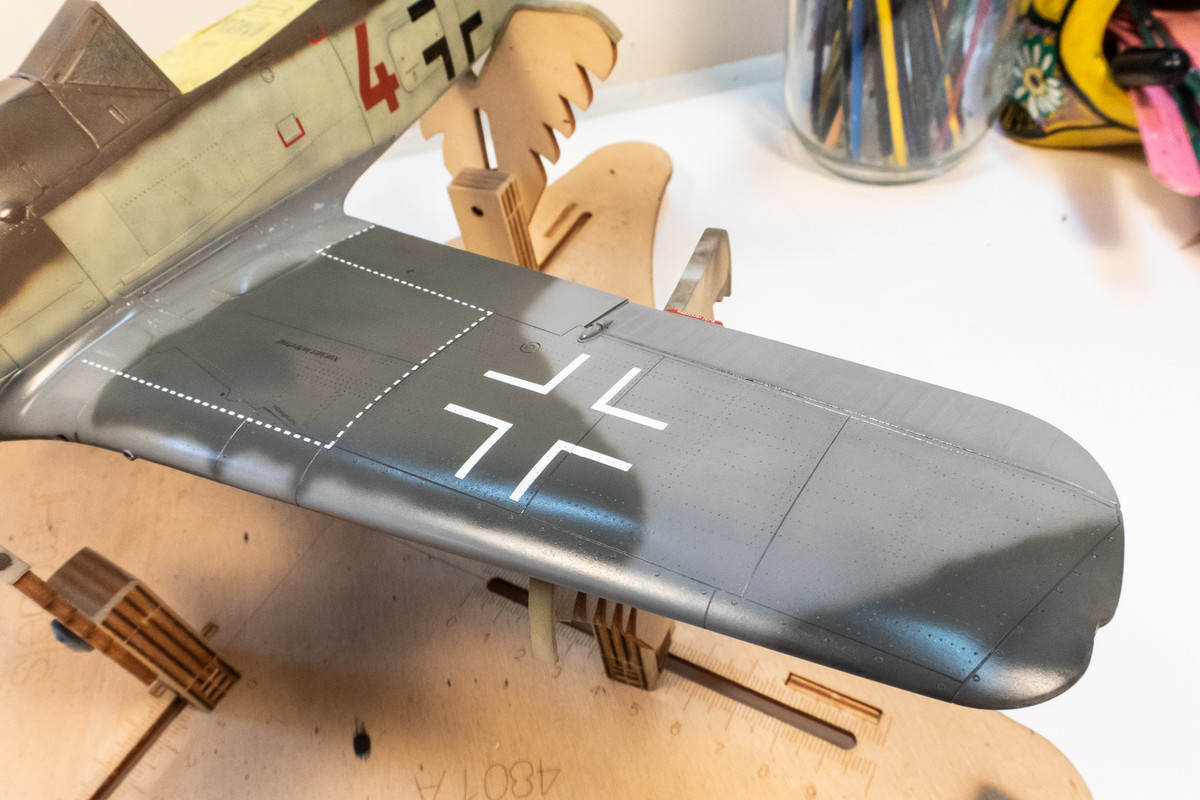
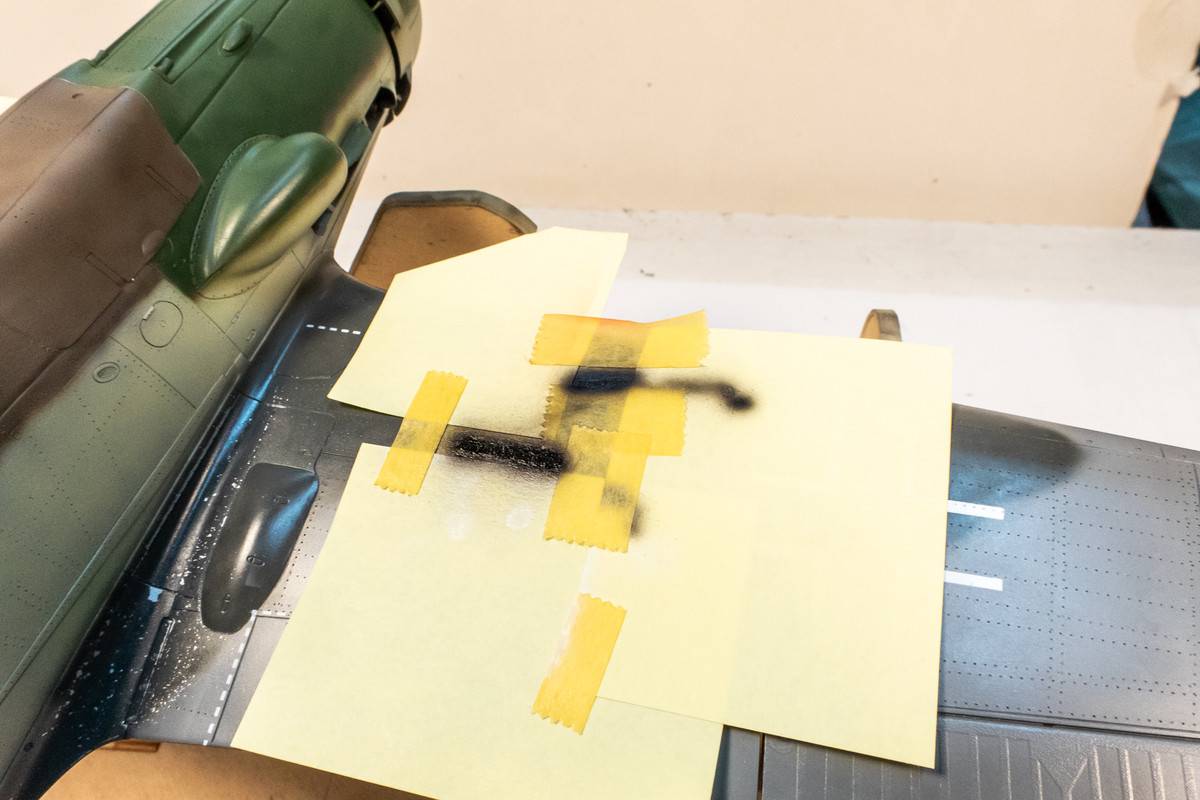
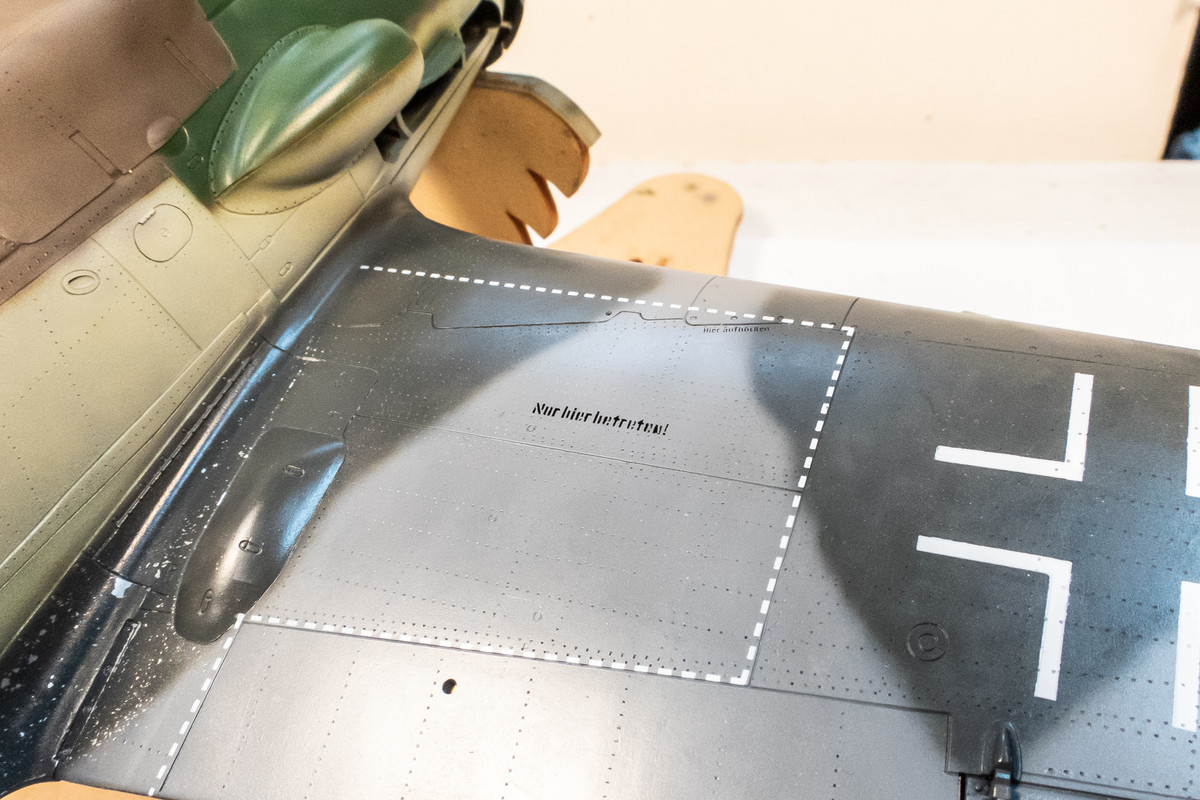
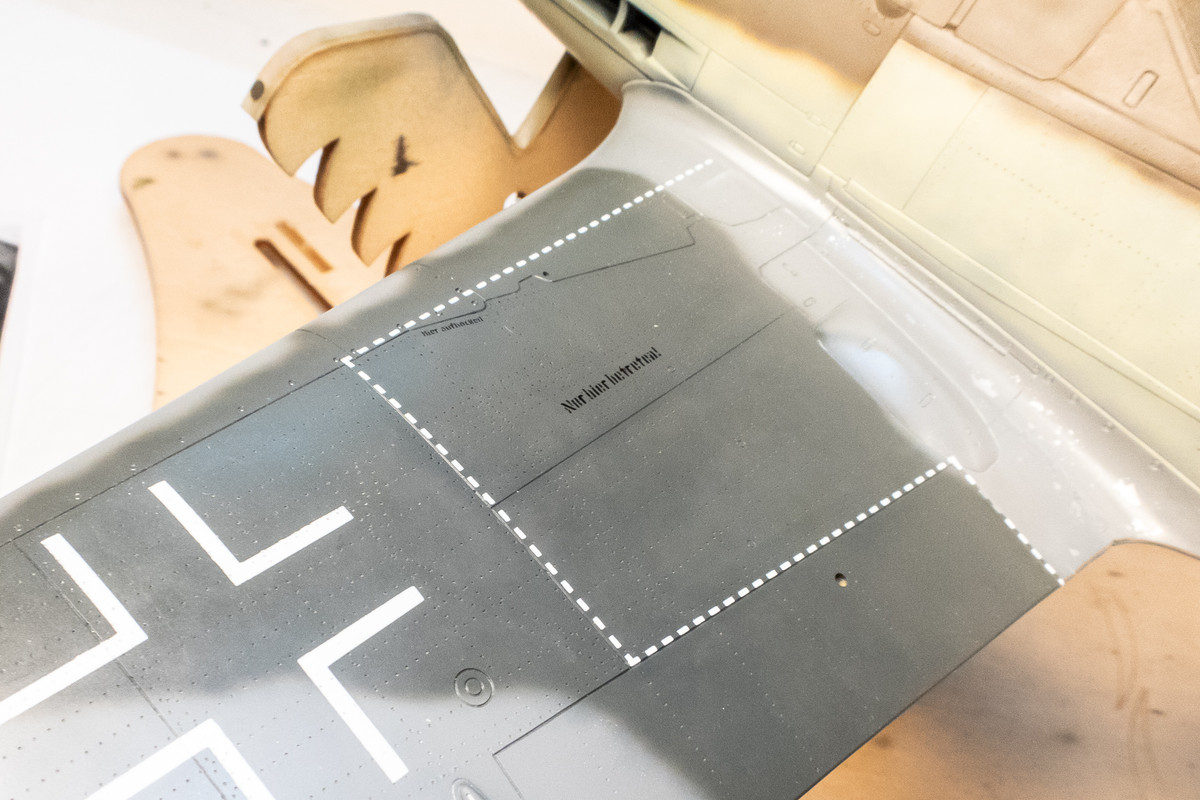
The stencil markings are going to primarily masked and painted using the 1ManArmy laser-cut stencils. These are really cool and, in many ways, superior to decals. Obviously the biggest advantage of painted markings over decals is the absence of decal carrier around the marking. And given the fast-drying nature of the acrylic paints that I'm using, painting is faster than applying decals since the decal solution step is not necessary.
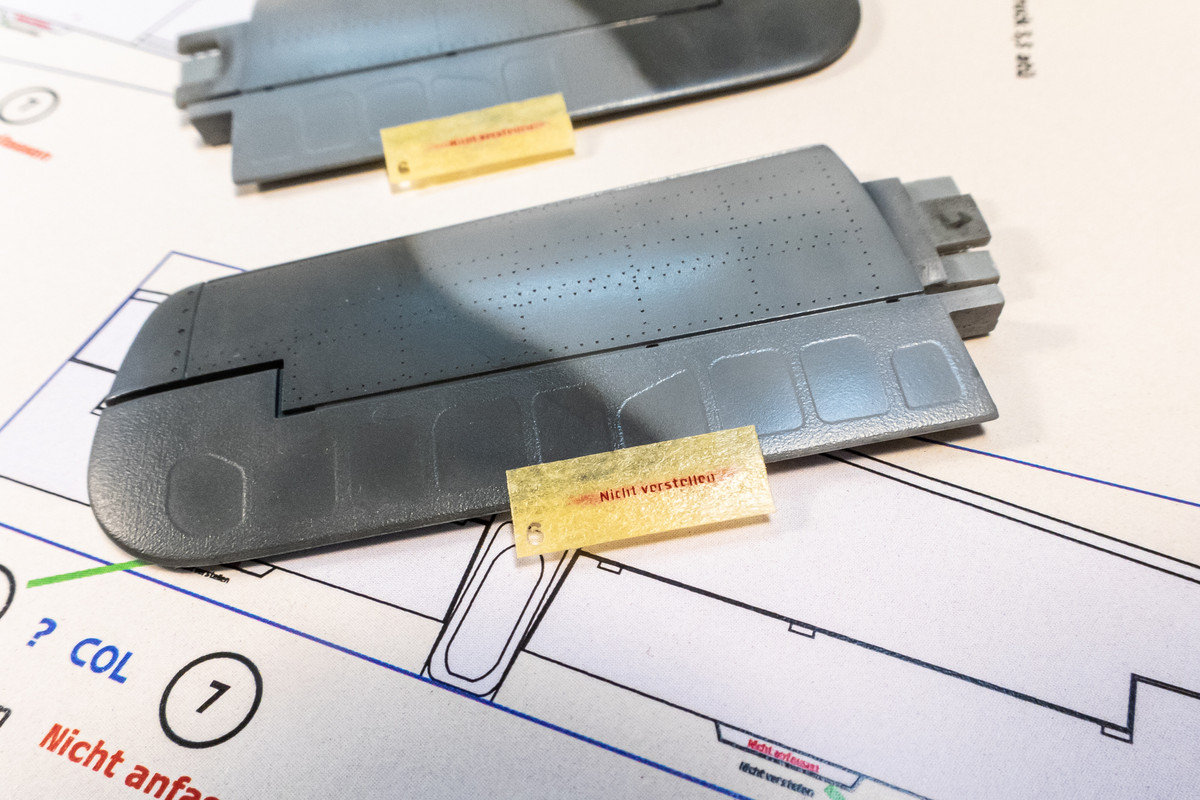
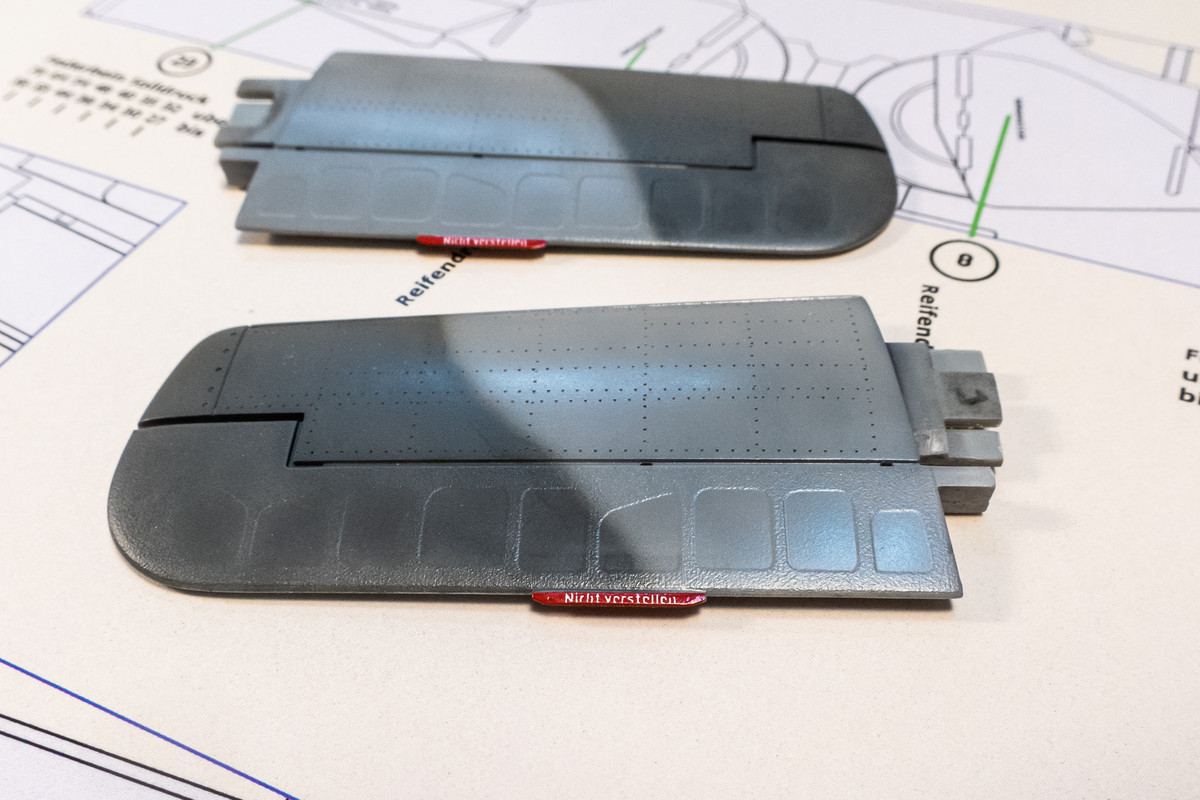
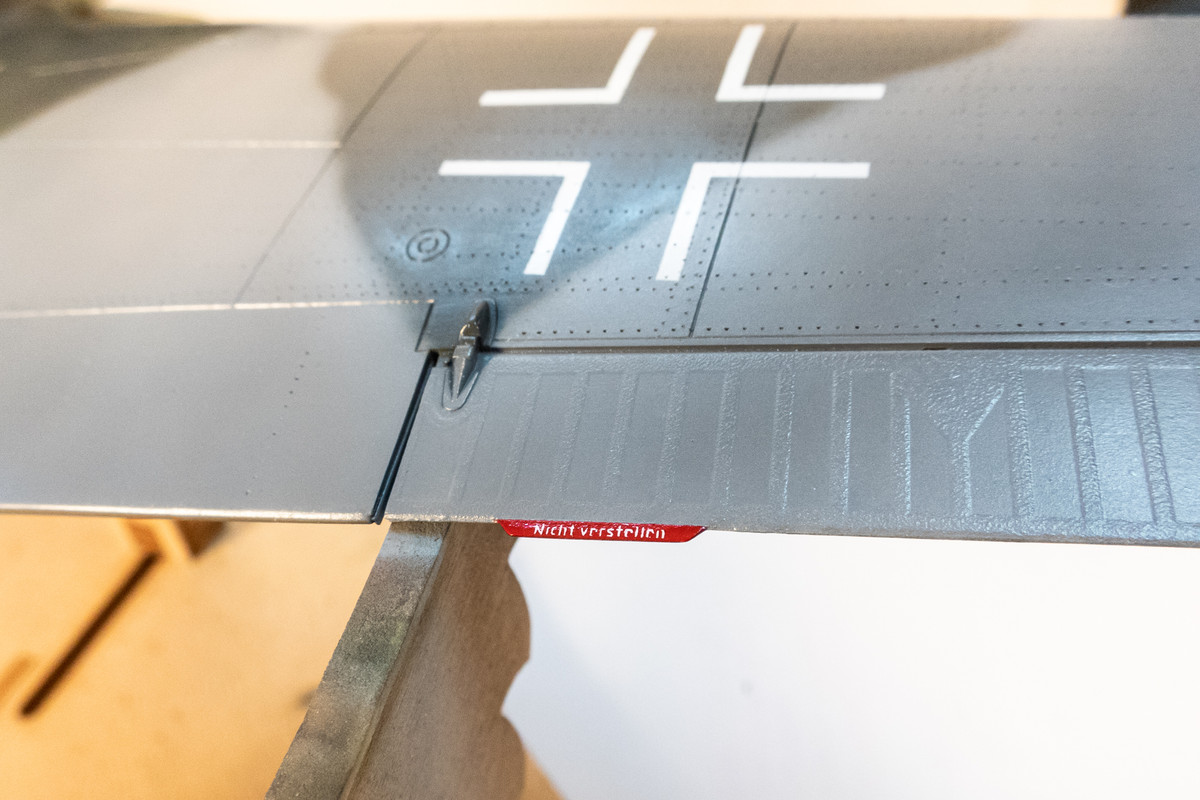
Resolution of the masks is incredibly fine and I highly recommend trying these masks out if you have the chance. Another plus is that they are re-usable. I just replace the masks back onto the sheet after use.
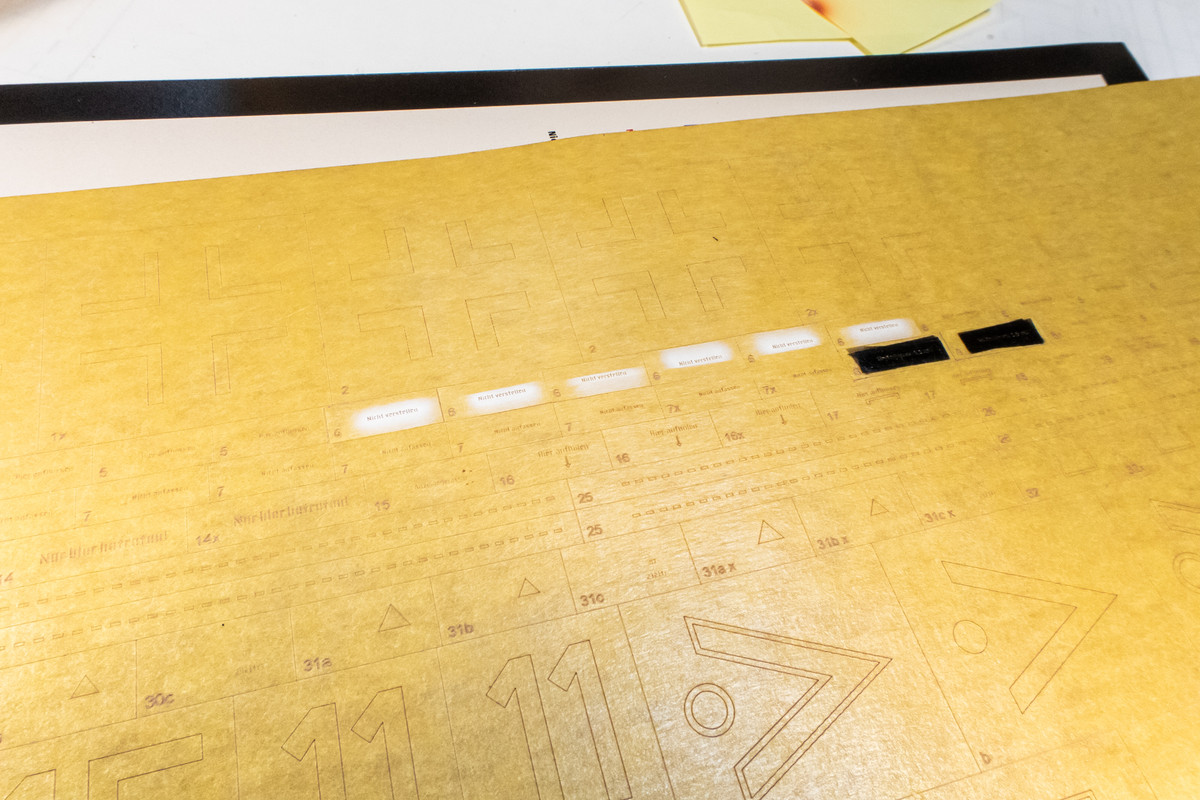
One drawback to using these masks is that since the yellow masking material is opaque, placement can be tricky. Not insurmountable but additional care in placement needs to be practiced. The upper wing stencils have been painted.
Re: Hasegawa 1/32 Fw 190D-9 Brown 4
Posted: Mon Oct 24, 2022 6:43 am
by Floki
Looking really good! The 4 being straight but looking curved depending on how you view it was a great bit of detective work on your part. The painted on stencils are a huge upgrade to decals. If I ever build 1/32 subject I will definitely use them.
Re: Hasegawa 1/32 Fw 190D-9 Brown 4
Posted: Tue Oct 25, 2022 5:31 am
by Stuart
Agreed, those painted stencils look superb John - this whole project is superb!
Re: Hasegawa 1/32 Fw 190D-9 Brown 4
Posted: Wed Oct 26, 2022 11:03 am
by jkim
Re: Hasegawa 1/32 Fw 190D-9 Brown 4
Posted: Sat Oct 29, 2022 1:51 pm
by Medicman71
Those stencils look awesome! I don't think I have the patience to do all those.
Re: Hasegawa 1/32 Fw 190D-9 Brown 4
Posted: Sat Oct 29, 2022 5:44 pm
by jkim
Re: Hasegawa 1/32 Fw 190D-9 Brown 4
Posted: Sat Oct 29, 2022 5:47 pm
by LyleW
John,
Outstanding as usual. Beautiful paint work and the stencil masks create amazing realism! Wow!