Page 26 of 28
Re: 1/32 Hasegawa Bf109K-4 Weisse 8
Posted: Wed Dec 18, 2019 12:50 am
by Floki
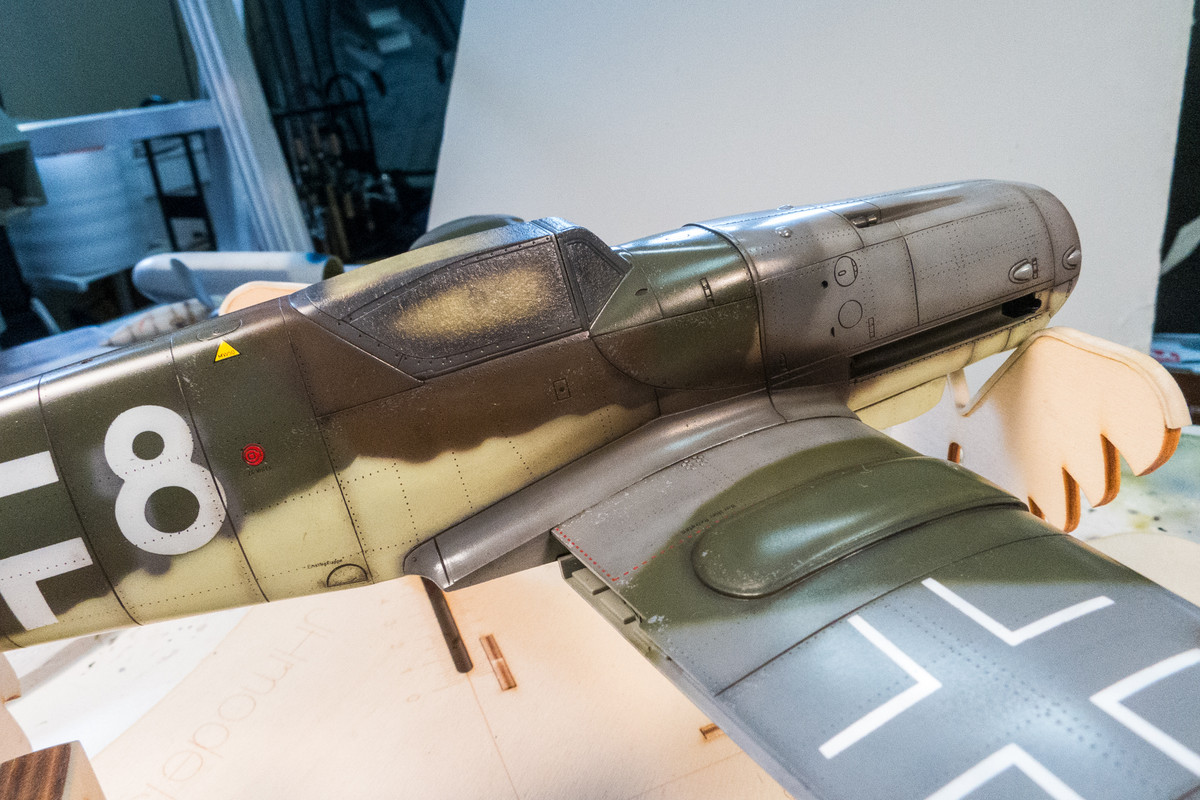
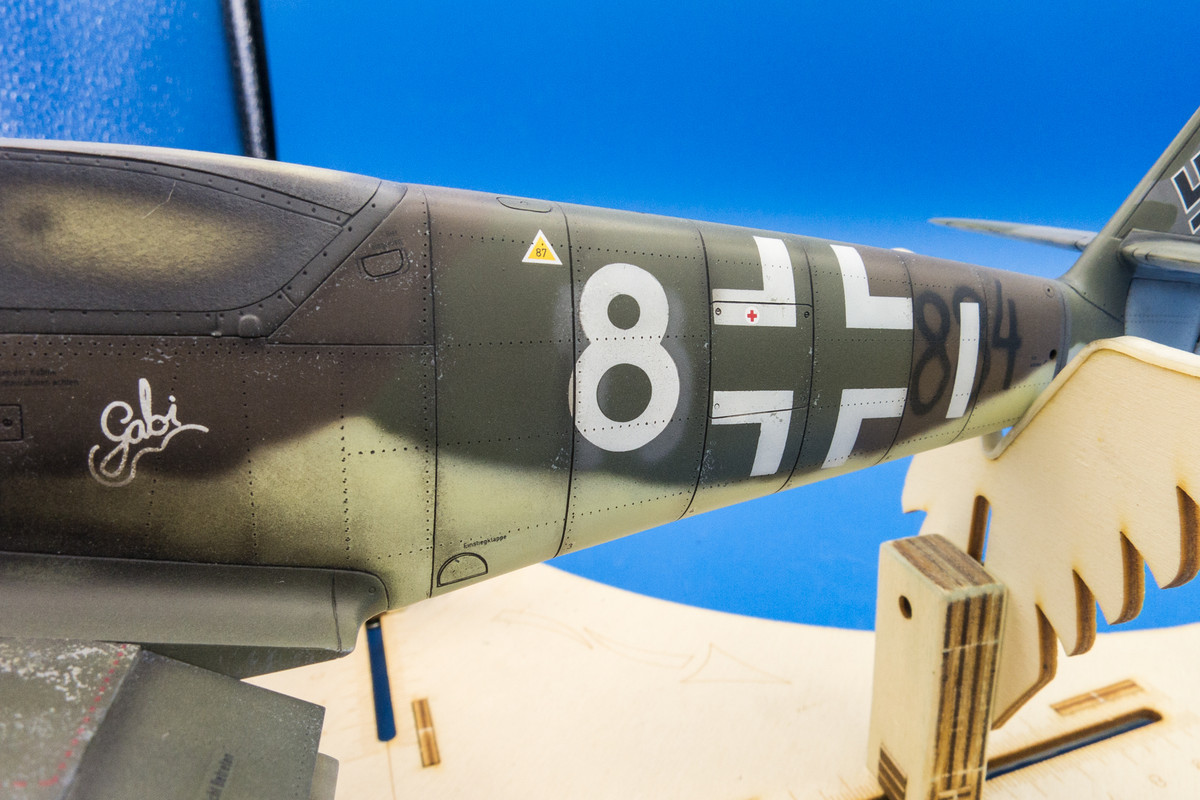
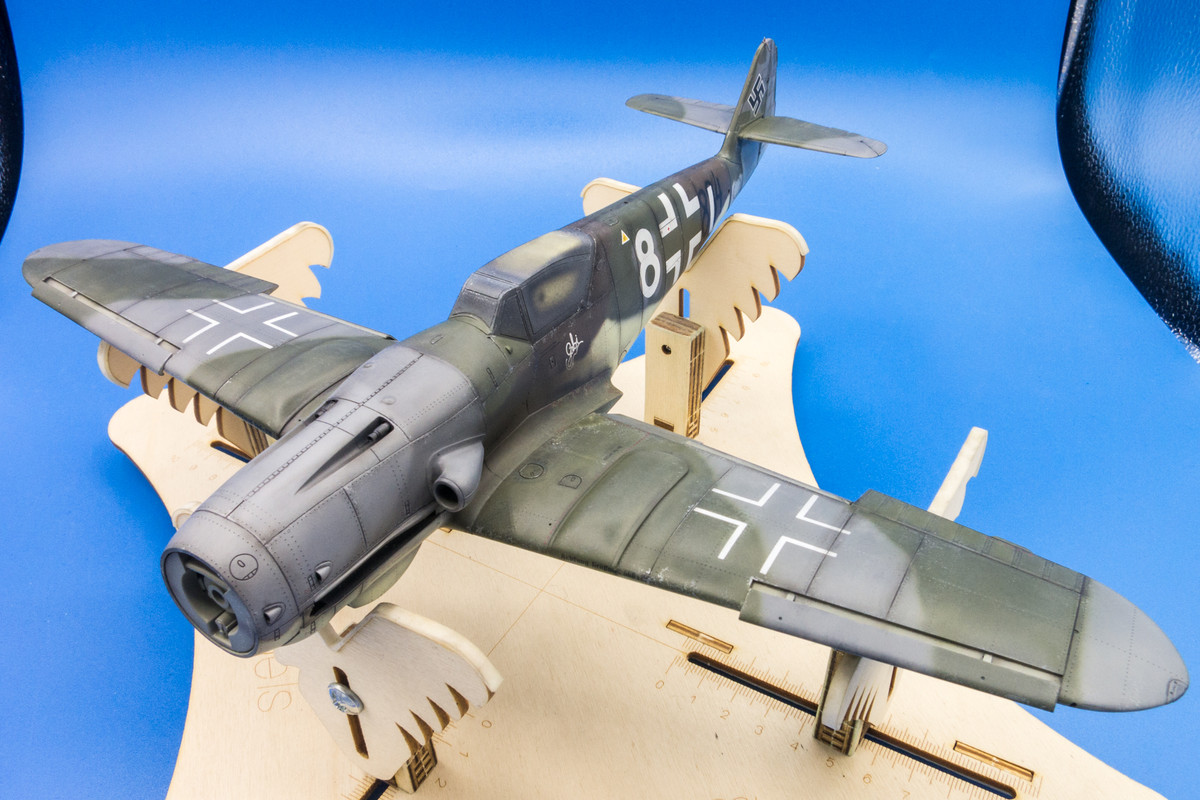
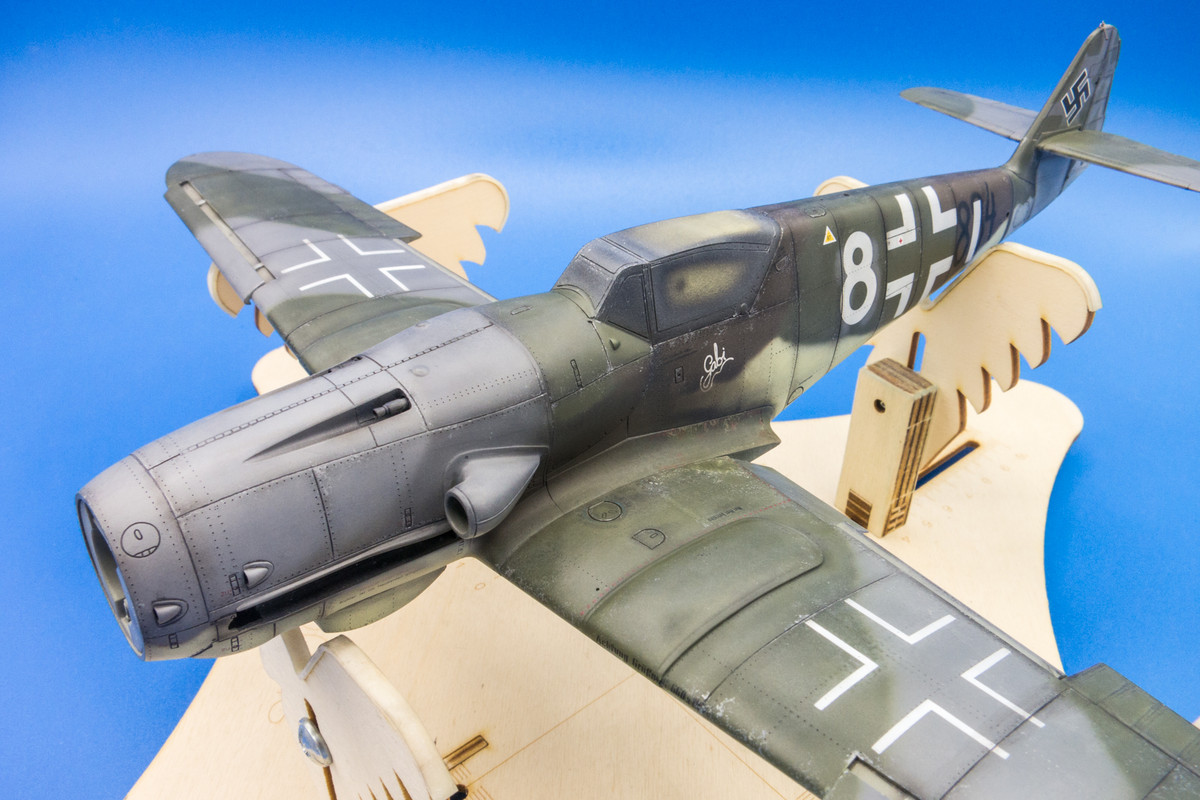
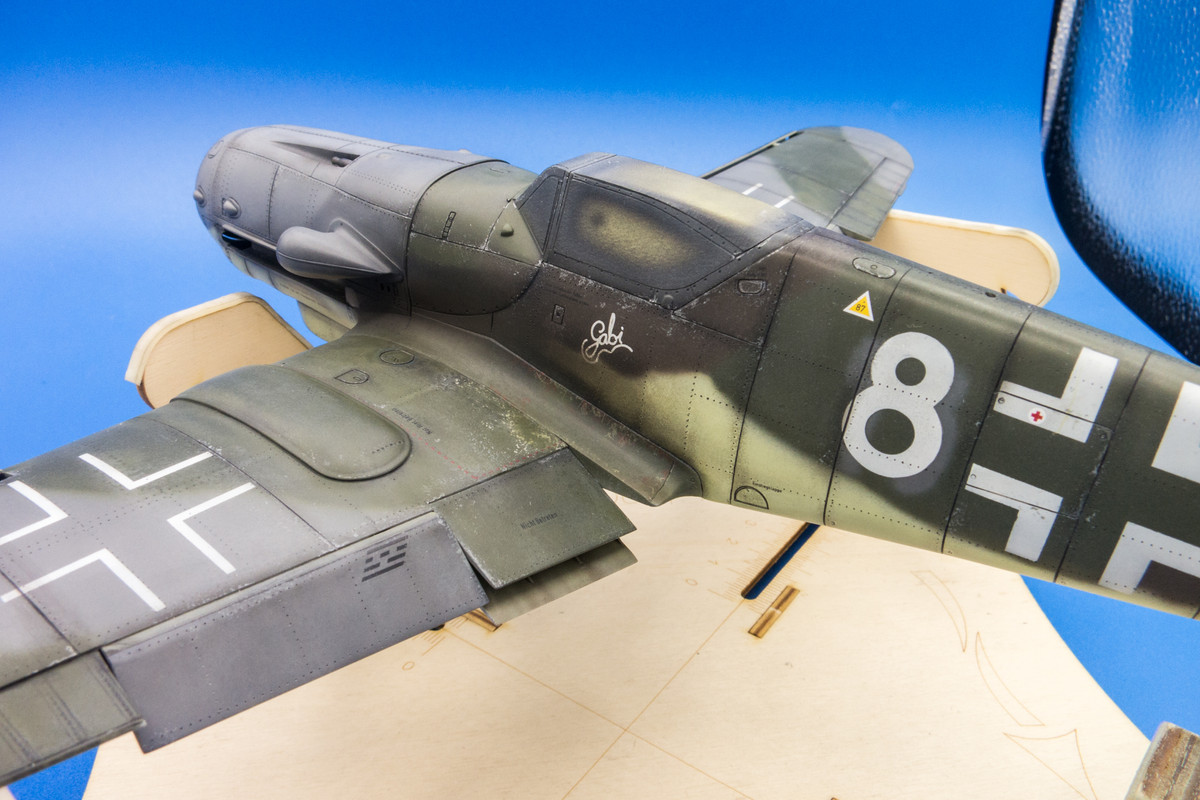
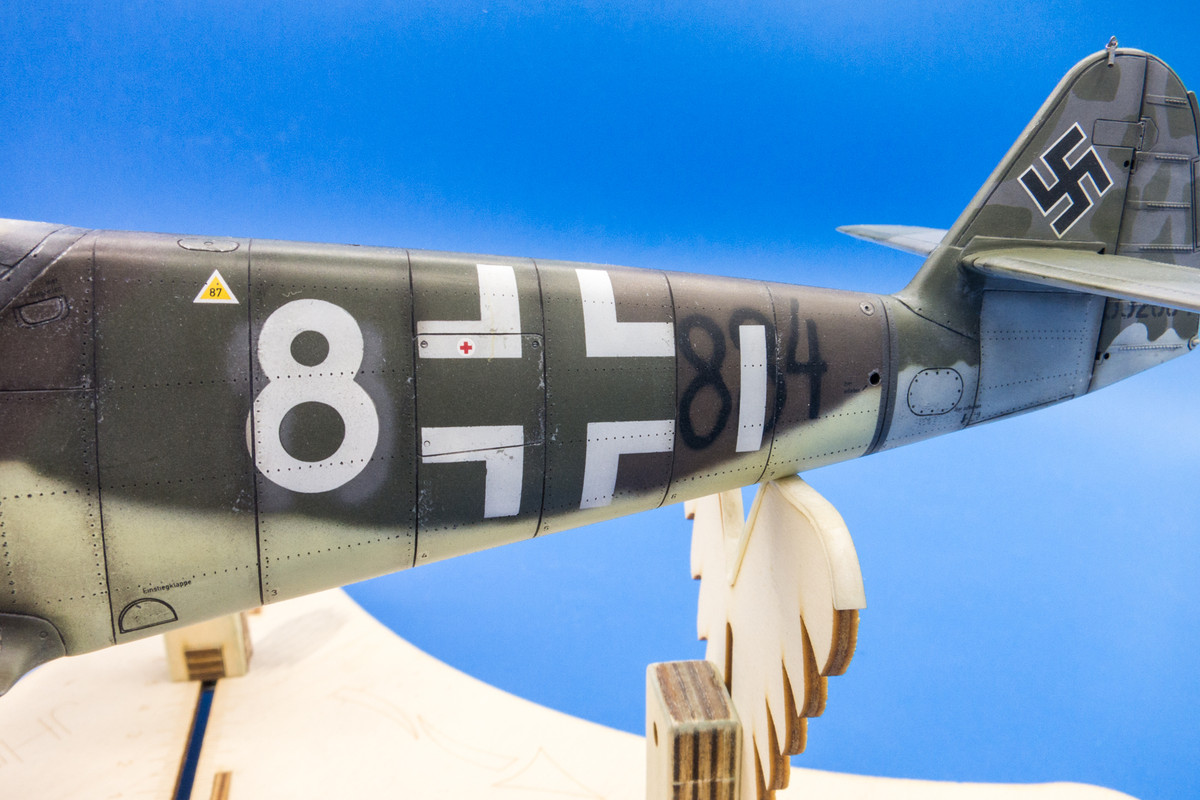
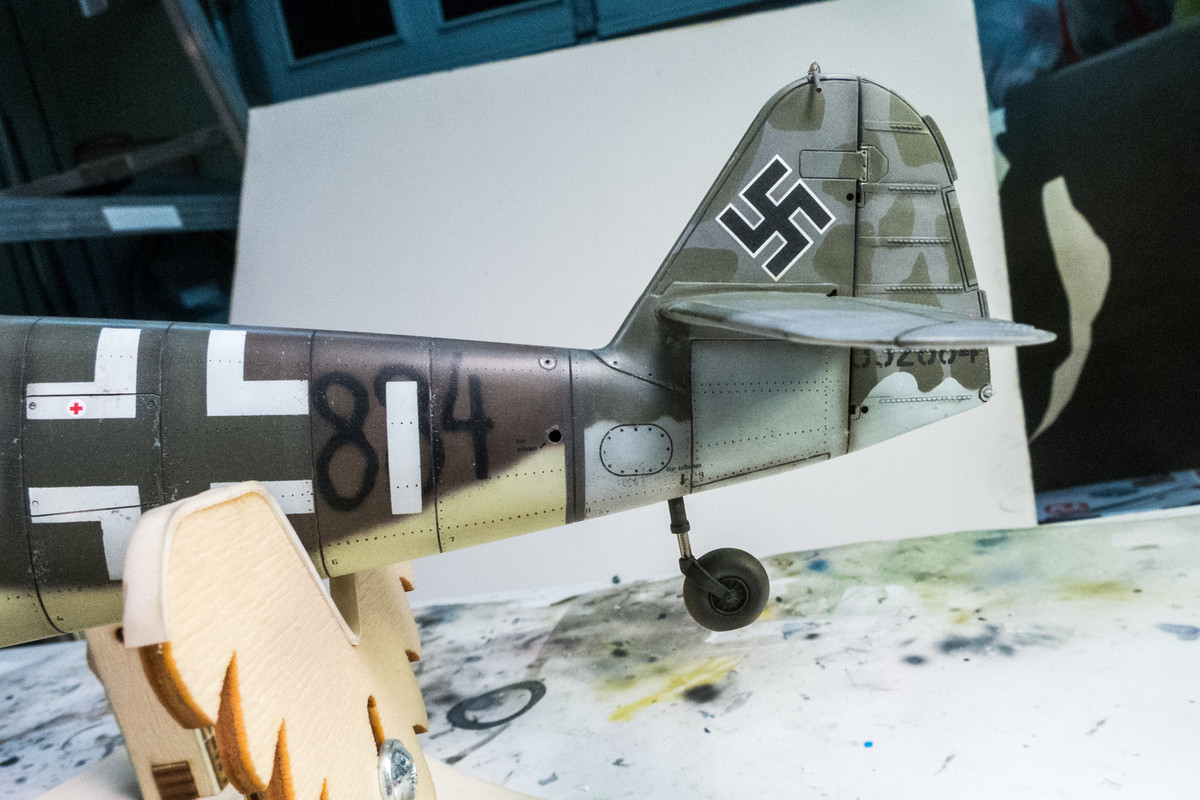
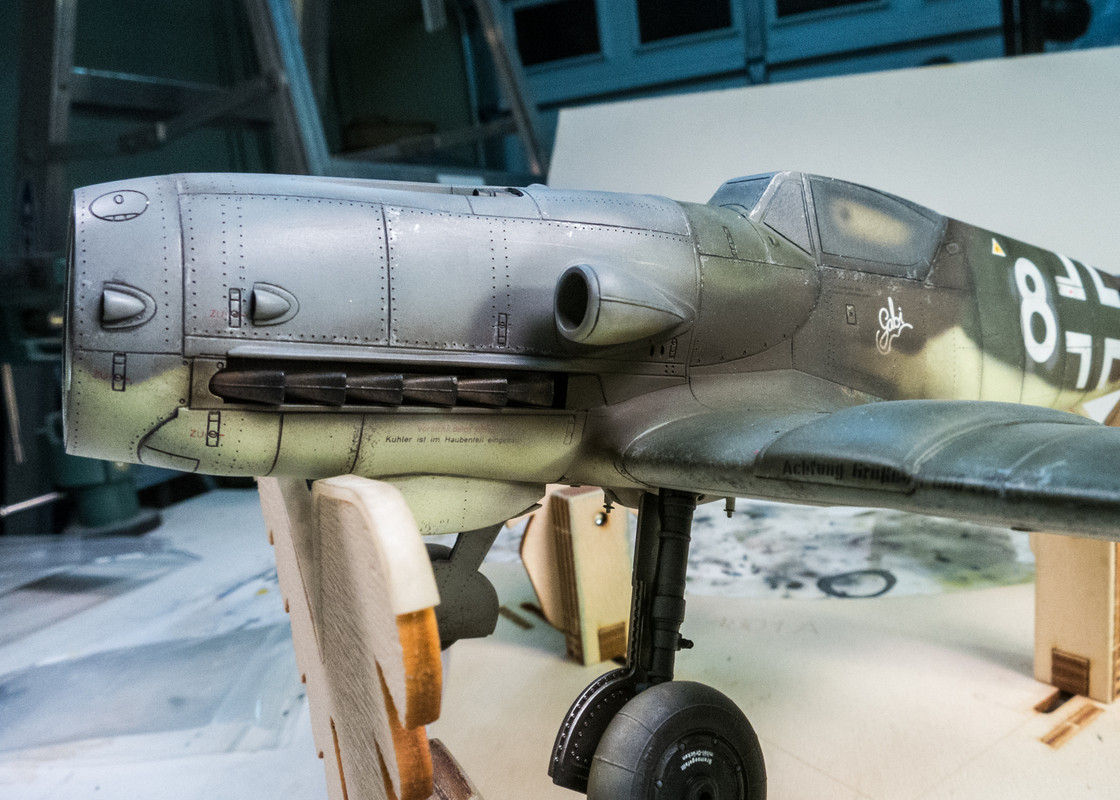
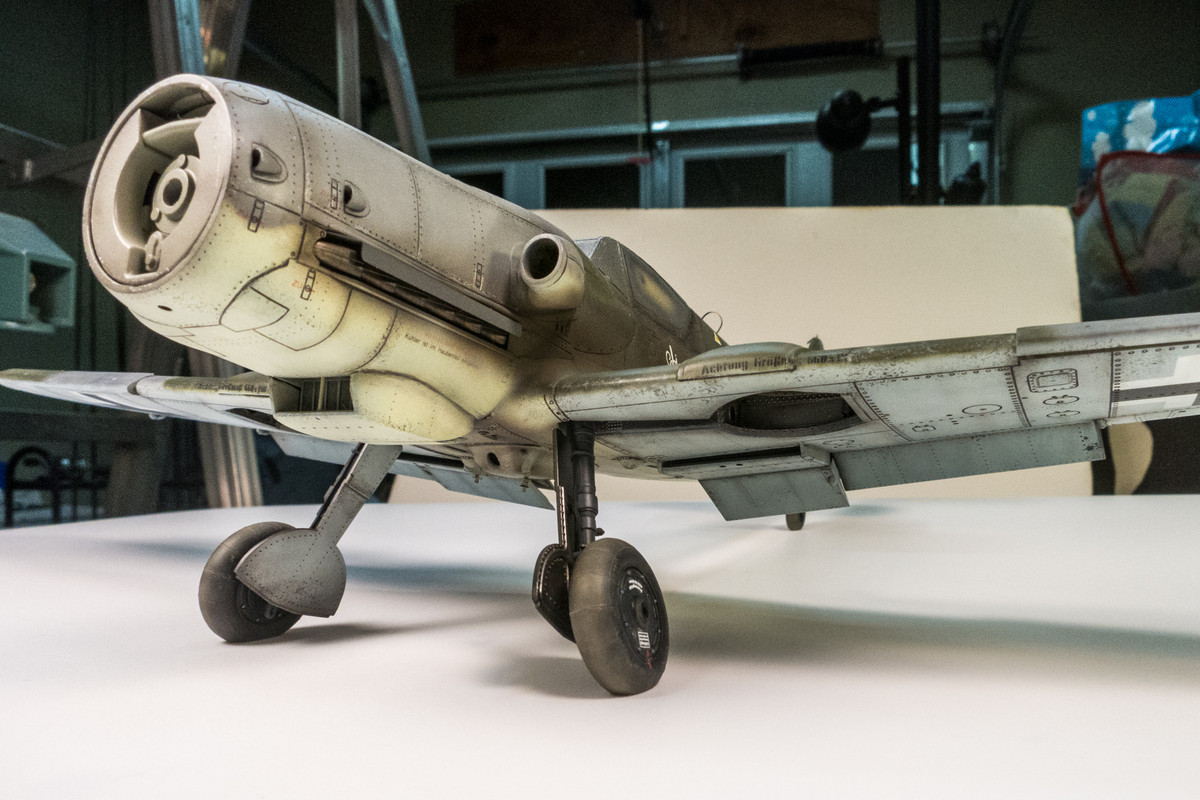
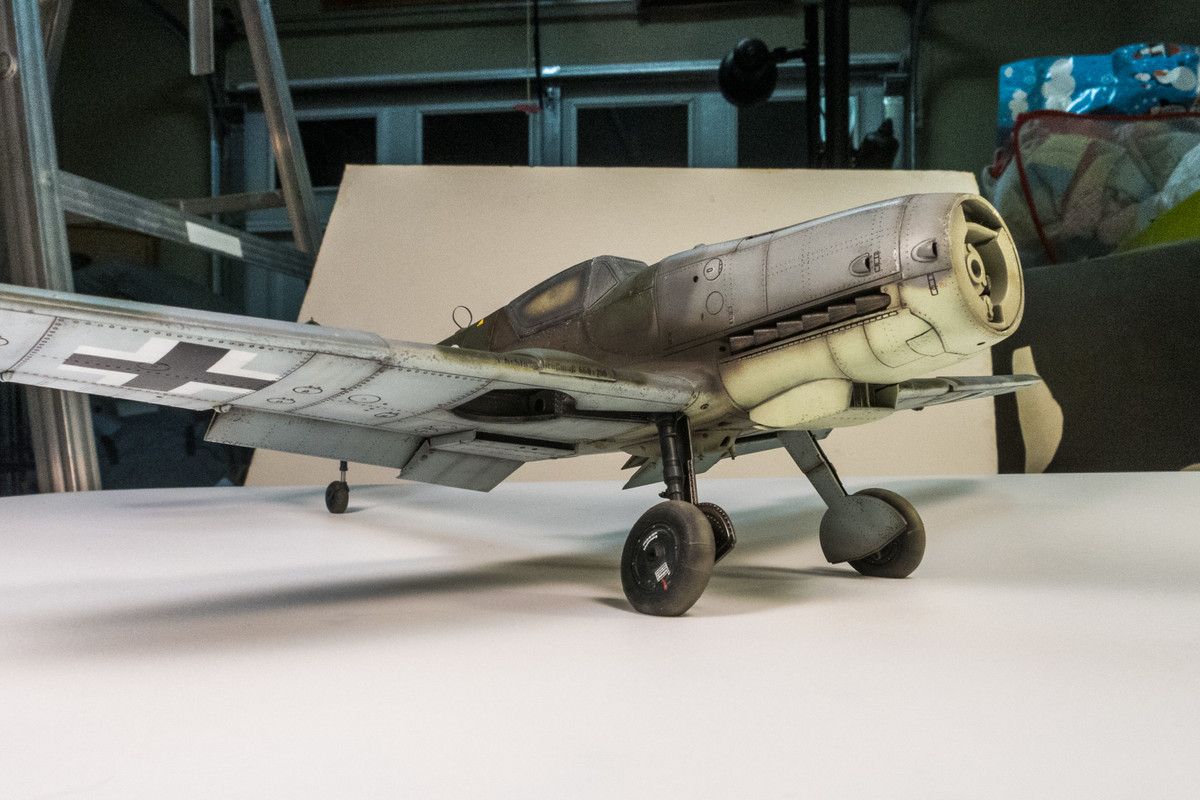
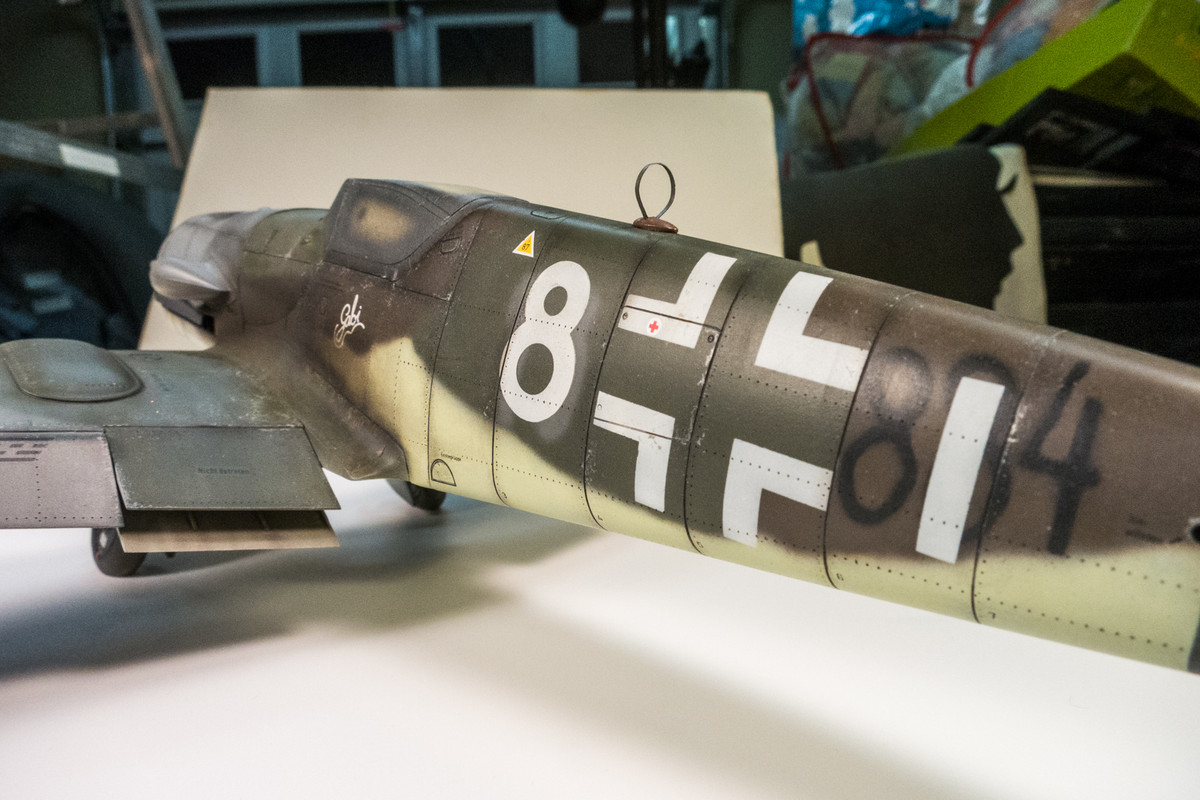
All that detail really pops!
Re: 1/32 Hasegawa Bf109K-4 Weisse 8
Posted: Wed Dec 18, 2019 1:32 am
by speedgraflex
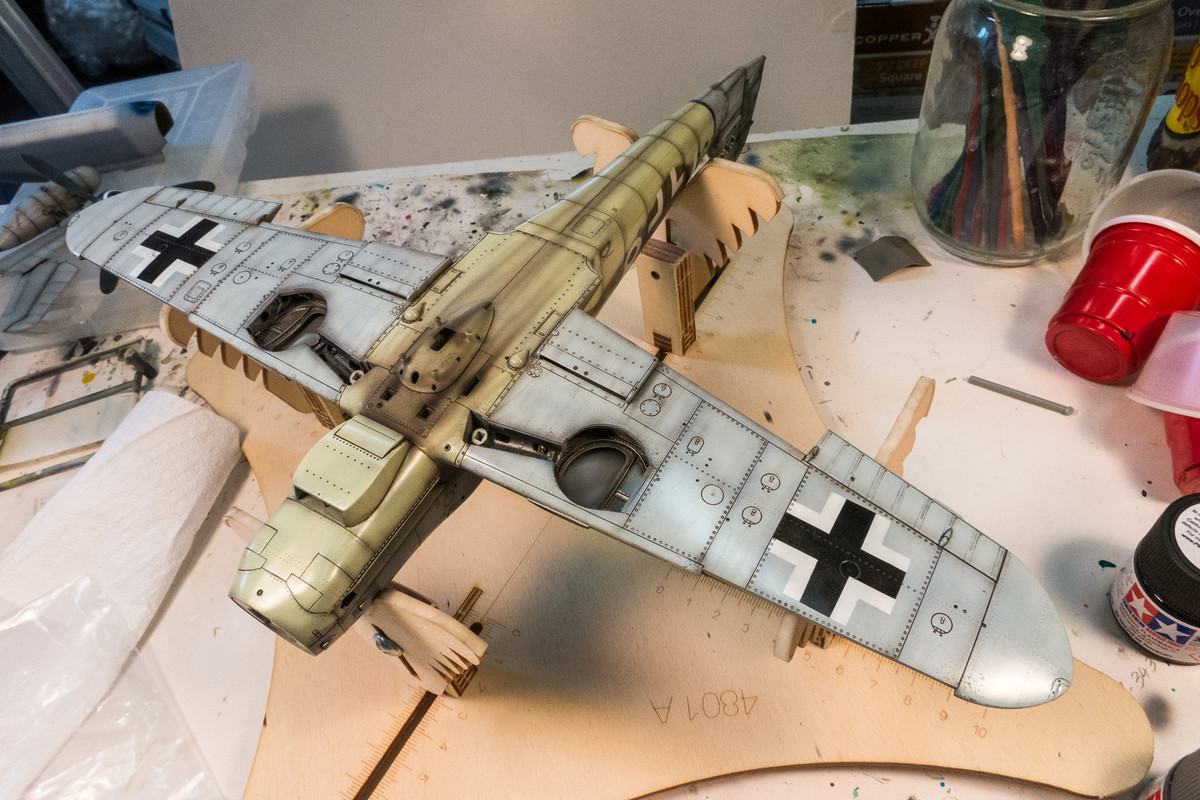
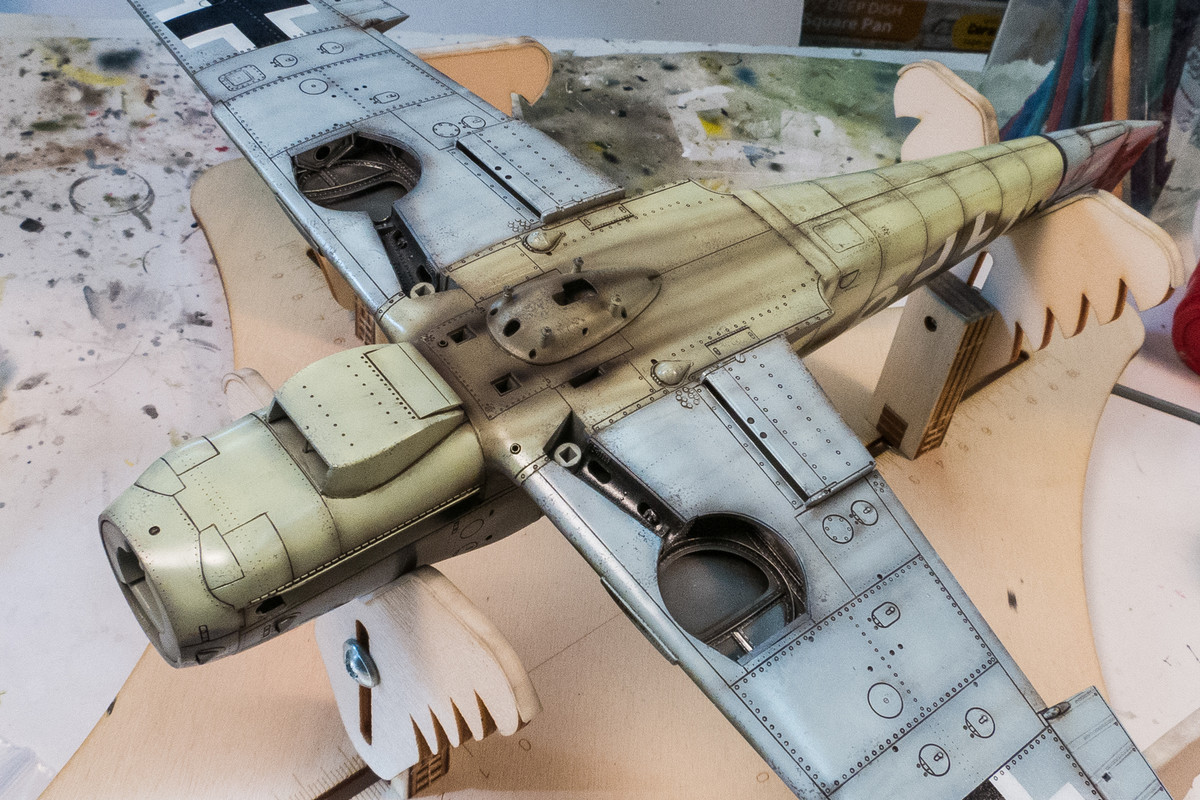
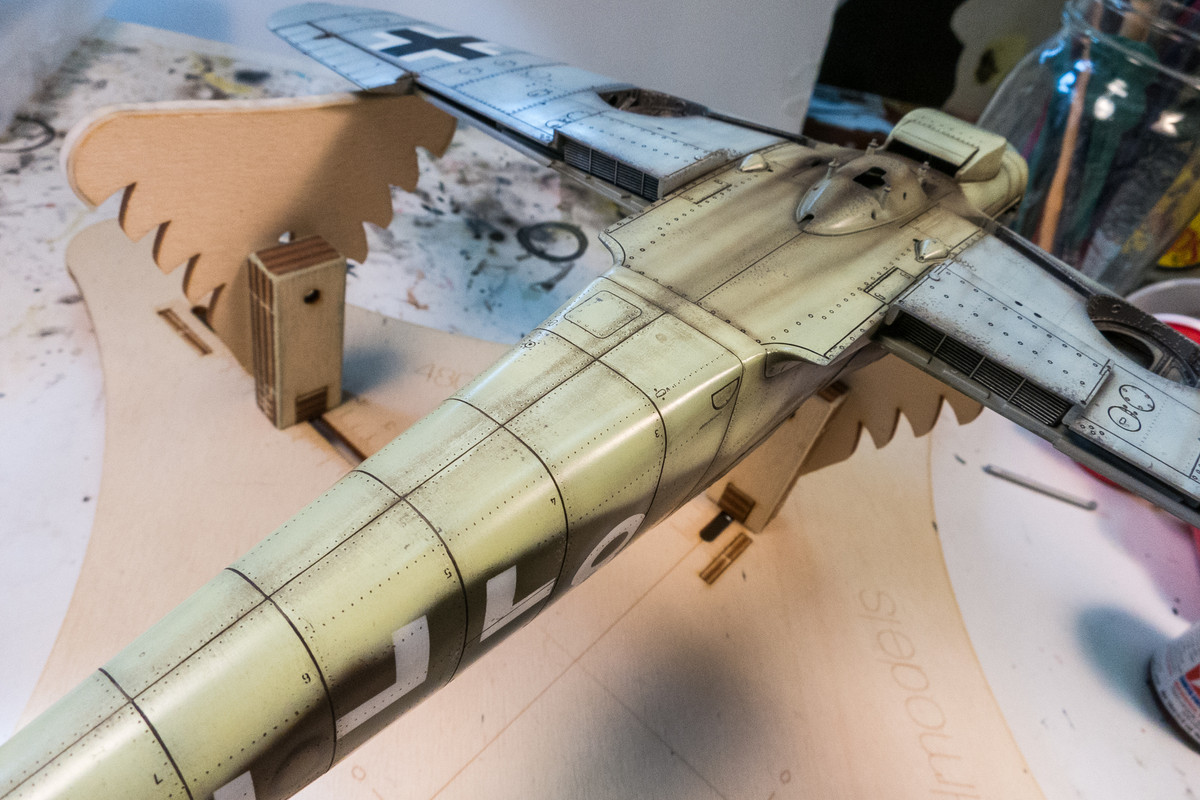
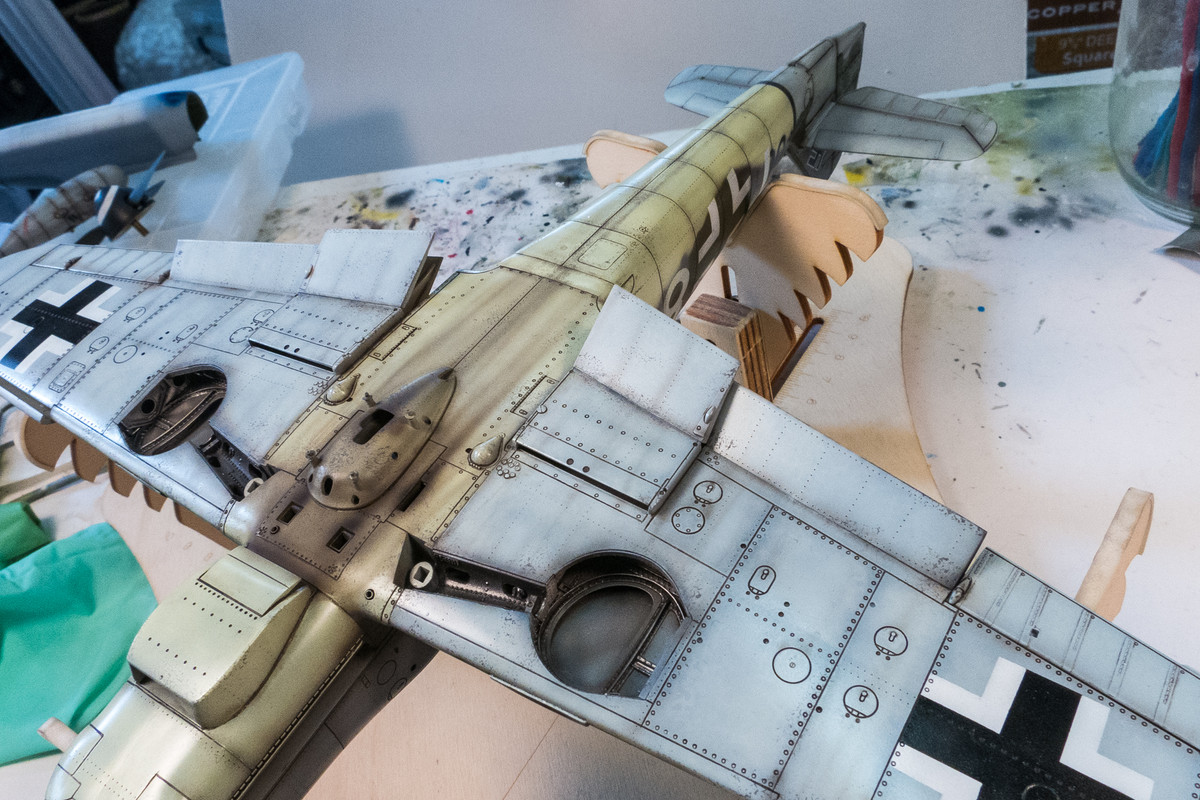
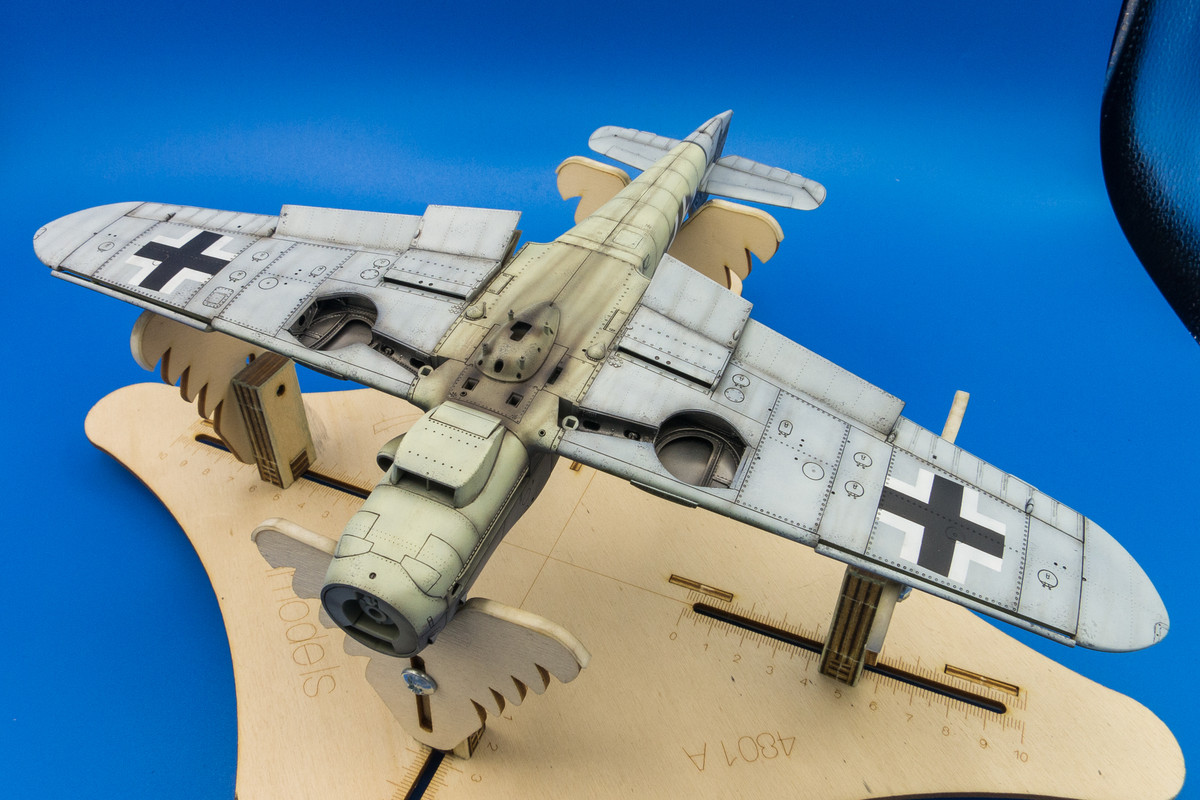
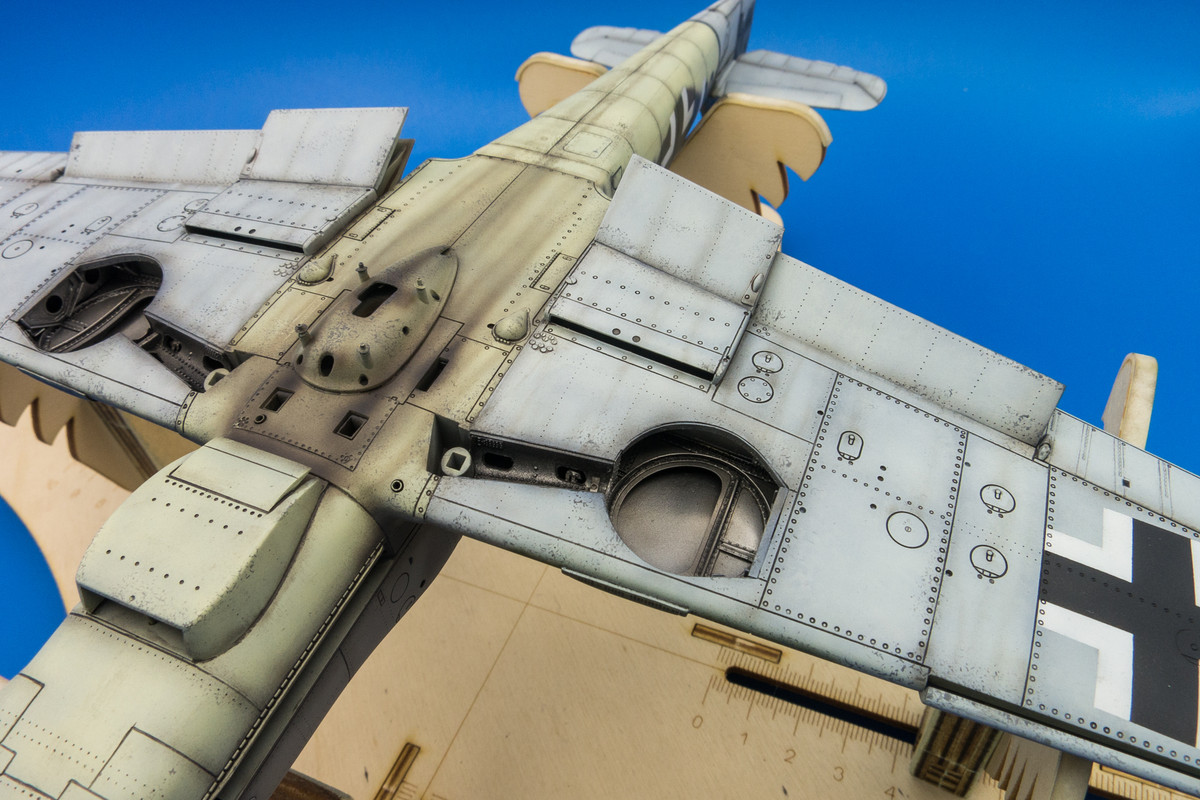
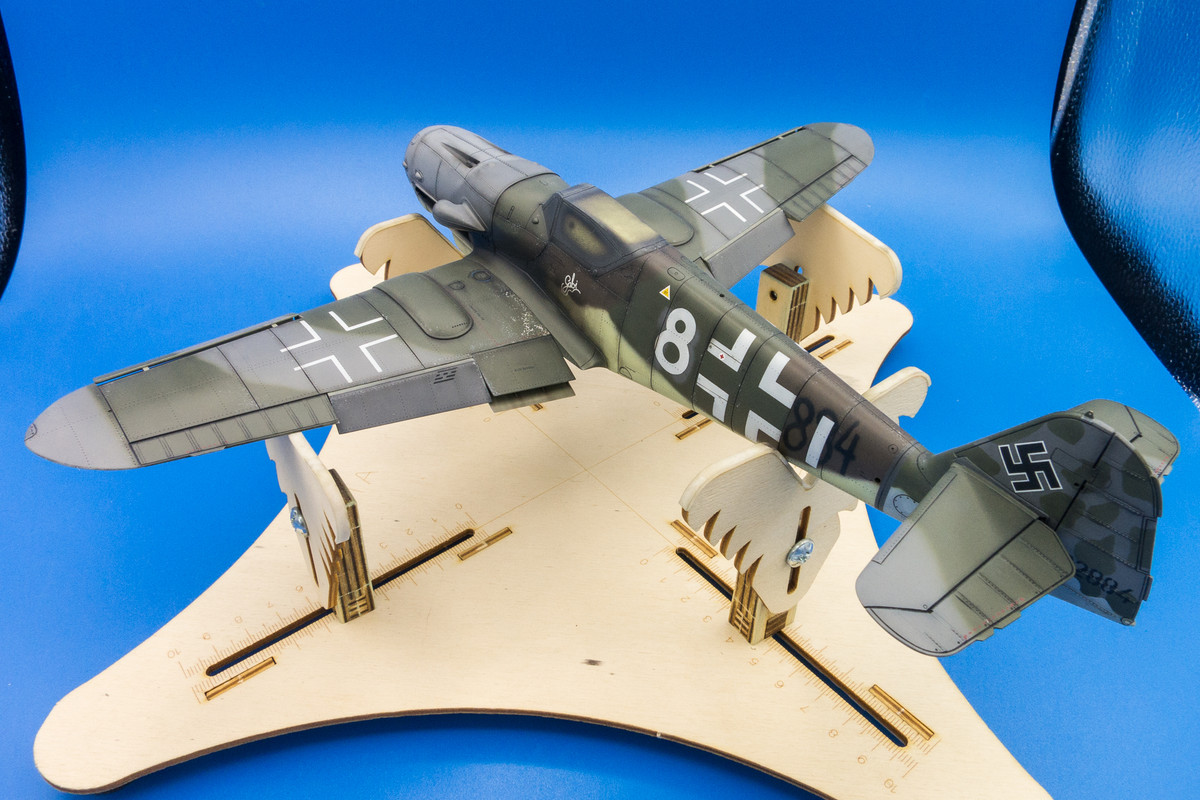
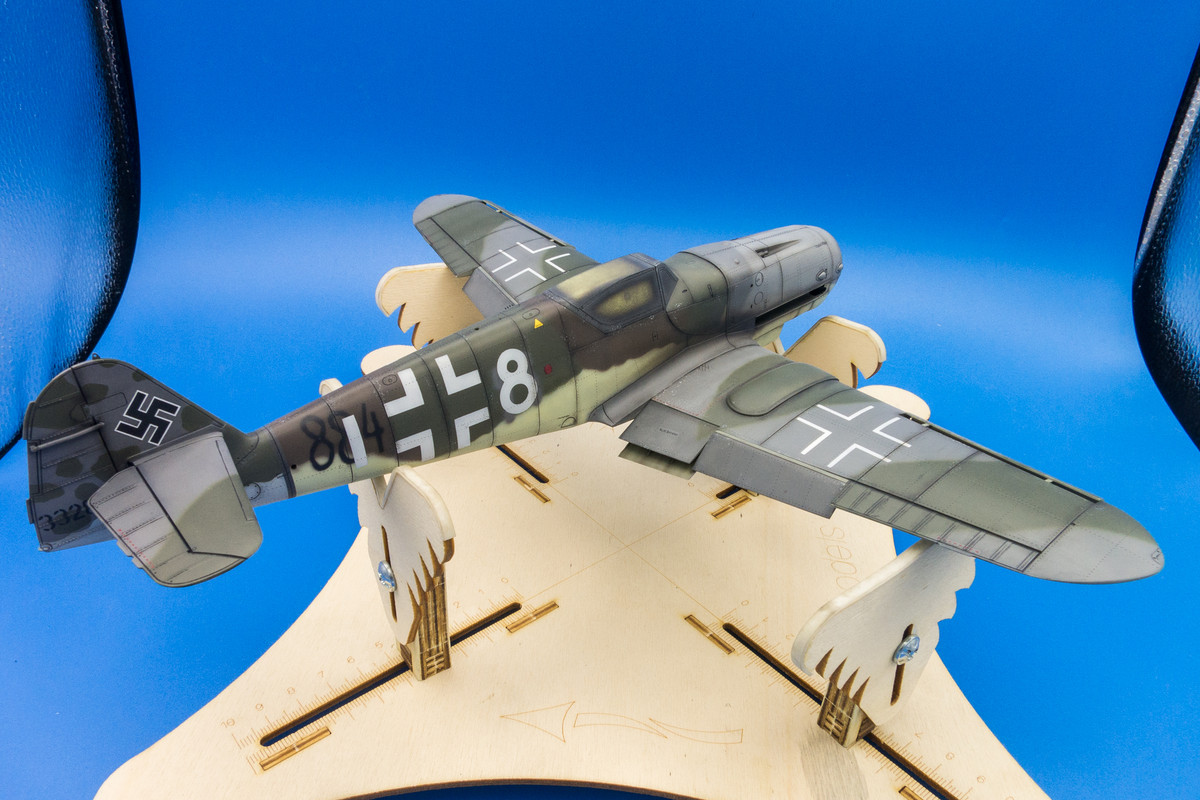
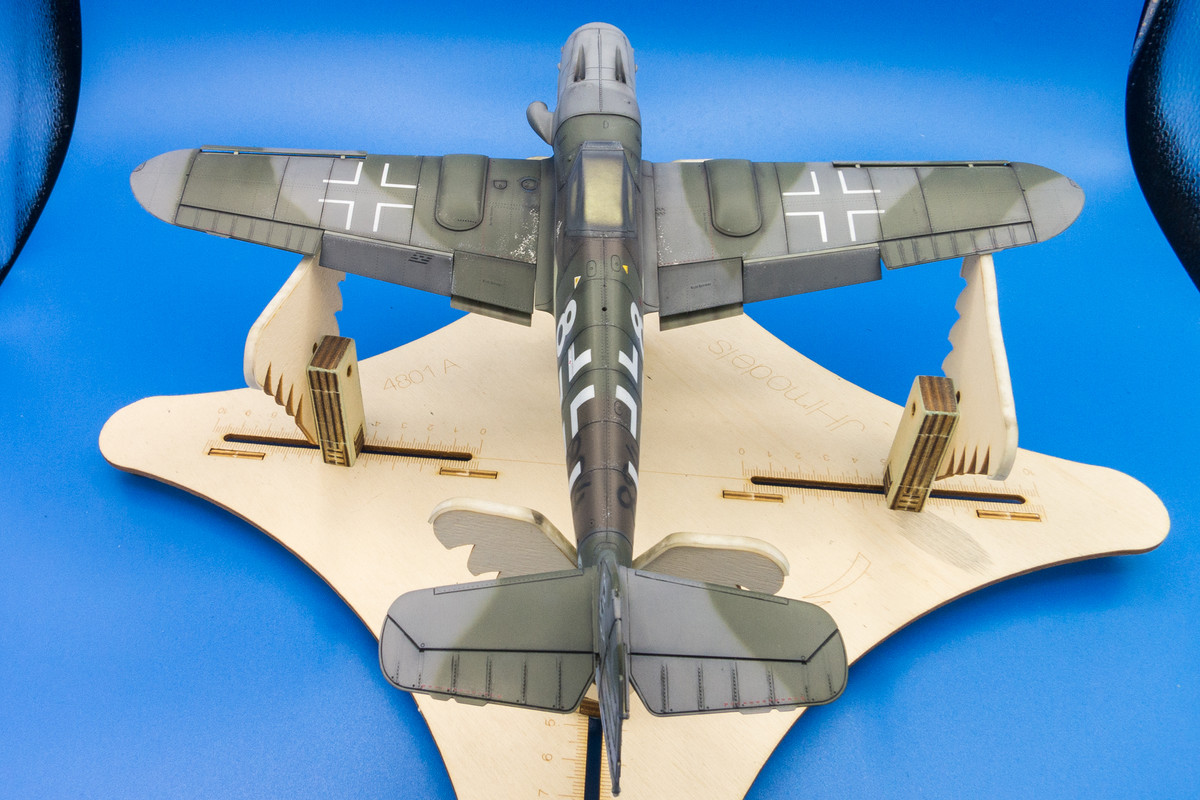
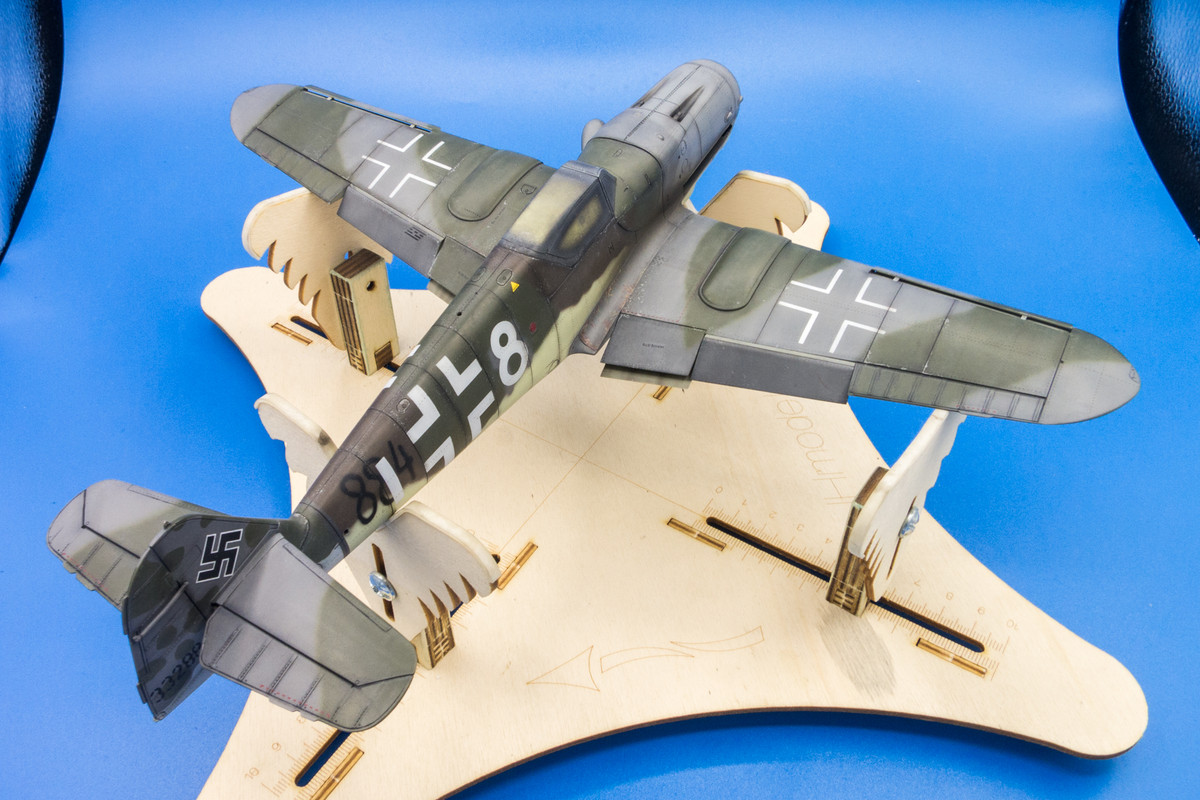
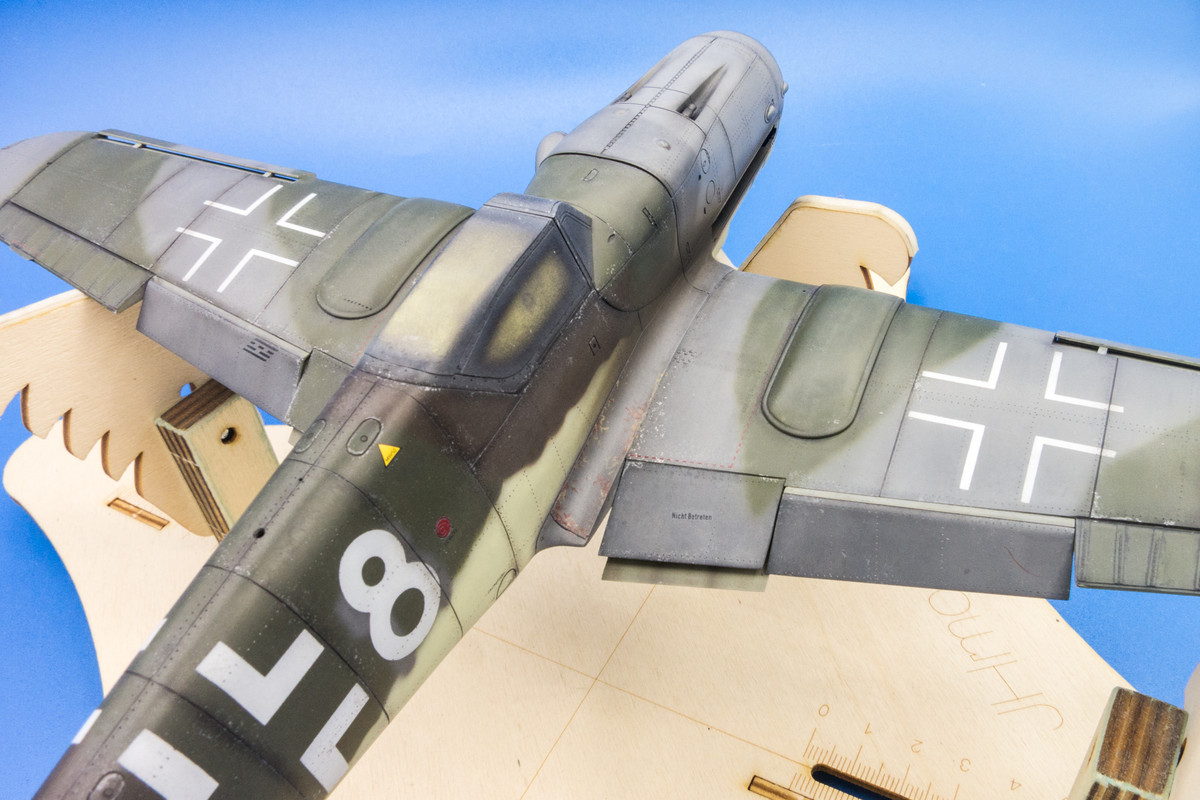
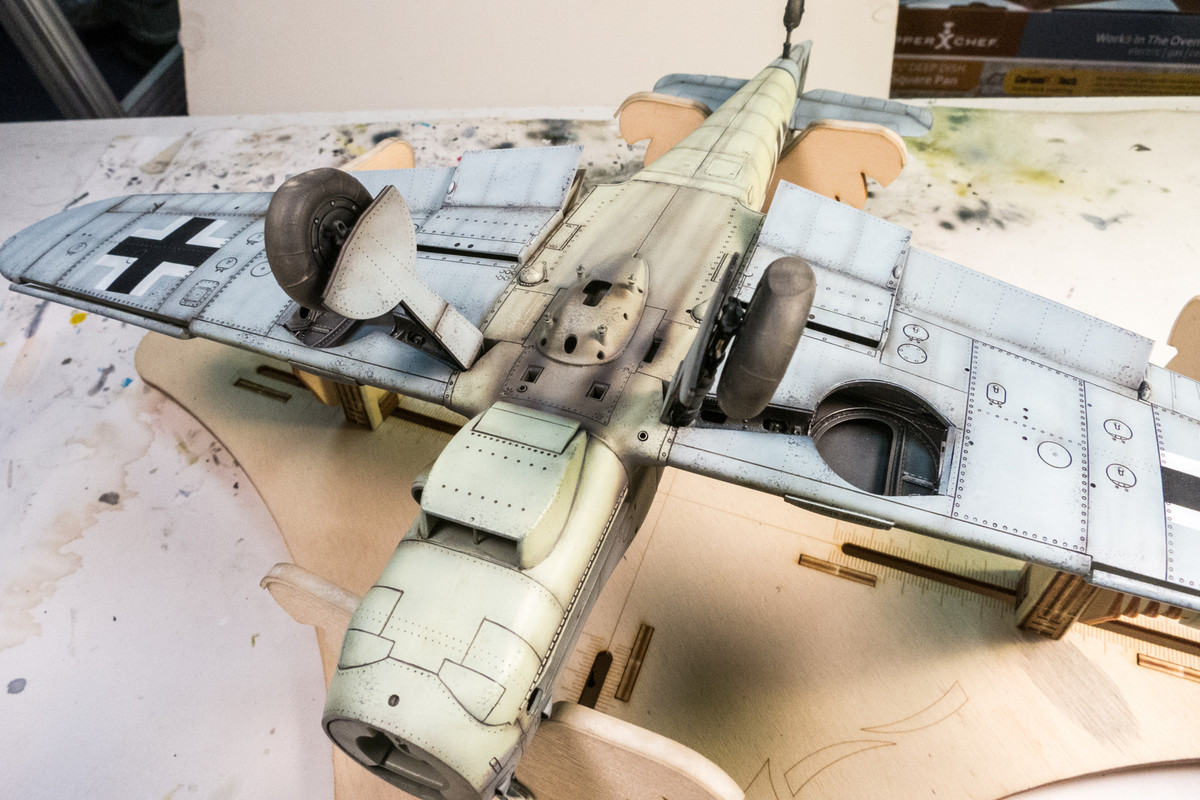
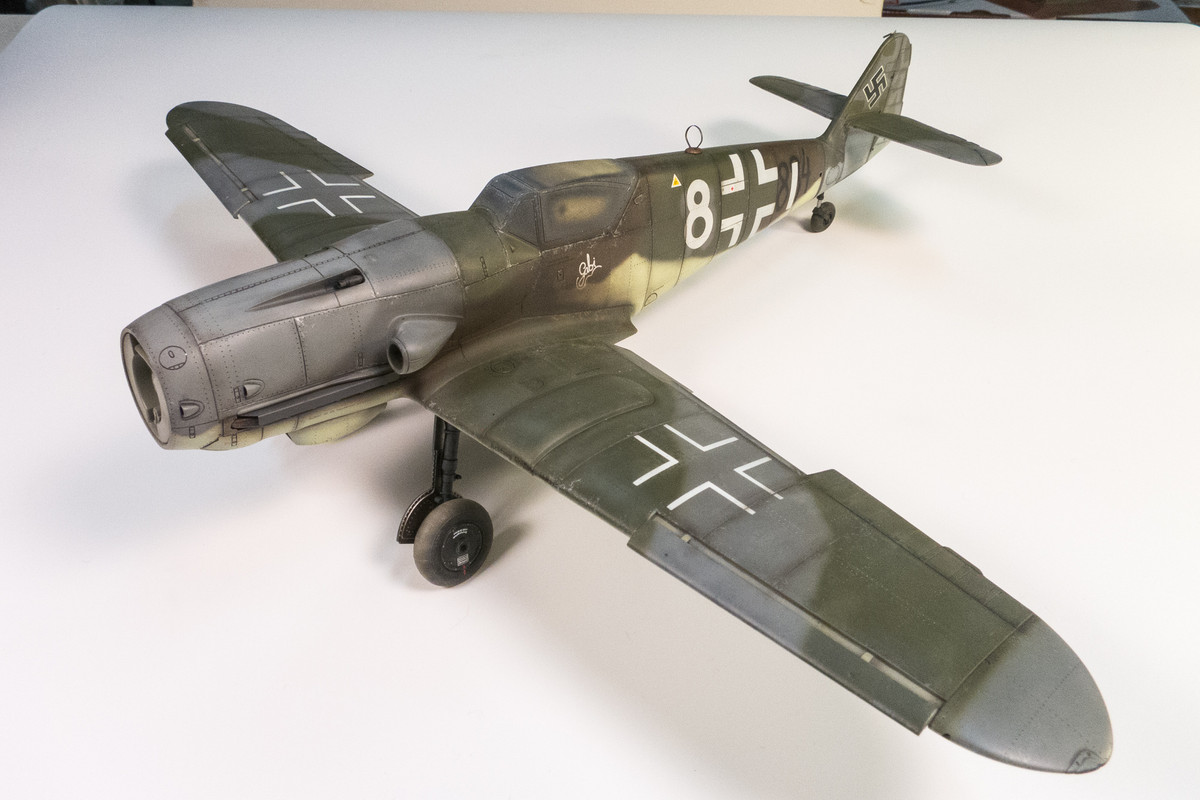
Your overhead angles top and bottom are magnificent. I have to go through your narrative again to learn how you cleaned those areas up.
Re: 1/32 Hasegawa Bf109K-4 Weisse 8
Posted: Wed Dec 18, 2019 7:00 pm
by jkim
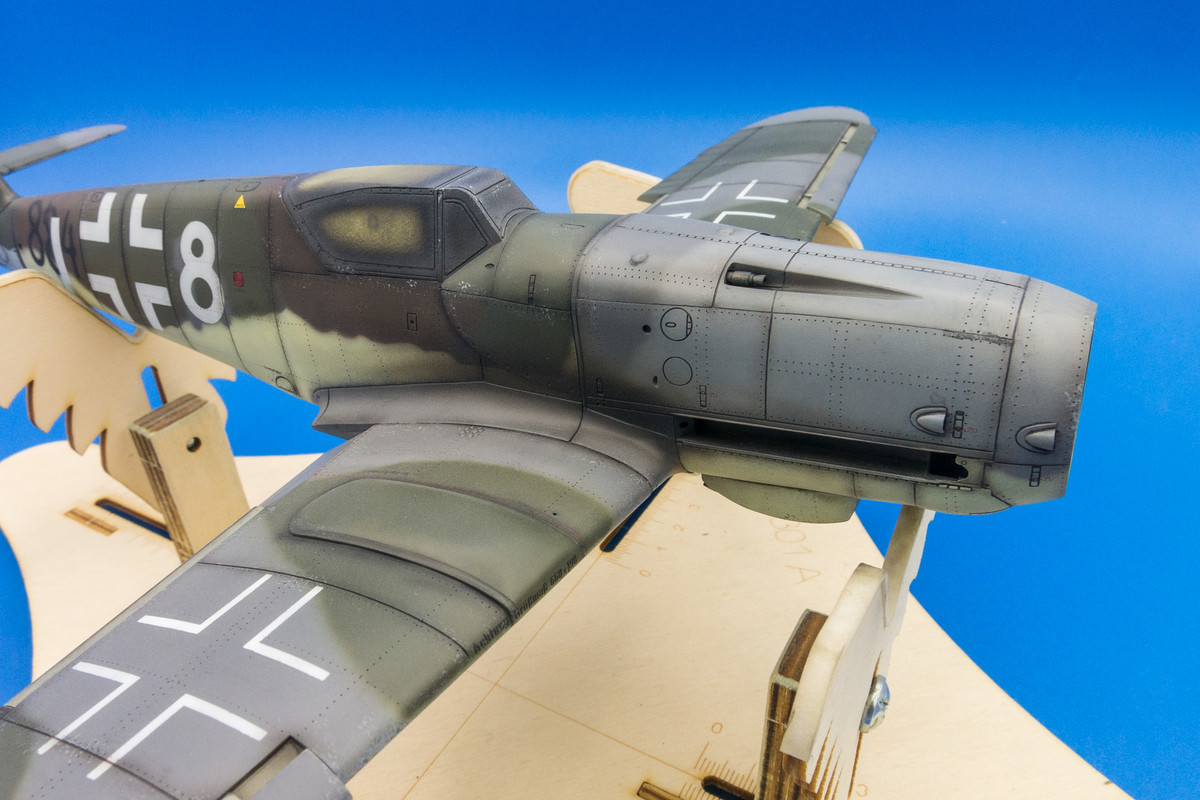
I sometimes stop documenting when I run into a problem. It bugs me and I just start sanding/shaving/painting and then suddenly realize... hmmm, maybe I should've taken some pics of that process. To delve into process a little further, the spidering were physical cracks that I just couldn't spray over. I sanded them down as much as I could using whatever tools I had around me. At one point, I resorted to a piece of folded up sandpaper hastily glued onto the end of a toothpick so I could get a curved sanding surface into the wing root. Flexible sanding pads by 3M were also used. To seal the deal, I used a slightly thicker than normal mixture of Mr Surfacer 1200 to cover the repair area. This was repeated a couple of times. I then laid down a preshade pattern on the grey primer and re-shot the area with Dark Green RLM 83. I then applied chipping to the port wing root area using a fine sponge dipped in Testors Silver enamel. And did a little sponge chipping on the starboard side to match.
This is when Martin over at LSP informed me that the wing root part was actually made of wood, not metal. Chipping with a sponge creates raised chips so I had to physically do the sanding thing again but this time I had to include the starboard wing root to remove the chipping there, which was now a combination of hairspray and sponge chipping. That's when the masking on the starboard wing lifted off a massive strip of paint. It was a pretty impressive removal given it was unintentional. More fine sanding to feather the edges of remaining paint down to the plastic. Re-painted both sides: RLM 83 on the port and RLM 75 on the starboard. Then I masked off the wooden wing root part and applied some faint chipping on the adjacent wing tops using a sponge.
Hopefully, you can't see evidence of any of this drama. That's always the intention when carrying out repairs. Dreadful work but it's worth getting a good result.
Re: 1/32 Hasegawa Bf109K-4 Weisse 8
Posted: Sat Dec 21, 2019 6:33 pm
by jkim
Re: 1/32 Hasegawa Bf109K-4 Weisse 8
Posted: Sat Dec 21, 2019 6:41 pm
by LyleW
That really looks great!
Re: 1/32 Hasegawa Bf109K-4 Weisse 8
Posted: Sat Dec 21, 2019 9:33 pm
by BlackSheep214
Re: 1/32 Hasegawa Bf109K-4 Weisse 8
Posted: Sat Dec 21, 2019 11:49 pm
by Floki
She's a real beauty! Have you tried Mr. Super Clear UV Flat? It's the best I've ever tried.
Re: 1/32 Hasegawa Bf109K-4 Weisse 8
Posted: Sun Dec 22, 2019 6:40 am
by mostrich
Sooo tasty! You are gifted by any means, but also your talent in picking the coolest schemes is remarkable!
Re: 1/32 Hasegawa Bf109K-4 Weisse 8
Posted: Mon Dec 23, 2019 12:47 am
by jkim
Re: 1/32 Hasegawa Bf109K-4 Weisse 8
Posted: Mon Dec 23, 2019 7:53 am
by Floki
Everything together looks amazing. Seeing white 8 standing on her own legs is a great sight to see.