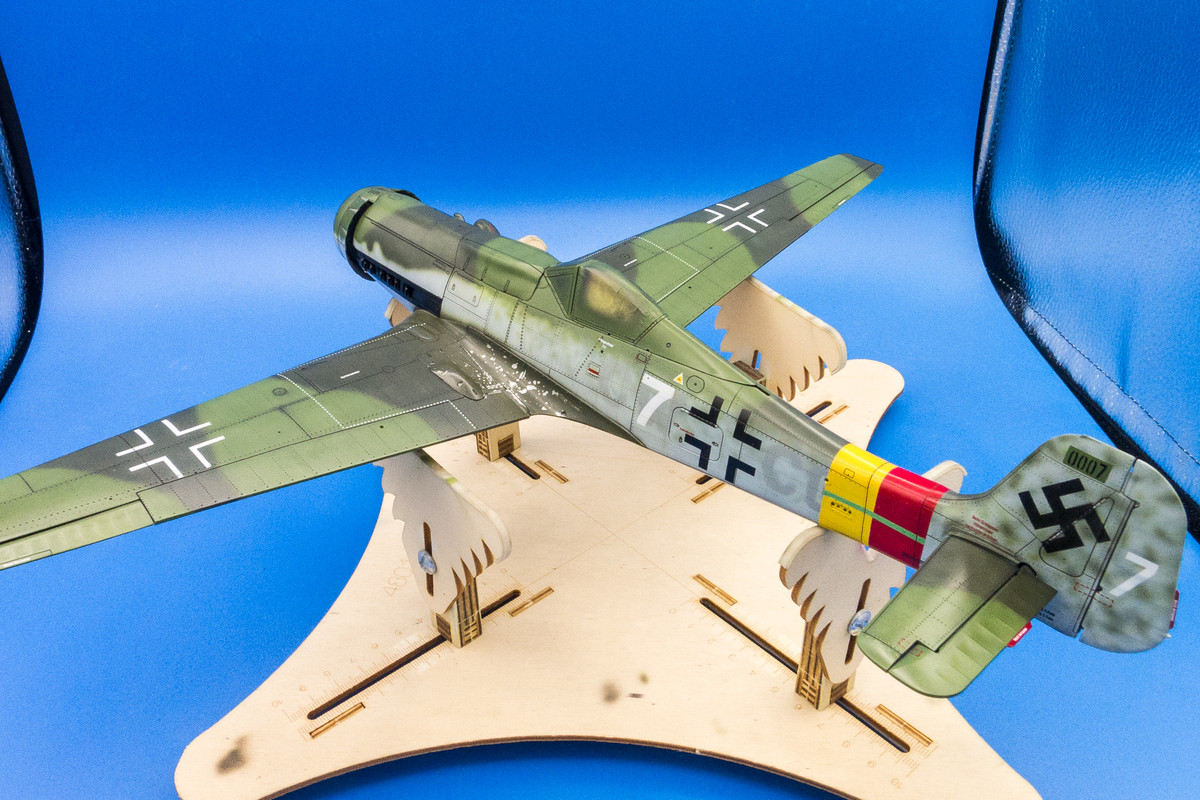
1/32 Zoukei-Mura Ta152H-0 White 7

Post your work in progress of your aircraft builds in here.
User avatar
jkim
Elite Member
Posts: 4073
Joined: Mon Apr 10, 2017 4:03 pm

Re: 1/32 Zoukei-Mura Ta152H-0 White 7

Post by jkim »

Thanks guys!

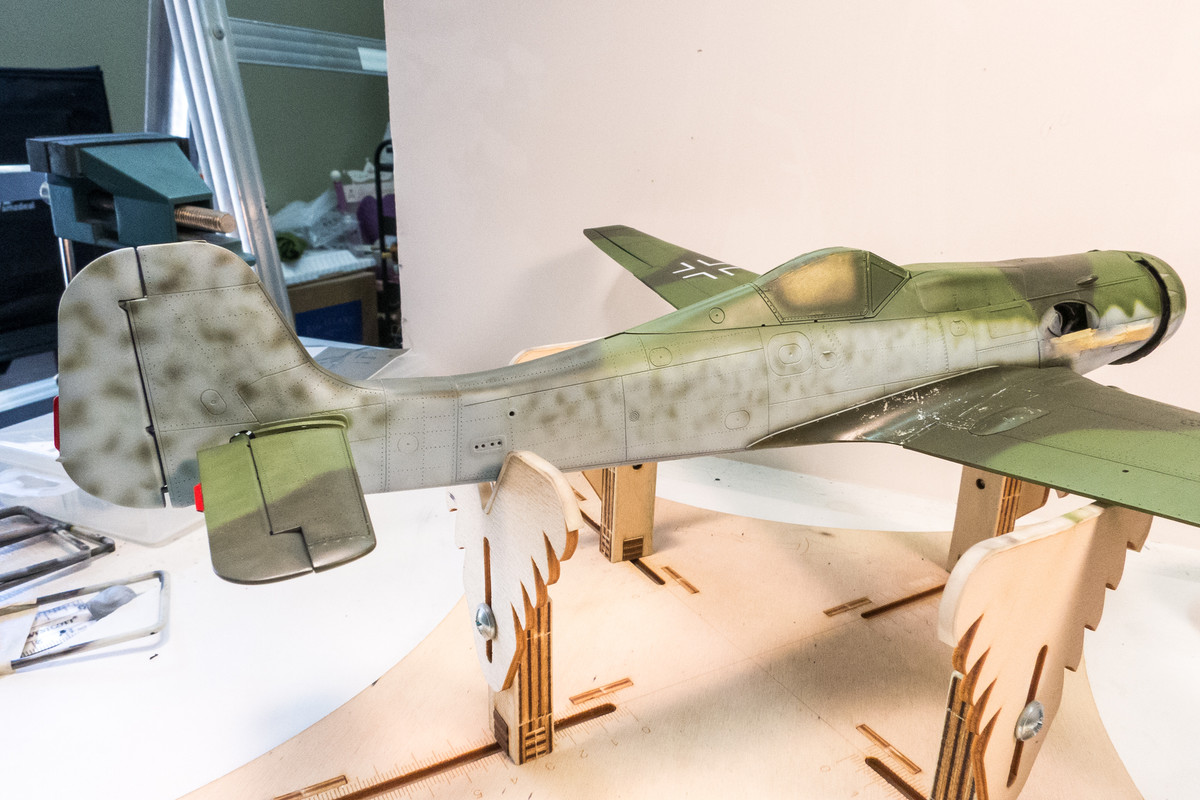
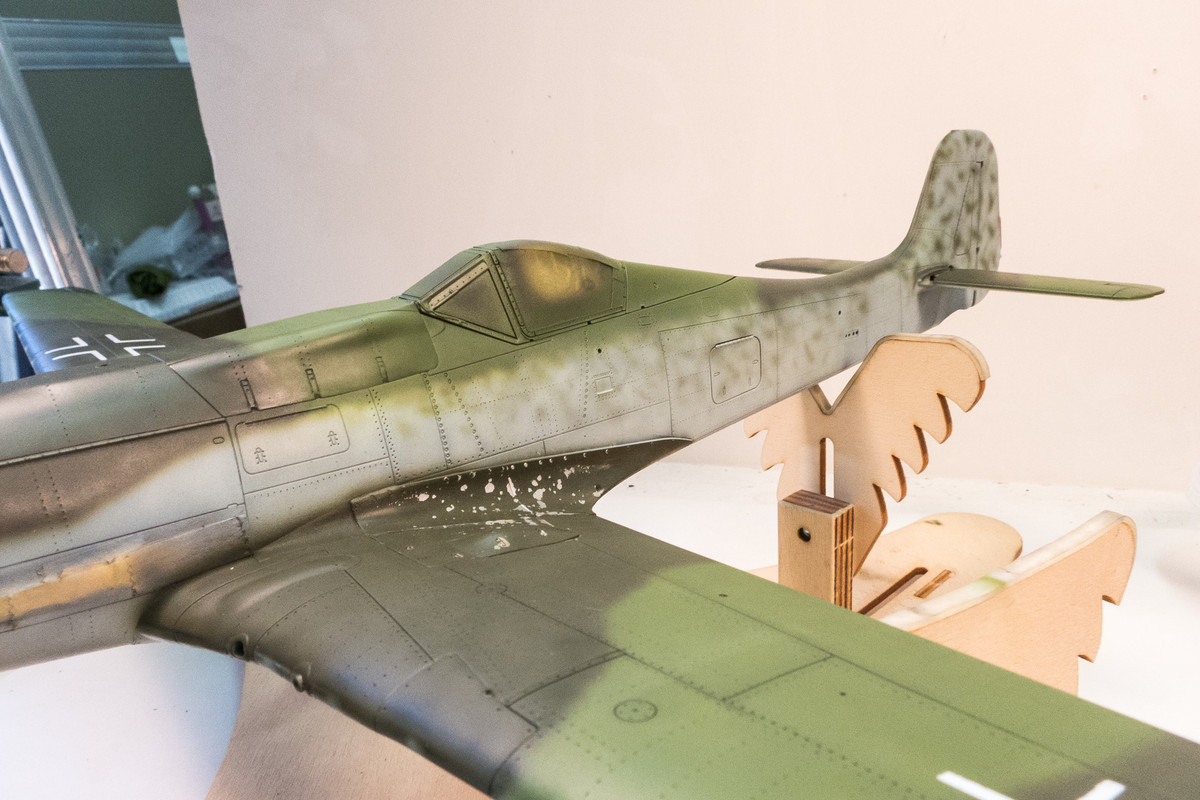
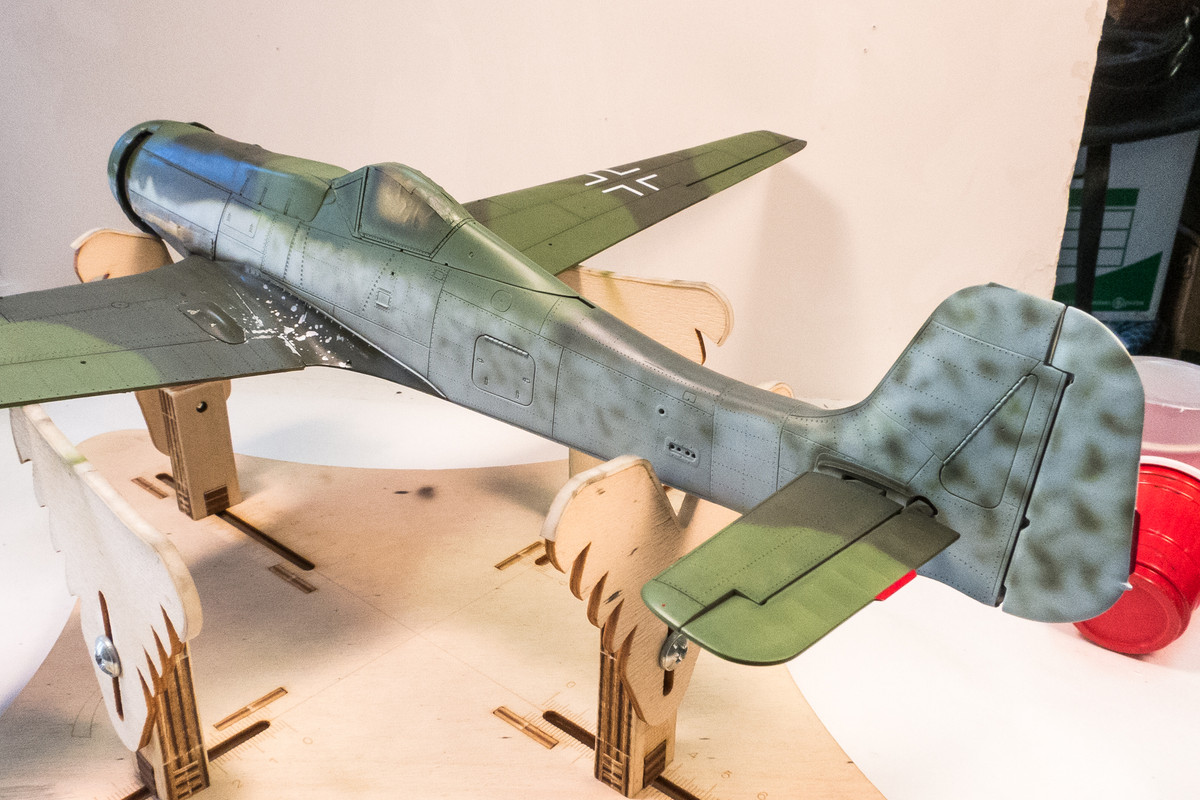
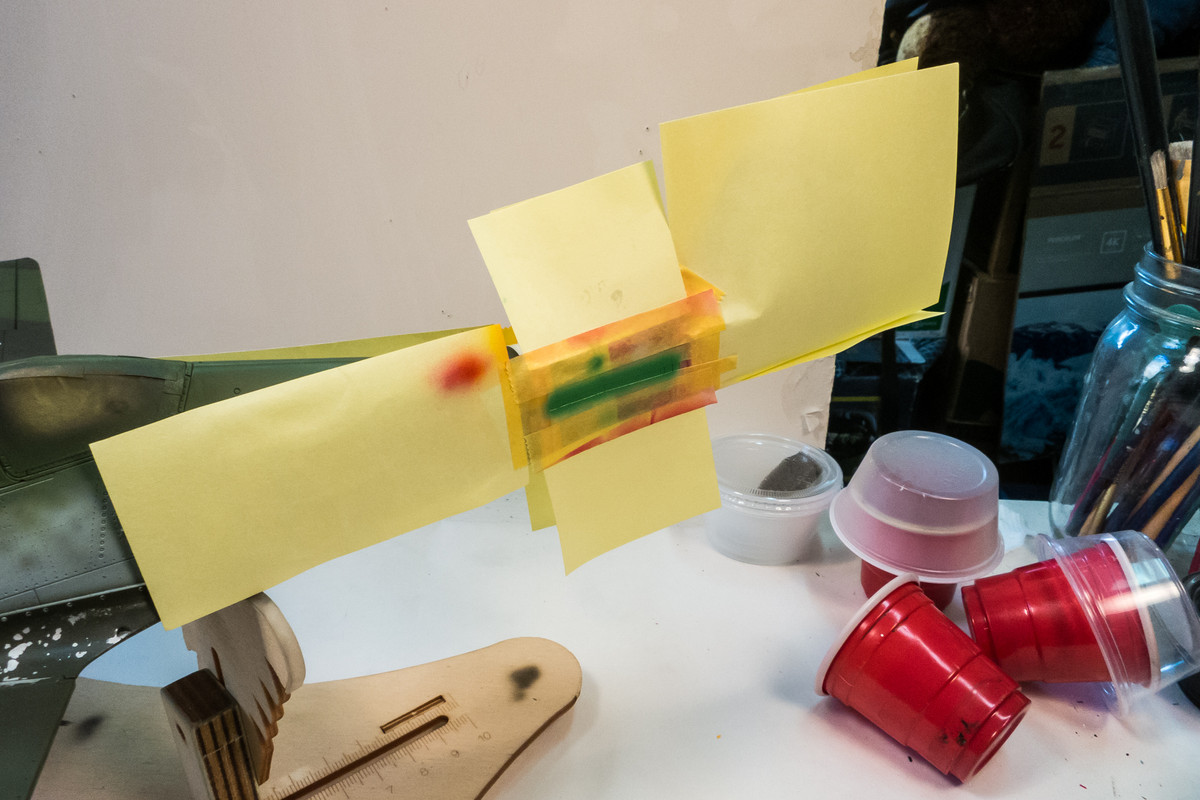
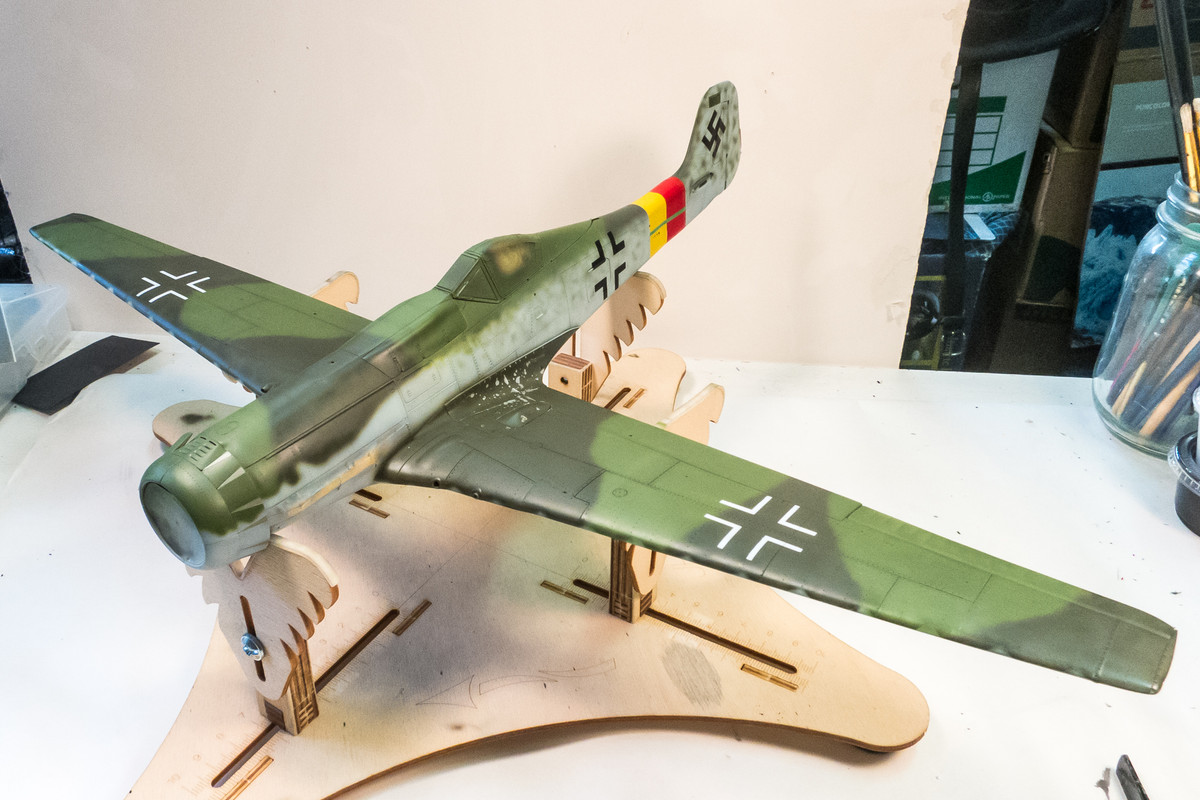
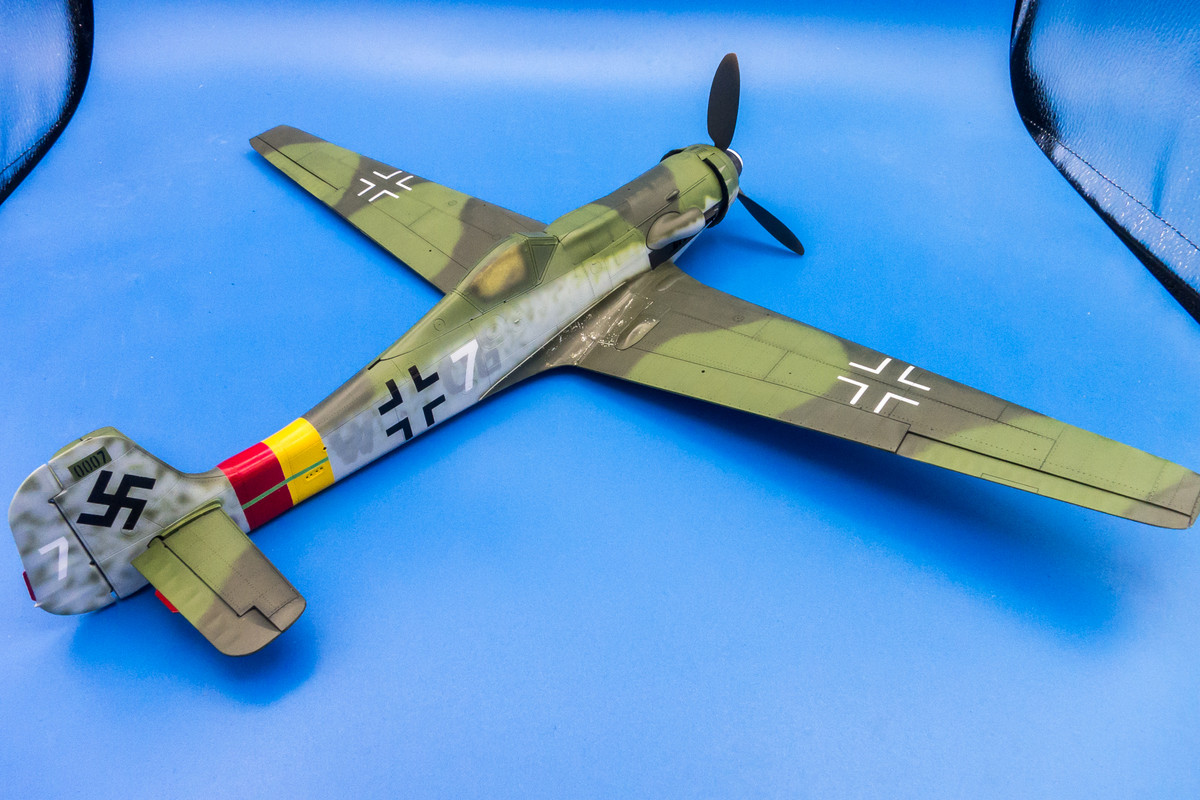
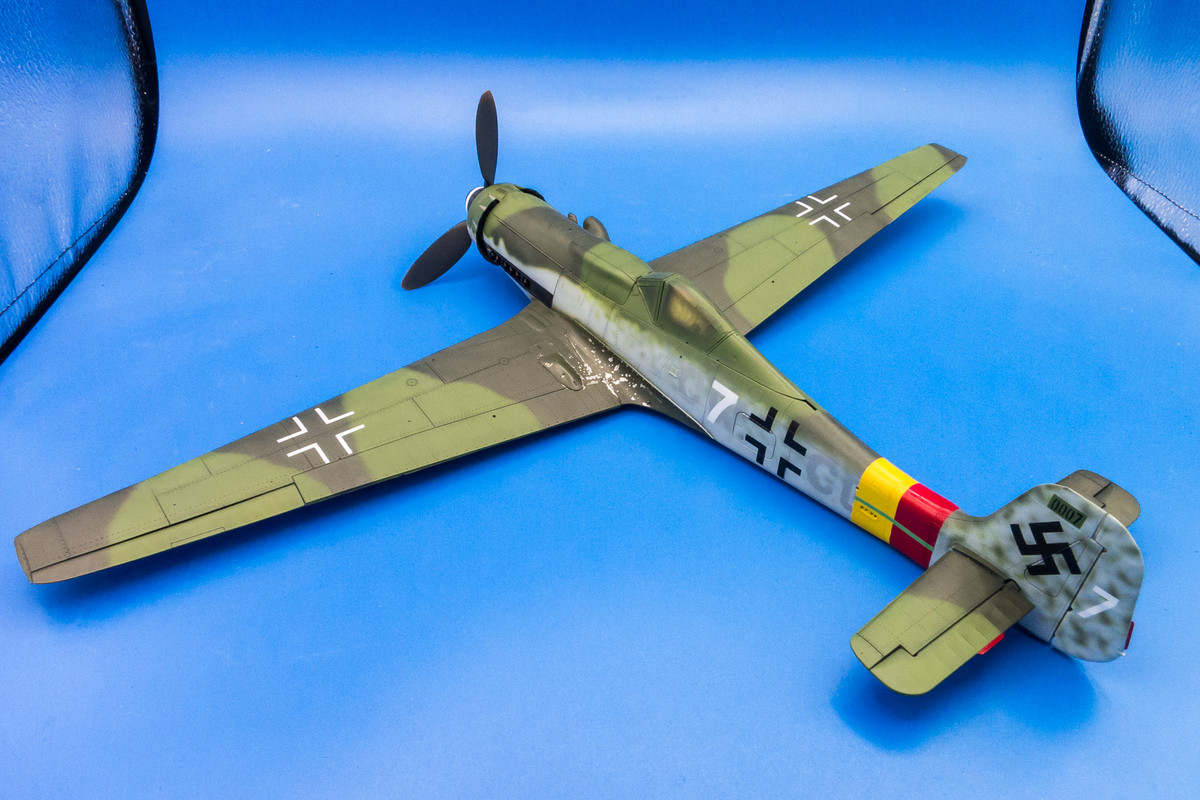
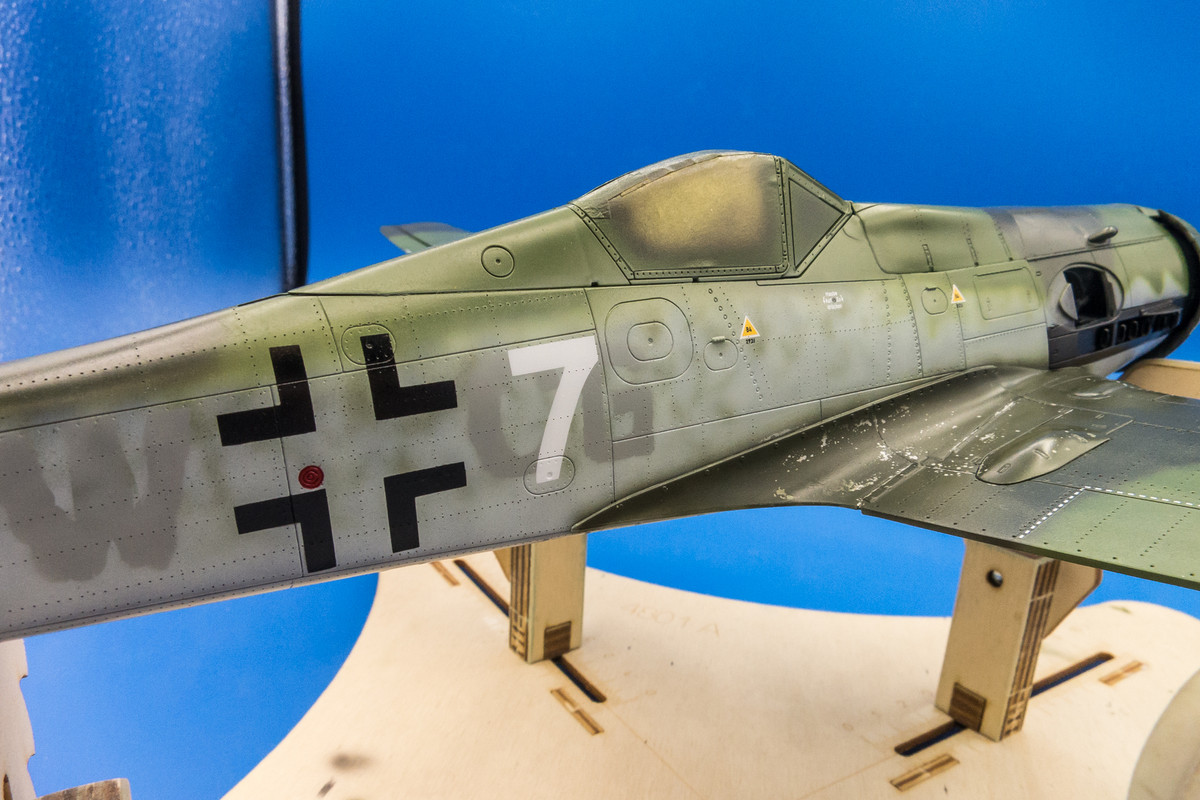
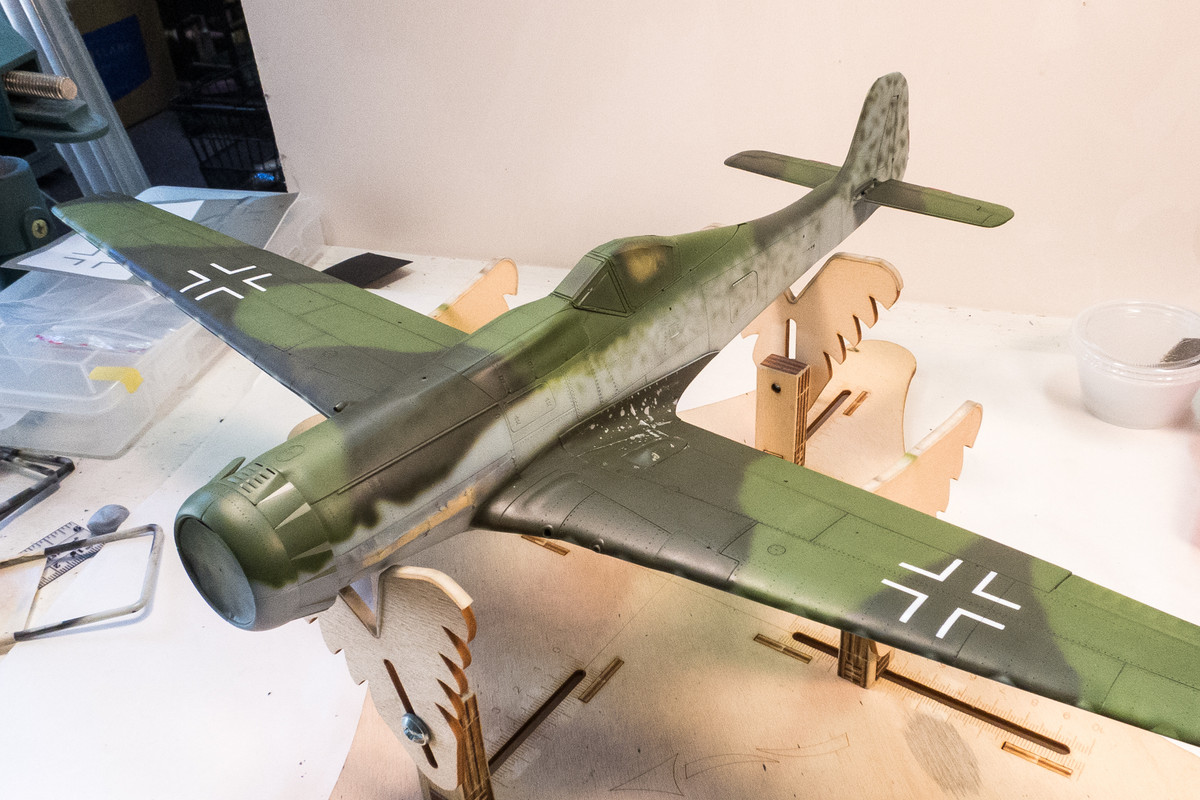
I got a couple of things done... the upper wing crosses were redone. They were re-sized to 900mm instead of the 1000mm crosses that my references state. Seems to fit the wing better. Also, I got the fuselage mottling done. This is actually my second attempt as the first was way too heavy. Light wisps of paint seemed to work best. Most of the mottling was done with the darker RLM 83 color but a few RLM 82 spots were added randomly.
Image
Image
Image
Image
John aka JKim
-----------<><
Image
User avatar
LyleW
Admin
Posts: 15035
Joined: Fri Dec 13, 2013 7:25 am
Location: Mt. Washington KY

Re: 1/32 Zoukei-Mura Ta152H-0 White 7

Post by LyleW »

What pressure are you using on the airbrush?
To make each build less crappy than the last one. Or, put another way, "Better than the last one, not as good as the next one!"..
User avatar
jkim
Elite Member
Posts: 4073
Joined: Mon Apr 10, 2017 4:03 pm

Re: 1/32 Zoukei-Mura Ta152H-0 White 7

Post by jkim »

I just took a look... I was running around 25 psi with the airbrush running. I'd say my working range is 15-30 psi. I'm not real particular about reading that gauge... I'm so used to the compressor that I just turn it a certain amount and I'm off and running. For really detailed spraying, I'll consciously dial it down.

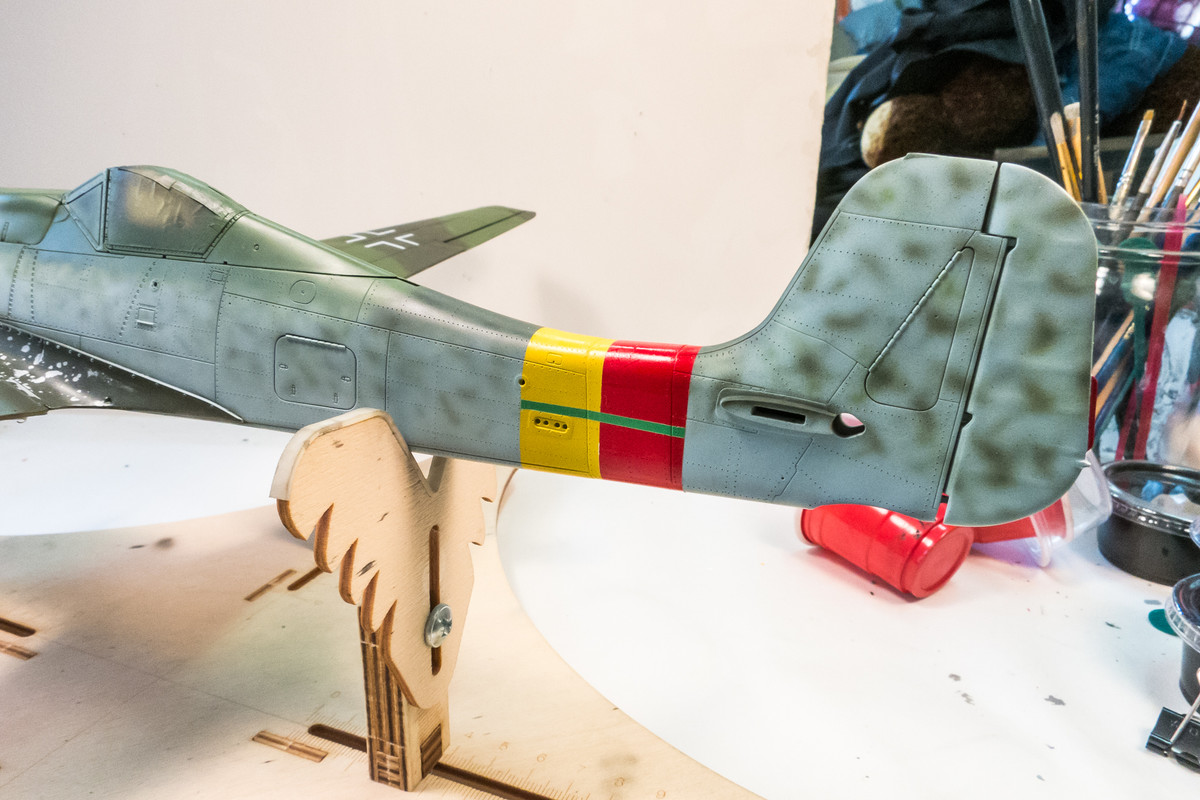
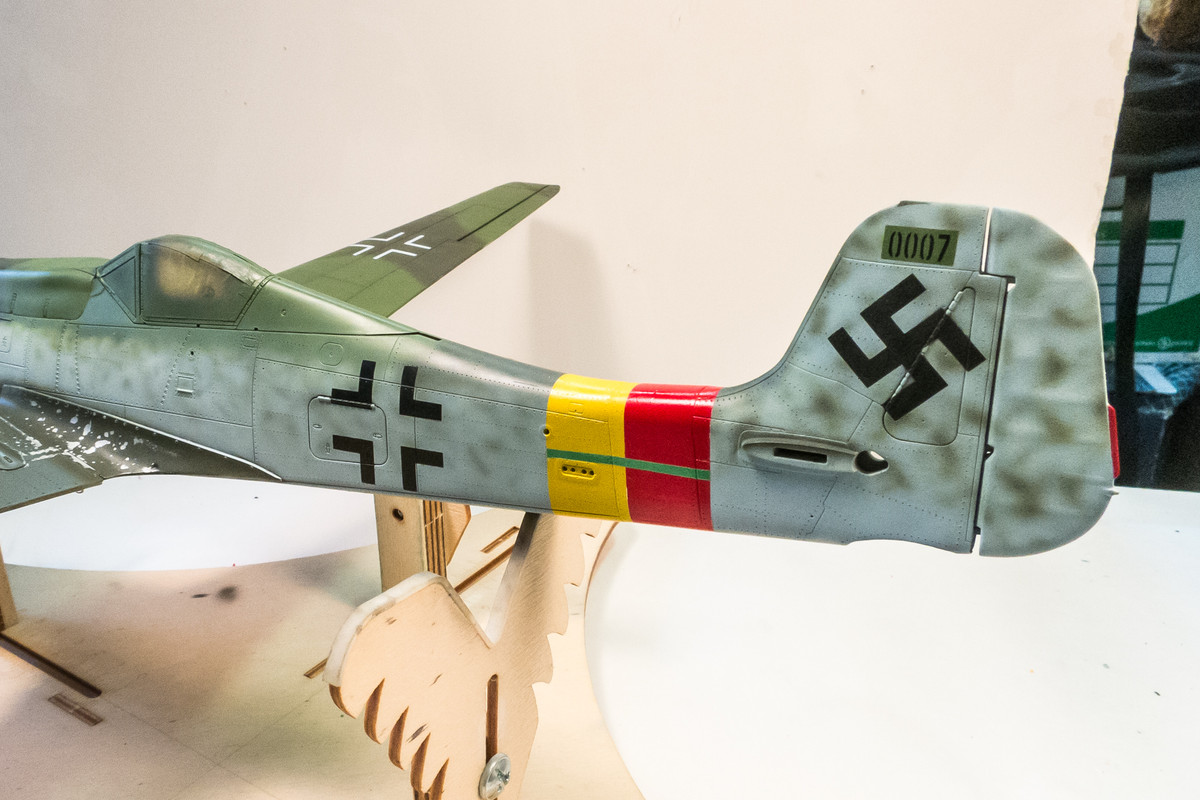
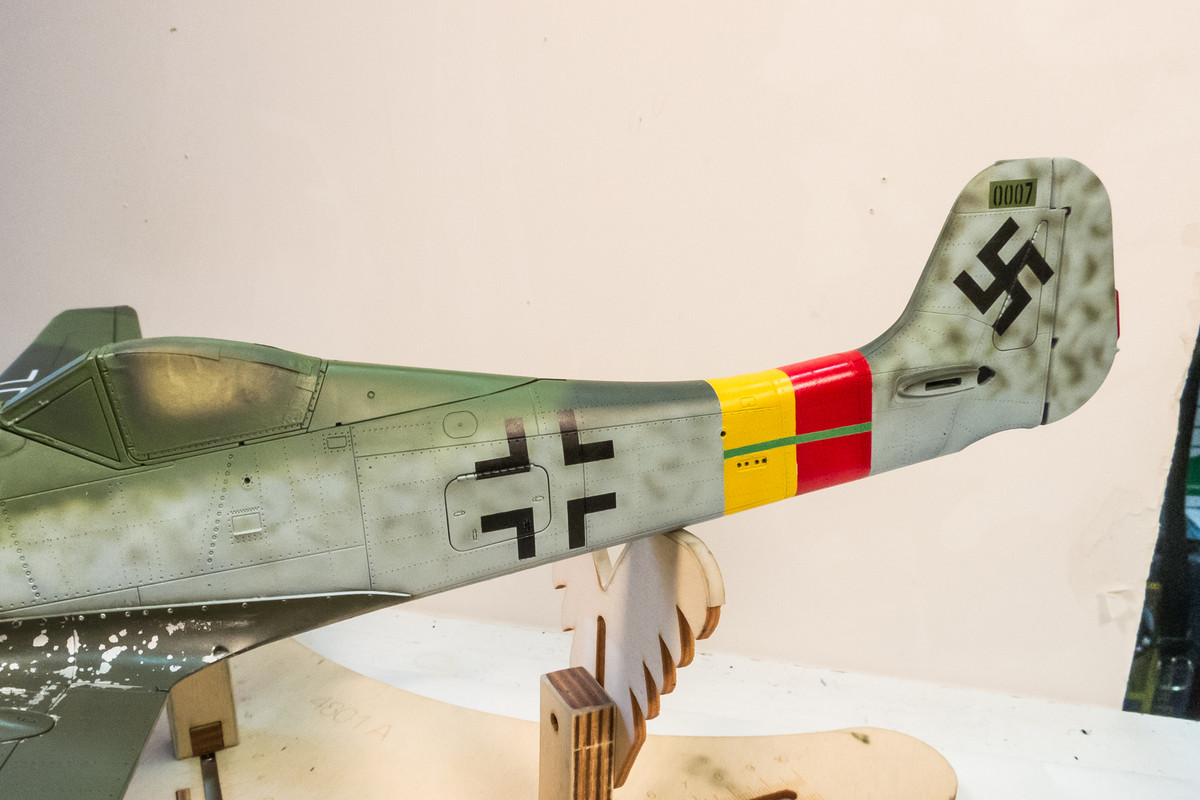
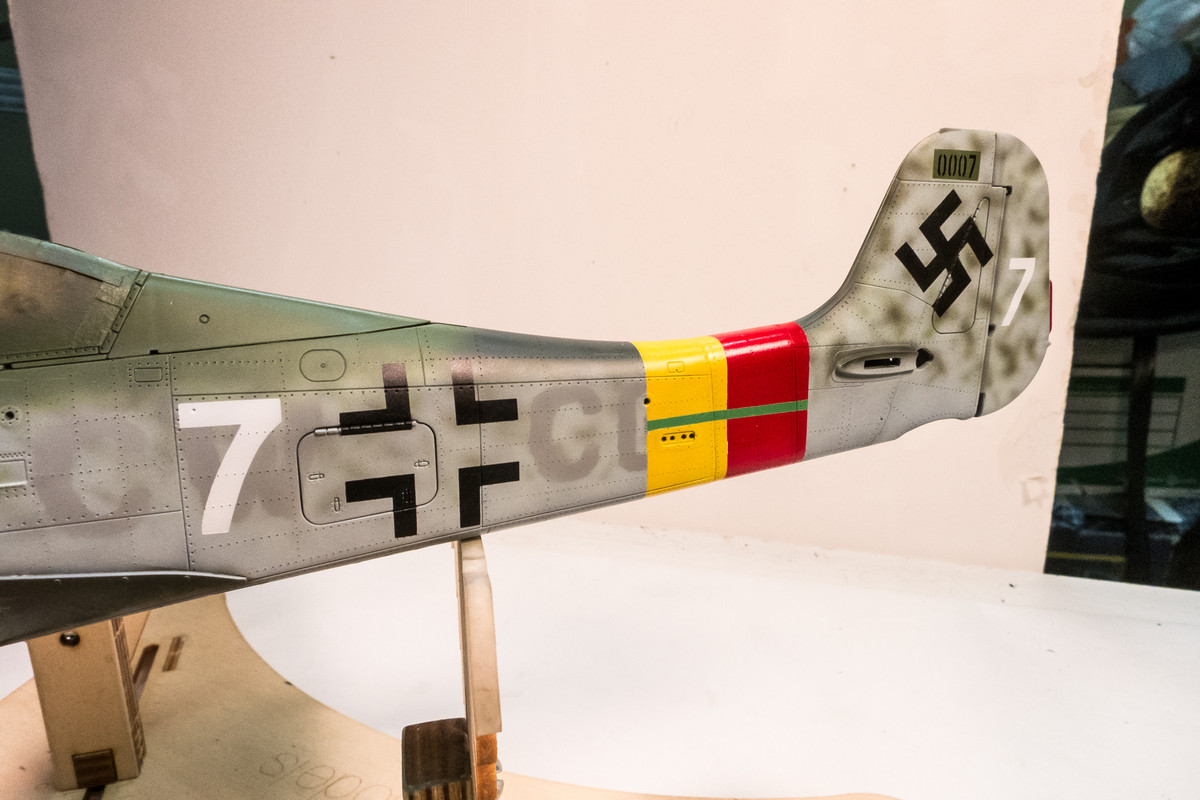
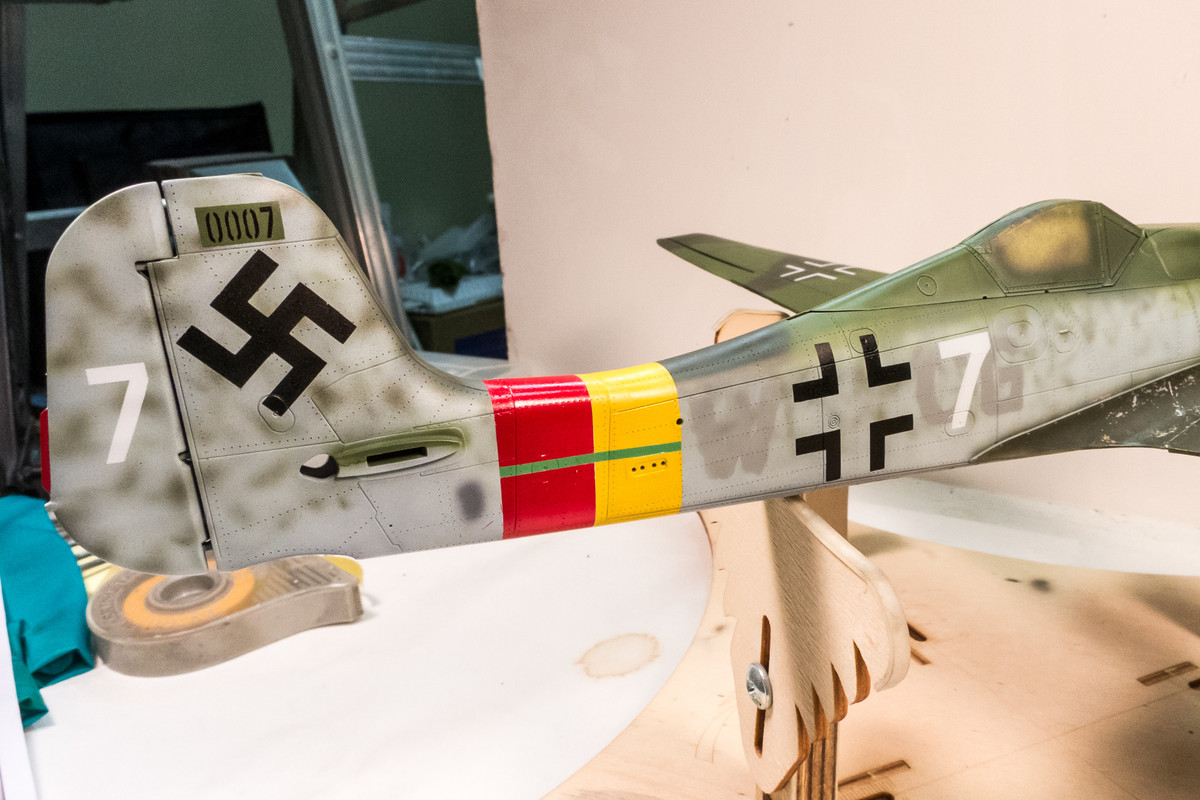
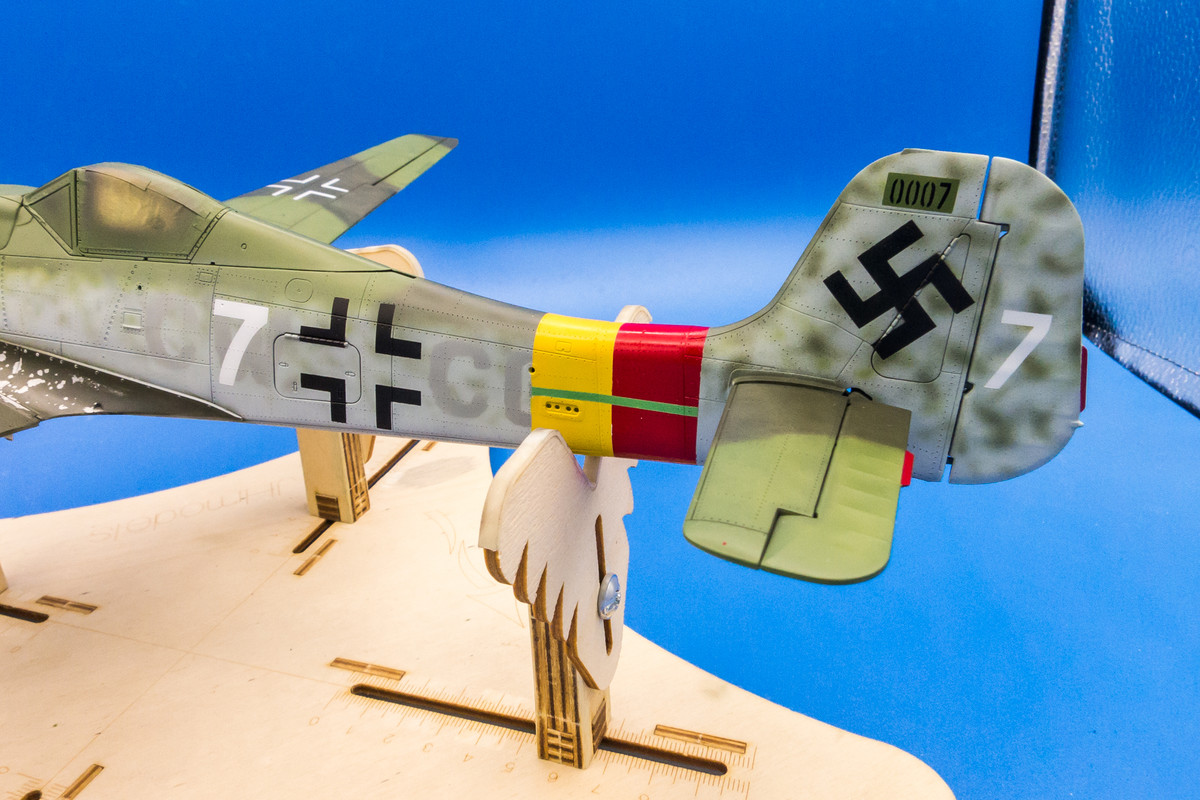
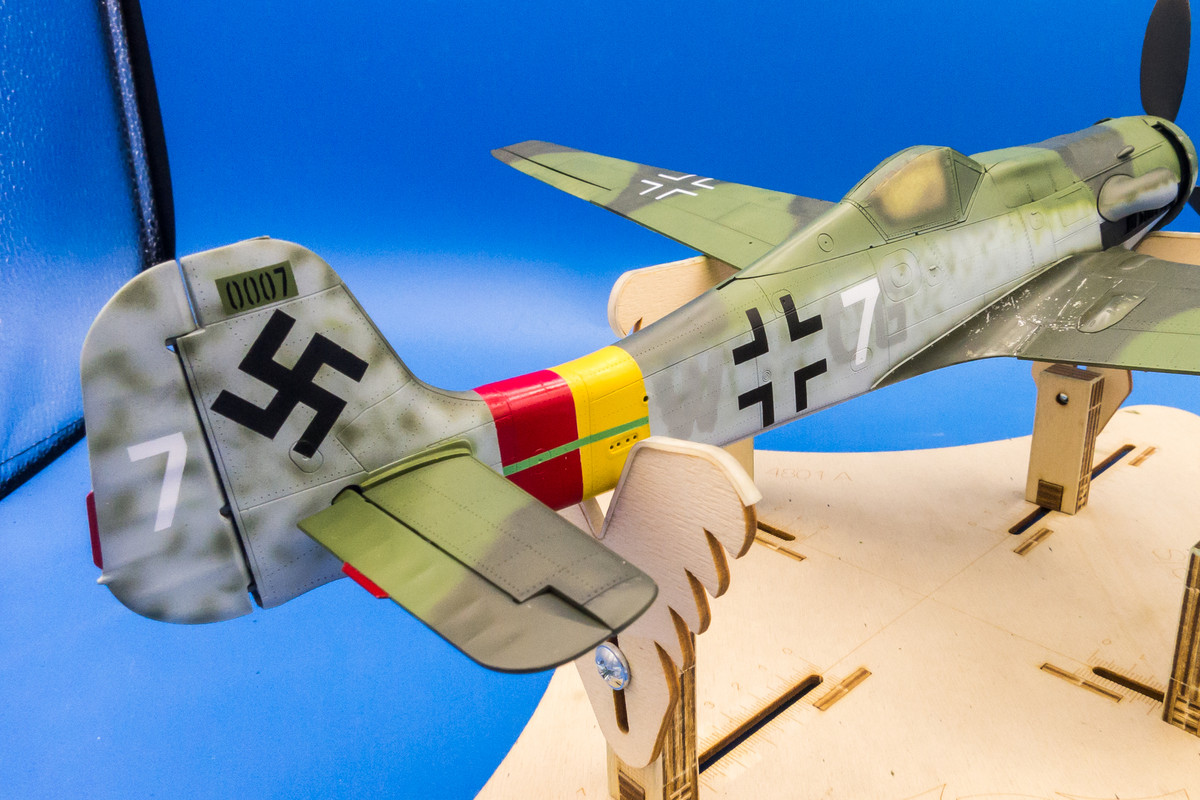
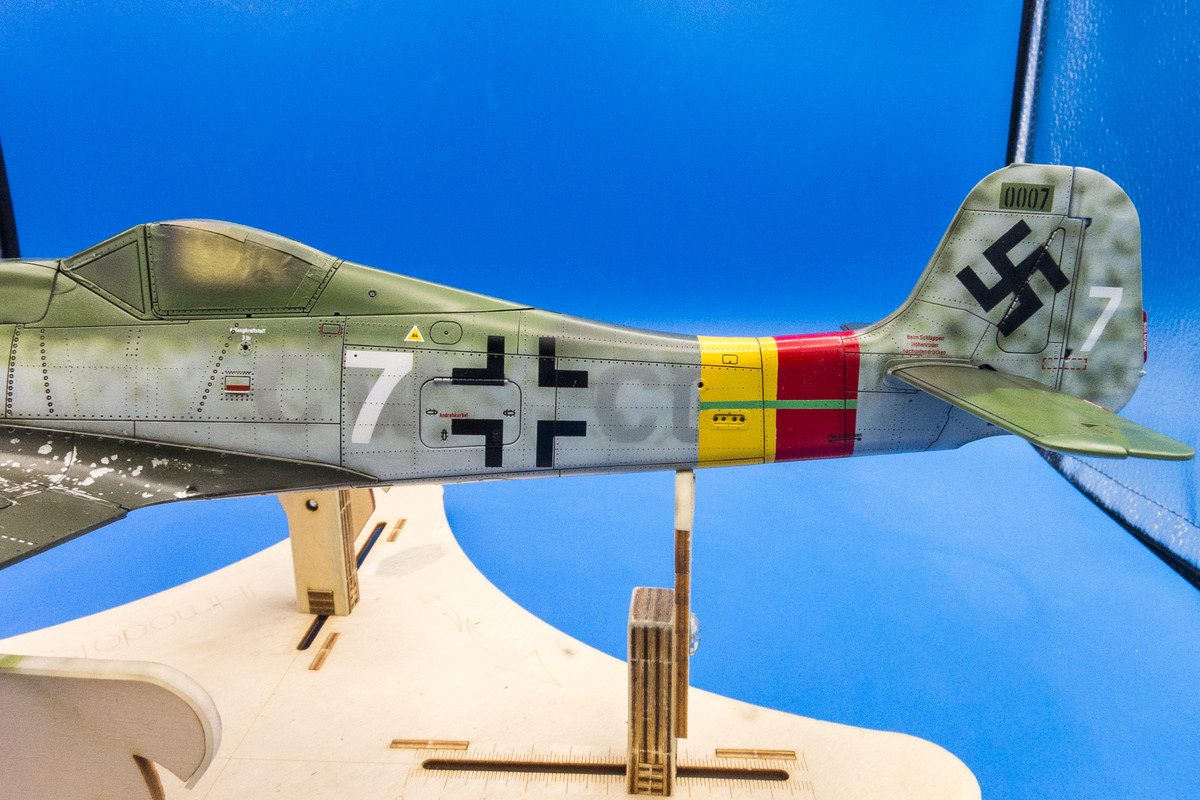
I started on the fuselage markings. This is the tail end of the red and yellow unit ID band of JG301 with the green Gruppe bar.
Image

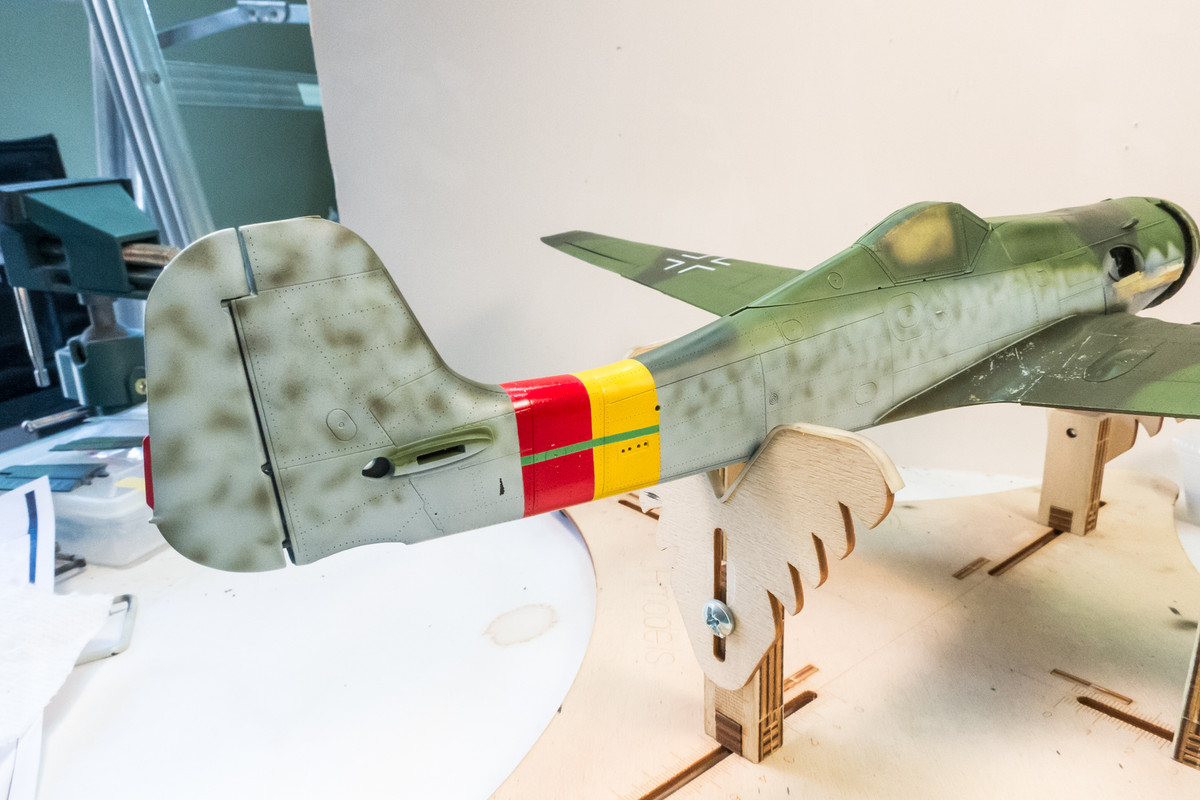
Pulling off all of the masking shows the finished band. Note that I've left the horizontal stablizers detachable so it's easier to paint around the tail.
Image
Image

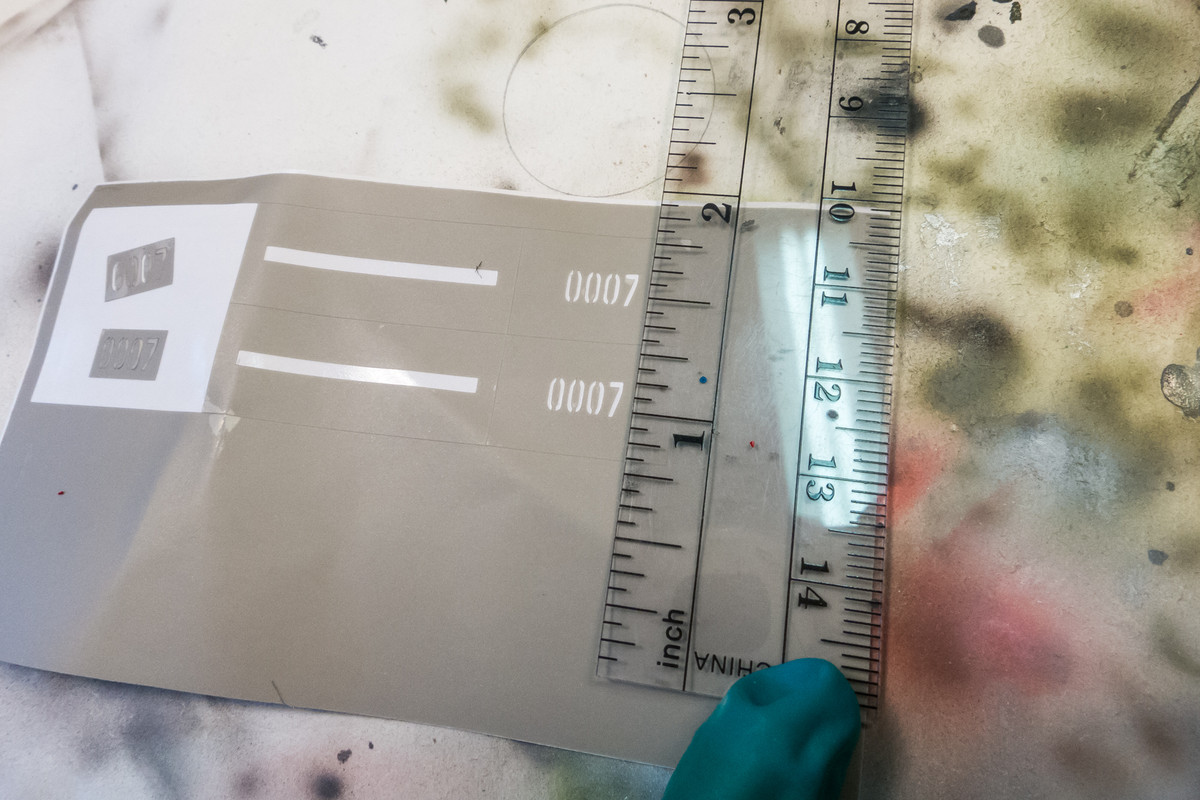
Very small WNr codes for the tail printed from the Silhouette Portrait...
Image

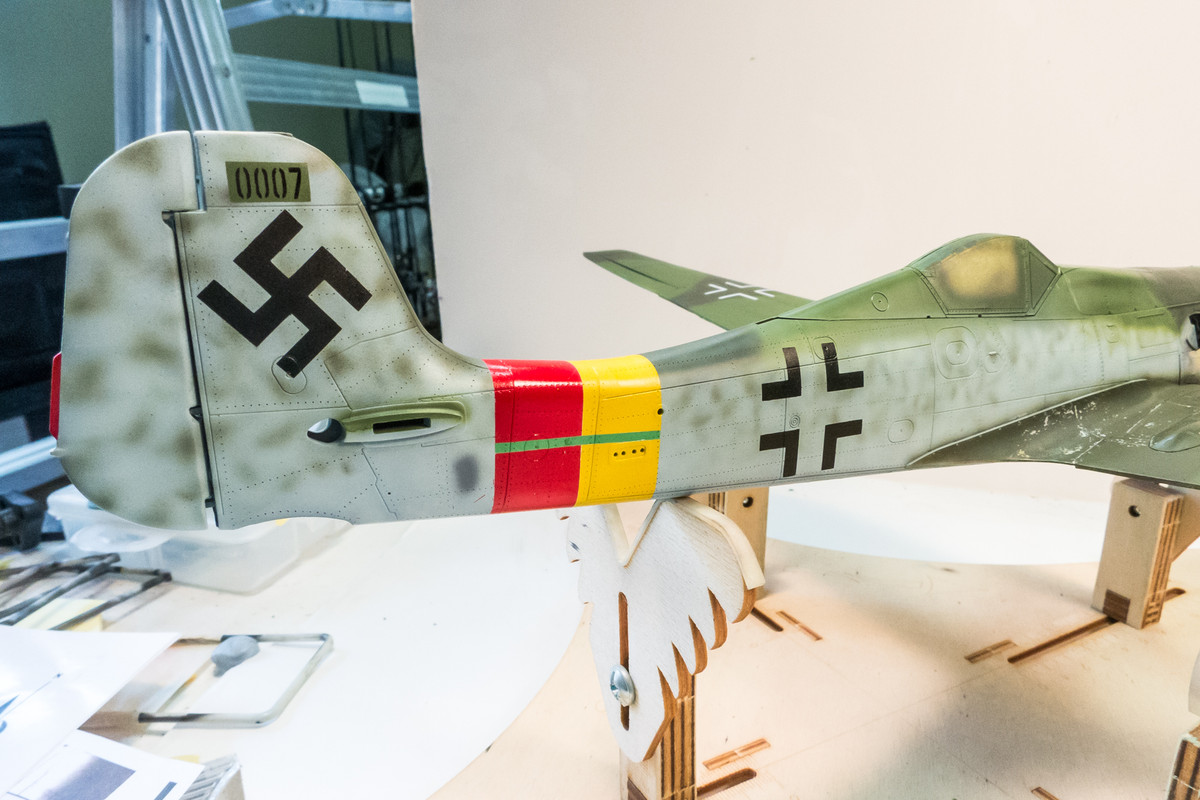
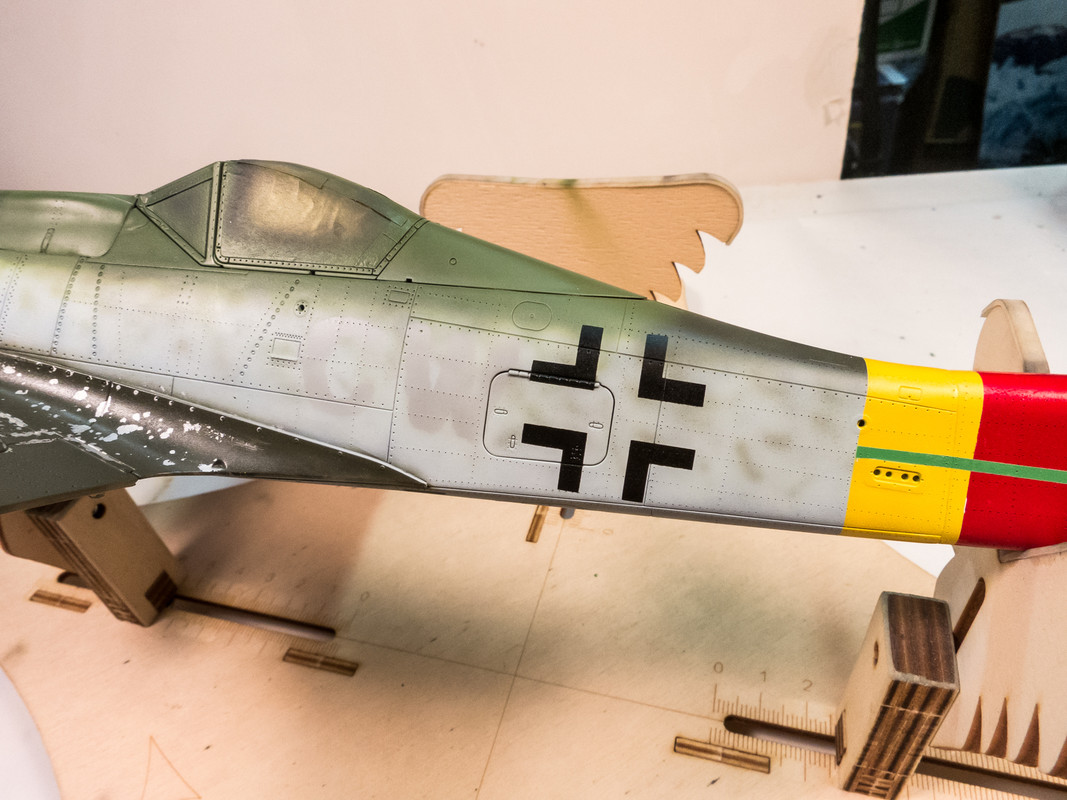
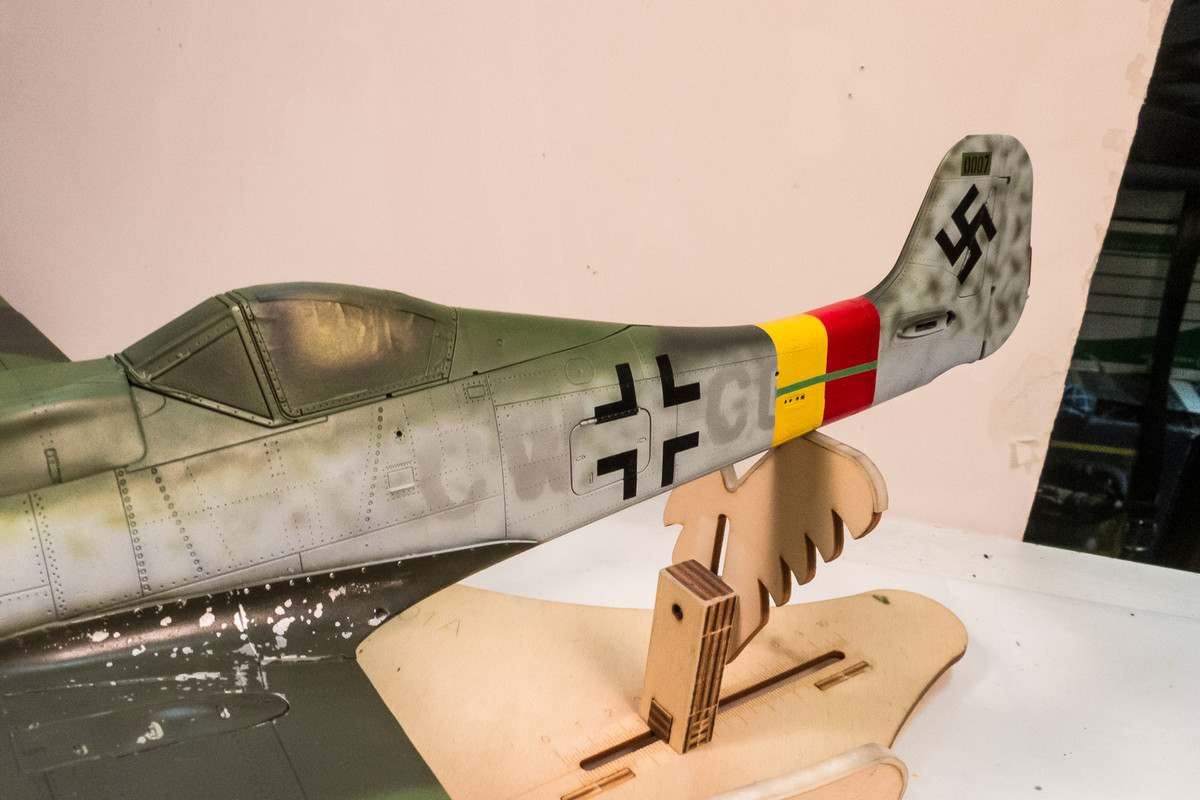
The fusleage crosses, tail swastika and WNr codes are done.
Image
Image
Image

I'll let this dry and then I'll try the painted out CW+CG codes.
Image
John aka JKim
-----------<><
Image
User avatar
LyleW
Admin
Posts: 15035
Joined: Fri Dec 13, 2013 7:25 am
Location: Mt. Washington KY

Re: 1/32 Zoukei-Mura Ta152H-0 White 7

Post by LyleW »

Thanks for the info. You have mastered the airbrush. Thi is simply exquisite work.
To make each build less crappy than the last one. Or, put another way, "Better than the last one, not as good as the next one!"..
User avatar
jkim
Elite Member
Posts: 4073
Joined: Mon Apr 10, 2017 4:03 pm

Re: 1/32 Zoukei-Mura Ta152H-0 White 7

Post by jkim »

Thanks Lyle!

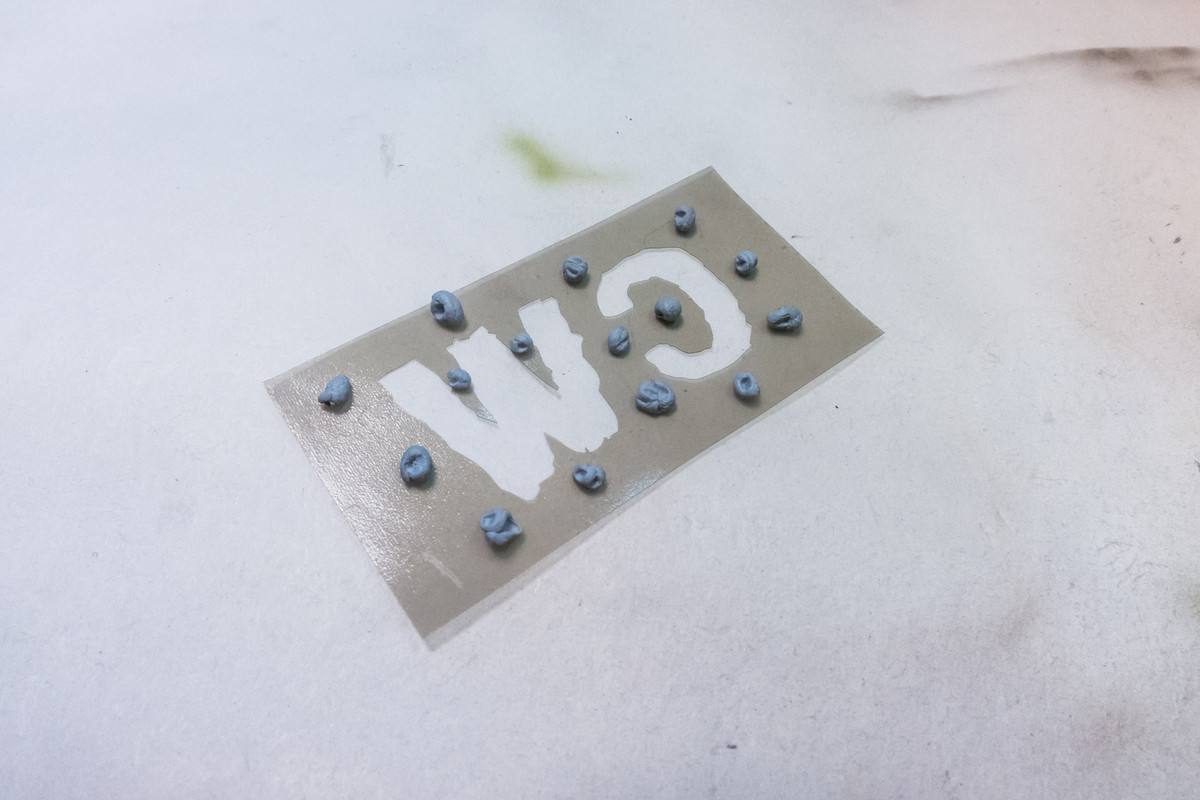
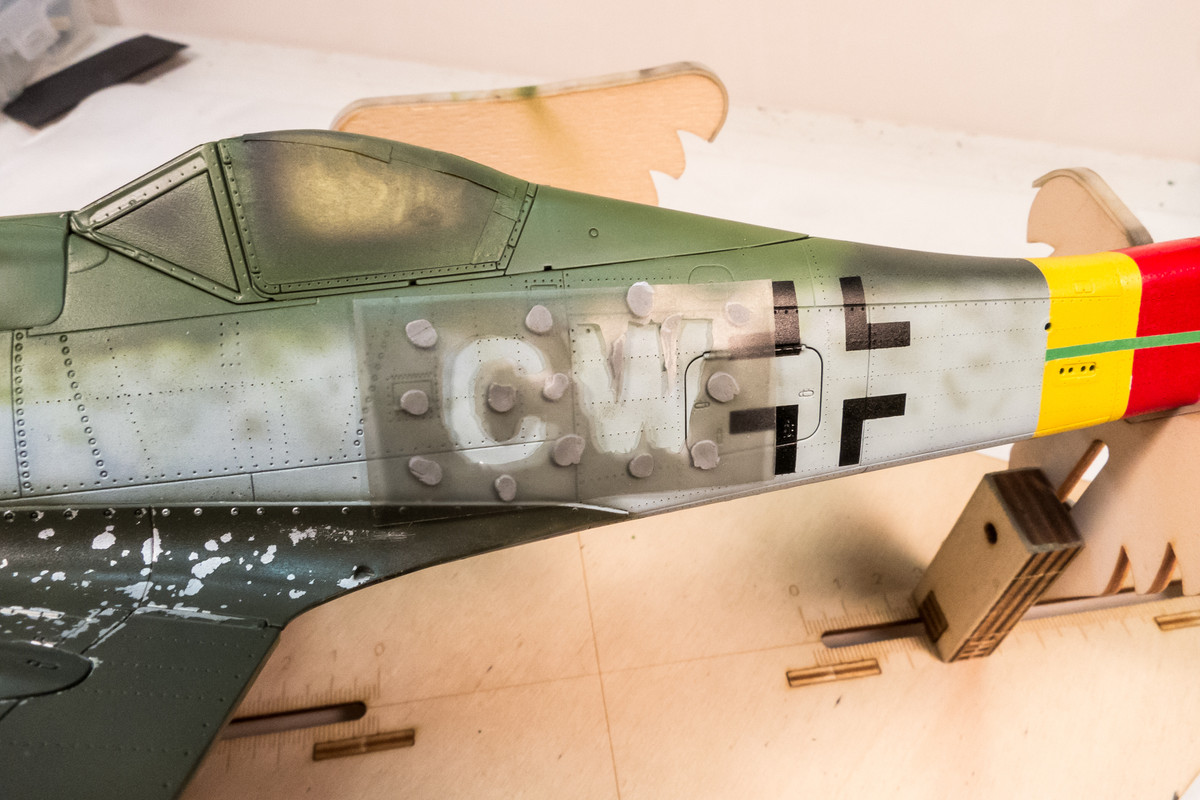
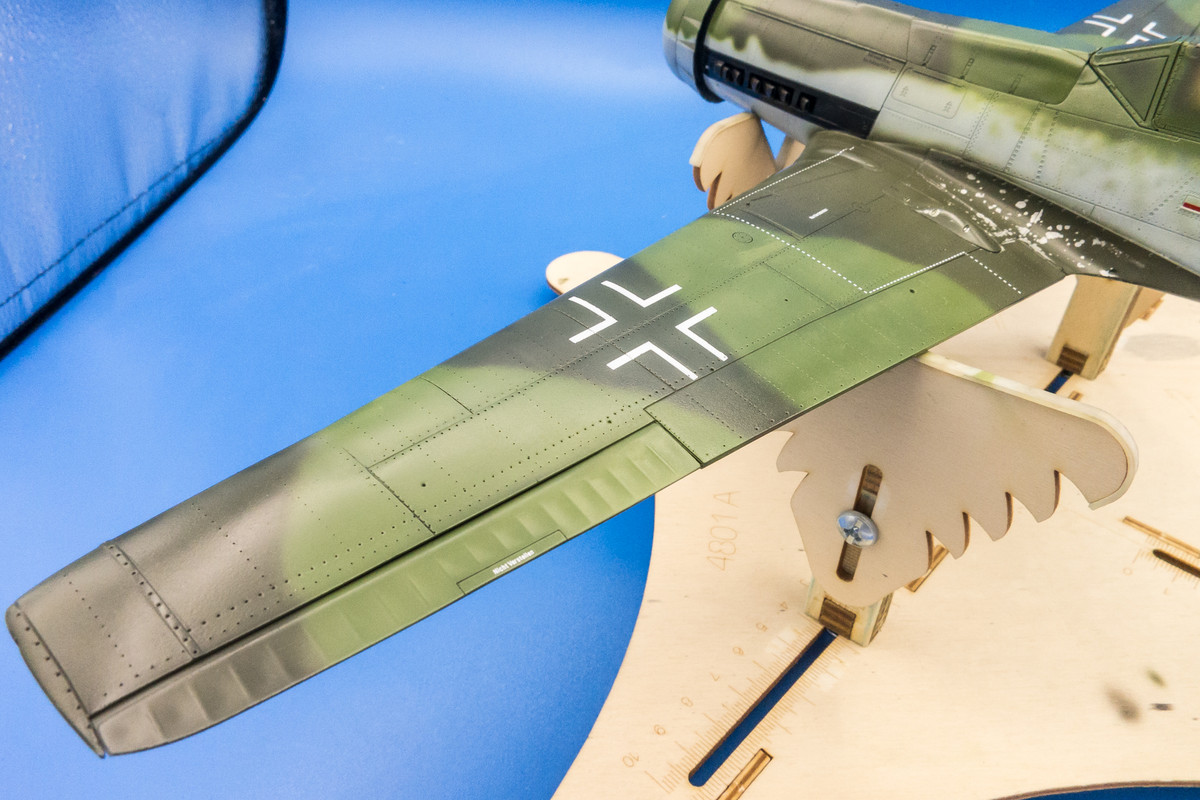
Practice makes perfect right? I pretty much spent the whole day at the work bench and have finished all of the masked markings with this update. The CW+CG codes are provided as rough-edged decals on the Eagle Cals decal sheet. I just roughly traced them in AutoCAD and produced masks. For some reason, Eagle Cal provided two sets of "CW" and "C" but no "CG" so I made one. I didn't want a totally hard edge on these so I used little balls of Blue Tack to suspend them slightly off the model's surface.
Image

Didn't really care for uniform spacing... some edges were closer and even touching... sloppy spacing should equal a more natural result.
Image

I used the Mr Hobby Aqueous version of RLM 76 with a dash of RLM 75 for the painted-out markings.
Image

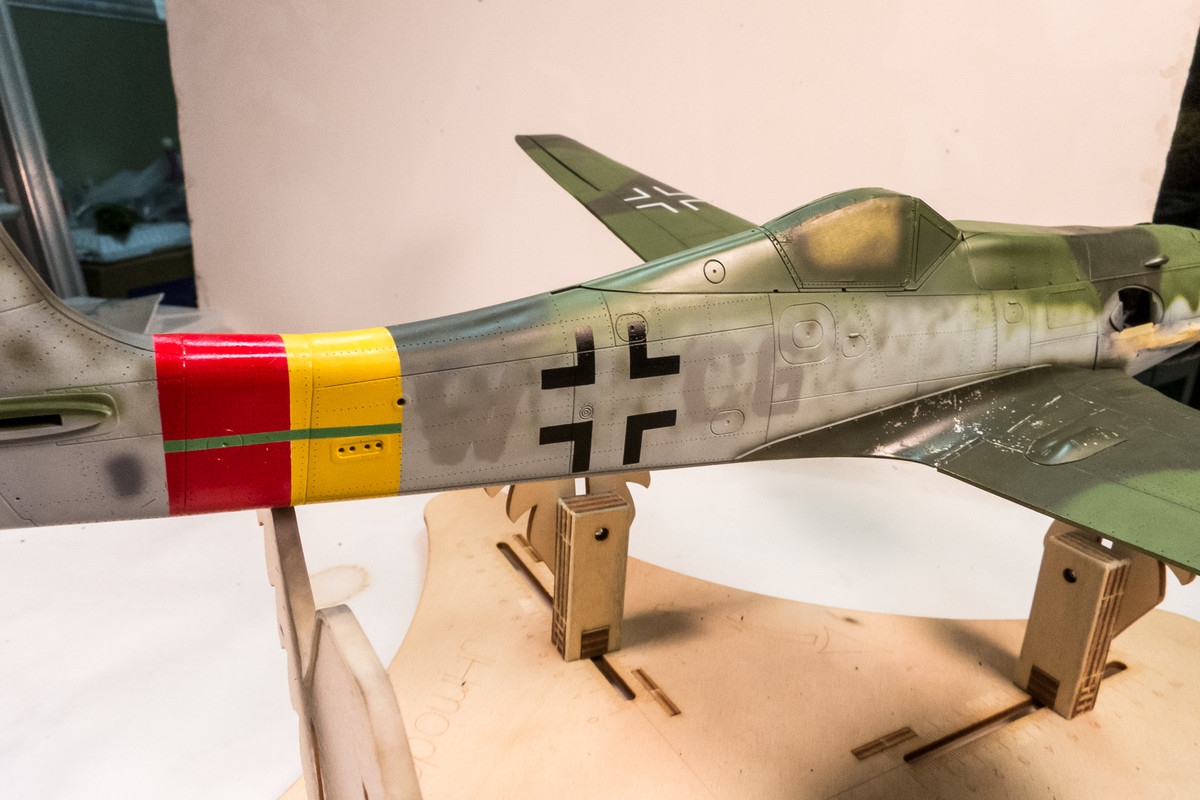
The result is subtle but noticeable if you look carefully.
Image
Image

After that, the white 7's get added. I'm gonna reinforce the "G" on the port side and also take of our that dark spot aft of the red/yellow band. That is a scratchmark that I pre-treated with Neutral Grey.

Image
Image

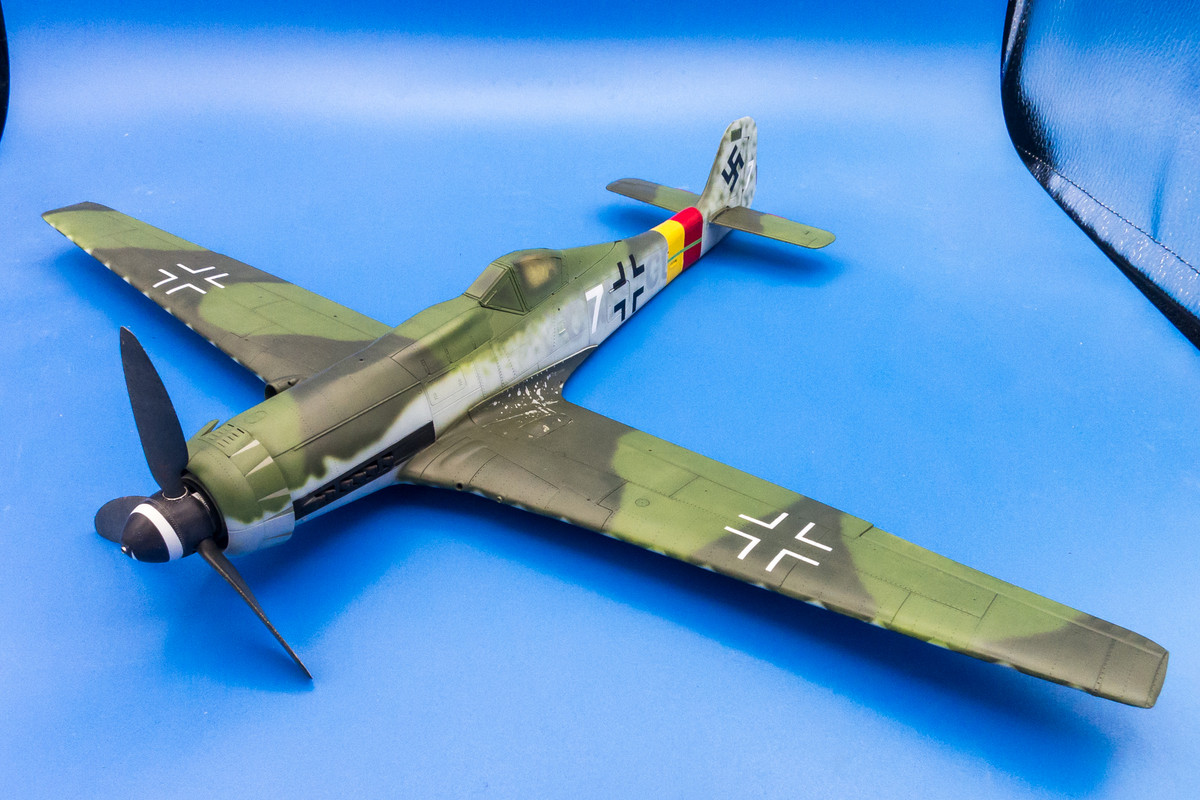
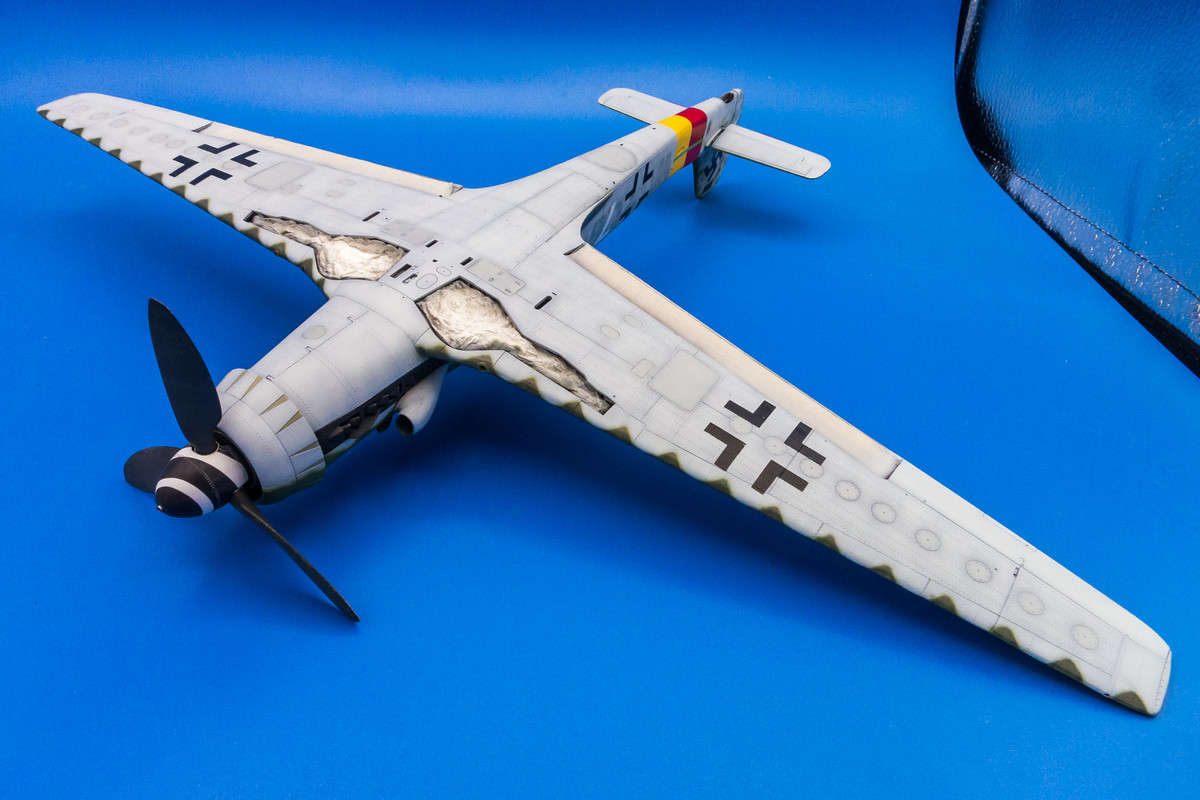
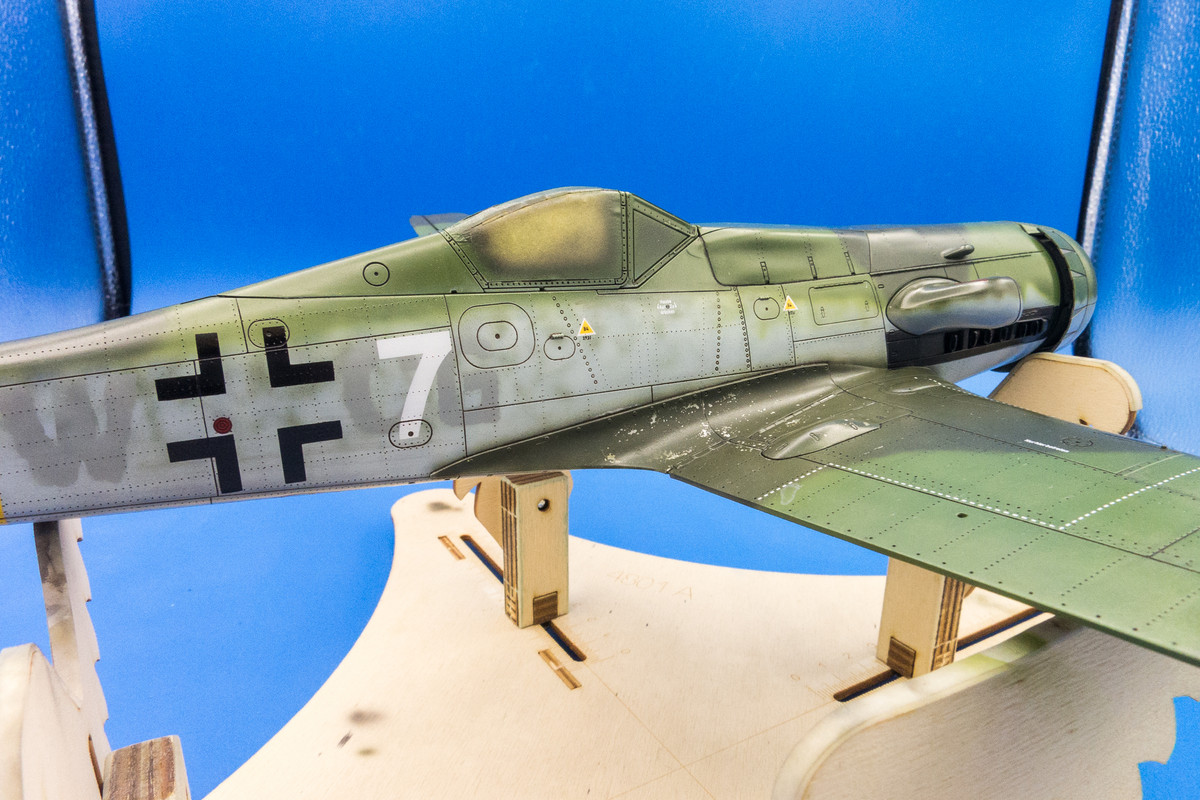
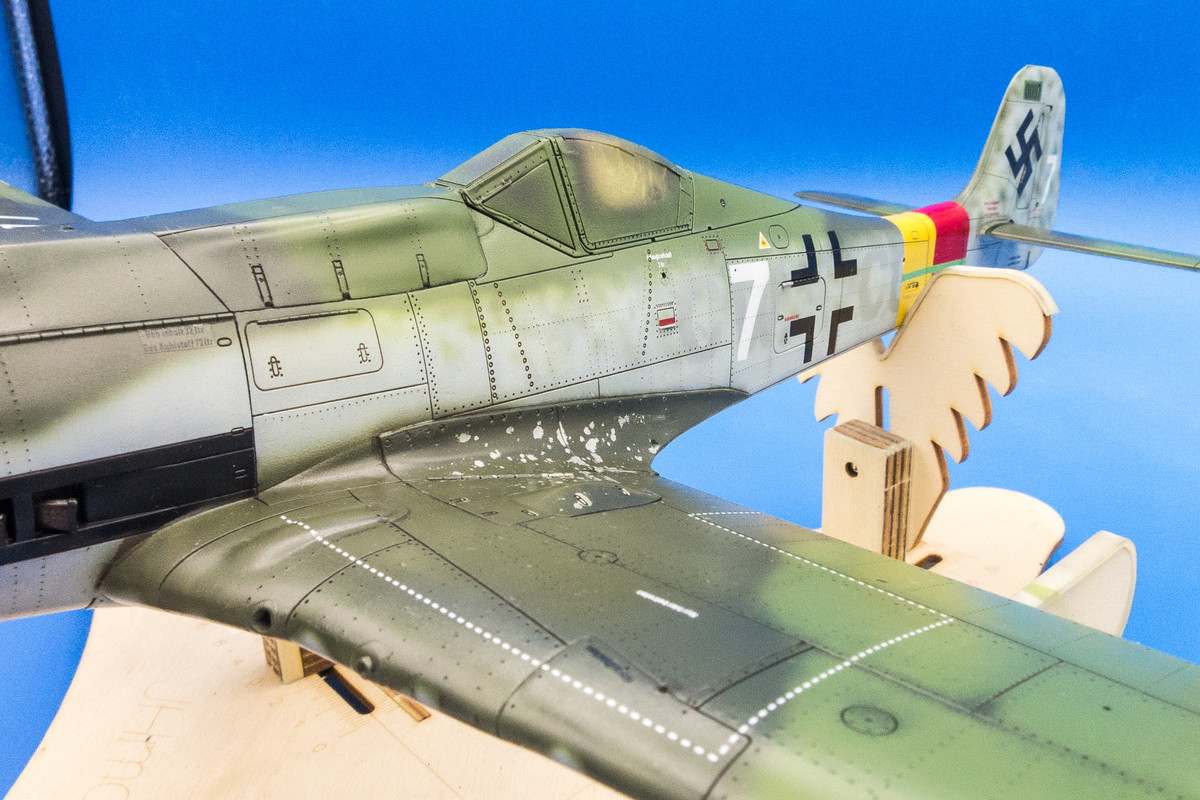
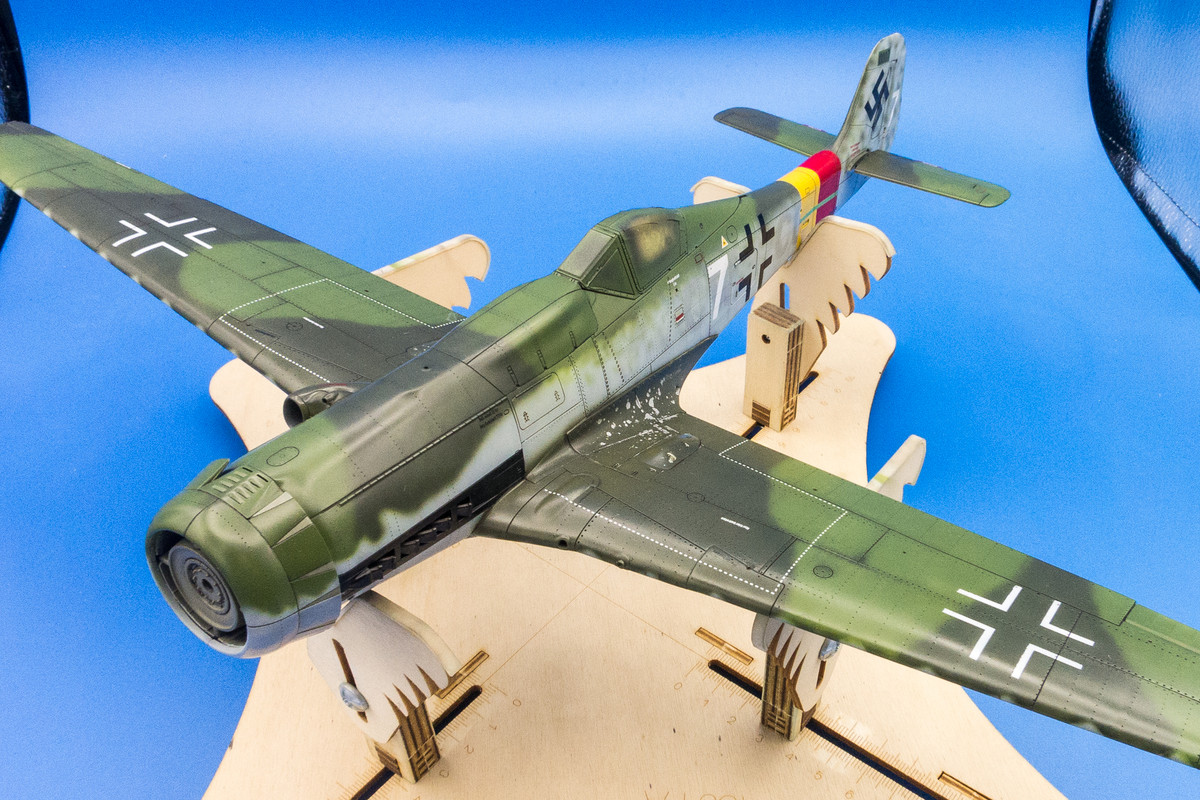
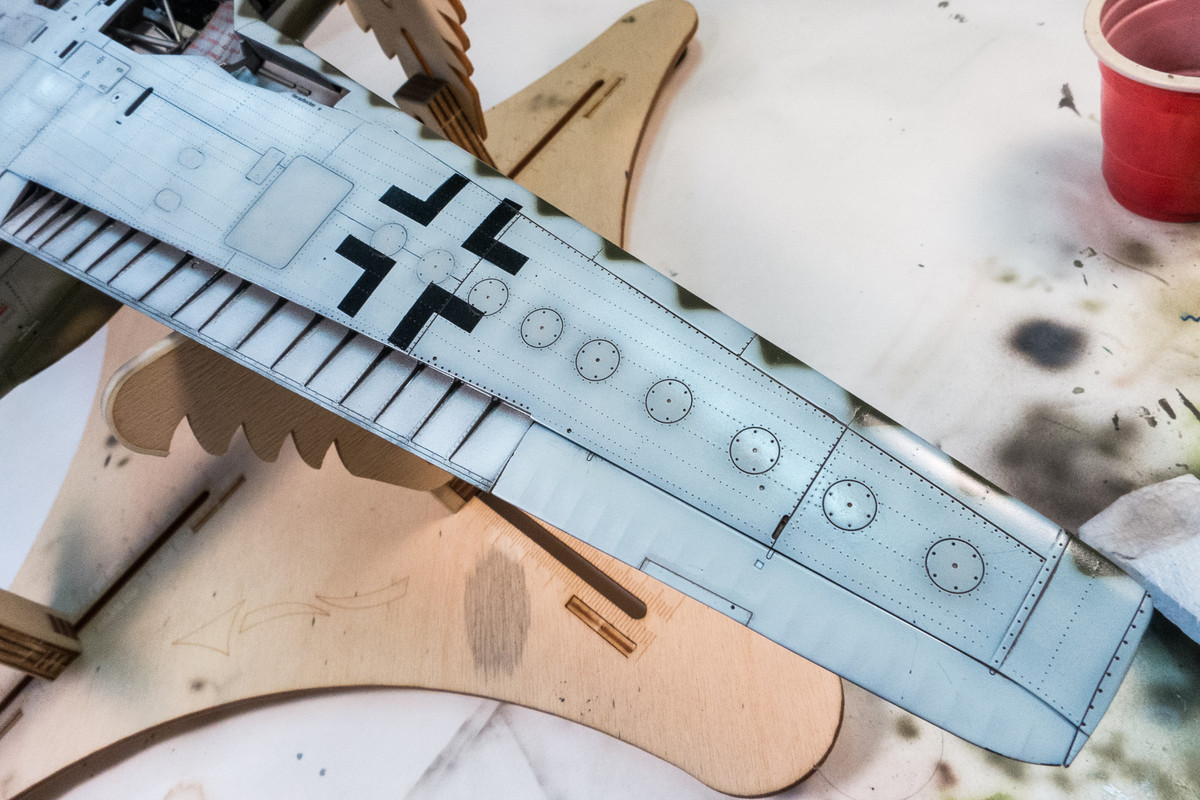
With the last of the painted markings, I removed the masks around the exhausts. The paint stage is over and I'll be moving on to the decals after I seal her up with a gloss coat. Here is what the Tank fighter looks like before the decals are applied.
Image
Image
Image
Image
Image
Image
John aka JKim
-----------<><
Image
User avatar
Norman
Senior Member
Posts: 85
Joined: Sun Apr 06, 2014 12:54 am
Location: Hamburg, Germany
Contact:

Re: 1/32 Zoukei-Mura Ta152H-0 White 7

Post by Norman »

I really miss the words, just wonderful :shoutout:
User avatar
Stikpusher
Moderator
Posts: 21183
Joined: Sat Apr 05, 2014 8:37 pm
Location: Ceti Alpha 5

Re: 1/32 Zoukei-Mura Ta152H-0 White 7

Post by Stikpusher »

Very impressive painting work... particularly the painted over factory codes :shoutout:
"Surely I have made my meaning plain? I intend to avenge myself upon you, Admiral. I have deprived your ship of power, and when I swing 'round, I intend to deprive you of your life."

FLSM
User avatar
jkim
Elite Member
Posts: 4073
Joined: Mon Apr 10, 2017 4:03 pm

Re: 1/32 Zoukei-Mura Ta152H-0 White 7

Post by jkim »

Thank you for the comments! I know it's a lot of work to absorb in such a short time but strike when the fire is hot, right? With the major markings being painted, the amount of decals to applied is lessened. Mostly stencils from the Eagle Cals decal sheet.

Image
Image
Image
Image
Image
Image
Image
John aka JKim
-----------<><
Image
User avatar
Floki
Elite Member
Posts: 3548
Joined: Wed Dec 12, 2018 2:23 am
Location: Muncie, Indiana

Re: 1/32 Zoukei-Mura Ta152H-0 White 7

Post by Floki »

The painted on marking always look so much better than a decal. So much work you've done in a short amount of time. I really appreciate your build logs I learn something new with about every post you make.
March as one, Don't look back
Odin's sons... Attack!
Unleash hell! Do not repent! Warfare grants us no lament
Let your weapons slash and tear This is no place for fear
Hold the lines! Move as one! In unity our victory's won
Our shields will form a mighty wall
United we shall never fall
User avatar
jkim
Elite Member
Posts: 4073
Joined: Mon Apr 10, 2017 4:03 pm

Re: 1/32 Zoukei-Mura Ta152H-0 White 7

Post by jkim »

Thanks Clint! Yes, I got a lot done over this weekend... essentially locked myself in the modeling room, only to come out for meals!

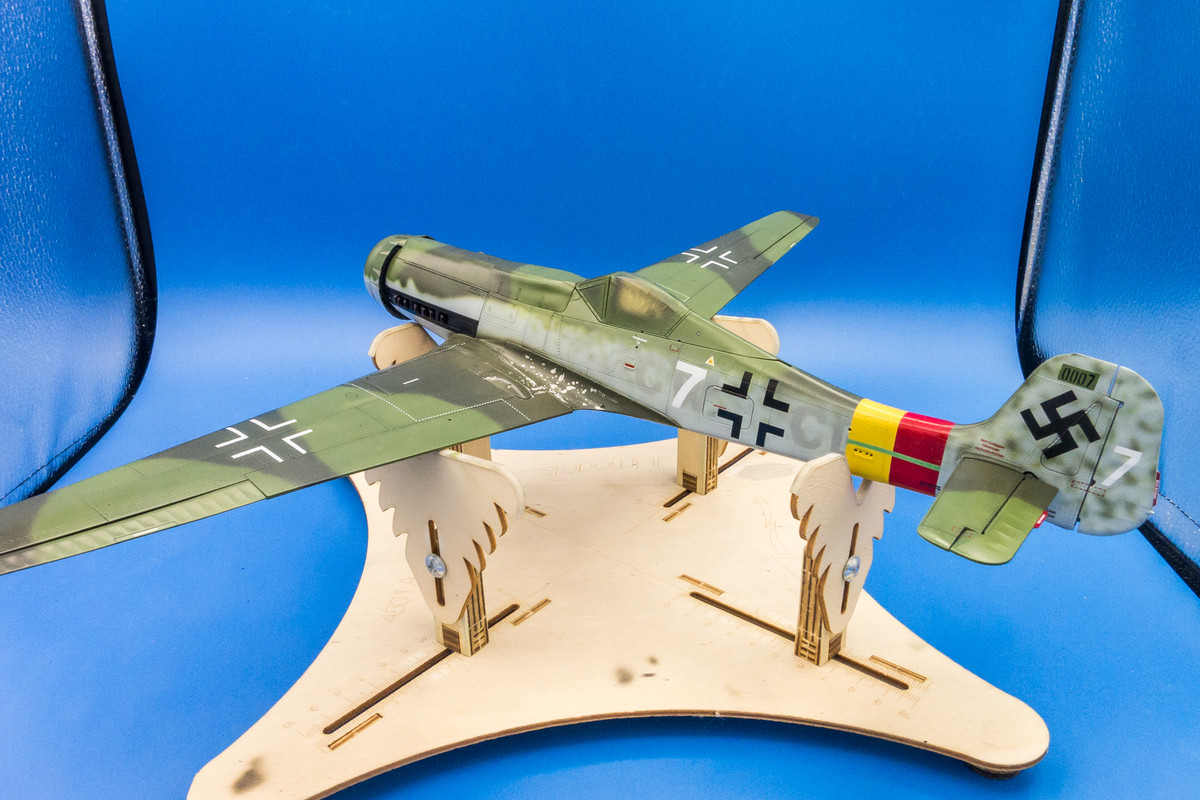
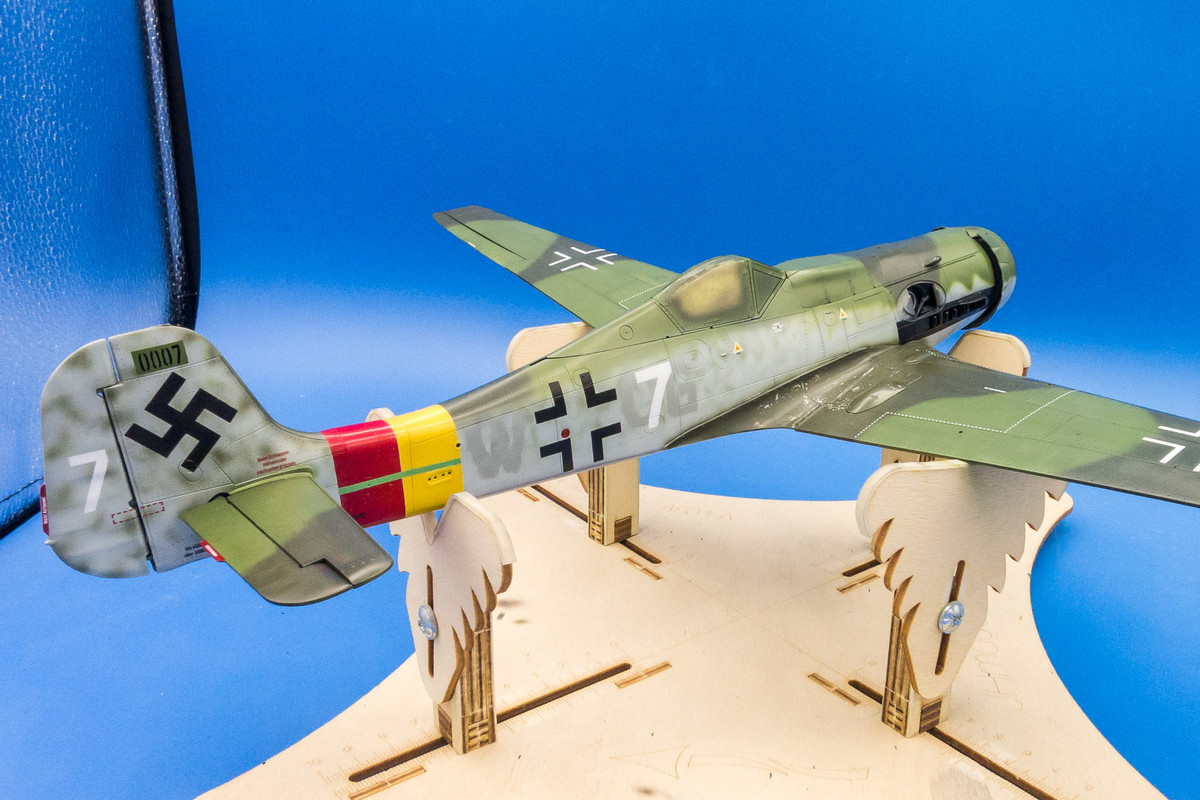
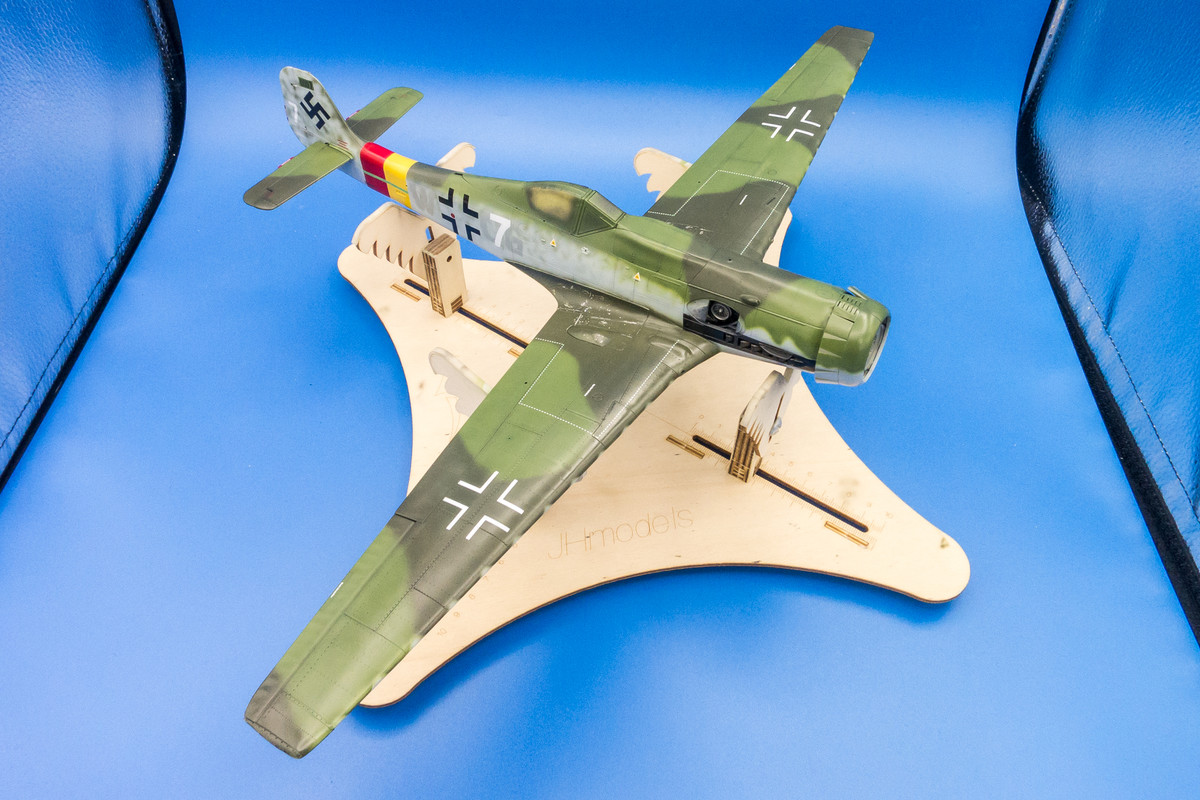
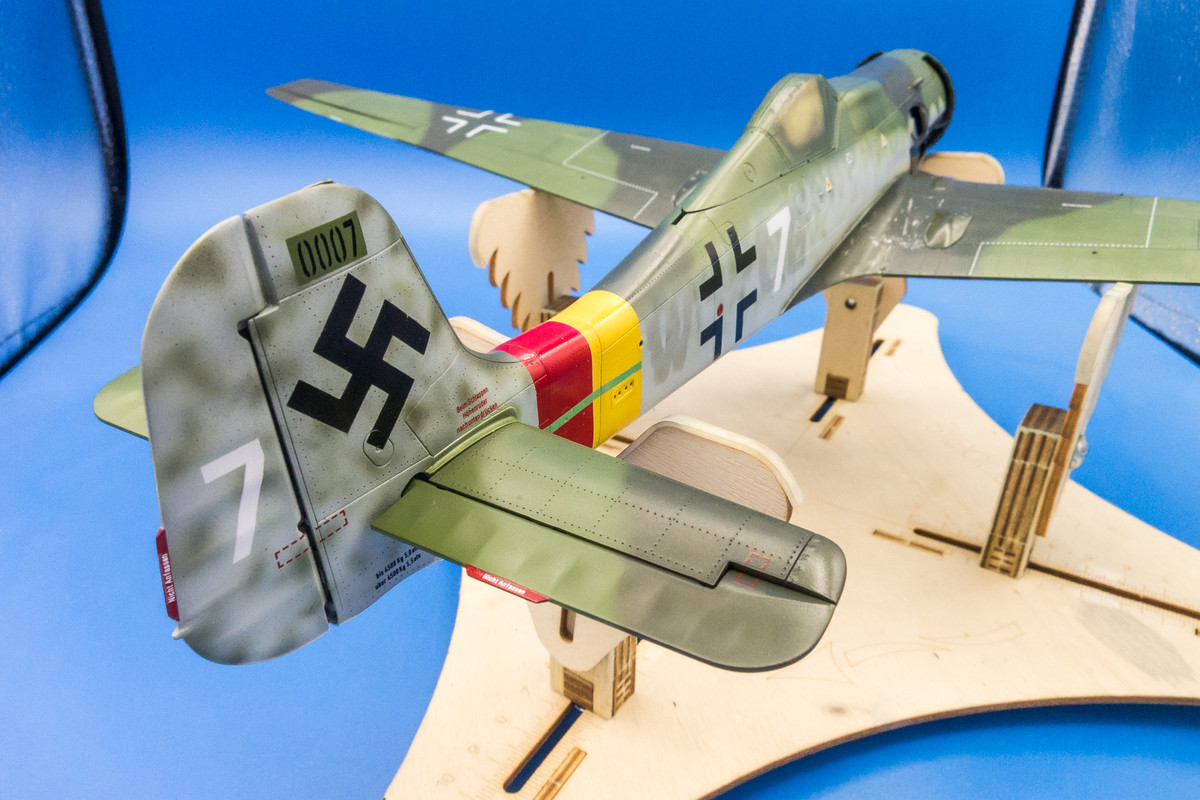
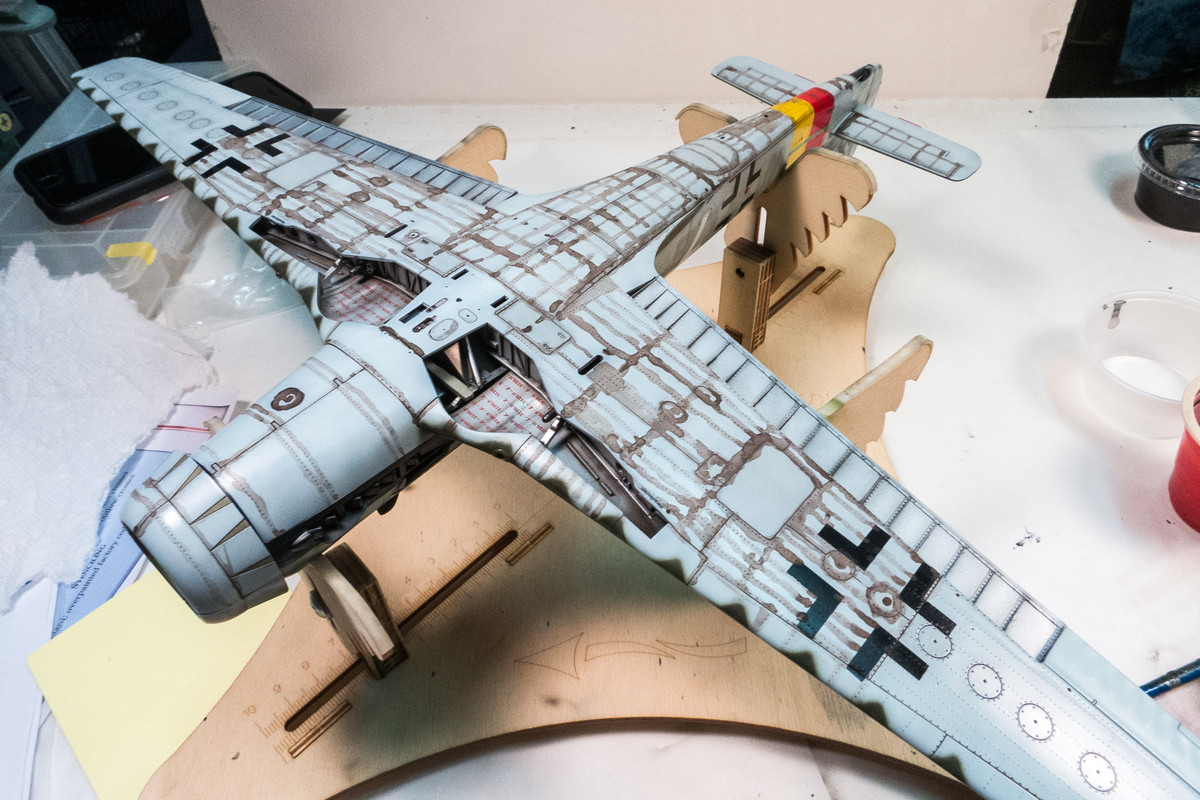
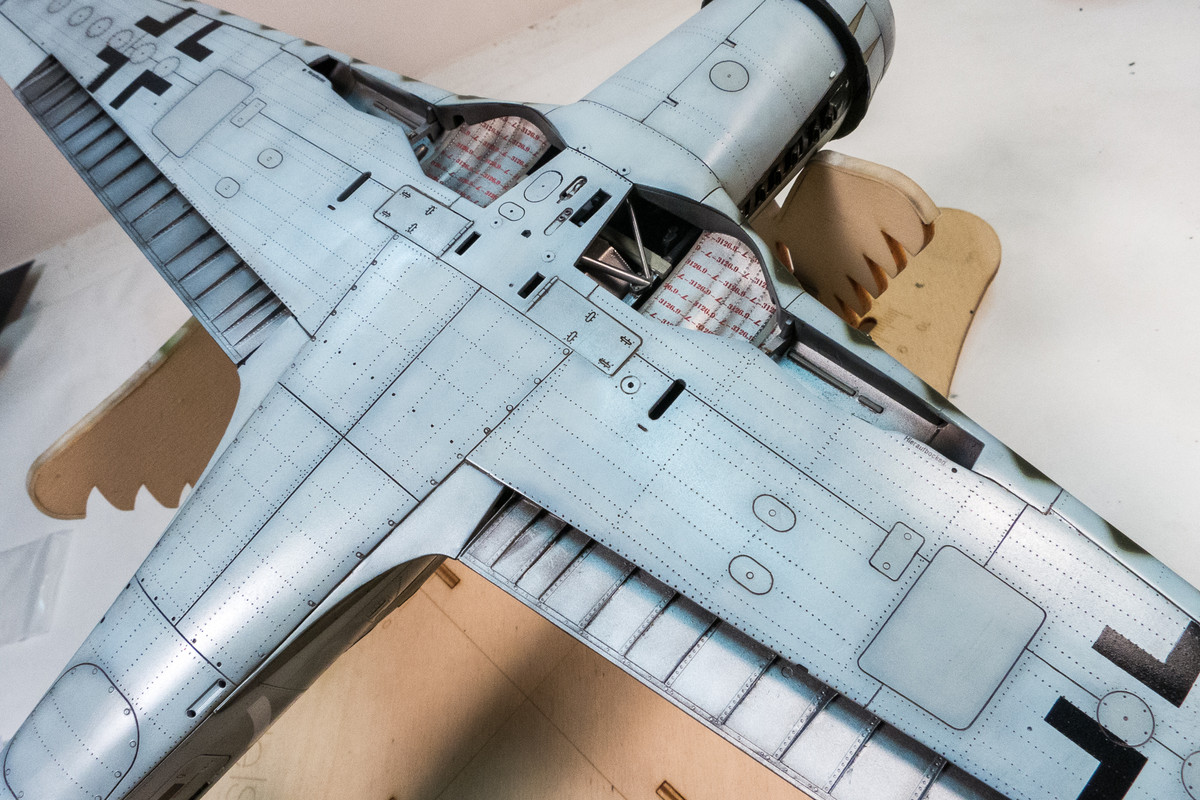
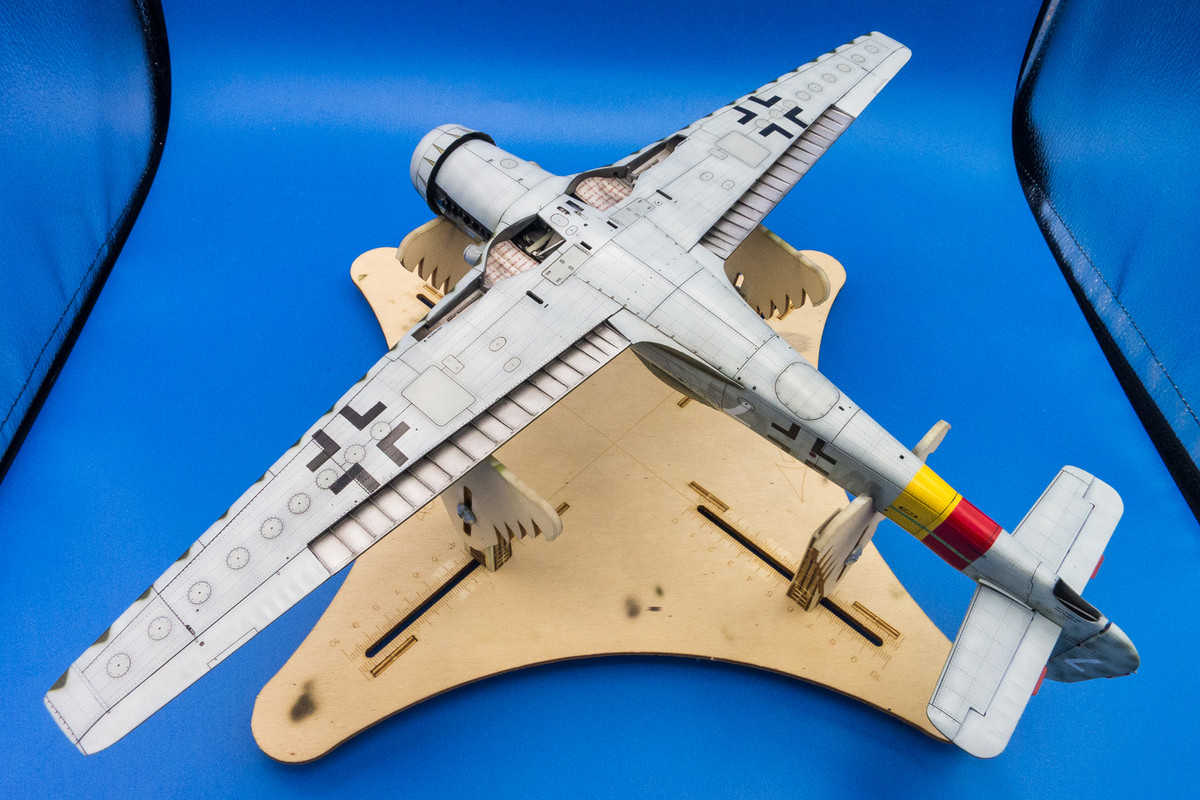
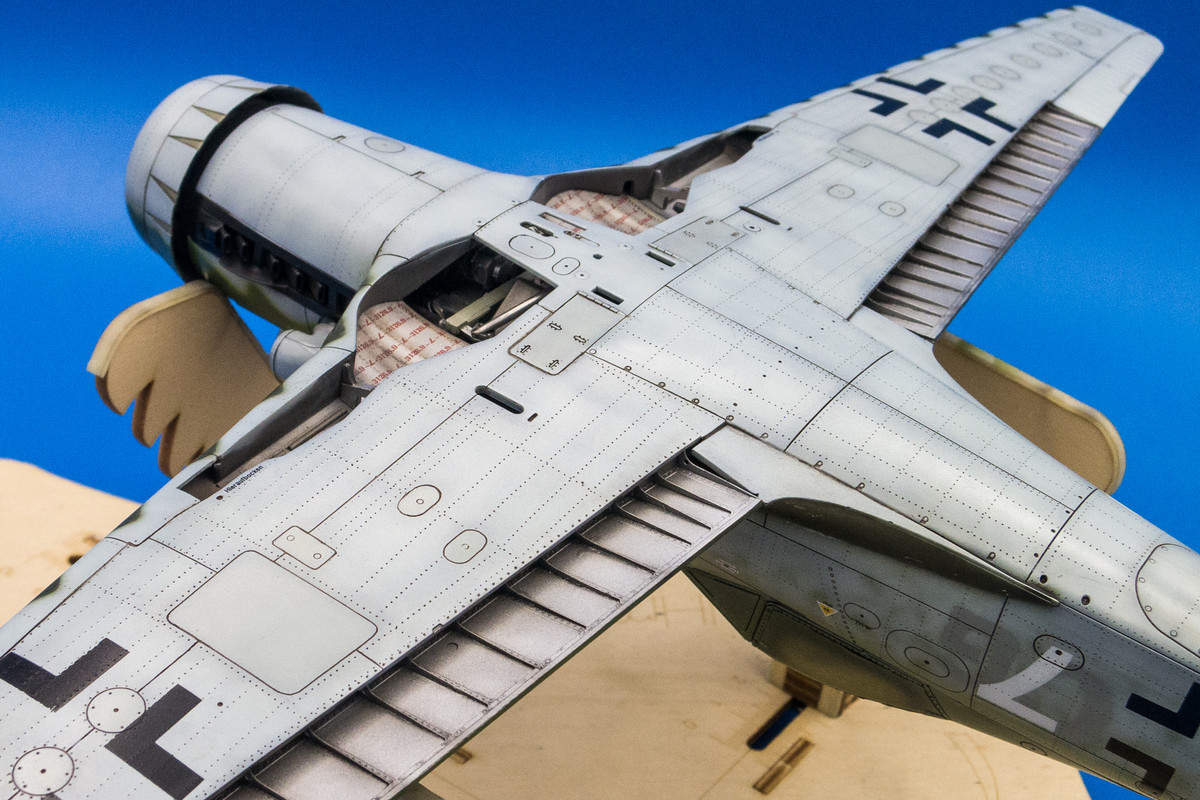
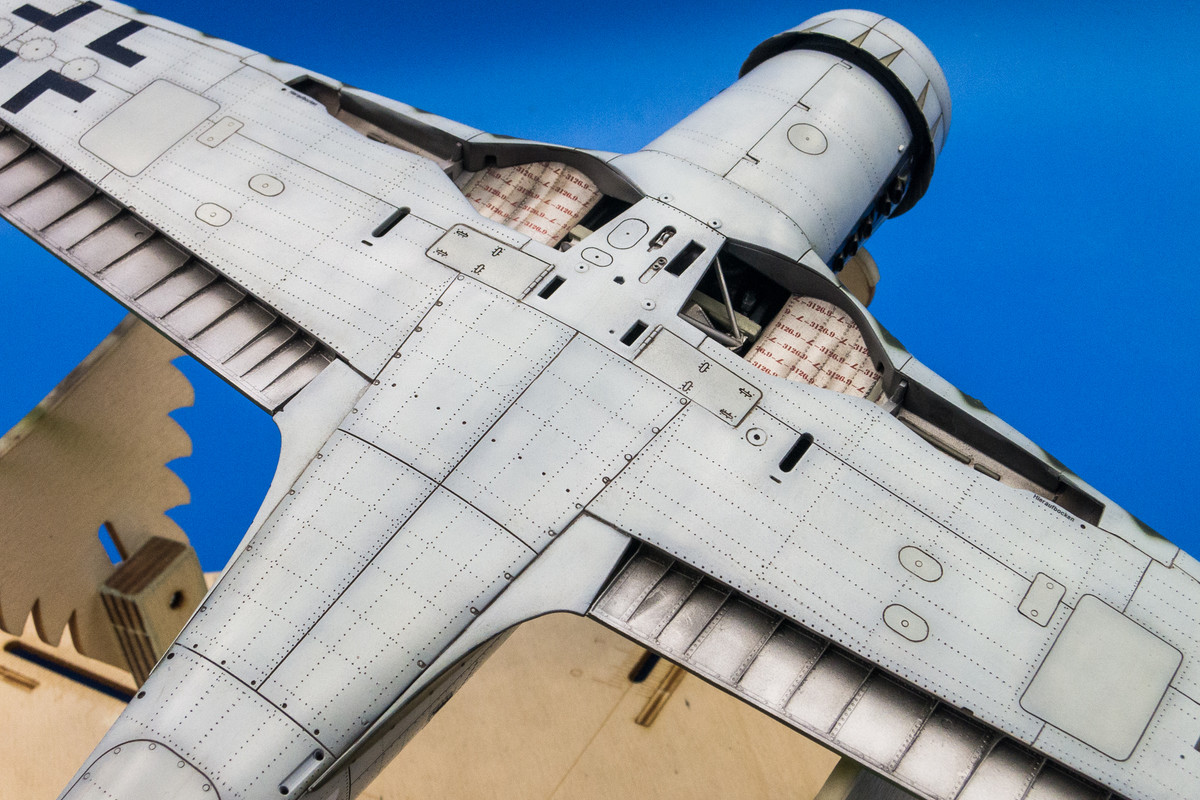
After I sealed the decals with a thin gloss coat, I did a pastel wash. Usual homemade mix using scrapings from pastel chalks. Dark brown for the bottom and almost black brown for the topside. I did the bottom of the wing halfway so that you can see the difference between the washed and unwashed sections.
Image

I do sections at a time so that I don't forget to leave a section unwiped.
Image

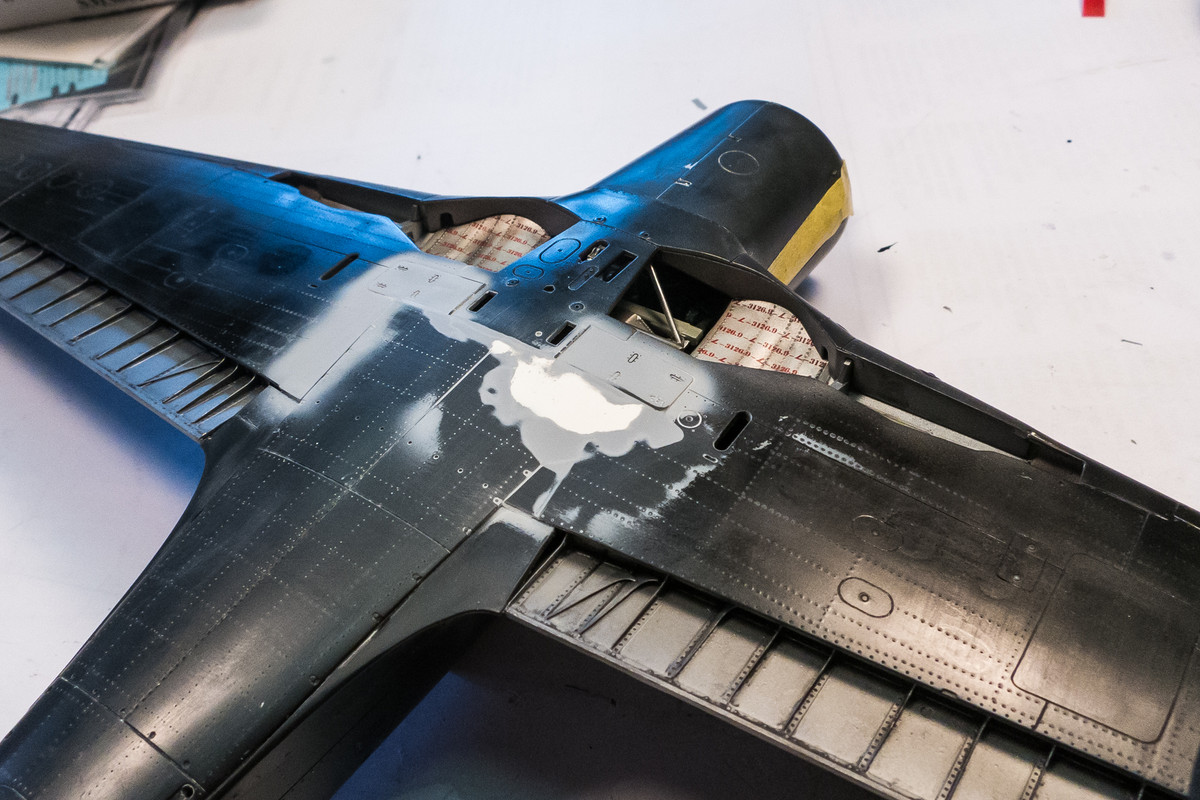
I focus alot on this center bottom area because of how much work I had to put in to clean it up. Some of the areas that didn't hold the wash will be rescribed to get a uniform result.
Image
Image

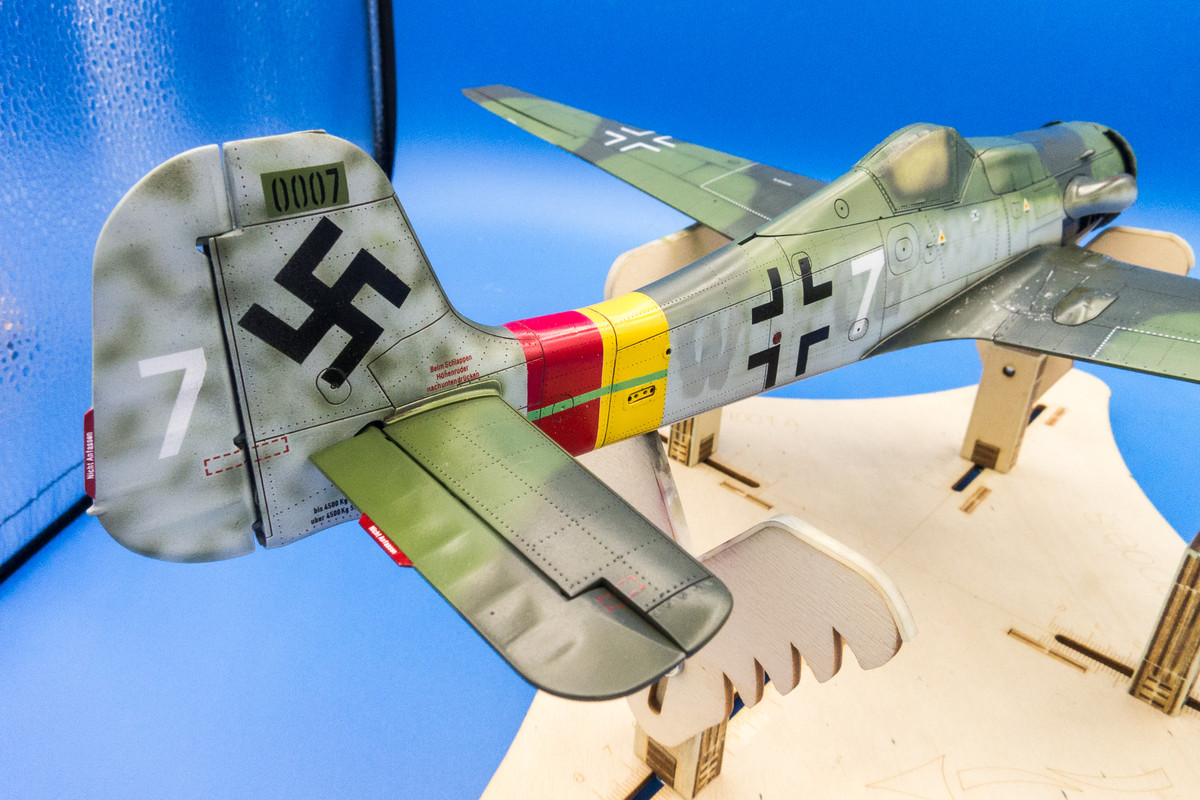
Back into the light box for a better look at the first stage of weathering.
Image
Image
Image
Image
Image
Image
Image
Image
Image
John aka JKim
-----------<><
Image
Post Reply

Return to “Aircraft Work in Progress”