Page 26 of 29
Re: Trumpeter P-47D Razorback "Eileen"
Posted: Sat May 20, 2023 5:43 am
by LyleW
Re: Trumpeter P-47D Razorback "Eileen"
Posted: Sat May 20, 2023 7:29 pm
by jkim
Re: Trumpeter P-47D Razorback "Eileen"
Posted: Sat May 20, 2023 10:36 pm
by jkim
Re: Trumpeter P-47D Razorback "Eileen"
Posted: Sun May 21, 2023 3:25 am
by tempestjohnny
Re: Trumpeter P-47D Razorback "Eileen"
Posted: Sun May 21, 2023 7:29 am
by Gary Brantley
Looking real good, John! Almost there!

Re: Trumpeter P-47D Razorback "Eileen"
Posted: Sun May 21, 2023 1:07 pm
by keavdog
Beautiful finish John.
Re: Trumpeter P-47D Razorback "Eileen"
Posted: Sun May 21, 2023 7:34 pm
by Ceaser_Sa1ad
Looking sharp!
Re: Trumpeter P-47D Razorback "Eileen"
Posted: Tue May 23, 2023 2:31 pm
by Medicman71
Wow! Just incredible work!
Re: Trumpeter P-47D Razorback "Eileen"
Posted: Fri May 26, 2023 4:12 pm
by jkim
Thanks for following! Getting closer to finish on this one!
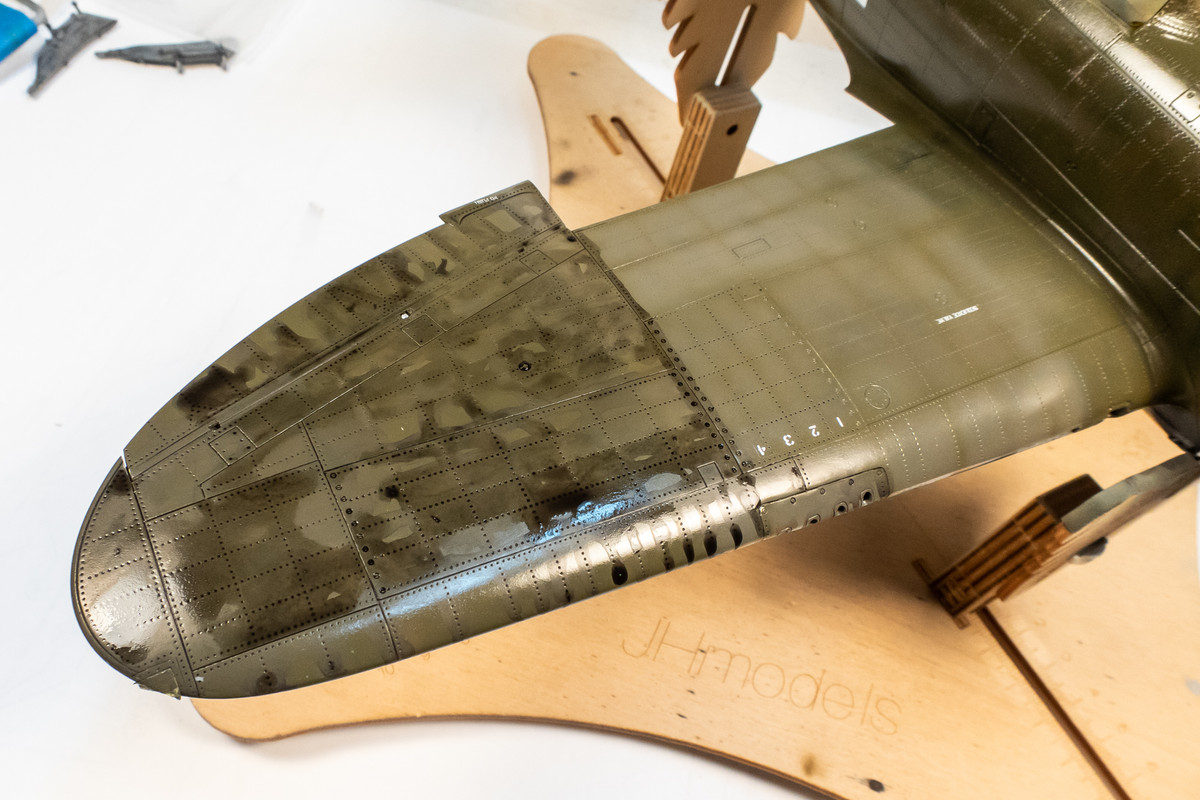
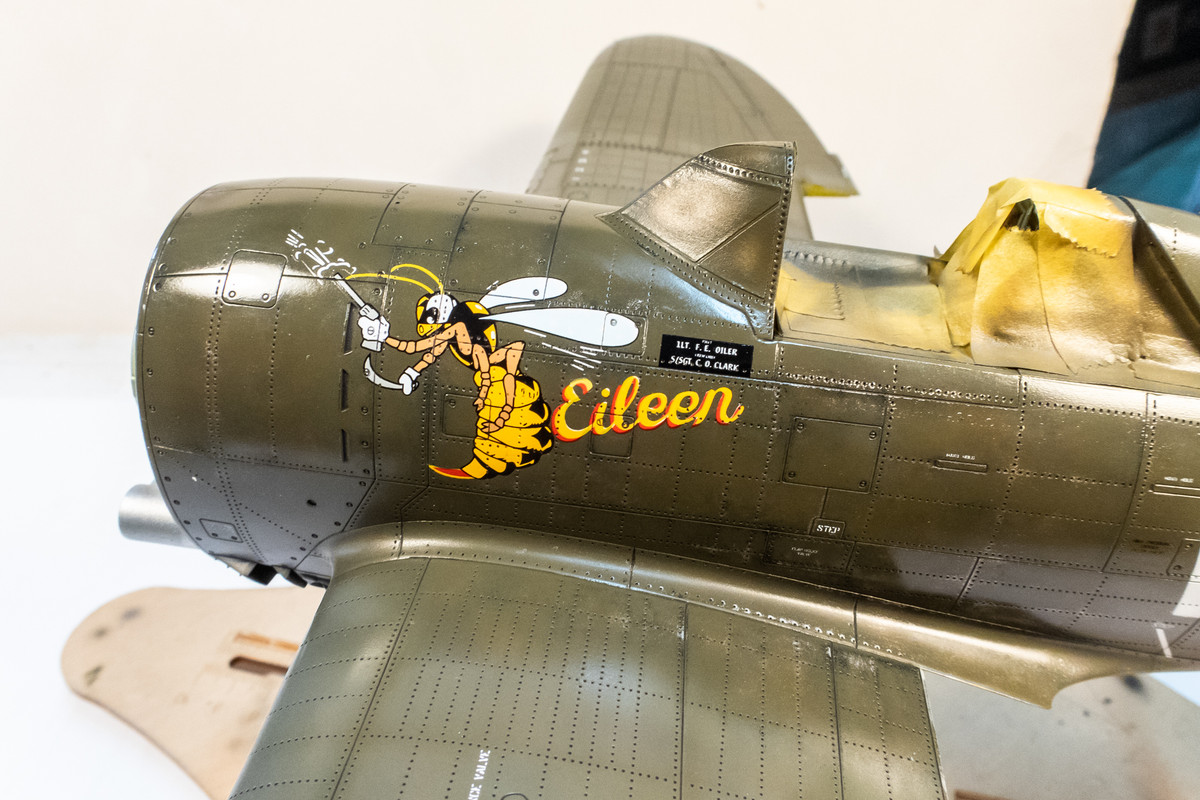
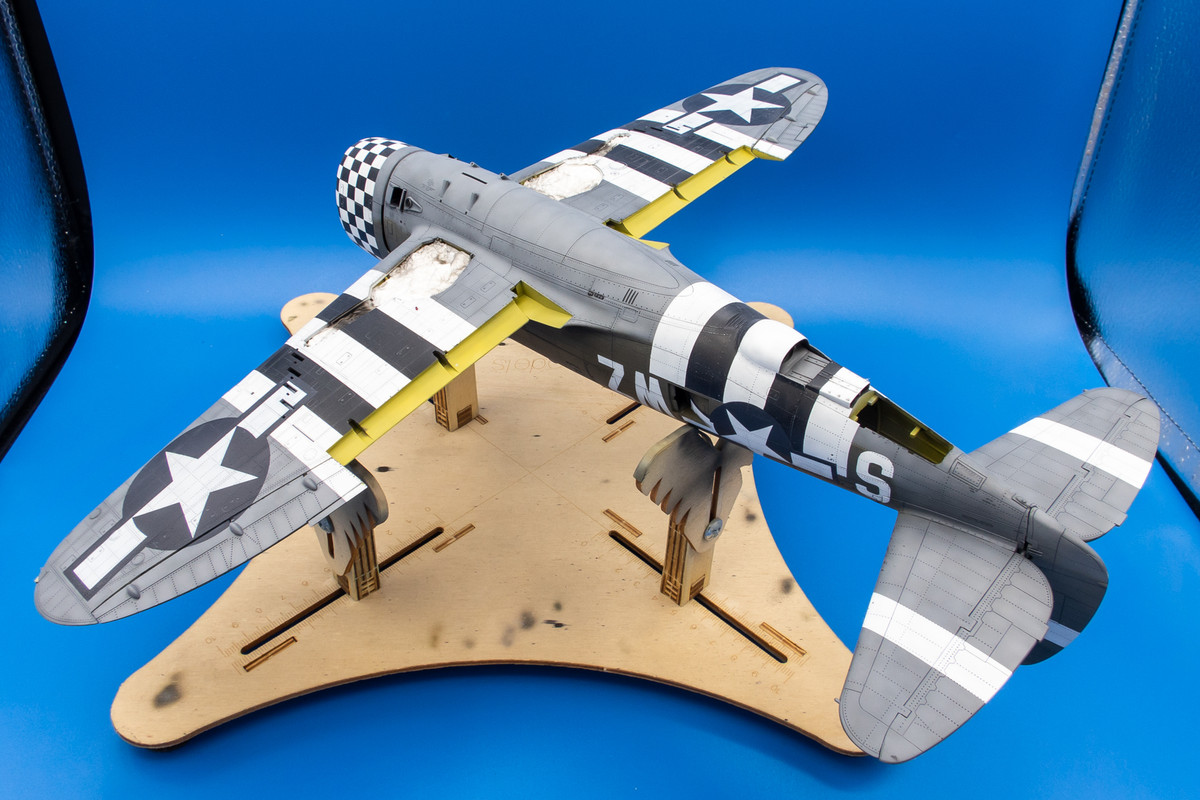
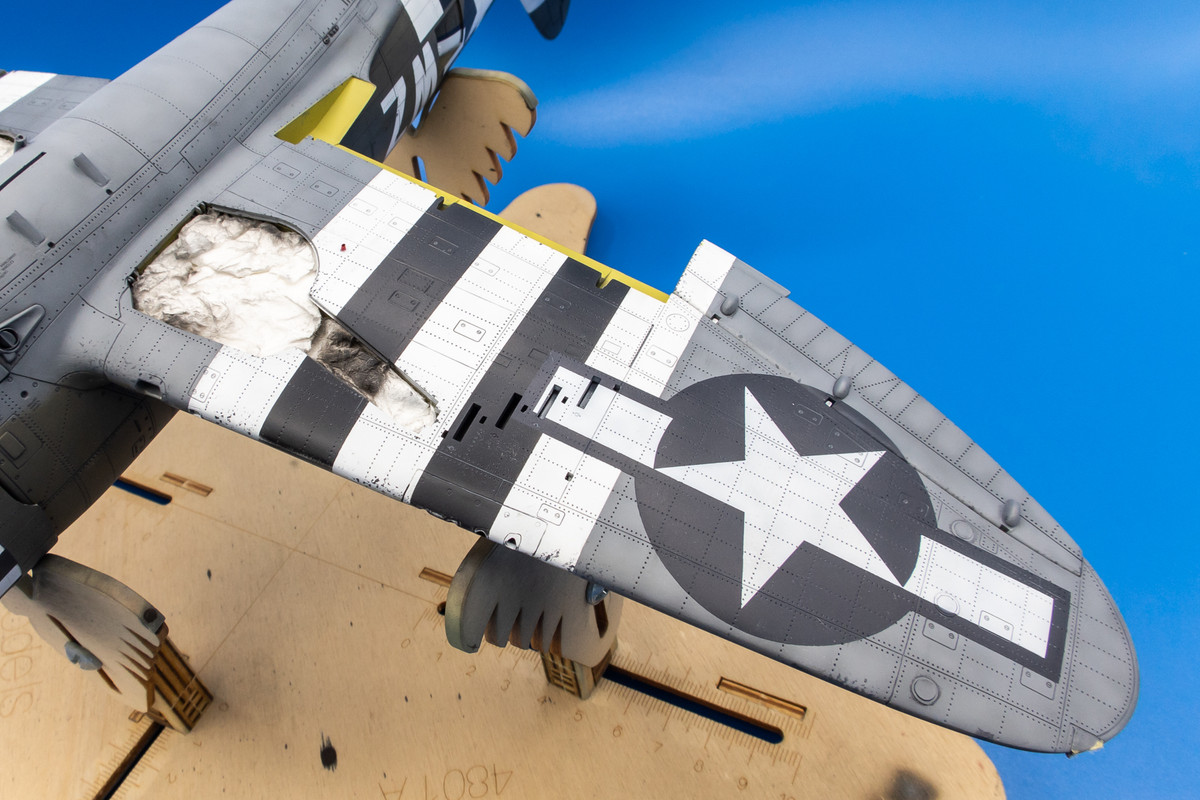
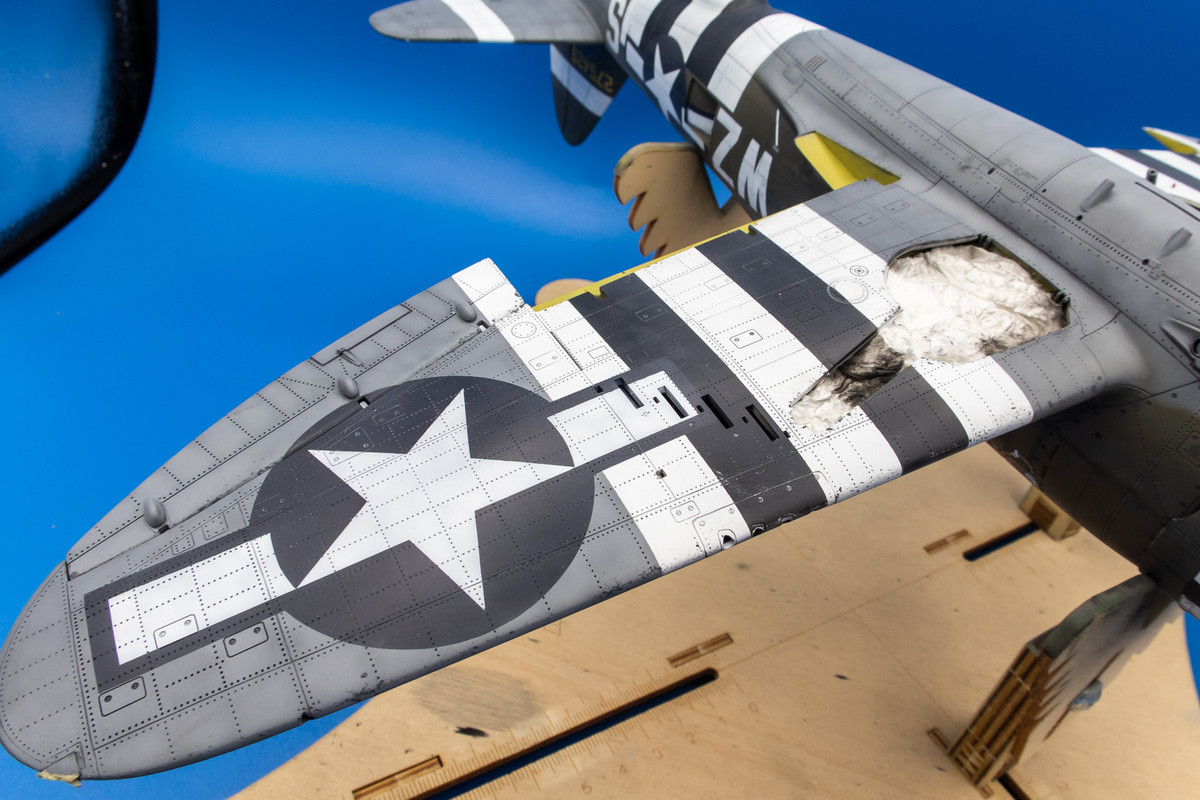
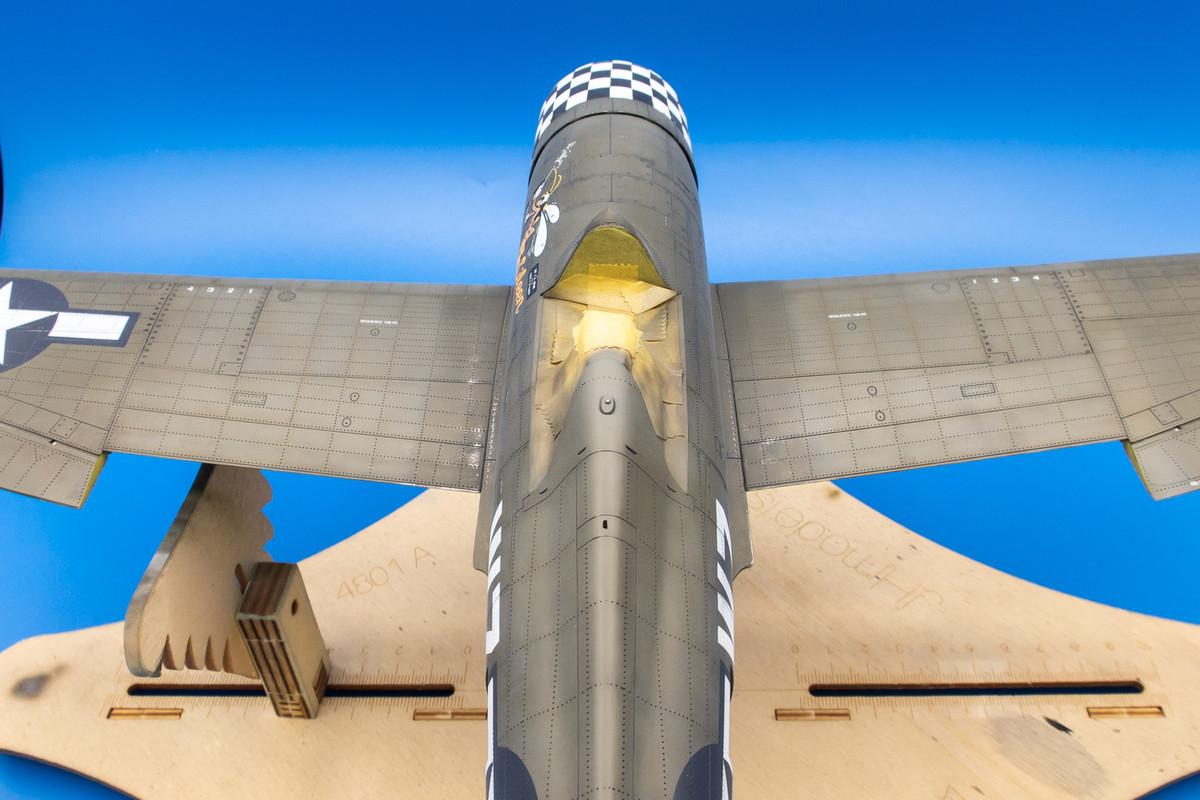
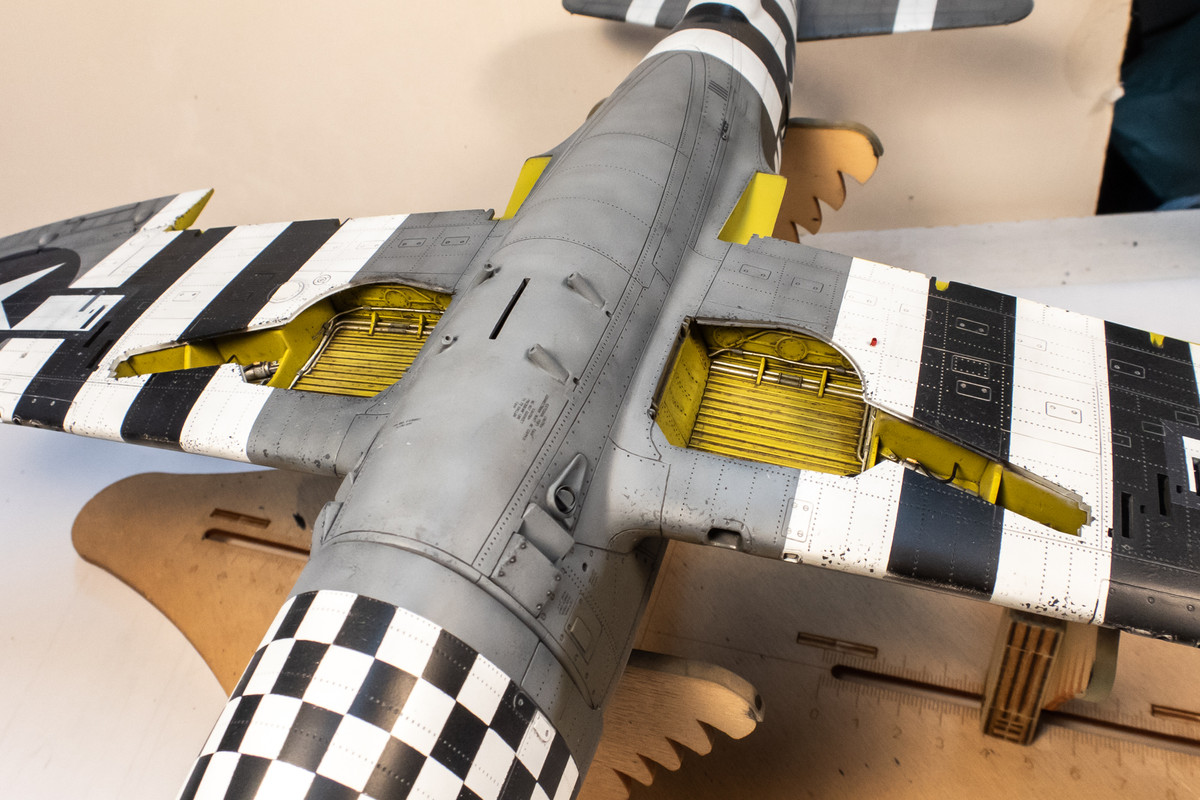
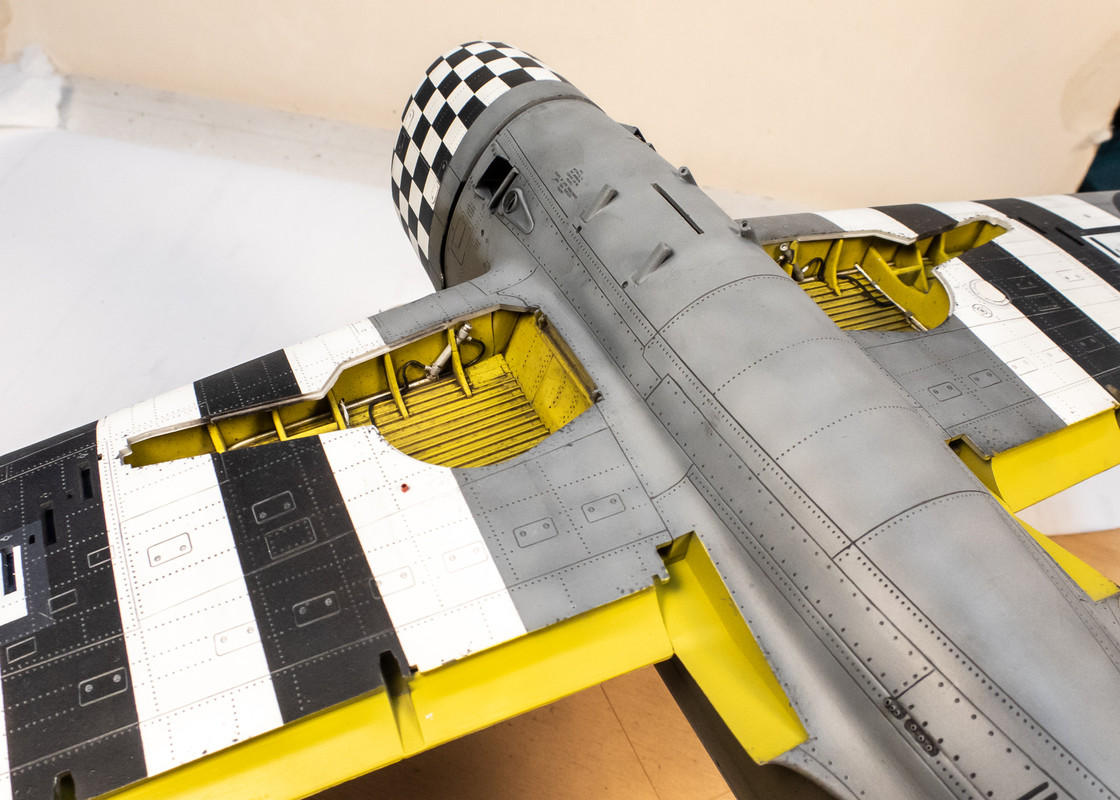
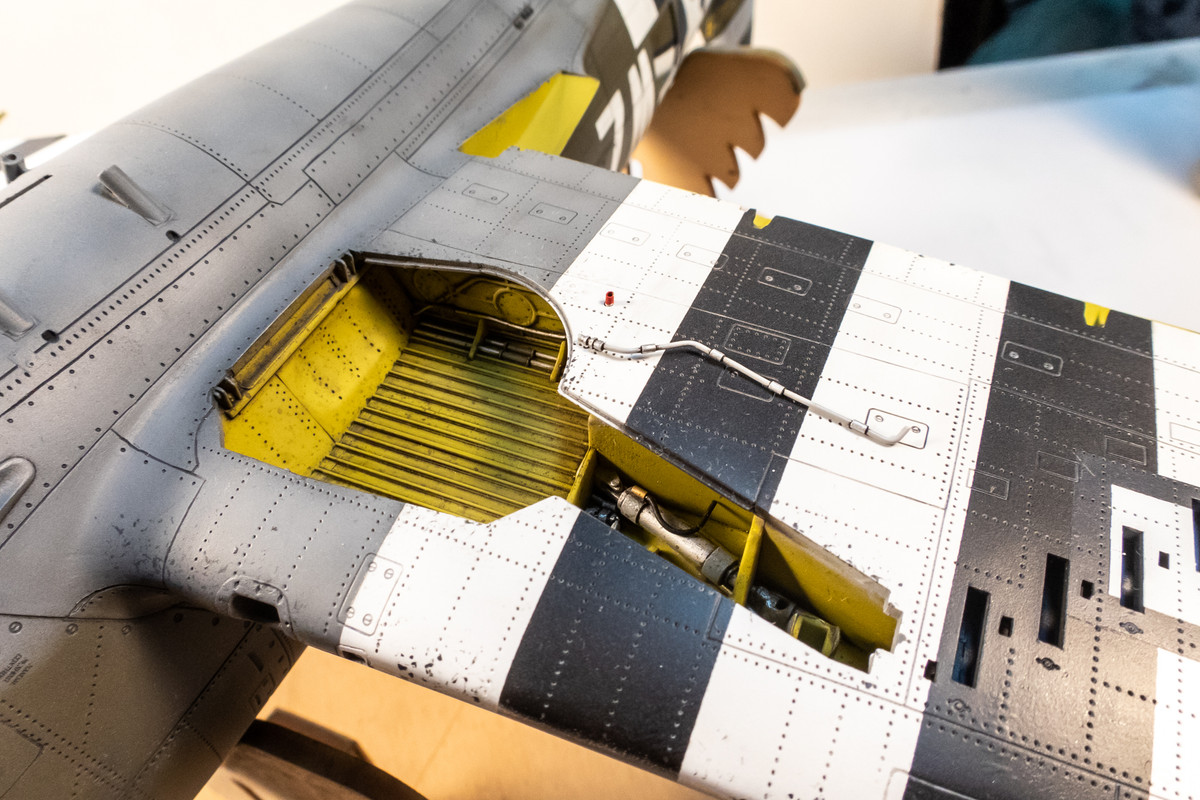
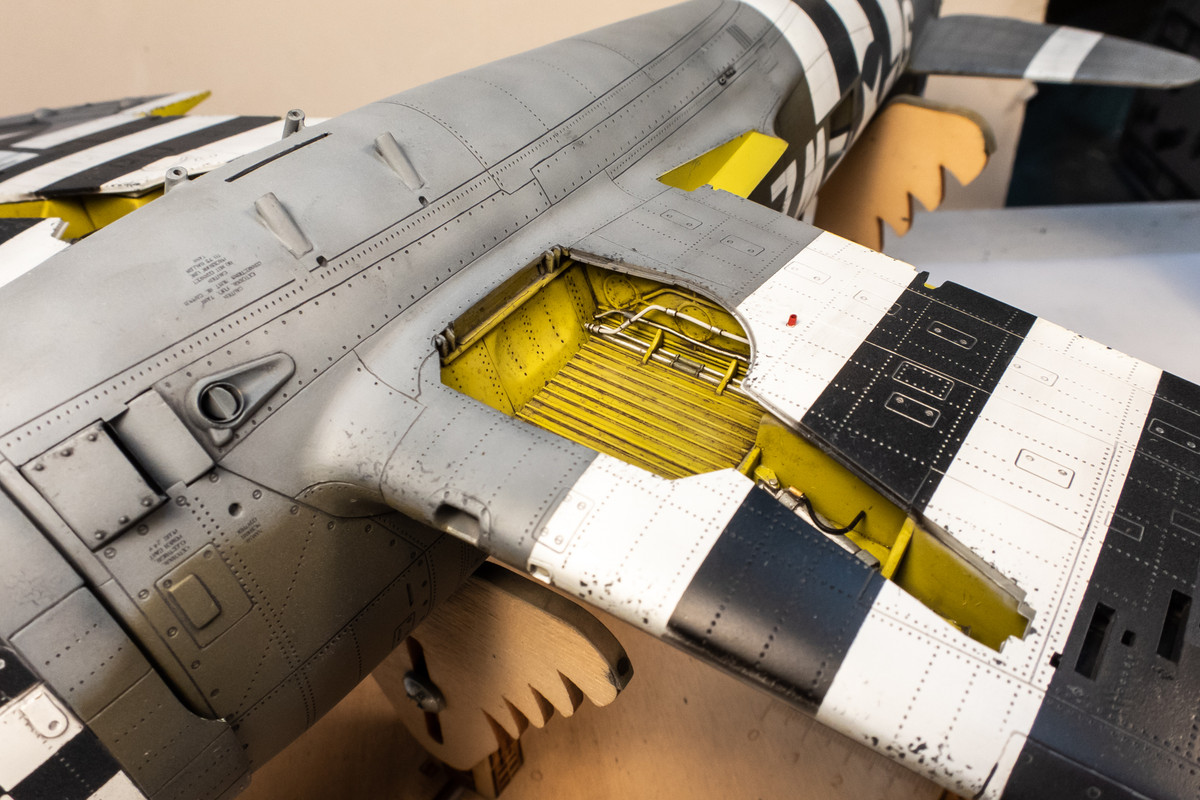
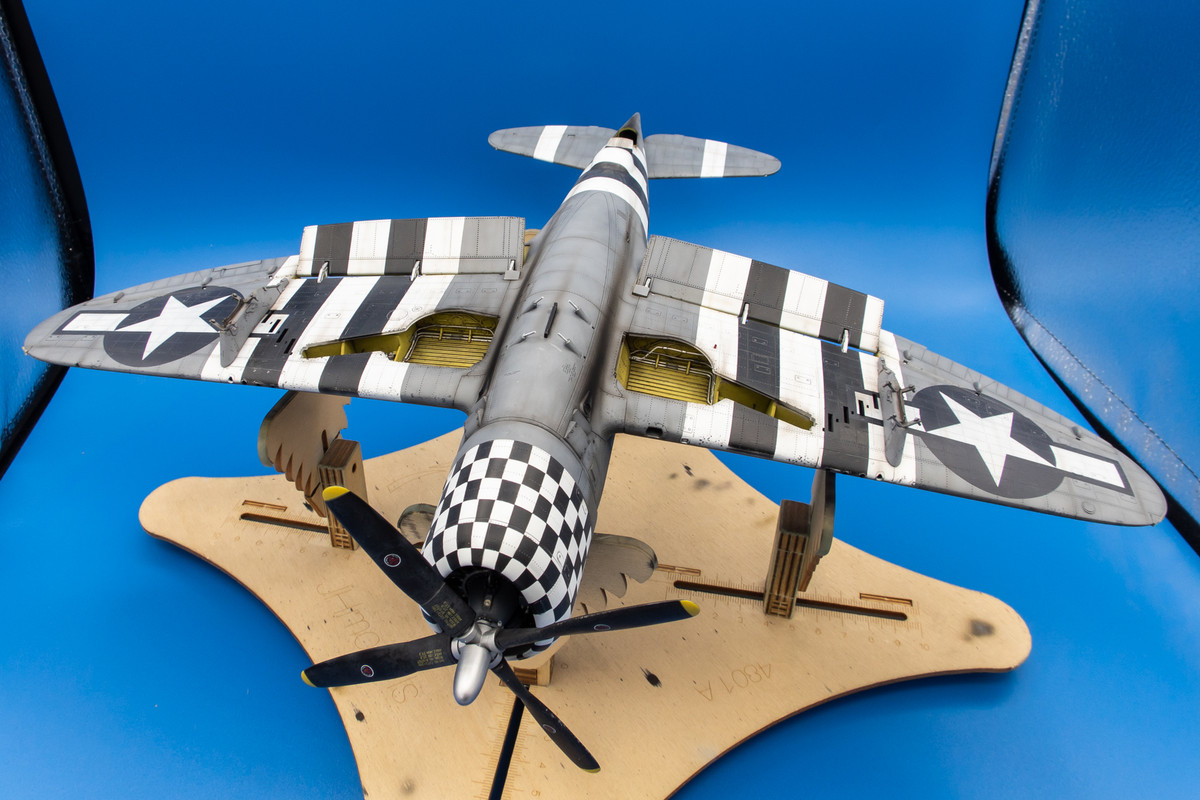
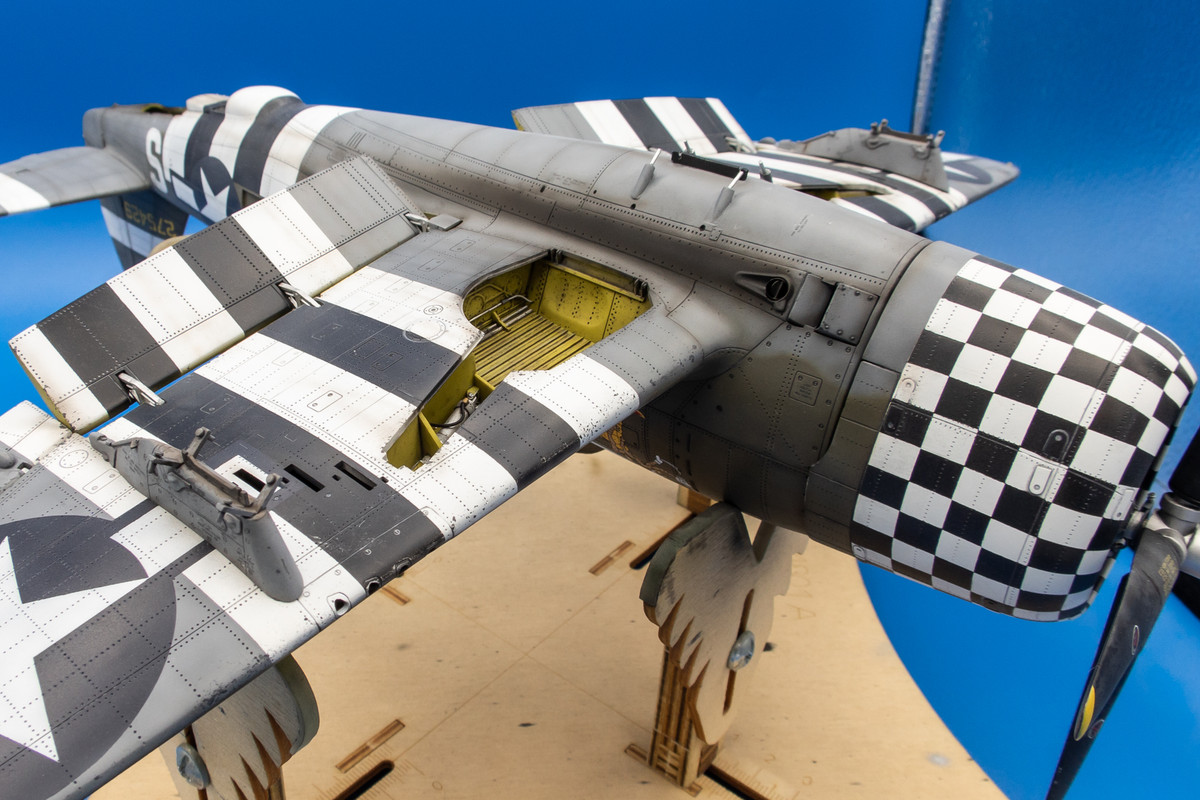
The next step is some post-shading work. I use a heavily thinned mixture of brown and black to very subtly highlight joints and certain panel lines. I also create streaking effects and work up the exhaust stains. This is most effective on lighter backgrounds so it is most visible on the bottom.

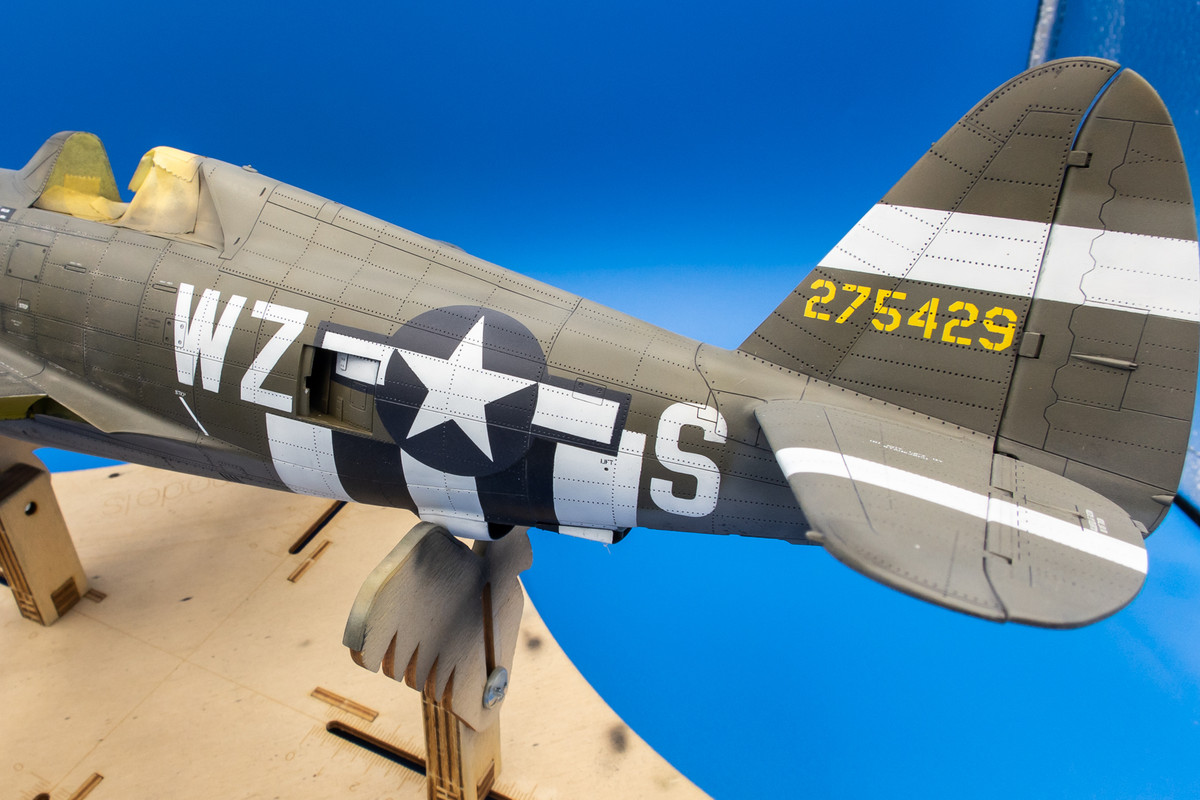
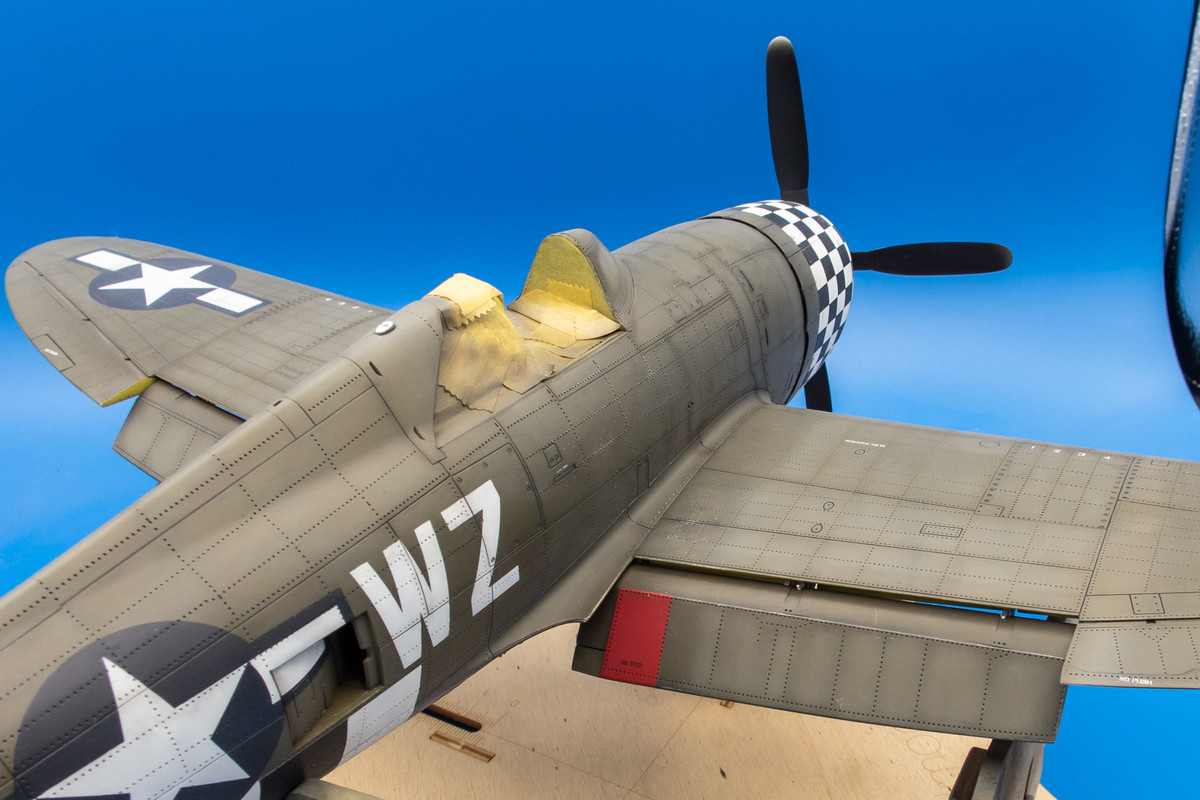
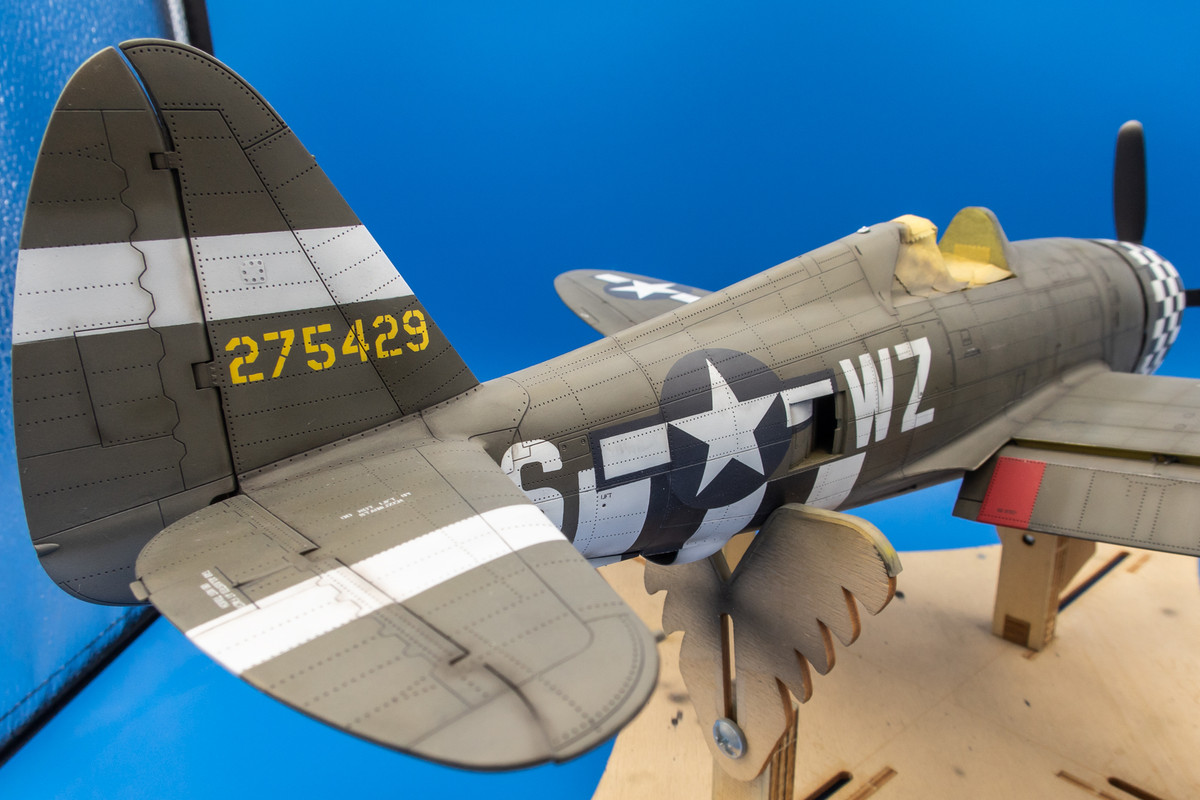
It's not so visible on the darker OD upper surfaces.
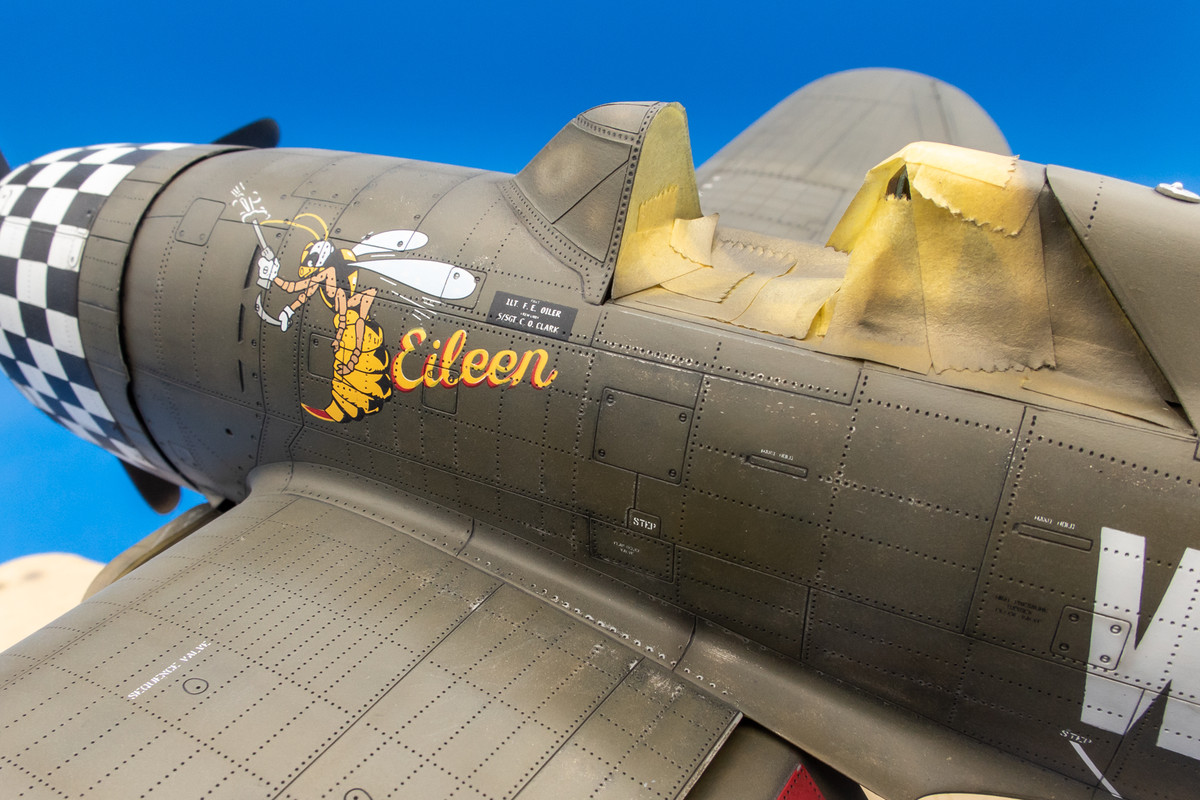
Salt fading on the upper surfaces is next. This is another subtle layer of weathering that I like to add to the upper surfaces. It works best on darker backgrounds. First, I wet the upper surfaces with plain water. Since the paint coat is flat, the water doesn't bead.
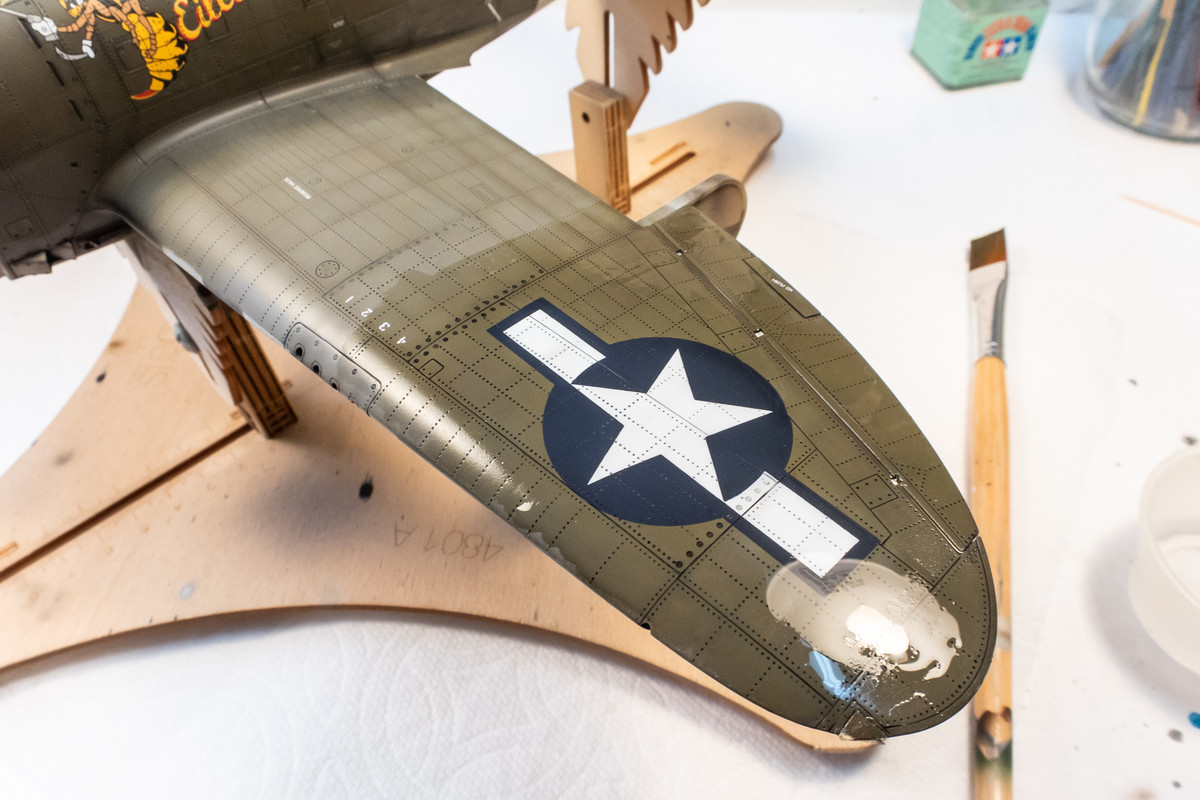
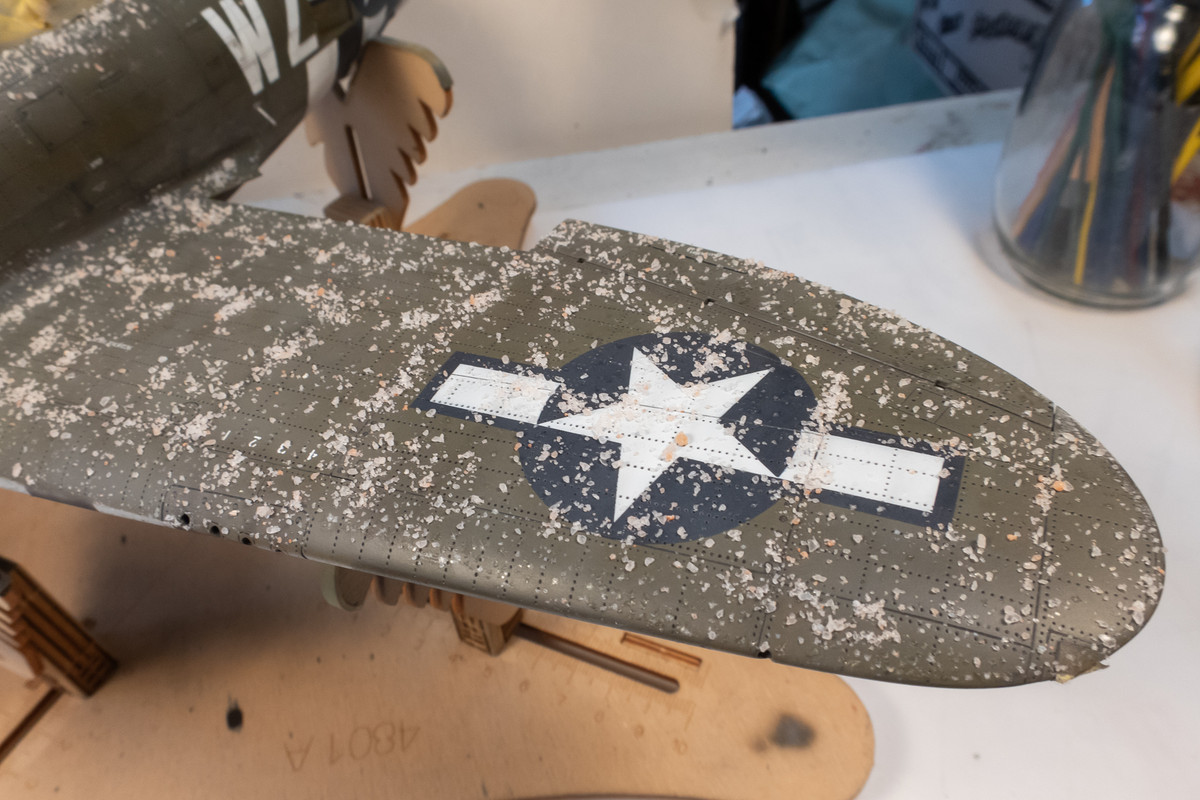
Rock salt is then sprinkled onto the wet surfaces. Mostly random but I do concentrate on the panel lines to attempt to tie the stains to the surface features instead of being 100% random.
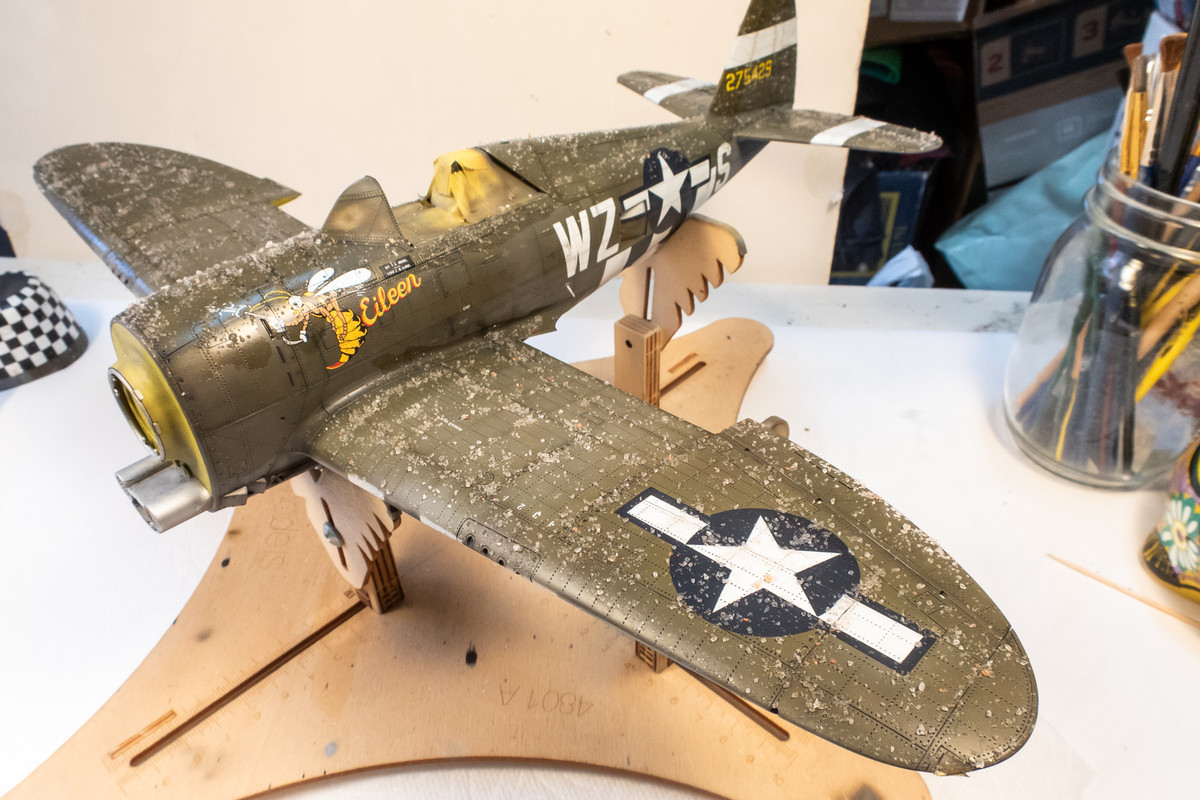
This needs to completely dry before I move to the next step.
Re: Trumpeter P-47D Razorback "Eileen"
Posted: Fri May 26, 2023 6:41 pm
by jkim
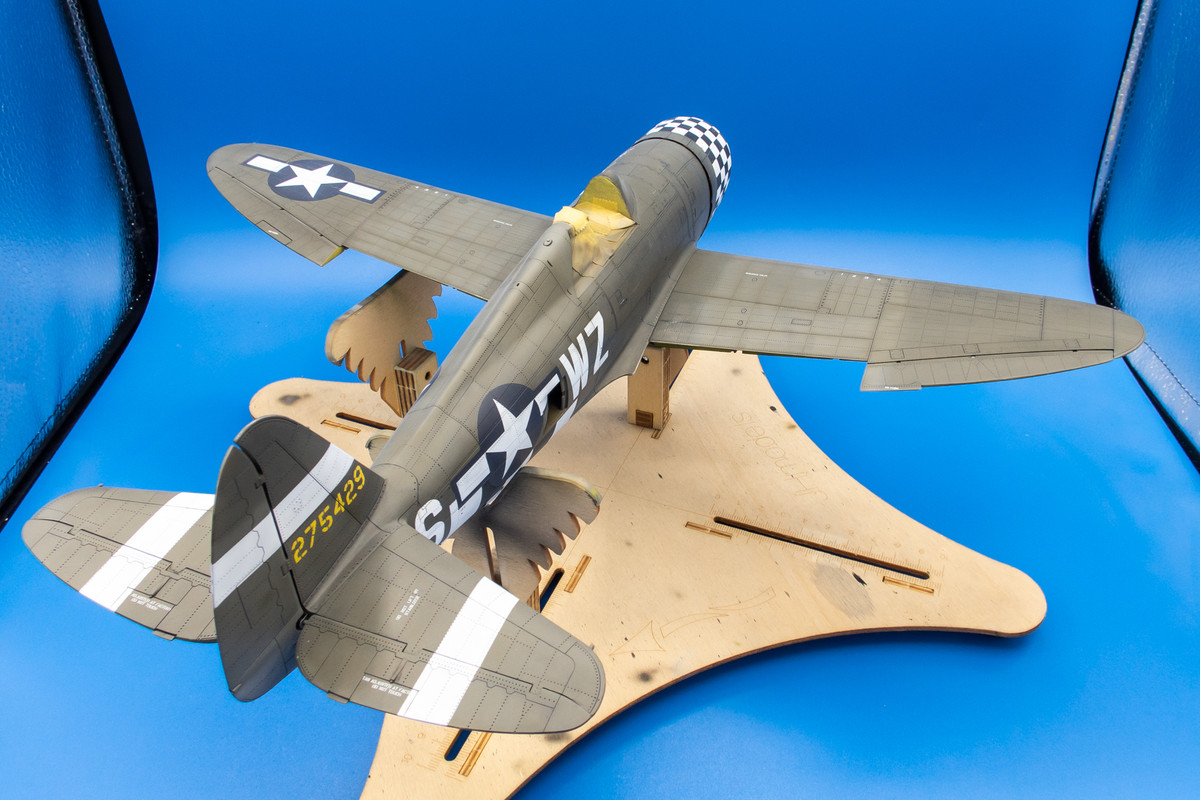
When the water has completely dried, the salt crystals now form a random mask pattern. Now it is time to spray a VERY THINNED mixture of a lighter color, in this case Tamiya XF-555 Deck Tan, over the model in random streaks. I thinned this mixture at 8:1.
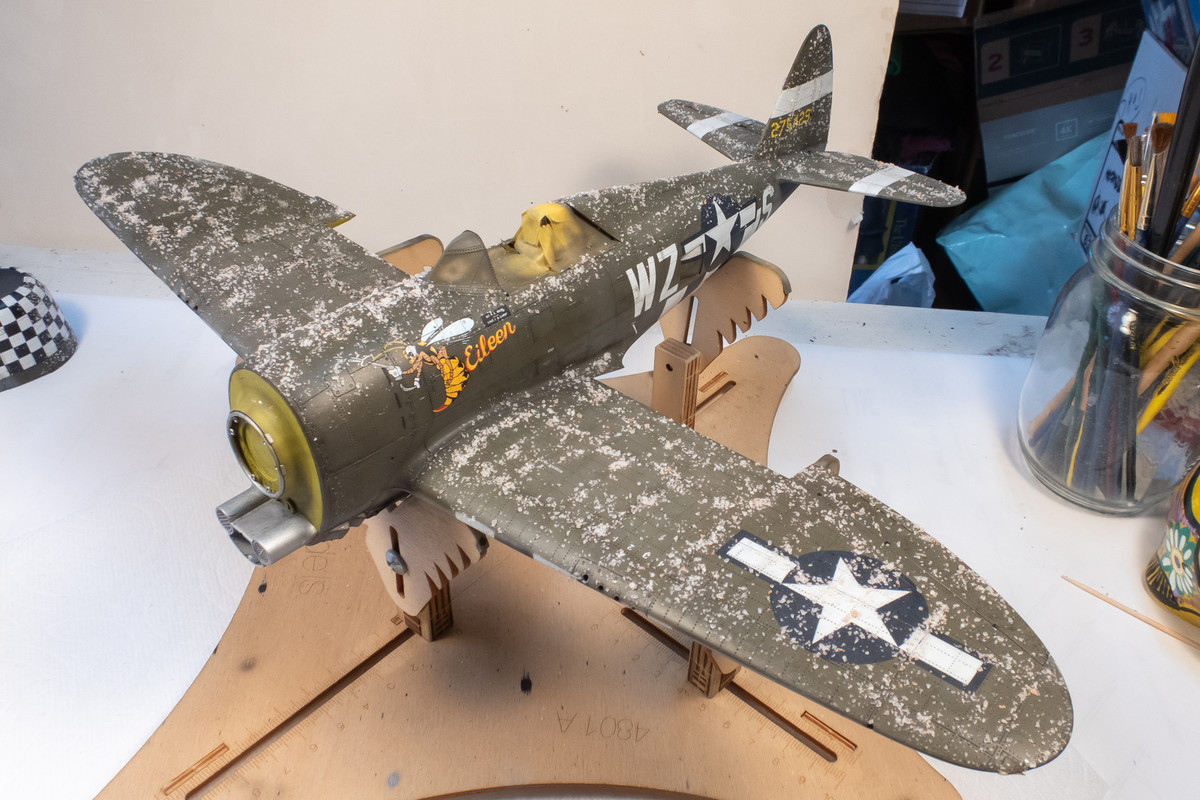
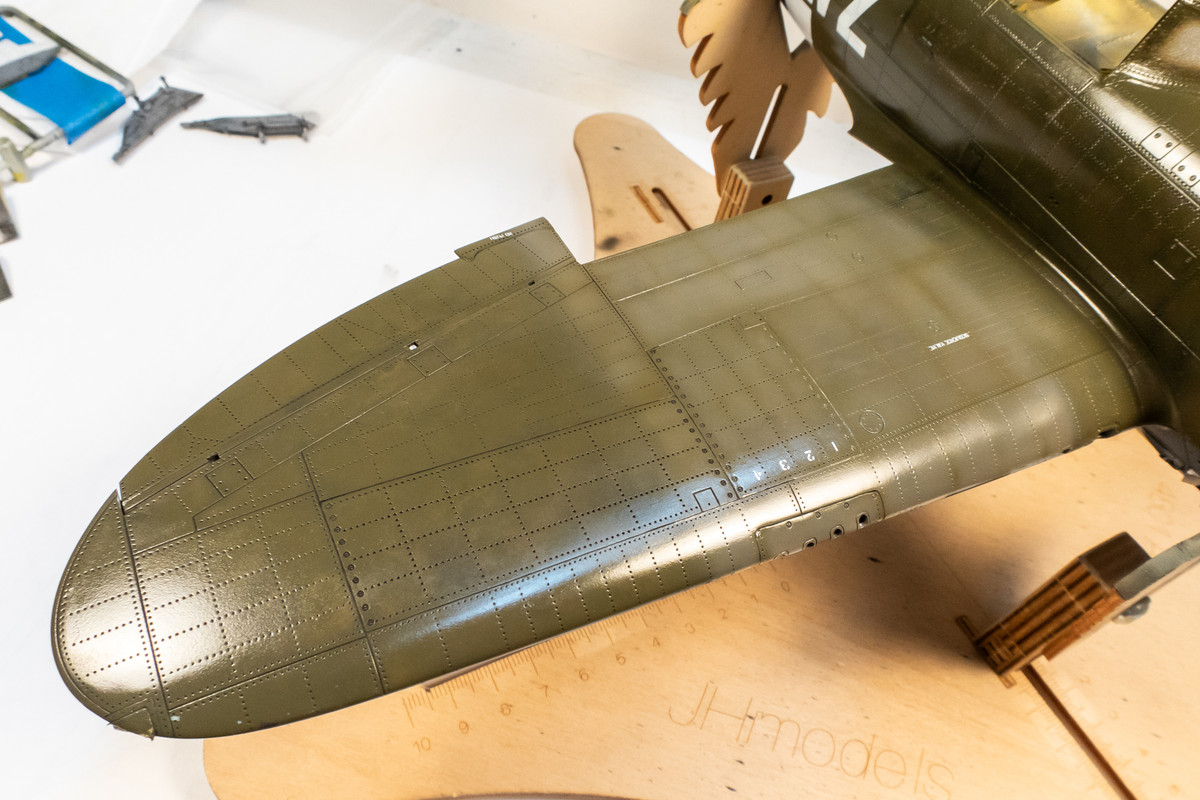
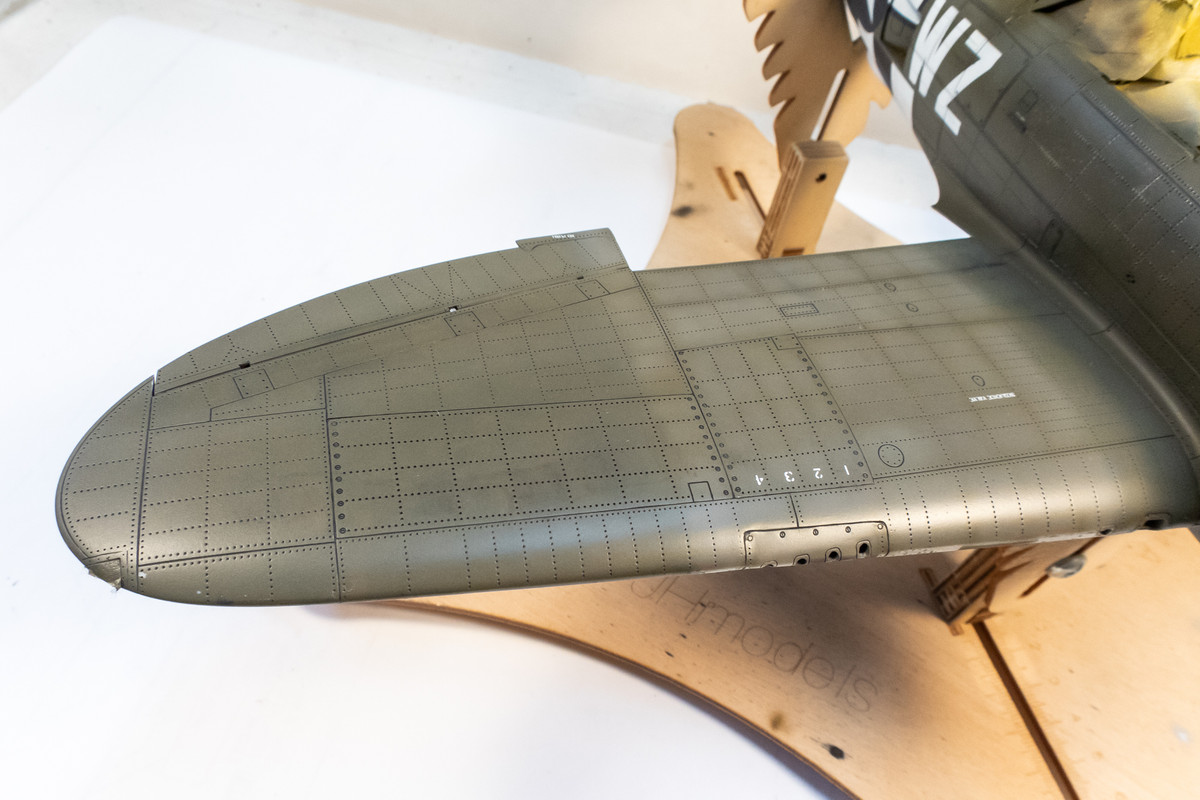
The main challenge of this effect is it's subtlety... you don't want to overdo it or your model will look like it has the measles. But if you don't apply enough of the lighter color, the effect may not show up at all. This is the wing after I sprayed the Deck Tan and it is difficult to tell where I'm at. I just have to trust the pre-spray test of the thinned mixture and hope for the best.
After the pain has dried, you can remove the salt. I hold the model over a trash can and gently brush off the salt with my fingers. It's encrusted and difficult to remove when dry so just get off as much as you can. I then use spray bottle filled with water and wet the surface liberally, letting the excess water drip into the trash can. I then use a clean rag to wipe off the water and the remnants of the salt crystals should come off as well. I repeat this process a couple of times, making sure that any excess water that pools onto other areas of the model get wiped thoroughly. The salt-impregnated water will eventually dry and may bloom into a white frost.
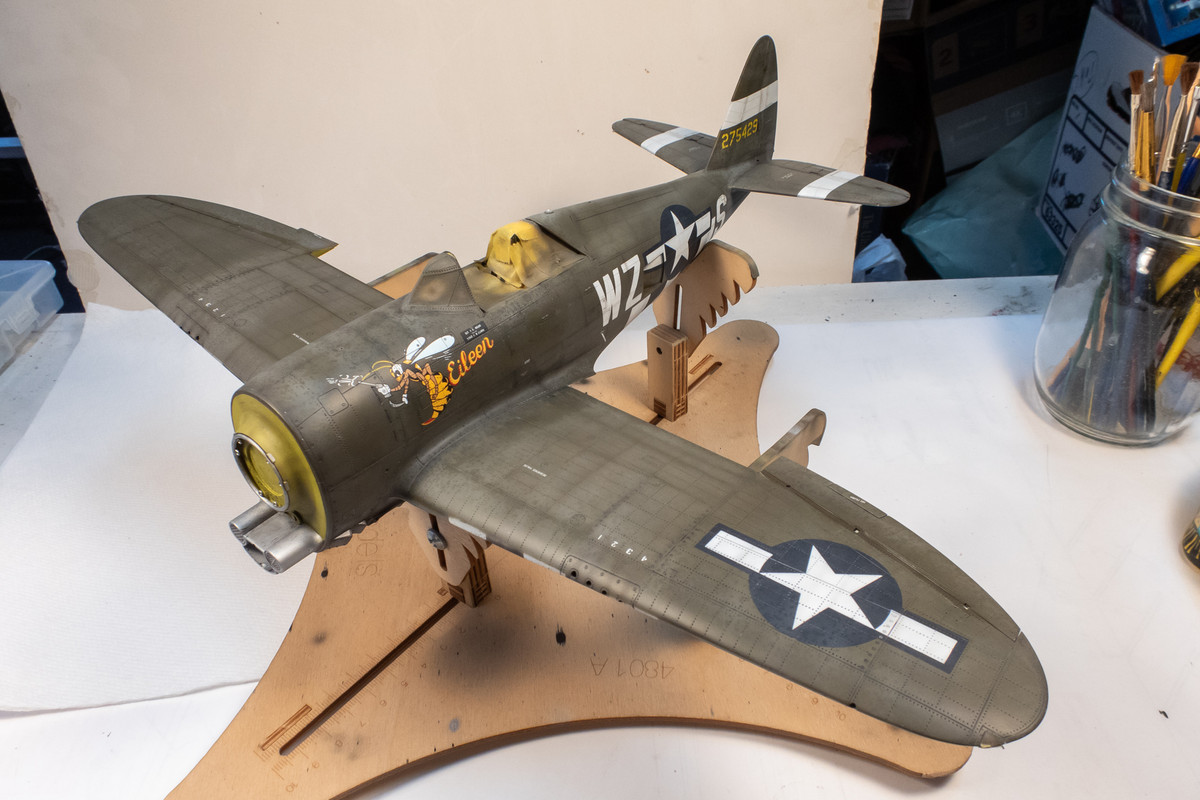
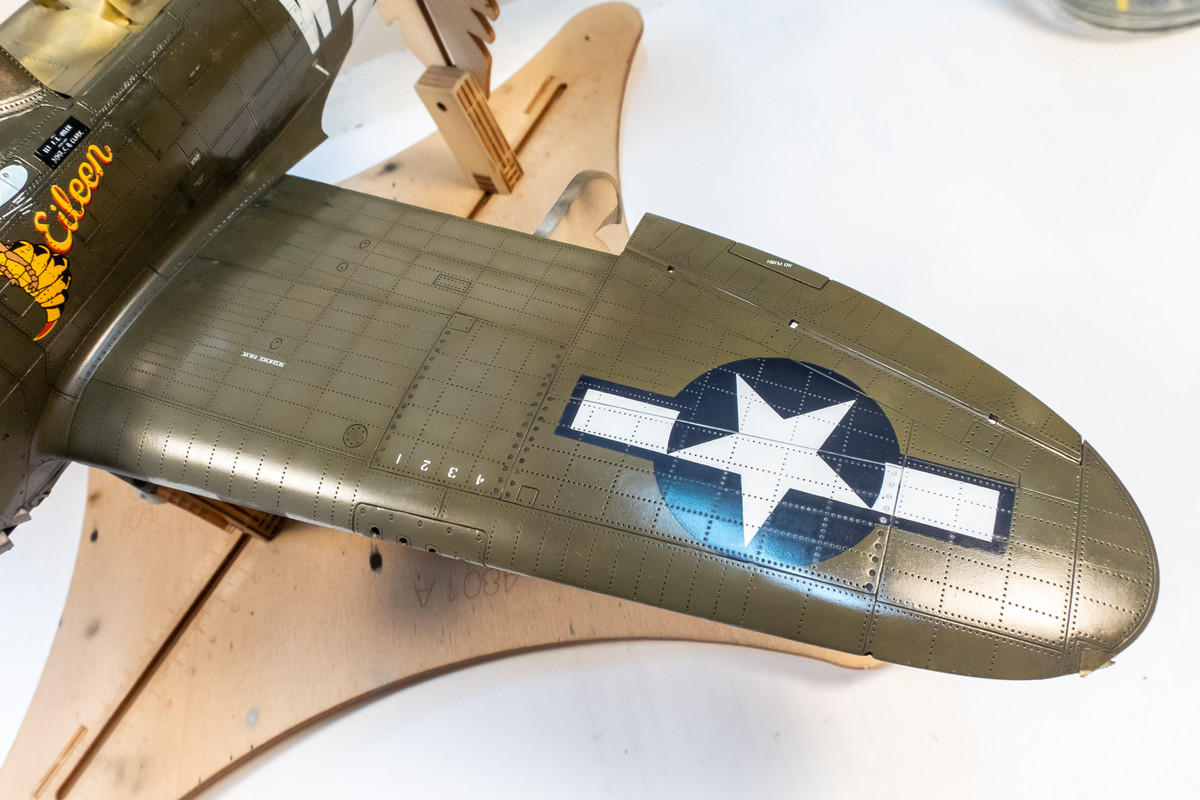
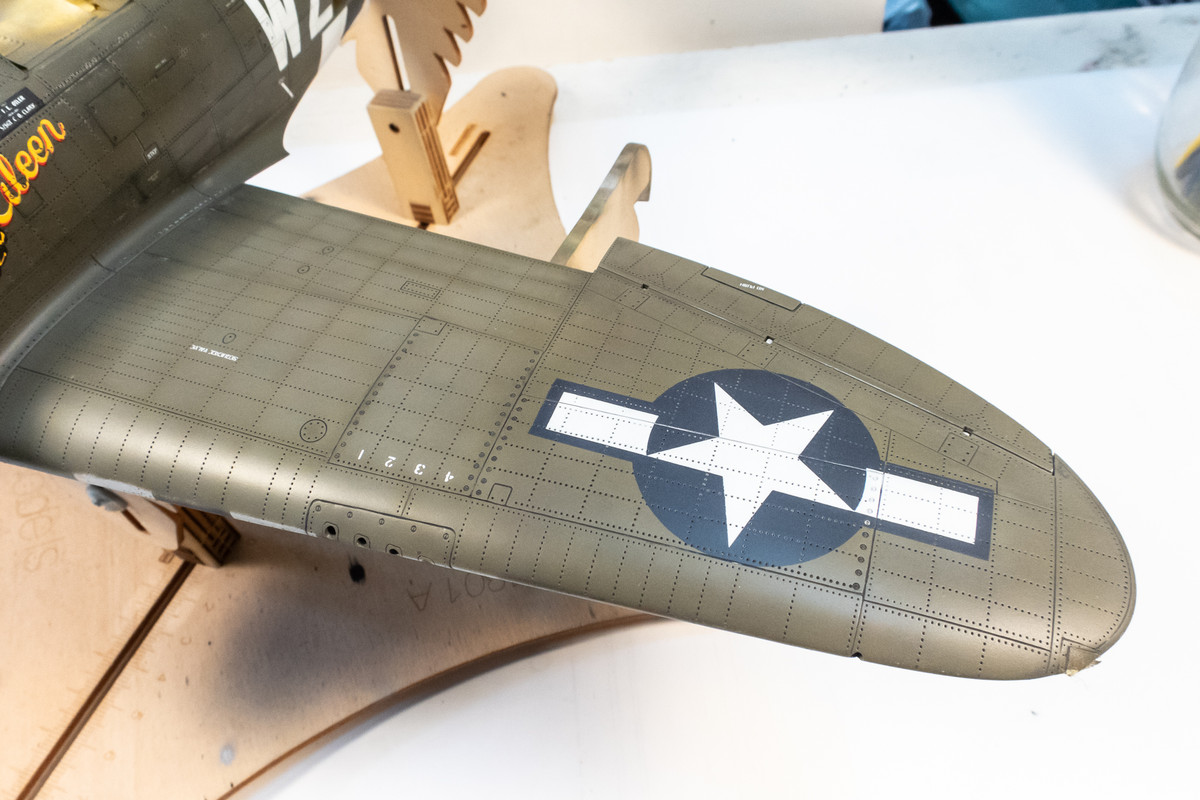
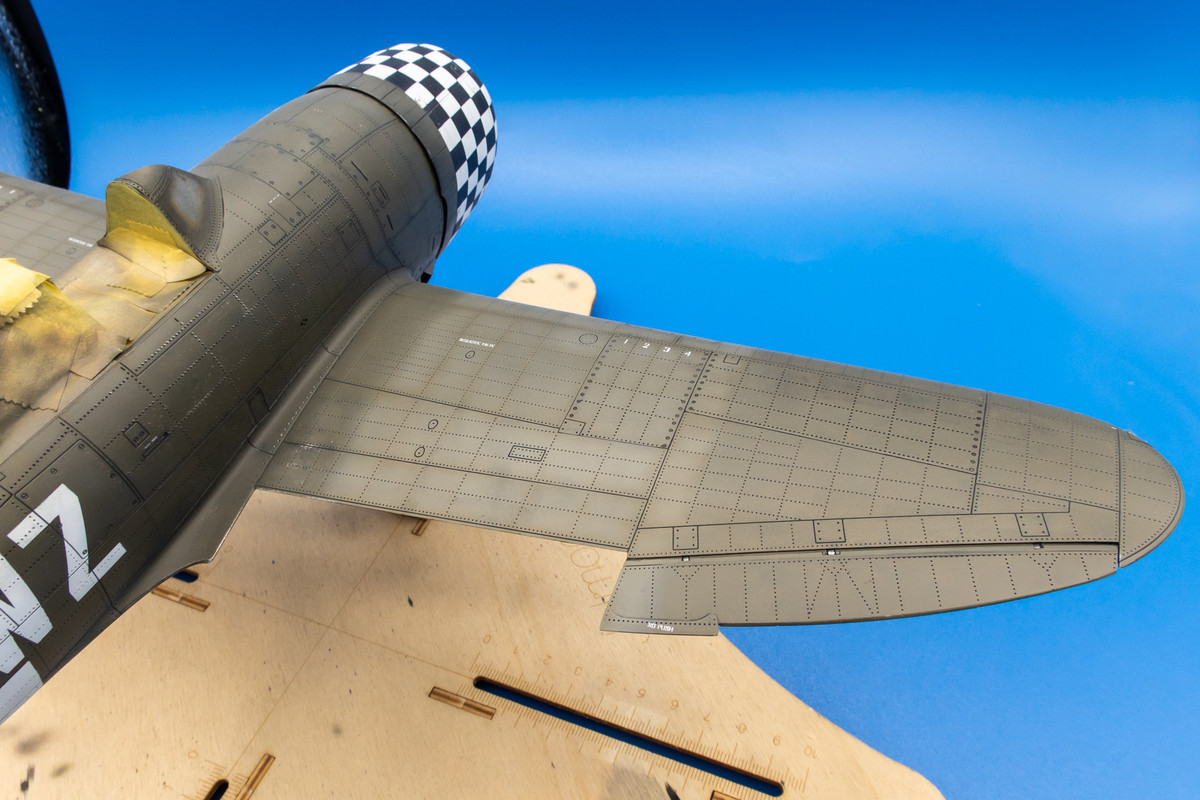
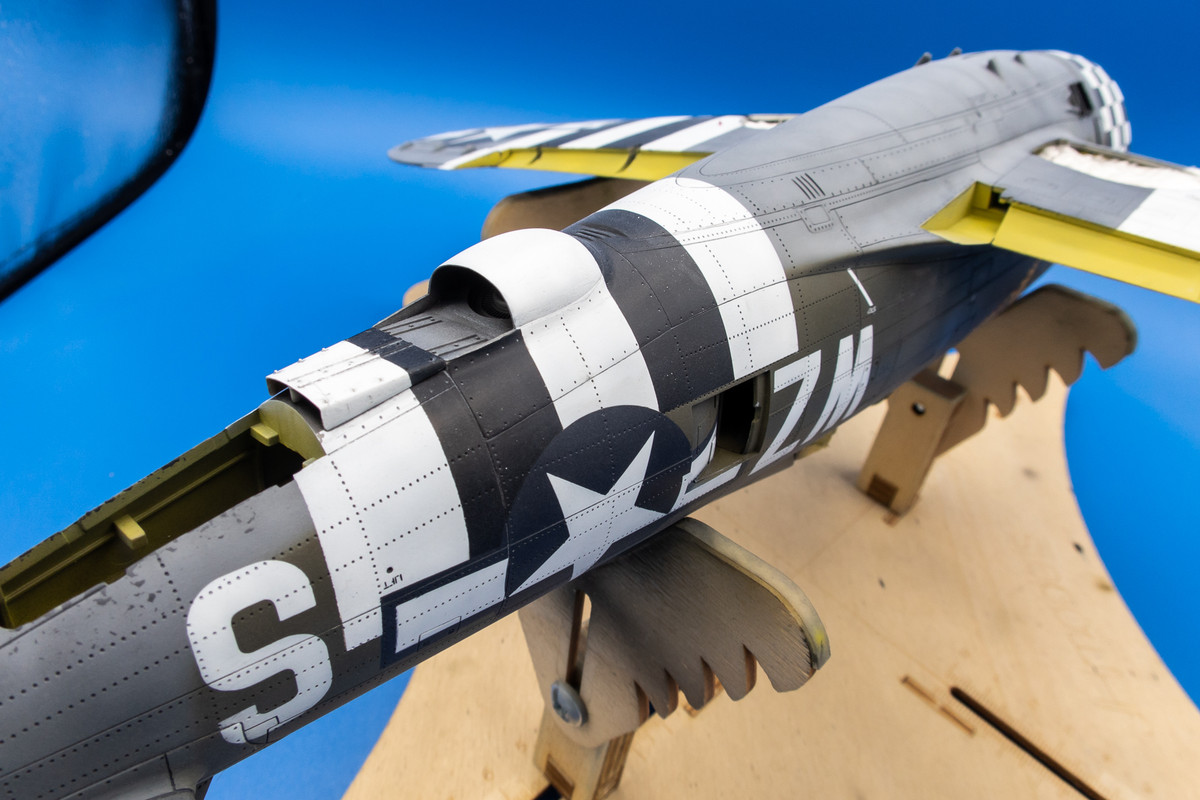
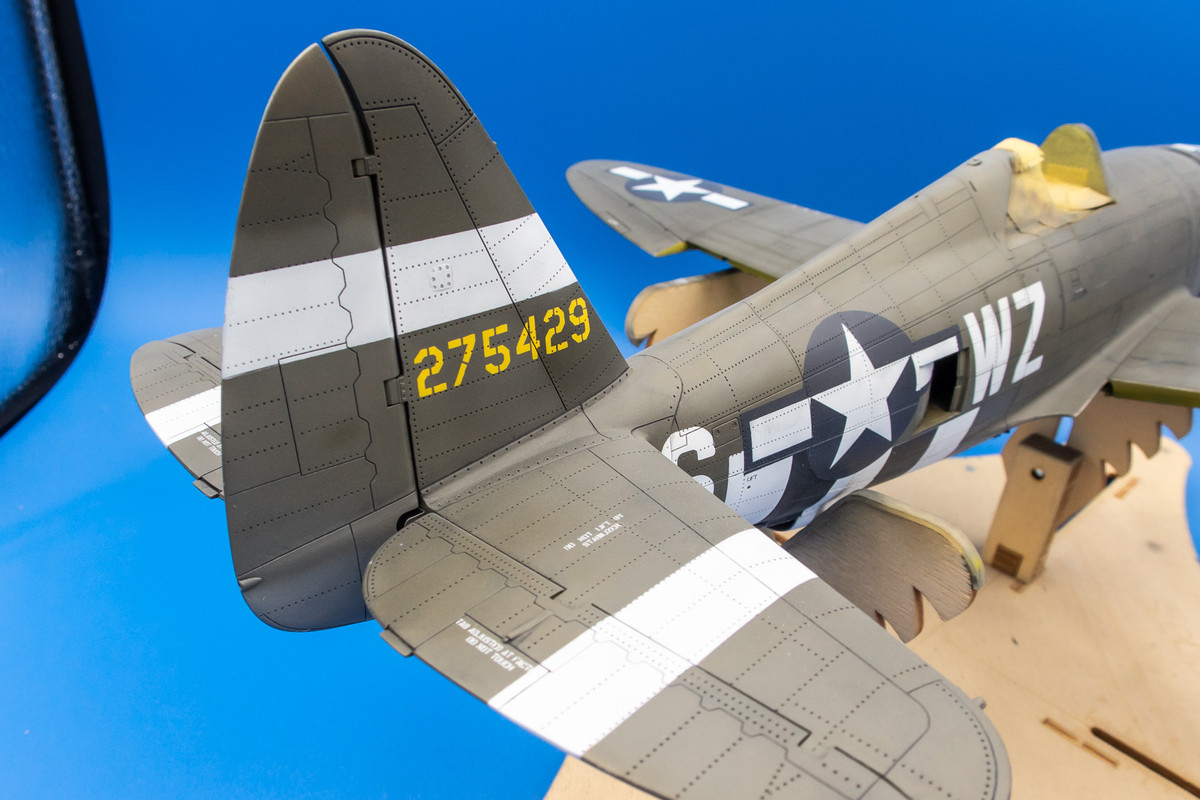
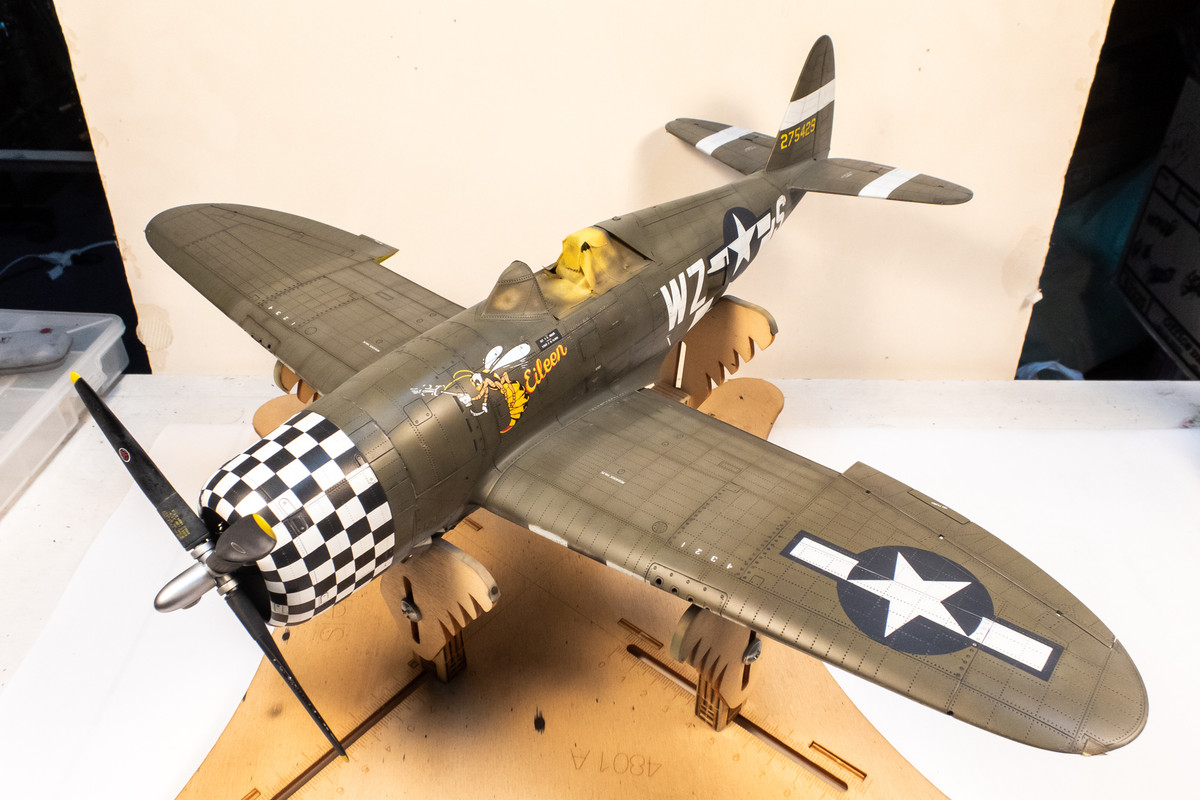
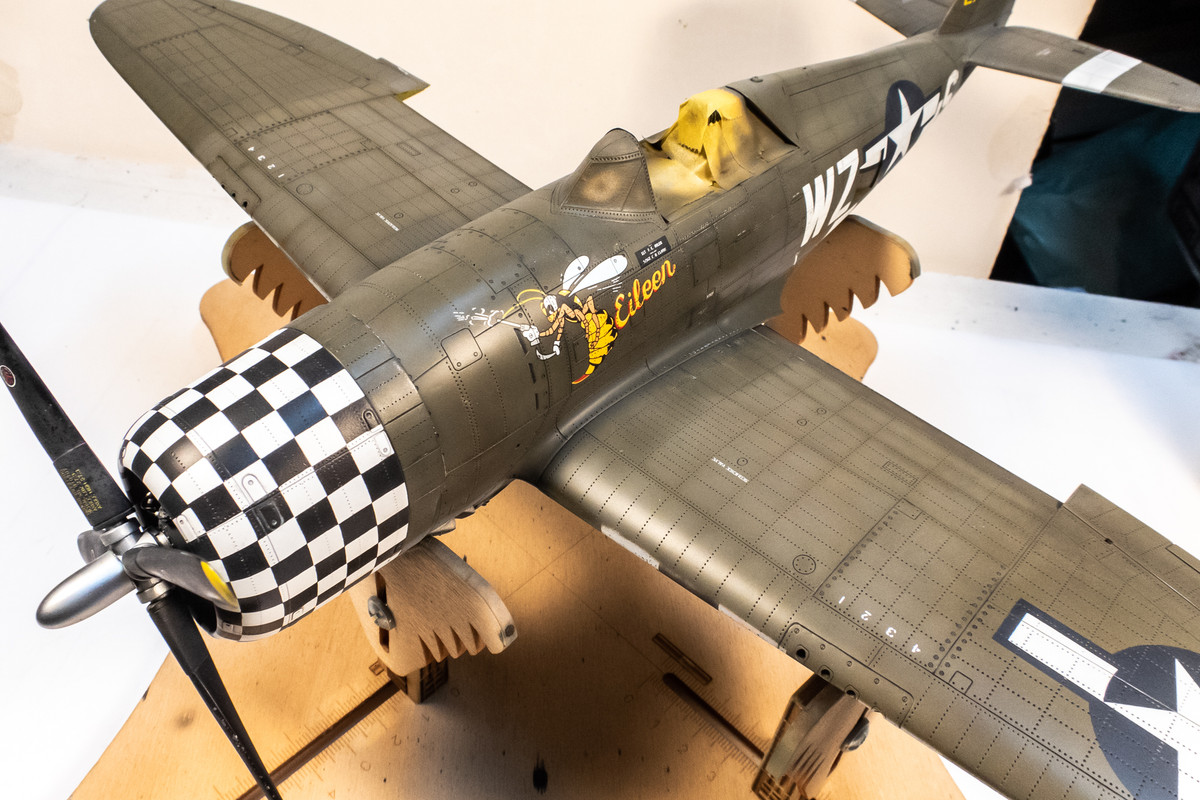
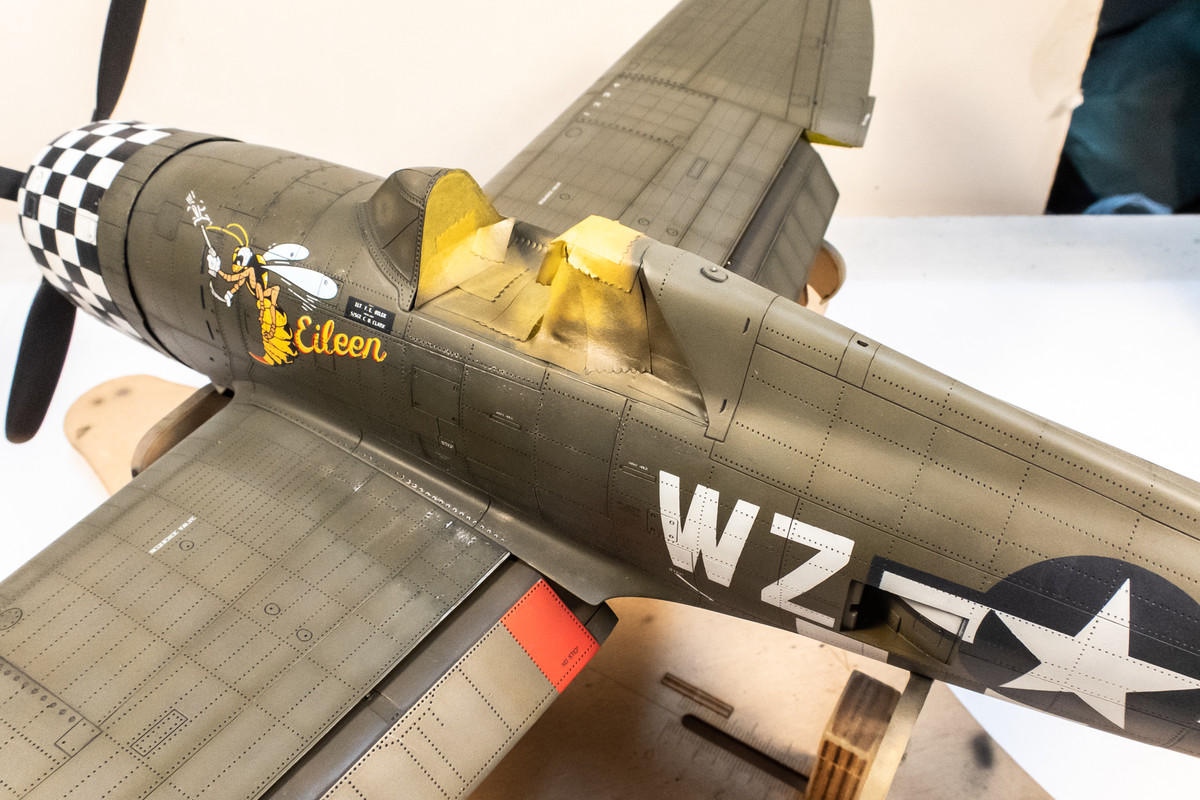
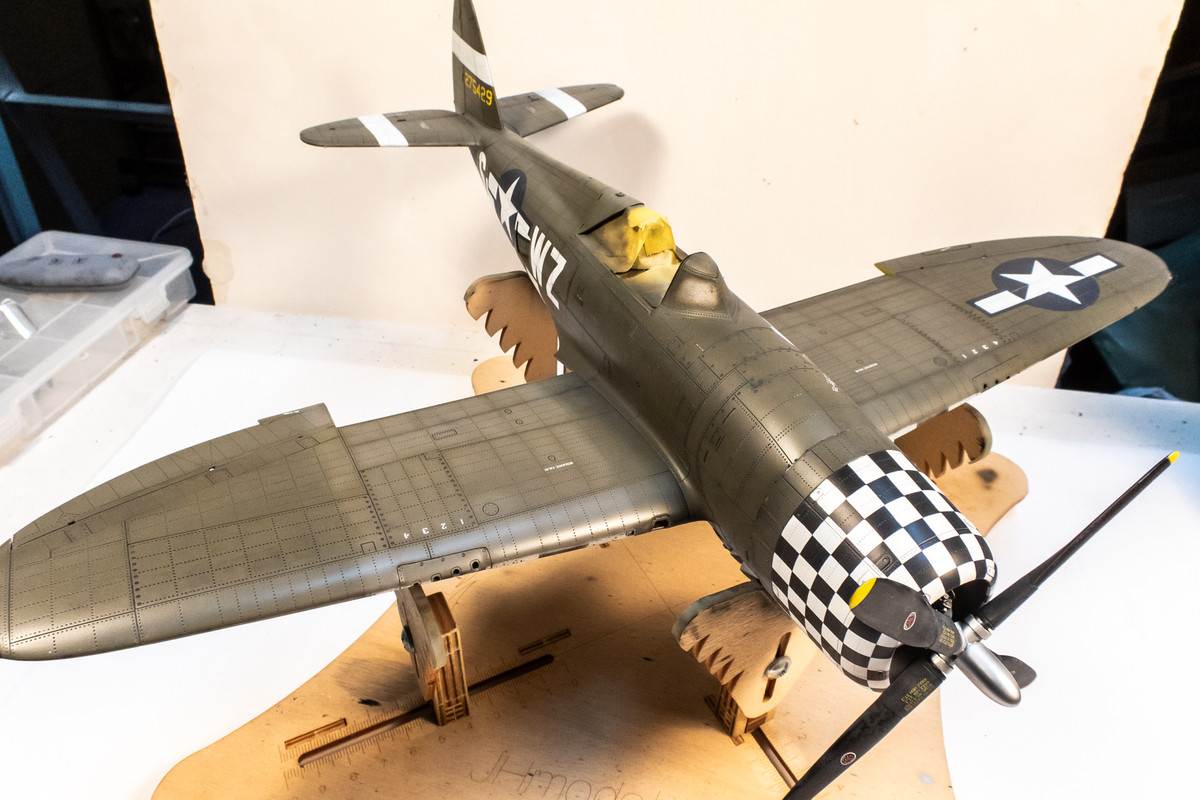
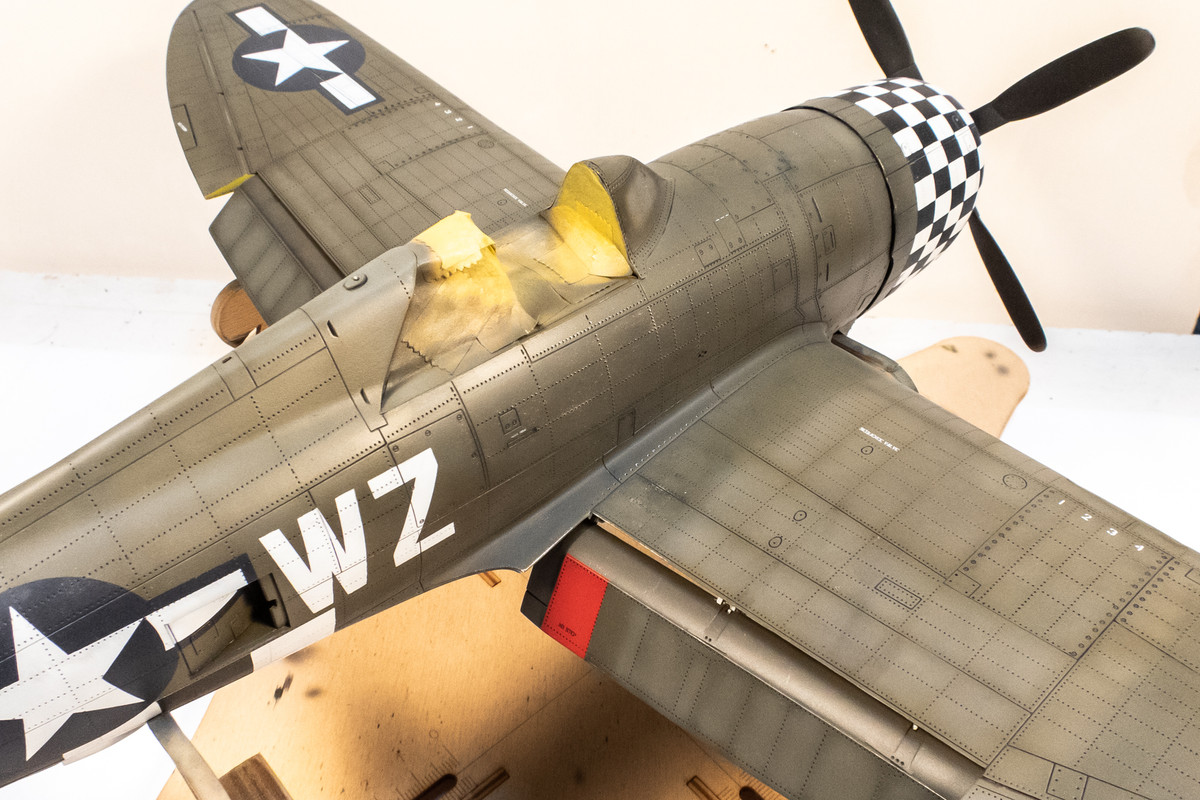
A closer look at the wing shows the result. I think this technique nicely mimics the rain and weather wear that may accumulate on the aircraft's surface.
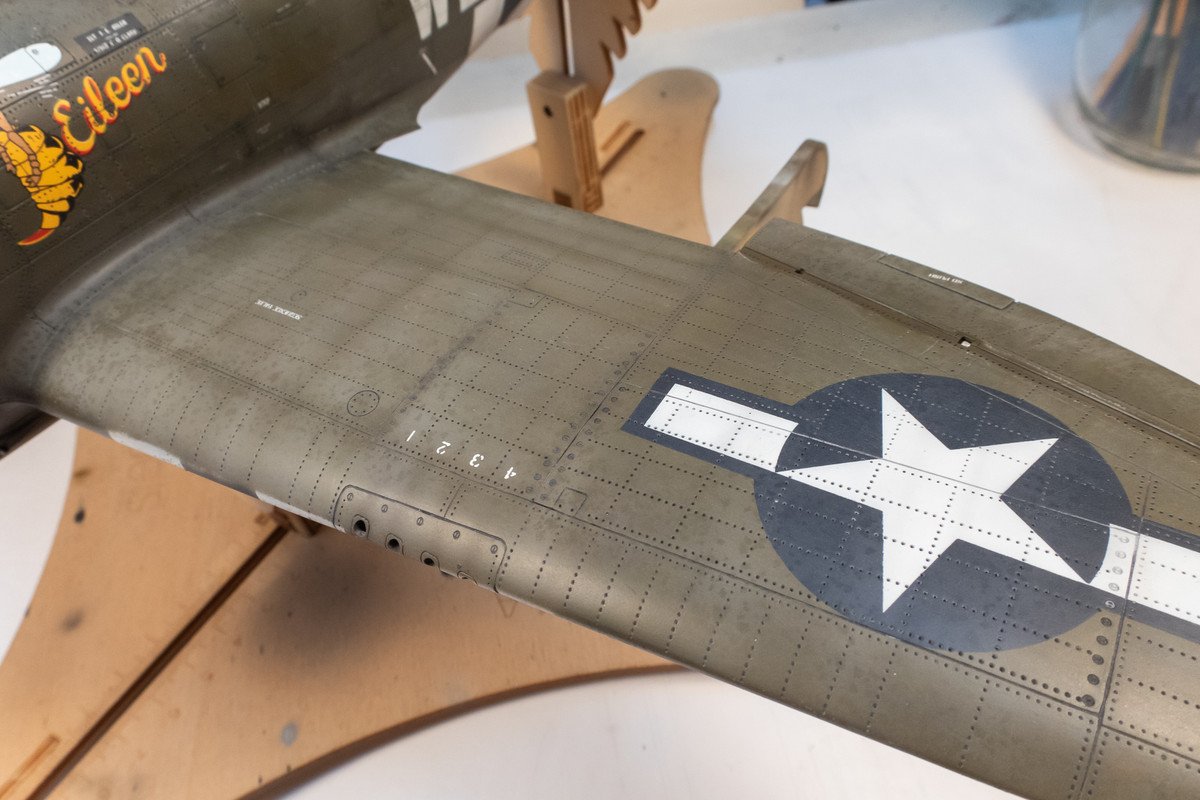
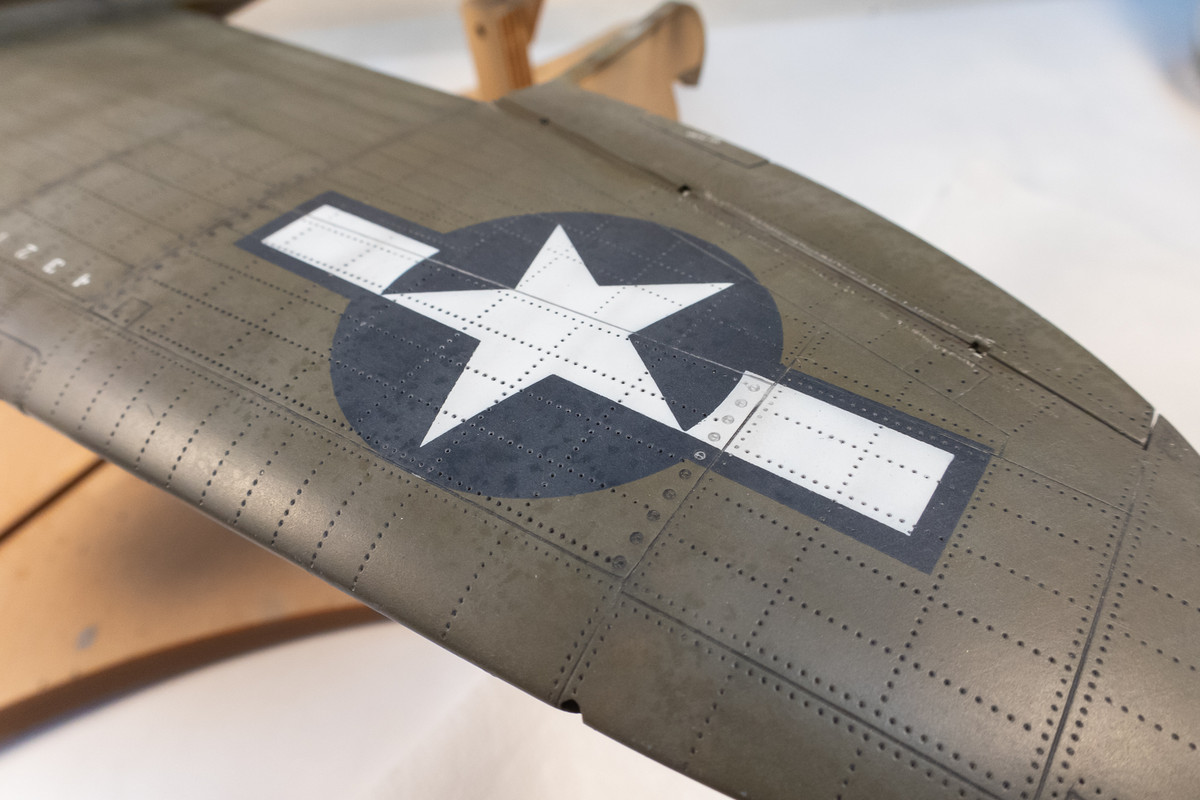
It's important to let the model completely dry for a couple of hours after the wiping process as the effect will be muted if the surface is even a little damp.
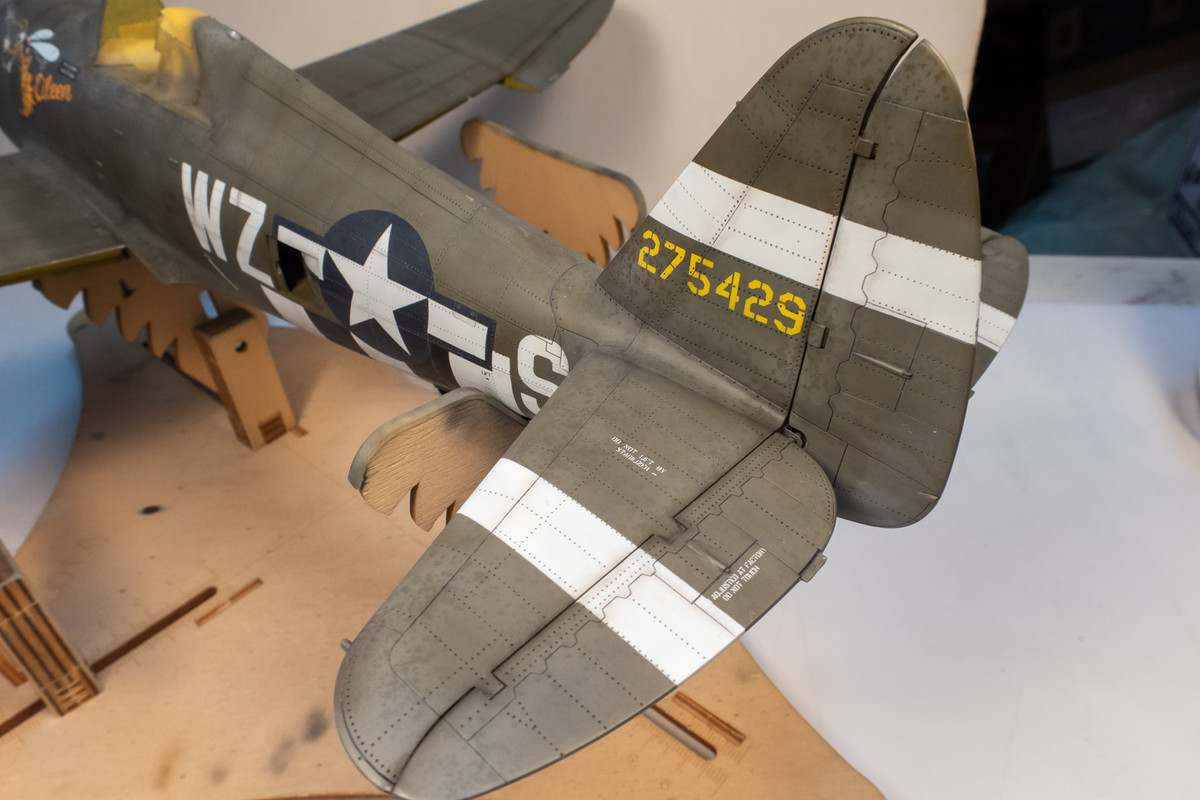
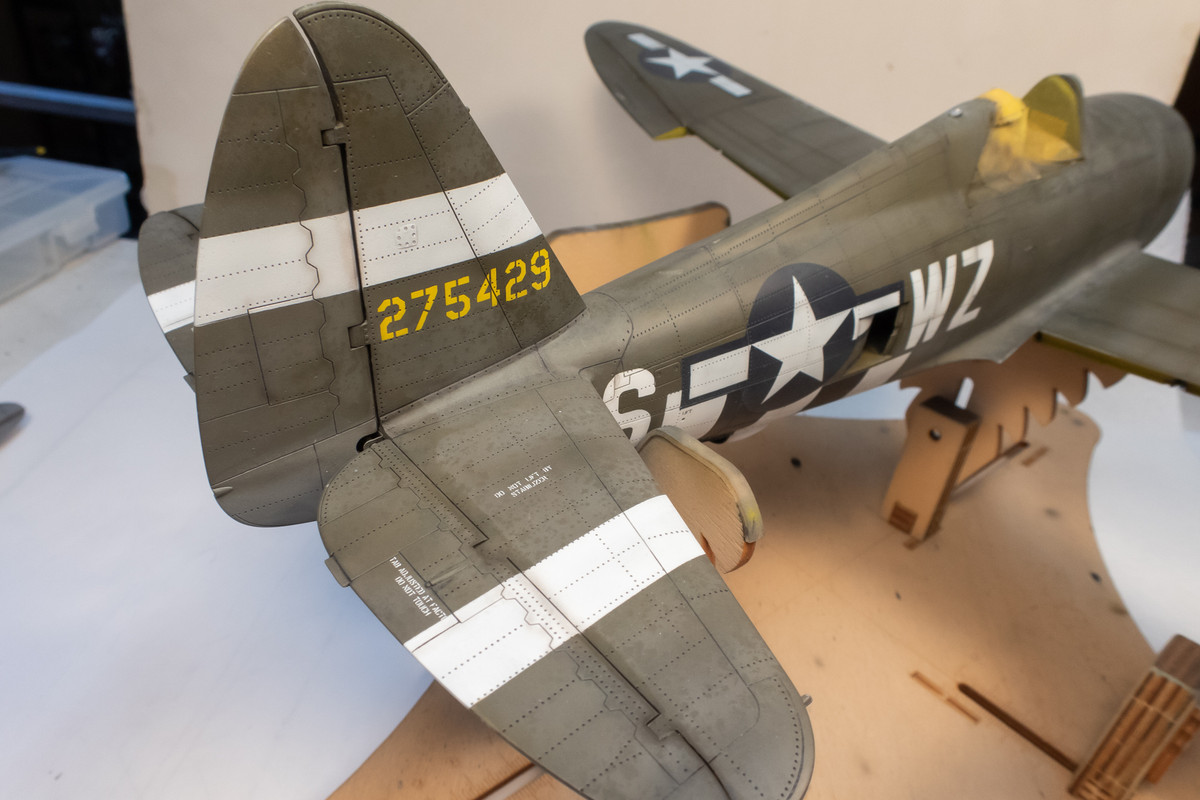
I will inspect each of the affected areas carefully. Adjustments can be made by Micromeshing the area gently to tone down any exaggerated areas. If severe enough, you can also use thinned mixes of the camo paint to tone down or remove the effect. In this case, strategic Micromeshing should do the trick.
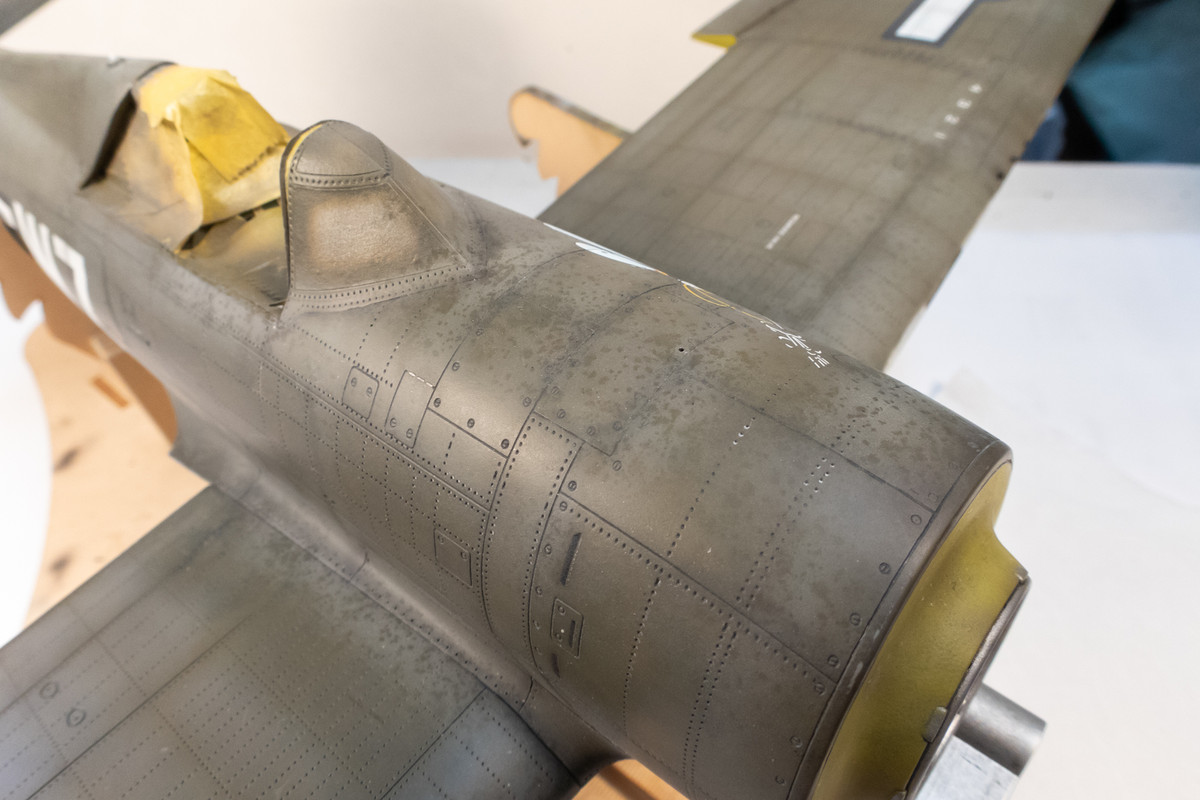
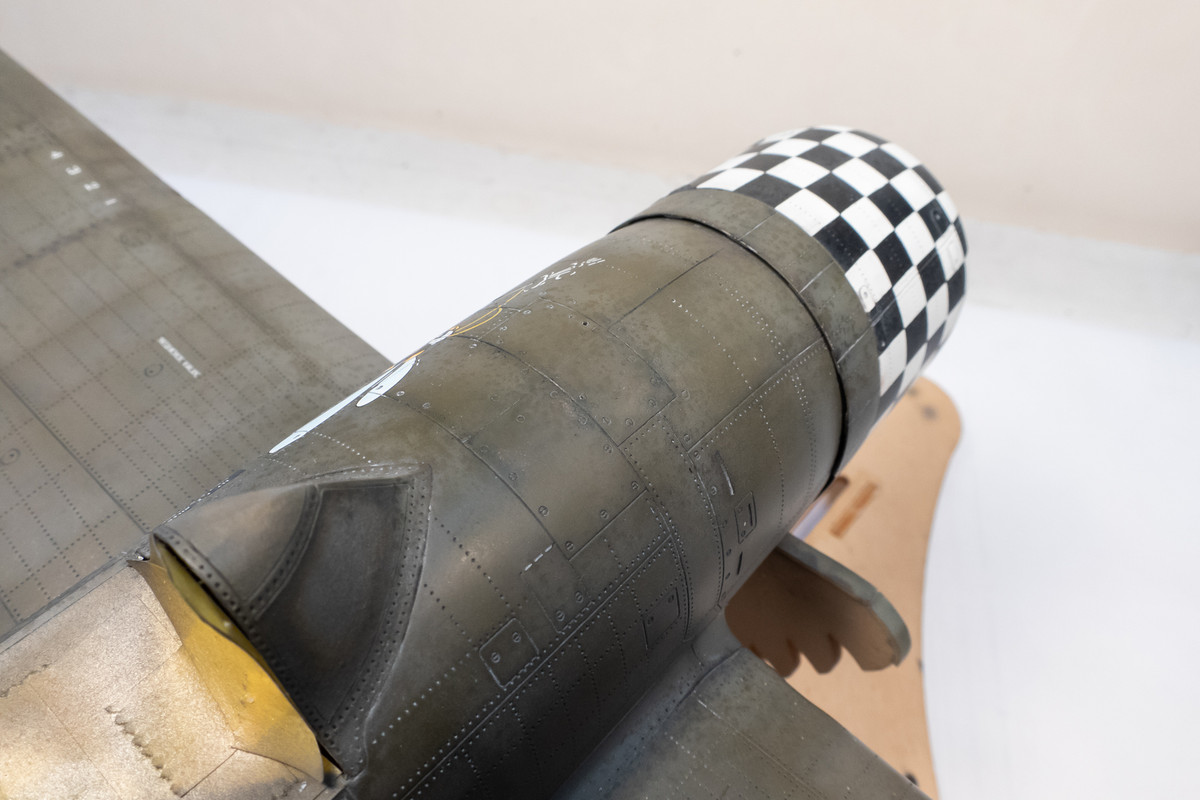
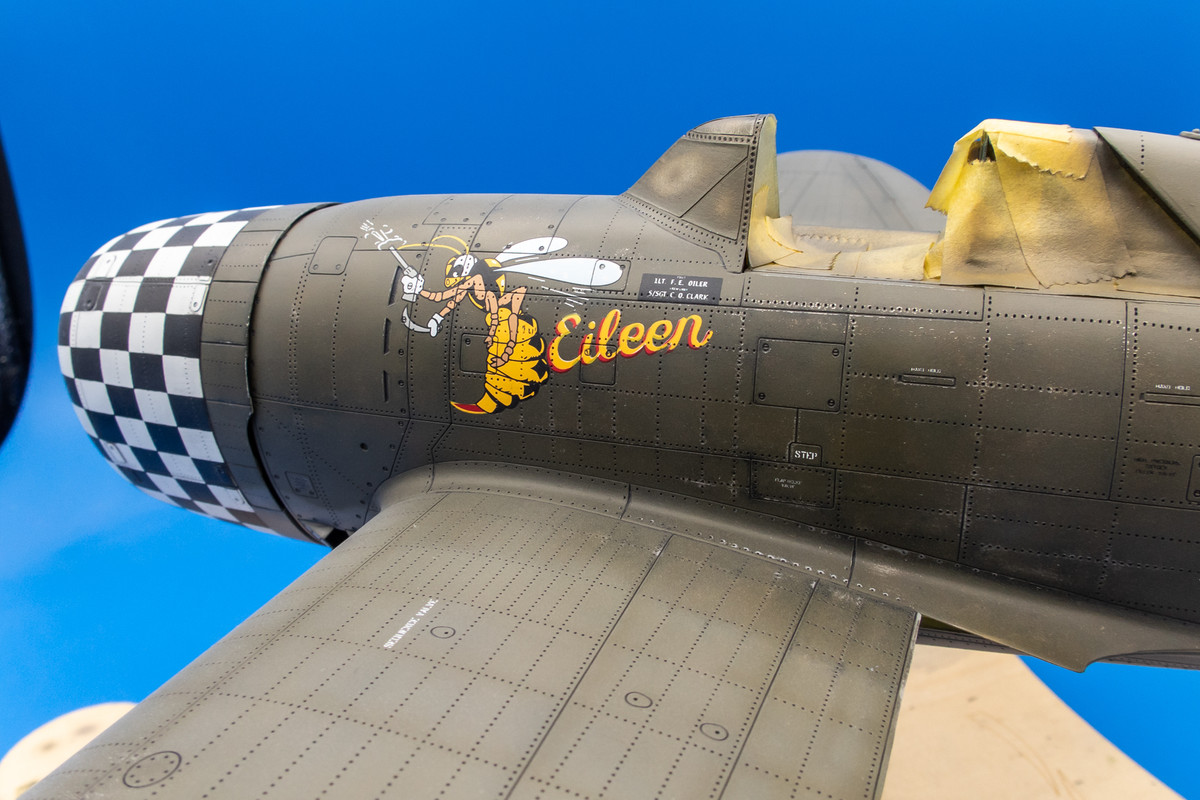
Here is the front fuselage after a bit of Micromeshing.