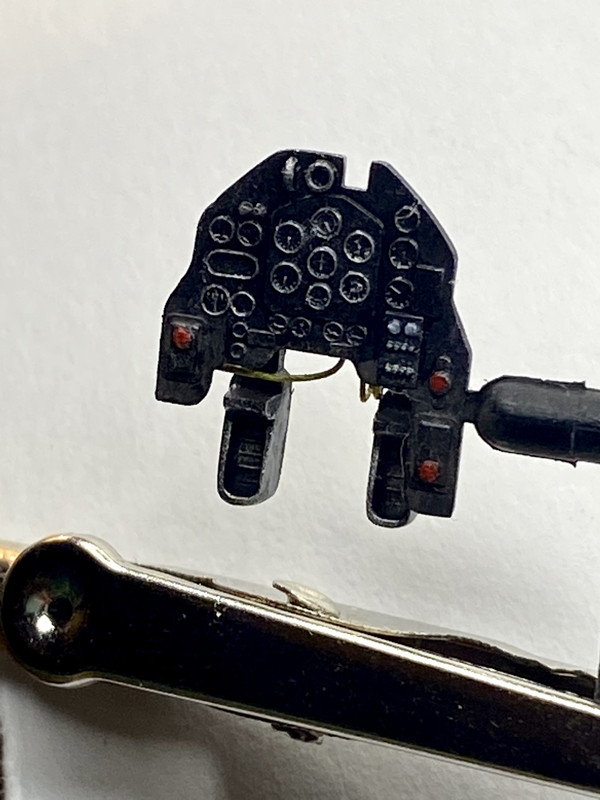
Thanks so much, Bruce, I appreciate that! I’m shooting to have the rest of the engine done and plumbed by the end of the week. But you know how Thanksgiving can be. Heh, I’d meant to make more progress on it this week already but I got waylaid by a 1:48 Hasegawa Stuka that’s been in a deep, dark corner of The Shelf Of Doom, literally buried under the spare parts box. I recall starting it in the weeks before I decided to join the forum here, but I abandoned it -and a short time after joining here began a 1:32 Stuka (which I also eventually lost interest in). I didn’t have much time to build you see, over the weekend. And I couldn’t remember why I’d abandoned that 1:48 Stuka... I found the box while looking for sprue to make cockpit wiring for my Razorback, and the remainder of the plumbing for Red 13’s motor, and pulled it out. I arbitrarily did the wing assembly, and then set about removing the molded aileron actuators and making/installing my own. And I ended up not being happy with my first attempt so I redid them on the 20 spare minutes I had at work today for my lunch break. Here’s a pic:
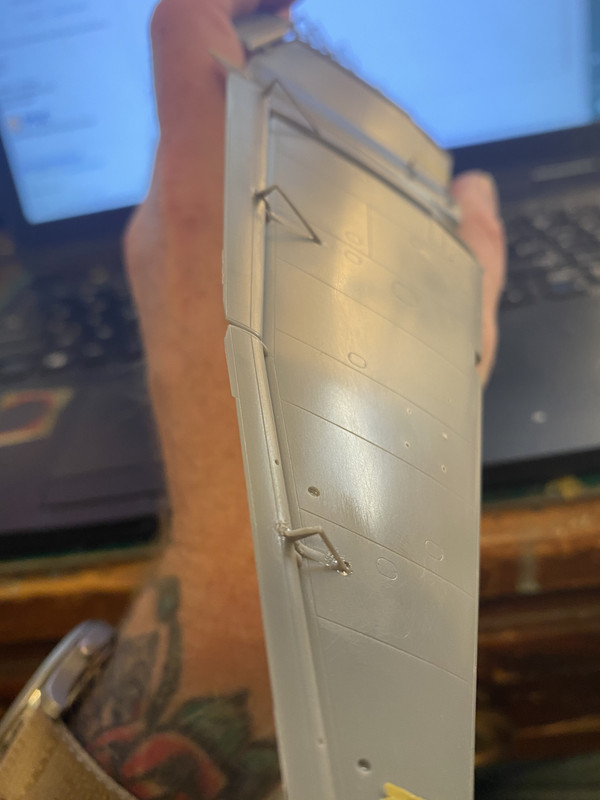
In terms of “scratch building” I’m not really set up for anything more advanced than this kind of stuff and wiring. Me and my primitive tools and magnifying lamp. But I think these look nicer than the stock representation. Solid plastic triangle. Yuck.
Also, and I think you guys will get a kick out of this— my first two failures with the Franken-Emil’s field-applied camo, followed by my third and somewhat unconventional but none the less cool attempt and final result totally set me up to do a cool paint job on the Stuka! It’s the same RLM 70/71 Splinter scheme, with a desert tan/yellow overspray in relatively the same somewhat-angular, “Copperhead” style I fell ass-backward into with The Franken-Emil! PLUS- the scheme has a great snake painted the entire length of the fuselage!
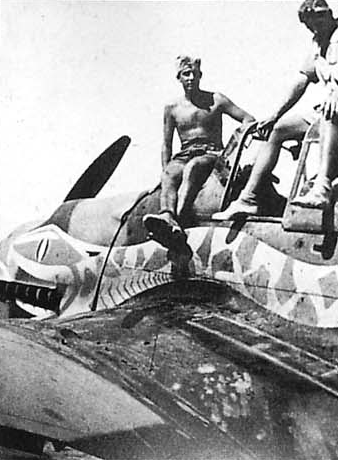
It’s almost like it was meant to be! I was gobsmacked when I saw the scheme on an Eagle Cals sheet.
So I guess we’re adding another to the rotation, and that’s fine.
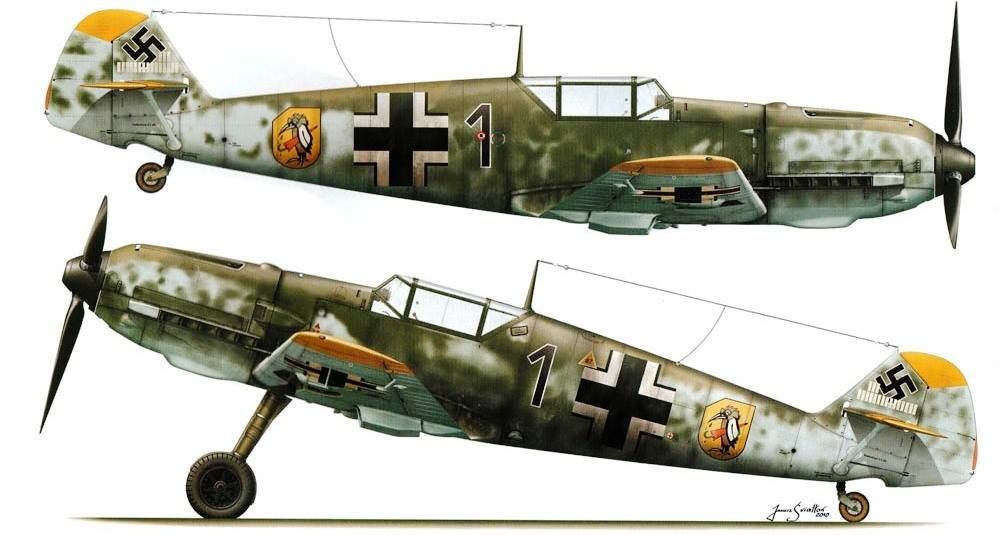
As to “Black 1”, we’re nearly to the painting stage! I had to fill a temperamental seam top-side just aft of the cowling, and I had to fill gaps at the wing roots. HAHAHAA I’m the only jackass on Earth who has to fill wing roots on Tamiya’s beautifully-engineered Emil kit. These’ll get a shot of Mr. Surfacer 1500 tomorrow to check and make sure they’re all sealed-up nice, and if so, the canopy’ll get masked, get it’s armor installed, then affixed to the airframe, and then I’ll get started on the painting.
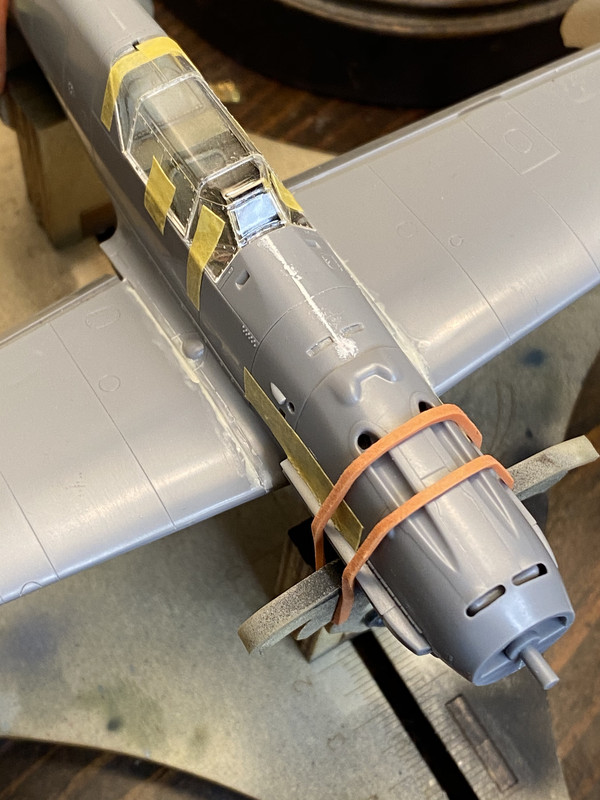
I’m really stoked about doing this scheme:
Alright! That’s it for me! Thank you as always for looking.