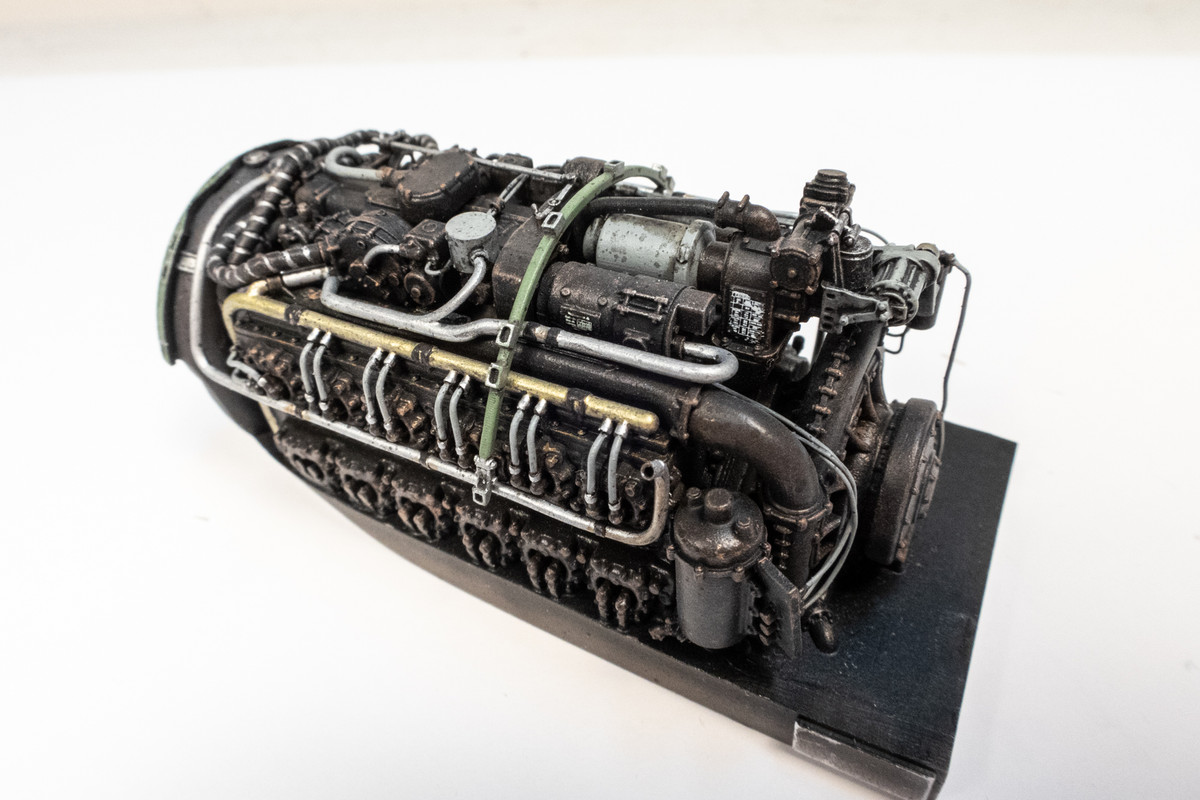
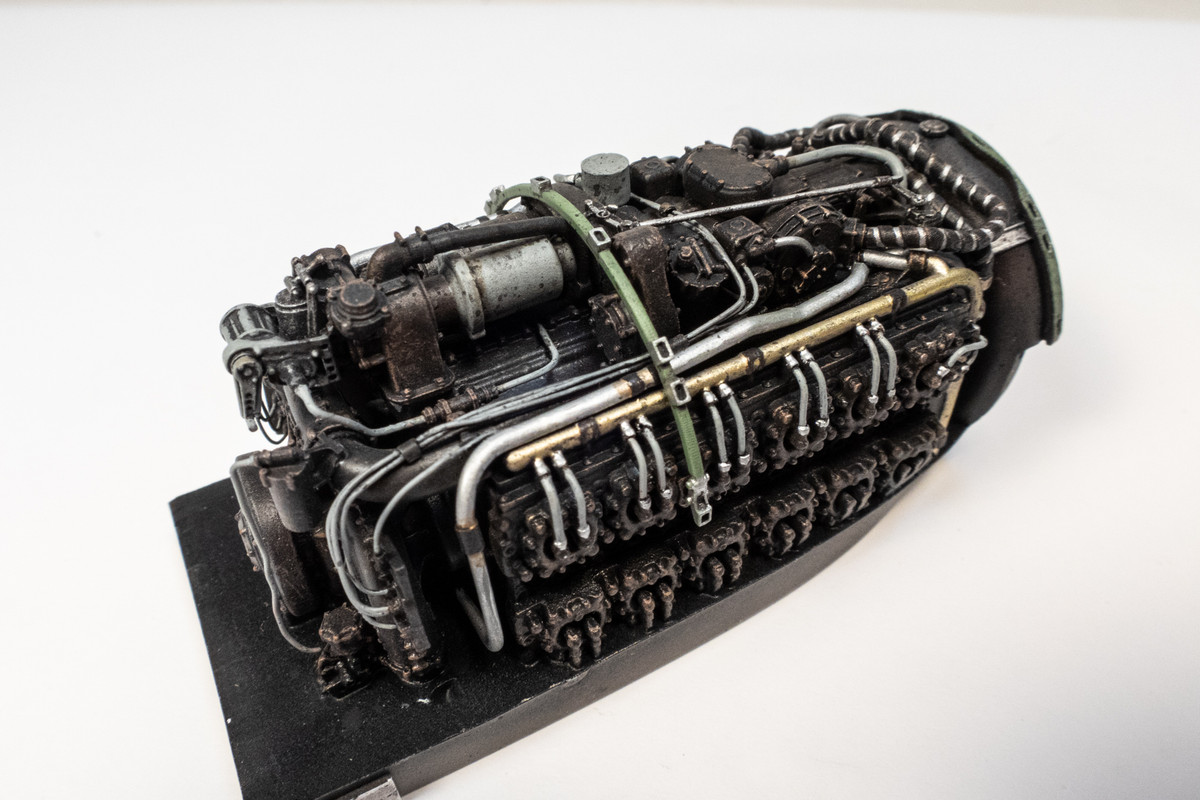
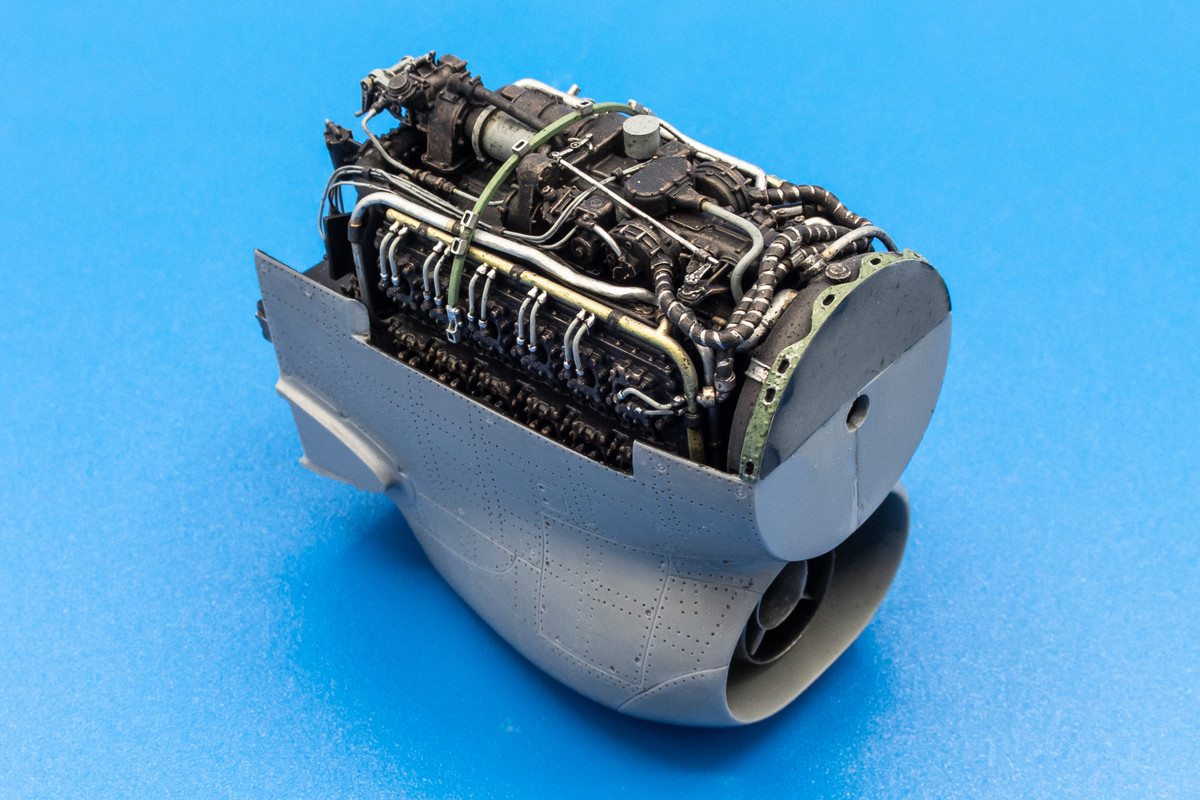
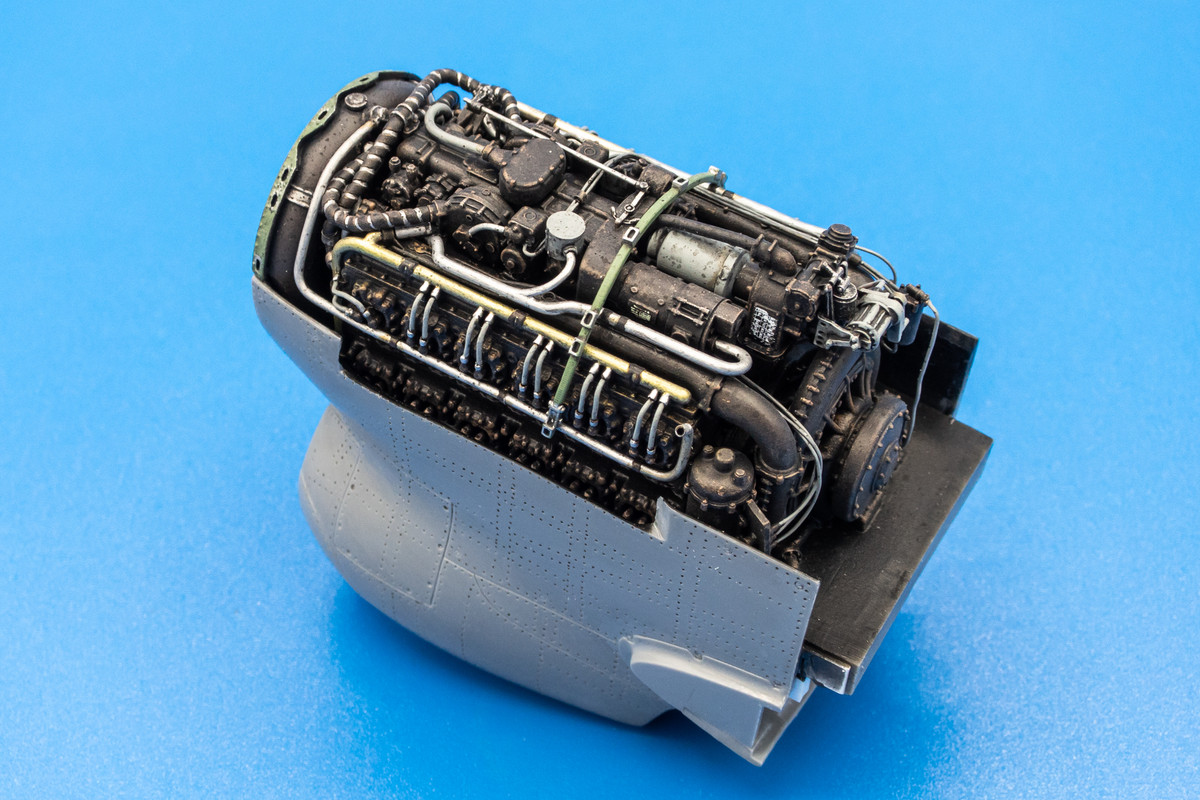
Maybe you could add the remnants of a bird's nest? Seriously, with all the complexity grabbing the eye it may not need anything else but maybe the smell of burnt oil. It looks real.
Re: 1/32 Special Hobby Hawker Tempest Mk V
Posted: Sun May 15, 2022 11:23 am
by Medicman71
Wow! That engine is incredible!
Re: 1/32 Special Hobby Hawker Tempest Mk V
Posted: Sun May 15, 2022 4:03 pm
by Duke Maddog
Stunning work on that engine! It looks like it would run!
Re: 1/32 Special Hobby Hawker Tempest Mk V
Posted: Sun May 15, 2022 6:12 pm
by Stikpusher
Honestly John I’d say leave the engine right at the point you’ve reached in weathering. If you’re asking what else that you could add, that’s a sign that you are right where you should be. It looks fantastic!
Re: 1/32 Special Hobby Hawker Tempest Mk V
Posted: Mon May 16, 2022 1:25 am
by jkim
Thanks guys! I like all of the comments, especially about the bird's nest! I couldn't resist and added a few stains by spraying droplets of diluted black pastel wash over the engine. Most of the visible spots were wiped away but I kept some on the few lighter-colored components. A small touch but I think it is effective.
I am considering the engine complete and the next step will be to attach the engine to the nose.
Re: 1/32 Special Hobby Hawker Tempest Mk V
Posted: Mon May 16, 2022 1:53 am
by Stuart
That is awesome John!
But remember, this is a British engine, so don't forget to put a drip tray under it when you put your model on the shelf!
Re: 1/32 Special Hobby Hawker Tempest Mk V
Posted: Mon May 16, 2022 6:07 pm
by jkim
Stuart wrote:That is awesome John!
But remember, this is a British engine, so don't forget to put a drip tray under it when you put your model on the shelf!
Drip tray installed! It is located between the engine and the chin intake...
In other words, the engine assembly has been glued to the nose. I used JB Kwik Weld.
Re: 1/32 Special Hobby Hawker Tempest Mk V
Posted: Tue May 17, 2022 9:22 am
by LyleW
That engine looks real! I was cruising around watching videos and came across this one.
Re: 1/32 Special Hobby Hawker Tempest Mk V
Posted: Tue May 17, 2022 10:19 pm
by jkim
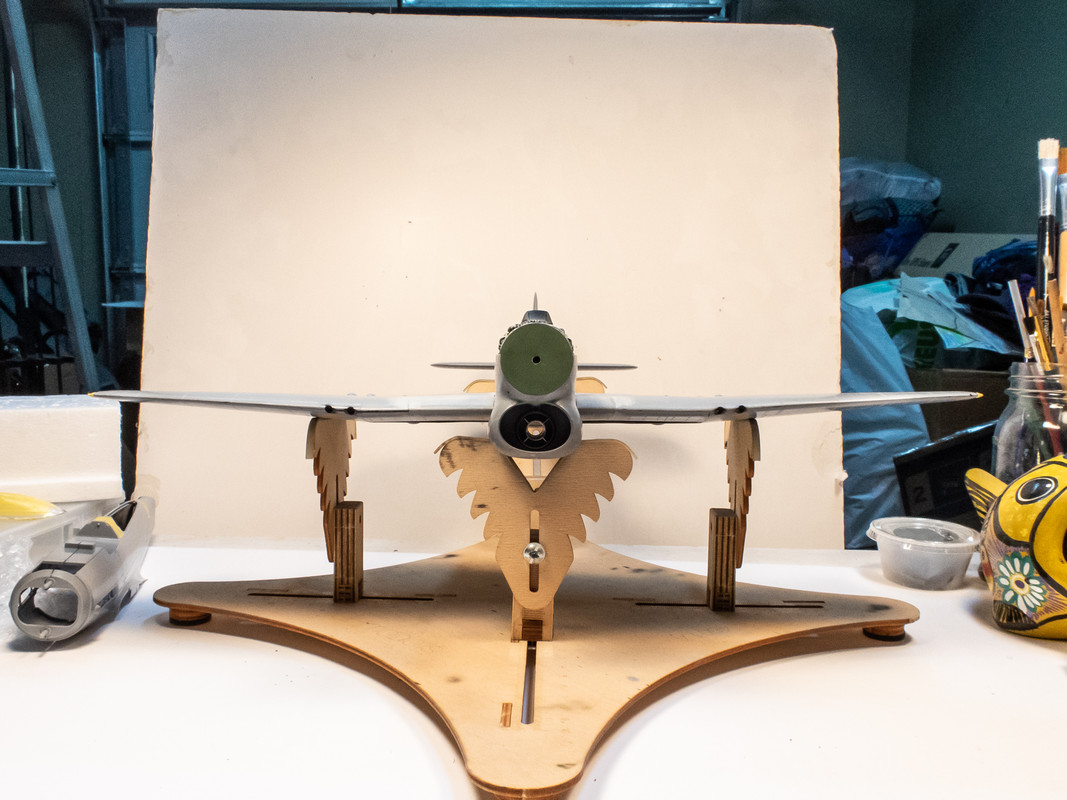
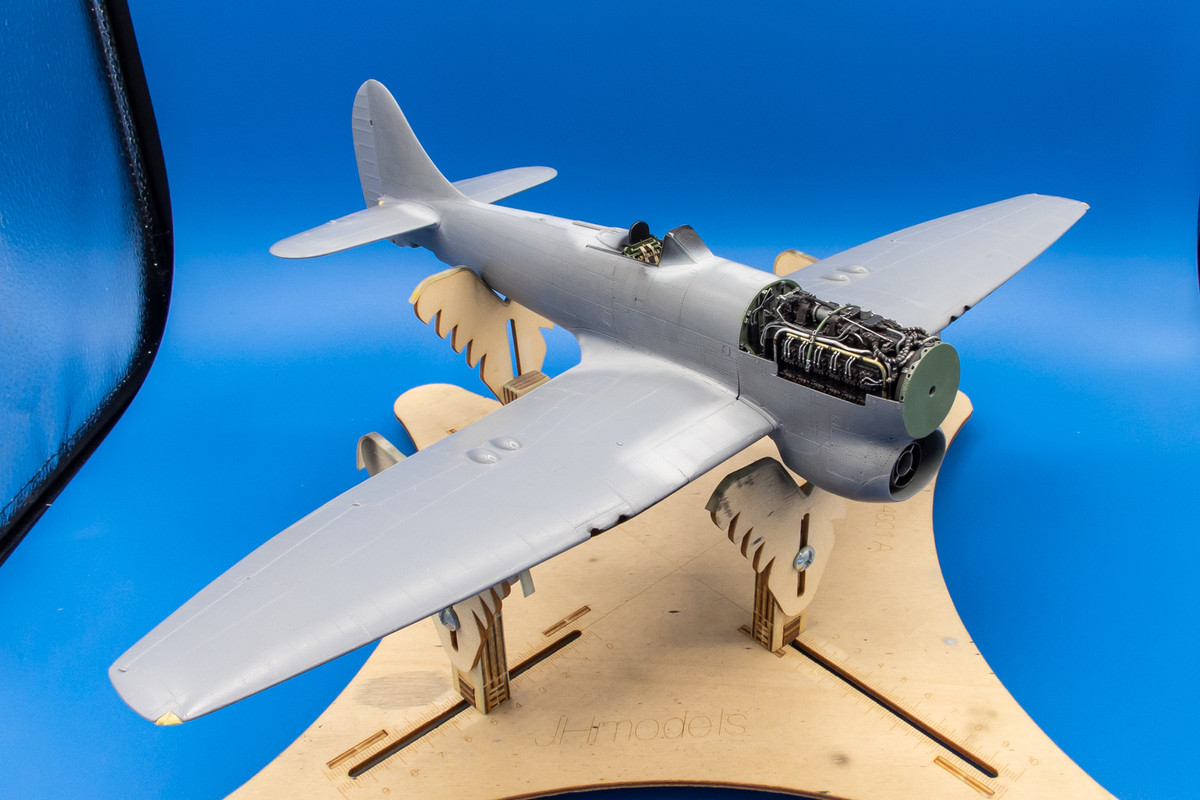
Ok... the engine is secured on the nose. One last test fit before I glue the nose onto the fuselage.
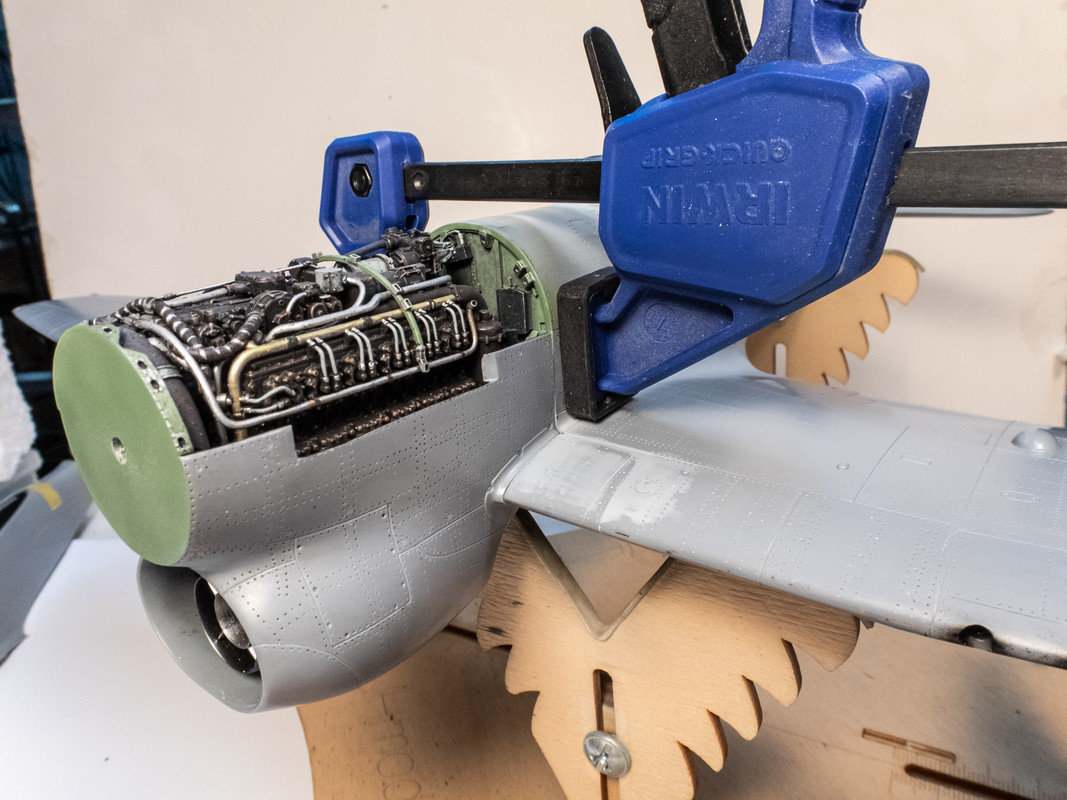
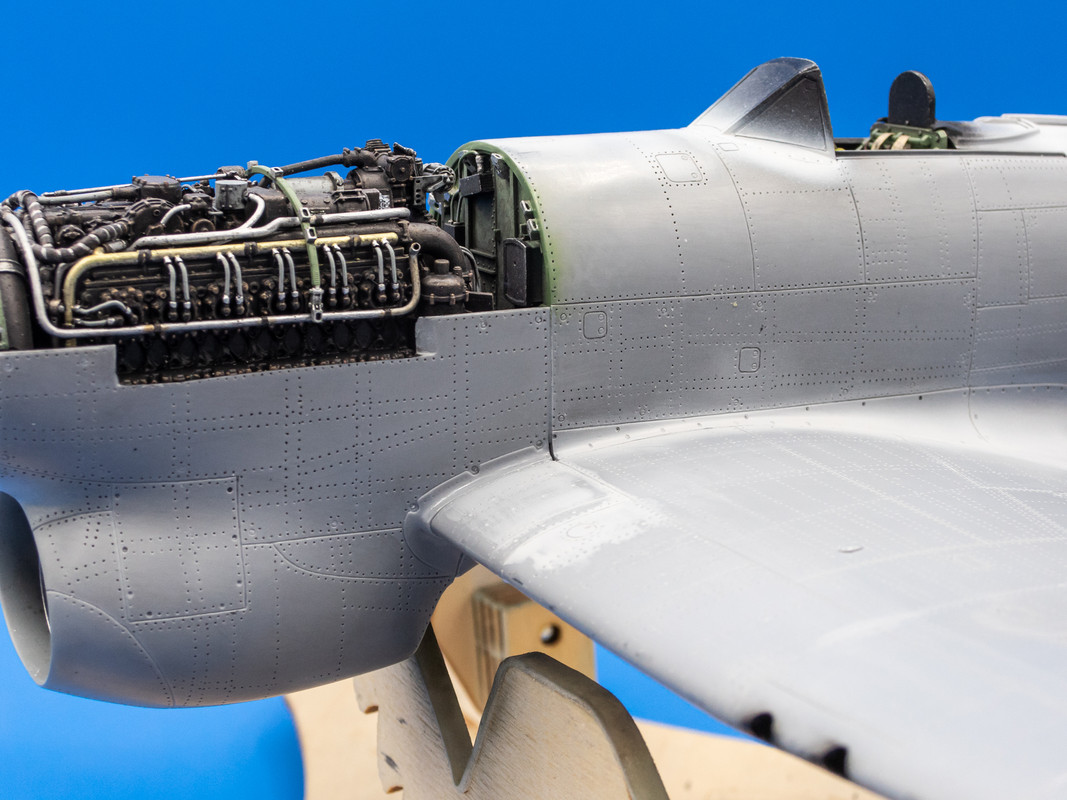
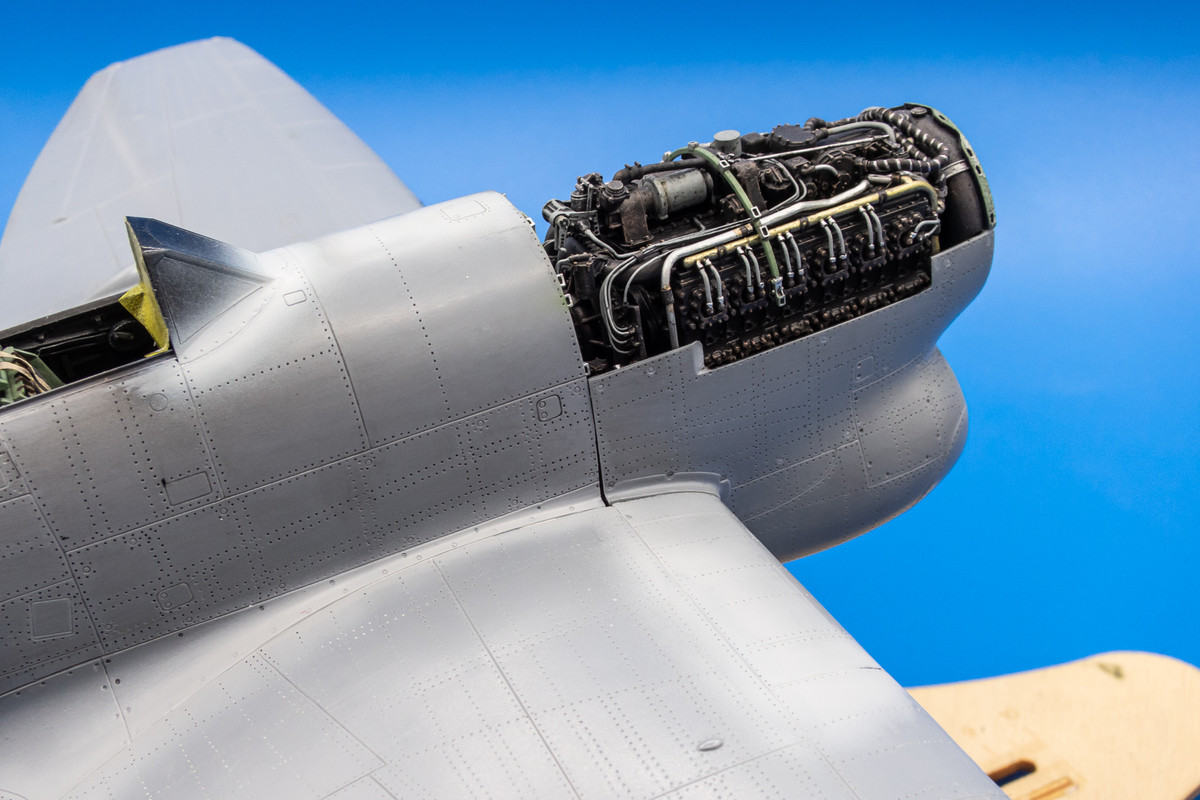
Because of the potential steps and gaps, I'm going to attack this one side at a time. After the bottom joint was welded with Tamiya Extra Thin cement, I applied glue to the port fuselage joint and used a clamp to reduce the step as much as possible. No glue has been applied to the starboard fuselage joint yet.
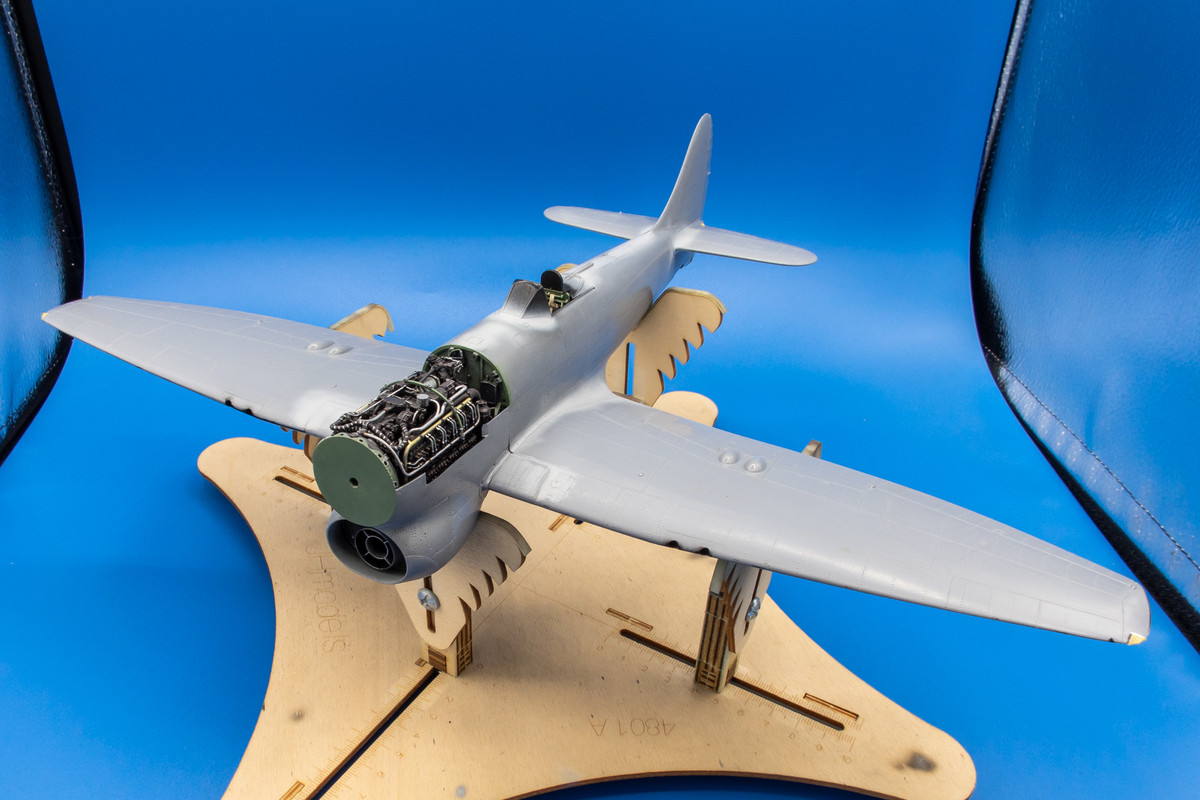
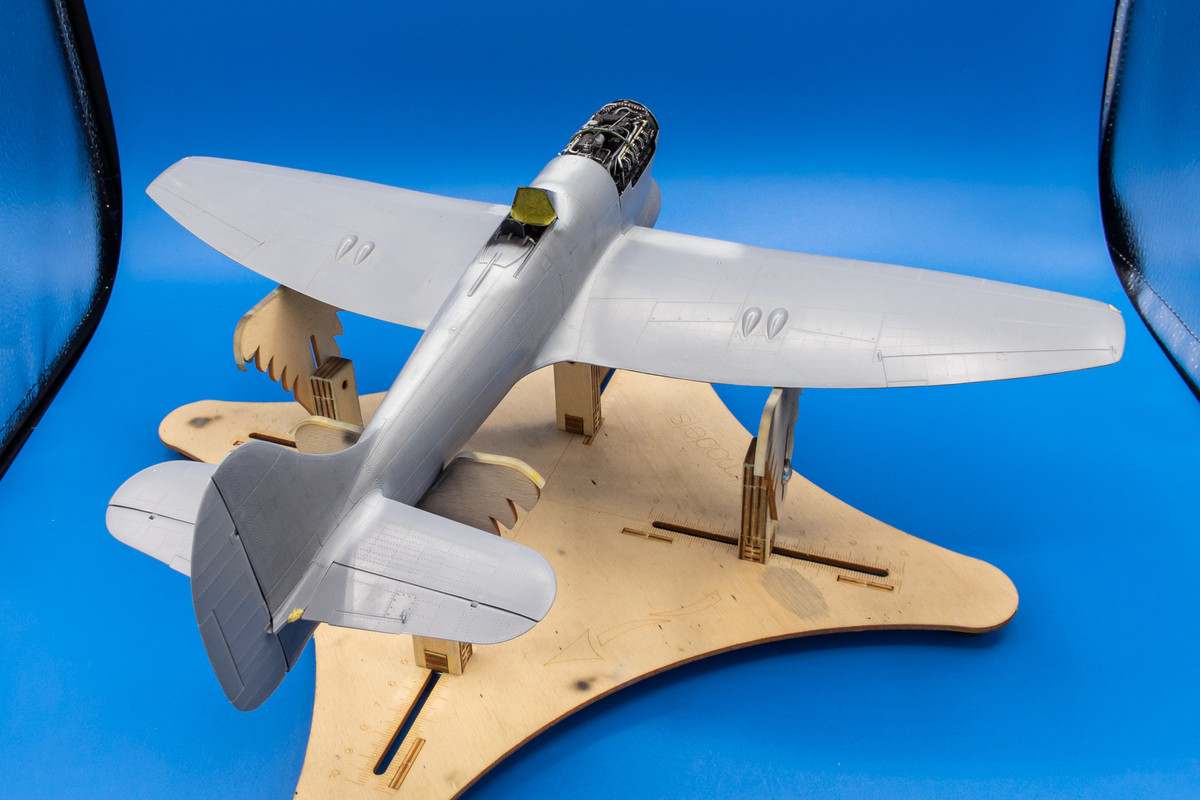
After a few hours, the clamp was removed to see if the joint held and it looks like it has. Still I'm going to wait overnight to apply glue to the starboard joint. But she looks good enough for a session in the light box.
Here is the port fuselage joint. There is still some work to do but the majority of that nasty step has been removed thanks to the use of the clamp.
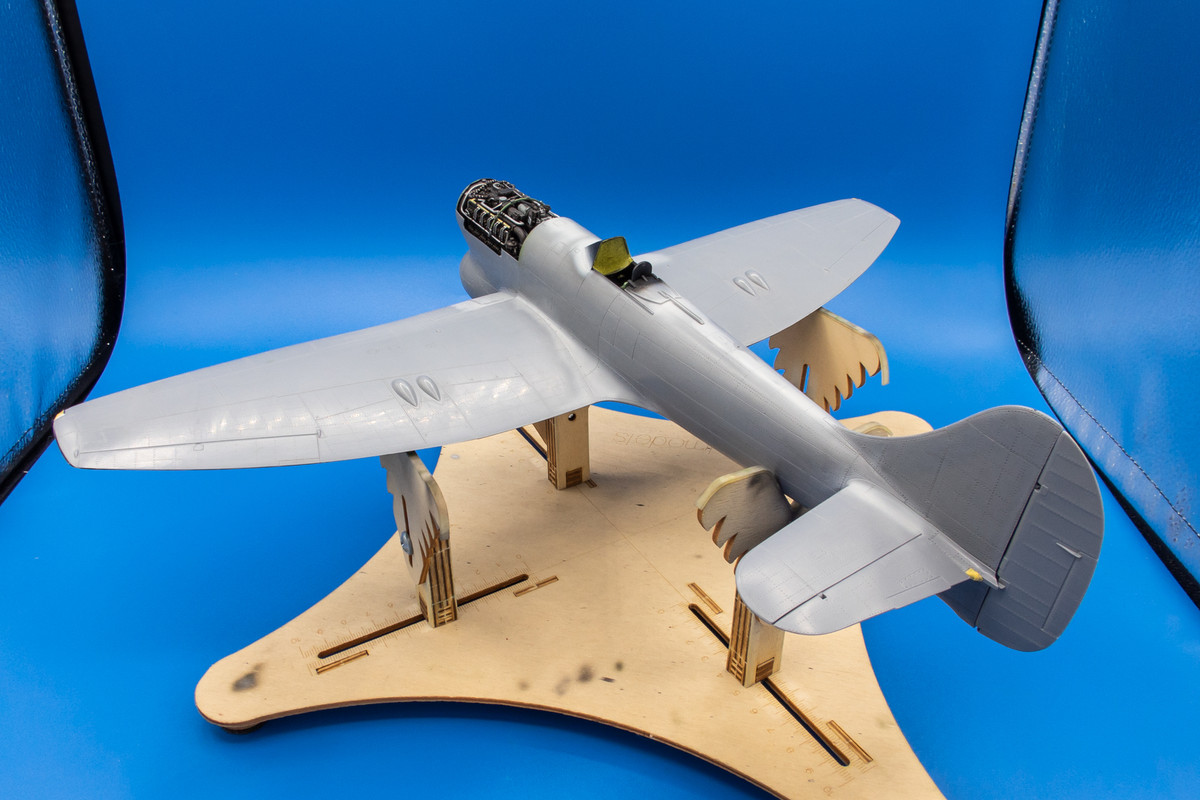
The other side, without glue yet, has less of a step problem but a bigger gap. It actually looks bigger in person than in the pics.
The shape of the Tempest fighter finally takes form!
Re: 1/32 Special Hobby Hawker Tempest Mk V
Posted: Tue May 17, 2022 11:20 pm
by keavdog
That's a big milestone John. Nice work on the port joint. Gaps are easier to deal with than steps. Again - motor looks fantastic.
 Seriously, with all the complexity grabbing the eye it may not need anything else but maybe the smell of burnt oil. It looks real.