Page 27 of 29
Re: Hasegawa 1/32 Fw 190D-9 Brown 4
Posted: Sat Nov 05, 2022 1:51 pm
by mostrich
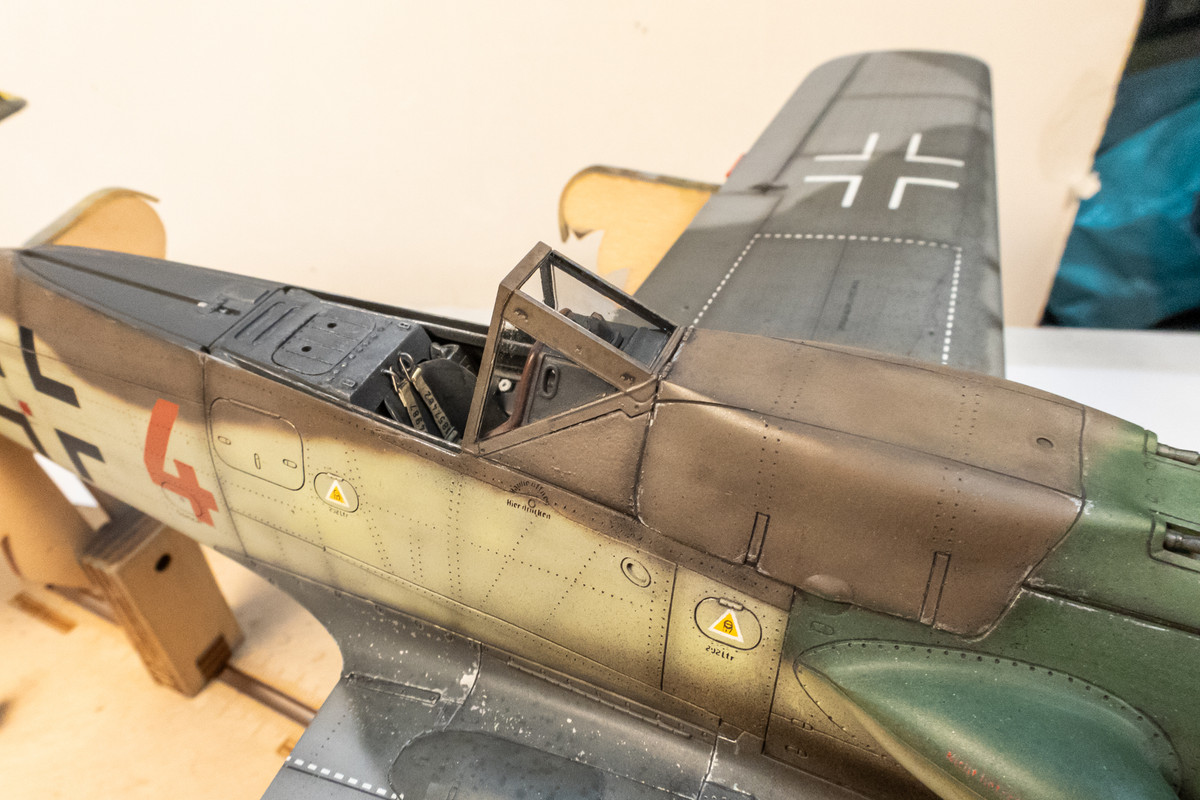
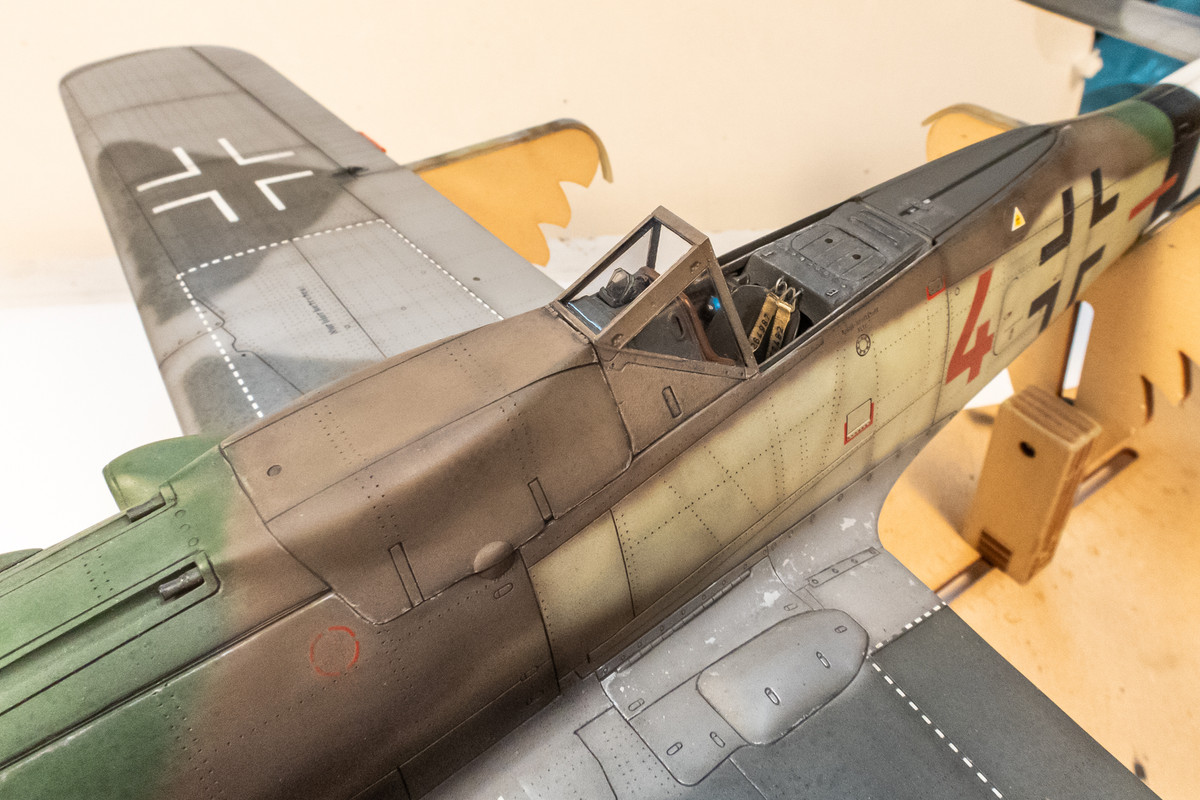
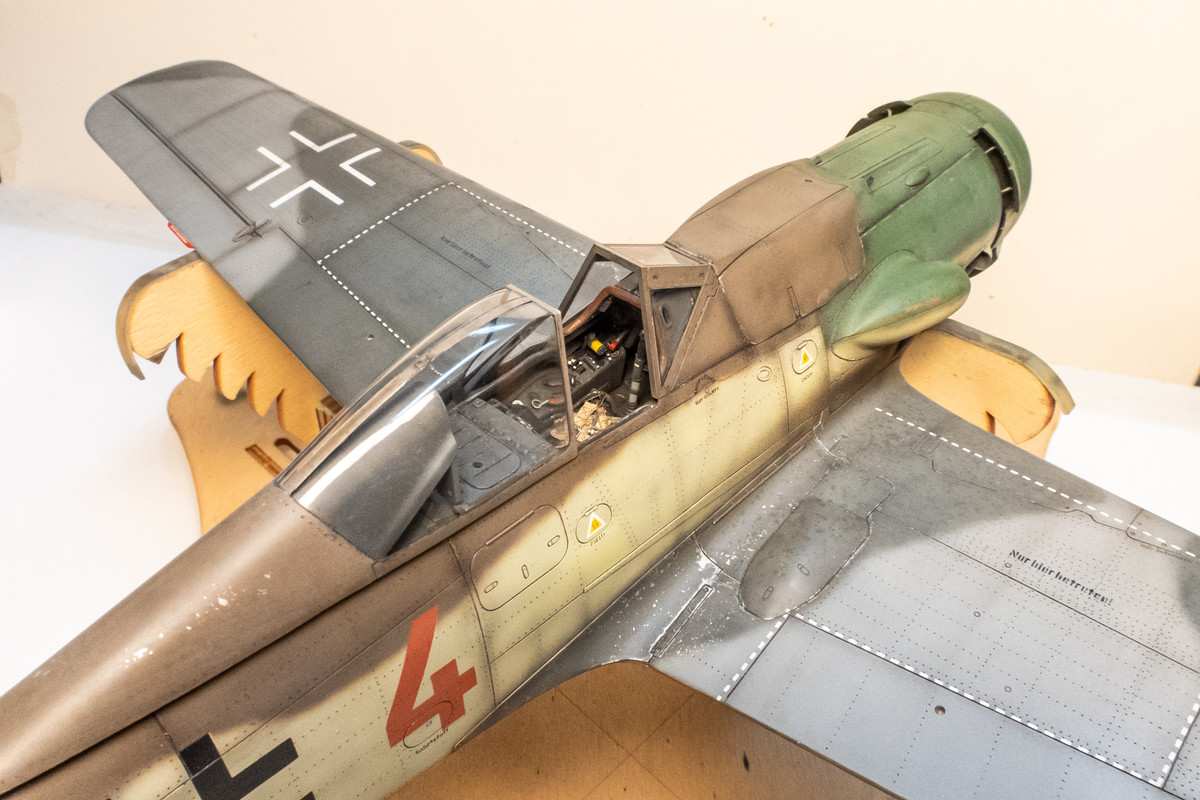
I absolutely love that scheme. The flat coat always works wonders on the contrasts.
Re: Hasegawa 1/32 Fw 190D-9 Brown 4
Posted: Sun Nov 06, 2022 7:44 am
by Floki
Drop tank and post shading is looking really good
Re: Hasegawa 1/32 Fw 190D-9 Brown 4
Posted: Tue Nov 08, 2022 6:44 pm
by Stuart
That drop tank came out amazingly well

Re: Hasegawa 1/32 Fw 190D-9 Brown 4
Posted: Fri Nov 11, 2022 9:55 pm
by jkim
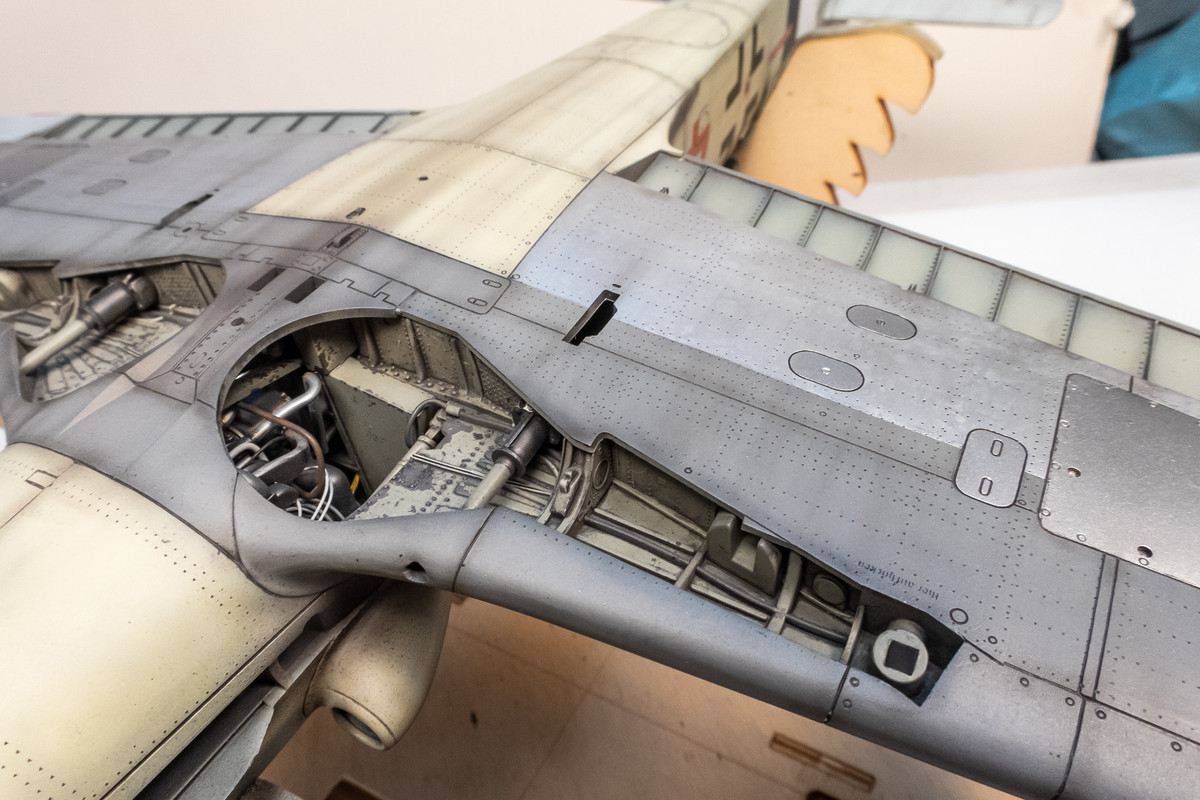
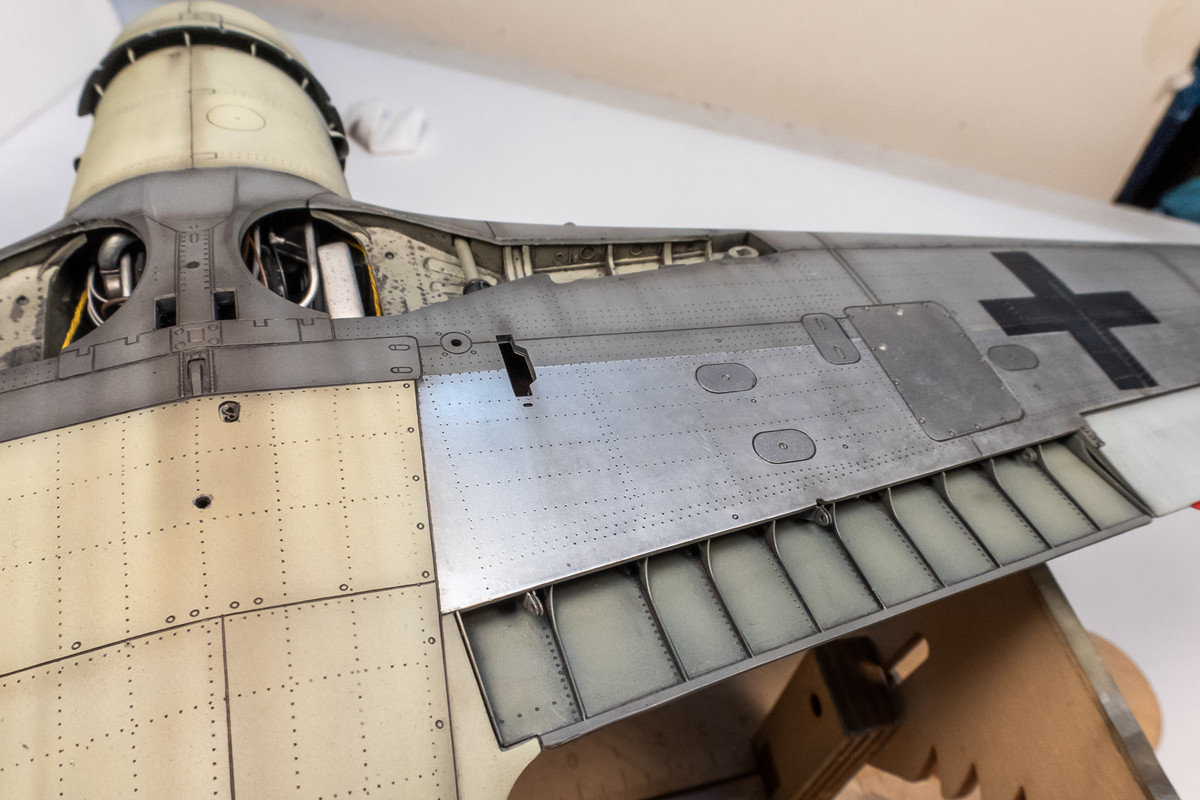
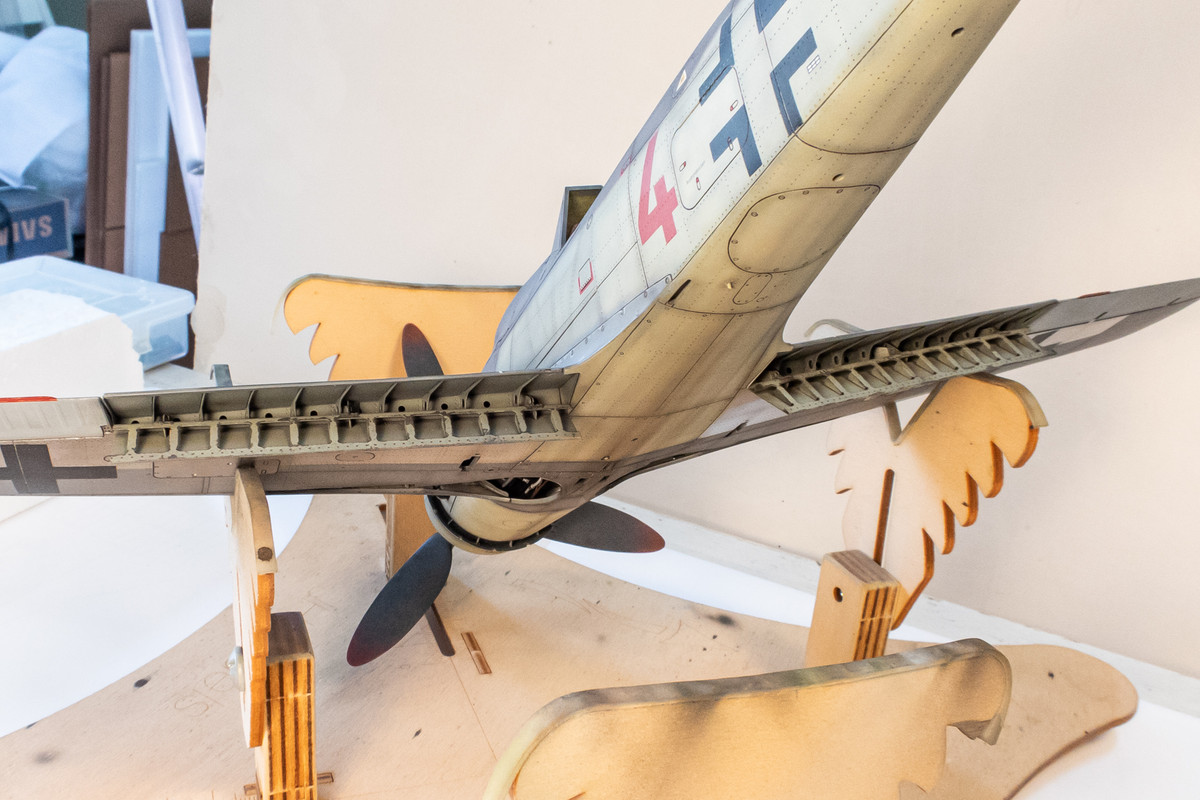
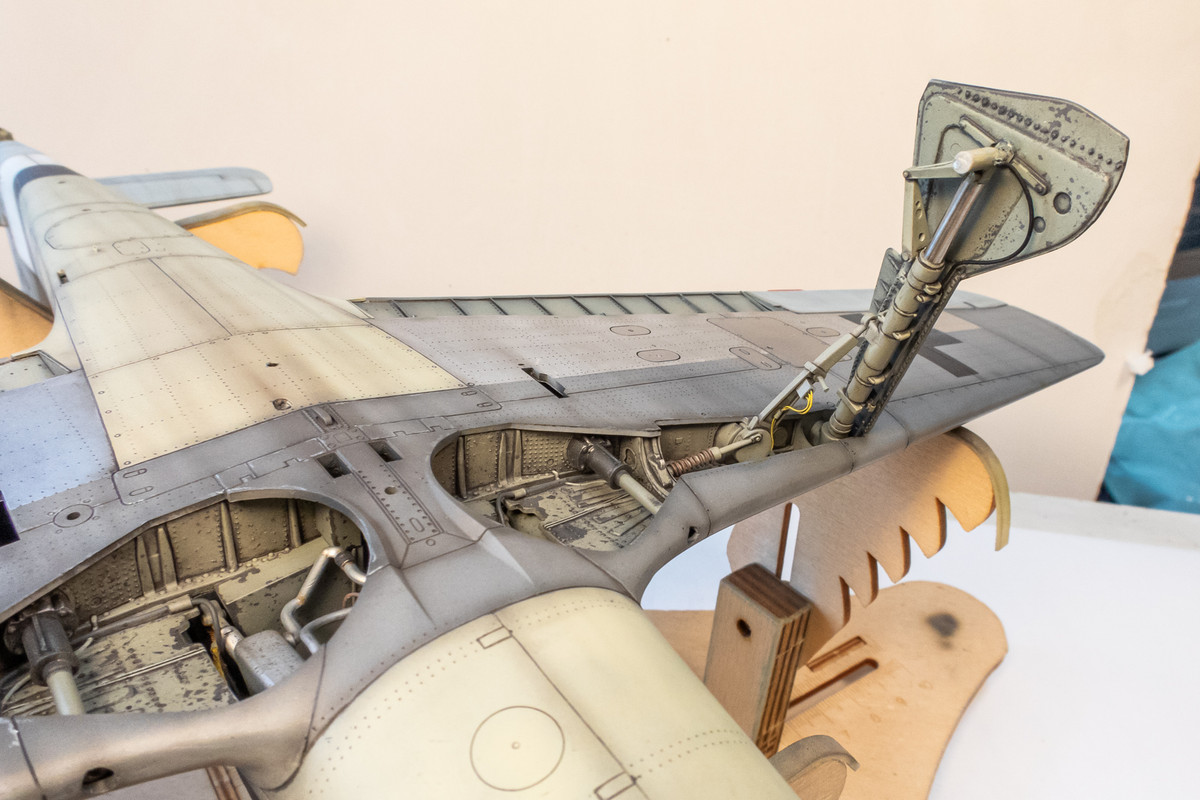
Thanks everyone! The build is creeping along. My mind has been distracted by work and also potential new projects. I may start a new build and leave the Ki-61 build for a little later as I don't feel like riveting right now.
The cowl gun barrels were painted prior to the post shading but I forgot to post it. Because the gun barrels hang from the ceiling of the cowling and separated from the troughs, they are easy to mask off and paint.
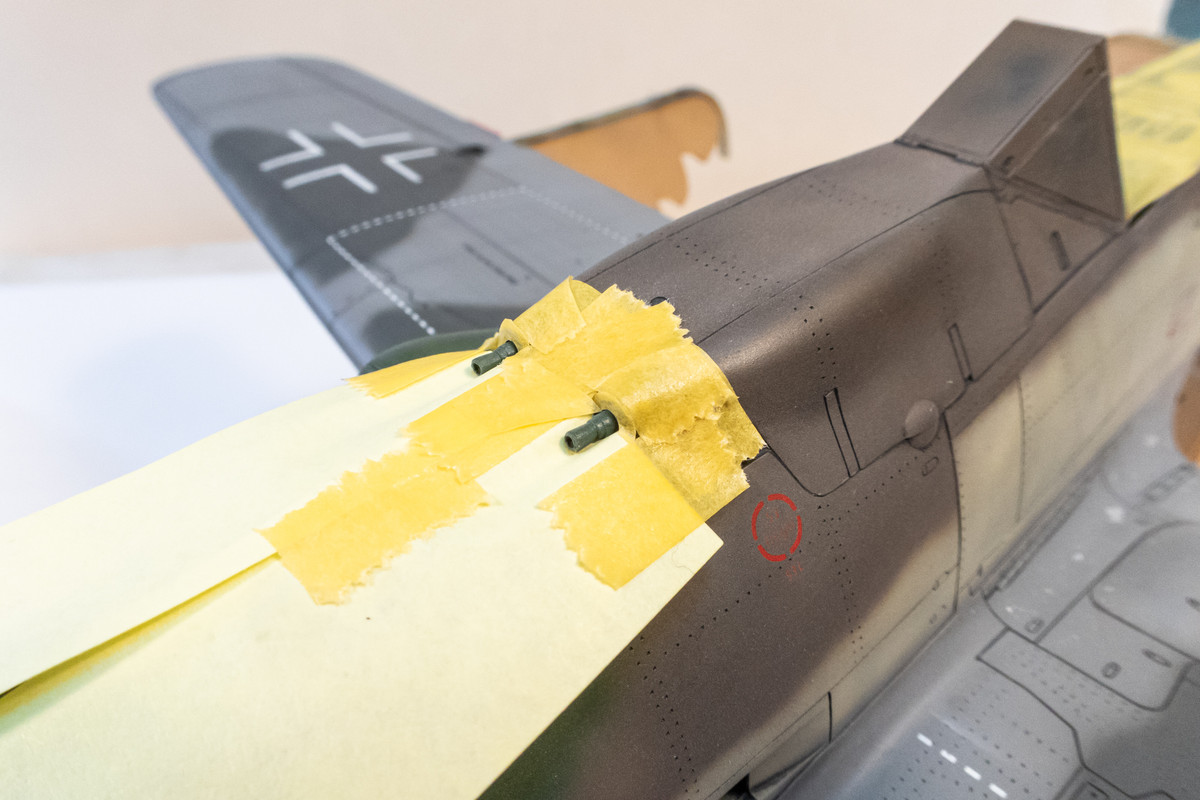
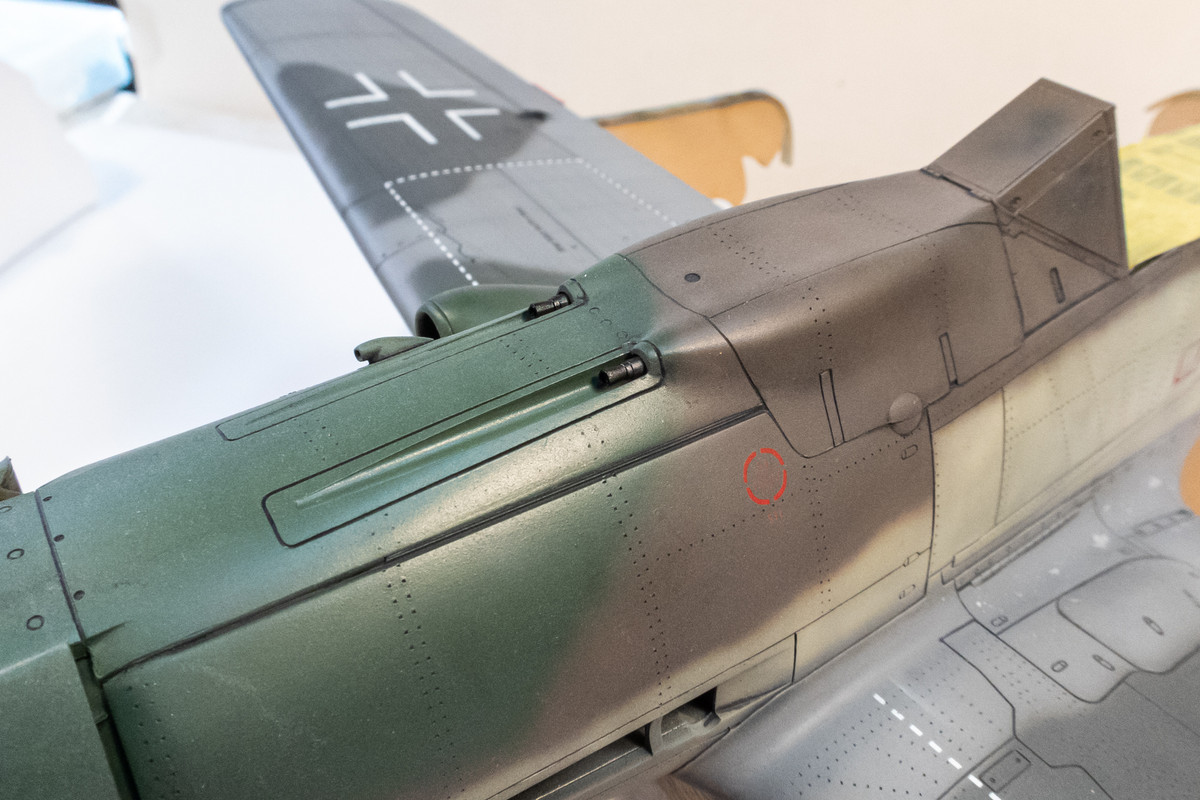
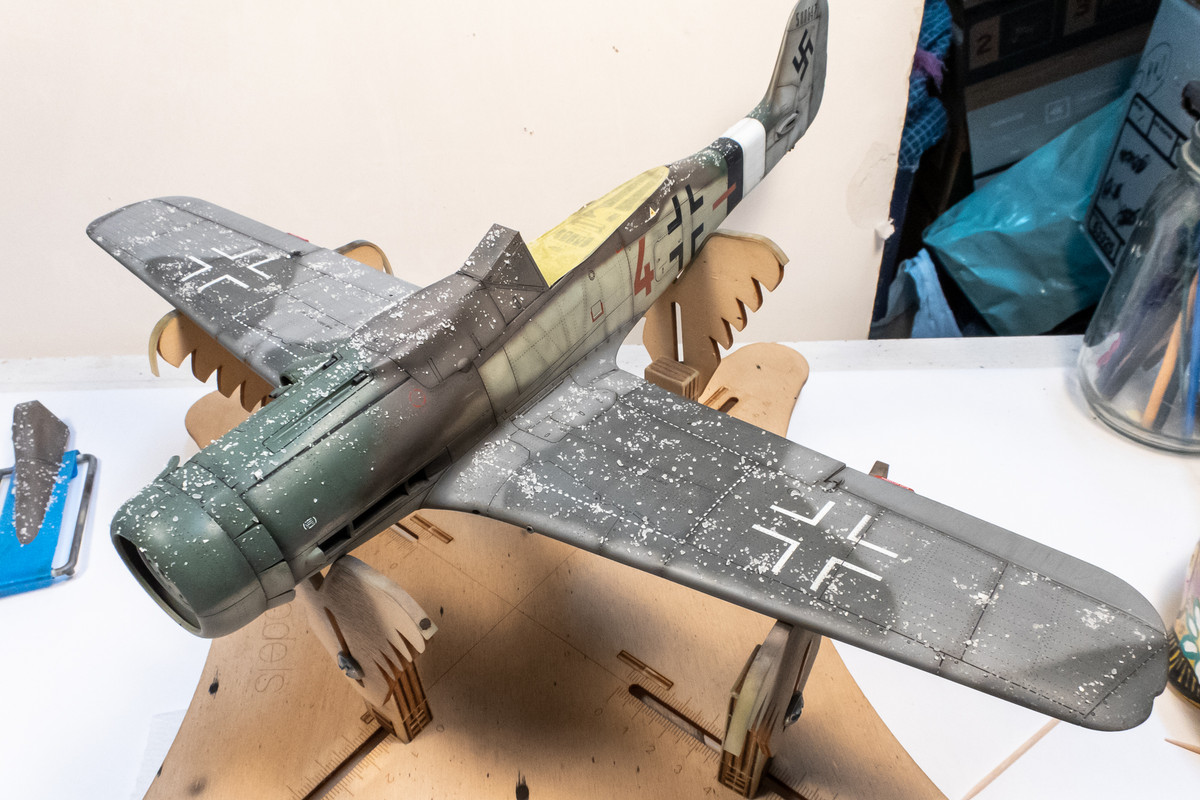
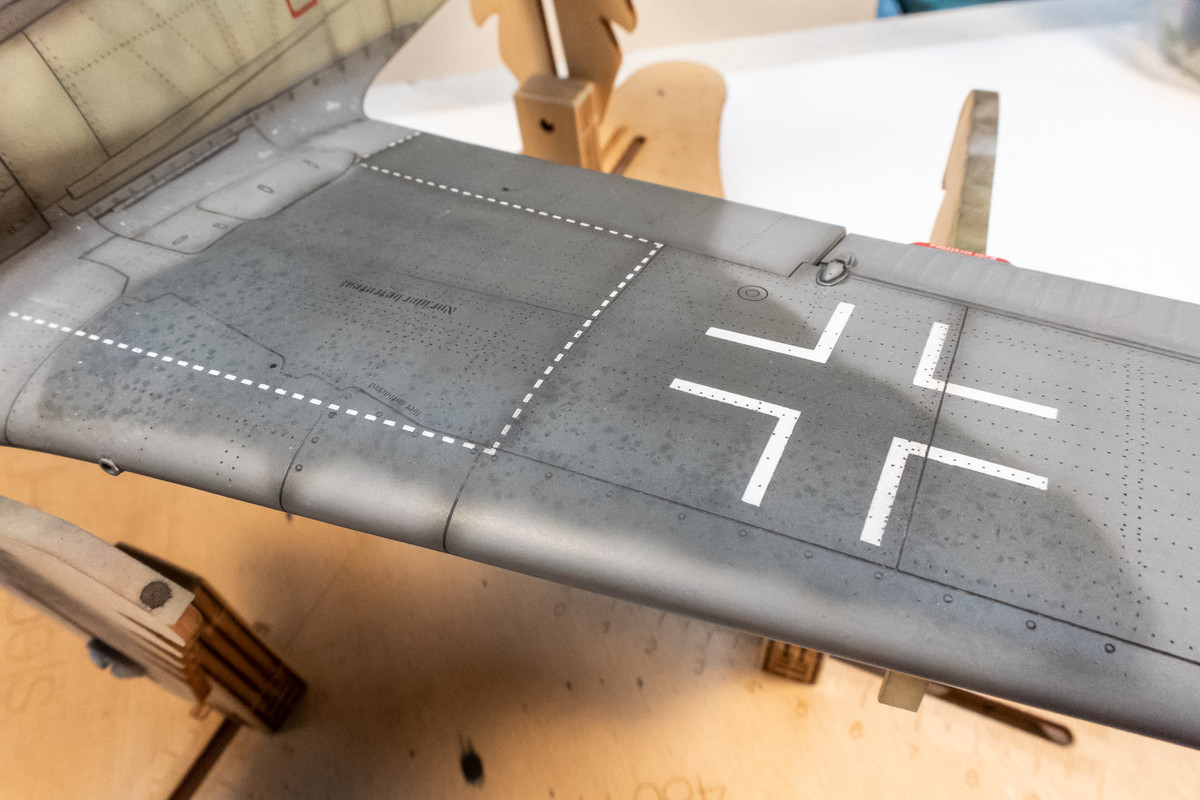
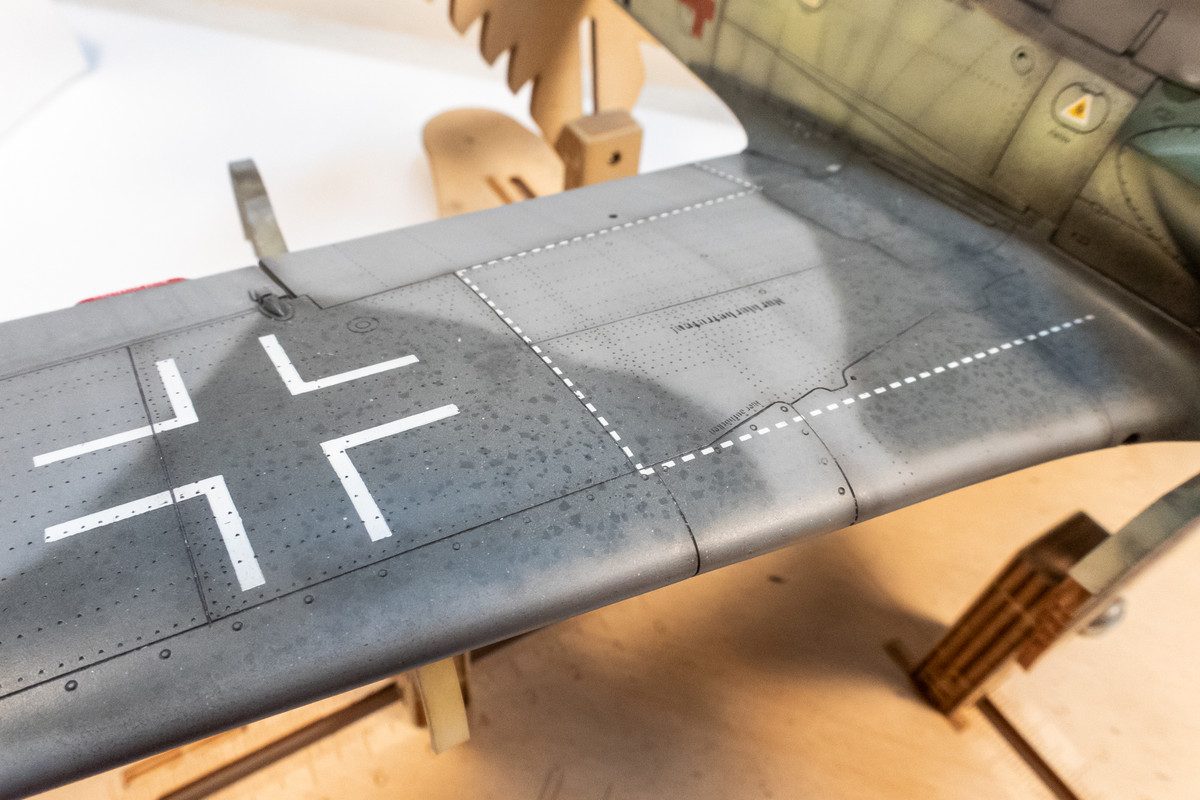
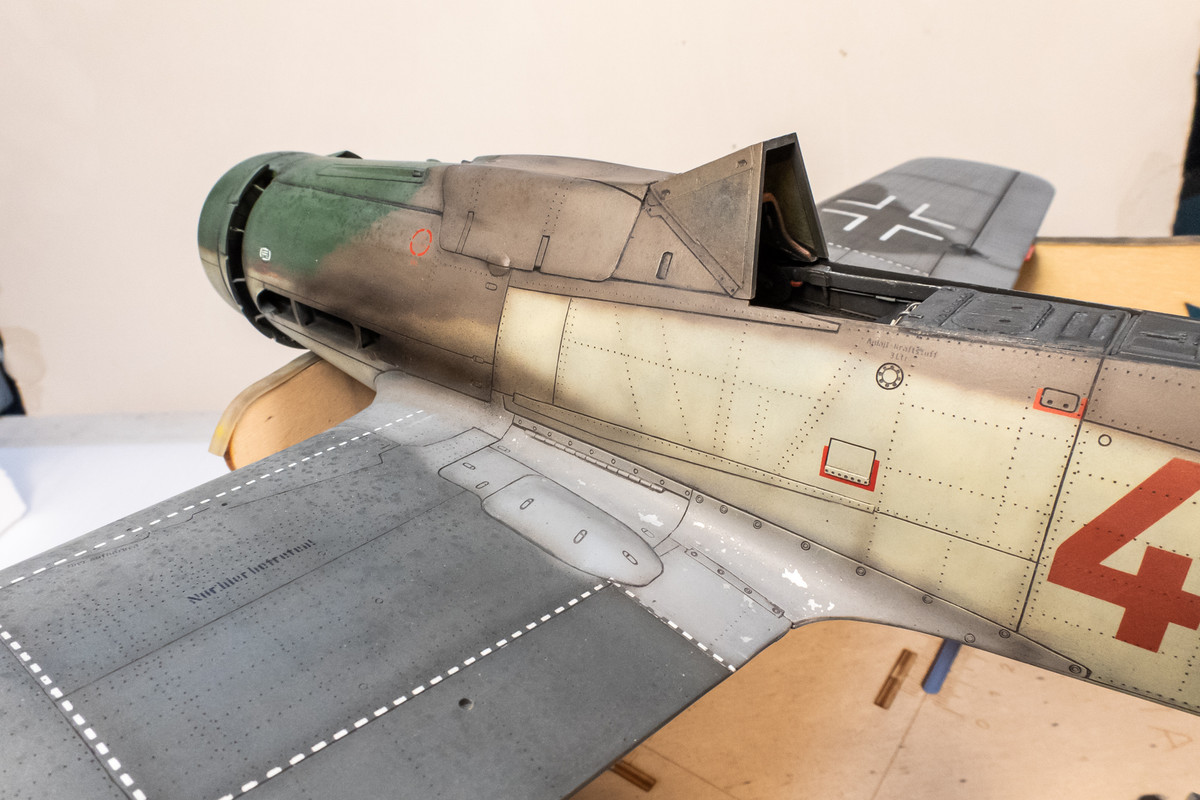
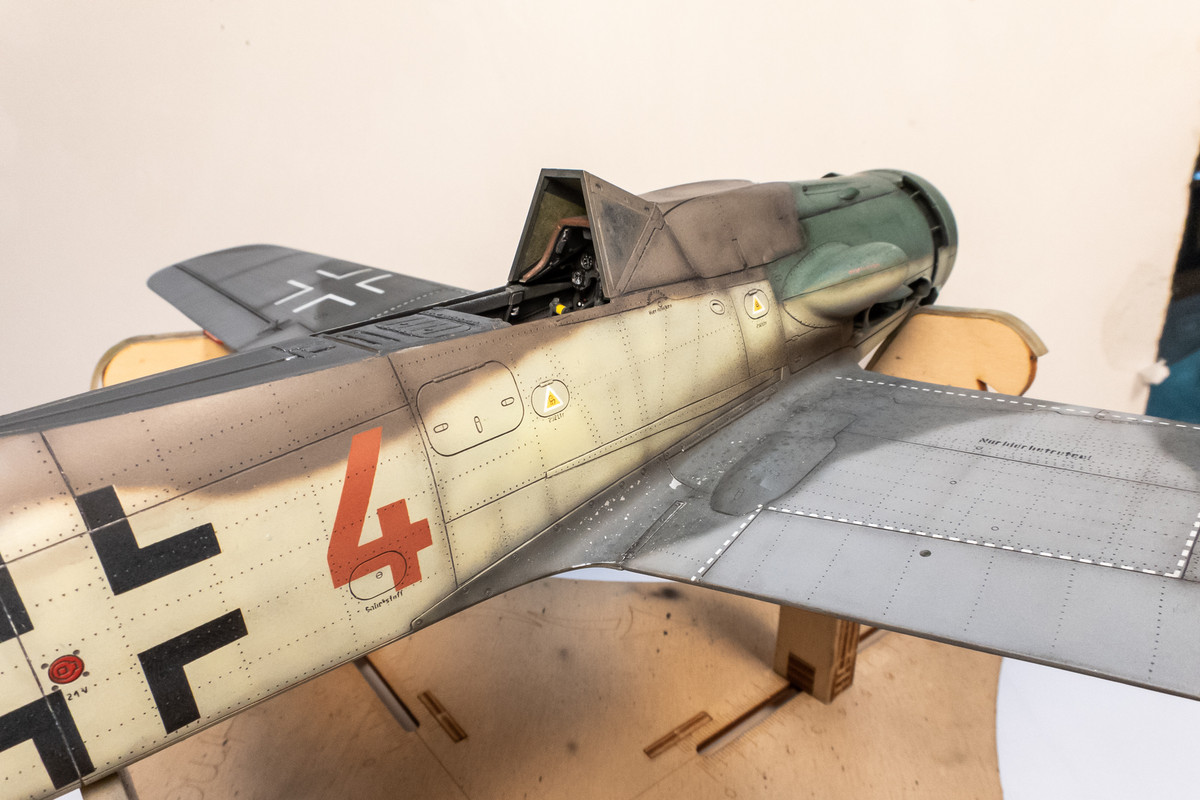
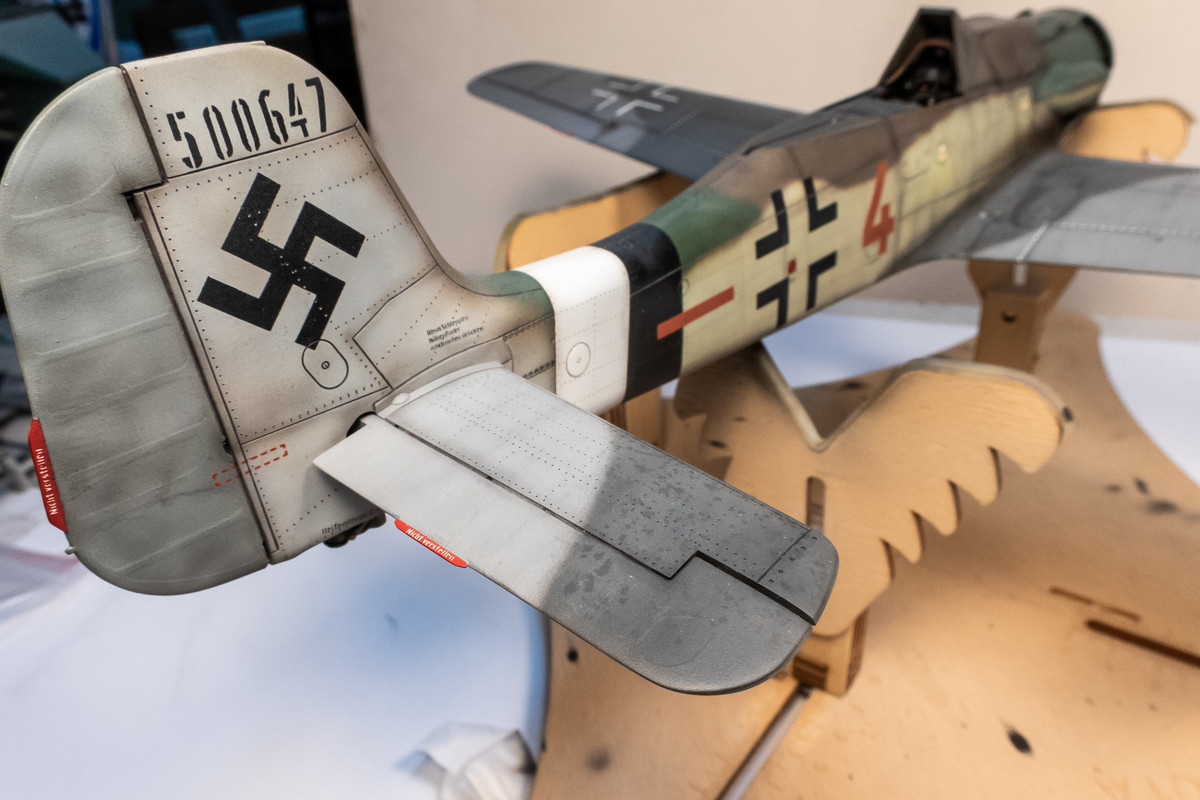
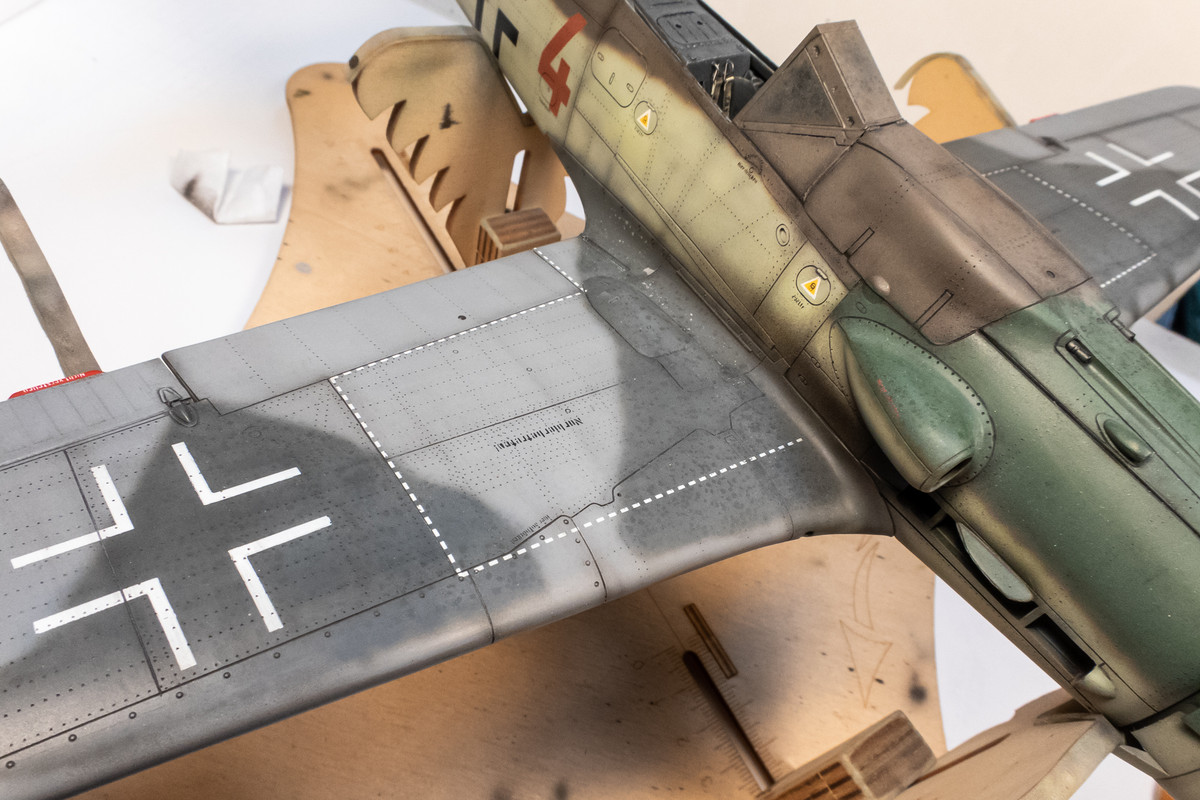
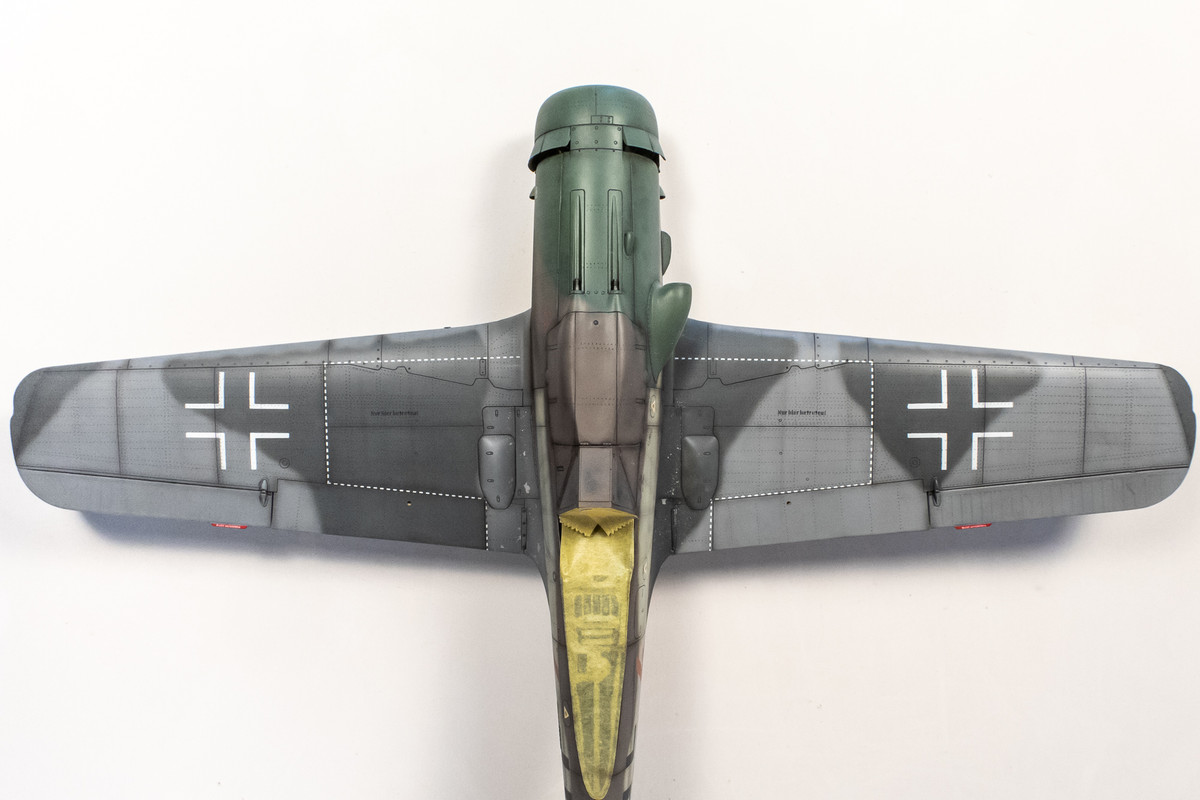
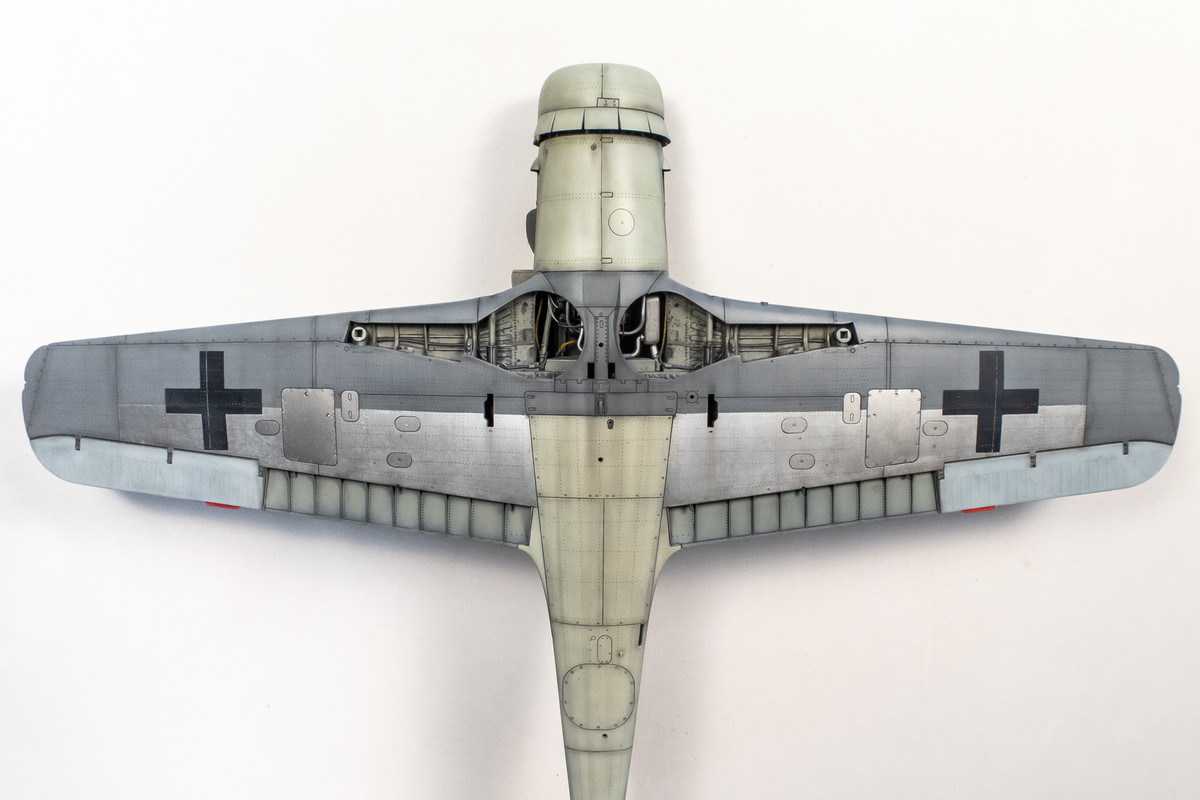
Another round of post shading was done and this is what Brown 4 looks like prior to the salt fading stage.
Re: Hasegawa 1/32 Fw 190D-9 Brown 4
Posted: Sat Nov 12, 2022 1:16 am
by jkim
Re: Hasegawa 1/32 Fw 190D-9 Brown 4
Posted: Sat Nov 12, 2022 11:34 pm
by jkim
Re: Hasegawa 1/32 Fw 190D-9 Brown 4
Posted: Sun Nov 13, 2022 6:37 am
by tempestjohnny
Re: Hasegawa 1/32 Fw 190D-9 Brown 4
Posted: Sun Nov 13, 2022 8:57 am
by TheMongoose
Nice tips on the salt fading. Thanks for that! Beautiful build across the board. That paint just looks perfect in every close up!
Re: Hasegawa 1/32 Fw 190D-9 Brown 4
Posted: Sun Nov 13, 2022 12:15 pm
by BlackSheep214
Re: Hasegawa 1/32 Fw 190D-9 Brown 4
Posted: Mon Nov 14, 2022 2:59 pm
by jkim
Thanks guys!
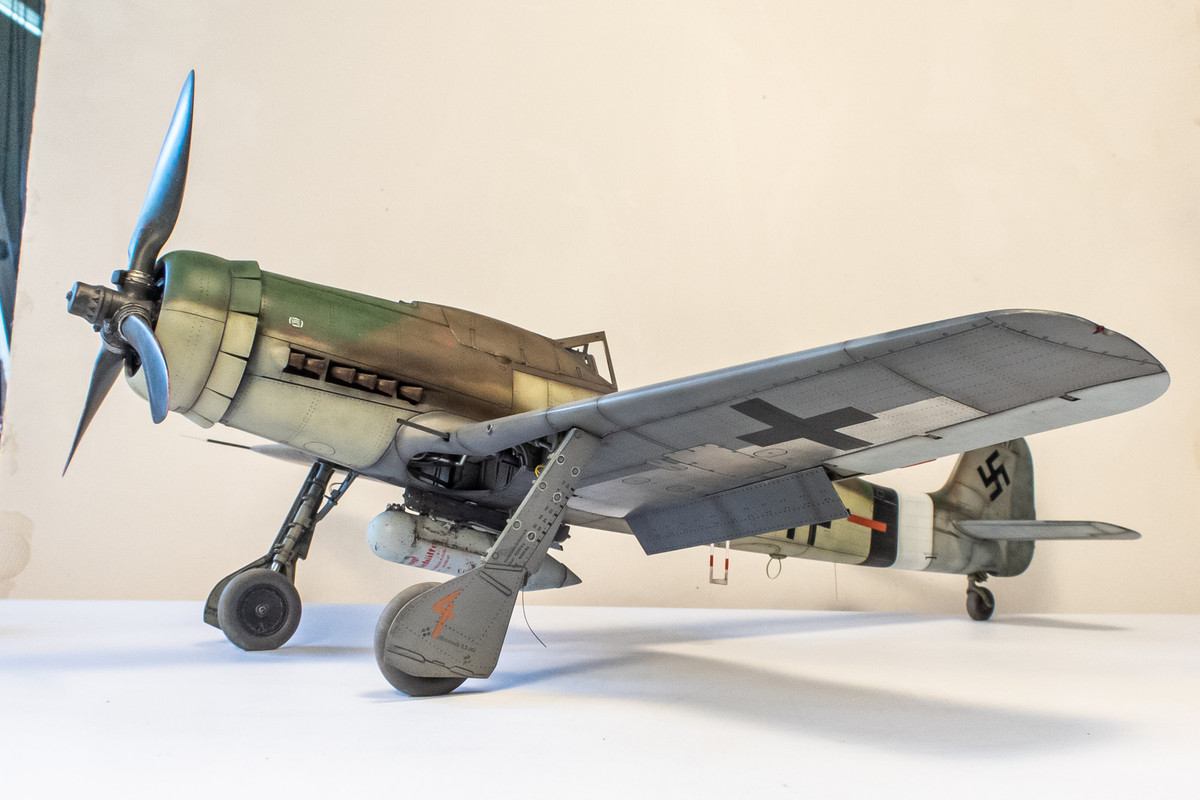
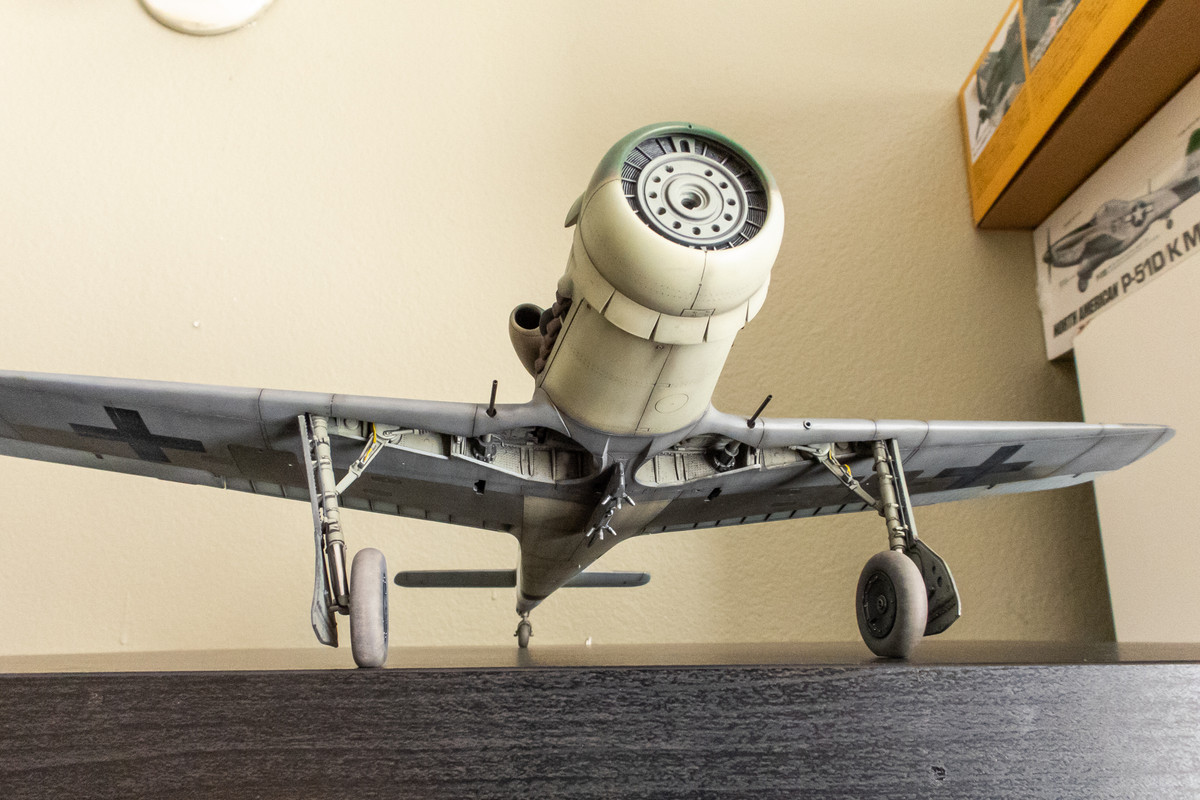
Last bits are being added onto the model. The landing gear legs have been glued into place.
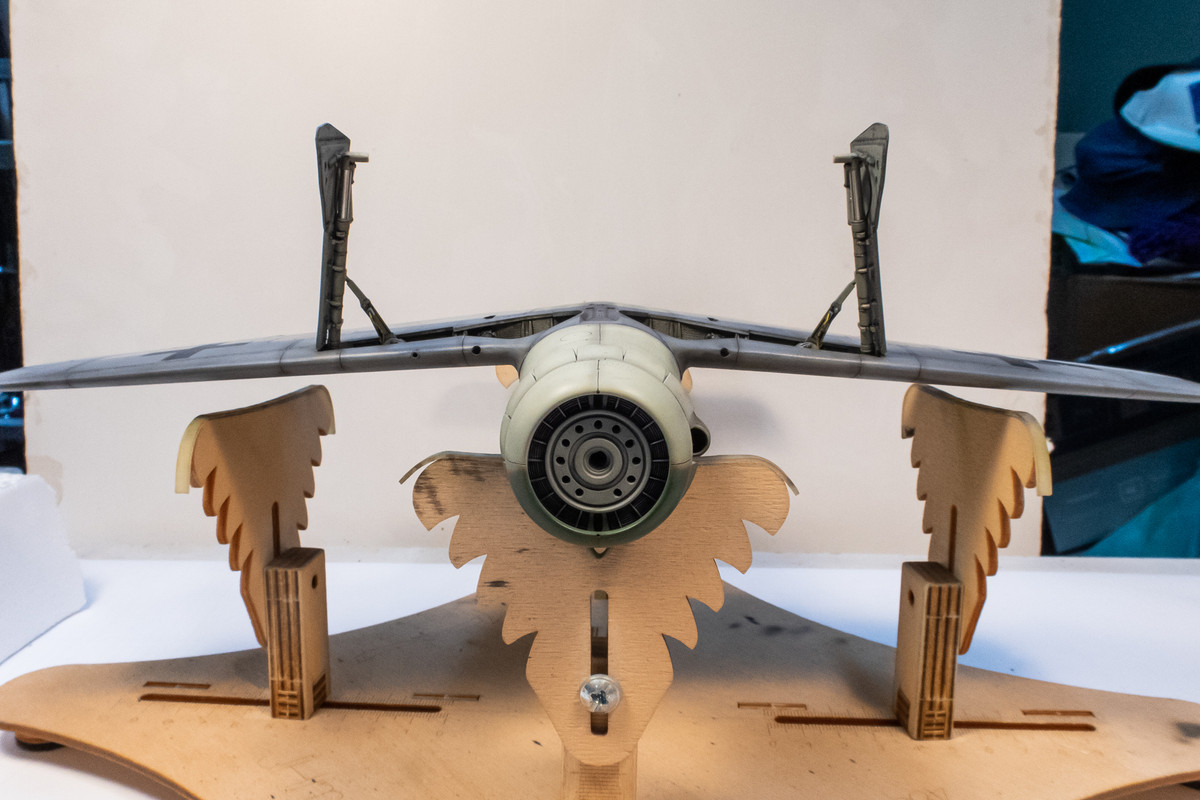
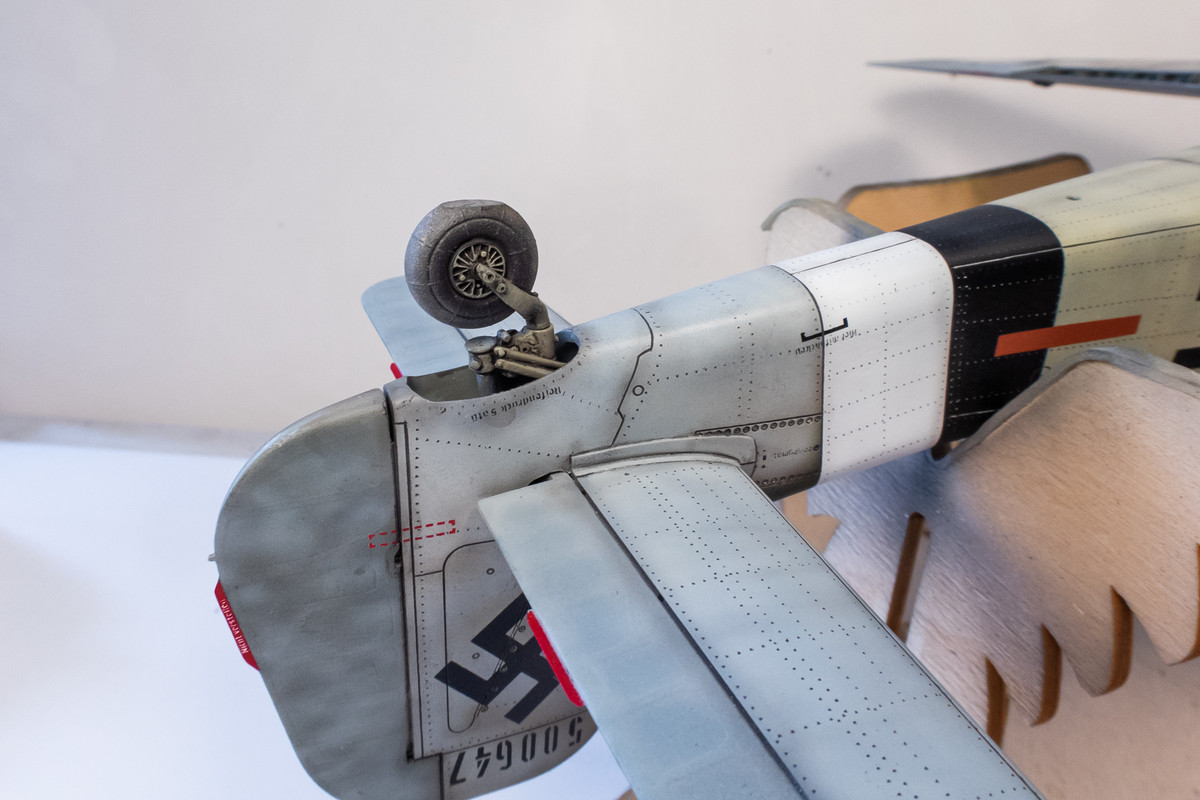
The tail wheel also.
I'm using JB Kwik Weld 2-part epoxy to attach the wheels to the main landing gear legs. It's thickish like toothpaste and starts to hard in about 5 minutes, giving me time to orient the flat spots on the tires correctly.
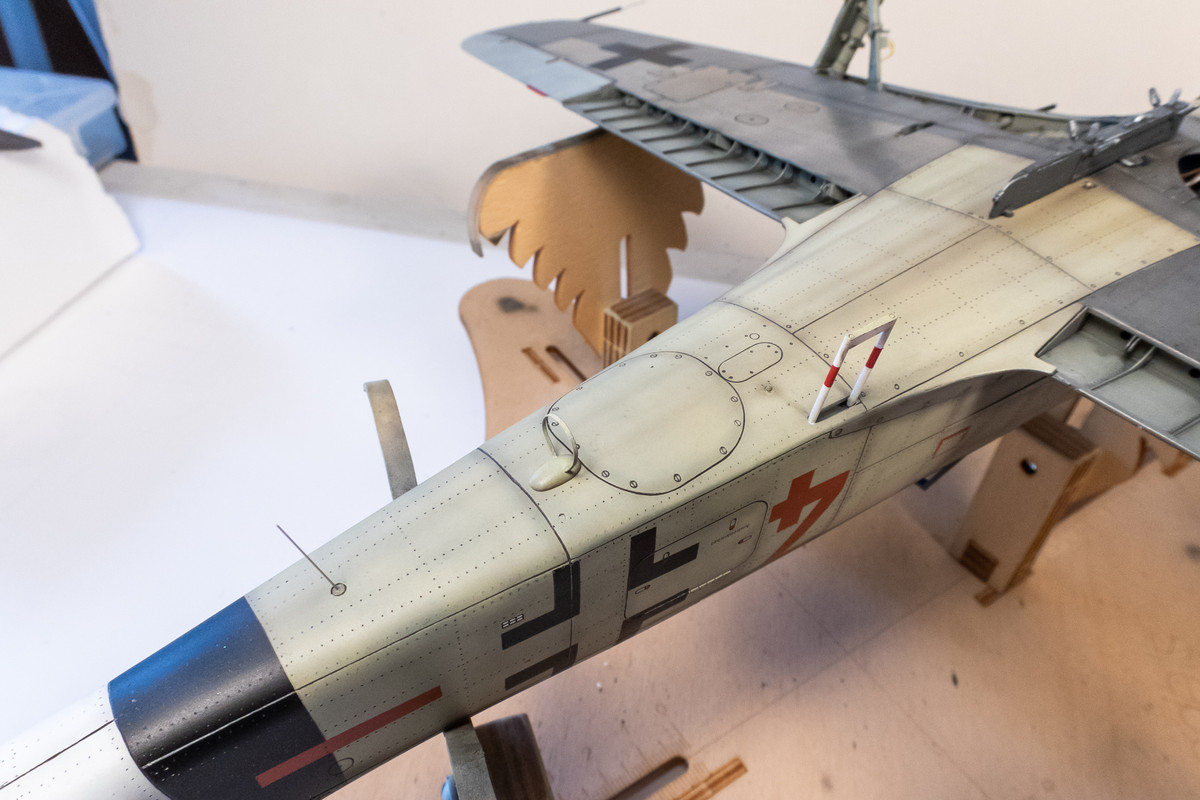
The little IFF antenna, the DF loop antenna and the boarding ladder are attached now.
The ETC rack and drop tank are held in place with friction so I'm not going to glue them in place.
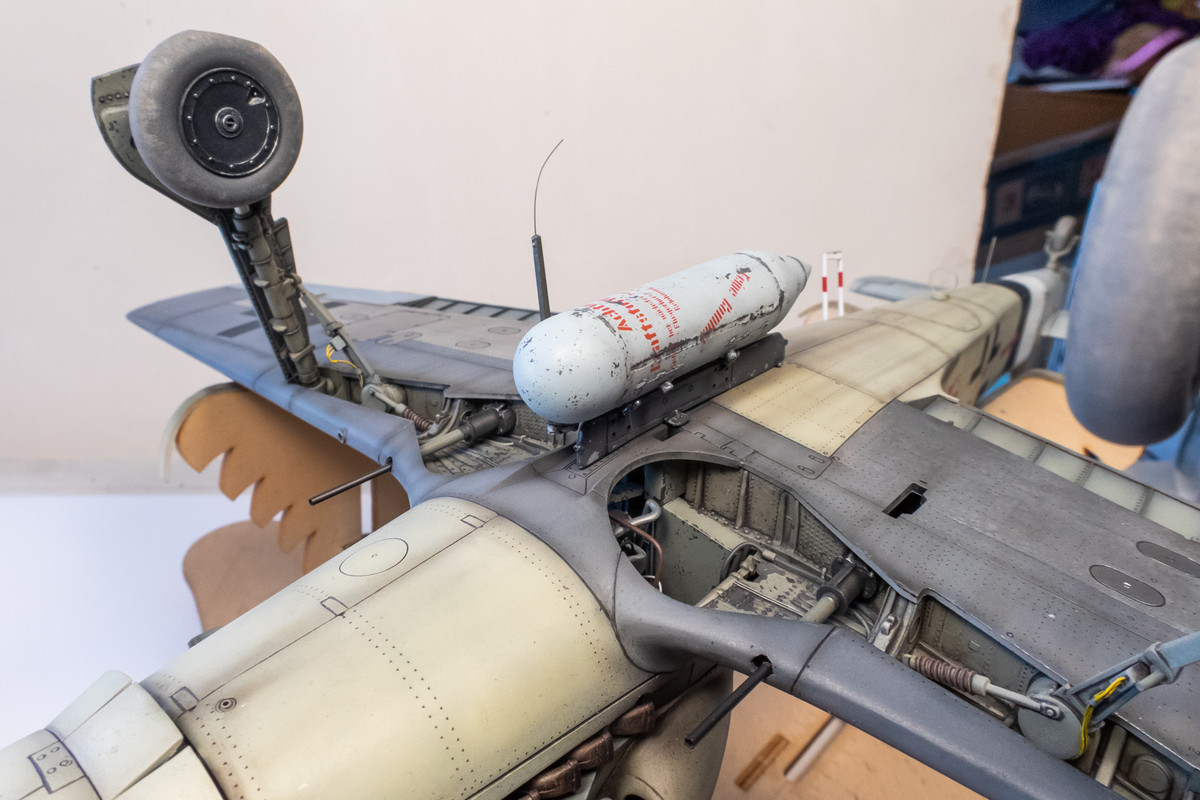
She's nearing the finish line!