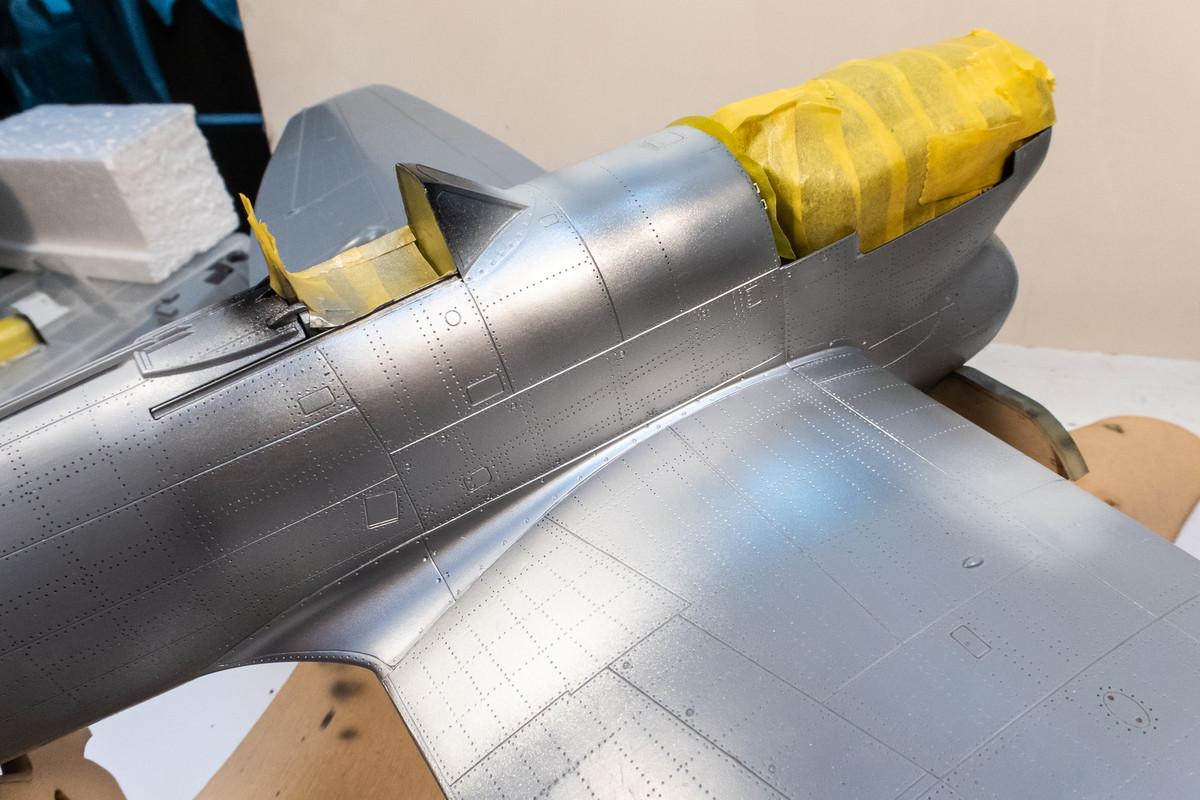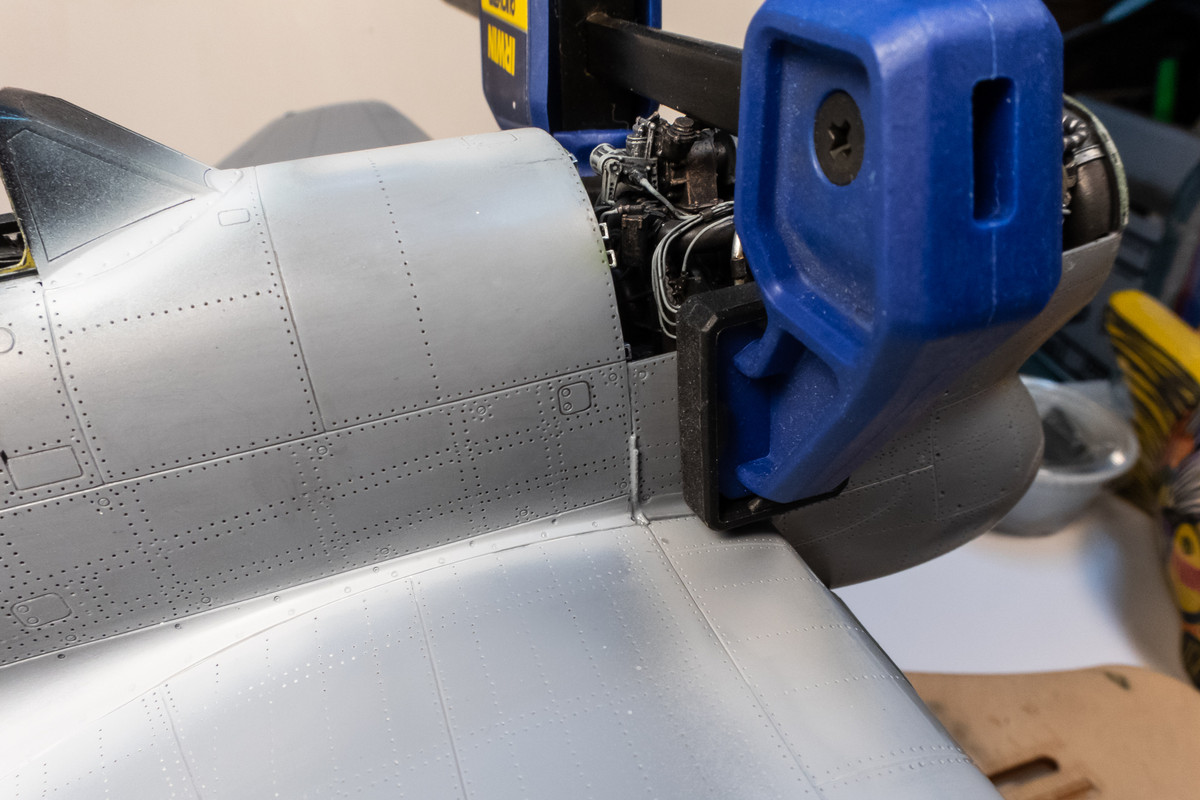
Thanks John! Yeah, it's pretty big milestone for this build but now that I've reached it, I'm gonna shift into neutral and do a little coasting. The starboard side fuselage/nose joint was strengthened by some stretched sprue stuff into the gap while the clamp hopefully held the two mating surfaces level.
It looks like I got a good joint. I'm going to let this dry for a while before I start to clean up the joint.
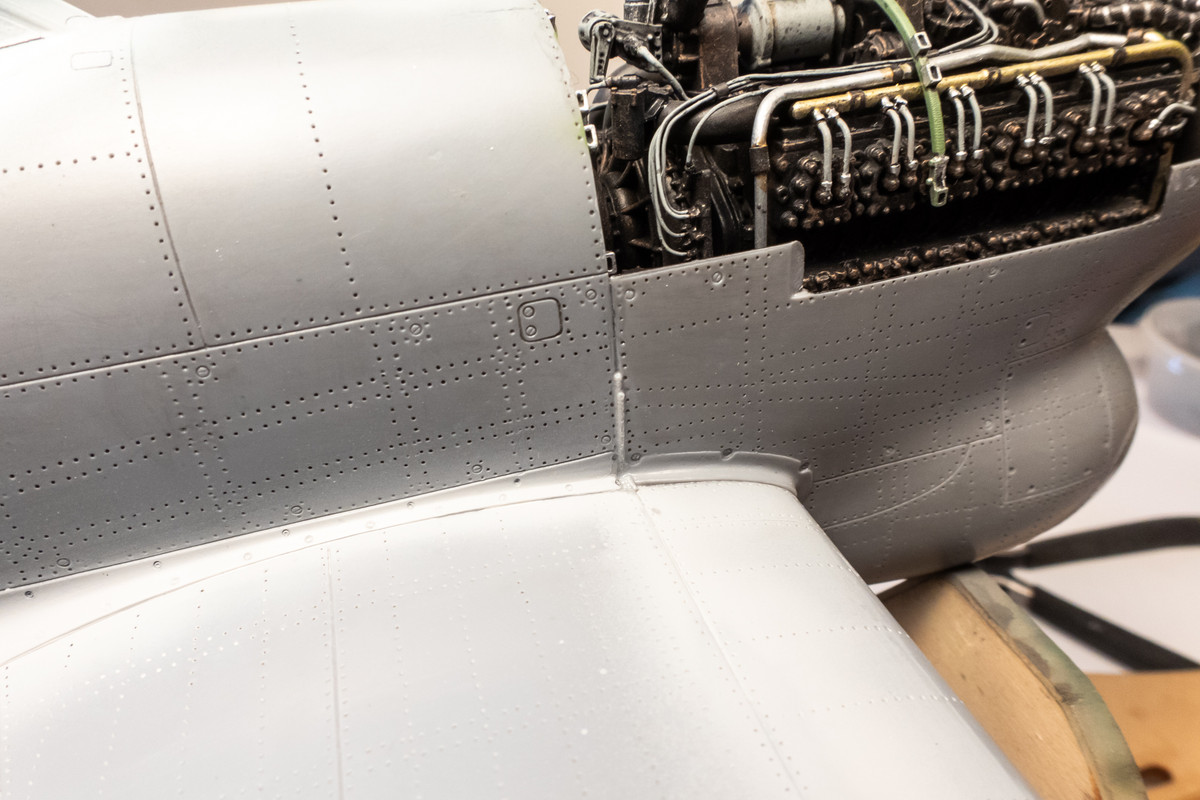
The bottom has some minor joint issues too so it will be a few days before I can start preparing for the painting stage.
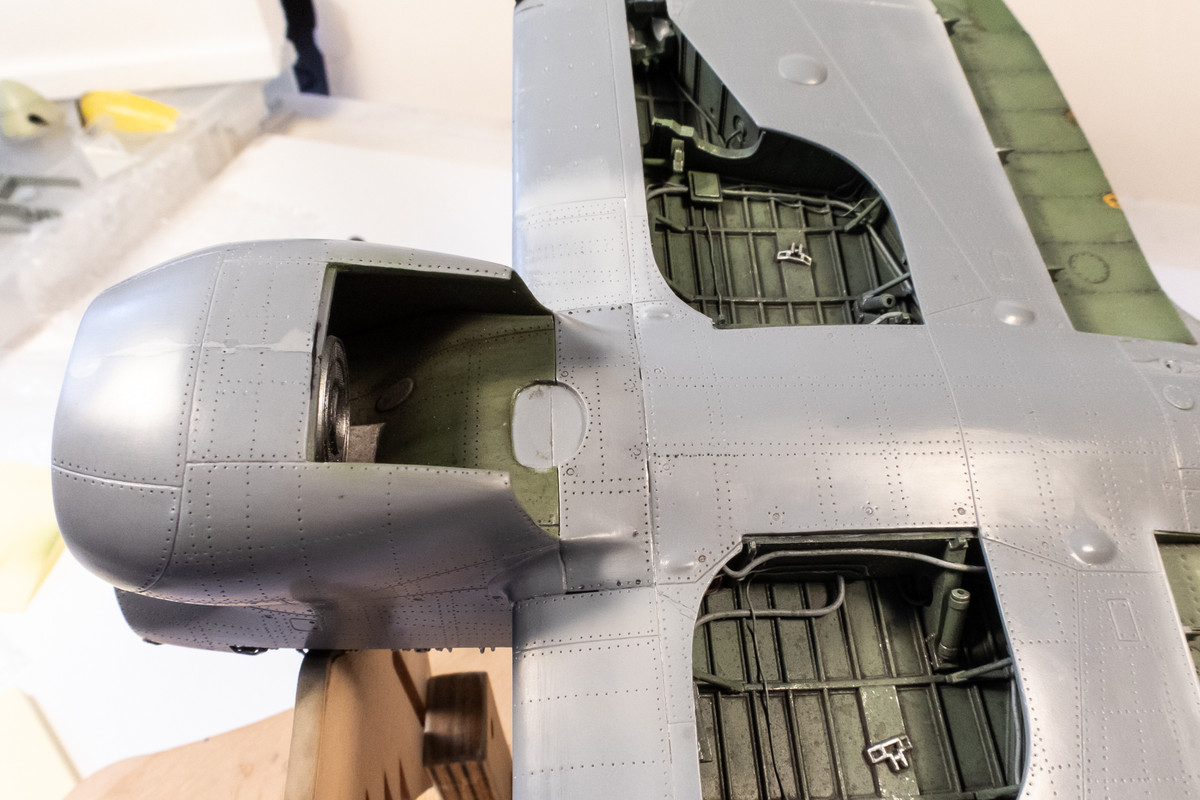
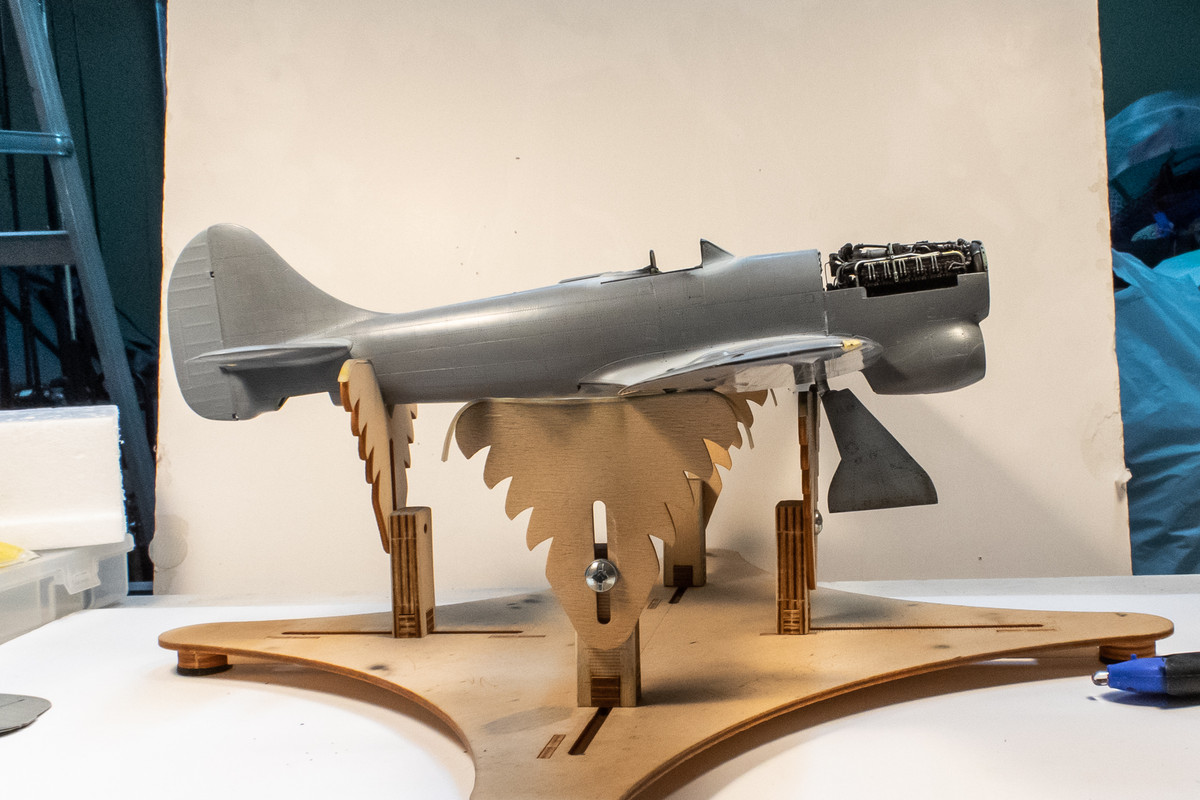
With the nose permanently mounted on the fuselage, I wanted to double check the landing gear orientation. The pin on one of the landing gear legs has broken off so I can only dry fit one of them but it should be enough. Again, my rough rule-of-thumb for the forward rake of the landing gear is if they bottom edge of the landing gear cover is parallel to the exhaust pipes. I want to avoid the "tippy toe" look on some of the Tempest builds I've seen.
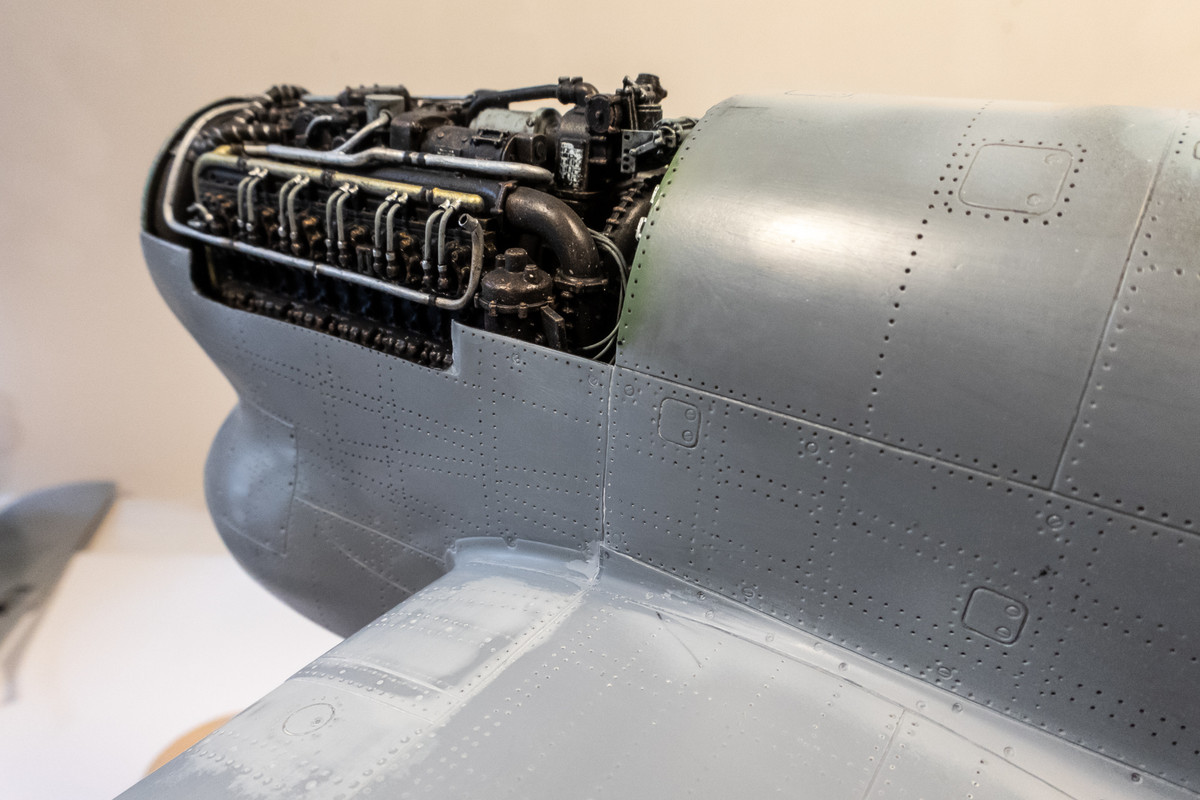
I've just about worked out the nose joints on the fuselage sides. It was difficult to hold onto the model without touching the engine and I inadvertently knocked off some parts. Nothing broken so no worries... I'll probably leave those off until the end.
I still need to clean up the nose joint along the bottom. But once that is done, I can mask the openings and start the painting process.
Thanks Lyle! That's always the goal... making all of the glue seams either (a) disappear or (b) incorporate them into a panel line. B is much harder than A and it usually takes me a few iterations on each joint. Since Mr Surfacer takes so long to dry and shrinks too, these iterations usually spread out over days instead of hours. That's one of the reasons I started the Brown 4 build... so my patience would not be tested as much.
Yes, the intent was to leave the engine exposed. Actually, I don't have a choice as the the engine cowling parts do not fit around the engine. To account for the thickness of the plastic/resin, you'd have to reduce the scale of the engine in order for covers to fit and Special Hobby has not done that. I prefer this approach. Make the engine to scale and assume the engine covers will be displayed somewhere off of the aircraft.
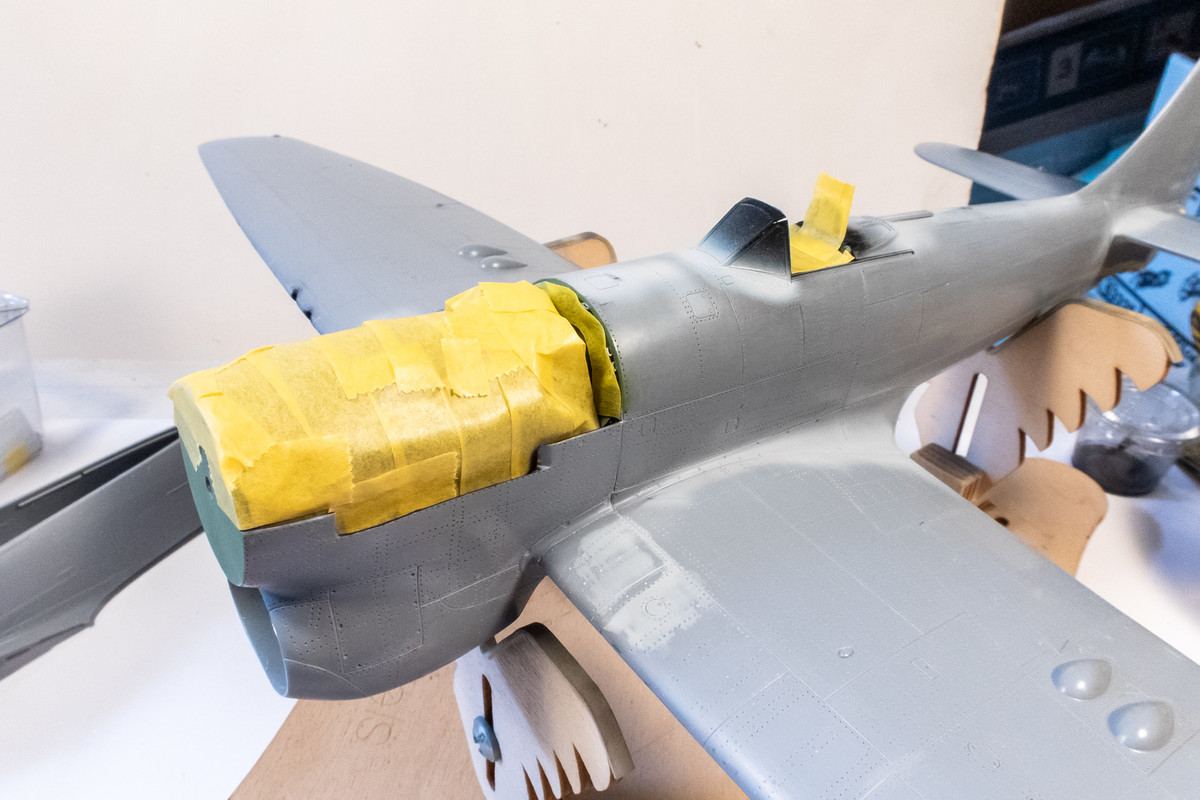
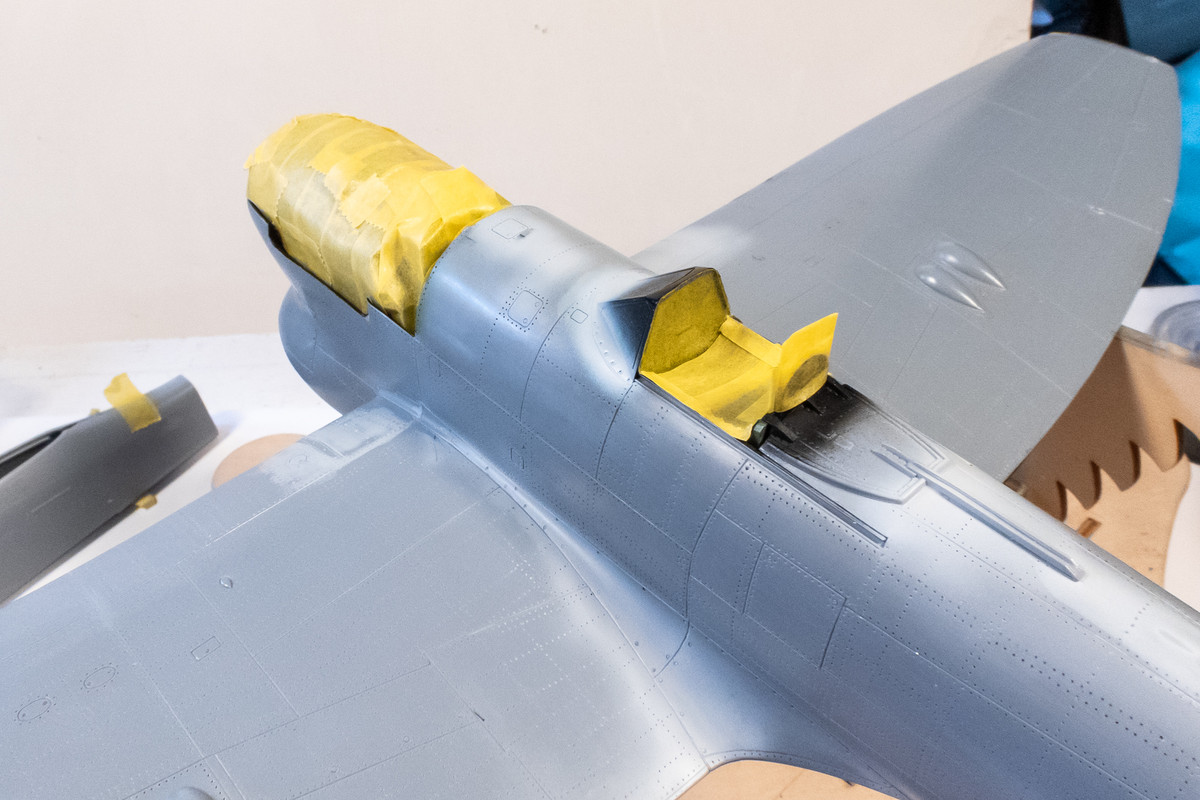
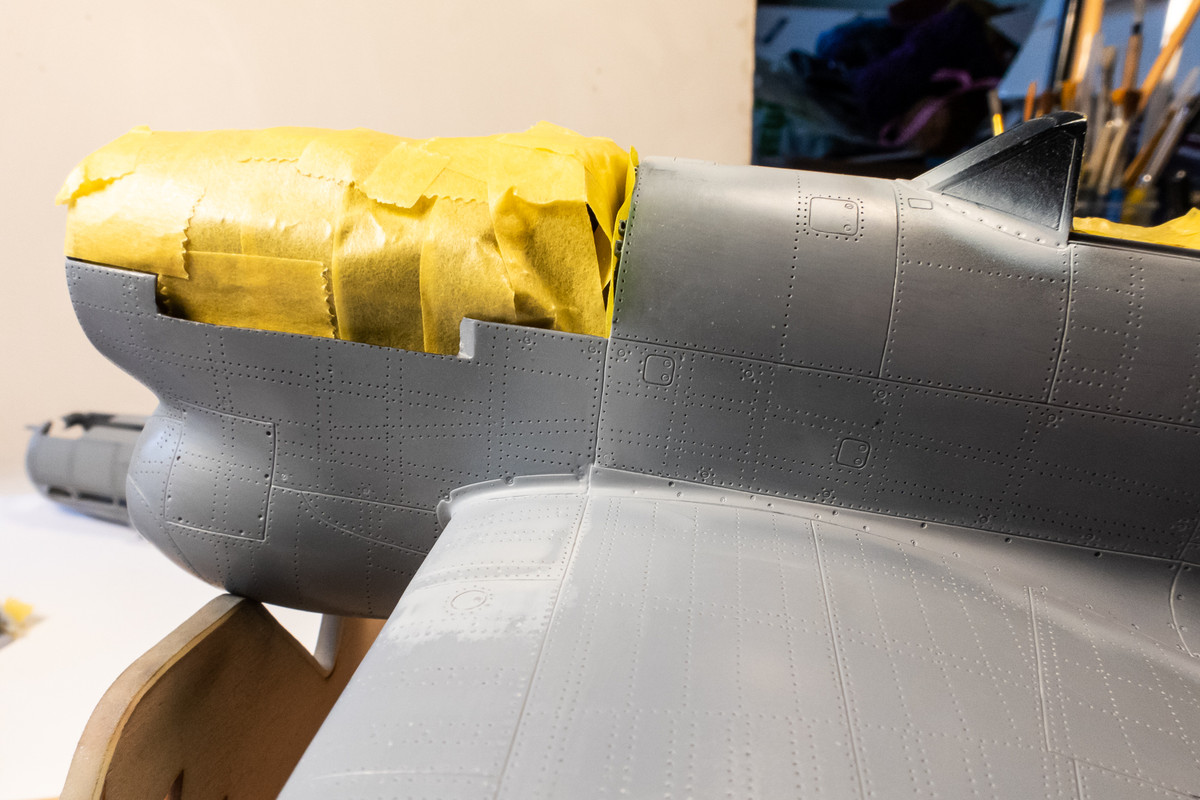
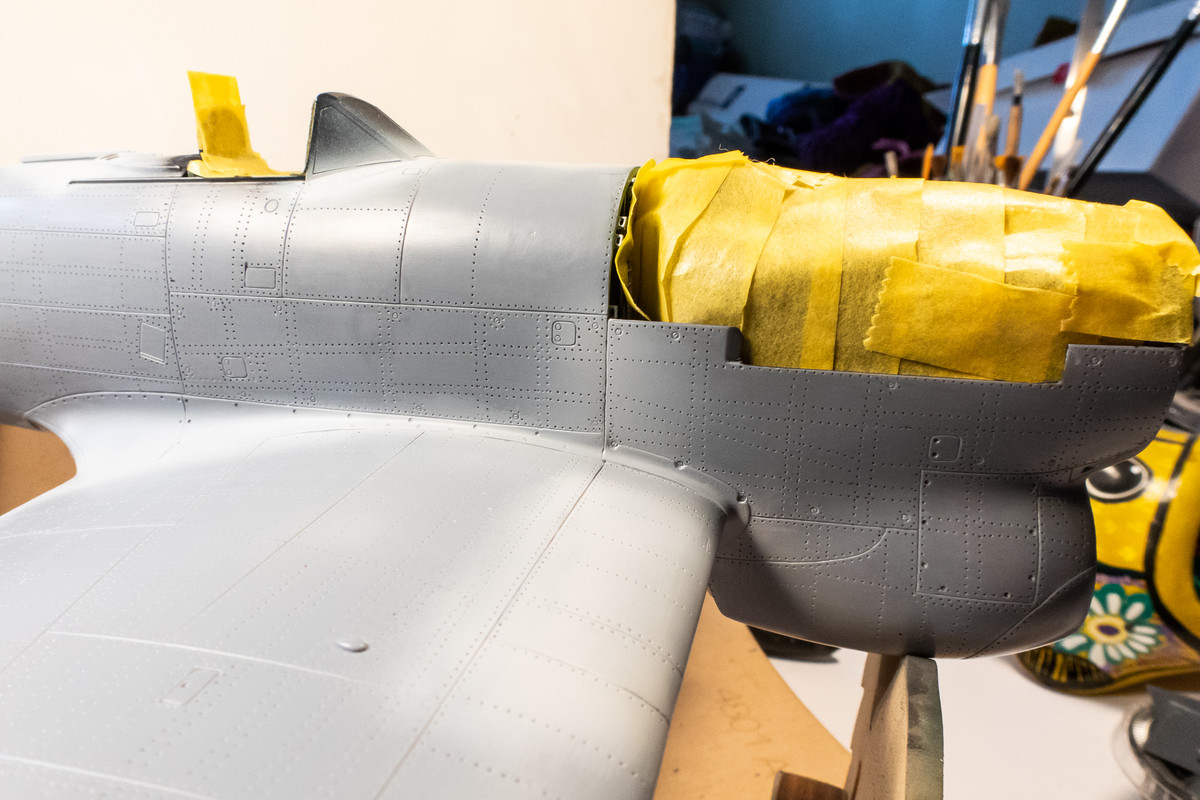
Slowly approaching the painting stage. I've masked the cockpit and engine off and now I have to do the same for the radiator outlet and the wheel wells.
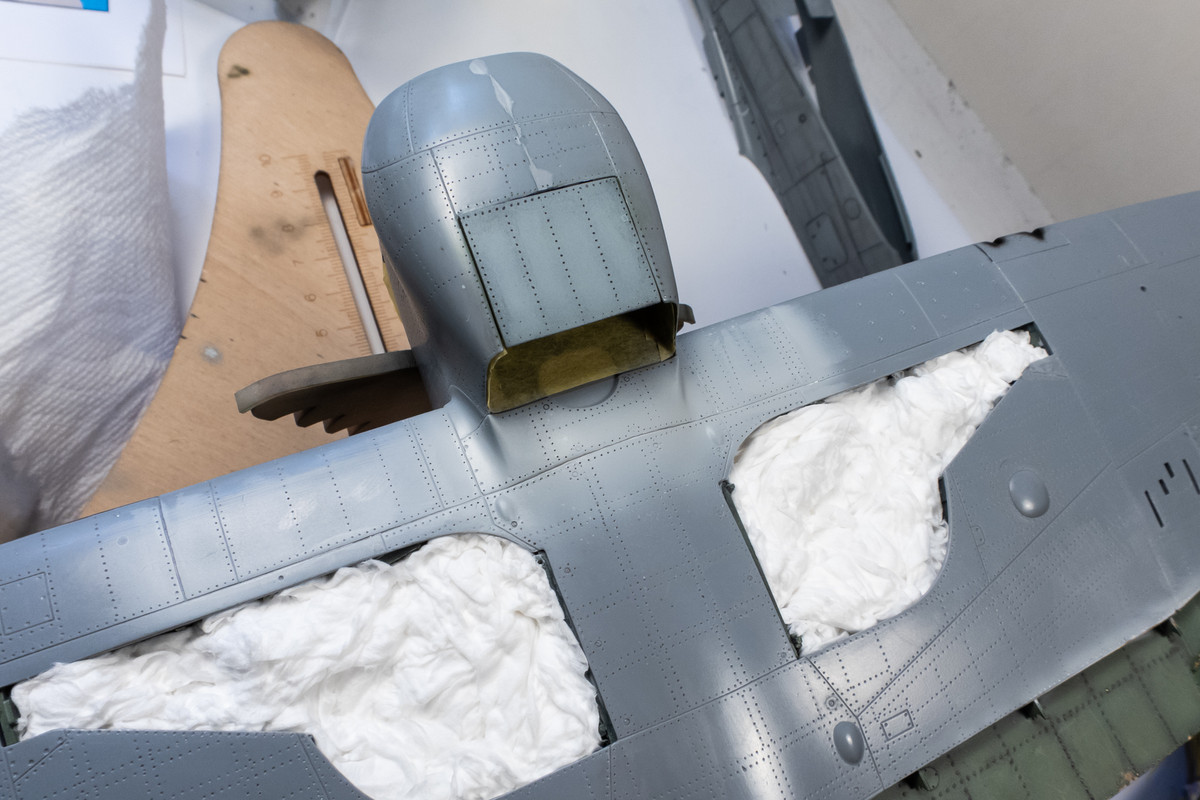
The nose/fuselage joint on the bottom has been cleaned up. I've masked off the wheel wells, radiator intake and exit, mostly with damp tissue. The radiator exit door has been temporarily glued into place so I didn't have to mask as much.
The sides joints were touched up a little bit more and then sprayed with Mr Primer Surfacer to check the clean up work.
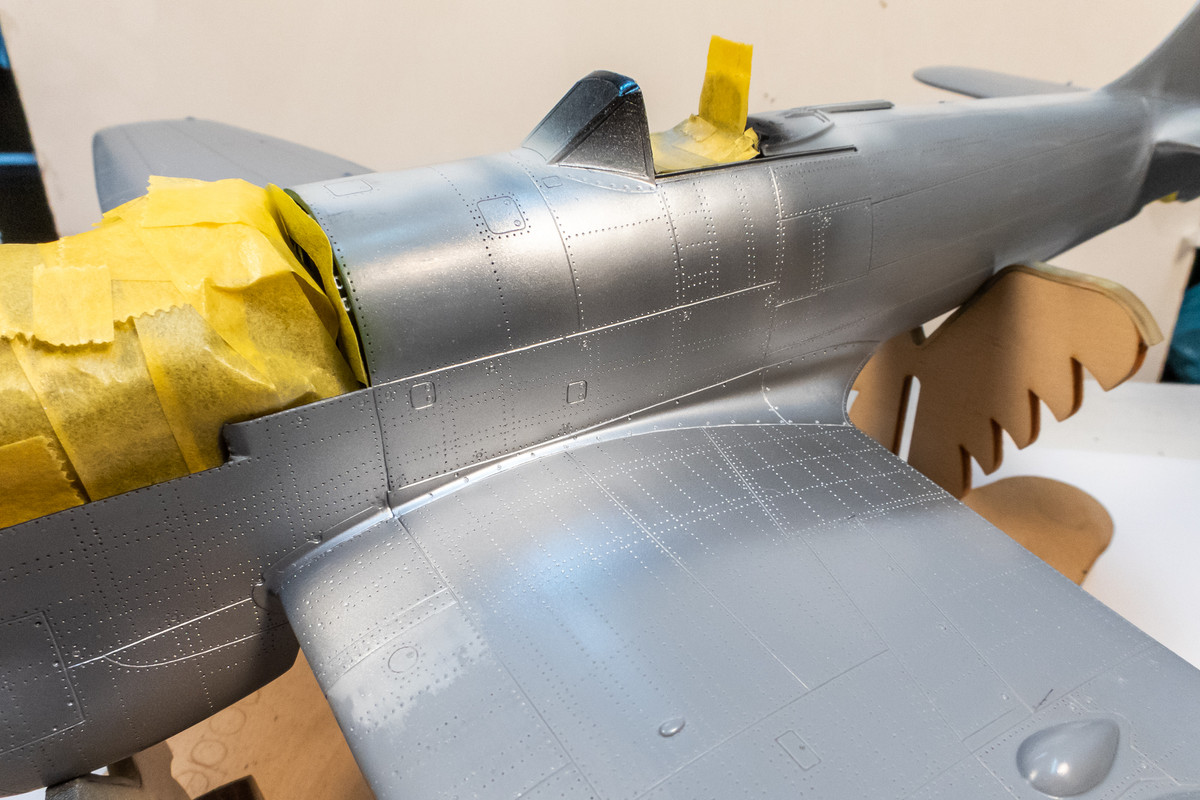
Almost ready for painting but I was not sure how to treat the black walkway areas on the wing tops. Hairspray chipping through three layers (Grey, Green and Black) of lacquer paint didn't seem feasible. Black walkways were not the practice on Luftwaffe aircraft so I looked at my only other Allied build and read through my Corsair build. What I did there was to chip the blue layer with hairspray and then used salt to created chipping patterns before spraying on the black. How brilliant of me! Funny and sad that I did not remember this at all. That problem solved, I have started the painting process on the Tempest by spraying Tamiya Silver (AS-12) decanted into my airbrush onto the wing roots and fuselage sides.