Page 29 of 35
Re: 1/32 Special Hobby Hawker Tempest Mk V
Posted: Tue May 24, 2022 11:42 pm
by jeaton01
Top level work!
Re: 1/32 Special Hobby Hawker Tempest Mk V
Posted: Fri May 27, 2022 12:19 am
by jkim
Thanks John!
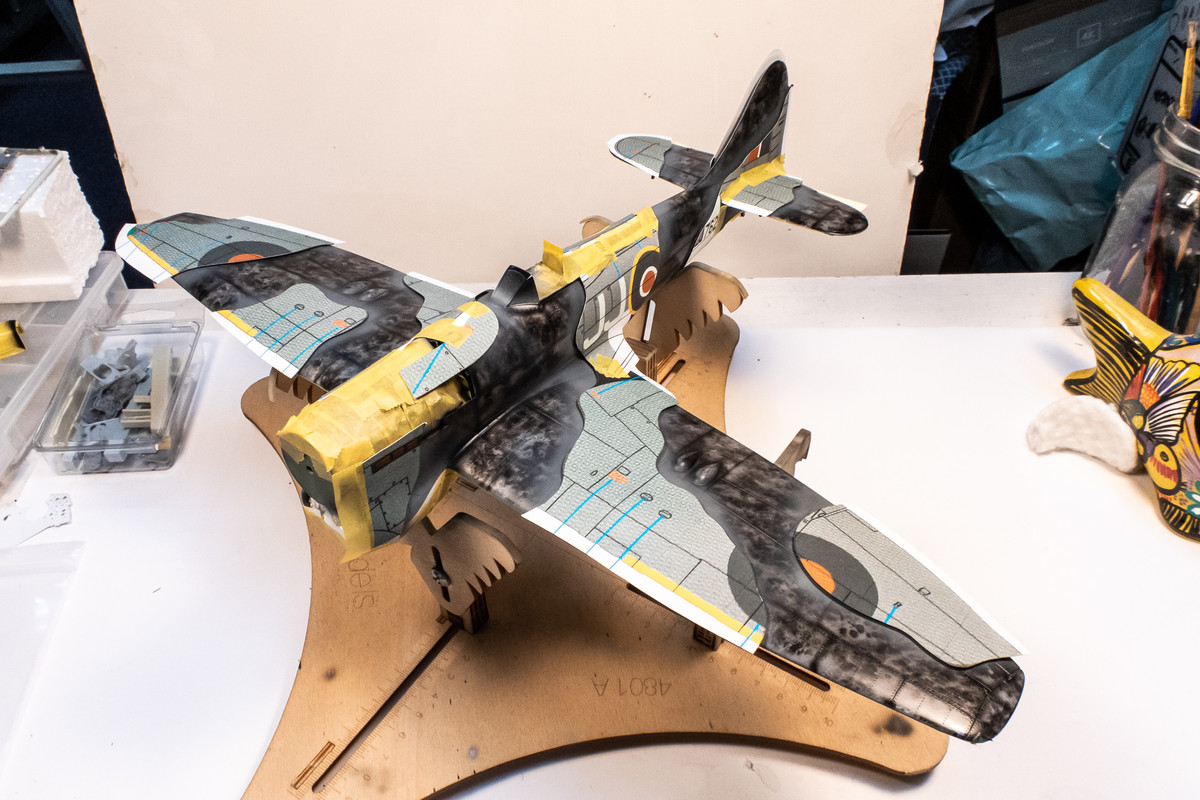
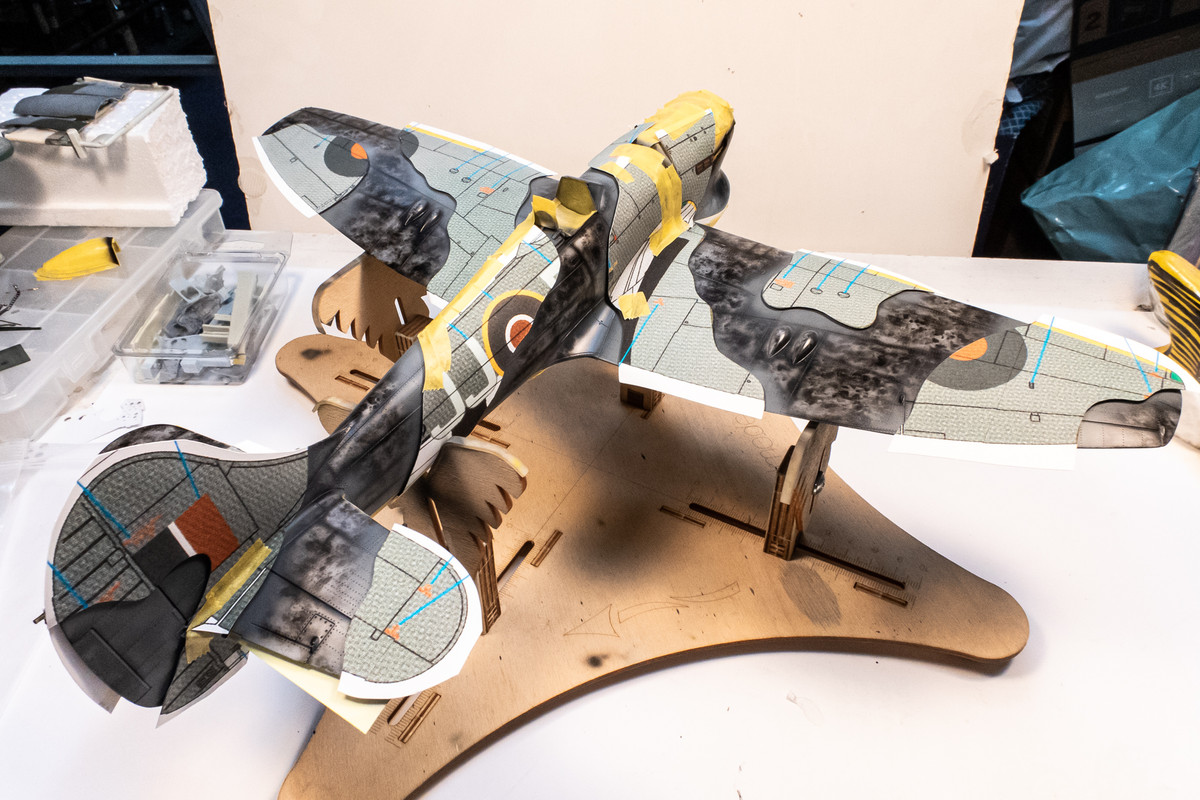
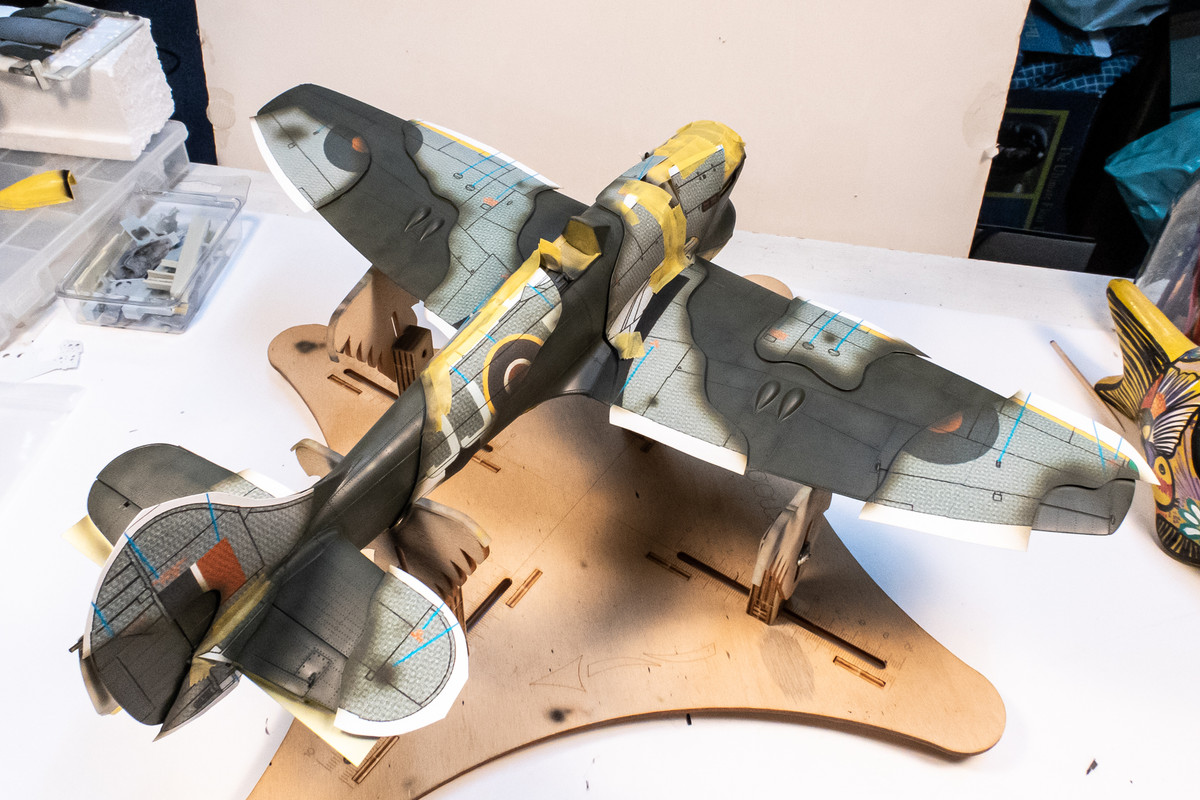
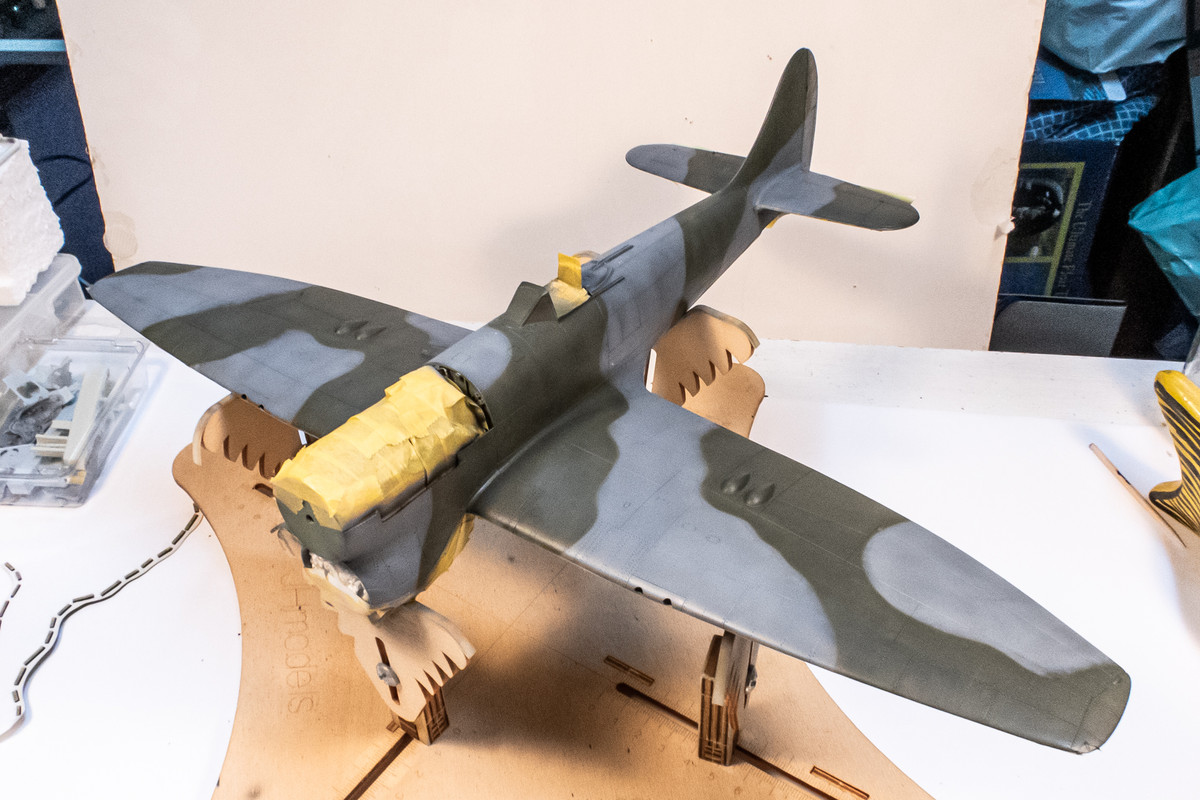
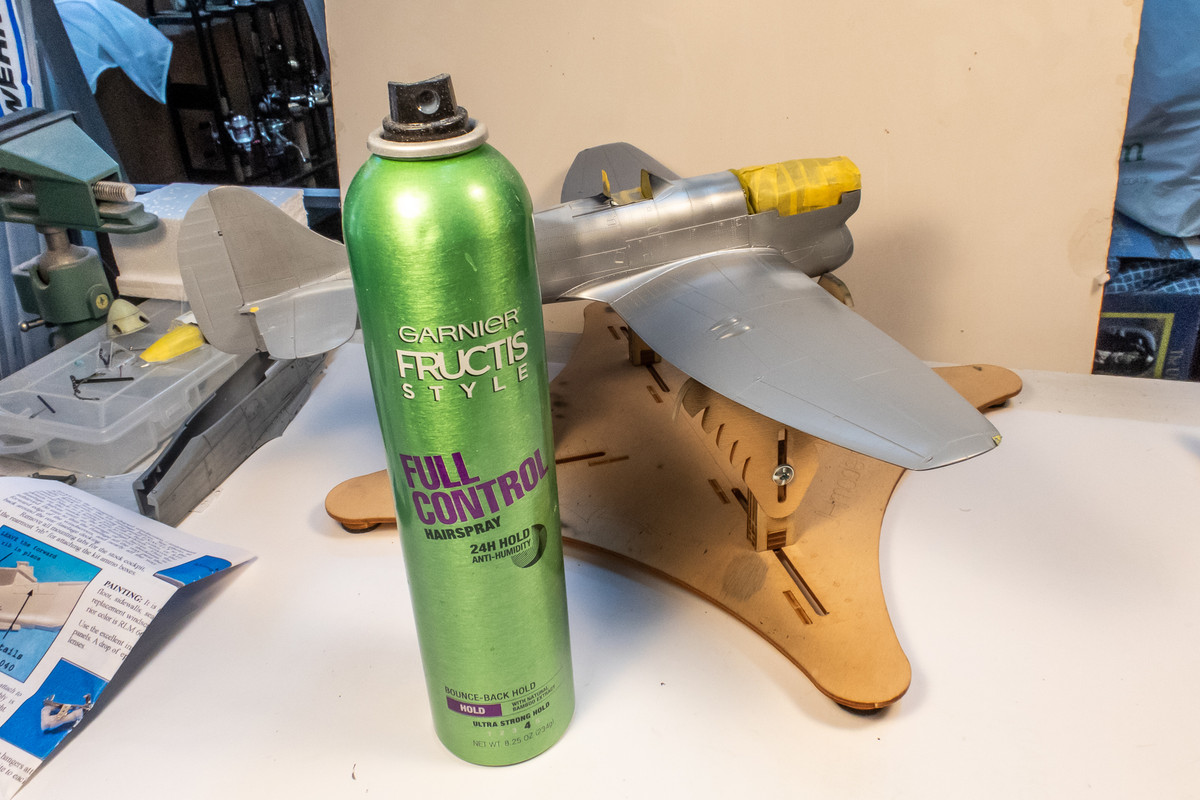
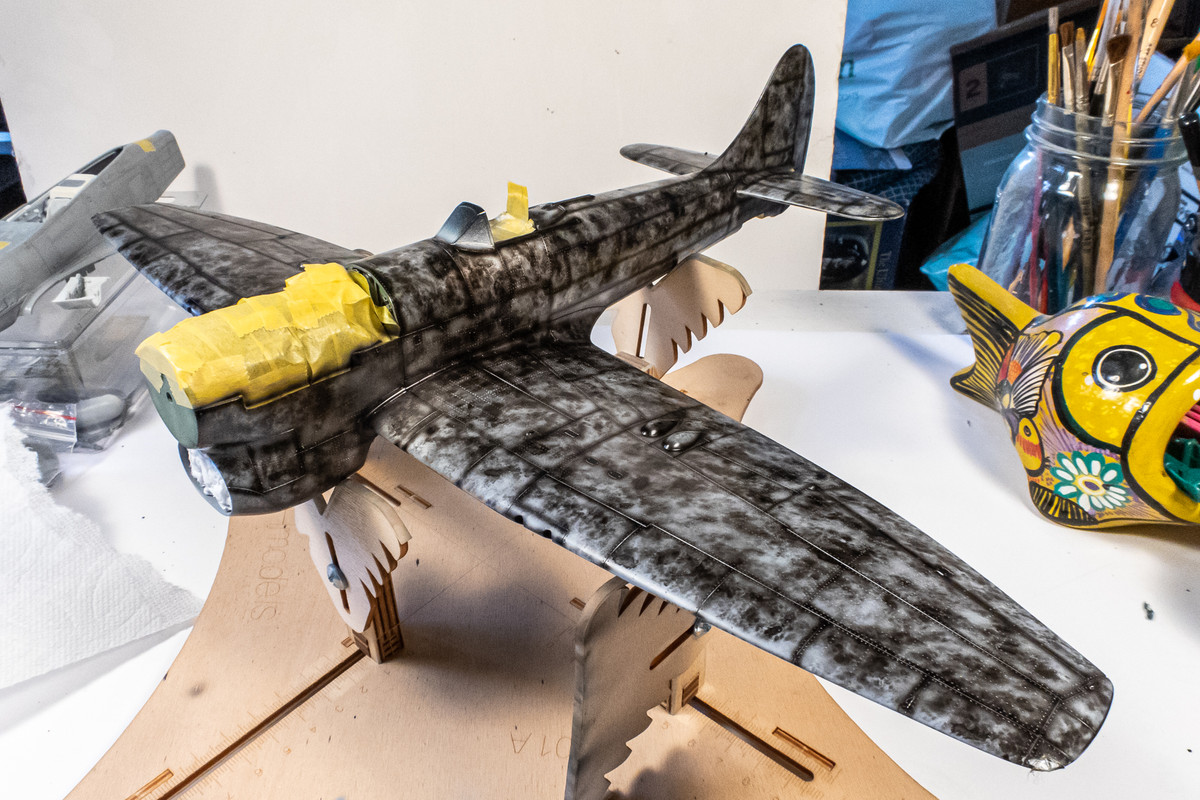
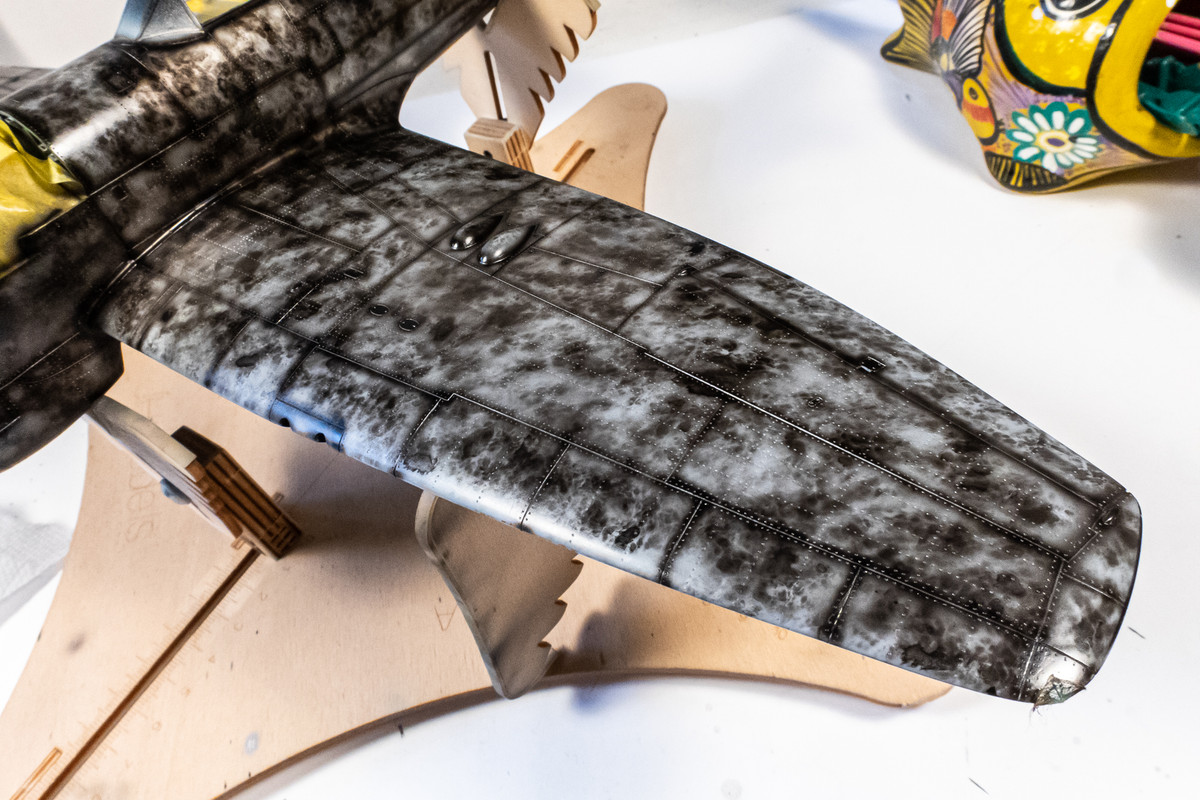
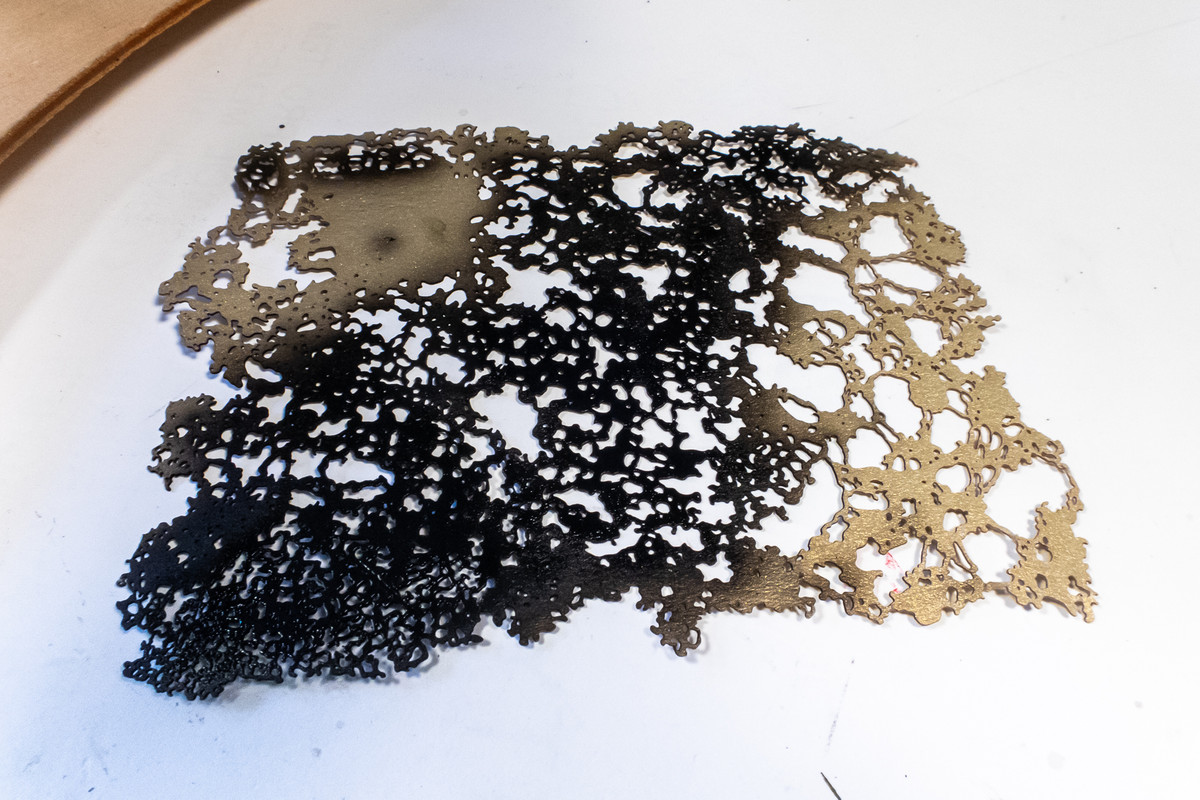
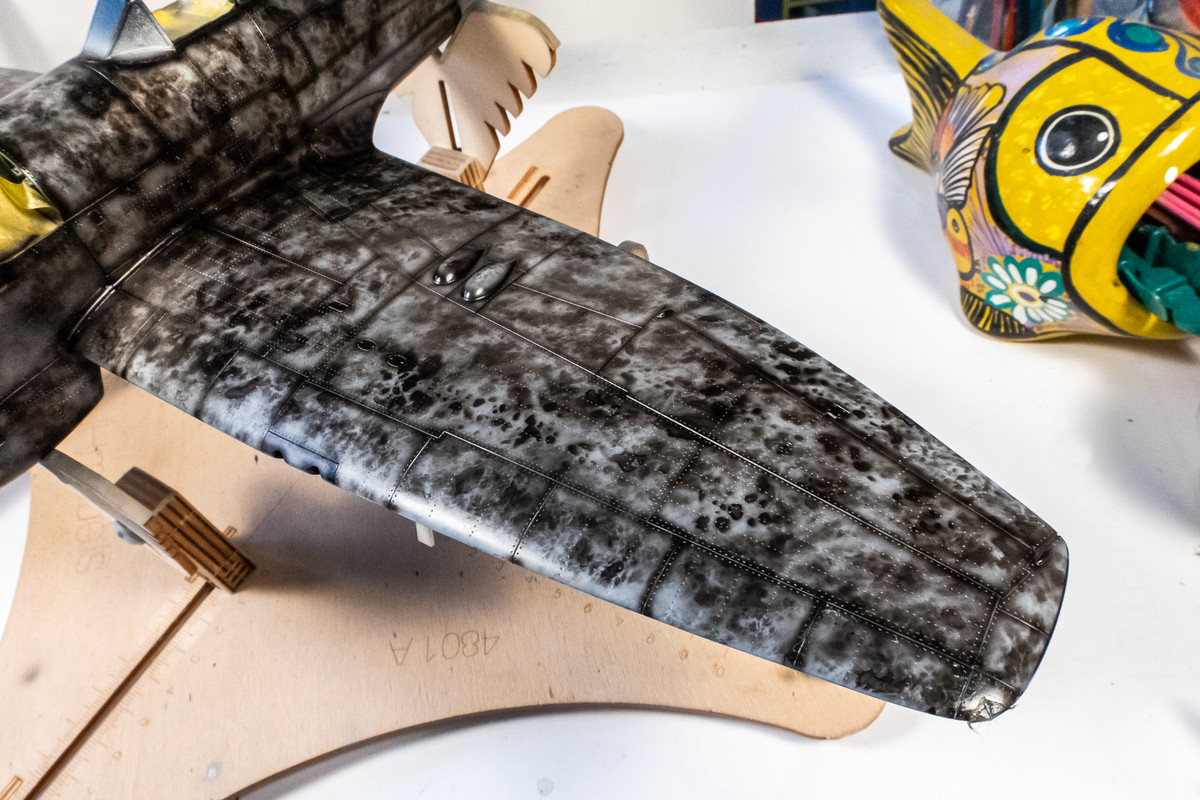
Hair spray, specifically Garnier Fructis Style Full Control Hairspray with the the 24 hour hold anti-humidity formula, is sprayed onto the silver areas for chipping effects.
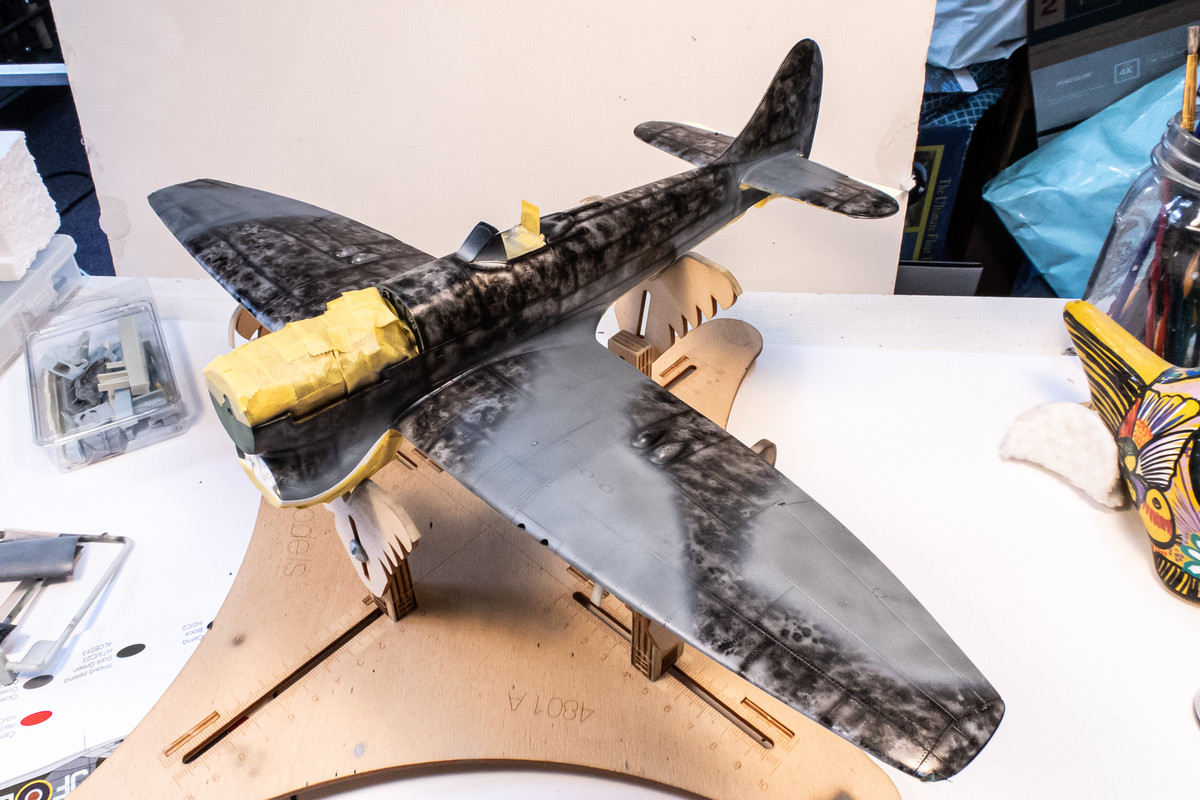
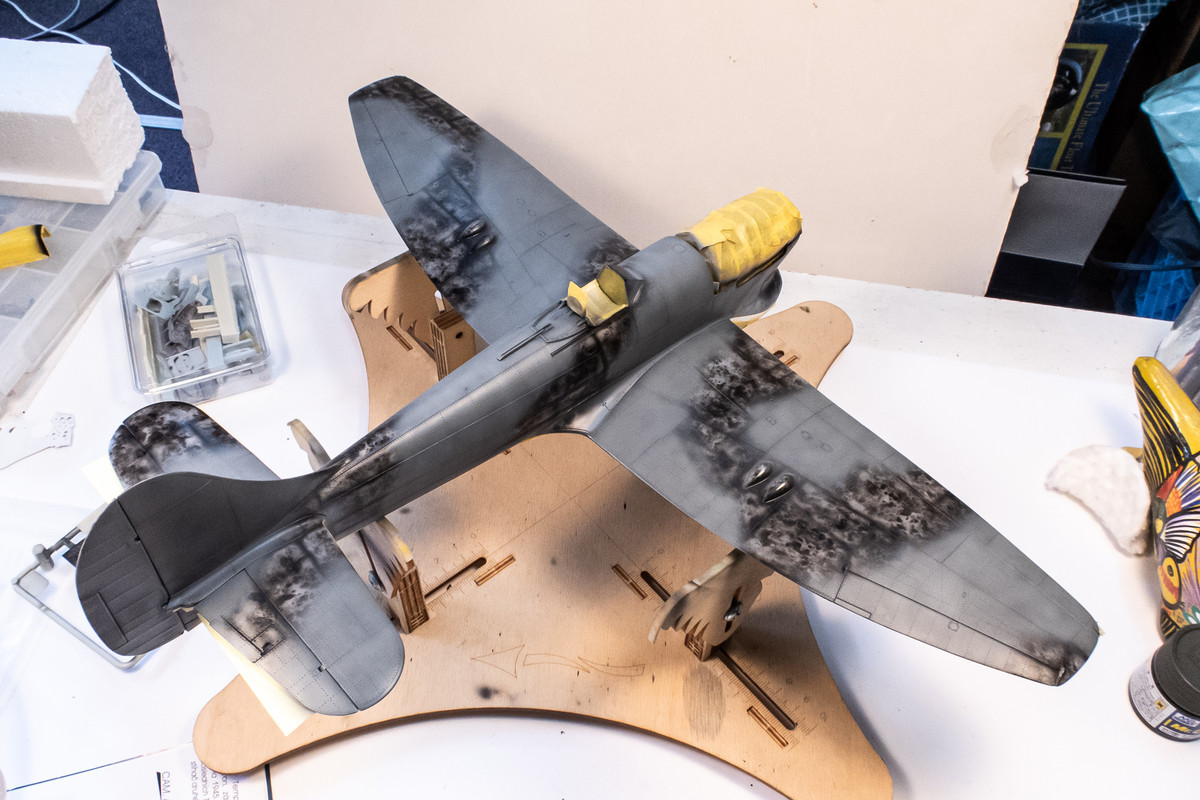
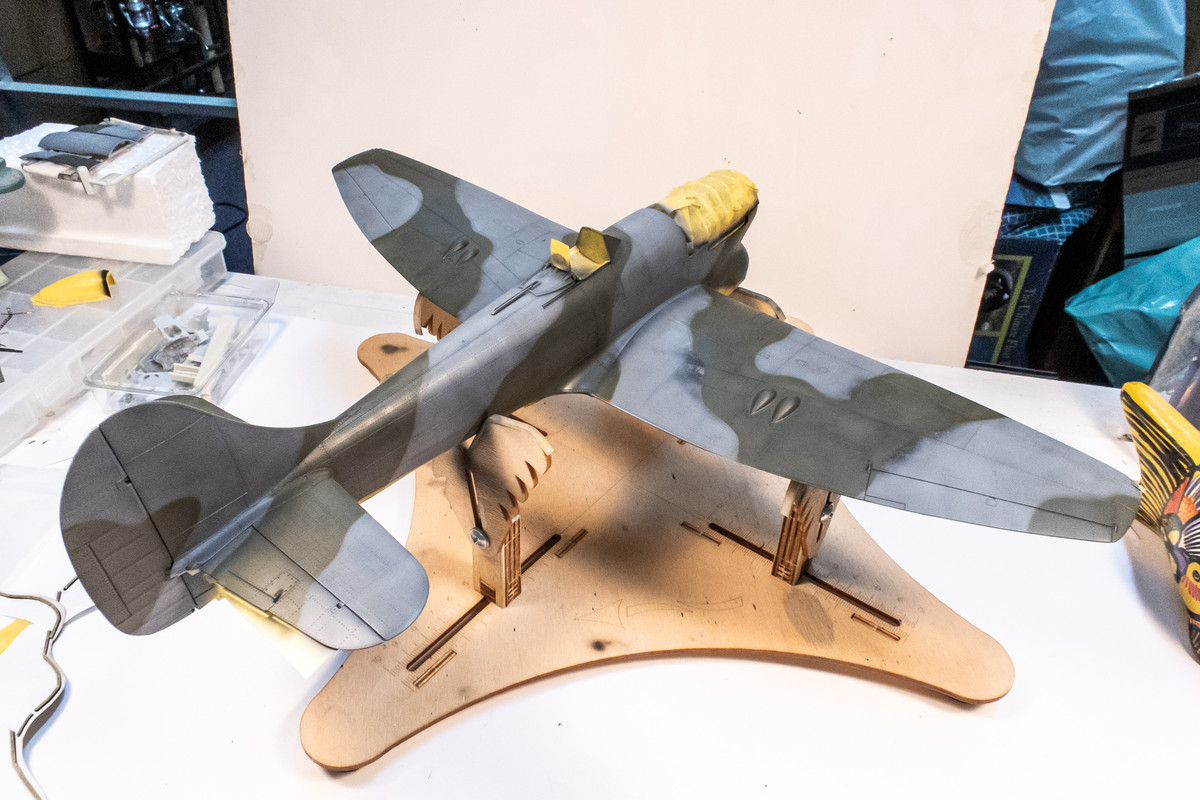
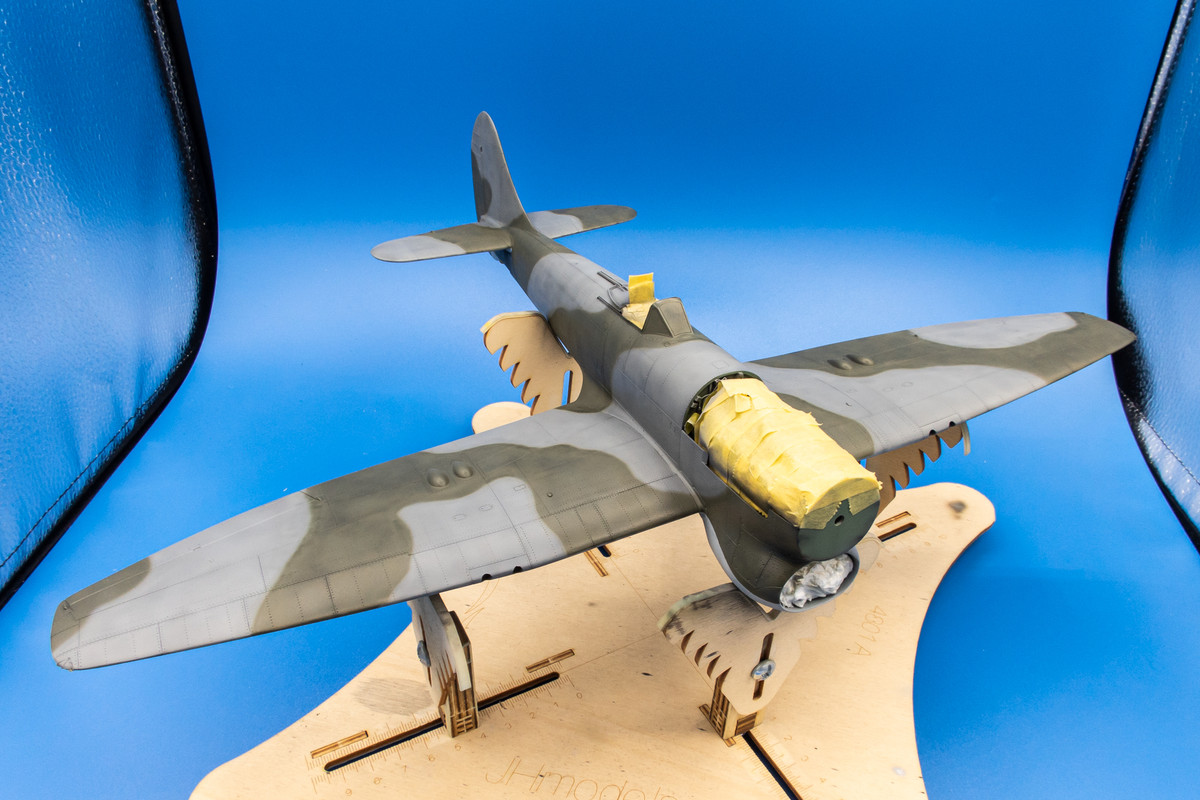
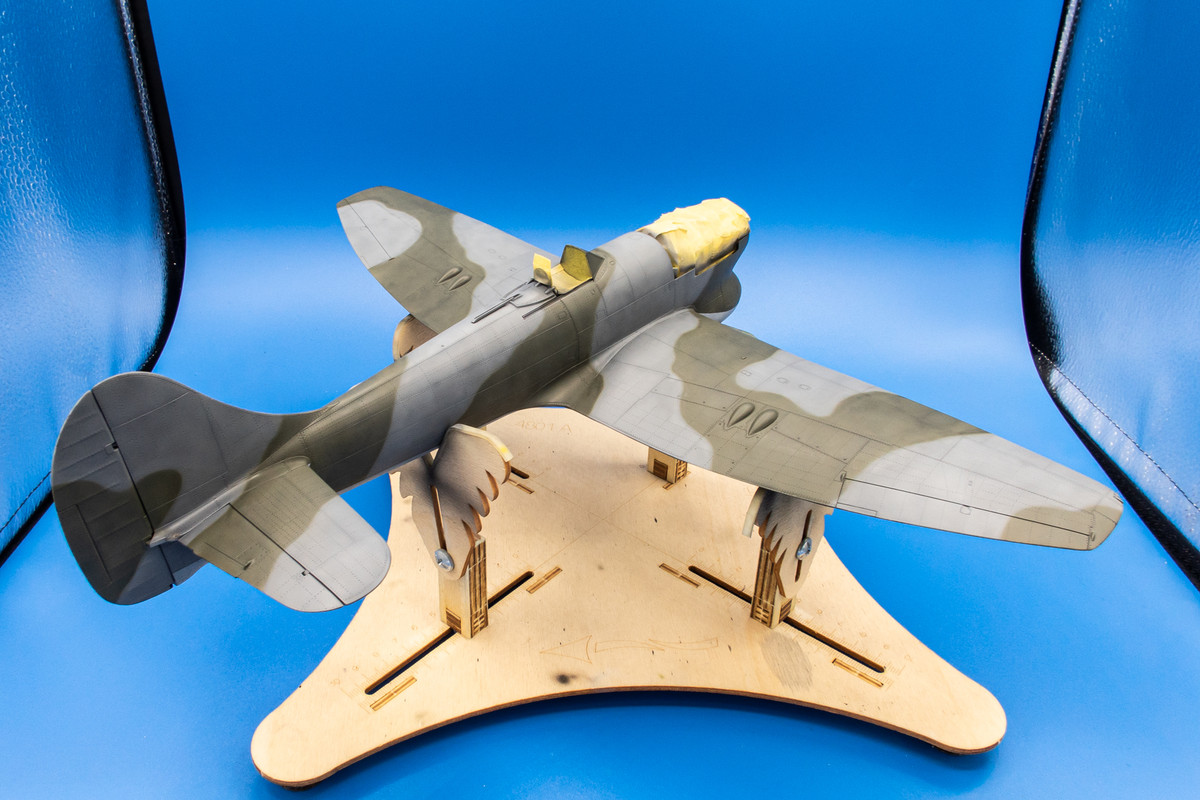
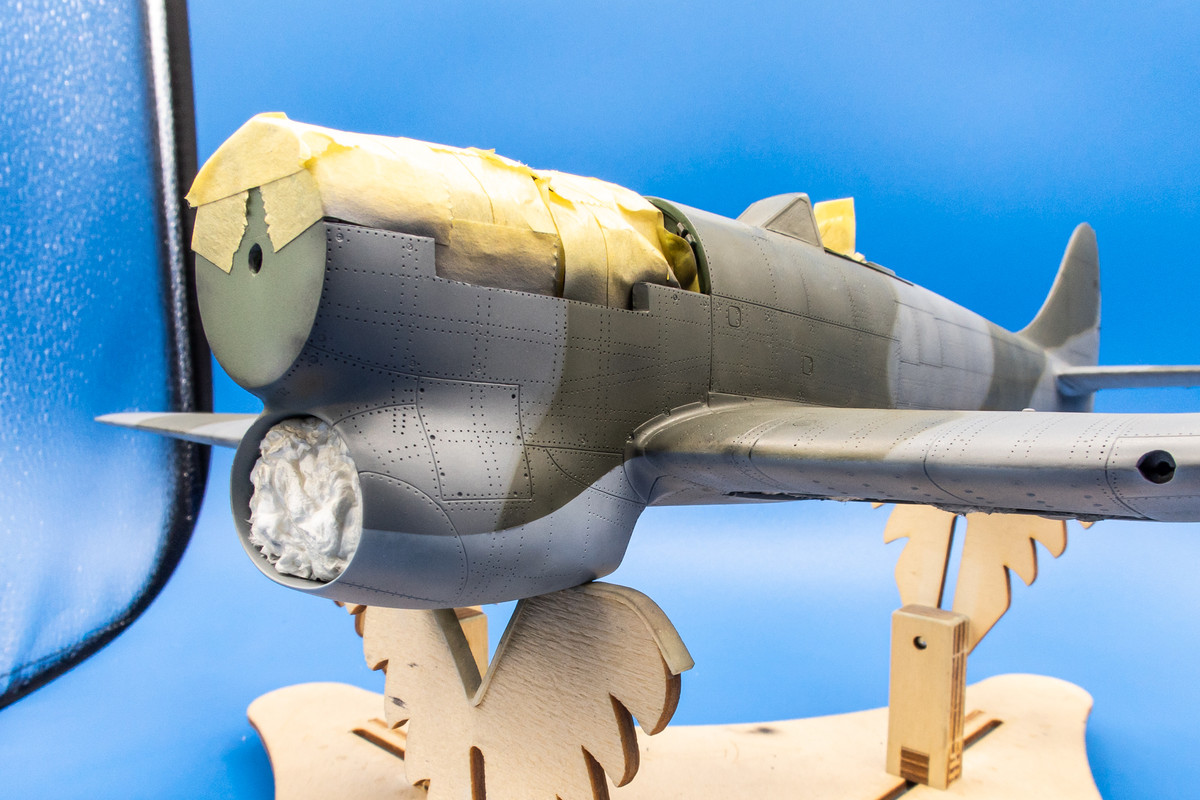
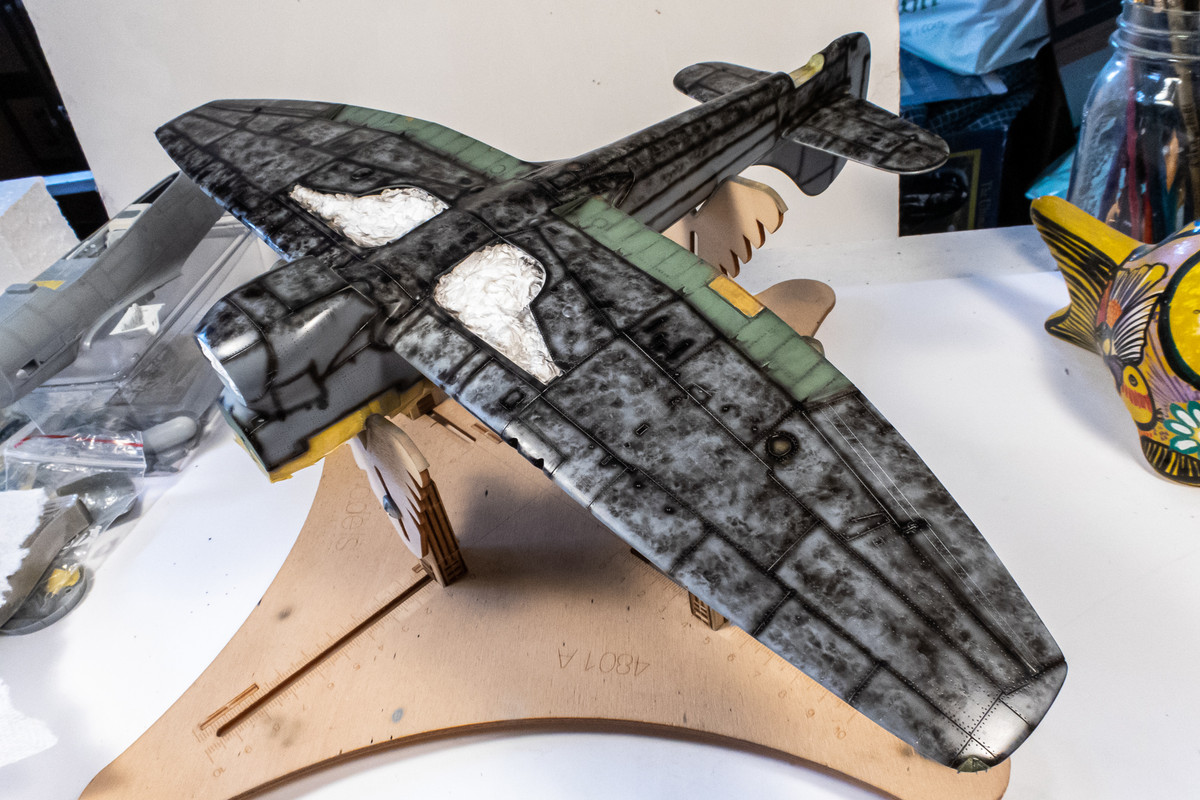
I typically employ a 2-stage pre-shading technique. First, is the panel lines traced in black.
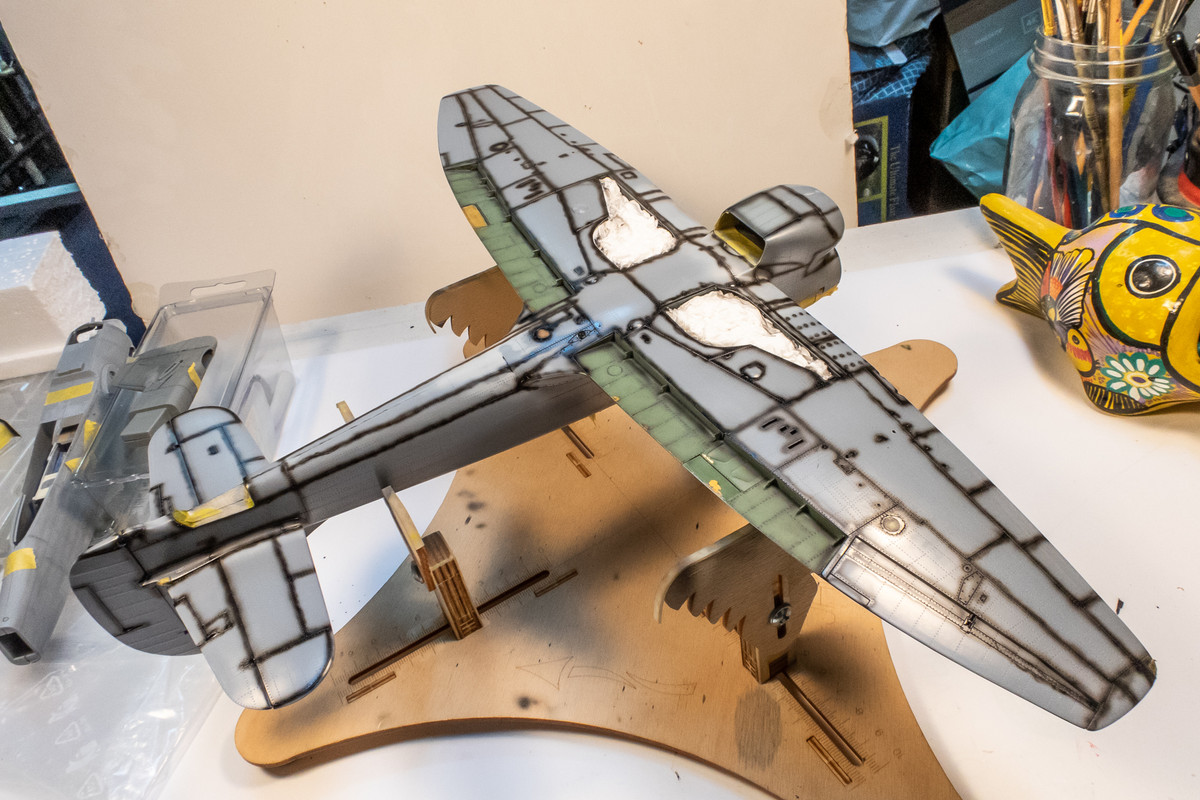
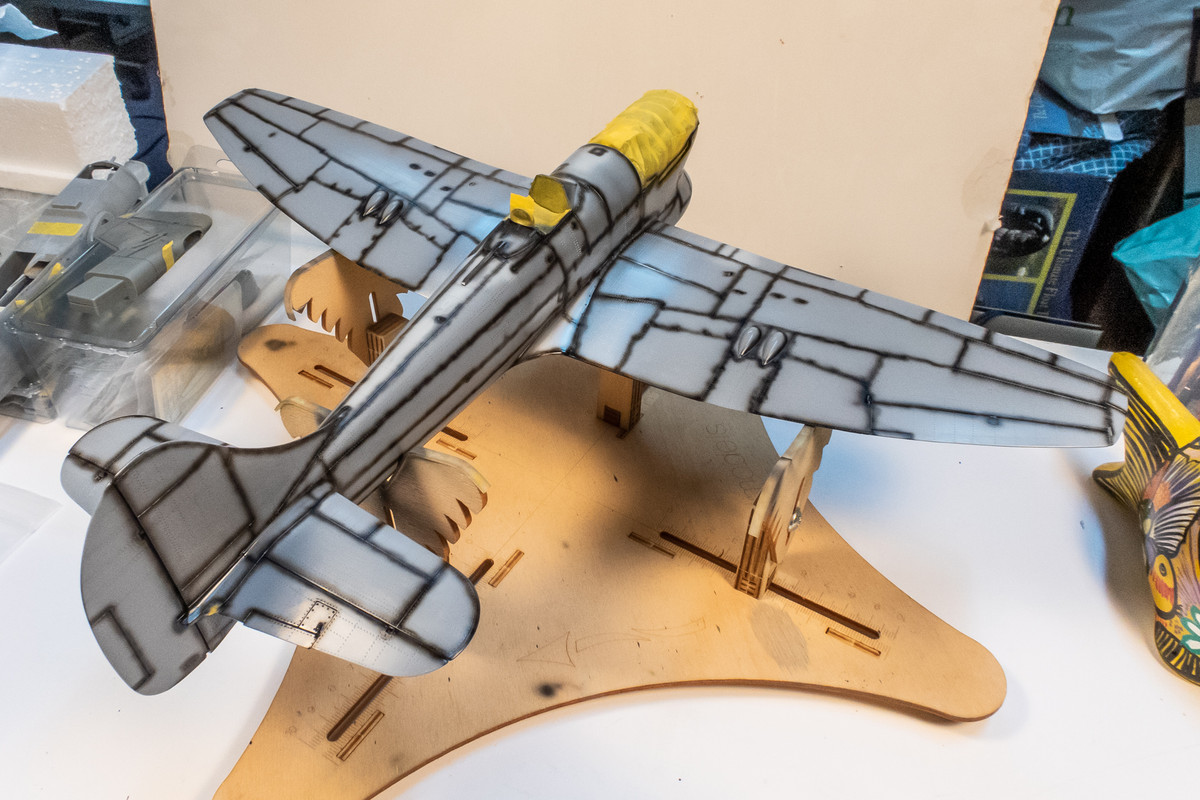
Next will be a random mottle pattern to give the camo finish a little bit of depth and tonal variation.
Re: 1/32 Special Hobby Hawker Tempest Mk V
Posted: Fri May 27, 2022 11:49 pm
by jkim
Re: 1/32 Special Hobby Hawker Tempest Mk V
Posted: Sat May 28, 2022 6:10 am
by LyleW
Great information, very well explained!
Re: 1/32 Special Hobby Hawker Tempest Mk V
Posted: Sat May 28, 2022 9:02 am
by BlackSheep214
Re: 1/32 Special Hobby Hawker Tempest Mk V
Posted: Sat May 28, 2022 12:30 pm
by jkim
Thanks guys! Sorry no seminars! This is about as far as I go when it comes to teaching modeling techniques!
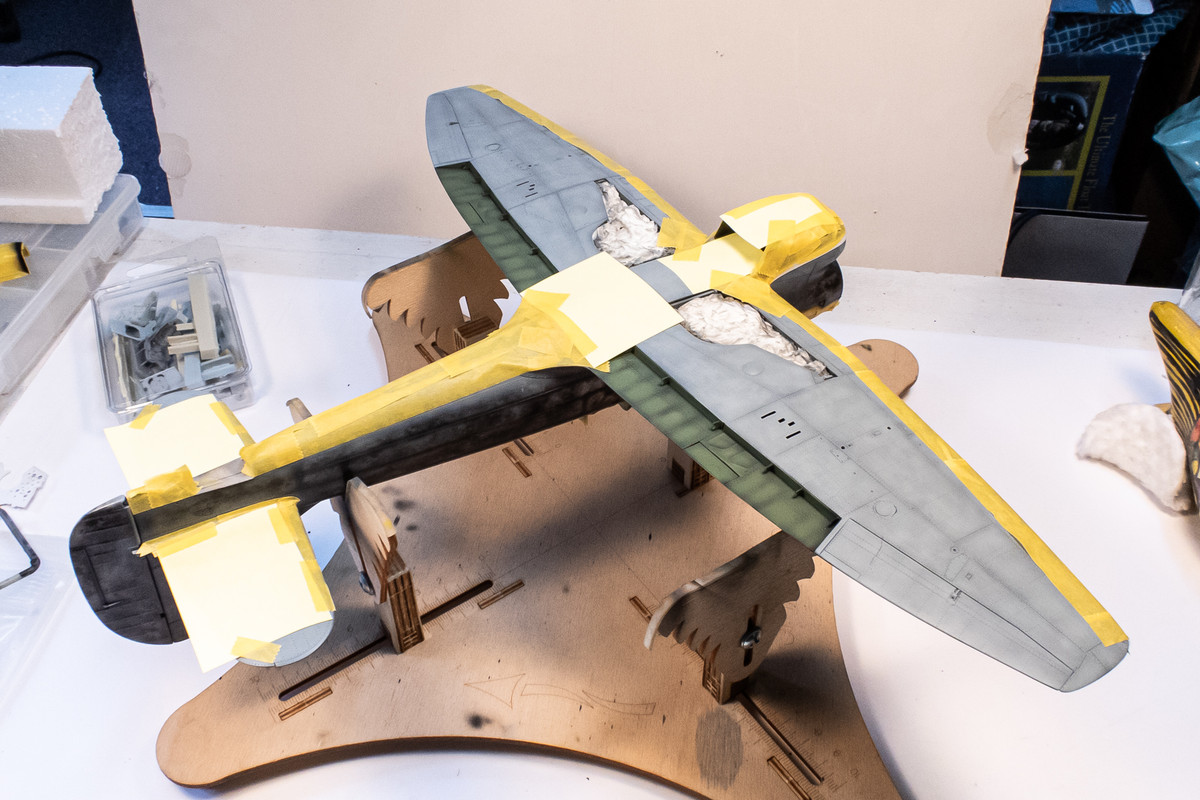
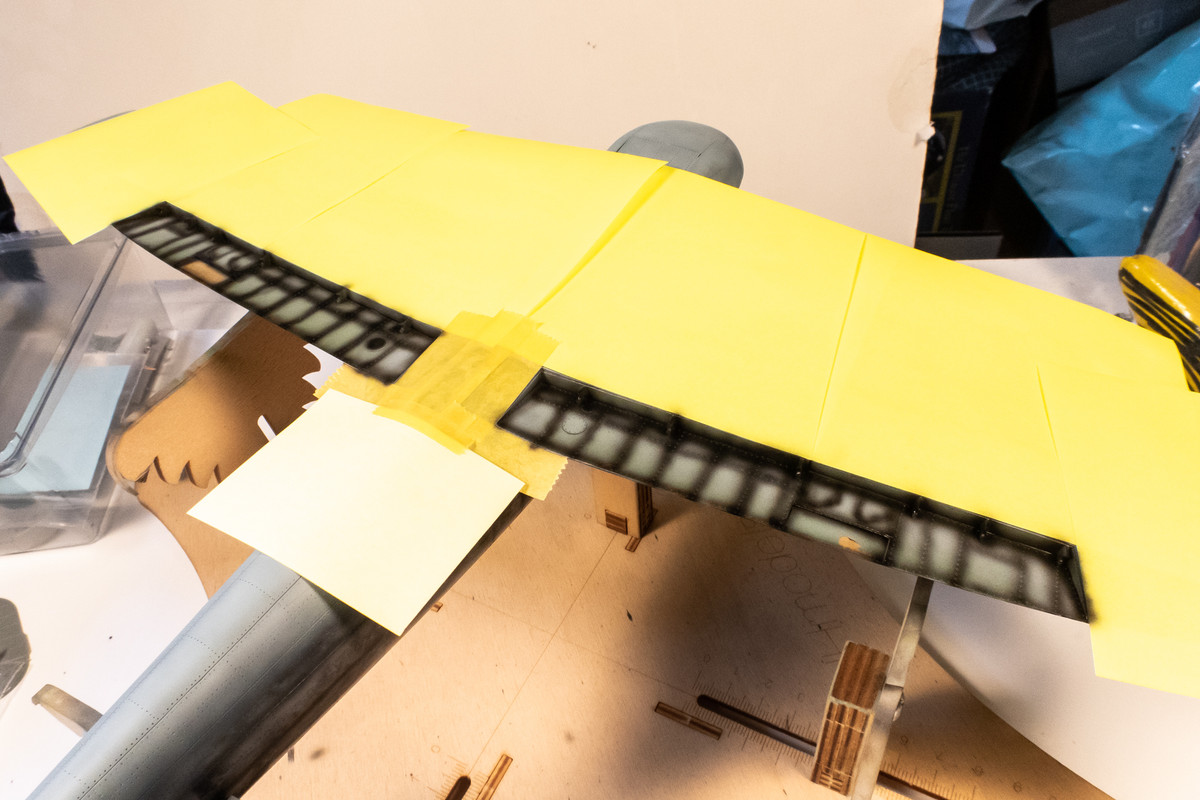
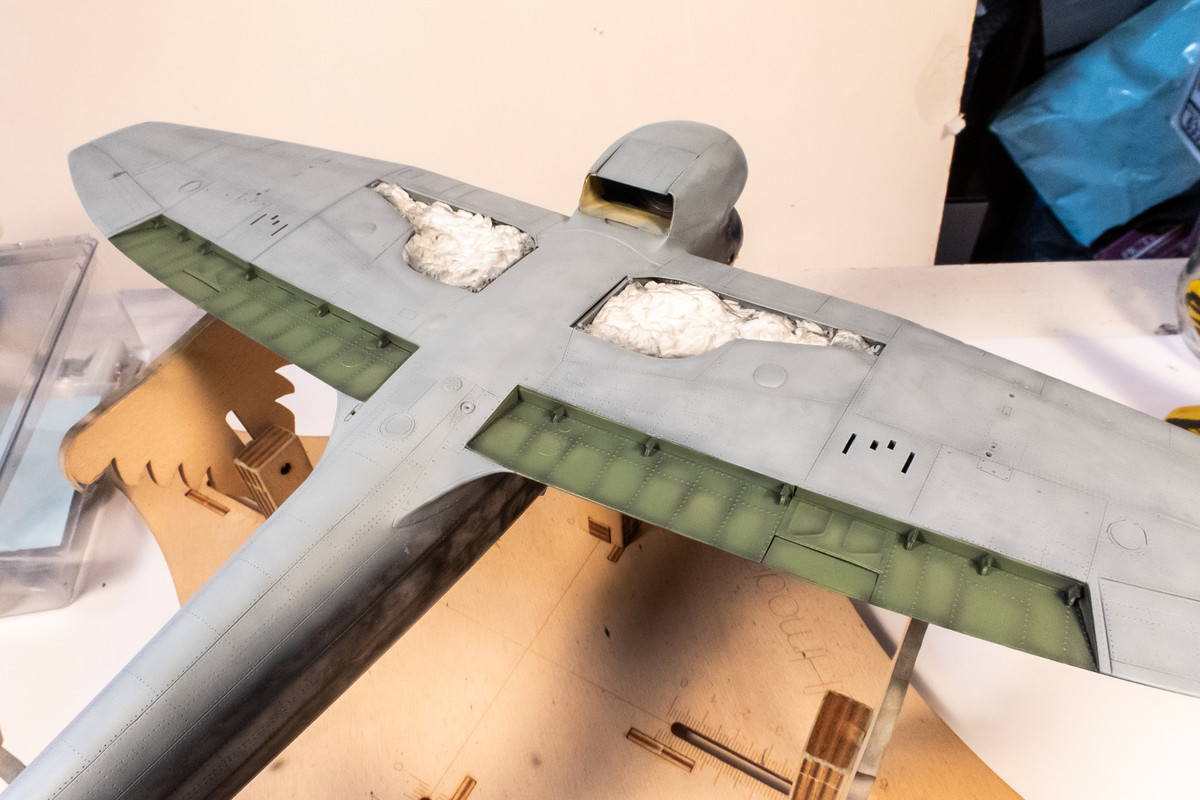
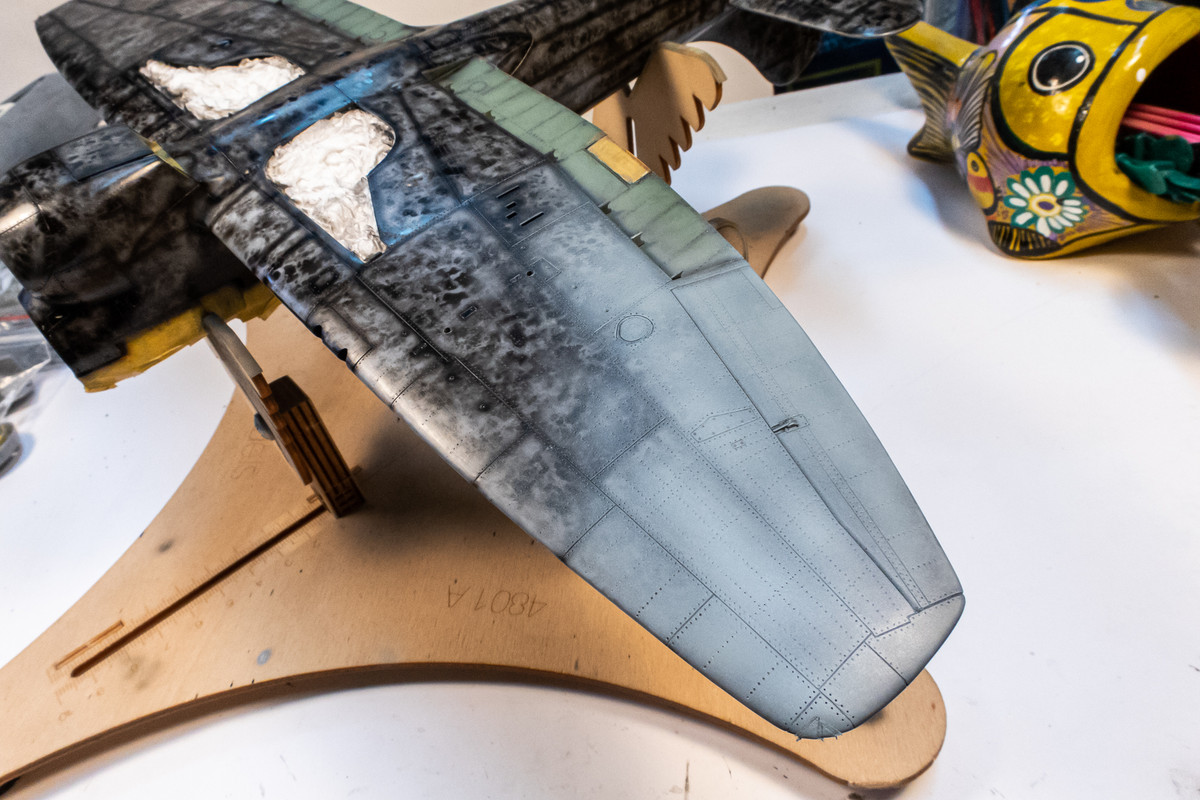
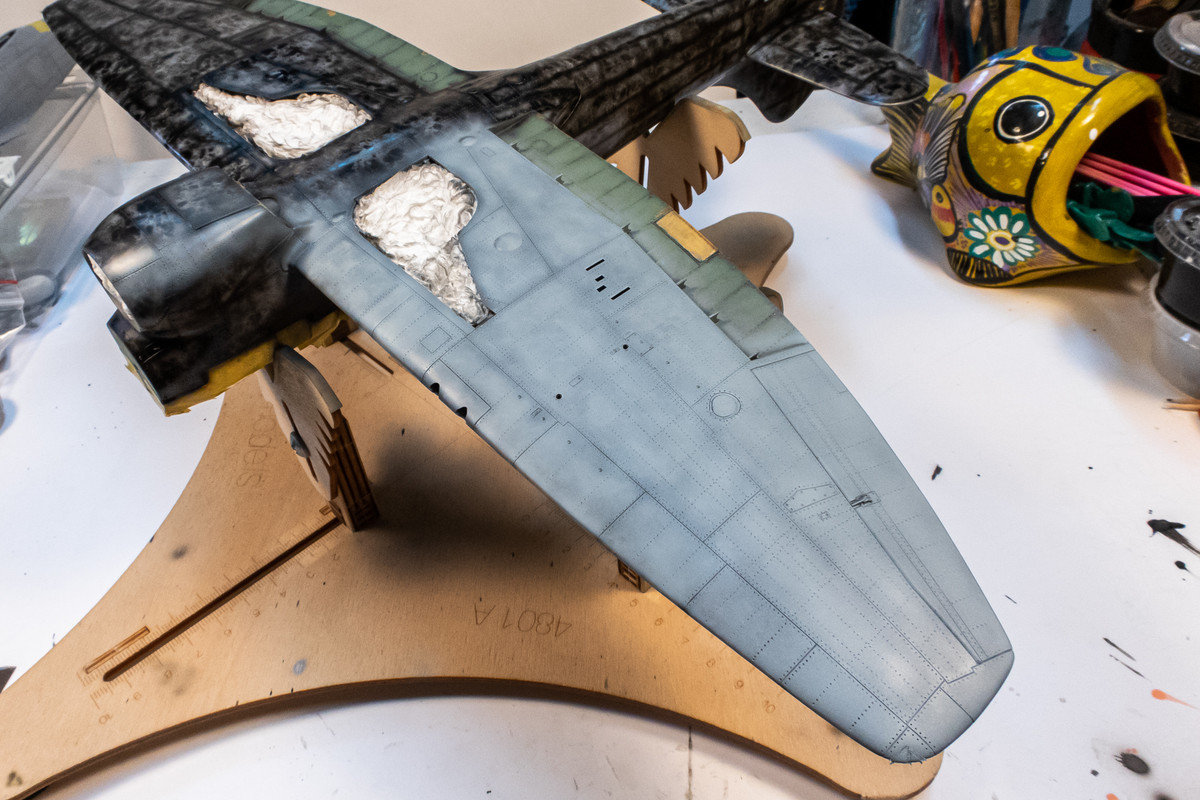
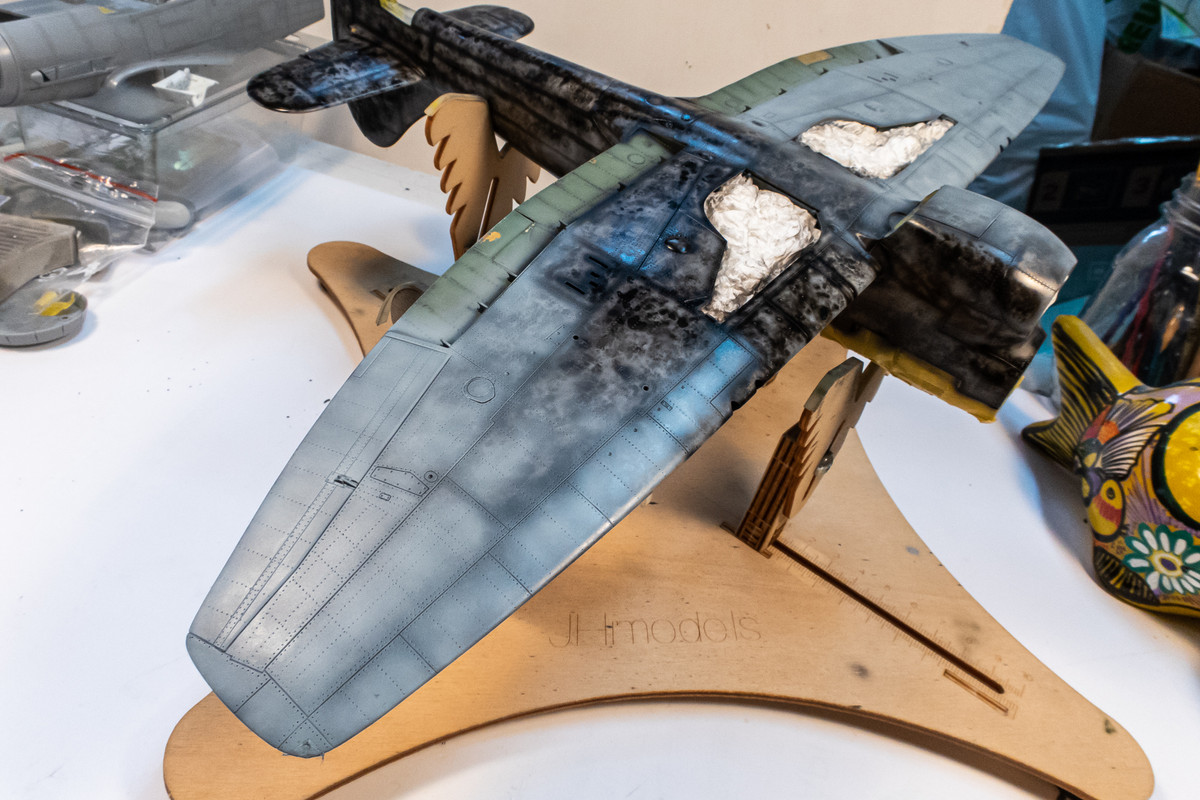
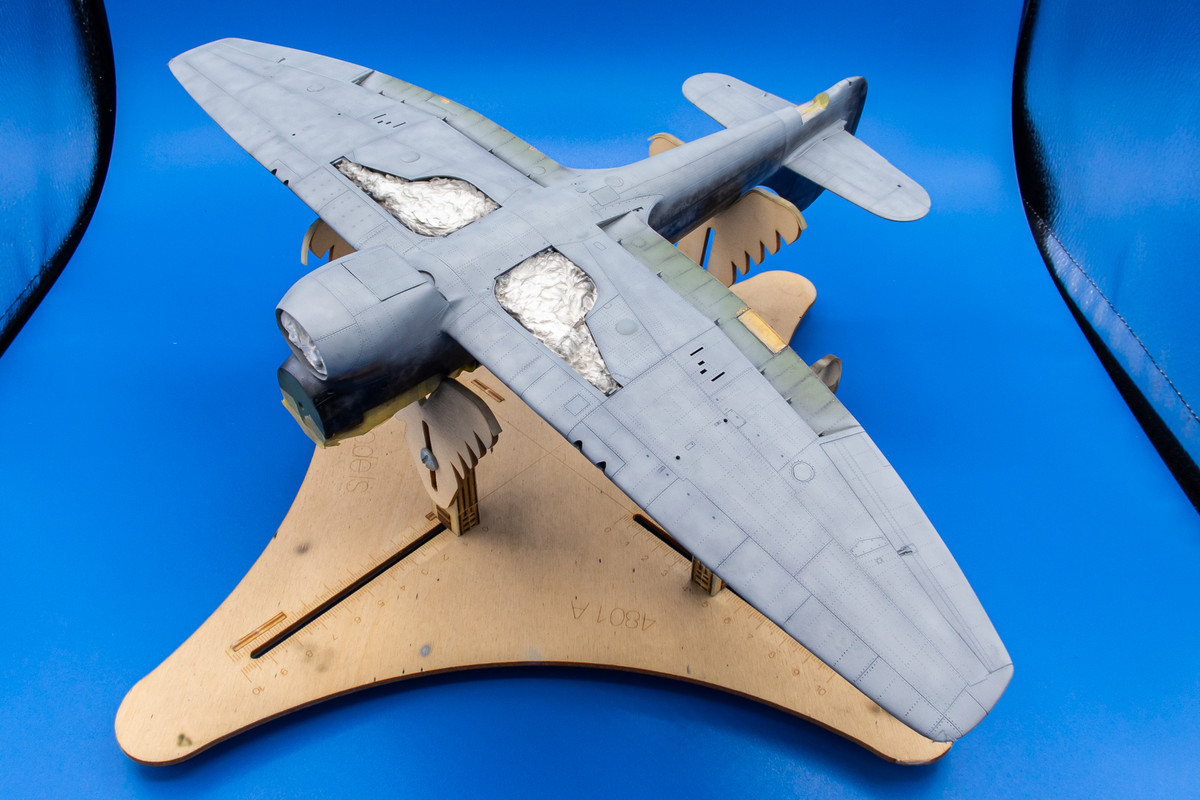
Since the bottom color has been painted, I thought I would mask off the flap area and re-establish the interior green color at this point. Very simple to mask off... I used Post-Its to mask most of it.
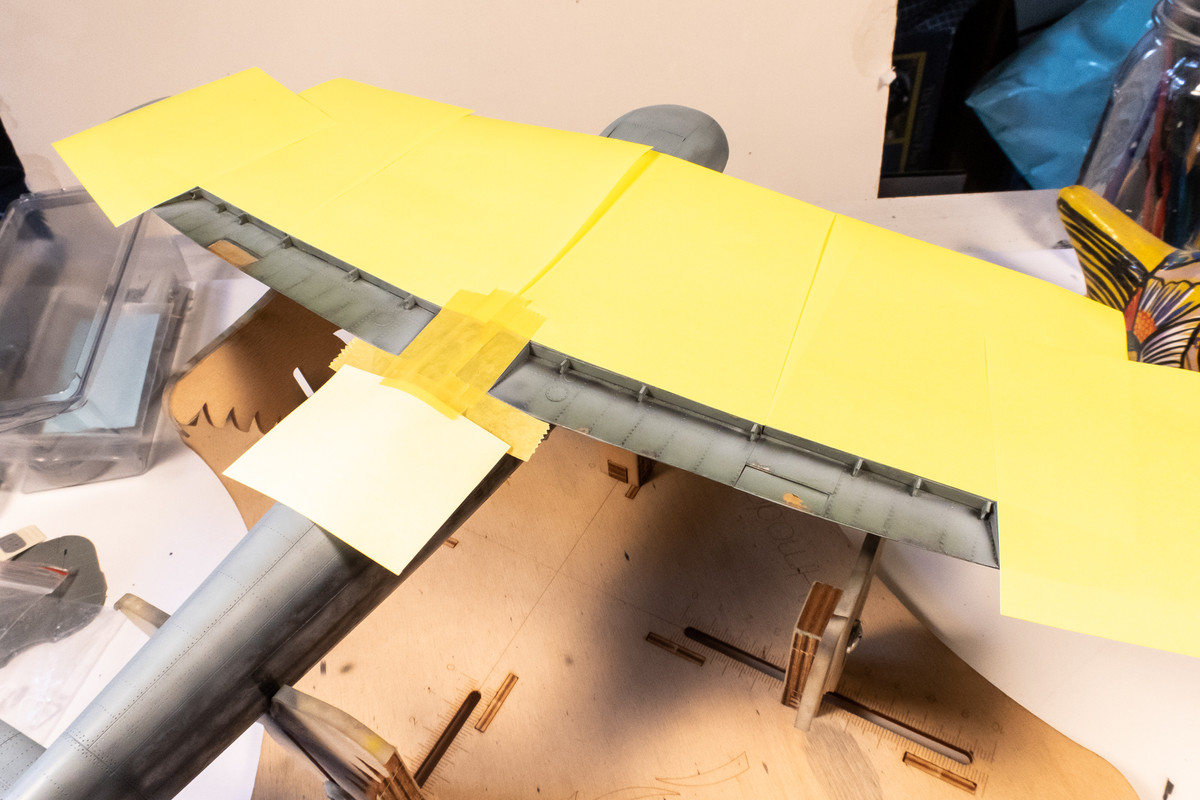
A very elementary black pre-shade layer was applied first.
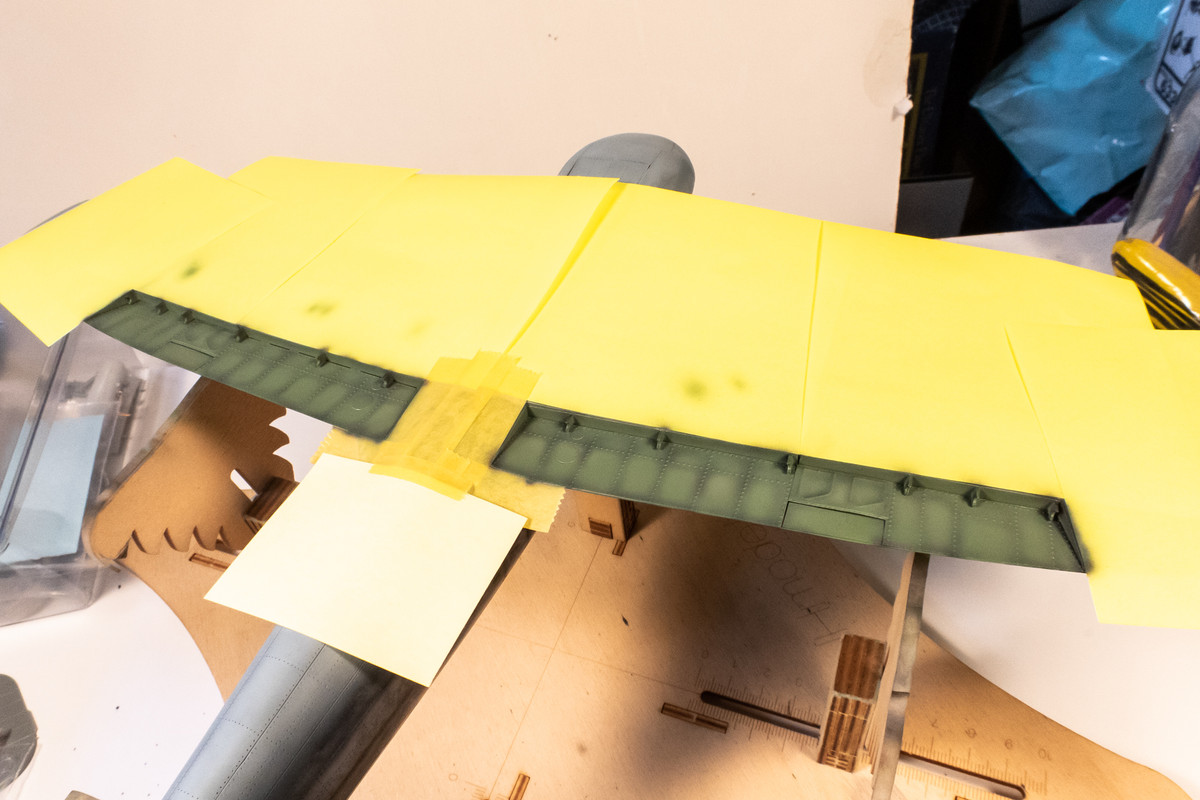
And then the interior green, which has been the Mr Color Aircraft Grey Green C-364.
Done!
Re: 1/32 Special Hobby Hawker Tempest Mk V
Posted: Sun May 29, 2022 12:08 am
by jkim
Re: 1/32 Special Hobby Hawker Tempest Mk V
Posted: Sun May 29, 2022 1:09 pm
by BlackSheep214
Re: 1/32 Special Hobby Hawker Tempest Mk V
Posted: Sun May 29, 2022 11:18 pm
by jkim
Thanks Tom!
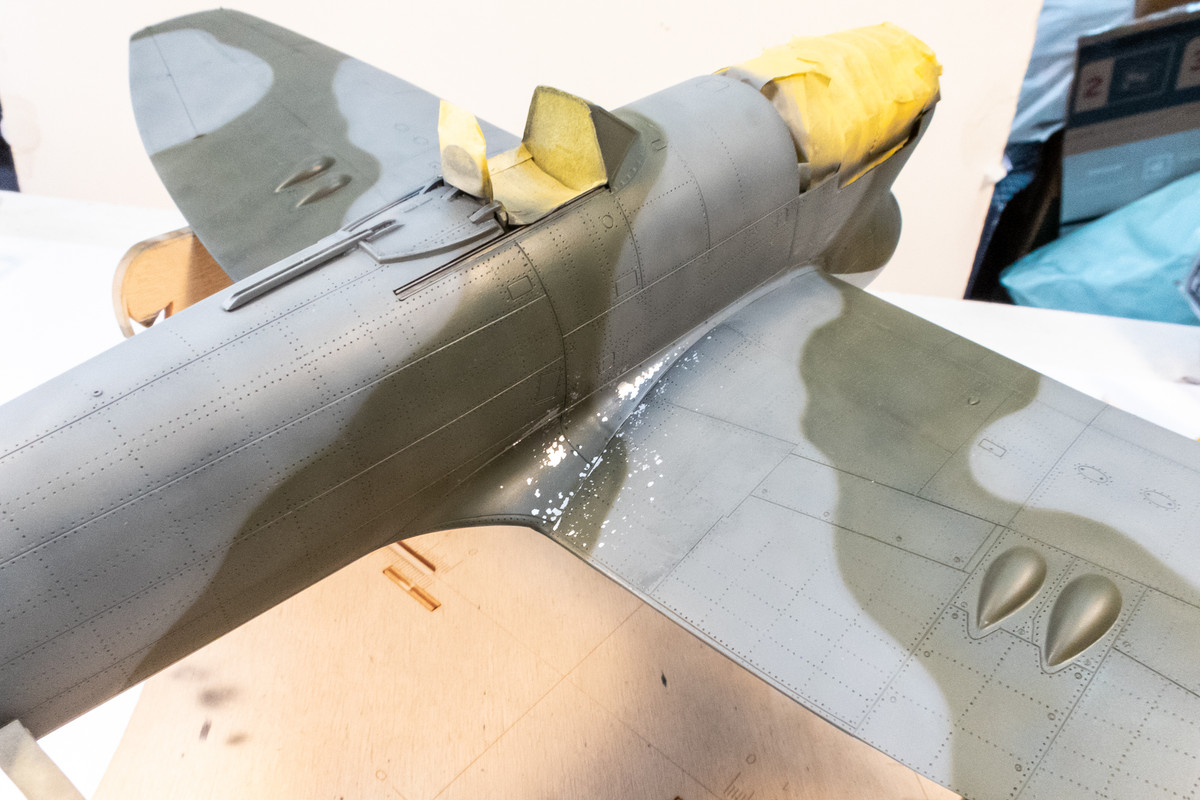
Late last night, I went at the wing roots with a stiff stipple brush and water and got some hairspray chipping to come out. Not exactly what I wanted but I think it is workable. I never seem to get consistent, usable results with hairspray anymore and almost always needs to be augmented with other chipping methods.

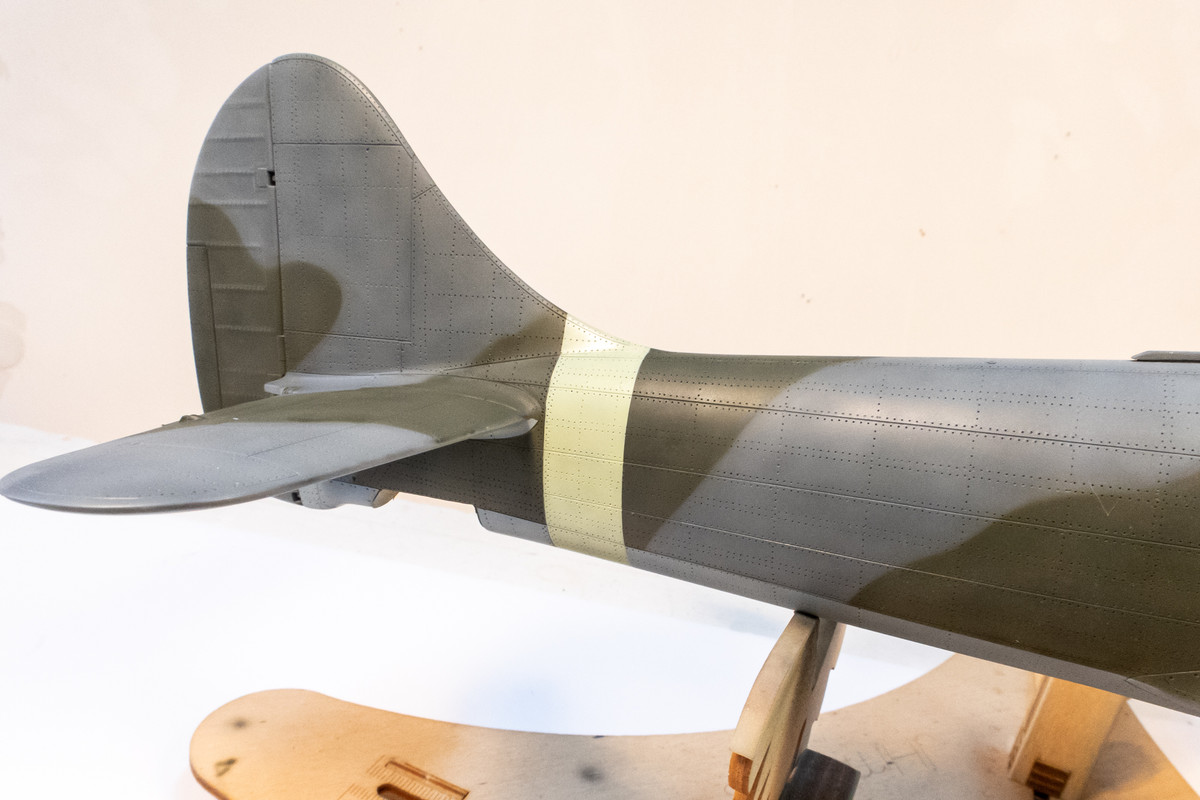
That chore out of the way, I went to work on some of the painted markings that are found on this aircraft. First was the Sky (Mr Hobby Aqueous Sky H-74) tail band.
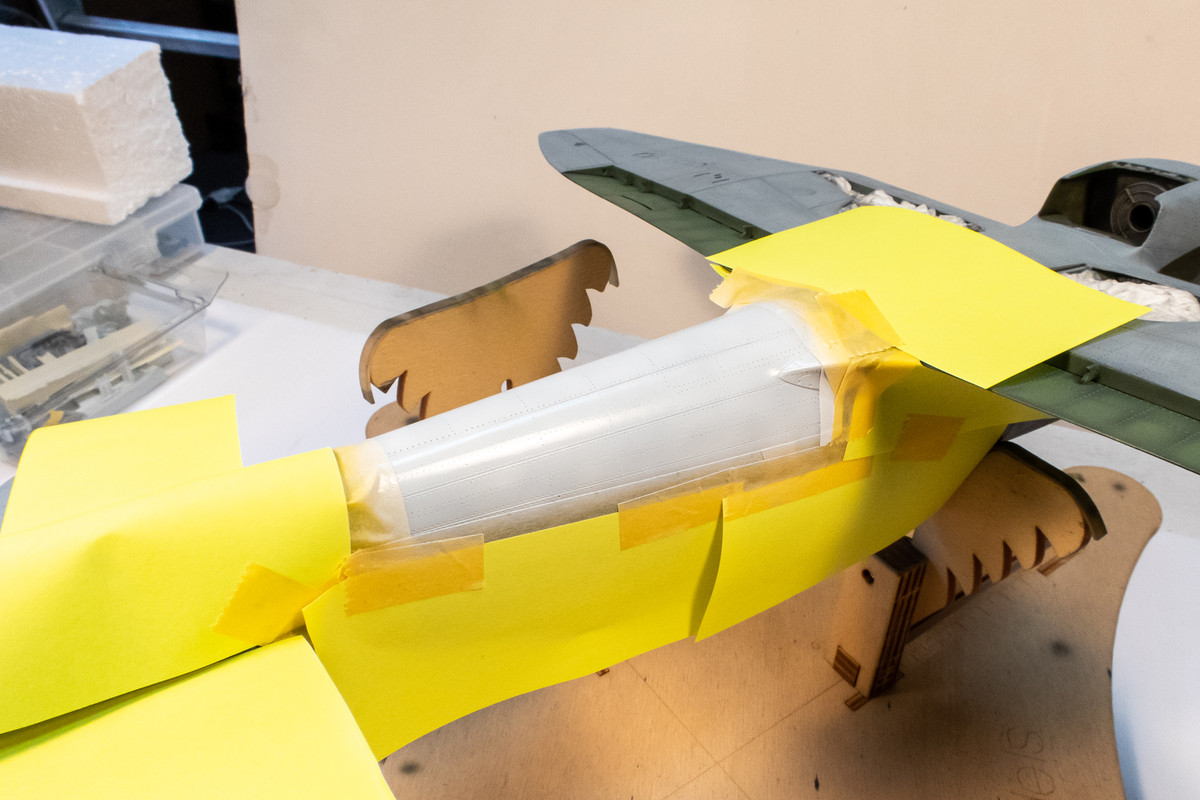
Black and white invasion stripes were found under the fuselage only and not on the wings. The overall area was masked and sprayed with Tamiya White.
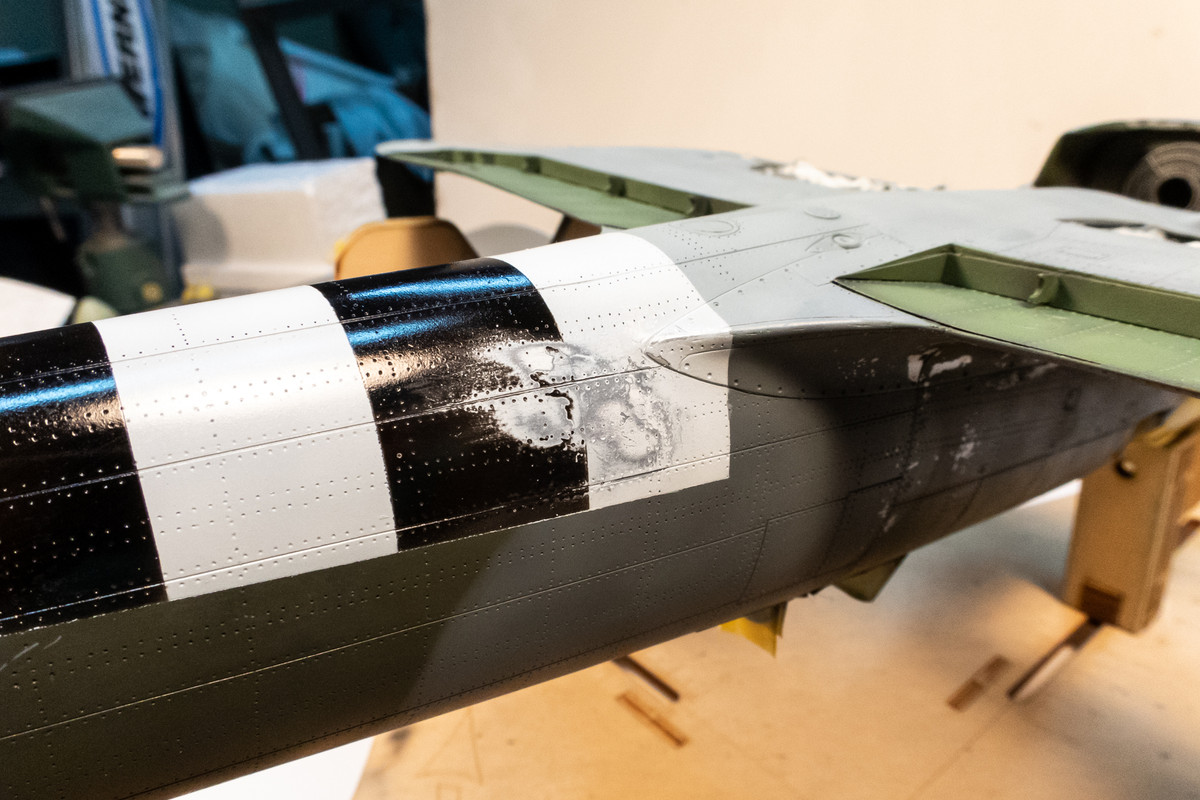
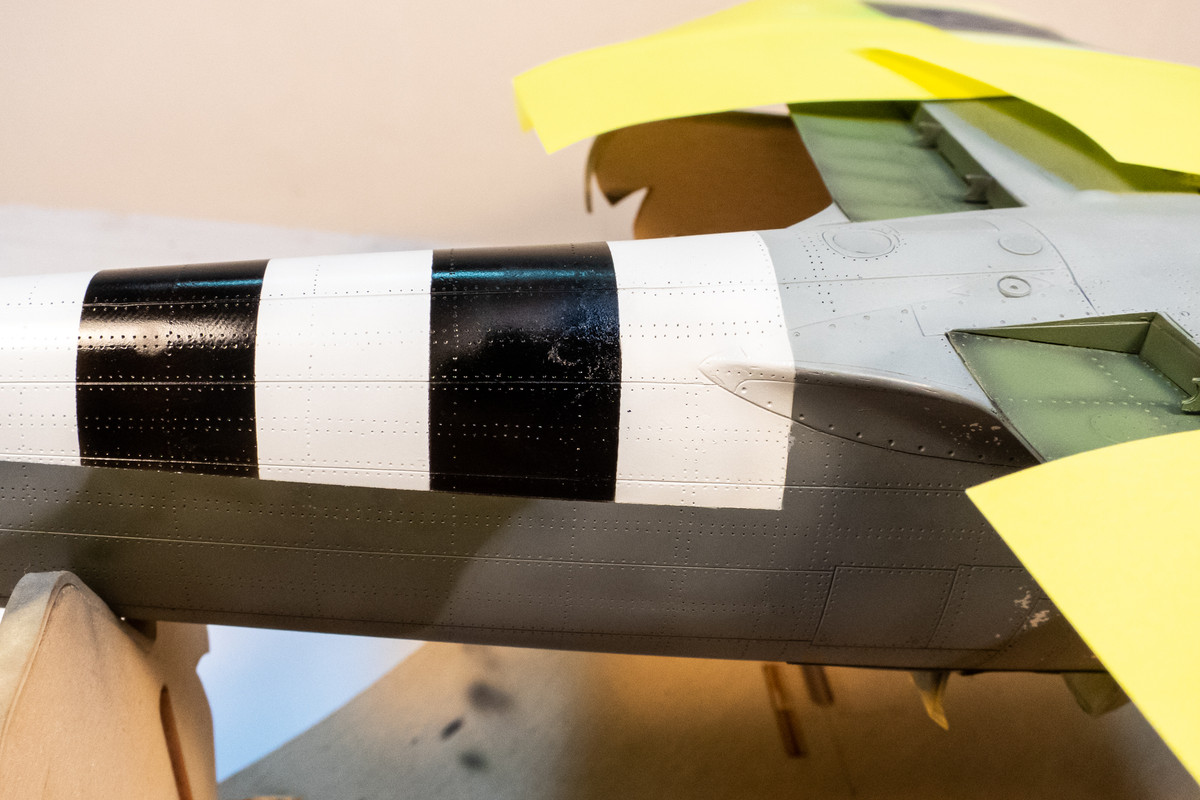
The black stripes were masked off and painted with Tamiya Black. It's hard to see but I had a mishap on the port side near the wing root caused by painted lifted by the masking tape and then compounded with fingerprints on the repaired area... not pretty.
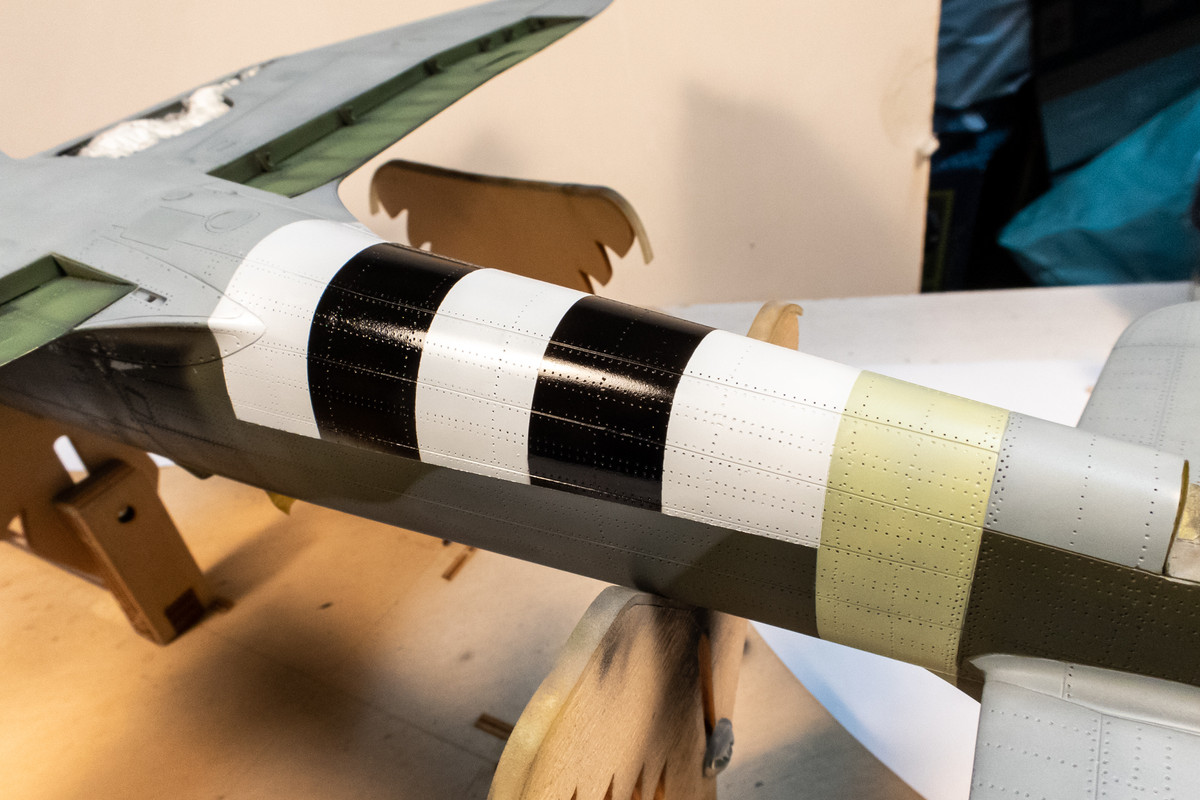
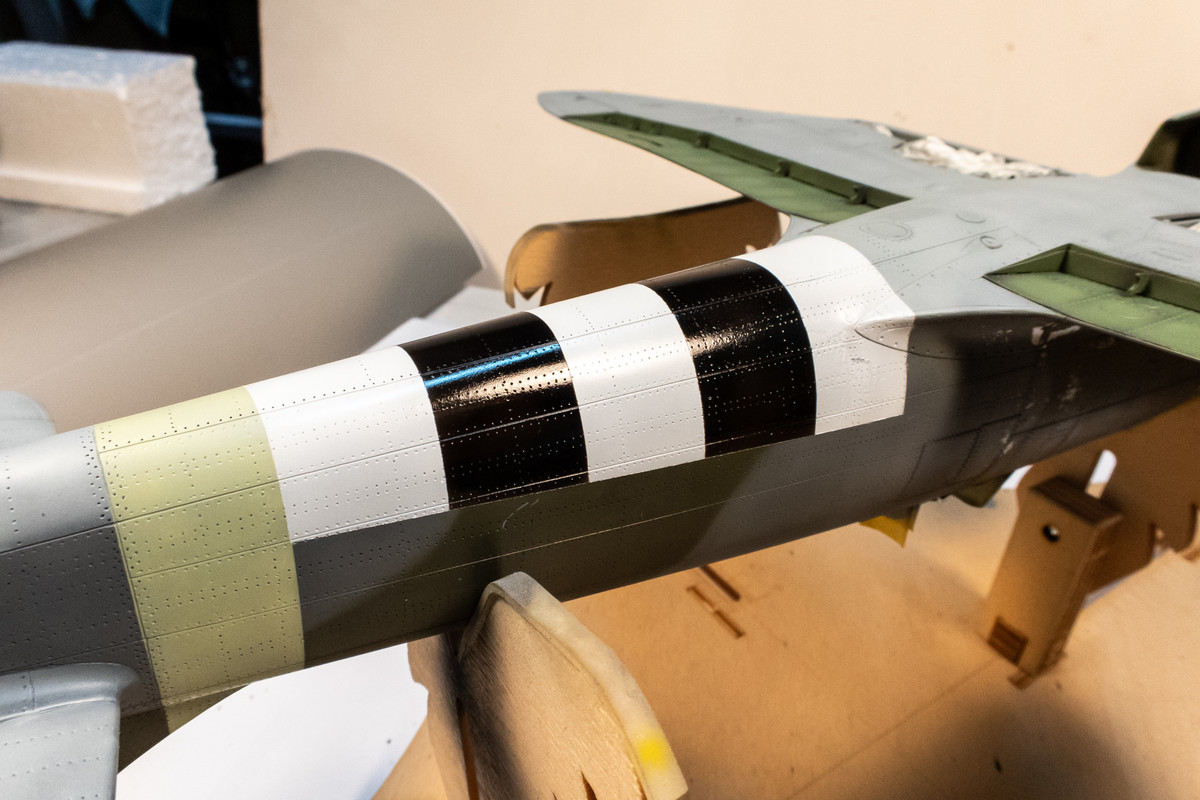
It's important to let paint dry in between masking steps but sometimes I rush and pay the price. After I let the affected area dry, I sanded the area down and buffed it out with some Micromesh.
Some colors like white need a neutral base to help blend the repair with the surrounding area. I used Ocean Grey here.
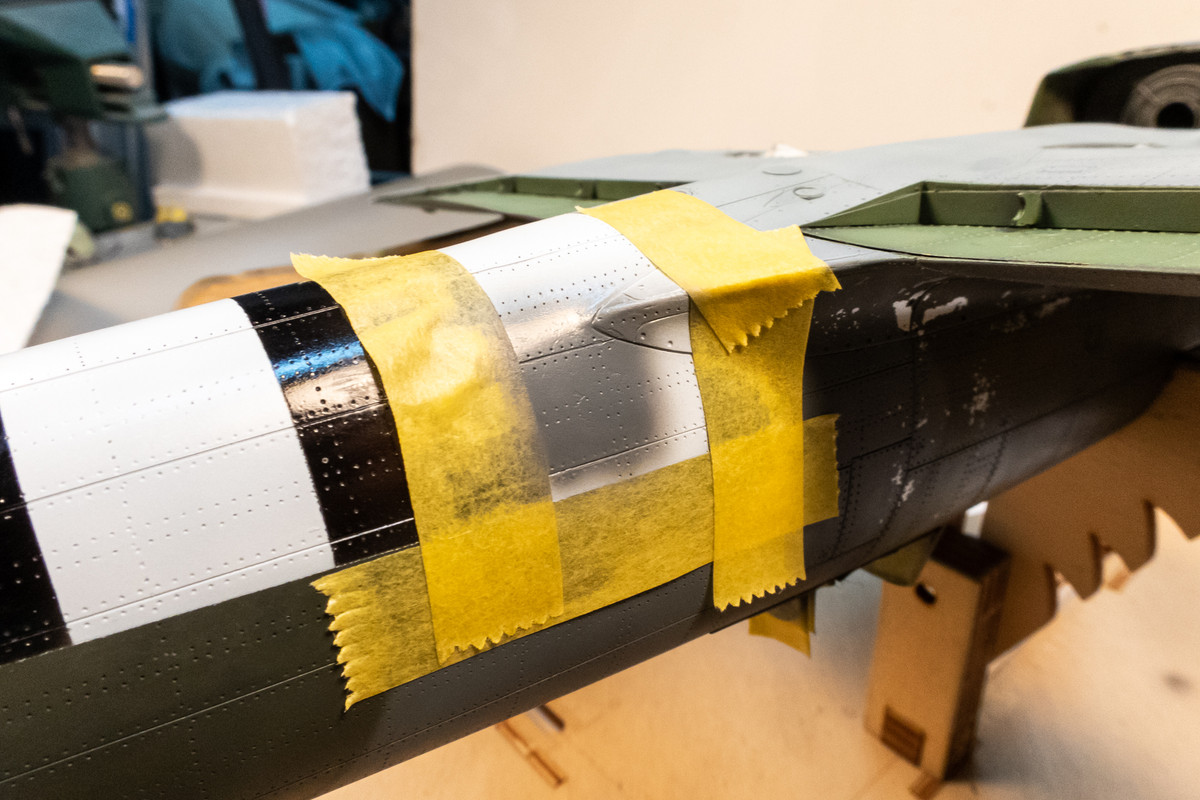
The white is repaired but I am going to be patient and let it dry completely before repairing the black next to it.

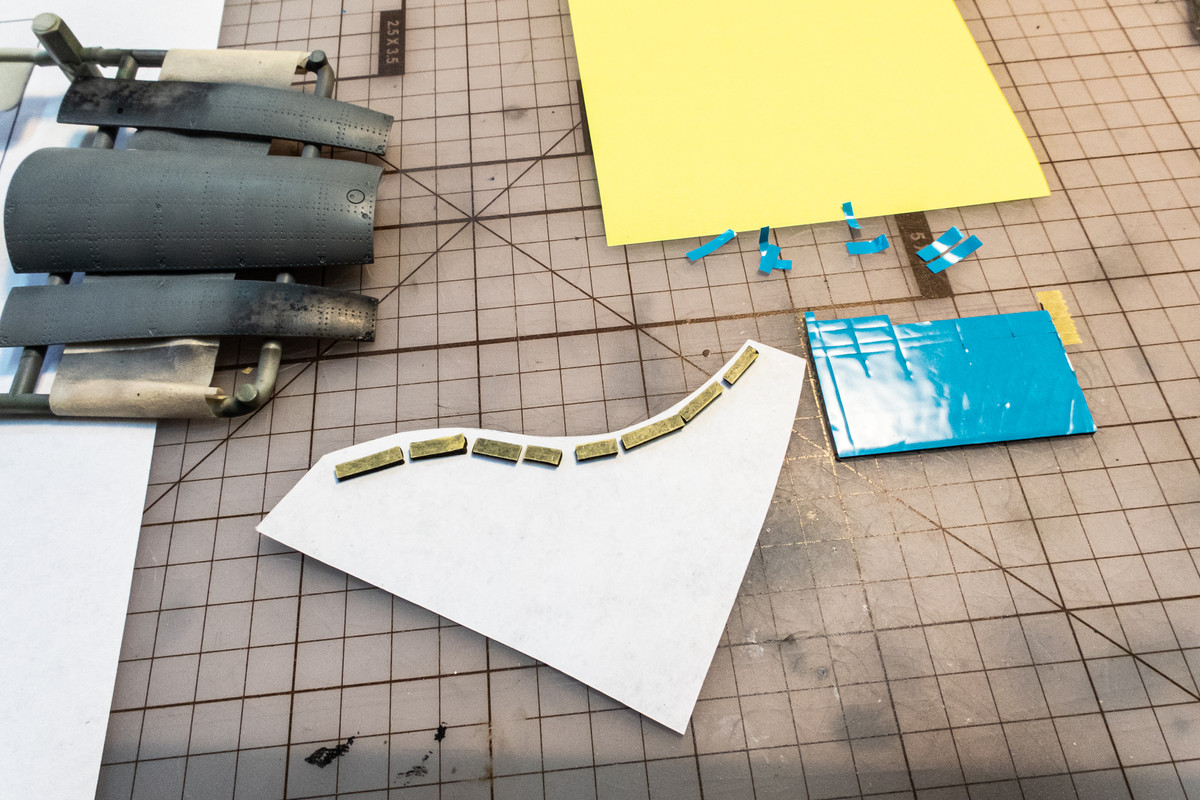
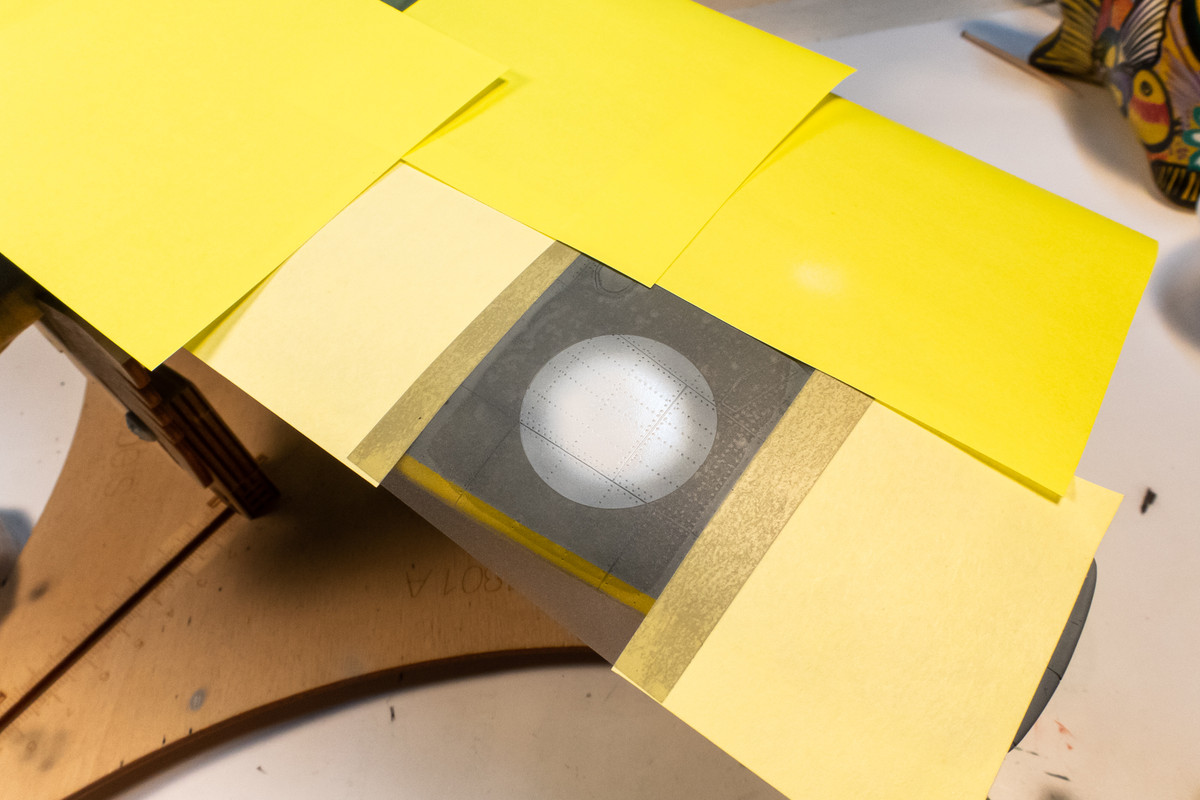
There are other things I can work on in the meantime. The underwing roundels, which are three colors (red, white and blue), will be painted using custom cut masks produced by my Silhouette Portrait cutter. I've started off the painting by spraying the white first in the middle and carefully avoiding the edges of the circle where it is not needed.
Re: 1/32 Special Hobby Hawker Tempest Mk V
Posted: Mon May 30, 2022 2:35 am
by jkim
Continuing on with the underwing roundels... after the white has dried, the whole interior mask (3-pieces) are carefully placed within the outline mask on the model. To help keep the pieces together, I use a piece of tape.
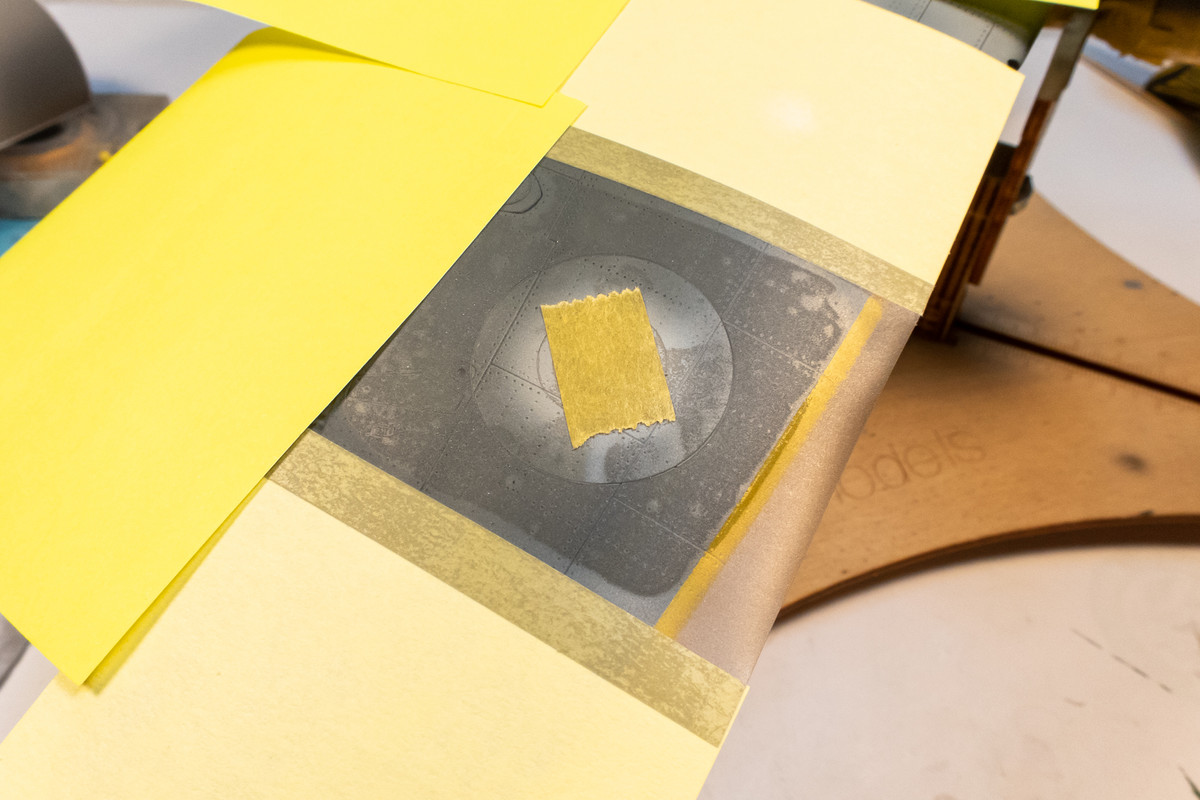
The largest outer ring is removed, leaving the two center pieces in place. Save this removed mask because you'll need it. The blue color, which was a mix of Tamiya Royal Blue and Black, is sprayed next.
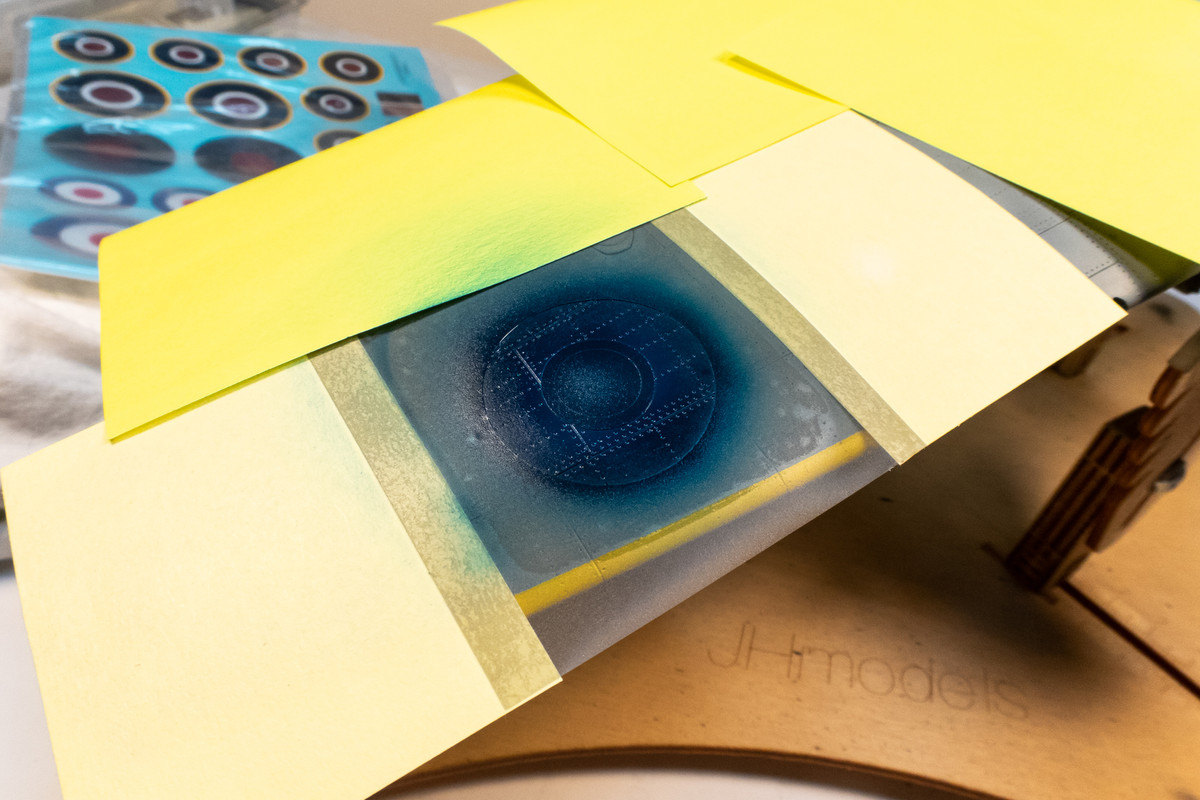
After the blue is dry, the previously removed outer ring is put back into place and now the center circle is removed. It can be difficult to align the masks so that the all of the edges are flush with one another. To guard against paint seepage, I glop on some Micro Mask around the outlines.
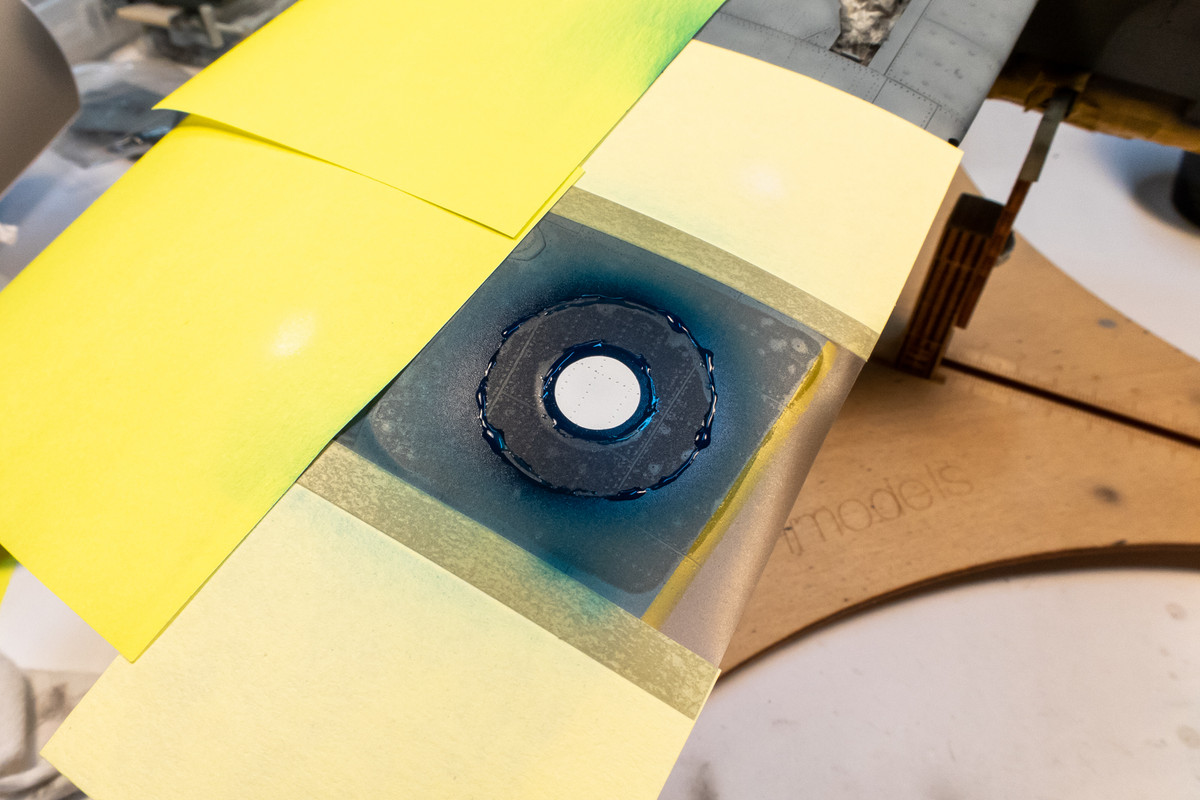
The red is the last color to be sprayed. This is a mix of Tamiya Red and a touch of Royal Blue.
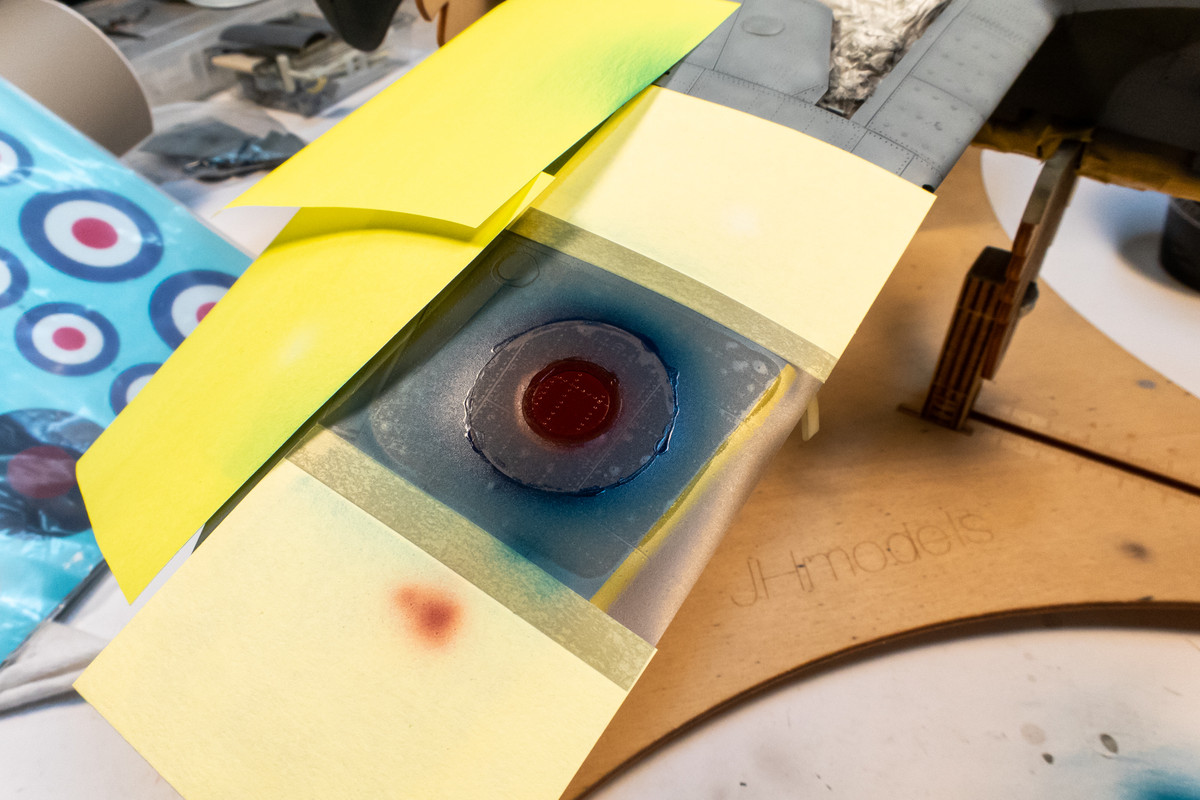
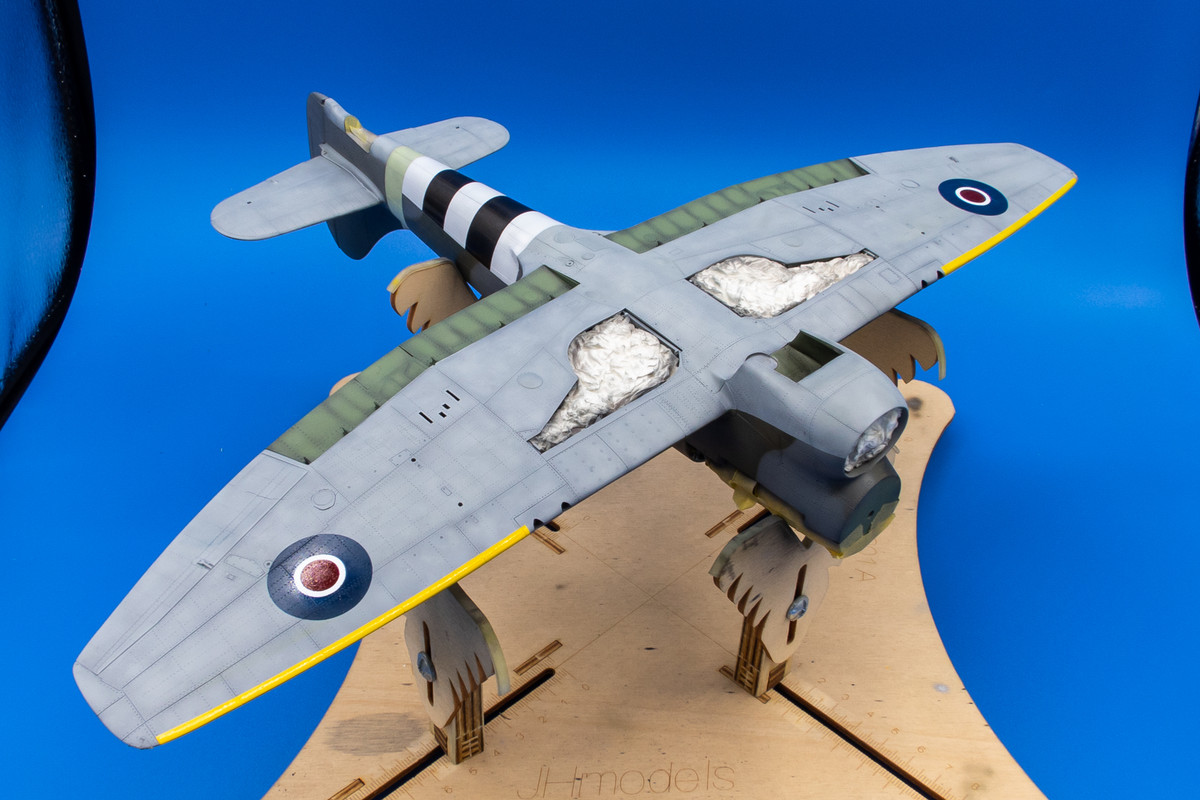
The completed underwing roundel.
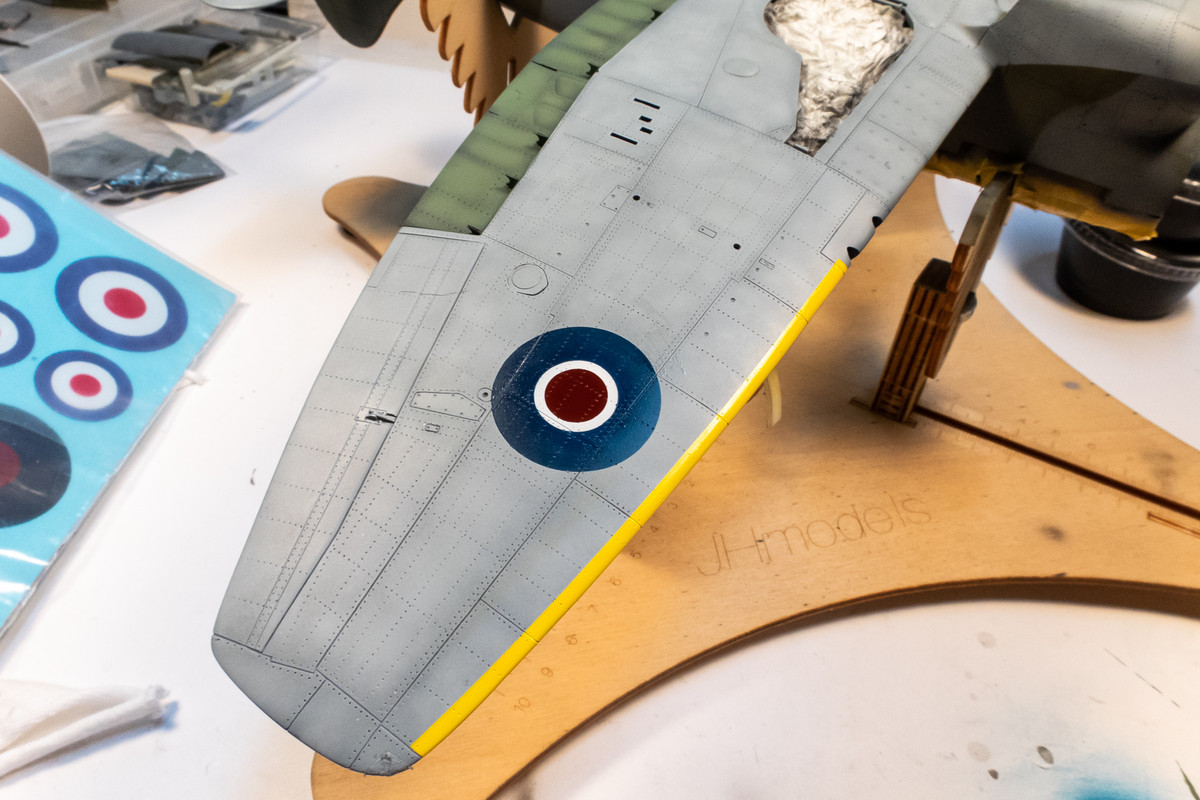
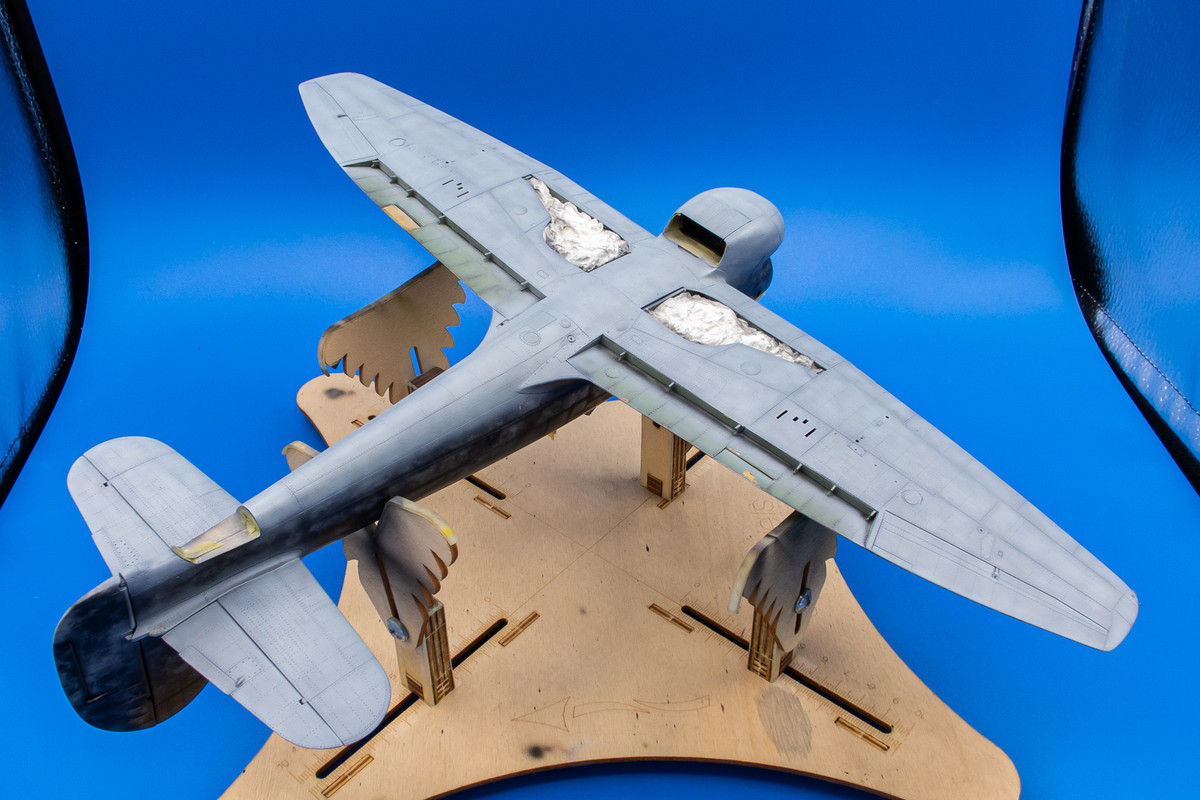
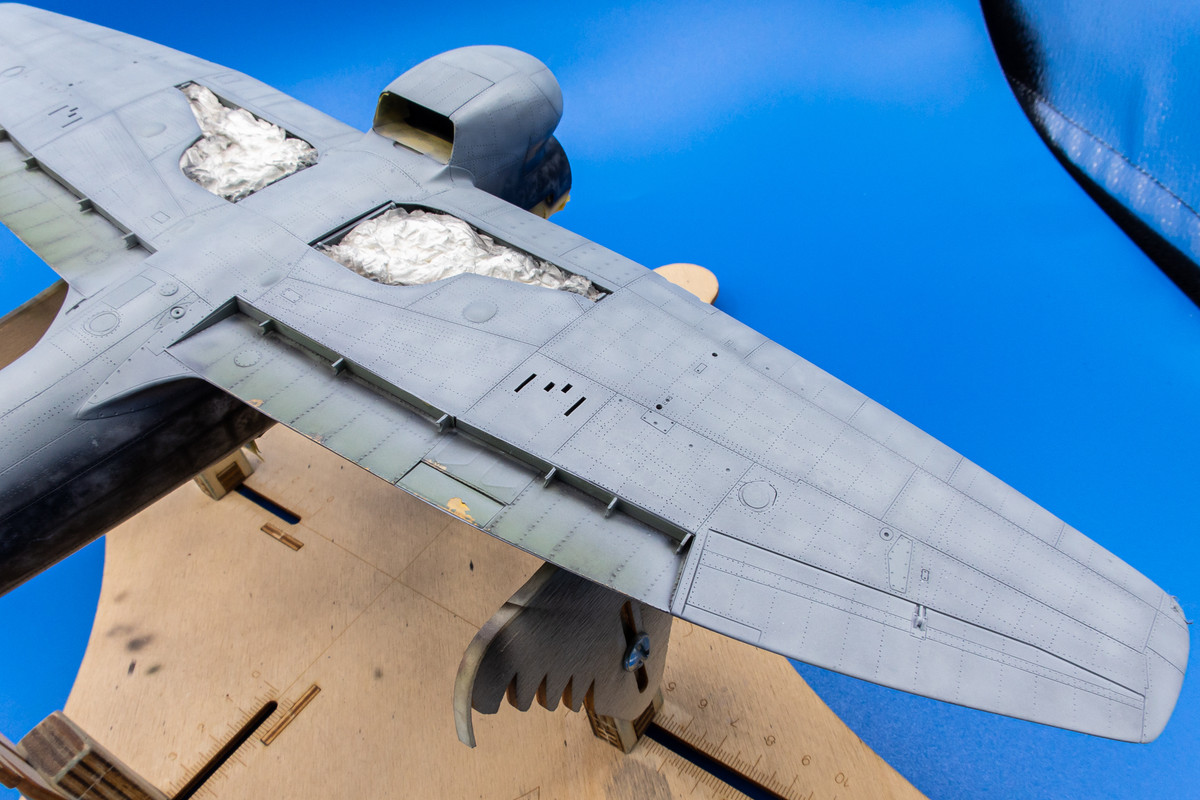
The painted markings on the bottom, including the yellow wing edges, have been completed.
The prop blades have been glued into the spinner using tube glue since I can't access the joint directly with Tamiya Extra Thin cement.

The previously shown black stripe area has been repaired. There is some texture here but I think it will be taken care of by the subsequent clear coats.
 I’d definitely would attend.