Page 4 of 6

Re: 1/72 Eduard FW-190's

Posted: Thu Jan 14, 2016 1:49 pm
by Fermis
mostrich wrote:Now some smoke has to pour out of the exhausts.
Strange those fit problems. Maybe the struts of the engine mount had been fixed in a wrong angle? Was a delicate point in the instructions of their quarterscale Würger.
Also, could be the combination of two different A/M sets.
One set being the engine with a bulkhead that doesn't have the "step" at the top(not used) and not intended to show the gun bay area.
The other set had the bulkhead for the gun bay(used) and just the back of the engine...just to show the detail with only the gun bay panel open.
Either way...it's in there!!!

Re: 1/72 Eduard FW-190's

Posted: Thu Jan 14, 2016 2:10 pm
by Thomas_M
I also see a nice black gearbox up front! :wink:

What an unbelievable amount of detail on this 1/72 scale engine and mount! Wow!!!

Re: 1/72 Eduard FW-190's

Posted: Thu Jan 14, 2016 2:51 pm
by BlackSheep214
Aw hell, I'll go blind if I tried detailing that in 1/72 scale. You are a master, Fermis... :bow:

Re: 1/72 Eduard FW-190's

Posted: Thu Jan 14, 2016 5:11 pm
by Stuart
That is some superb work Fermis!

Re: 1/72 Eduard FW-190's

Posted: Fri Jan 15, 2016 4:15 pm
by KSaarni
a-m-a-z-i-n-g !!

:bow:

- Kari

Re: 1/72 Eduard FW-190's

Posted: Sat Jan 16, 2016 6:35 pm
by Handiabled
Amazing amount of detail for the scale! Another awesome Fermis build!

Re: 1/72 Eduard FW-190's

Posted: Thu Jan 21, 2016 1:18 pm
by Fermis
Thanks again guys!
Photobucket has been on that time of the month, I guess....finally manged to get through!

Alright, alright....painting time!!!
Gonna go through the whole process here, step by step.
I'm sure it's not the "be all end all" to painting, but it's what I do and I like it!

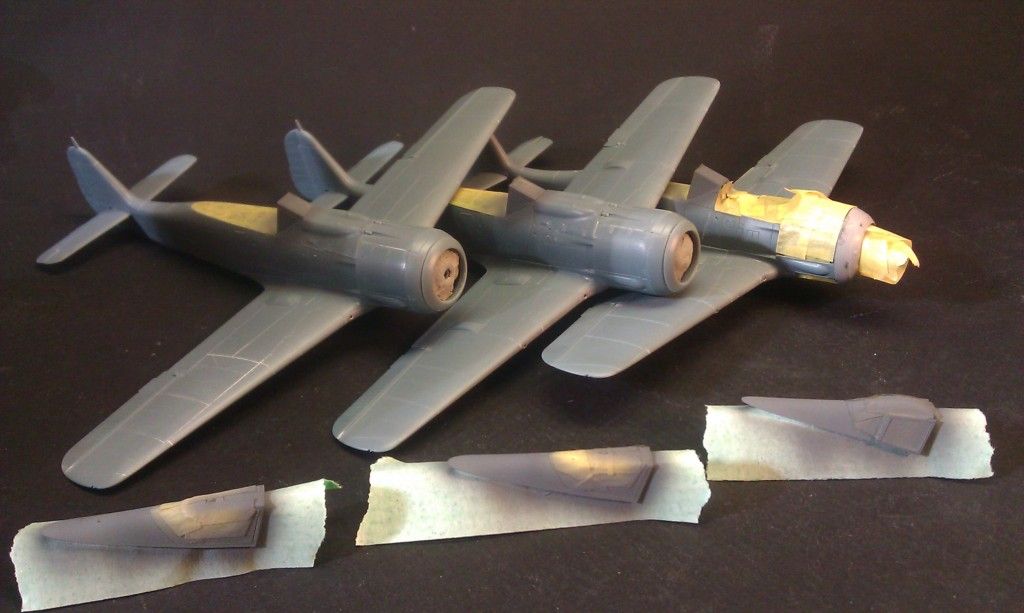
Step 1. Ducks in a row! Everything not to be painted is masked...fiddley bits CAed to some scrap sprue...ready to sling paint!
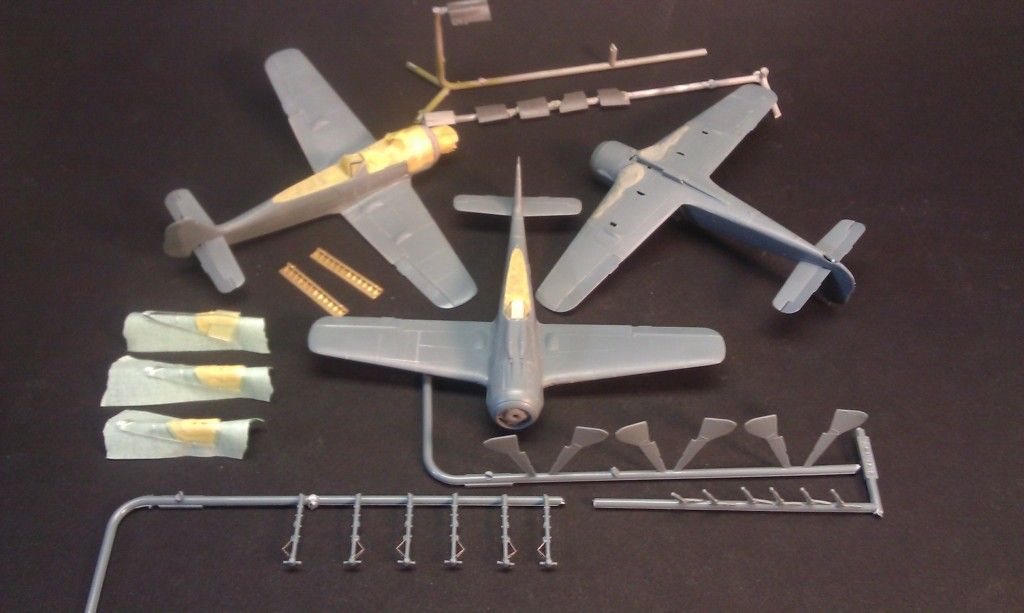
Image

2. Hit the canopies with the interior color.
Image

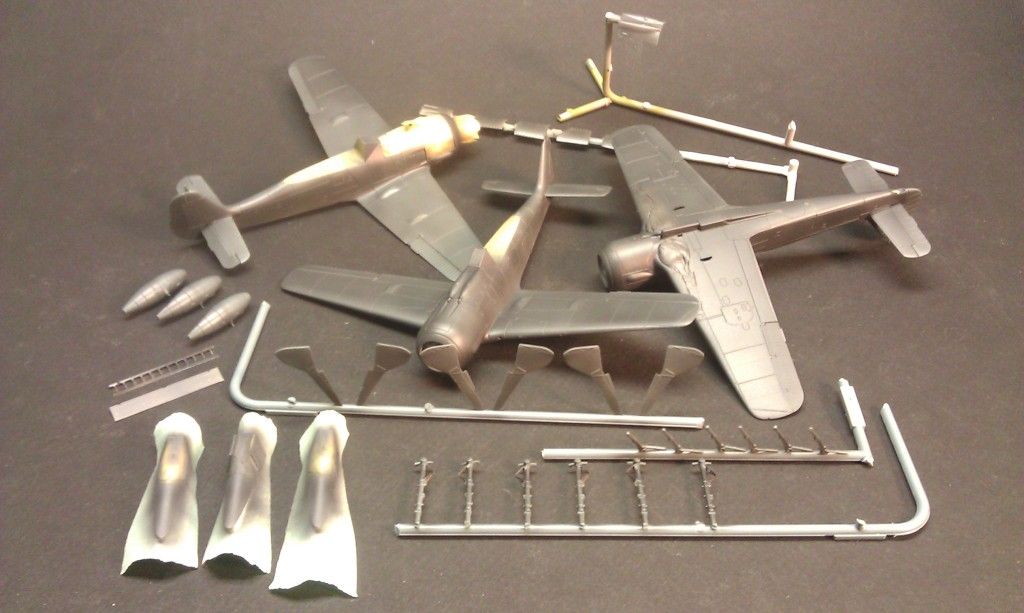
3. All black...or in this case, a very dark grey.
Image

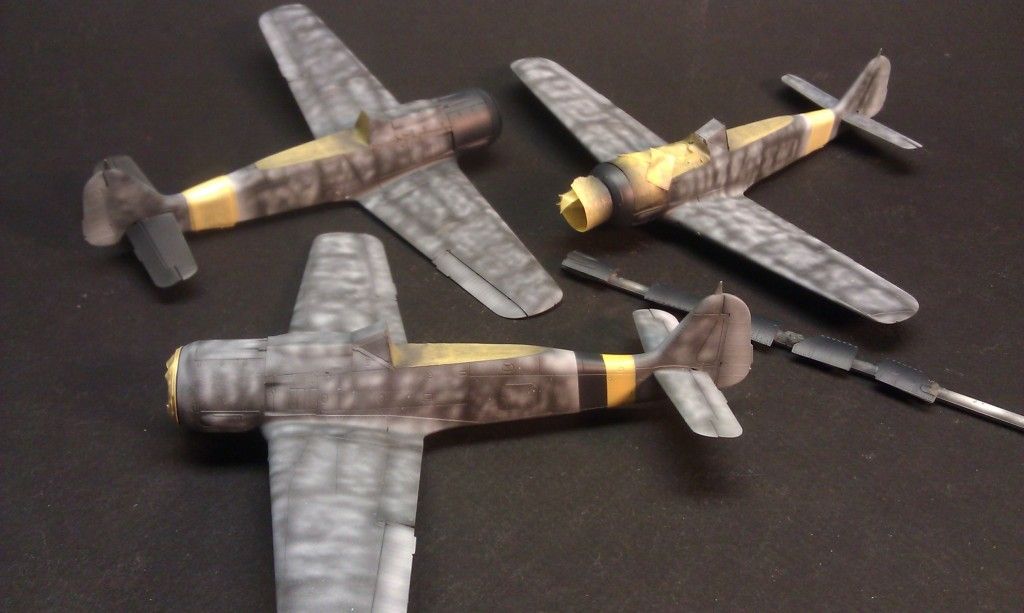
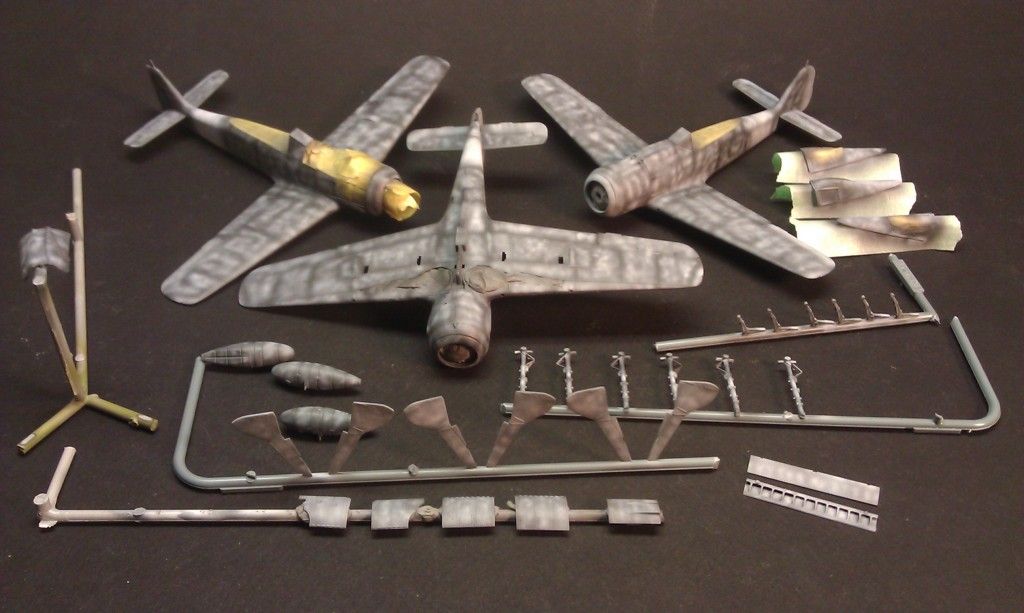
4. Marbling/mottling in white...this is when I also do tail bands and "prime" for other splashes of color (such as rudders or yellow chins...not in this case though).
Image

5. Tail Band and cowls painted.

Image

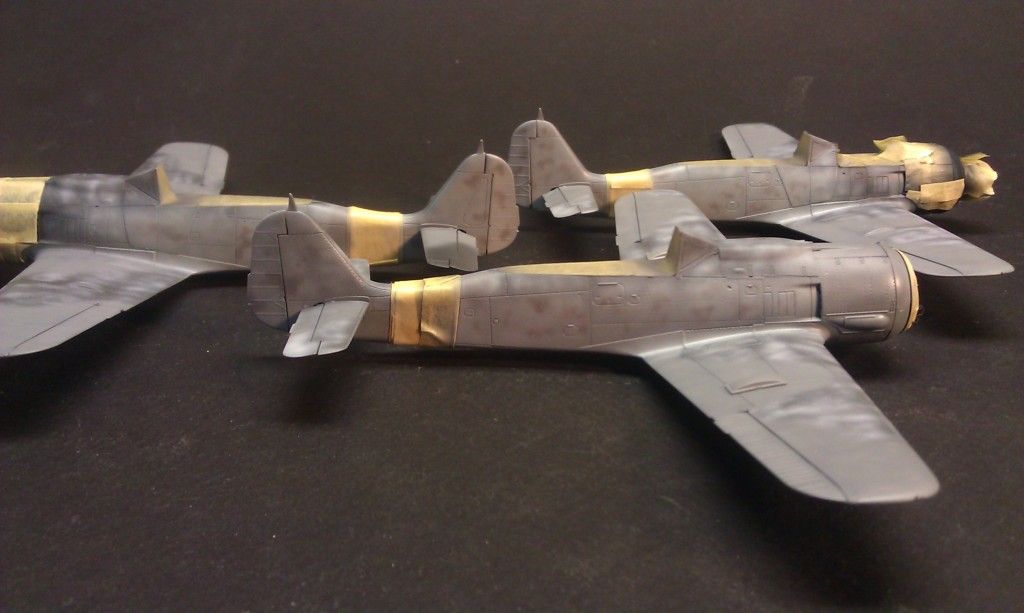
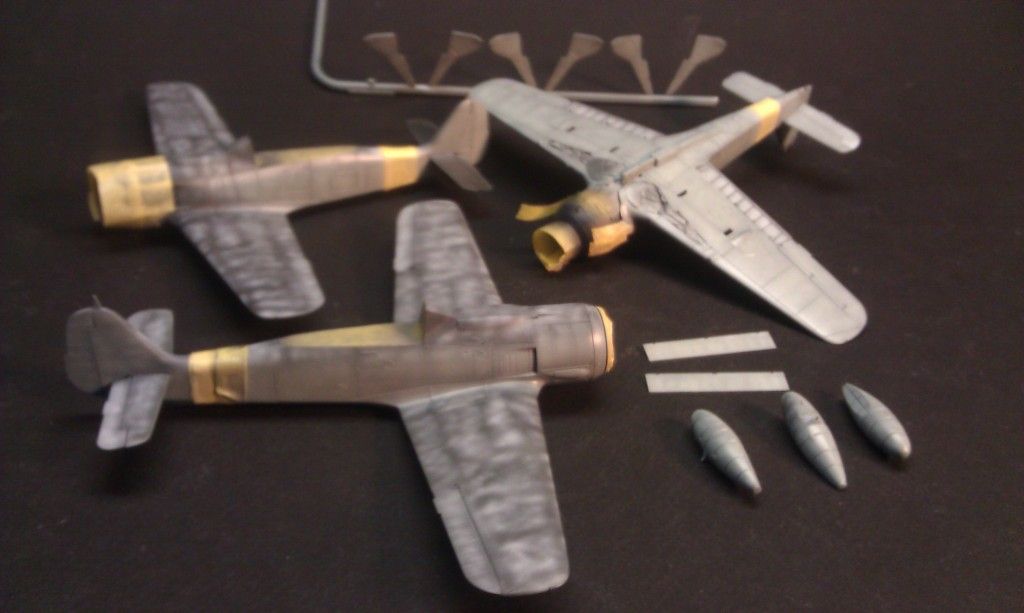
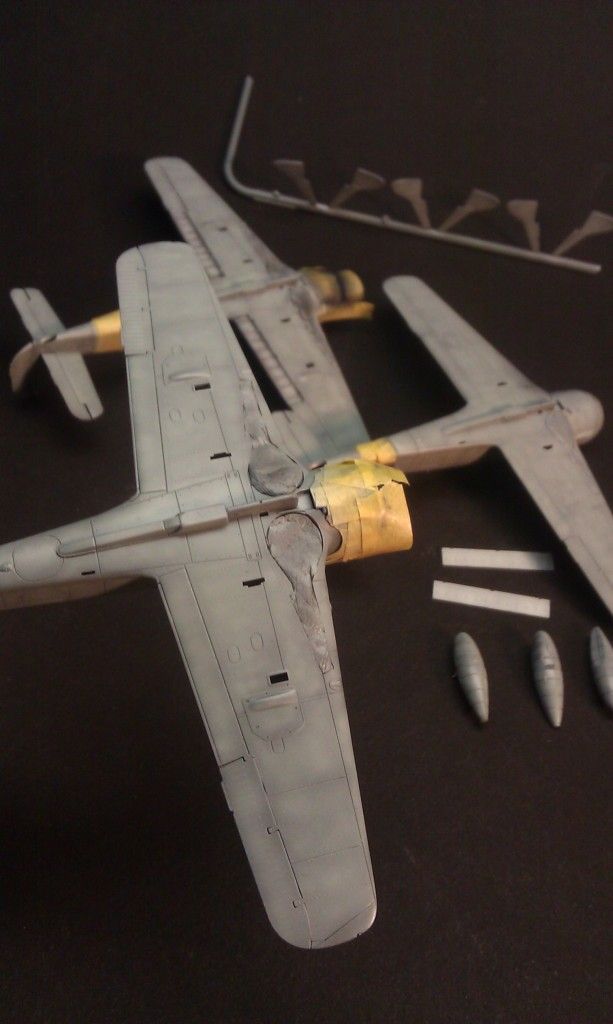
6. Bands and cowls masked off...time for color. RLM76 first. I thin the color coats way down, beyond 50/50...to a point where you really can't see any color with one pass. Build it up slowly! When you think you've almost gone too far, it's time to stop!
Image

Image

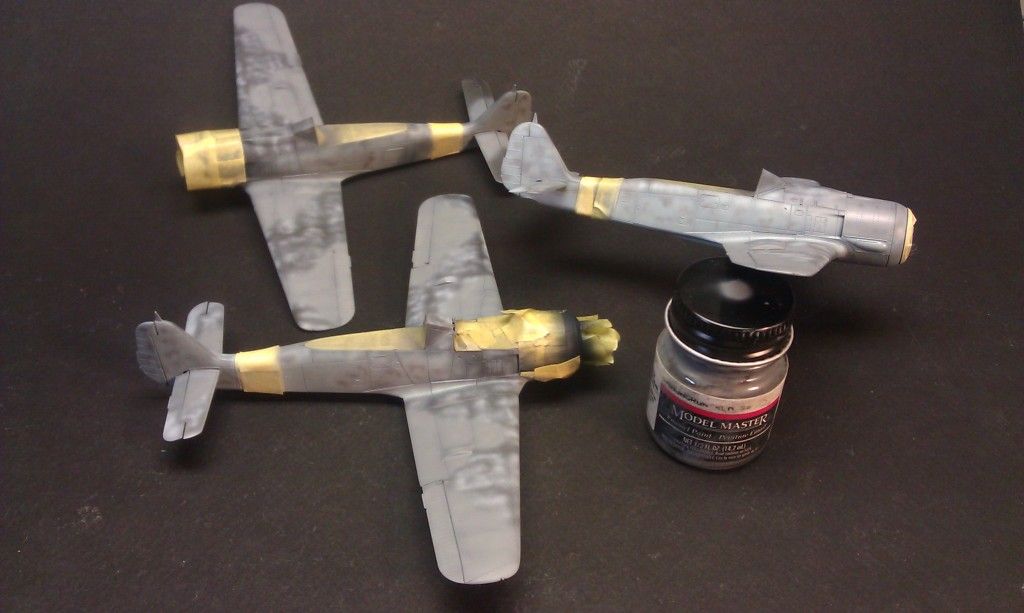
7. Lightest top camo color...RLM75. Along with a little bit of mottling.
Image

Image

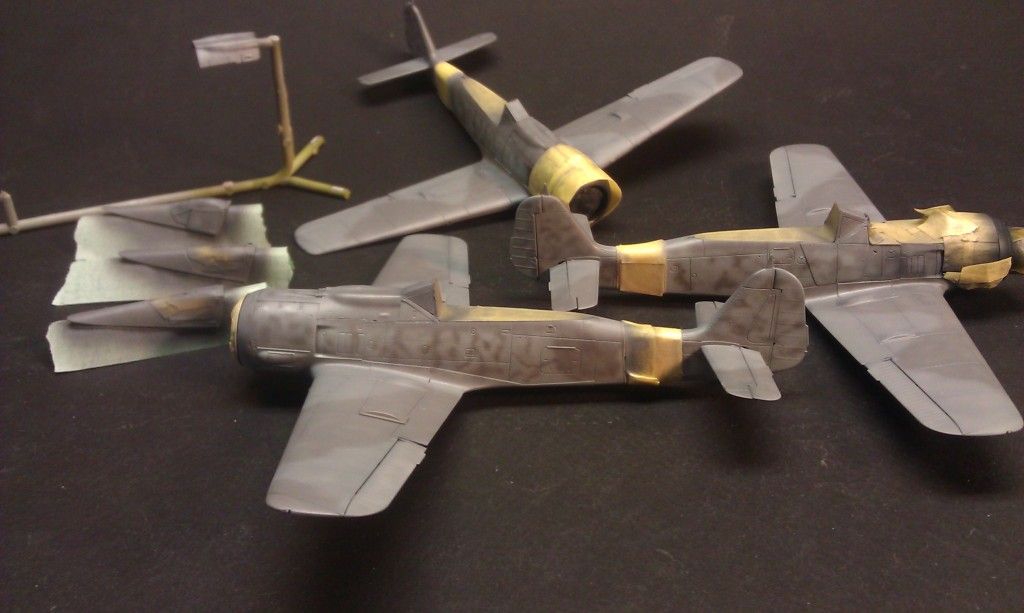
8. Final color, RLM74.

Image

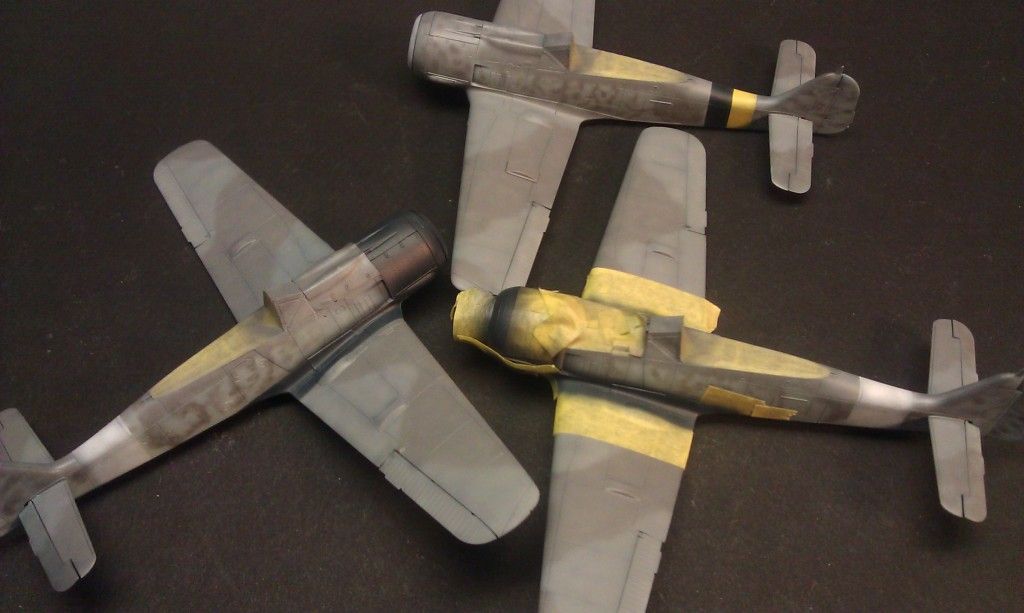
9. Any other color that needs to be painted. In this case, the black wing roots were easier to mask and paint after the other stuff.
Image

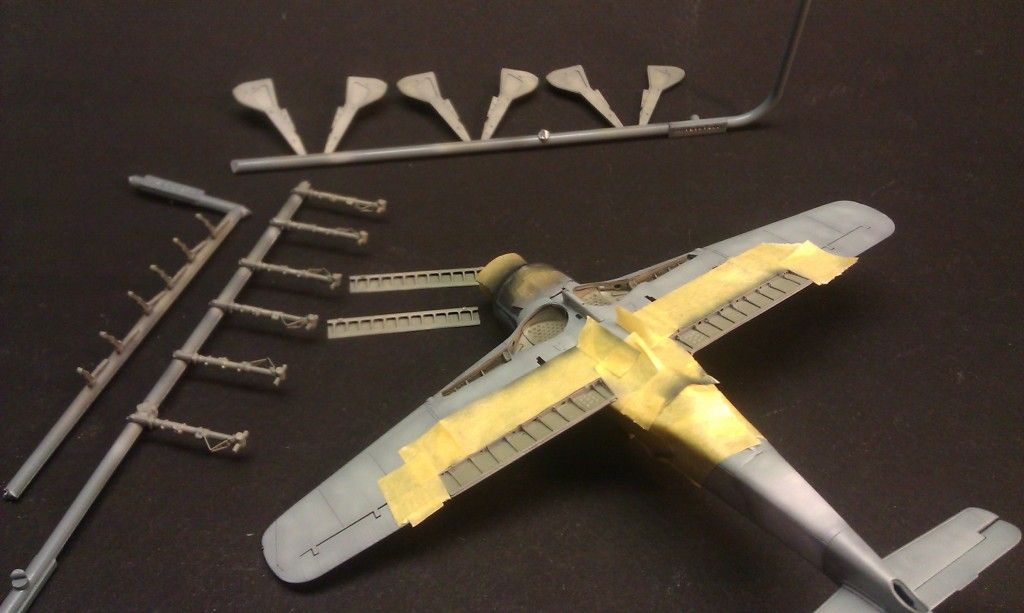
Same is true for the flap area. Since I had the RLM02 out and loaded, I hit the landing gear parts as well.
Image

All are nice and shiney right now, waiting on decals!

Re: 1/72 Eduard FW-190's

Posted: Thu Jan 21, 2016 1:30 pm
by BlackSheep214
Wow! I gotta tack this in my Favorites box. So much to learn here.

Re: 1/72 Eduard FW-190's

Posted: Thu Jan 21, 2016 6:17 pm
by Stuart
A great guide Fermis and those birds look great!

Re: 1/72 Eduard FW-190's

Posted: Fri Jan 22, 2016 2:07 am
by Thomas_M
Henry Ford´s assembly line in action! :shoutout: