Re: Maddog Manufacturing 2018 Production
Posted: Mon Apr 02, 2018 7:29 pm
Thanks Medic! I appreciate that very much.
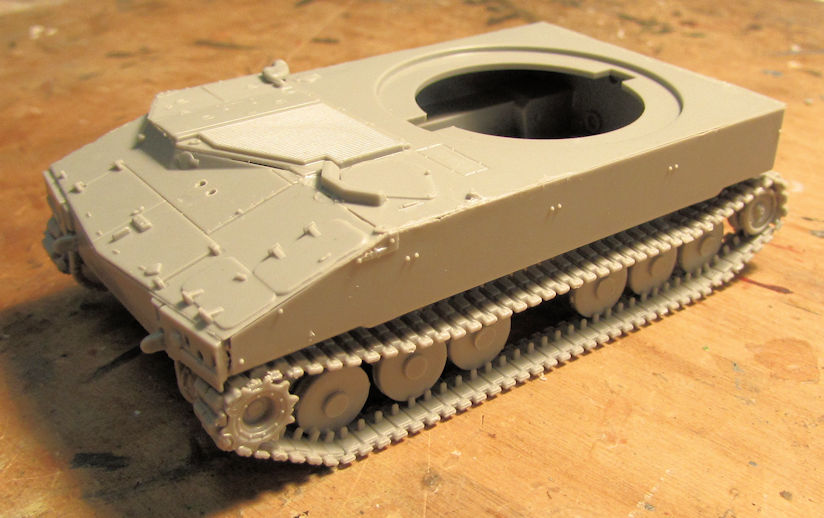
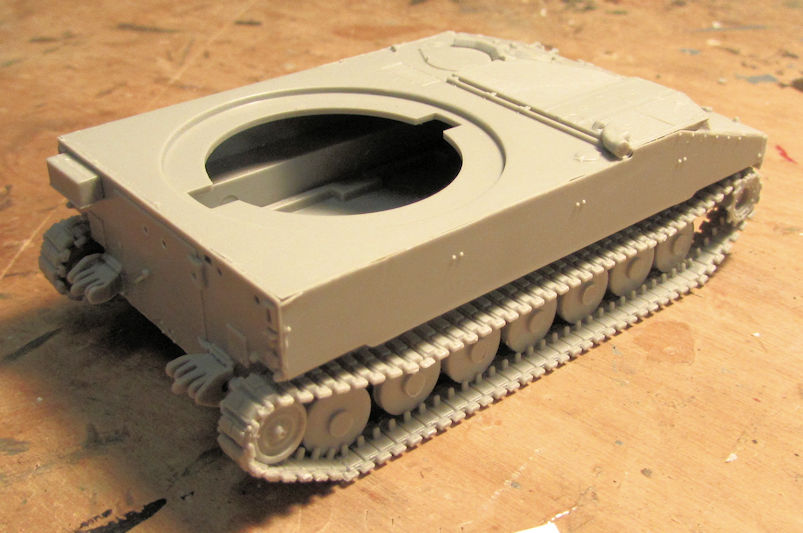
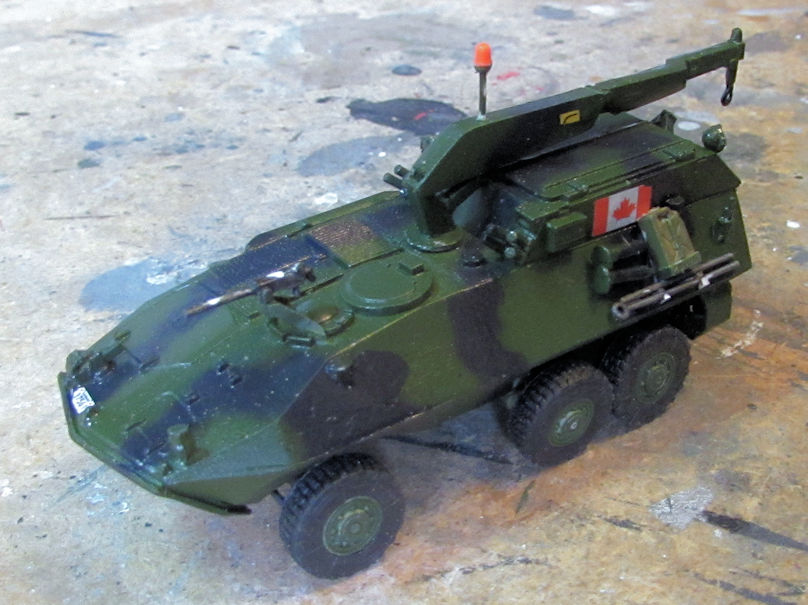
I had some time to work on things this past weekend so I kept going on a couple things. One was my Canadian Husky recovery vehicle that finally got all the bits and bobs on it. I just needed to detail and touch it up:
Later on, I shot the dullcoat on it and then added some black wash to the grills:
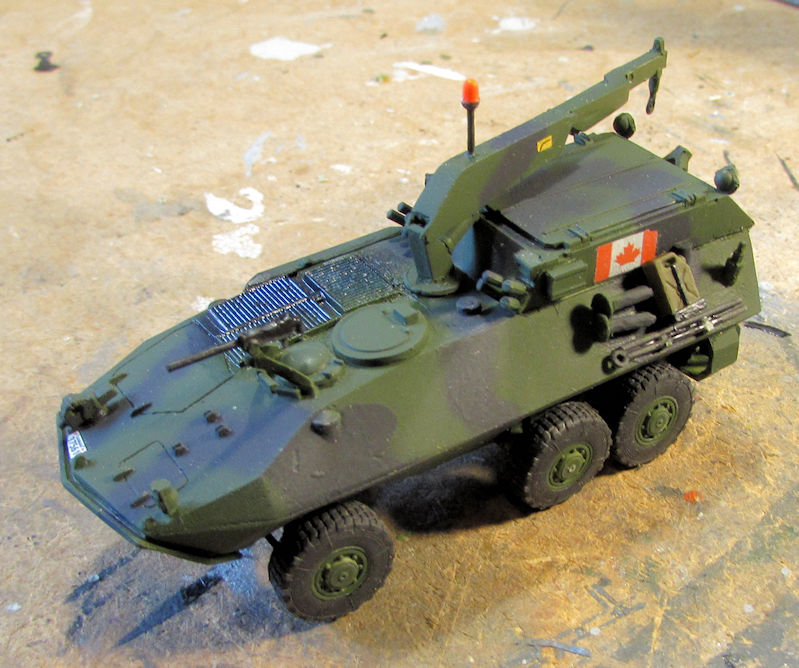
She has since been weathered and will soon be posted in the finished Armored Forums.
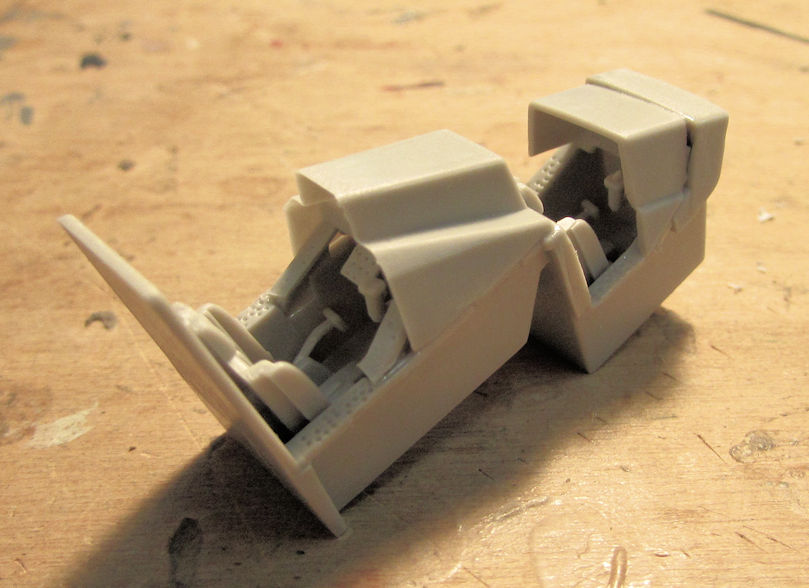
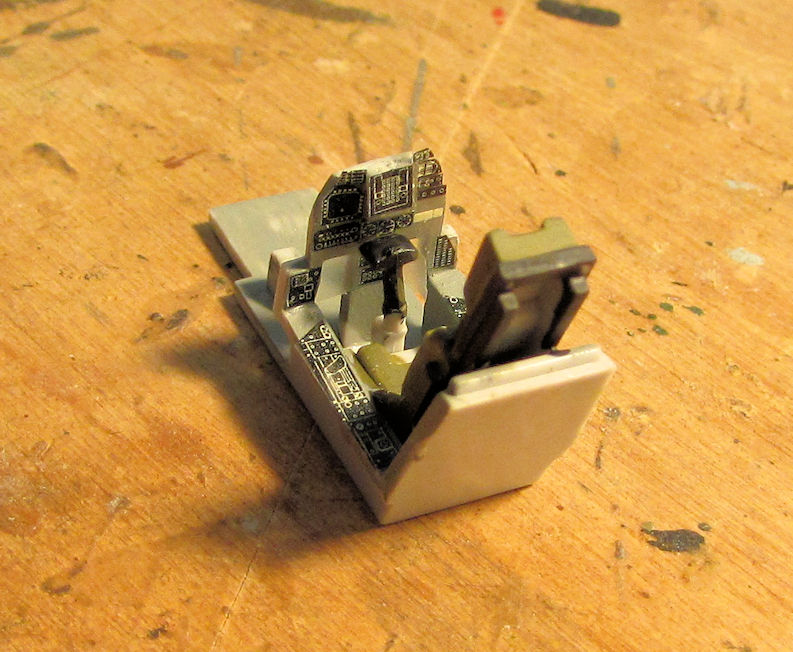
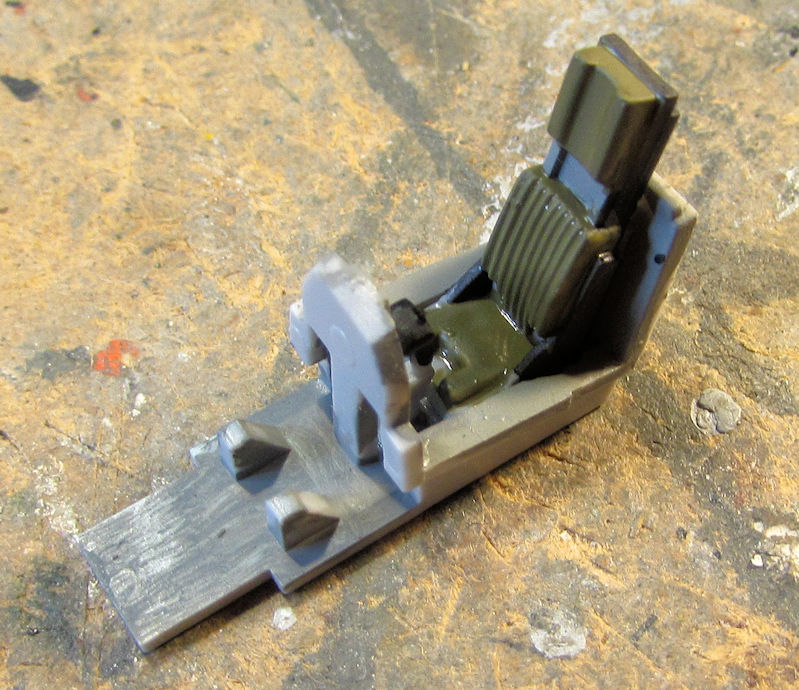
Meanwhile, I also pulled out the Italian Harrier I started. I painted the cockpit in preparation for the instrument decals:
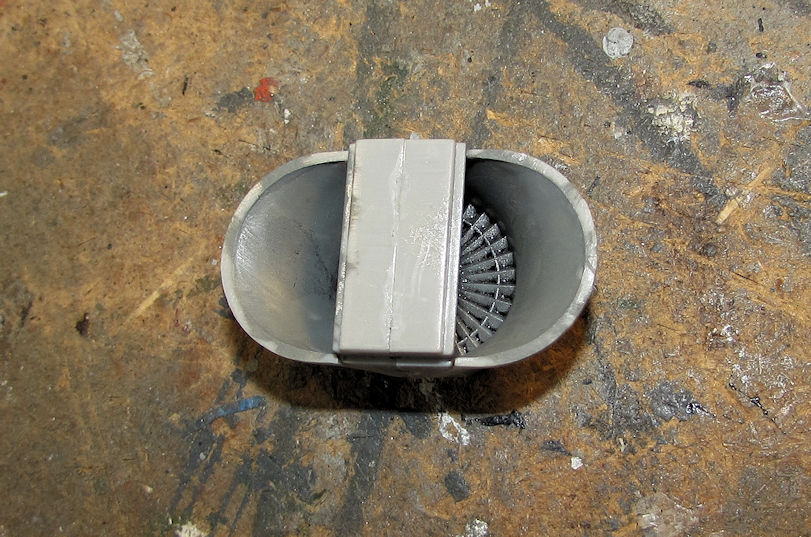
While that was drying, I painted the engine intake turbines...
...and the cockpit cowl, engine intakes and exhaust plates on the fuselage halves....
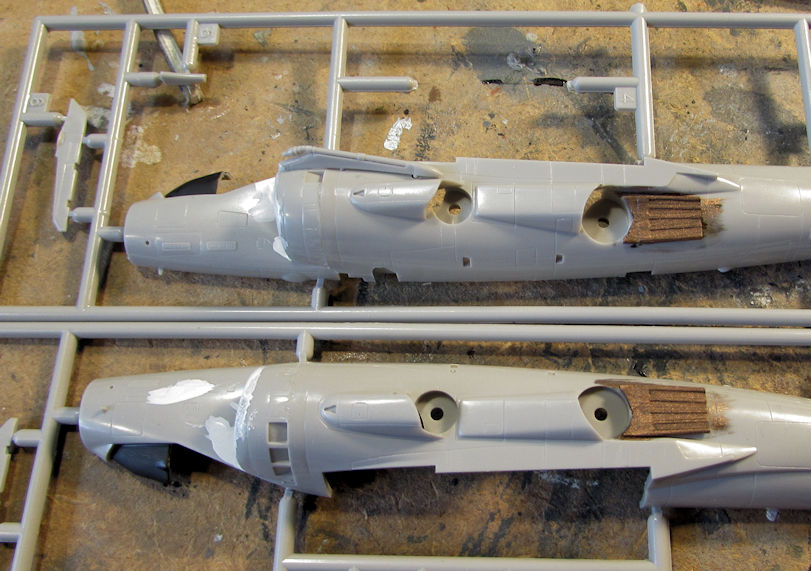
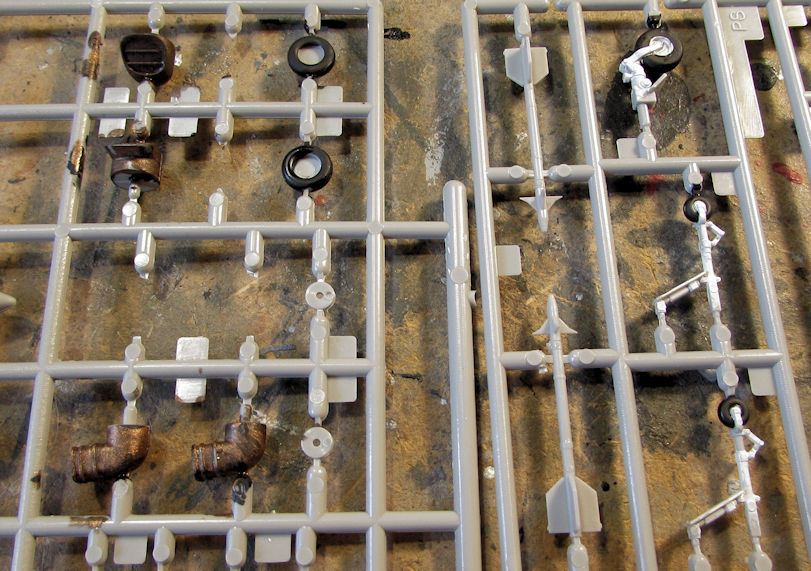
...and finally, the wheels, struts, and burner cans:
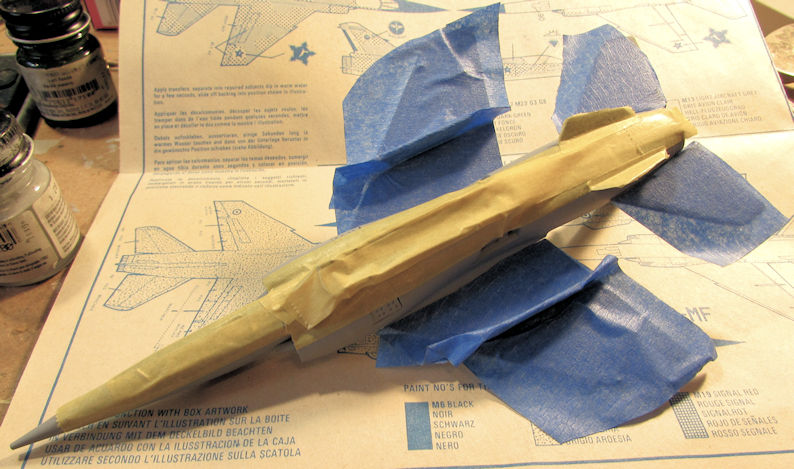
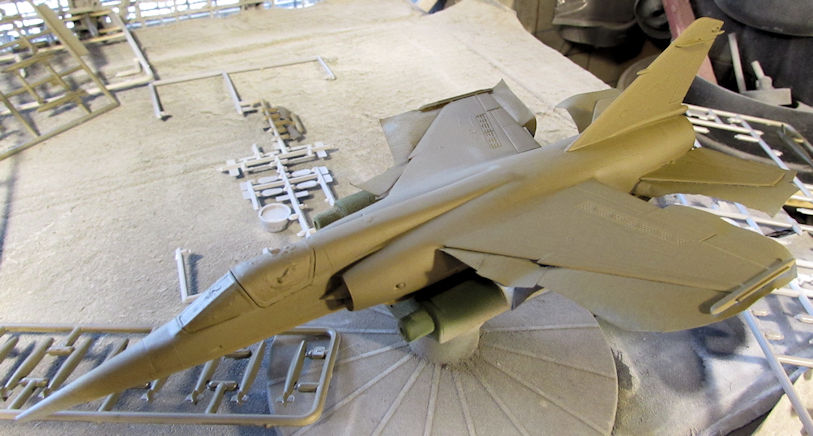
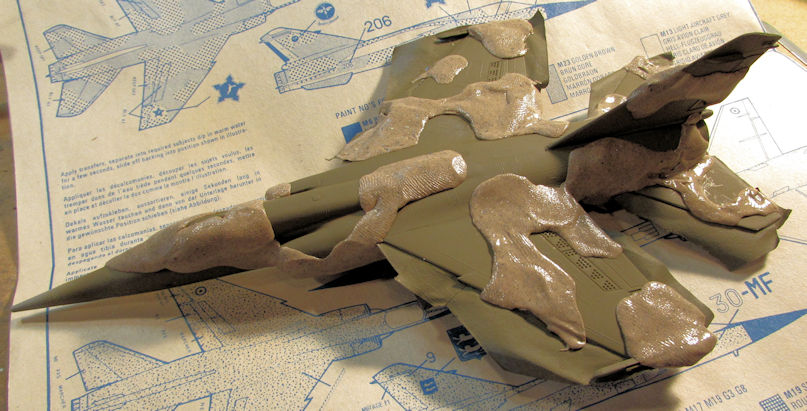
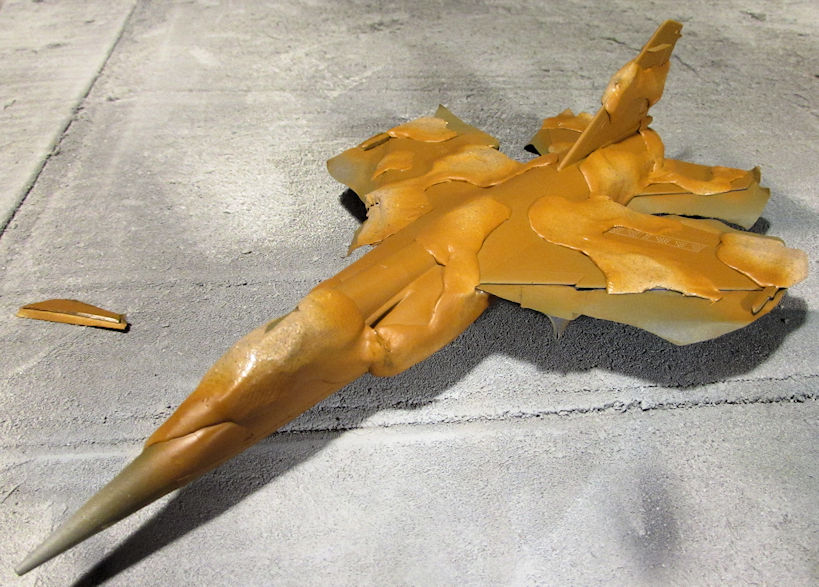
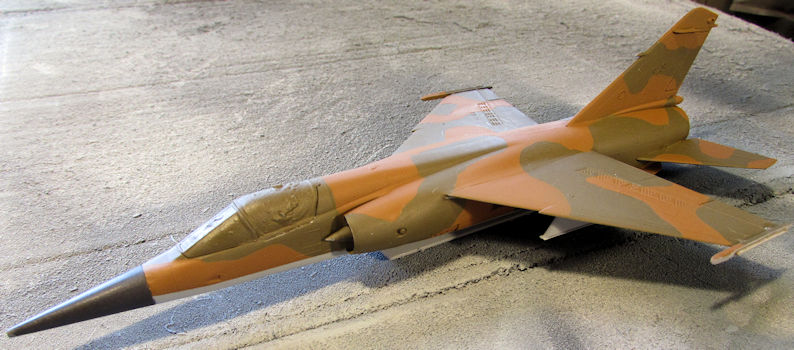
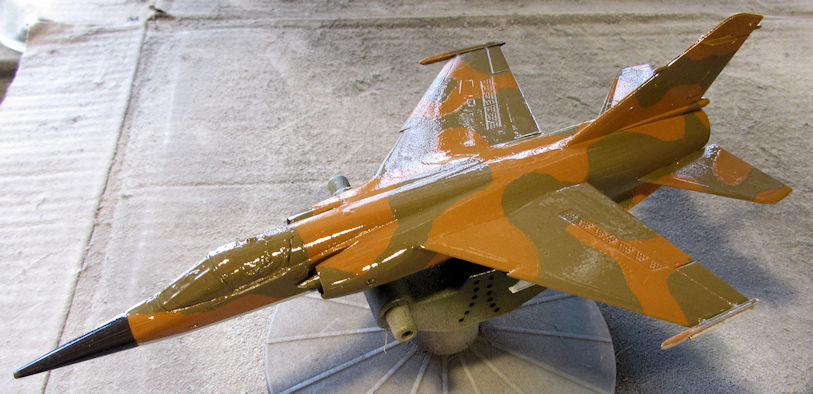
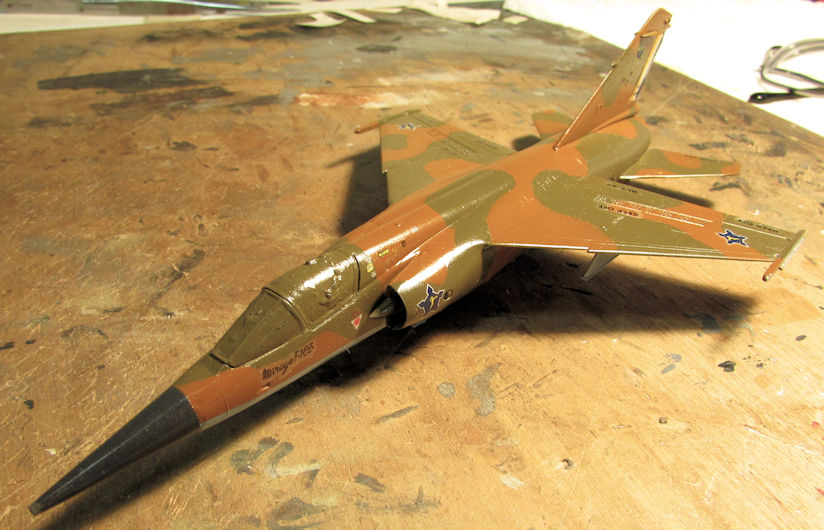
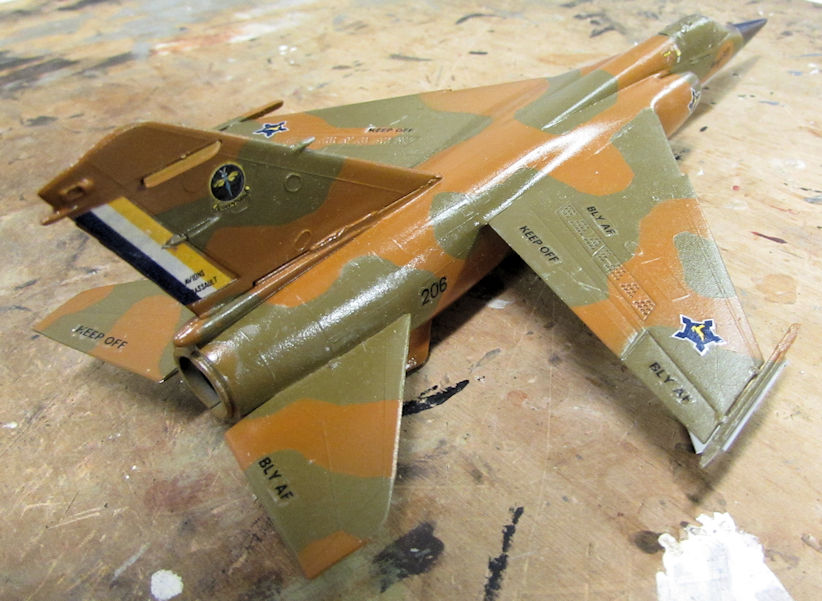
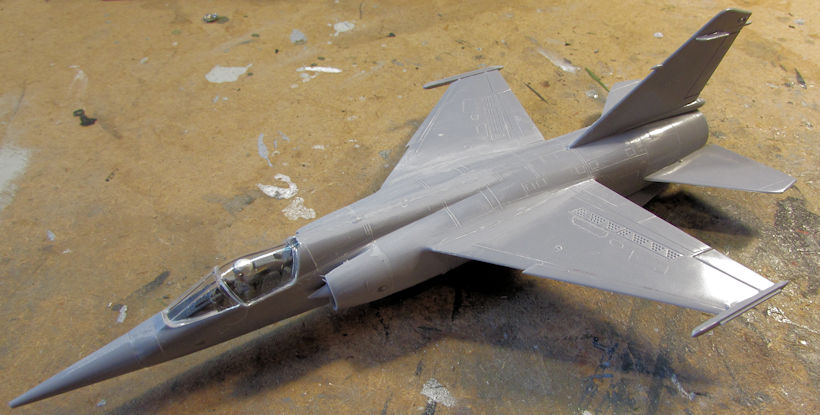
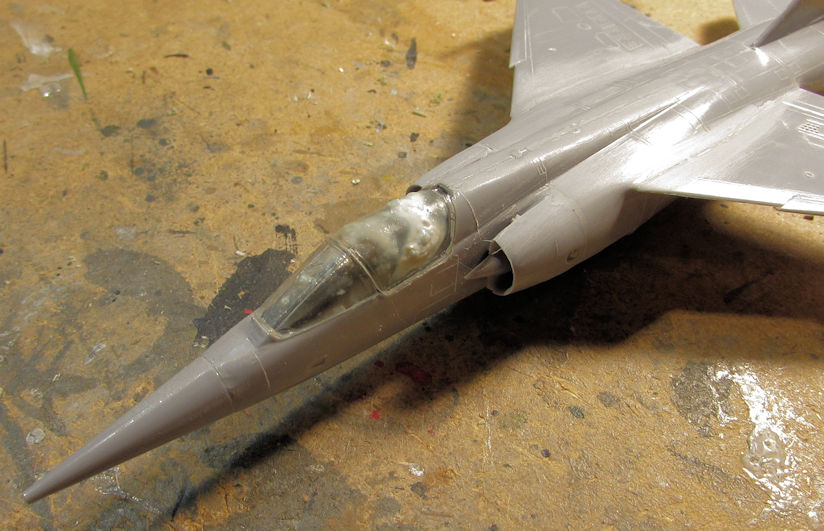
Another aircraft I continued on was the South African Mirage for my second African build. I added the canopy to this and then sanded down all the filler I had added:
Later I masked off the canopy in preparation for a primer coat:
Now for a few of the other models I mentioned before that I found when I cleaned up a bit. These are models I'd forgotten about, or had held back from starting before. I finally decided to just get them done.
One was this one that I had thrown in frustration. I started to re-cement back the Boeing 737 fuselage:
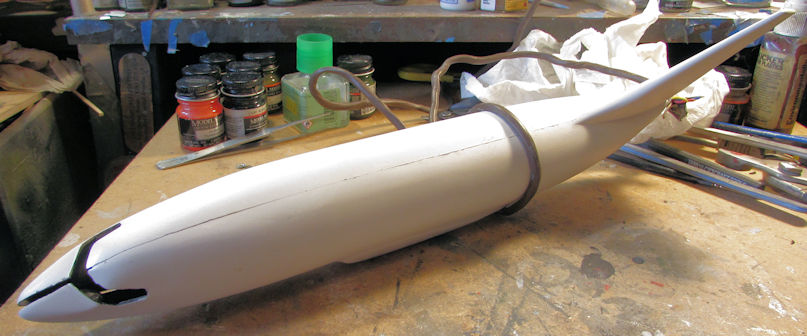
Yes, that is some old housing wiring I'm using as a clamp to hold all that together. I've also since closed up the nose and I'm waiting for it to dry as well before I move on again and try to paint the white
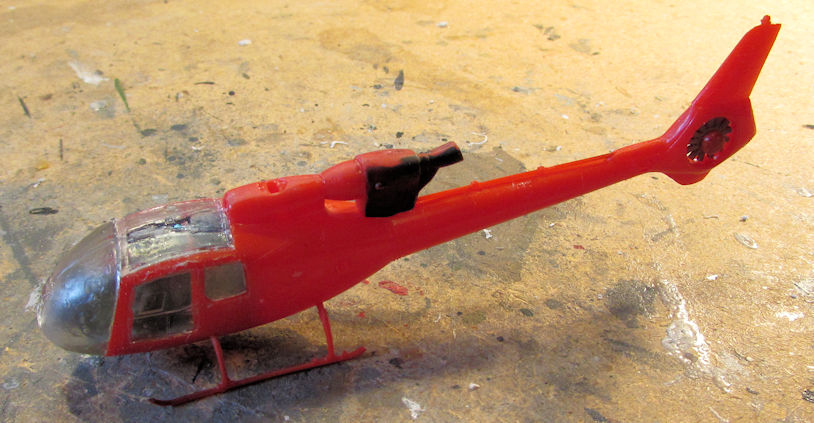
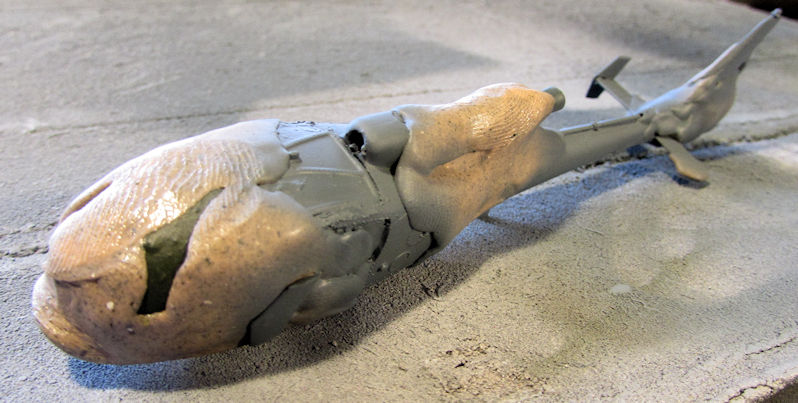
That was put aside and I then pulled this tiny Airfix Gazelle that I started some time ago (years?) and put away because I couldn't get enough weight in this to keep it on it's skids. Here is how it was when I found it:
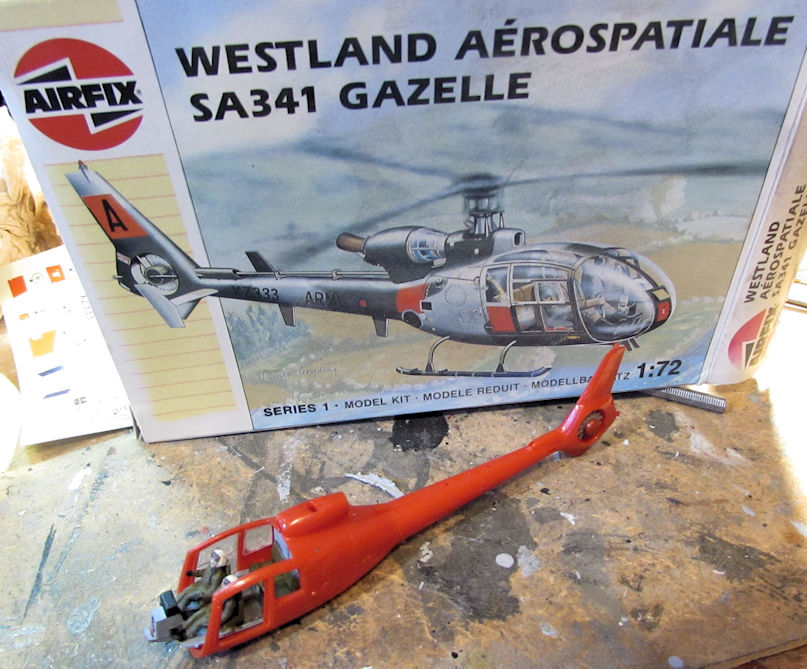
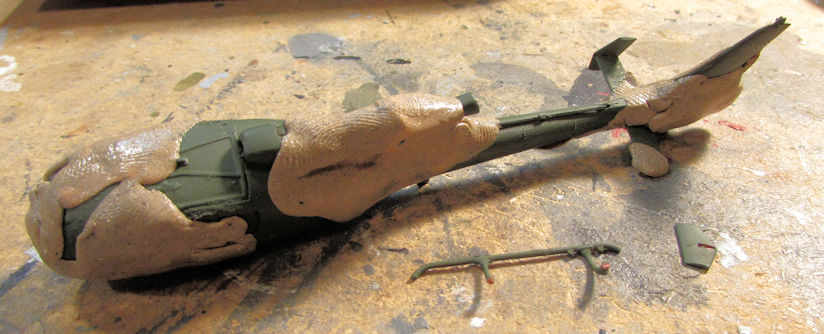
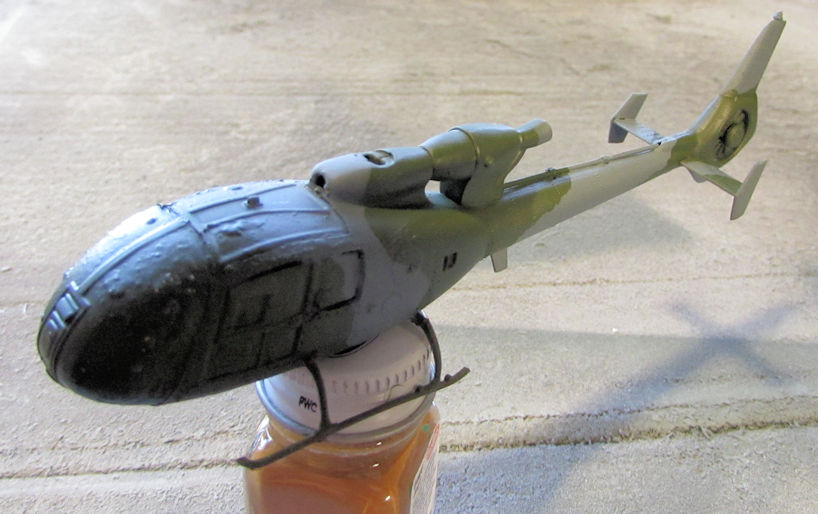
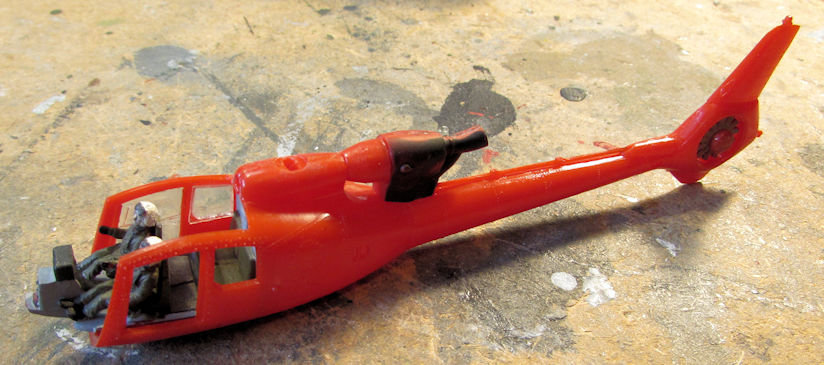
I've since added the engine housing and tried to add a bit more weight in select crannies:
Finally I hit on a new idea: the overhead canopy has a center bar on it that I used to add some additional weight to:
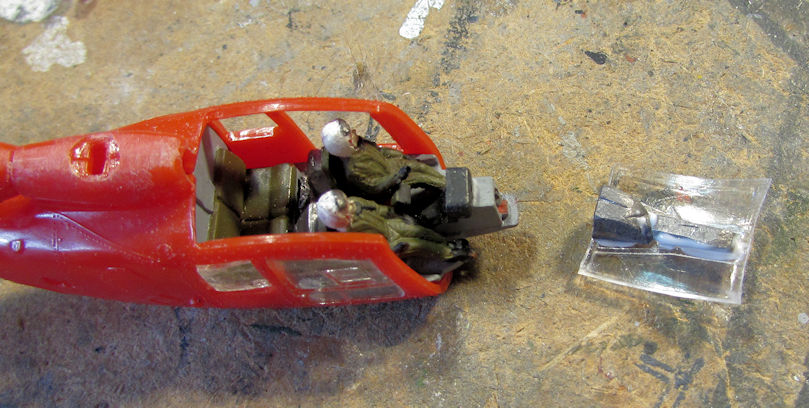
When I tested it later, it seemed to do the trick! I sure hope so.
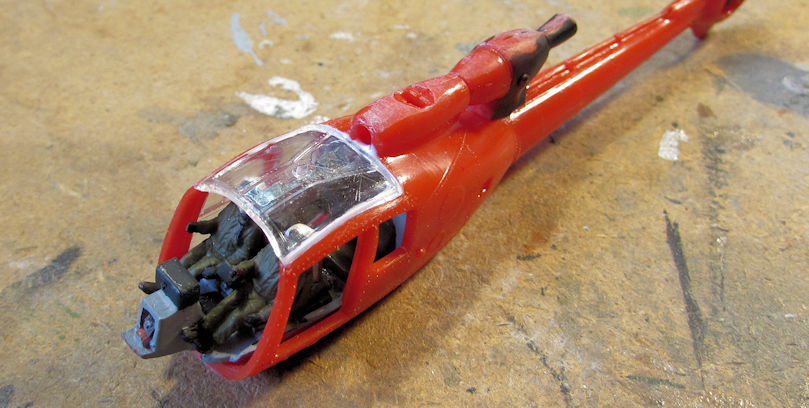
Then I started to cement all the clear parts on, starting with the overhead:
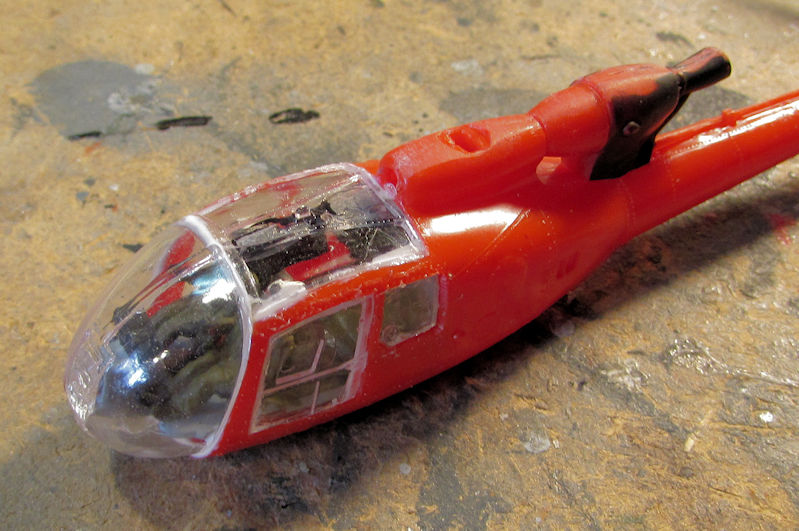
And finally, all clear parts are on:
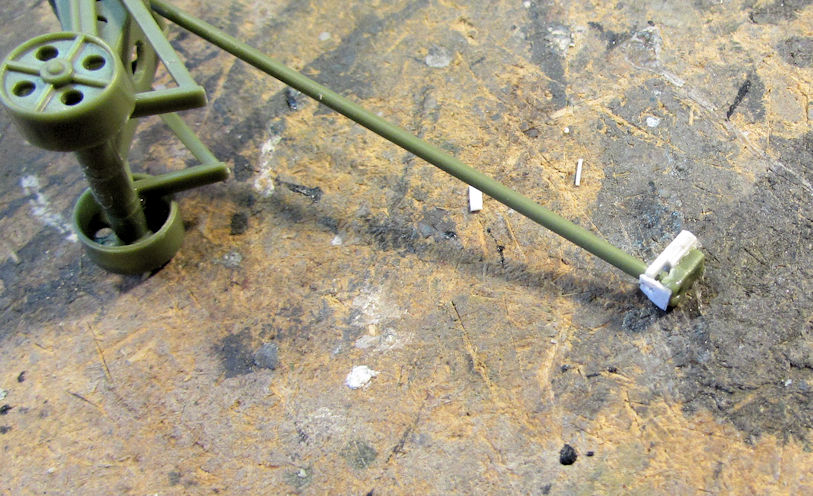
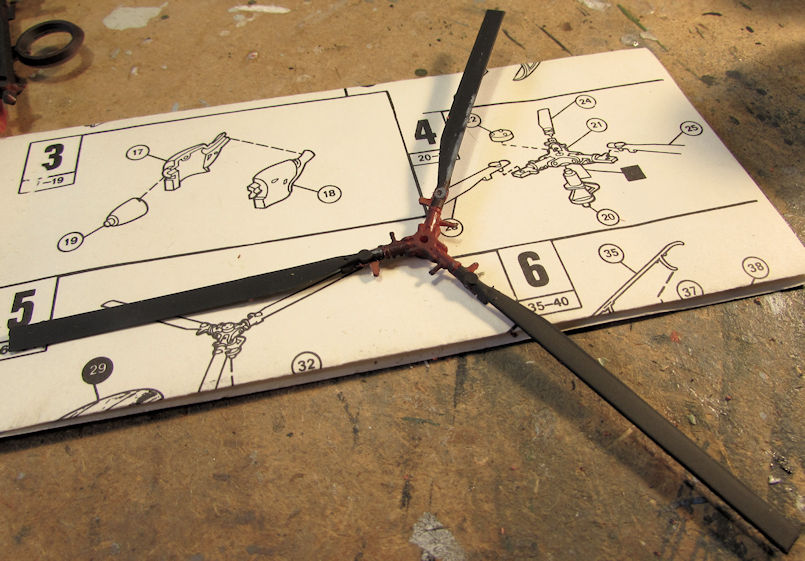
While that was drying, I decided to assemble the main rotor so it would be ready to add when the time came:
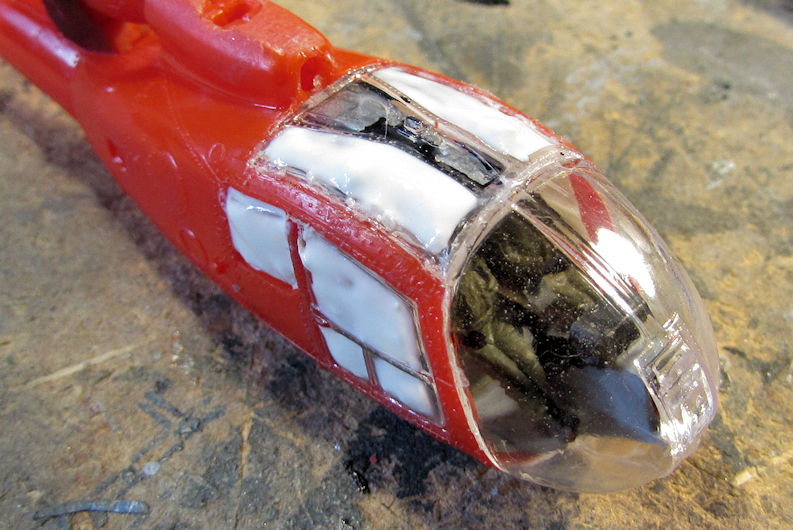
Once the clear parts were all sufficiently dry, I started to mask them off in preparation for painting. I did the sides first, later I'll do the front ones so this doesn't smear in the interim:
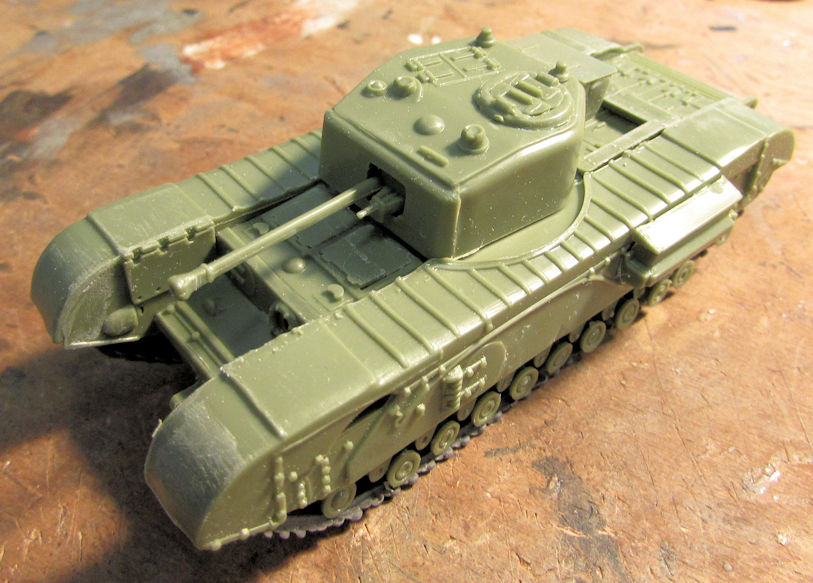
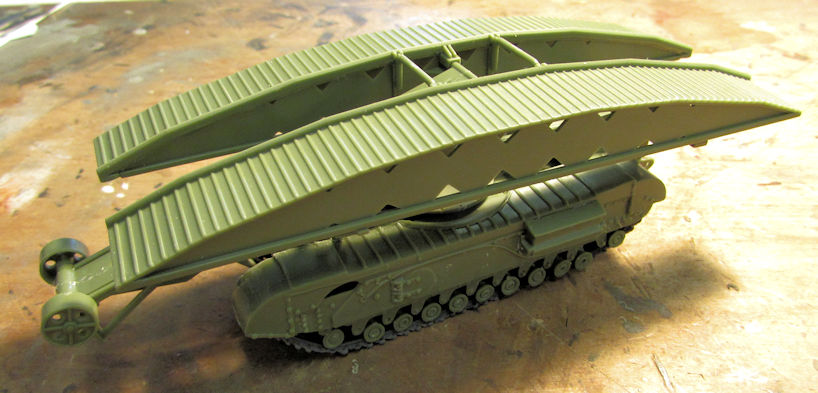
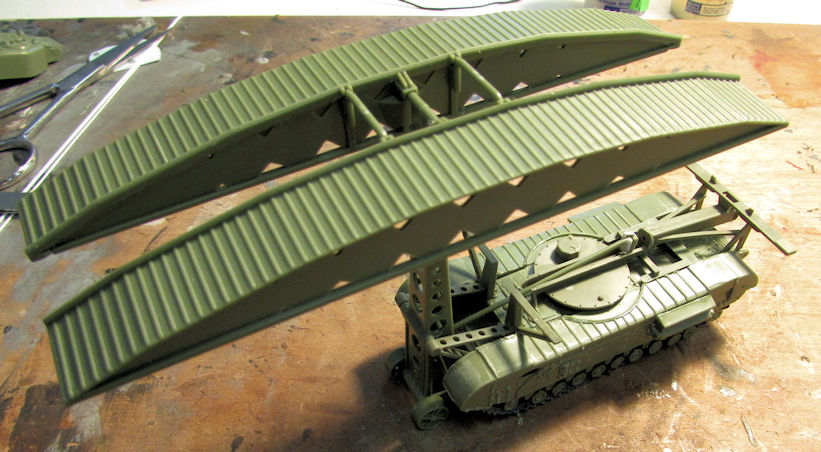
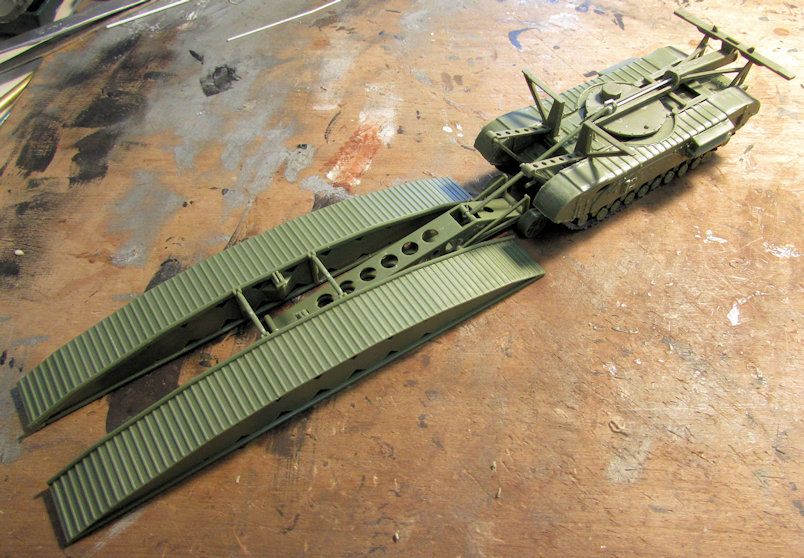
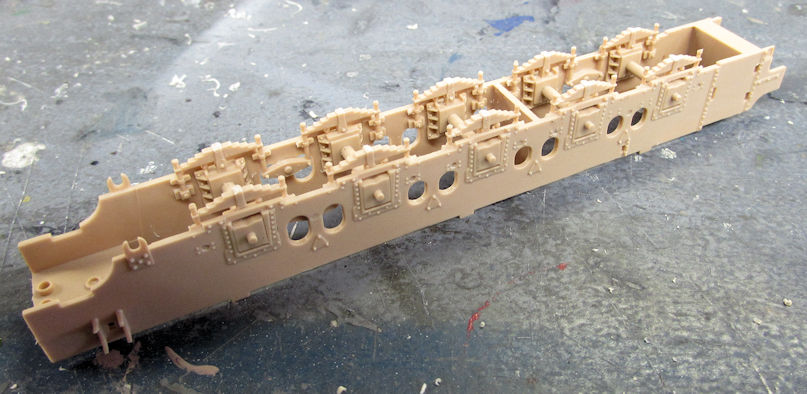
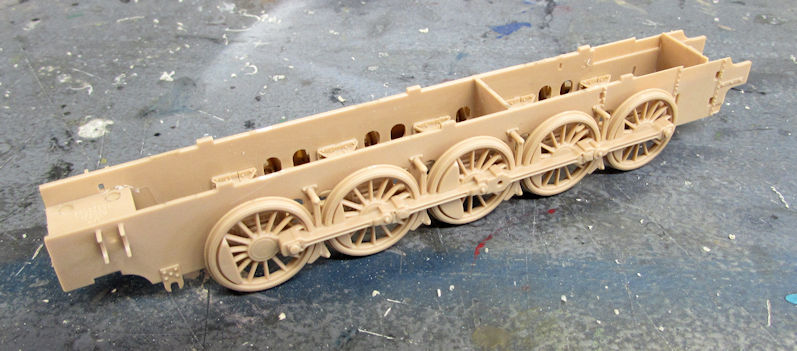
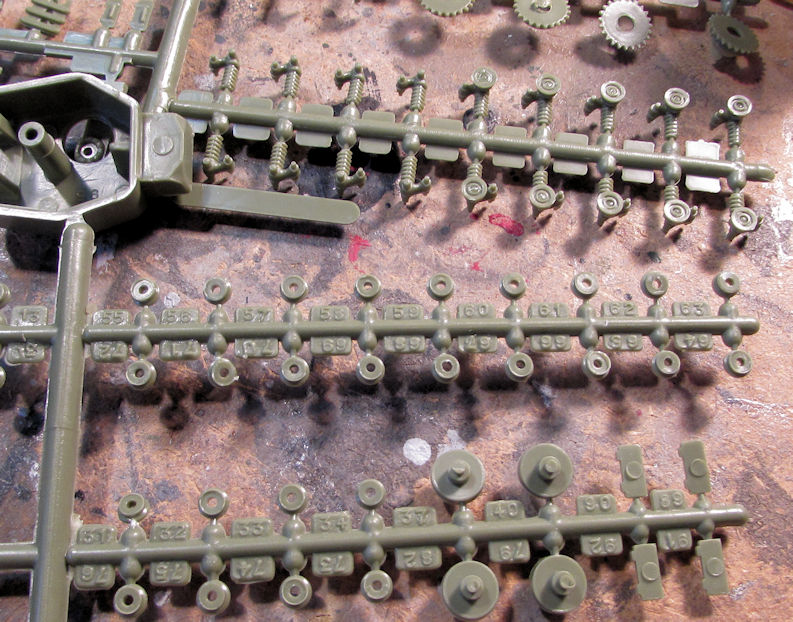
After all that, I wanted to start something different. I had been eyeing this kit of an Airfix Churchill bridgelayer for awhile and finally decided to pull it down and start it. I started with step one; having to add all the tiny wheels to the 22 struts that go on each side of this tank:
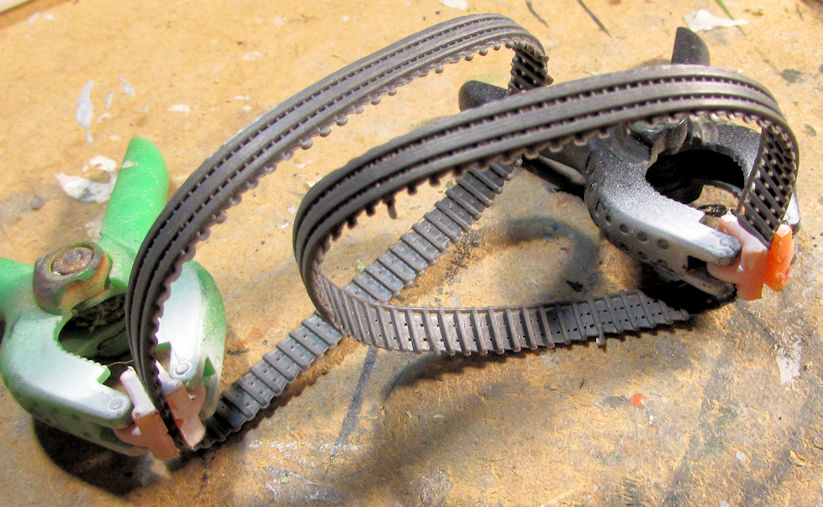
This kit came with vynil tracks that the instructions said I had to attach by heating them up. Upon close inspection, I realized that was not going to work. So, I pulled out that Tire Glue I had and glued these tracks together:
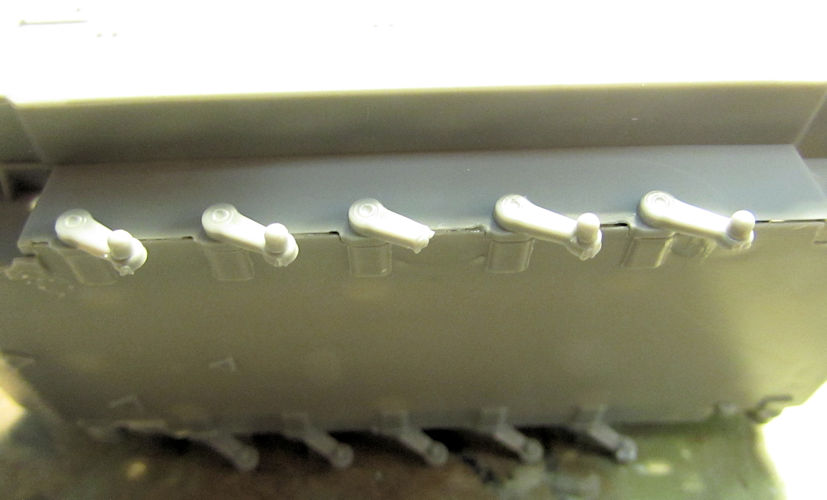
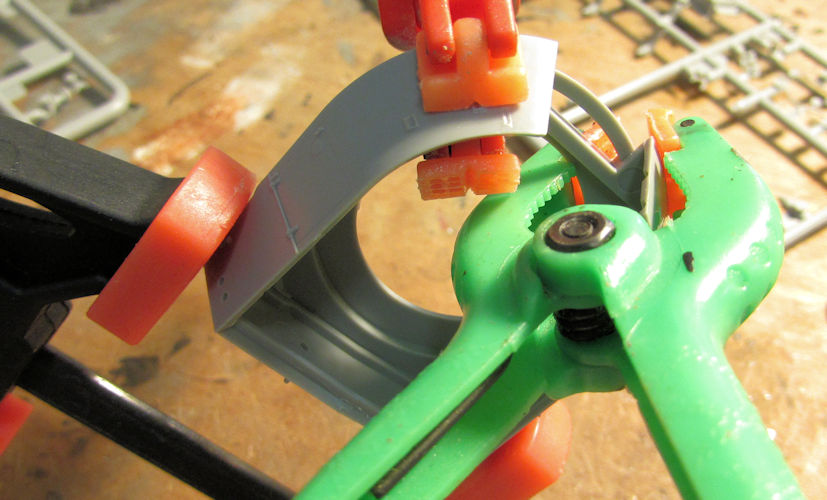
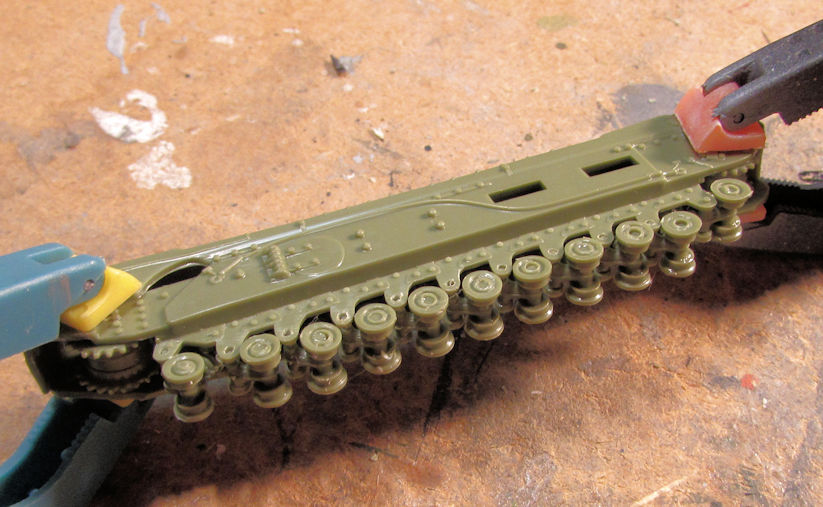
I then glued in the struts on one side of the track assembly, dry-fit and clamped the other side to let the struts dry in the correct position:
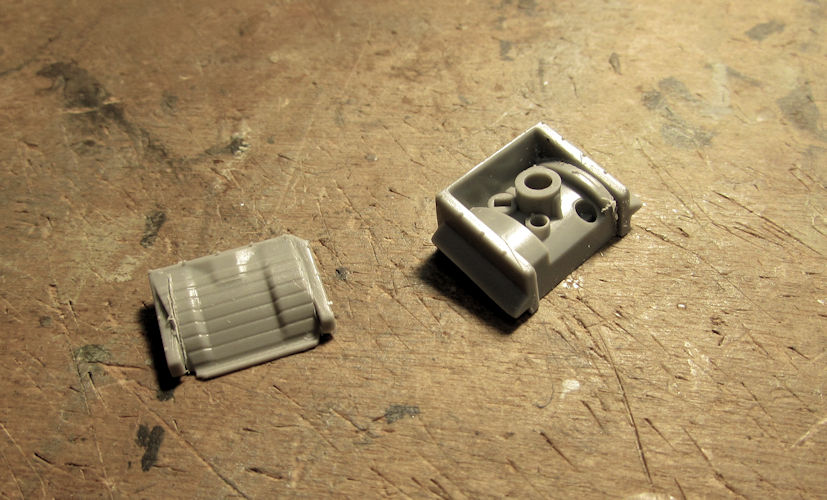
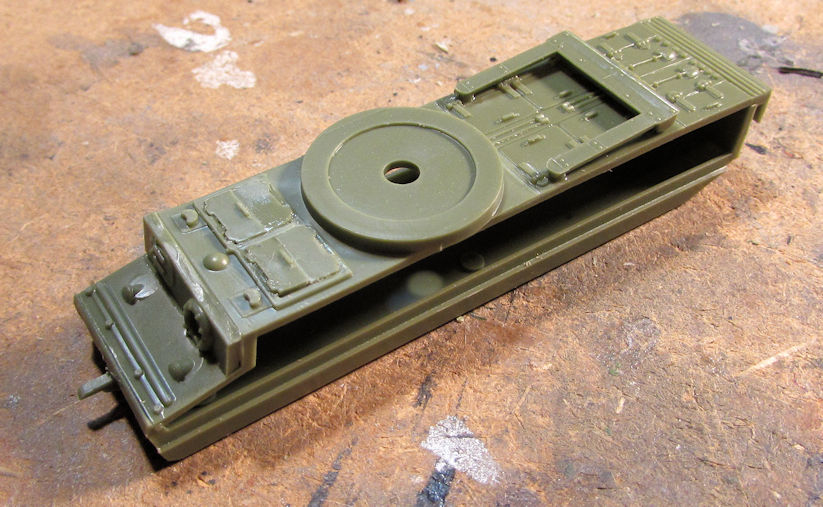
I then moved on to the center hull, adding the hatches and exhaust pipes among other things:
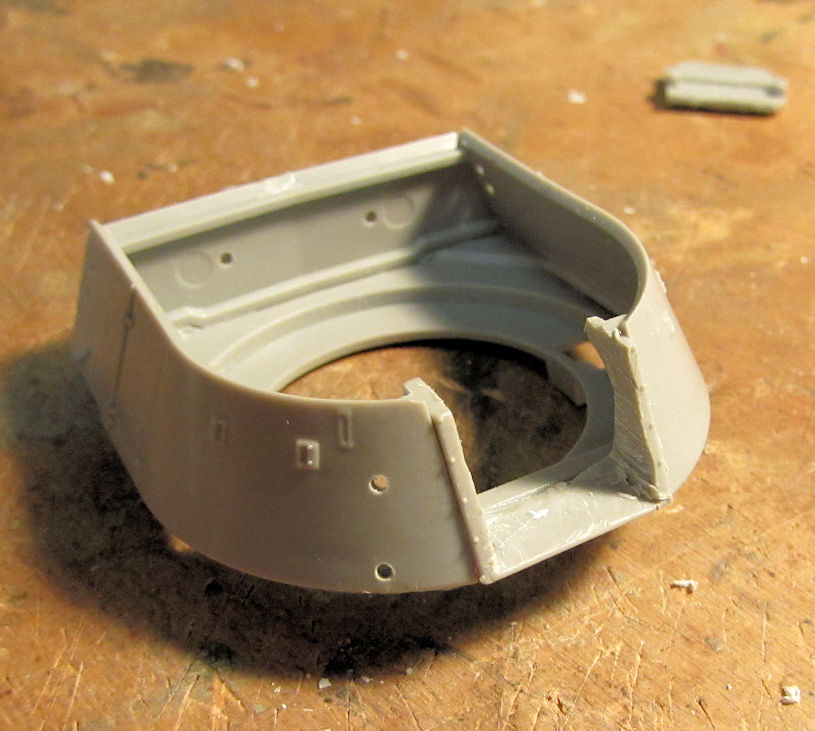
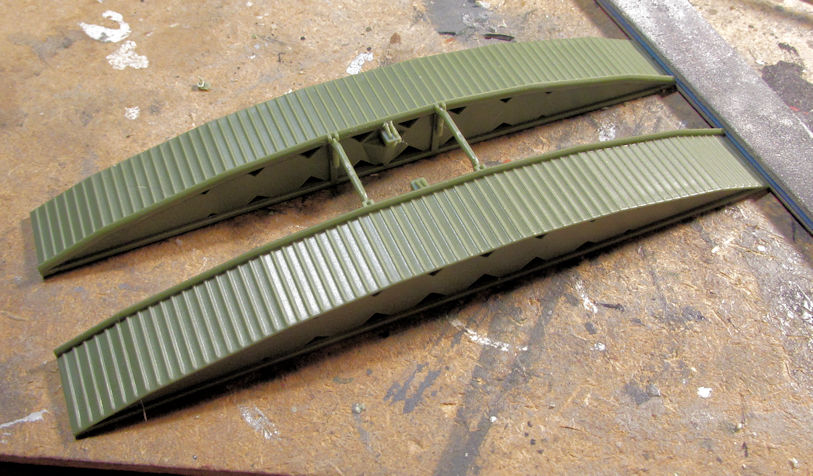
I then started on the bridging assembly by assembling the bridge itself:
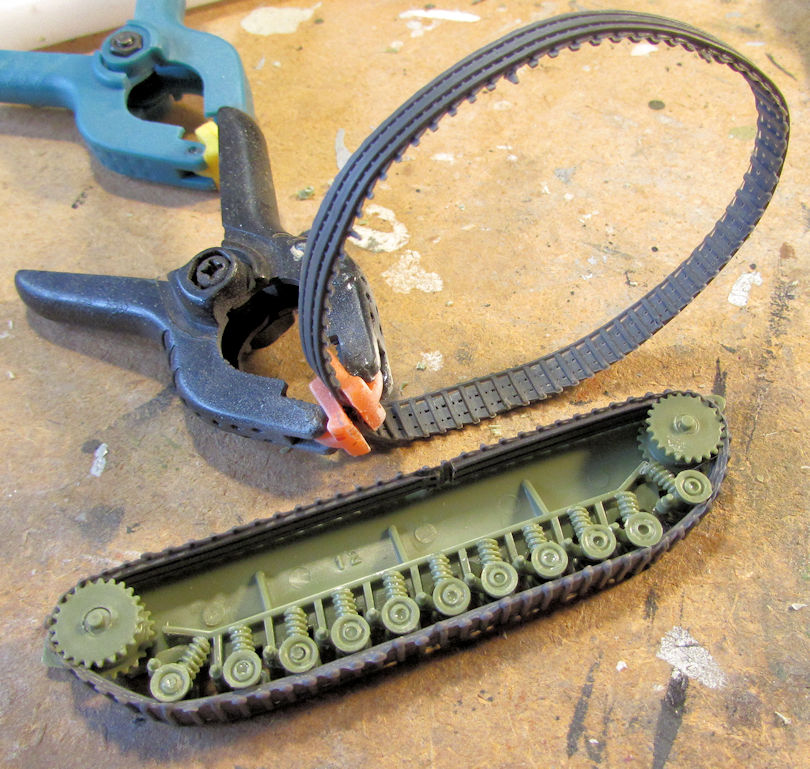
After that I decided to test the tracks. One did glue successfully so I added it to the track assembly. The other one I re-glued:
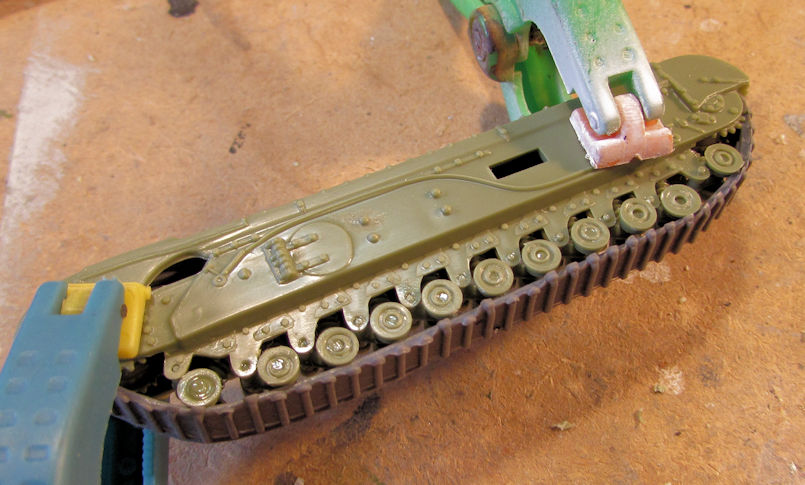
Finally that one side got glued together:
Well, that's all I have for now. It's not too much but I'm happy with the progress so far.
Thanks for looking in, comments are welcome.
I had some time to work on things this past weekend so I kept going on a couple things. One was my Canadian Husky recovery vehicle that finally got all the bits and bobs on it. I just needed to detail and touch it up:
Later on, I shot the dullcoat on it and then added some black wash to the grills:
She has since been weathered and will soon be posted in the finished Armored Forums.
Meanwhile, I also pulled out the Italian Harrier I started. I painted the cockpit in preparation for the instrument decals:
While that was drying, I painted the engine intake turbines...
...and the cockpit cowl, engine intakes and exhaust plates on the fuselage halves....
...and finally, the wheels, struts, and burner cans:
Another aircraft I continued on was the South African Mirage for my second African build. I added the canopy to this and then sanded down all the filler I had added:
Later I masked off the canopy in preparation for a primer coat:
Now for a few of the other models I mentioned before that I found when I cleaned up a bit. These are models I'd forgotten about, or had held back from starting before. I finally decided to just get them done.
One was this one that I had thrown in frustration. I started to re-cement back the Boeing 737 fuselage:
Yes, that is some old housing wiring I'm using as a clamp to hold all that together. I've also since closed up the nose and I'm waiting for it to dry as well before I move on again and try to paint the white
That was put aside and I then pulled this tiny Airfix Gazelle that I started some time ago (years?) and put away because I couldn't get enough weight in this to keep it on it's skids. Here is how it was when I found it:
I've since added the engine housing and tried to add a bit more weight in select crannies:
Finally I hit on a new idea: the overhead canopy has a center bar on it that I used to add some additional weight to:
When I tested it later, it seemed to do the trick! I sure hope so.
Then I started to cement all the clear parts on, starting with the overhead:
And finally, all clear parts are on:
While that was drying, I decided to assemble the main rotor so it would be ready to add when the time came:
Once the clear parts were all sufficiently dry, I started to mask them off in preparation for painting. I did the sides first, later I'll do the front ones so this doesn't smear in the interim:
After all that, I wanted to start something different. I had been eyeing this kit of an Airfix Churchill bridgelayer for awhile and finally decided to pull it down and start it. I started with step one; having to add all the tiny wheels to the 22 struts that go on each side of this tank:
This kit came with vynil tracks that the instructions said I had to attach by heating them up. Upon close inspection, I realized that was not going to work. So, I pulled out that Tire Glue I had and glued these tracks together:
I then glued in the struts on one side of the track assembly, dry-fit and clamped the other side to let the struts dry in the correct position:
I then moved on to the center hull, adding the hatches and exhaust pipes among other things:
I then started on the bridging assembly by assembling the bridge itself:
After that I decided to test the tracks. One did glue successfully so I added it to the track assembly. The other one I re-glued:
Finally that one side got glued together:
Well, that's all I have for now. It's not too much but I'm happy with the progress so far.
Thanks for looking in, comments are welcome.