Page 4 of 9
Re: BlackSheep214's F-16 Fighting Falcon Pair
Posted: Sat Mar 28, 2020 10:53 am
by BlackSheep214
Finally an update! This is from the Italeri "Special Colors" kit. Not much but a start...
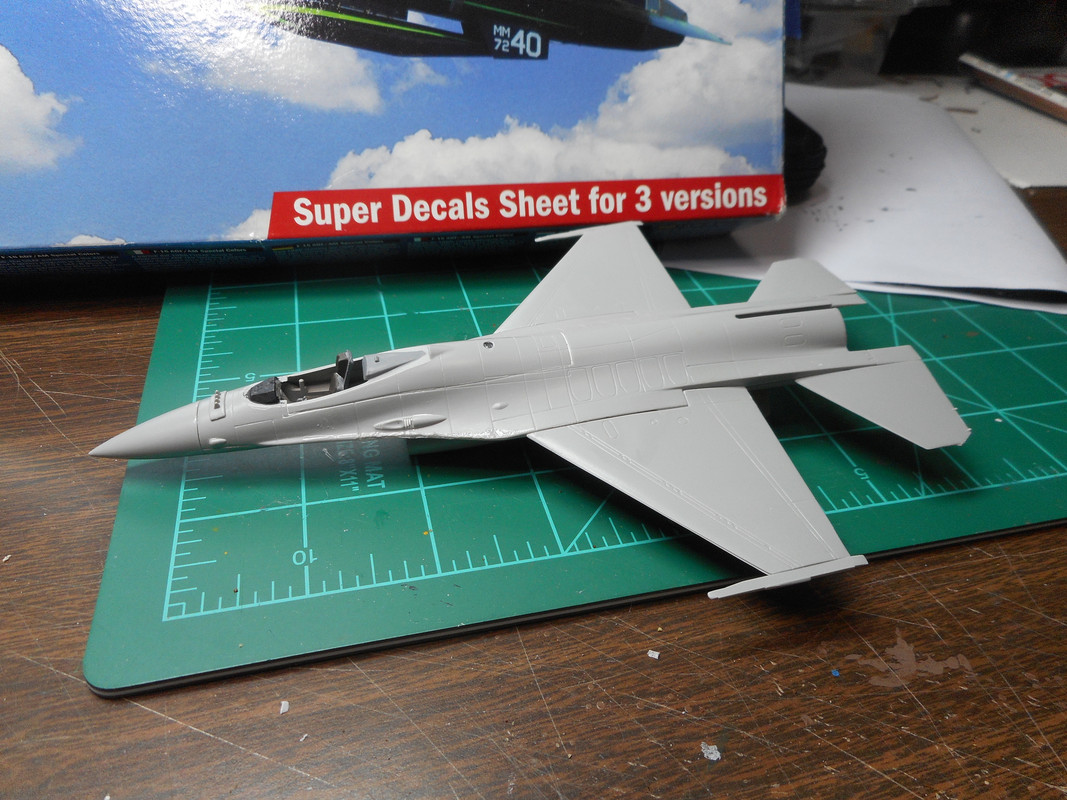
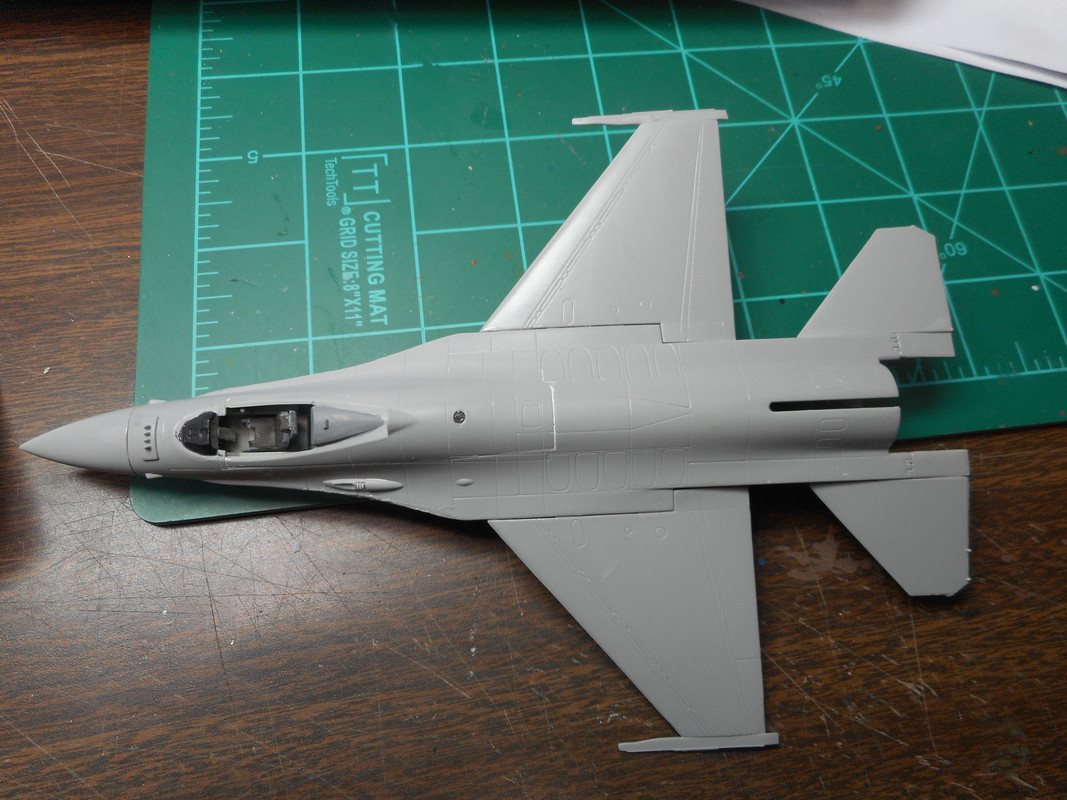
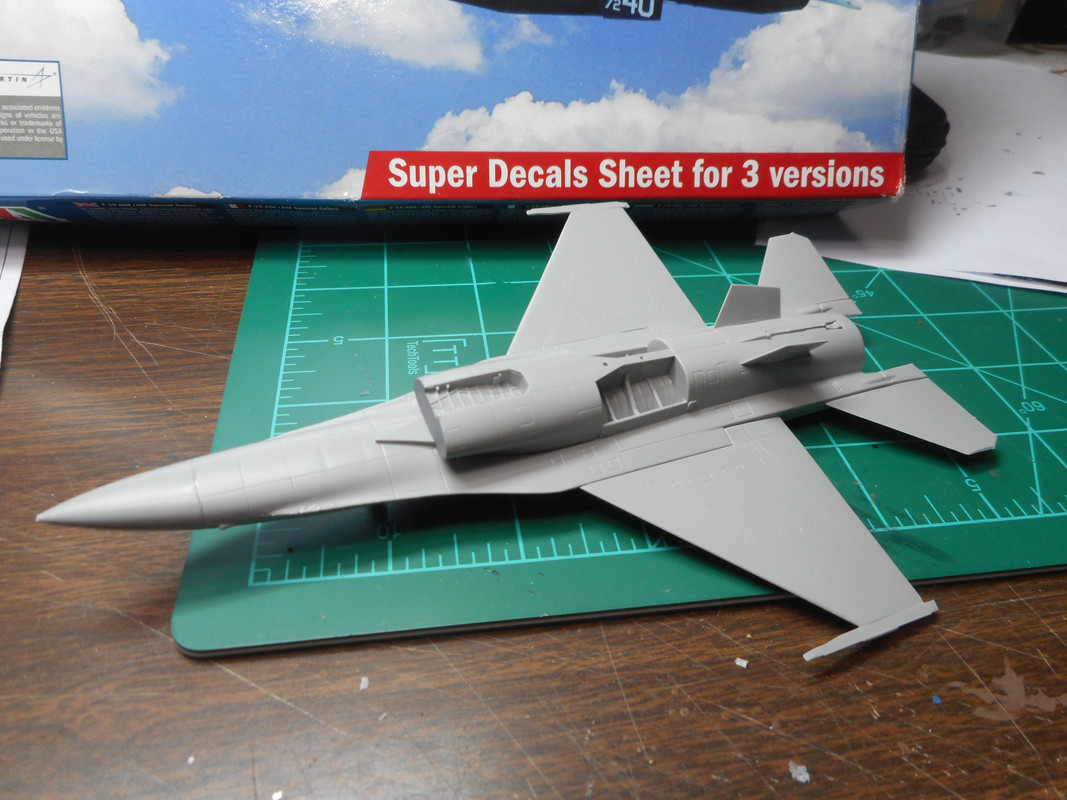
It's obvious more filling needs to be done on wings spars....

I'm going to let it sit a day before continuing on with filling the gaps. Next, I'll try to hit the Hobby Boss Viper.
Re: BlackSheep214's F-16 Fighting Falcon Pair
Posted: Sun Mar 29, 2020 12:21 pm
by Stuart
Great to see some progress Tom, that looks great!
Re: BlackSheep214's F-16 Fighting Falcon Pair
Posted: Mon Mar 30, 2020 3:42 pm
by BlackSheep214
An observation between Italeriand Hobby Boss Viper kits.
Italeri has a more higher parts count than the Hobby Boss kit - meaning 2 fuselage parts, separate wings and intake mouth has to be assembled, and more choices for underwing missles and pods.
Hobby Boss on the other hand has less parts - fuselage top has wings attached so bottom half needs to be glued to top piece. Simplicity I like. The only choices I have for stores are sidewinders for wings and belly tanks.
Last night, I applied PP on gaps of Italeri kit, painted cockpit on HB Viper. Tonight, I’ll wet sand excess putty off Italeri kit and more...
Re: BlackSheep214's F-16 Fighting Falcon Pair
Posted: Tue Mar 31, 2020 7:00 pm
by BlackSheep214
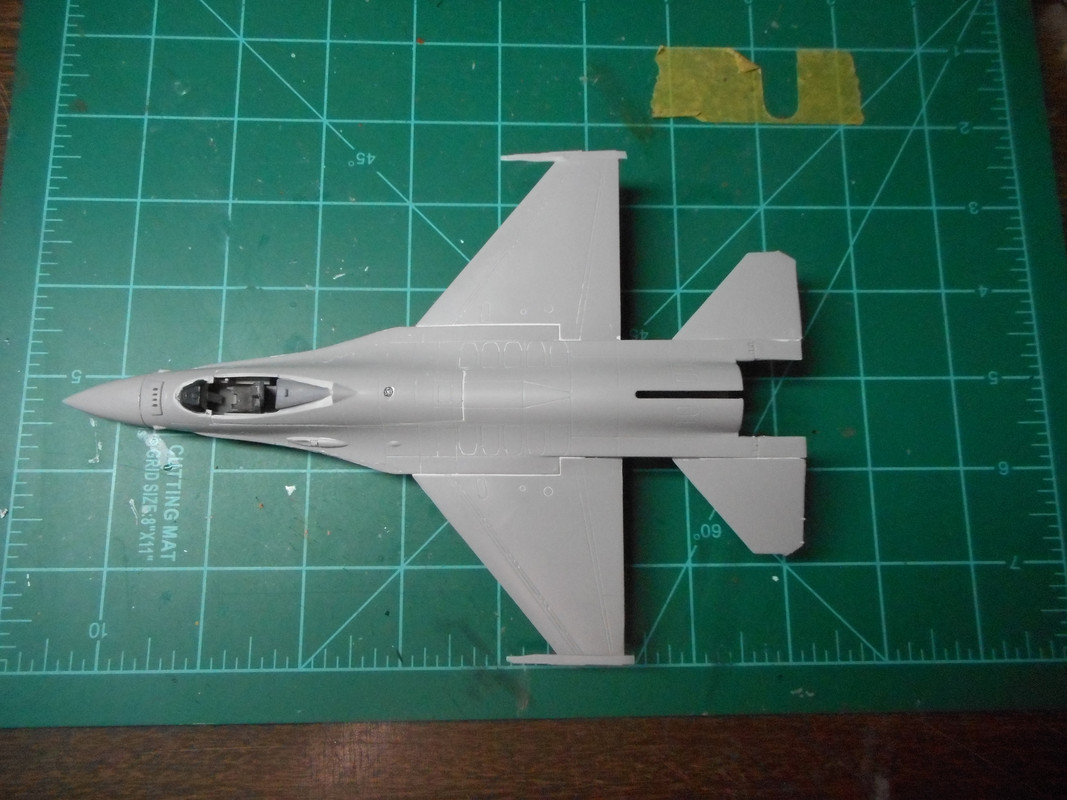
Italeri Viper kit with after Perfect putty applied and "wet sanded" down. Looks good, huh? Think I used sandpaper? Nope....Wanna know my little secret? Hot water and an old wash cloth. That's right. Perfect Putty is water based and easy to use and work with when completely dried. Work it out a little at a time with a wet wash cloth until you get this result....
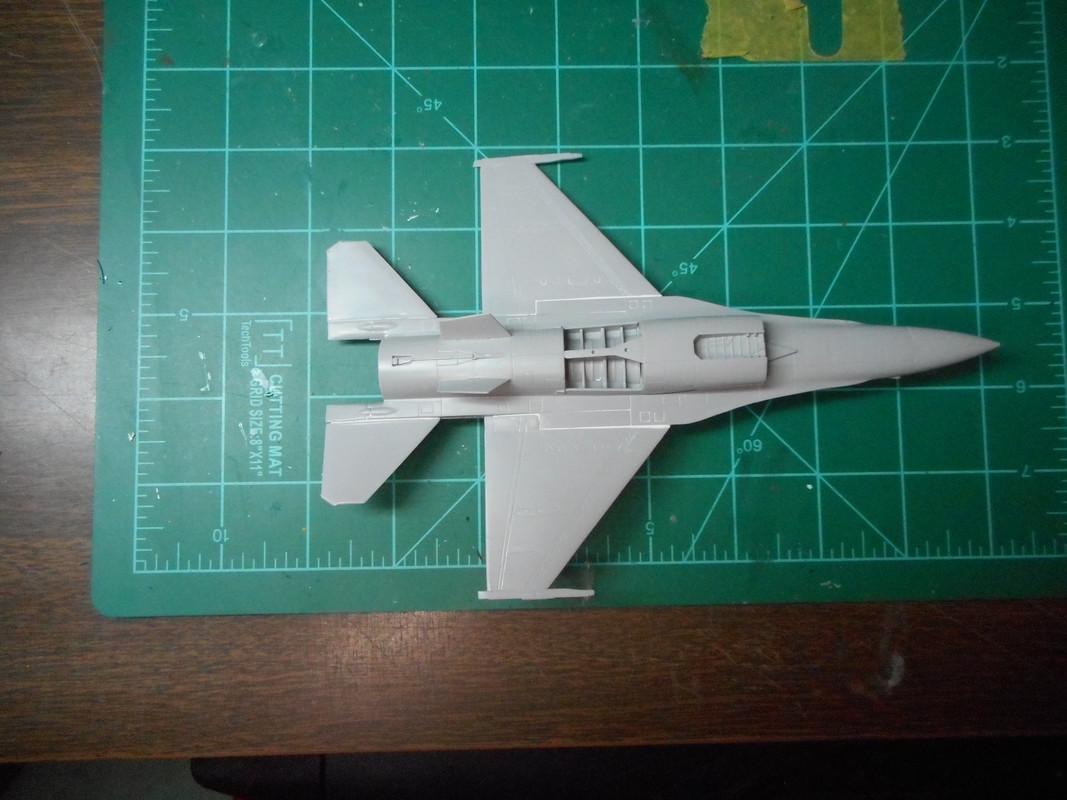
Moving on to the Hobby Boss Viper kit...
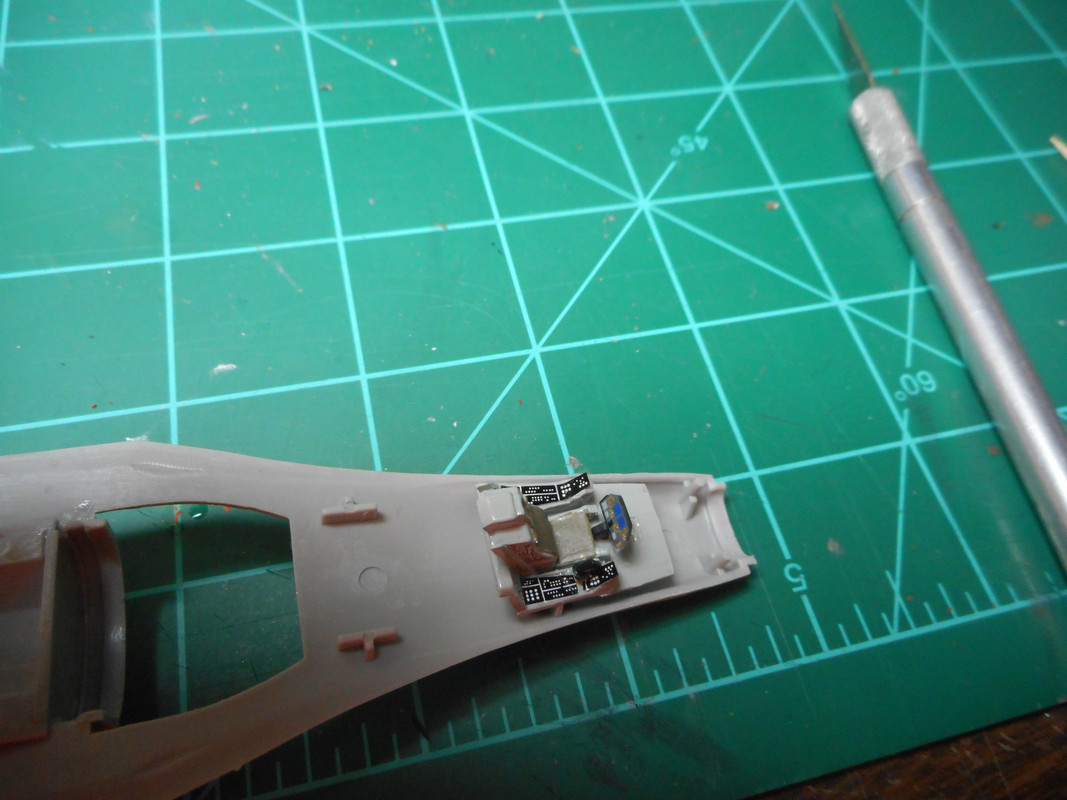
Cockpit painted,decaled up, and glued to lower fuselage half...
Fuselage halves glued together....
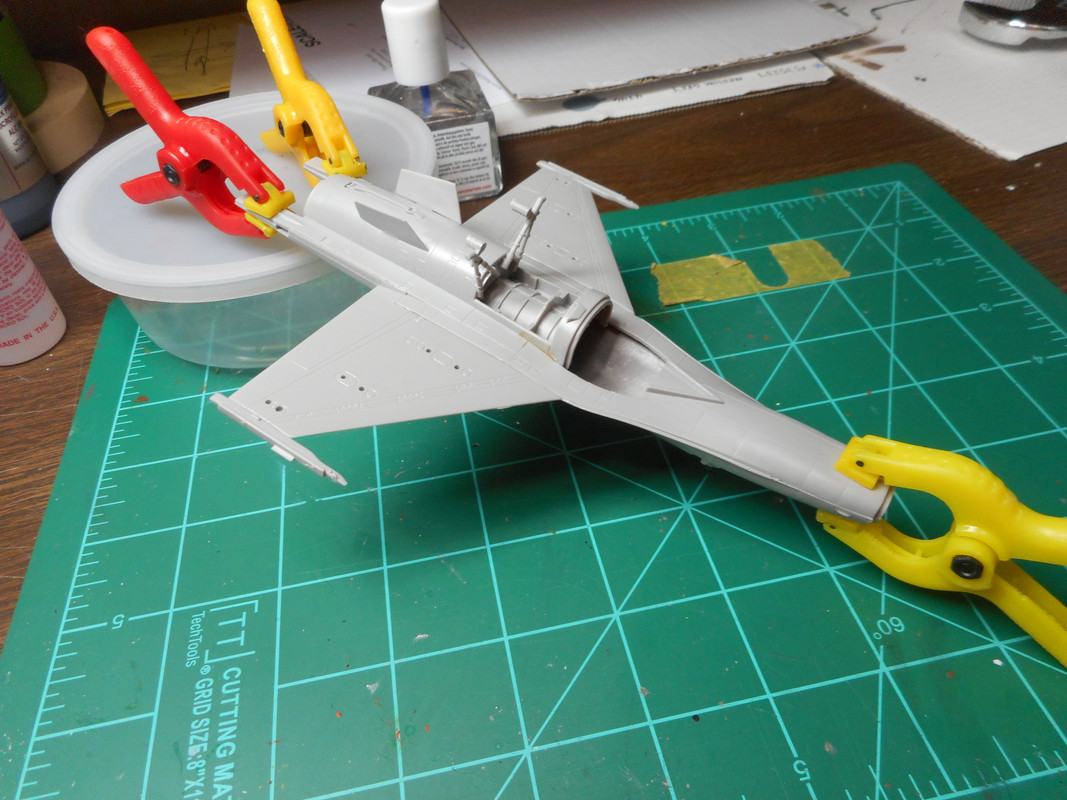
I see very little filling work here. Should be easy peasy and painless.
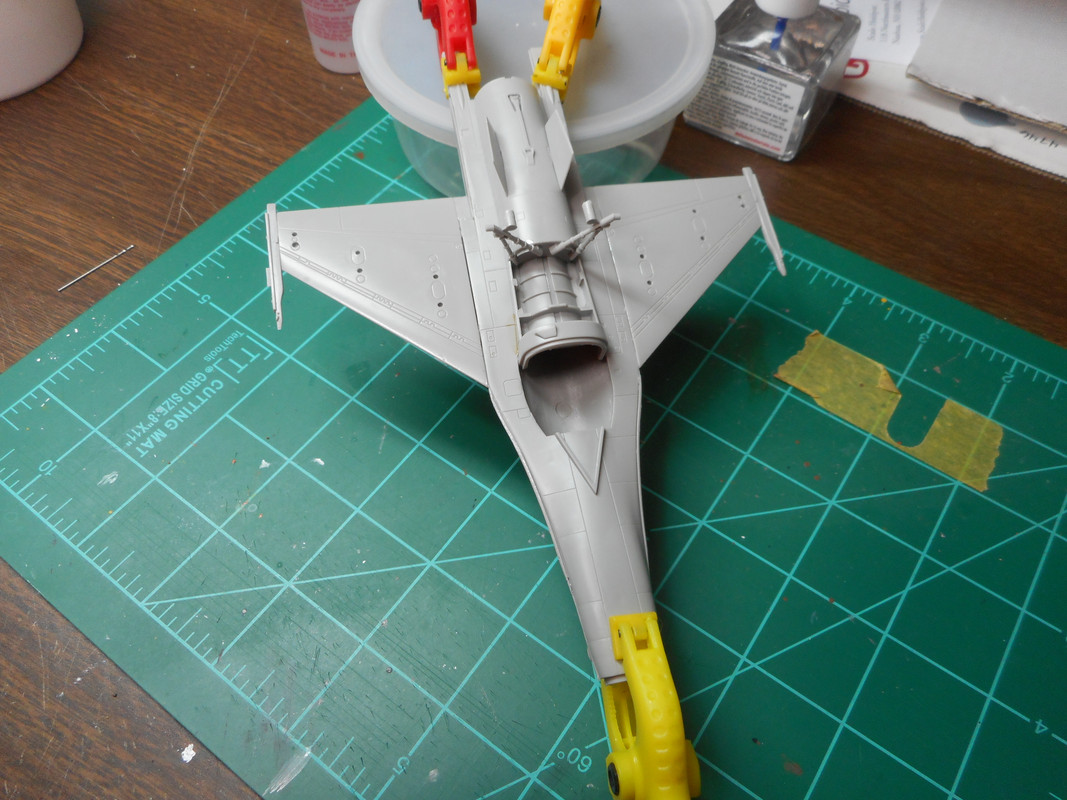
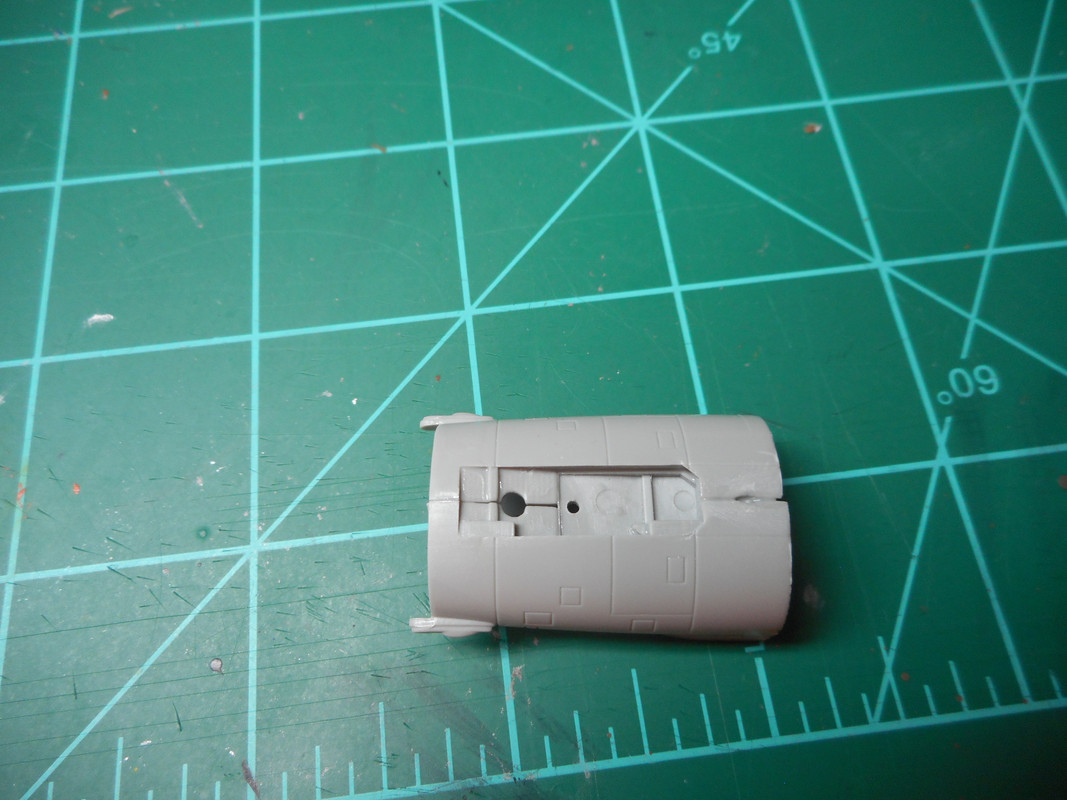
Intake mouth part (3 pieces in all) minus the mouth piece
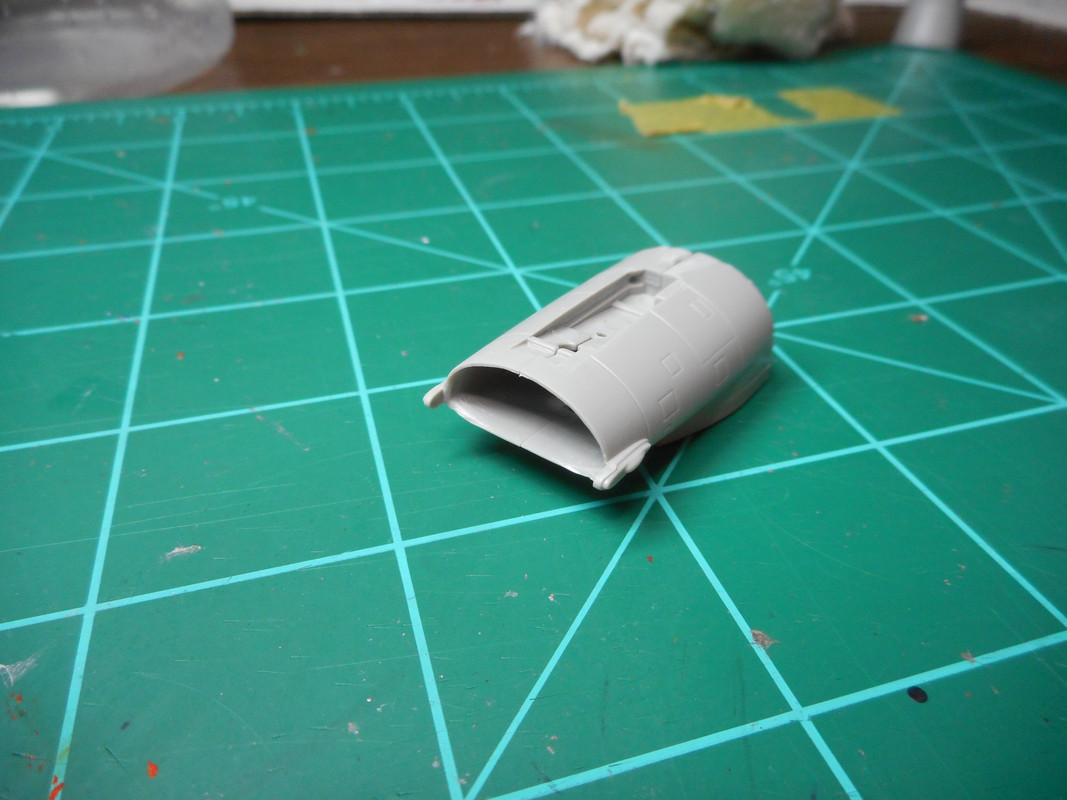
As you can see, more filling will be needed...
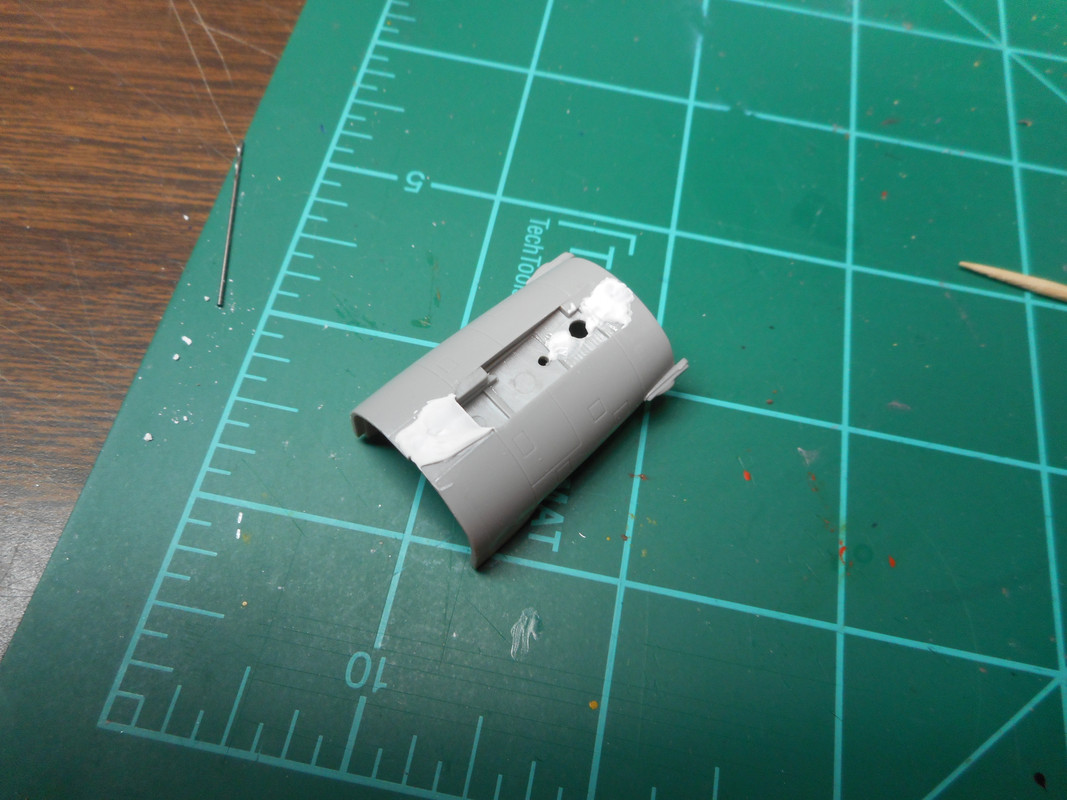
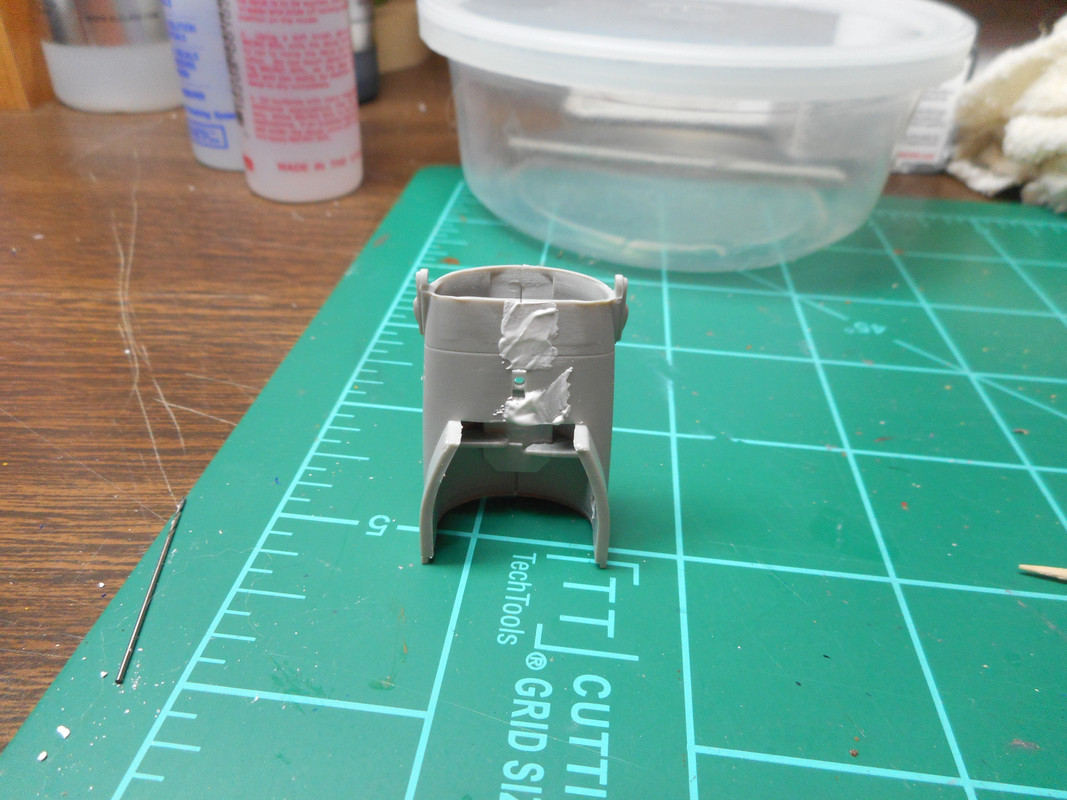
Perfect Putty applied and set aside to dry overnight...
Re: BlackSheep214's F-16 Fighting Falcon Pair
Posted: Tue Mar 31, 2020 7:38 pm
by LyleW
I do that with PPP, too. Keeps the dust down. That is a sharp looking pair of sisters.
Re: BlackSheep214's F-16 Fighting Falcon Pair
Posted: Tue Mar 31, 2020 8:30 pm
by Medicman71
Very nice!! Be careful though, PPP will shrink. I've found that out the hard way.
Re: BlackSheep214's F-16 Fighting Falcon Pair
Posted: Wed Apr 01, 2020 10:48 am
by BlackSheep214
Yeah, I’m aware of that. That’s why I’ll be keeping an eye on it before priming. If any areas has shrieked, I will go back and refill those trouble spots.
Re: BlackSheep214's F-16 Fighting Falcon Pair
Posted: Wed Apr 01, 2020 5:25 pm
by Stuart
Great stuff PPP - I use it all the time. I remove the excess straight after application with a damp cotton bud.
Those Vipers are looking great!
Re: BlackSheep214's F-16 Fighting Falcon Pair
Posted: Wed Apr 01, 2020 6:55 pm
by Stikpusher
Less yappin’ and more building! I love me some F-16s!
Re: BlackSheep214's F-16 Fighting Falcon Pair
Posted: Wed Apr 01, 2020 9:10 pm
by BlackSheep214
LOL! Worked on the Hobby Boss Viper filling in the minor gaps. In the meantime, I worked on the ‘55 Belair in between. I’ll resume at some point on tomorrow.