Ok, so it's time to face up to our mistakes. Mistakes happen and as a modeler, I always look at mistakes as a challenge or opportunity. I set the object to wipe out any traces of the mistake so that it is invisible to the viewer. Or if that is not possible, at least reduce the error so that it no longer calls attention to itself.
One of the operating characteristics of Tamiya Extra Thin liquid cement is its capillary action. It's a very useful trait that can be a great advantage when gluing parts together. You can wick together some pretty impressive joins with minimal clean-up using this stuff. However, that capillary action needs special attention. You have to be extra careful when working around tape masks and clear parts, for example.
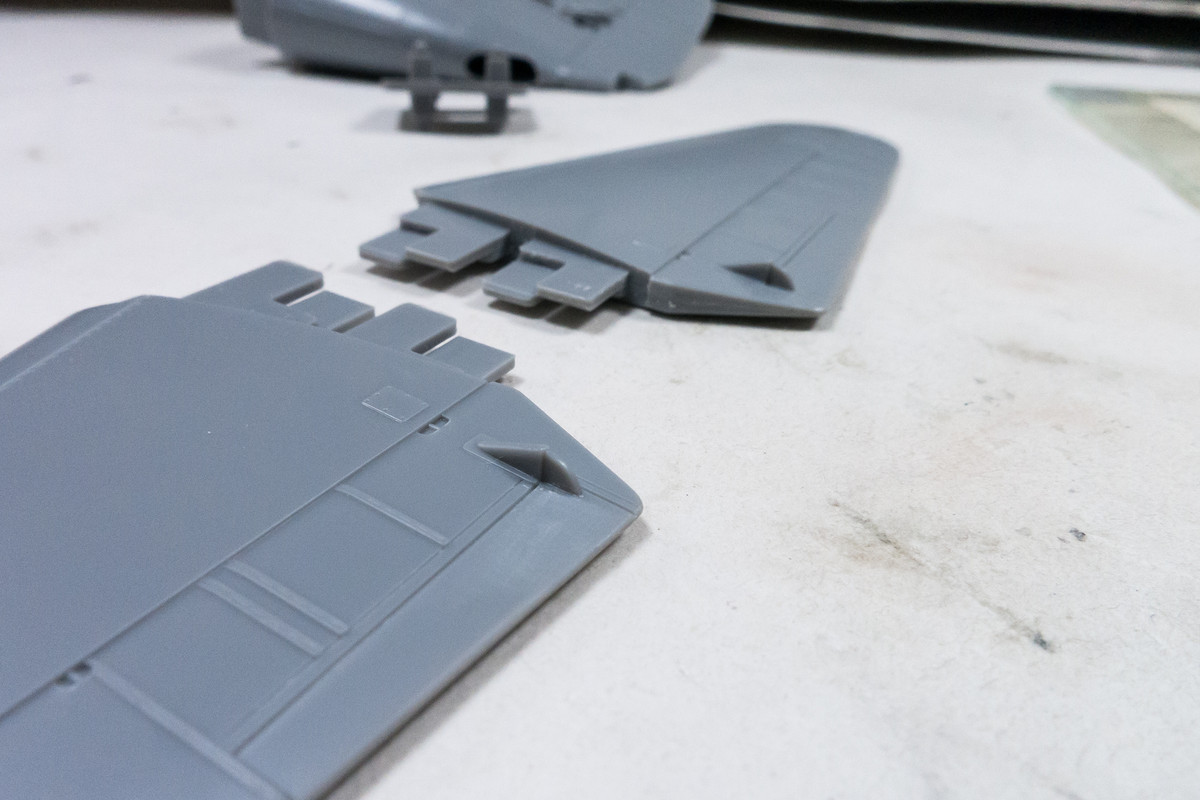
In this case, I was trying to get the joints to close between the stabilizer halves. At some point, excess glue seeped onto one of my finger pads and caused some damage. I immediately set the piece aside. Best not to do anything until you let the glue dry. Looking at it now, it's actually not that bad. Through the ridges of the finger print, you can still make out all of the recessed and raised detail.
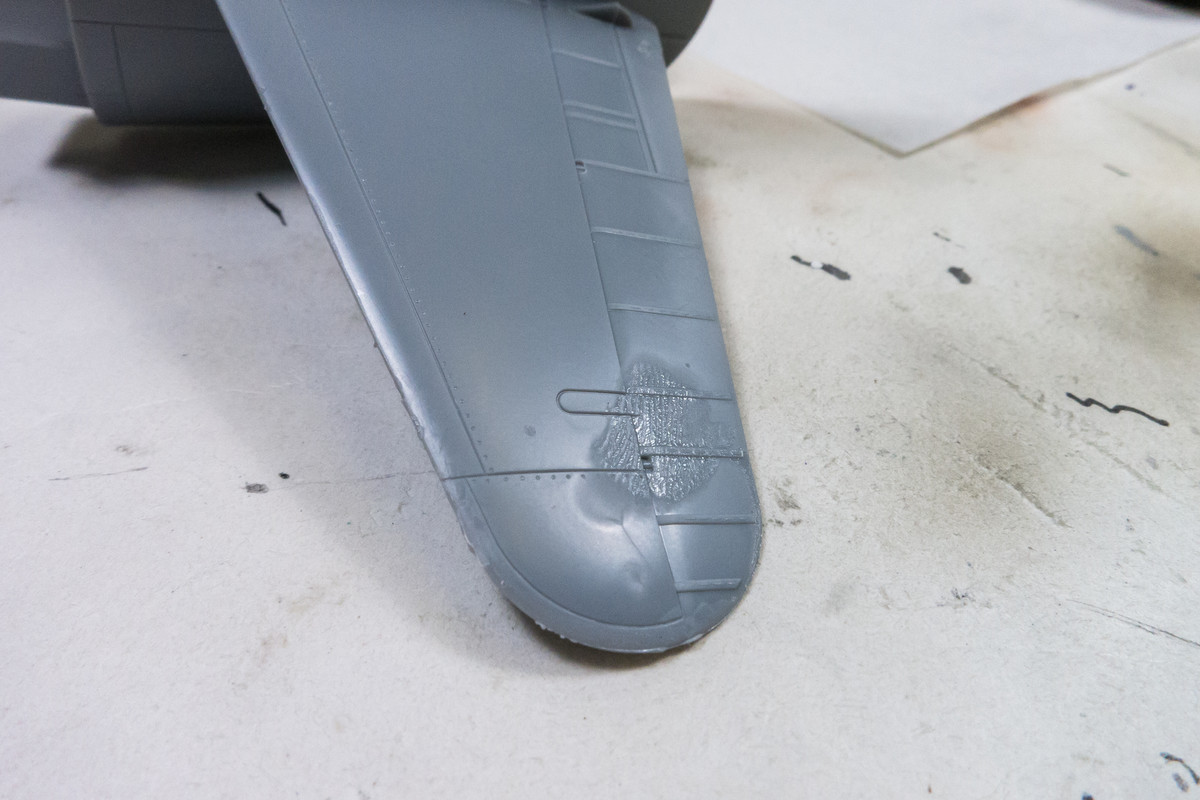
There was also a secondary blob on the same stabilizer. It was on a flat area with no detail affected so this should be an easier fix.
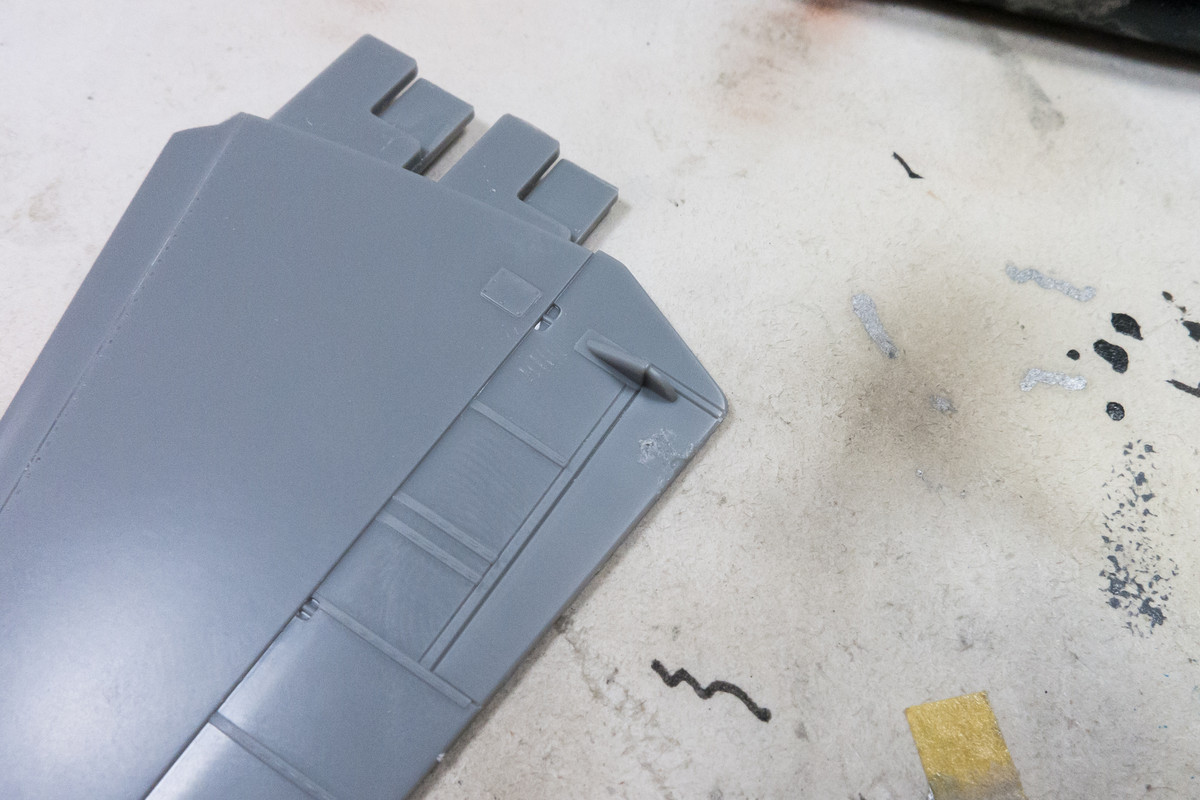
Since I now have the tool on hand, I used the D400 sander to grind out the blob.
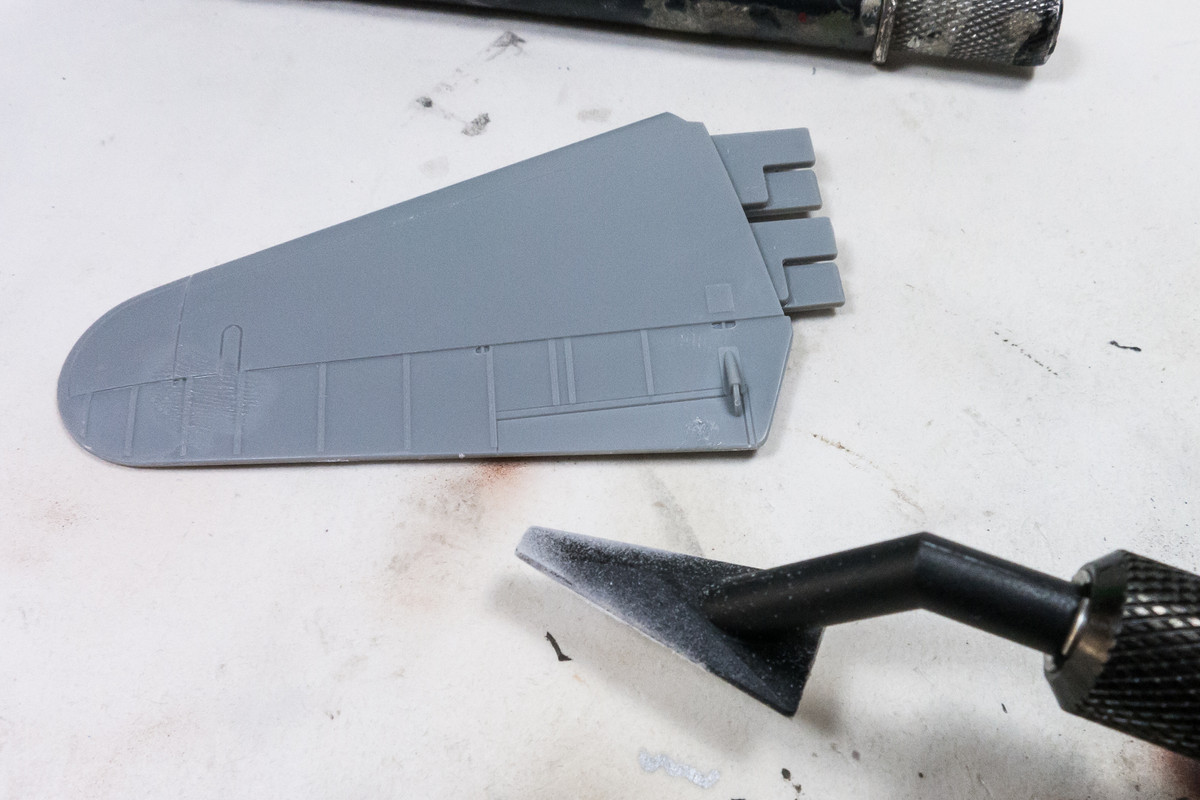
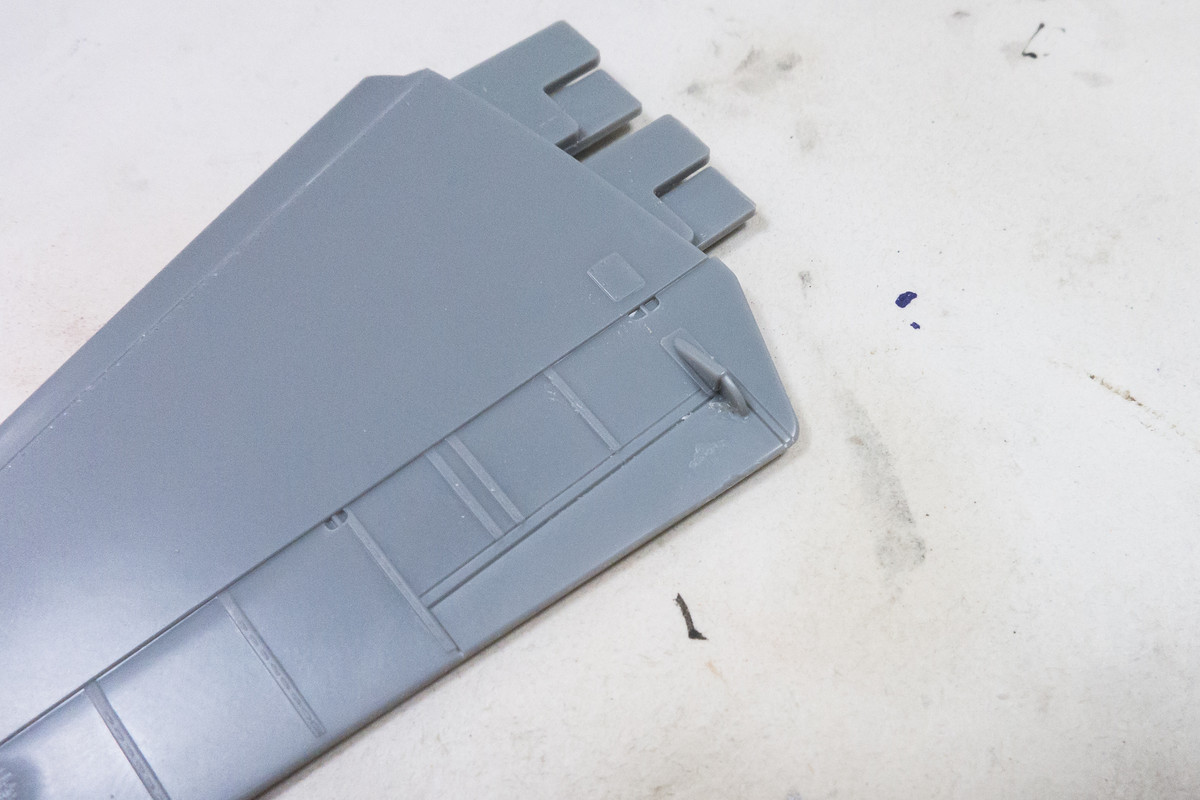
After the surface was level, I used a finer sandpaper to finish it off. That took a couple of minutes.
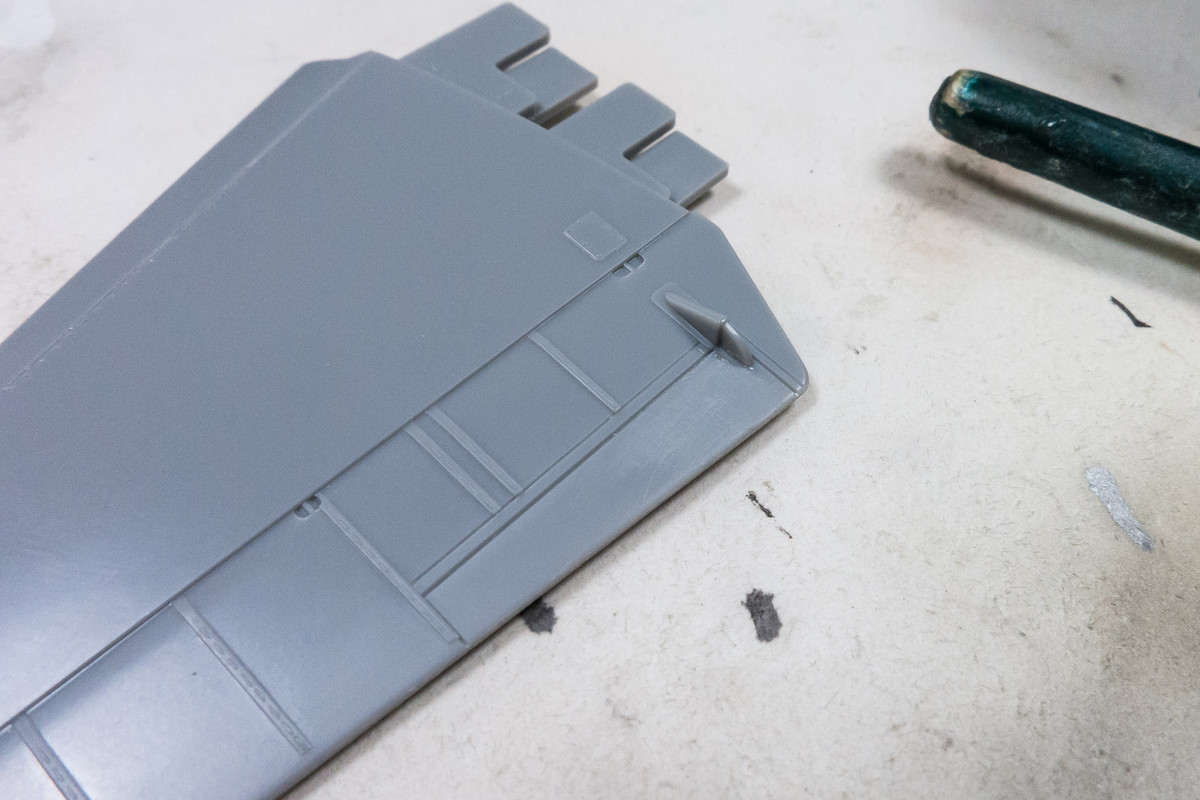
On to the bigger one. Instead of just getting a piece of sandpaper and trying to rub out the whole thing at once, I took a look at it and decided to attack this systematically. A logical division is between the metal stabilizer and the fabric covered control surface.
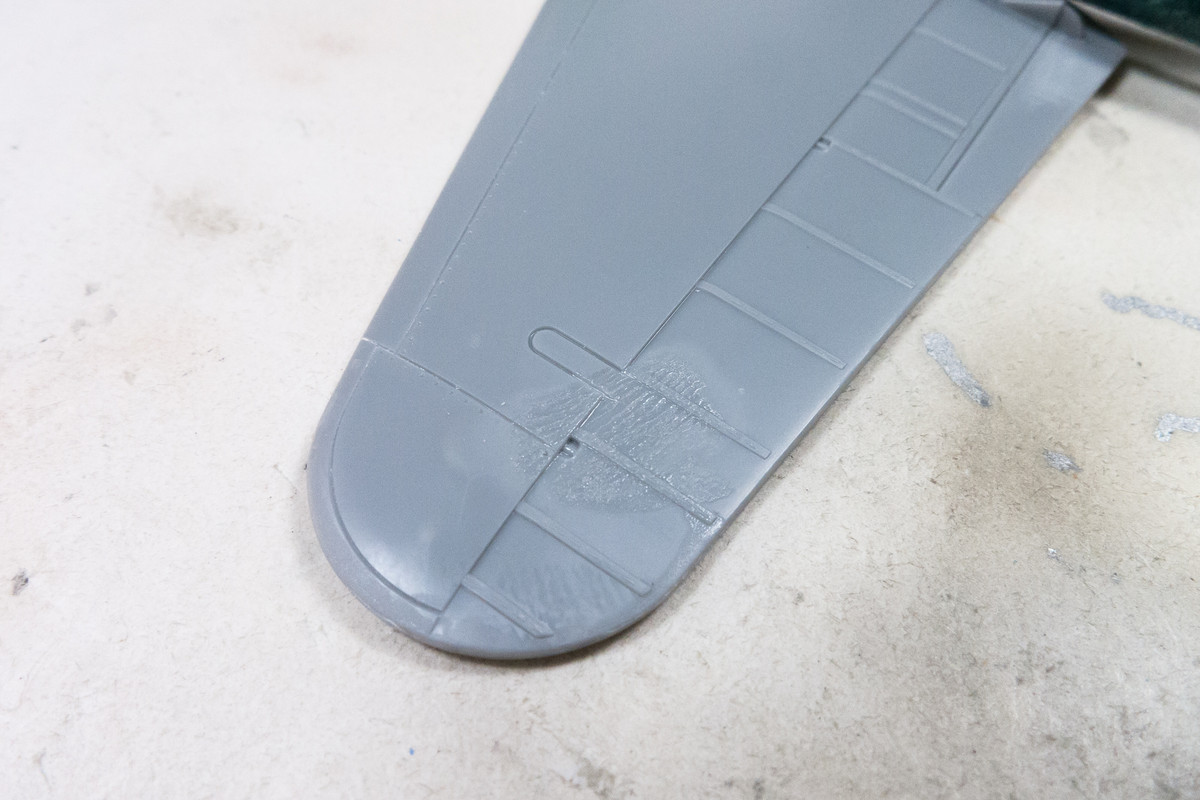
Concentrating only on the metal stabilizer portion, I sand this area smooth. Just enough to remove the mistake while trying to preserve as much of the recessed panel lines and rivets as possible.
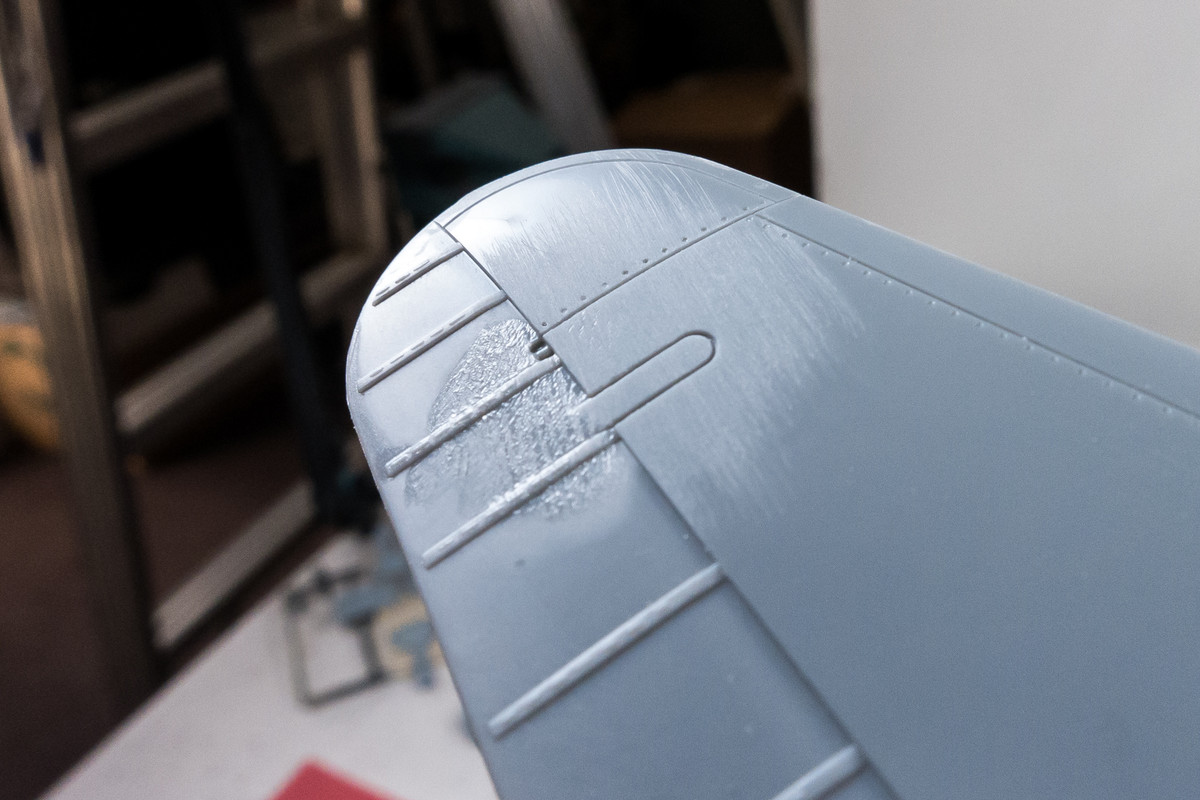
Shifting over to the fabric portion, we are trying to sand between the raised stitching details. I thought the piston action of the D400 with a very narrow head would be ideal for this but the narrowest head was too wide.
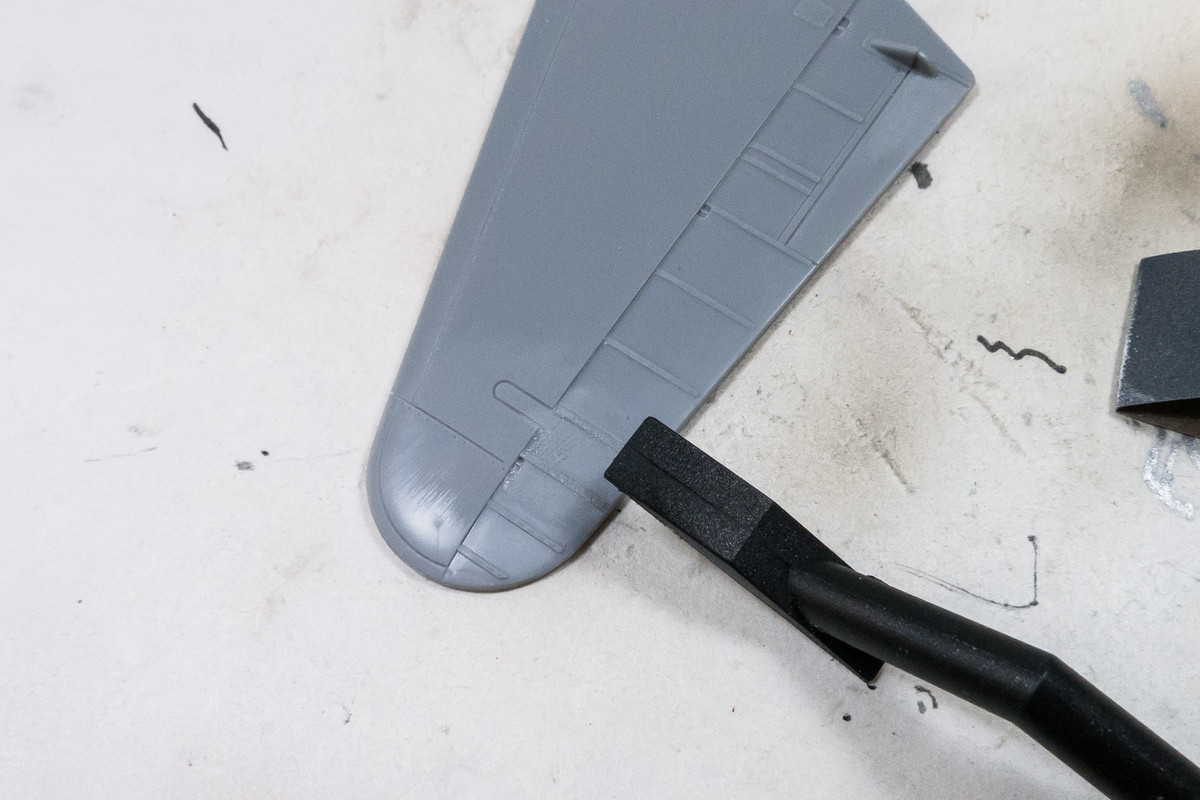
Instead, I used a piece of fresh sandpaper, crisply folded in half. This gives me enough rigidity to use the thin edge of the folded end as a precise sanding tool.
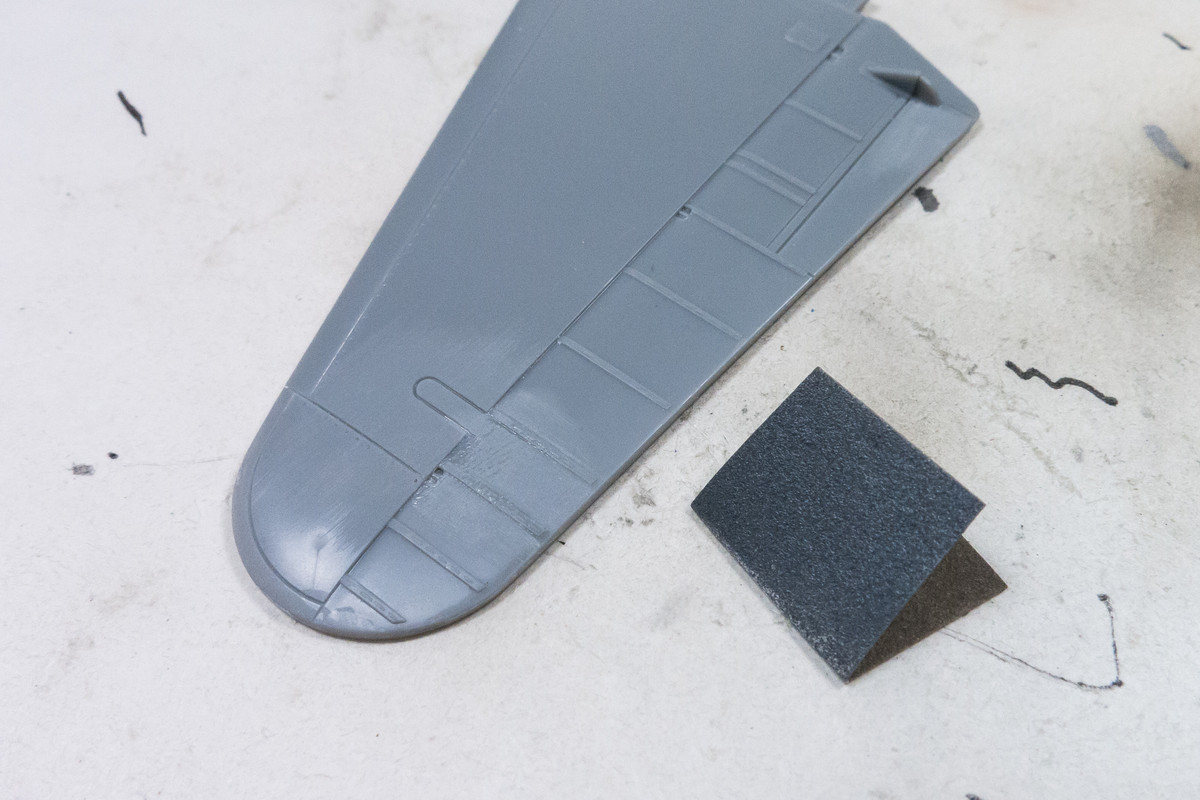
Using this piece of sandpaper in a "cutting" motion as well as a sideways "wiping" motion, I was able to smooth out the glue blob between the fabric stitching strips.
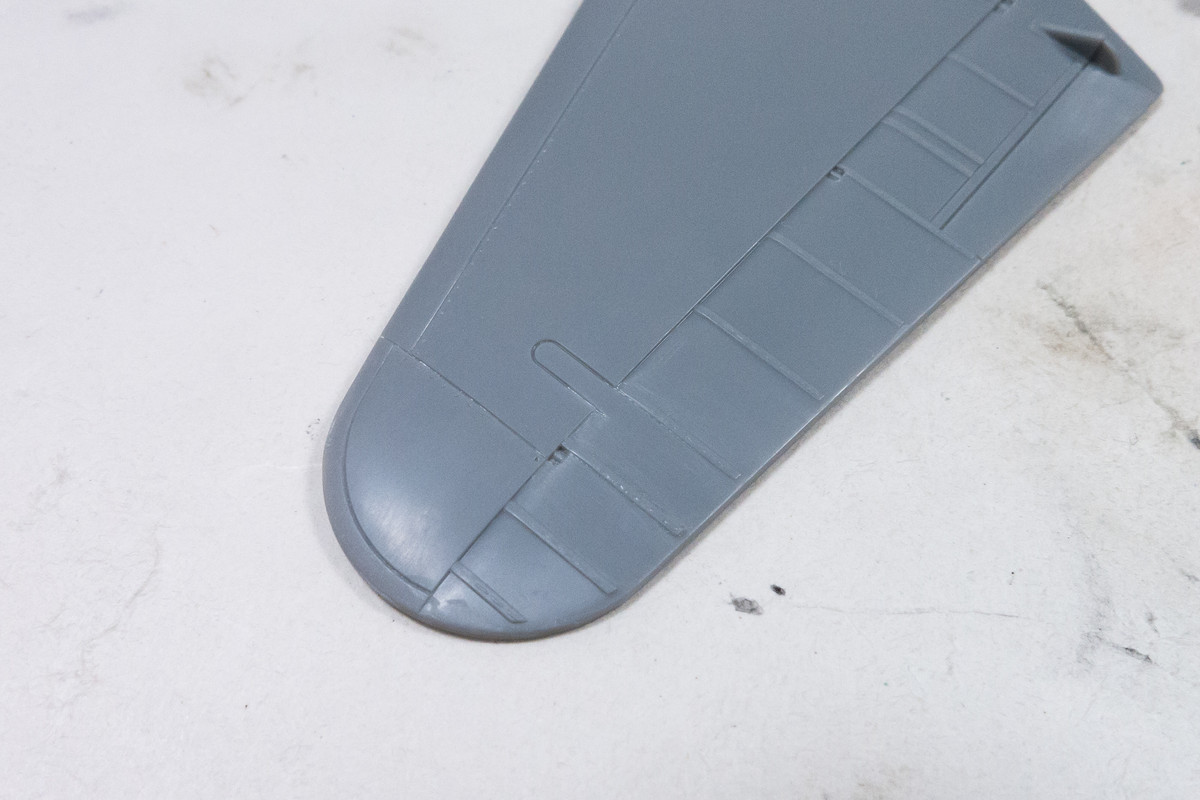
The whole area was then smoothed with my finest grade of sandpaper and buffed out with a piece of cloth. For all intents and purposed, good as new. The reward for being systematic and careful was that I didn't even have to restore any detail.
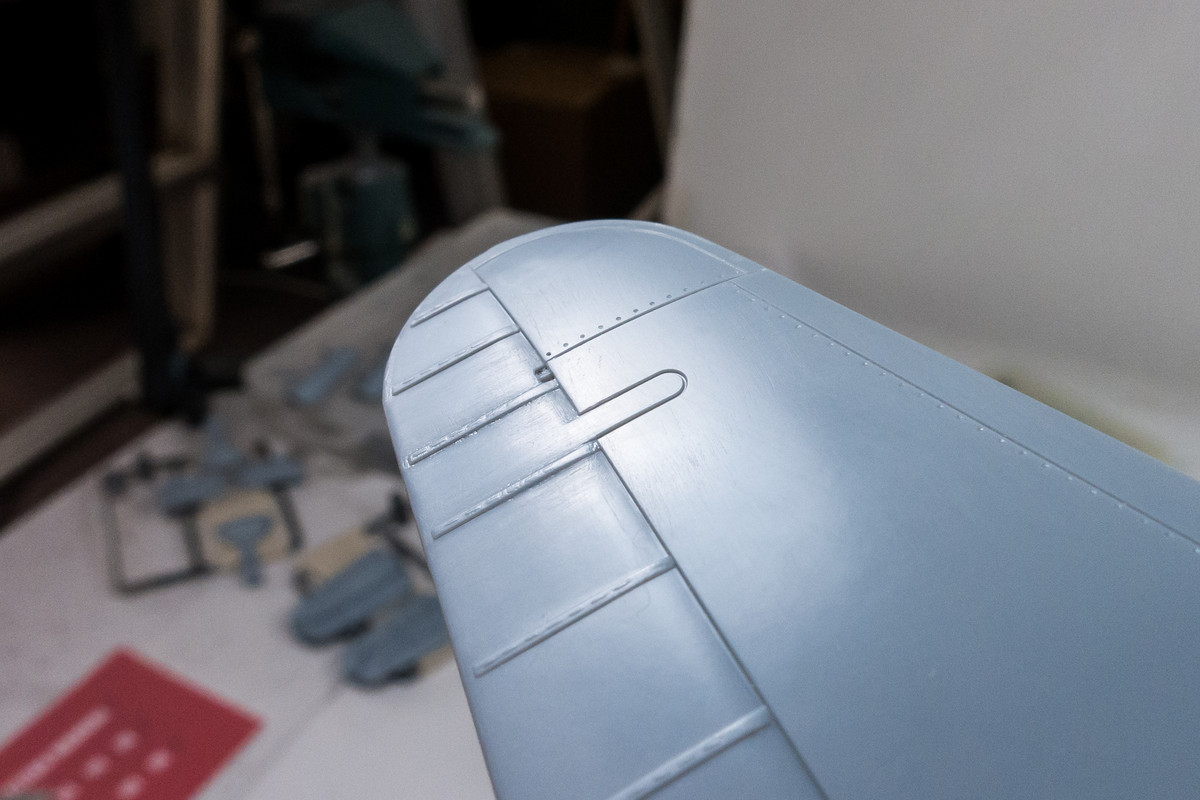
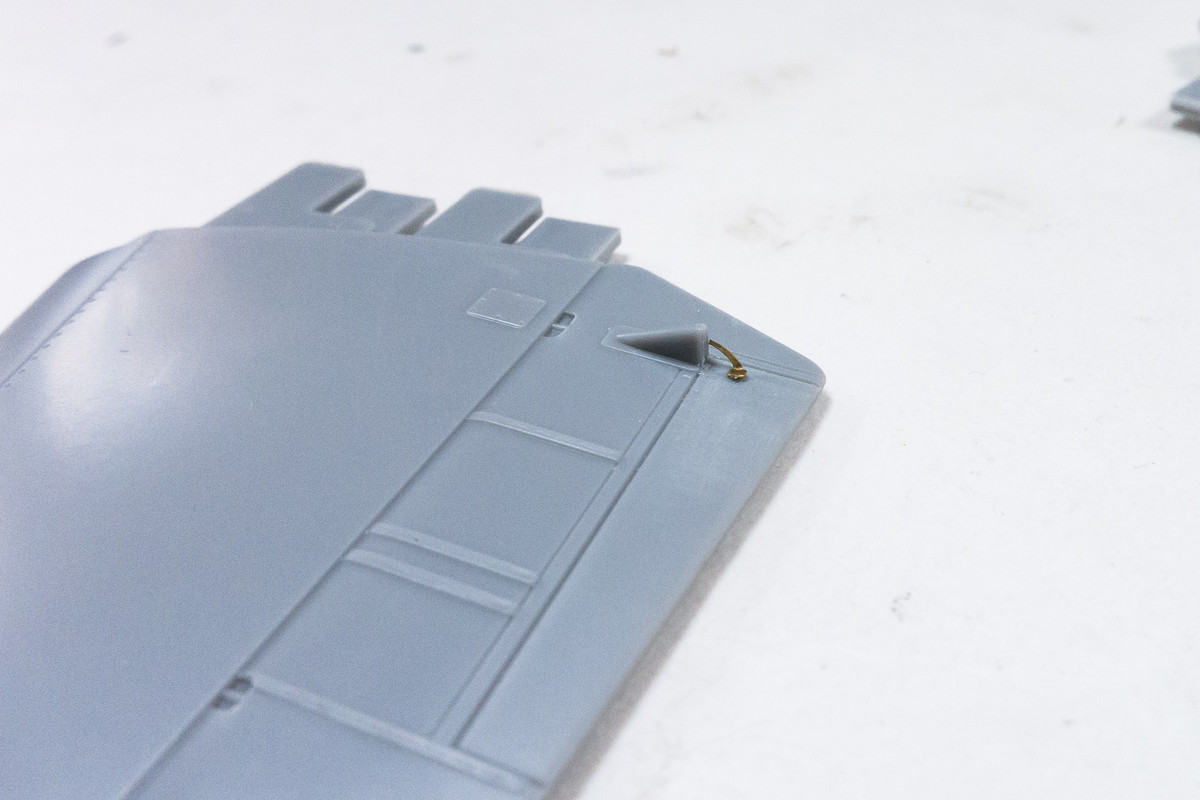
So we're back to even. Remember that I mentioned that I wanted the stabilizer to be even better than original? I knew in advance that the piece was going to be riveted so that was going to be accomplished eventually. But working on the stabilizer and comparing with the photos of the restored aircraft, I noticed the tab actuators could be refined.
So I did some minor cutting and fished out a small piece from the PE spares box and came up with a little more detail. It has not been permanently attached at this point as I'm worried about it getting knocked during the remainder of construction. So, with the repairs complete and even without the riveting, I do consider the stabilizer now better than original!