Page 4 of 38
Re: 1/32 Granville Gee Bee Model Z Super Sportster.
Posted: Sat Sep 12, 2020 11:29 pm
by speedgraflex
Very true, Carlos. Very true.
Re: 1/32 Granville Gee Bee Model Z Super Sportster.
Posted: Sun Sep 13, 2020 6:46 am
by LyleW
Looking great so far. You are so methodical in your approach. Me? “We don’t need no stinking instructions!” Now, where is the glue?
Re: 1/32 Granville Gee Bee Model Z Super Sportster.
Posted: Sun Sep 13, 2020 7:31 am
by Thomas_M
speedgraflex wrote:...
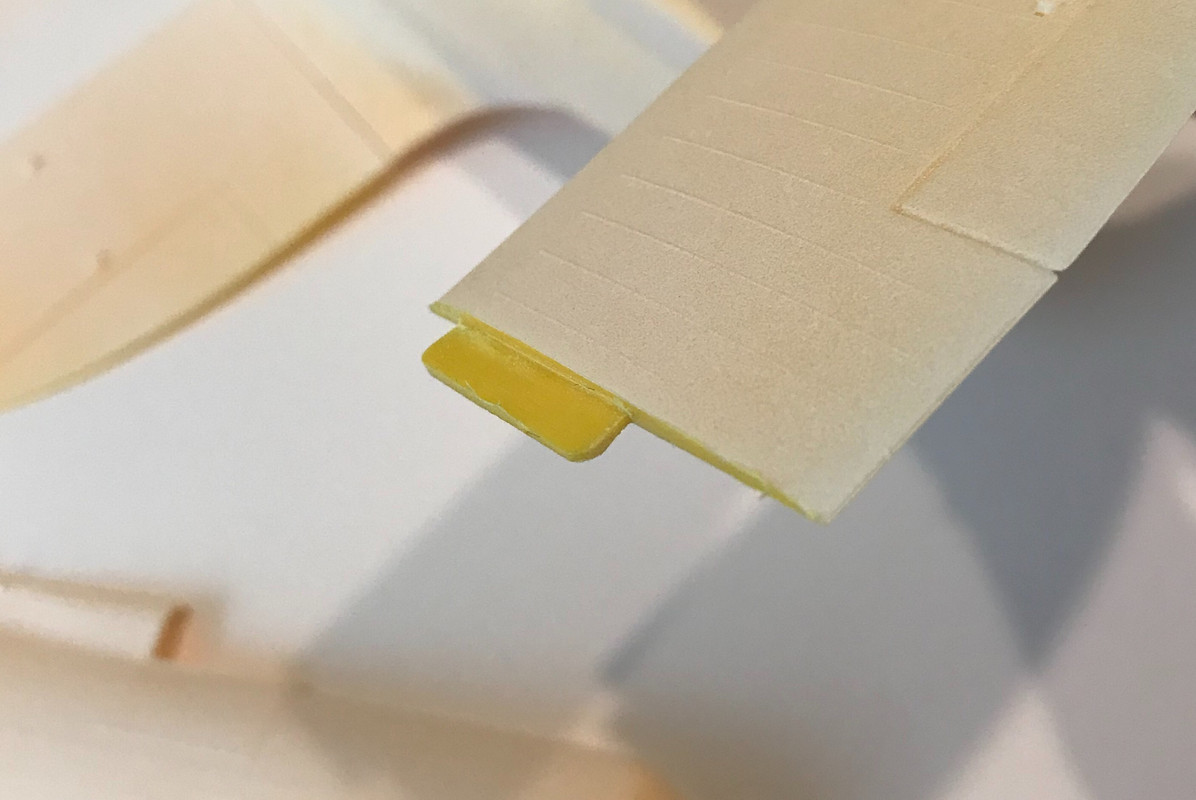
I was spot on with one and “close enough for now” with the other. The gap is from missing pressure fit; a little glue will hold ‘em both true!
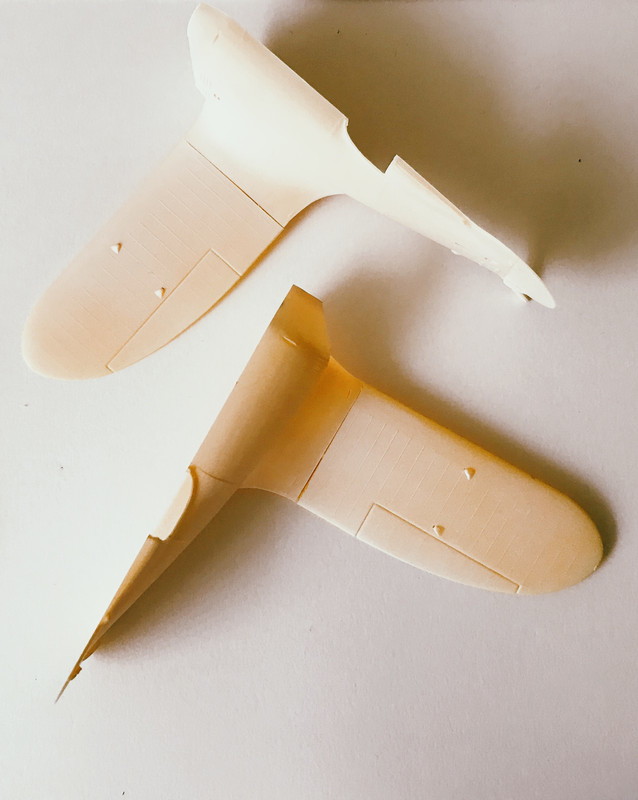
I´d go and glue those from the inside: no glue traces or molten plastic on the outside joint.
Re: 1/32 Granville Gee Bee Model Z Super Sportster.
Posted: Sun Sep 13, 2020 11:41 am
by speedgraflex
Thanks so much for your comments, Lyle and Thomas!
Re: 1/32 Granville Gee Bee Model Z Super Sportster.
Posted: Sun Sep 13, 2020 3:01 pm
by Stuart
Re: 1/32 Granville Gee Bee Model Z Super Sportster.
Posted: Sun Sep 13, 2020 4:05 pm
by Duke Maddog
Re: 1/32 Granville Gee Bee Model Z Super Sportster.
Posted: Sun Sep 13, 2020 7:06 pm
by speedgraflex
Stuart and Duke, thank you for your comments. It is your work which inspires me, gents. And that goes out to all here. Really and truly. I do know that Tamiya’s white primer is very unusual, in the sense that on surfaces it tends to “cloud up,” which is an effect well described by Dave Flory. He was painting Trumpeter’s Me 262a-1 with Tamiya’s white primer because (a) it sticks like stink to any finish, (b) it reveals surface flaws with zero compassion, (c) it forms a white cloud greater than its coverage zone. I do work in a mist layer first then return to fill in the gaps second. Oh and I thinned the primer on the cowling because I wanted maximum “drape” of paint, so that is probably the smoothest area so far.
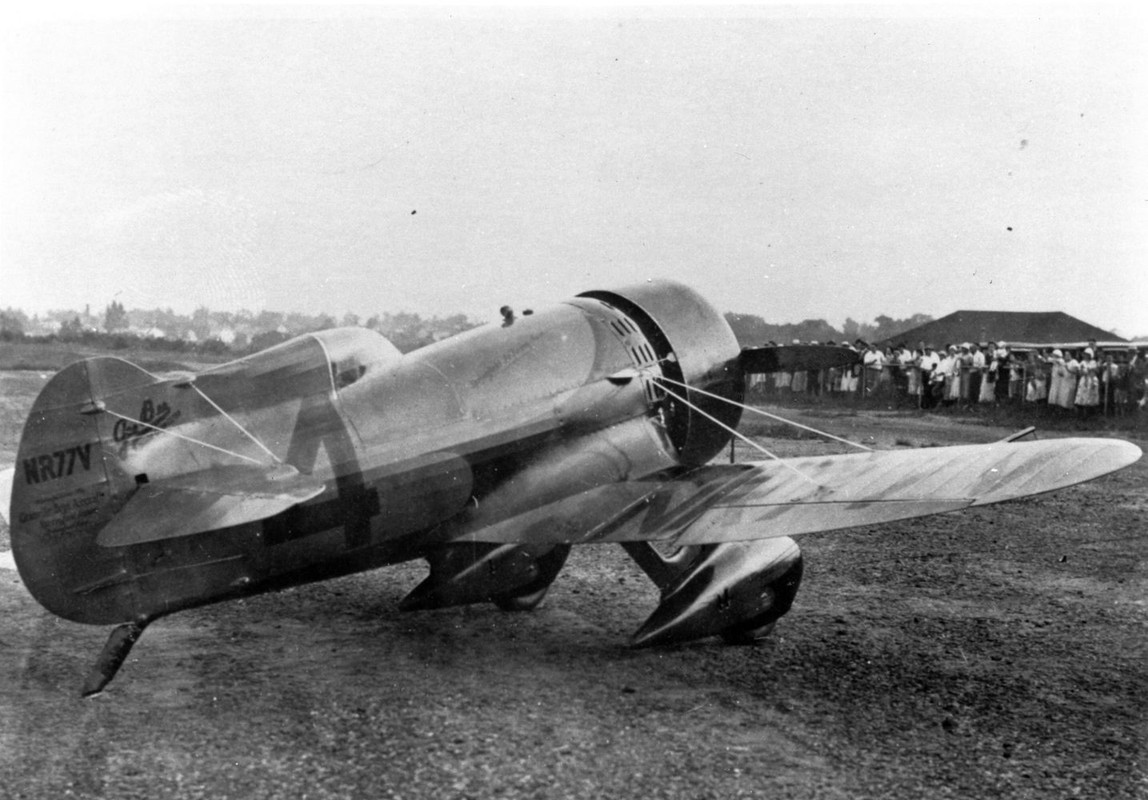
I am puzzling out how the cowling was held and is held in place. I hate having to build and paint the wasp engine and then figure out how. There’s also a surface detail which looks like a locking lever. Let me know what you think. Thanks.
Small cowling version
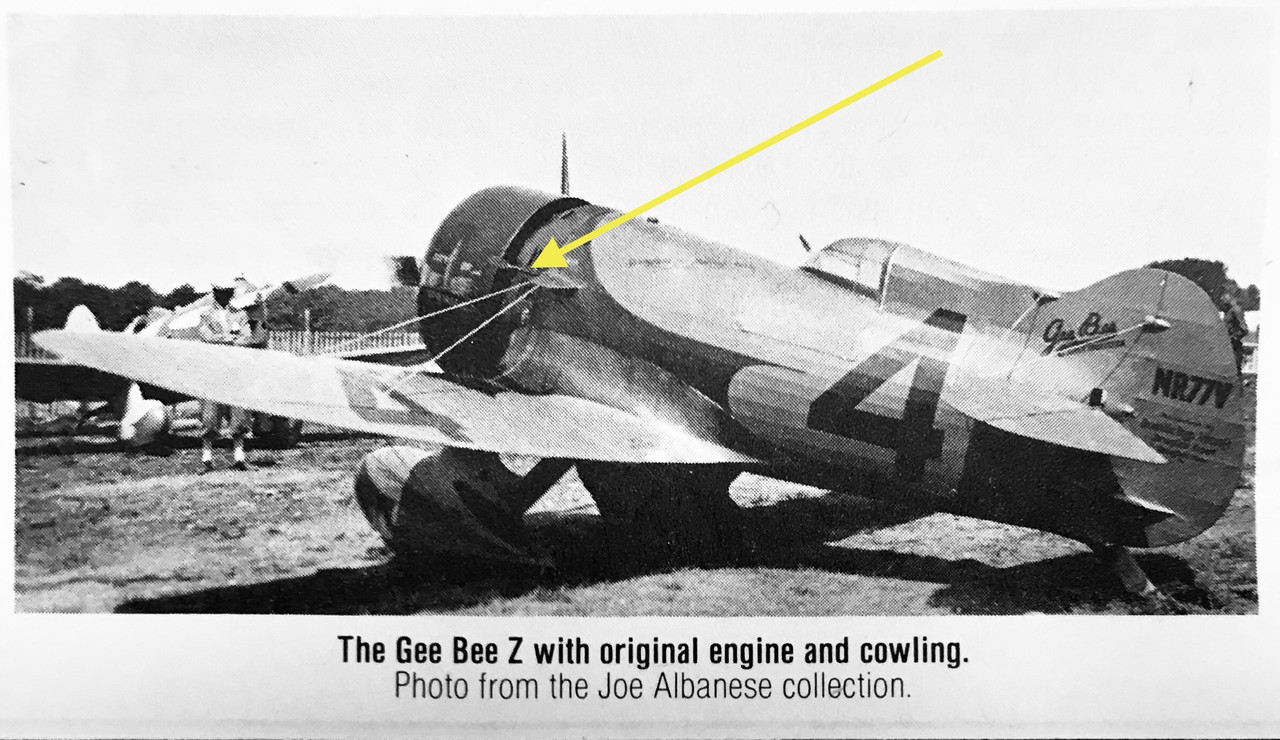
Large cowling version (I may have to up-res this.)

Originally I wanted to go with the large cowling version but after reading about how this version crashed and its pilot killed, I think I will choose the small version. (Also I think my kit has only one engine type; the small one!)
Wow! German Wikipedia rocks! It’s on both sides!
Re: 1/32 Granville Gee Bee Model Z Super Sportster.
Posted: Sun Sep 13, 2020 7:20 pm
by jeaton01
That may be a stay to keep the cowl from moving forward, I seem to remember there were some problems with that. Contrary to what you might think, the aerodynamic forces on a NACA cowl will cause forward movement. The usual method of attaching a cowl to a radial is to clamp it around the cylinder heads so it moves with engine vibration and the air can not leak out around the tops of the cylinders but can only flow around the cooling fins on the cylinders.
Re: 1/32 Granville Gee Bee Model Z Super Sportster.
Posted: Sun Sep 13, 2020 7:23 pm
by speedgraflex
Okay that’s absolutely brilliant, John, and I thank you most sincerely for both how and why and as a bonus answering what that “stay” is! Thanks again!
Re: 1/32 Granville Gee Bee Model Z Super Sportster.
Posted: Mon Sep 14, 2020 11:58 am
by speedgraflex
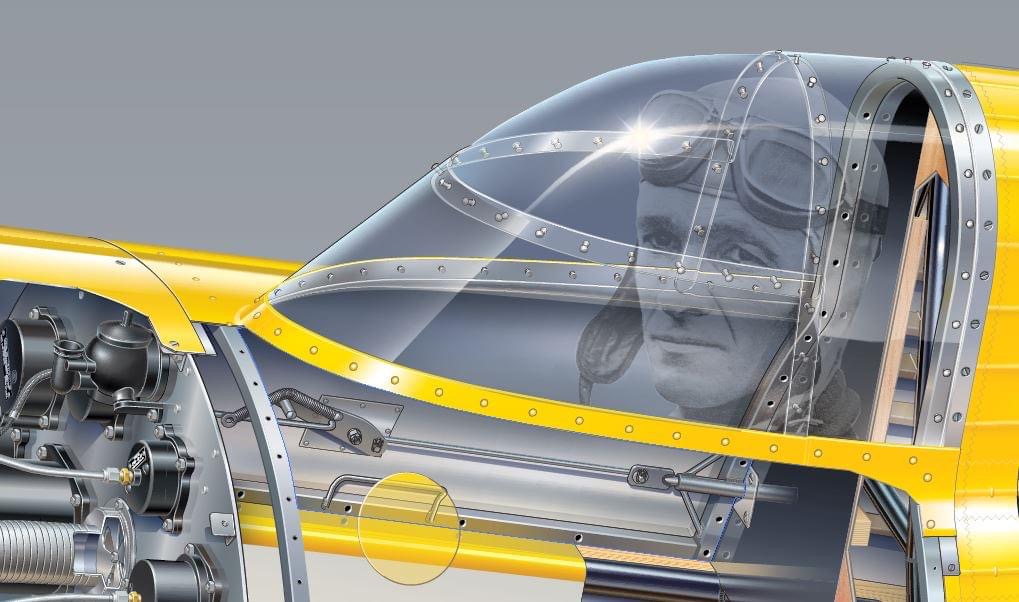
These are two enlargements of a beautiful cutaway illustration by Tom Johnson of the Gee Bee Z.