Page 4 of 34
Re: 1/32 Revell Me262B-1/U1 Nachtjager
Posted: Sun Nov 22, 2020 12:52 am
by jkim
Thanks guys! After completing the Shiden Kai, I wanted to jump back onto the Nachtjager but am still hung up on actually starting work on the cockpit. I started on one plan of cobbling together the major components with friction, tape and white glue but I didn't get far down that road before I broke on the cockpit parts. That kinda put cold water on that idea.
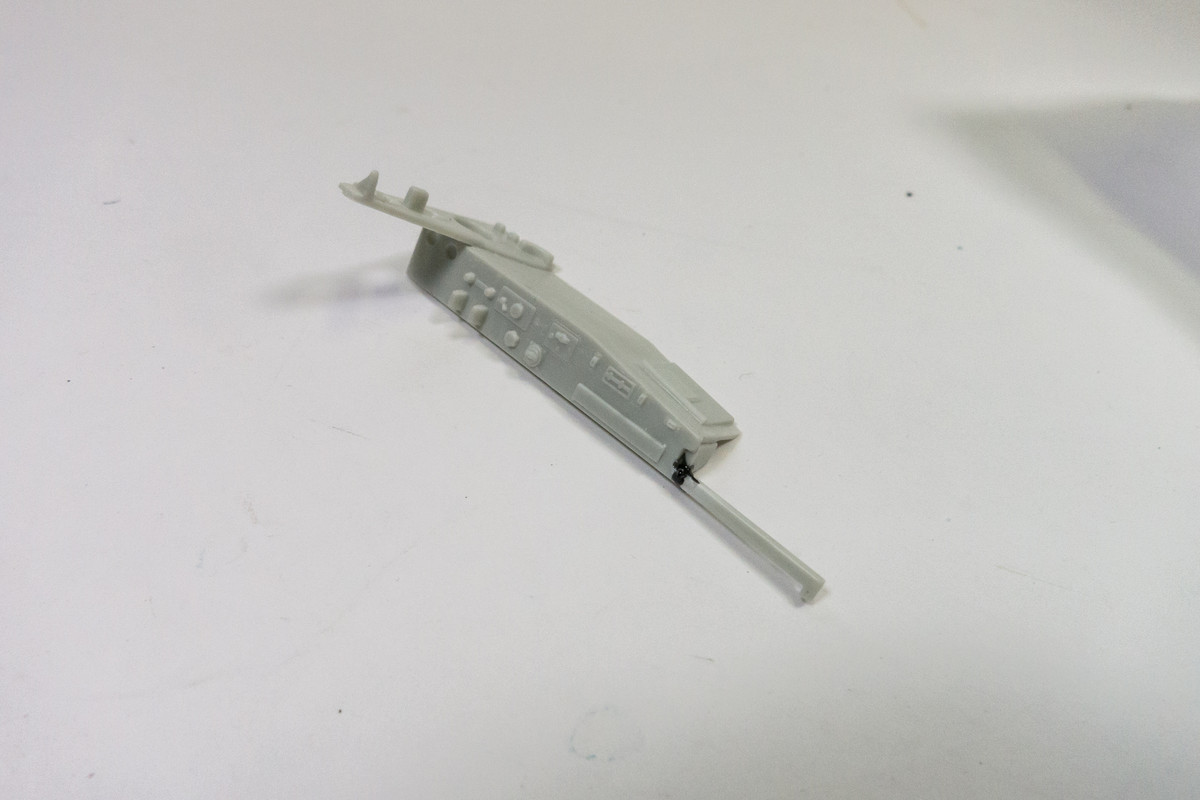
Although I would prefer more assembly before painting, I may just have to start painting/finishing and putting the cockpit together one assembly at a time and trust that I can work out any fit issues as they arise. Probably not a bad route to take... I would actually be following the instructions!
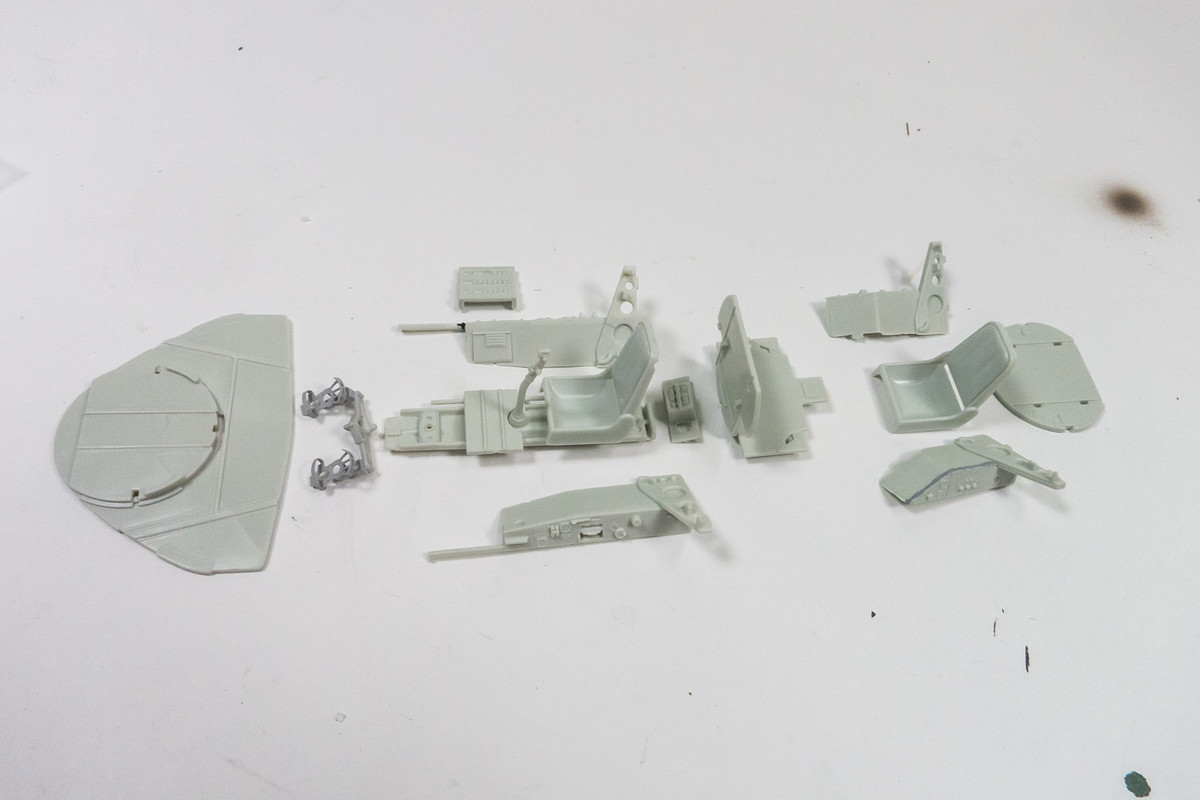
The Eduard PE foot pedals broke on me so I fished out some Eagle Editions replacements from my spares box. The gun sight position was adjusted as well.

Re: 1/32 Revell Me262B-1/U1 Nachtjager
Posted: Sun Nov 22, 2020 1:32 am
by Floki
I'm sure you'll have no problem getting the pit to fit together in the end.
Re: 1/32 Revell Me262B-1/U1 Nachtjager
Posted: Sun Nov 22, 2020 5:05 am
by Stuart
Looks like it'll be an interesting assembly John but I'm sure you'll pull it together - pretty good detail though, I'm liking the mix of kits parts and AM.
Re: 1/32 Revell Me262B-1/U1 Nachtjager
Posted: Sun Nov 22, 2020 9:43 am
by speedgraflex
John, Please take my thoughts with a grain of salt (whatever that means). The bulkhead shape triggered alarms for me. From a design standpoint, I would much rather create a fitted bulkhead from plastic card. You could also add a card behind the kit part as well. I don’t think this is overkill. At least make copies of the bulkheads from cardboard. You don’t have to cut these out unless necessary. These could be backup, “just in case.” I wouldn’t want the cockpit framework to flex during handling.
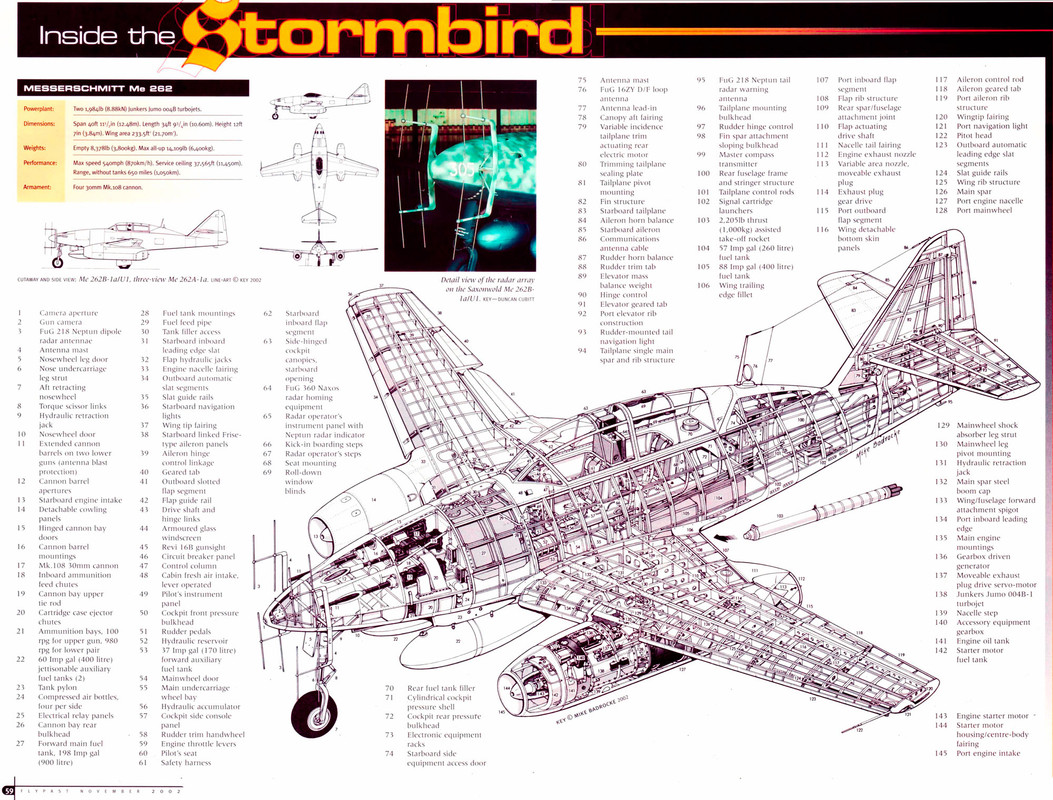
I think whoever designed the model should have used much tighter tolerances - maybe these will be useful. I love cutaway drawings!!
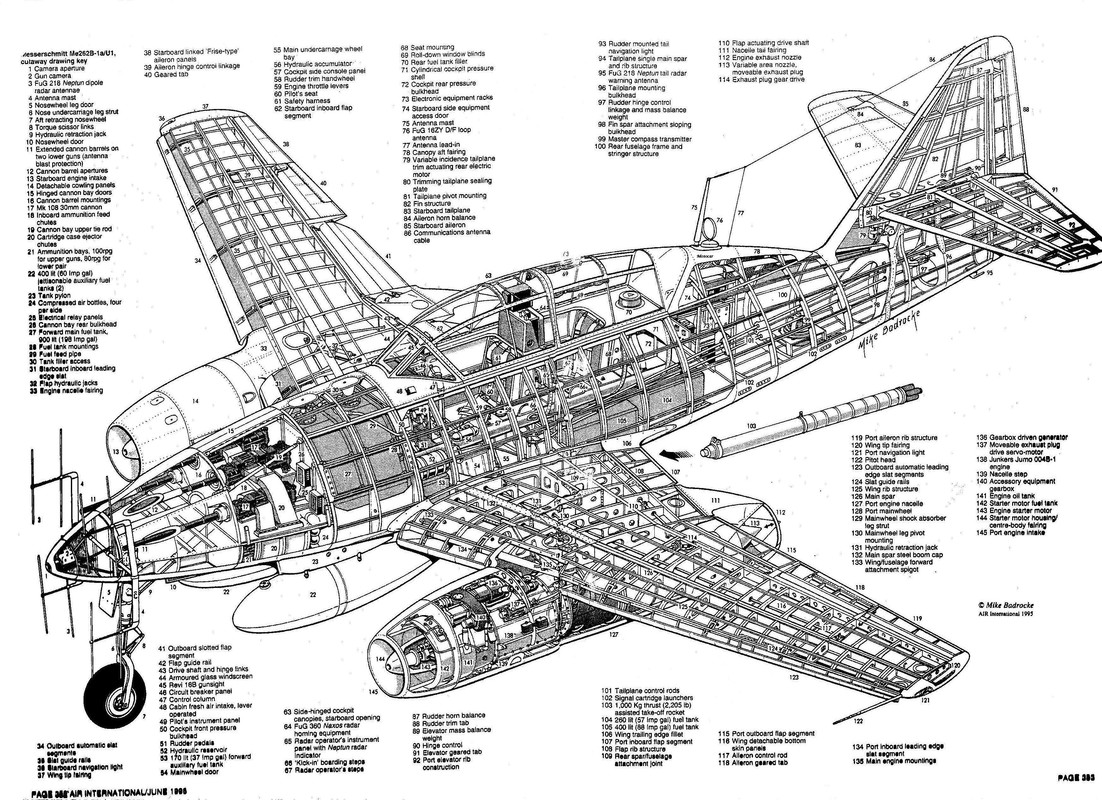
Regarding your instrument panel approach - Bravo! Also an additional “Bravo!” for your Revi gun sight, with further additional thanks for the tip about using Debonder to scrub clear areas of CA.
Re: 1/32 Revell Me262B-1/U1 Nachtjager
Posted: Sun Nov 22, 2020 12:17 pm
by Bish
Very nice work on tghis so far, love those instrument panels.
Re: 1/32 Revell Me262B-1/U1 Nachtjager
Posted: Sun Nov 22, 2020 9:57 pm
by jkim
Thanks guys! I appreciate the input. The bulkhead is an interesting situation but in the end, it fits. Or I should say... it seems to be of the appropriate dimensions to facilitate fit of the parts around it. I don't see a need to fabricate a new one, especially considering that the rest of the cockpit parts will fit according to that bulkhead. I trust the model engineers more than I do my own fabricating skills, especially (and this is very important) since I have clue as to how the rest of the parts fit. Much easier to adjust the existing bulkhead if necessary.
Interestingly, I had a discussion with the engineer that designed this kit. He noted that the small tabs on the outer edges of the bulkhead were not a part of the plans he submitted to Revell and recommended that I sand them off. I disagreed since there could be a difference between the design plans and the actual product and it is my opinion that Revell purposefully added those tabs to make the bulkhead fit properly within the fuselage halves. At least that is what my limited dry-fitting exercise is telling me.
Re: 1/32 Revell Me262B-1/U1 Nachtjager
Posted: Sun Nov 22, 2020 10:17 pm
by jkim
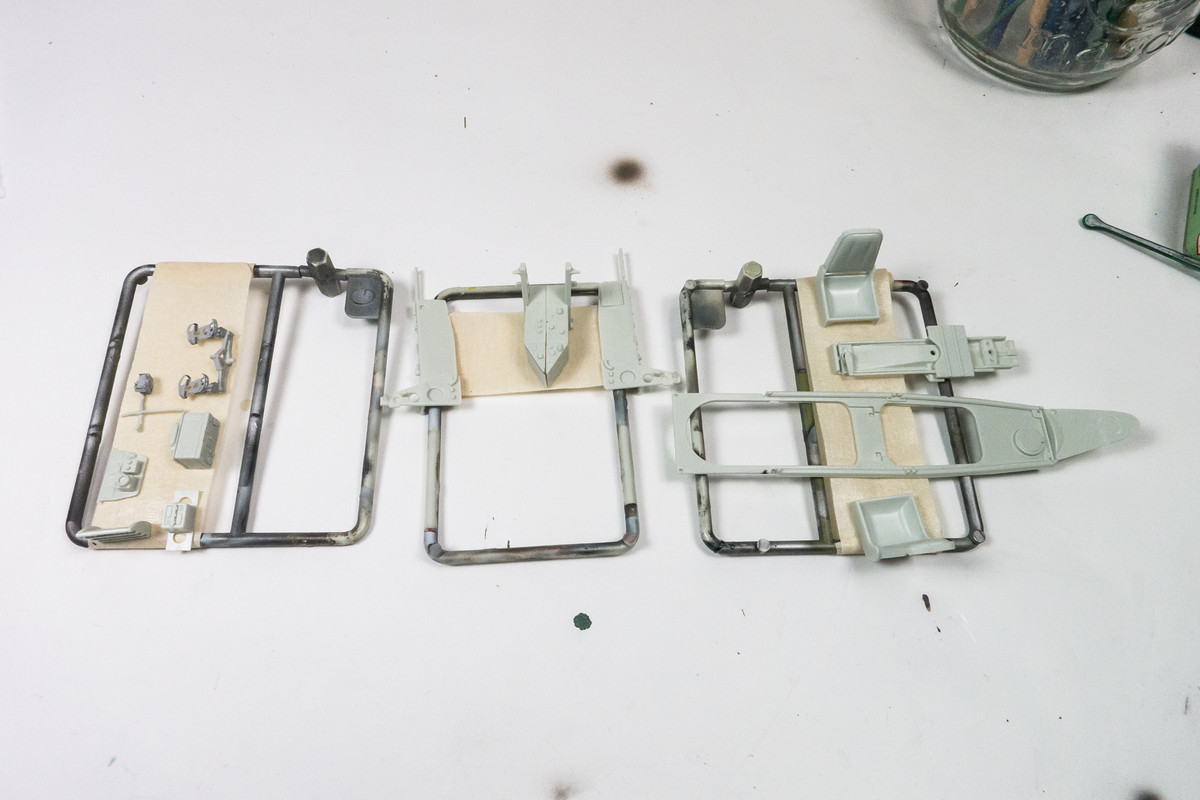
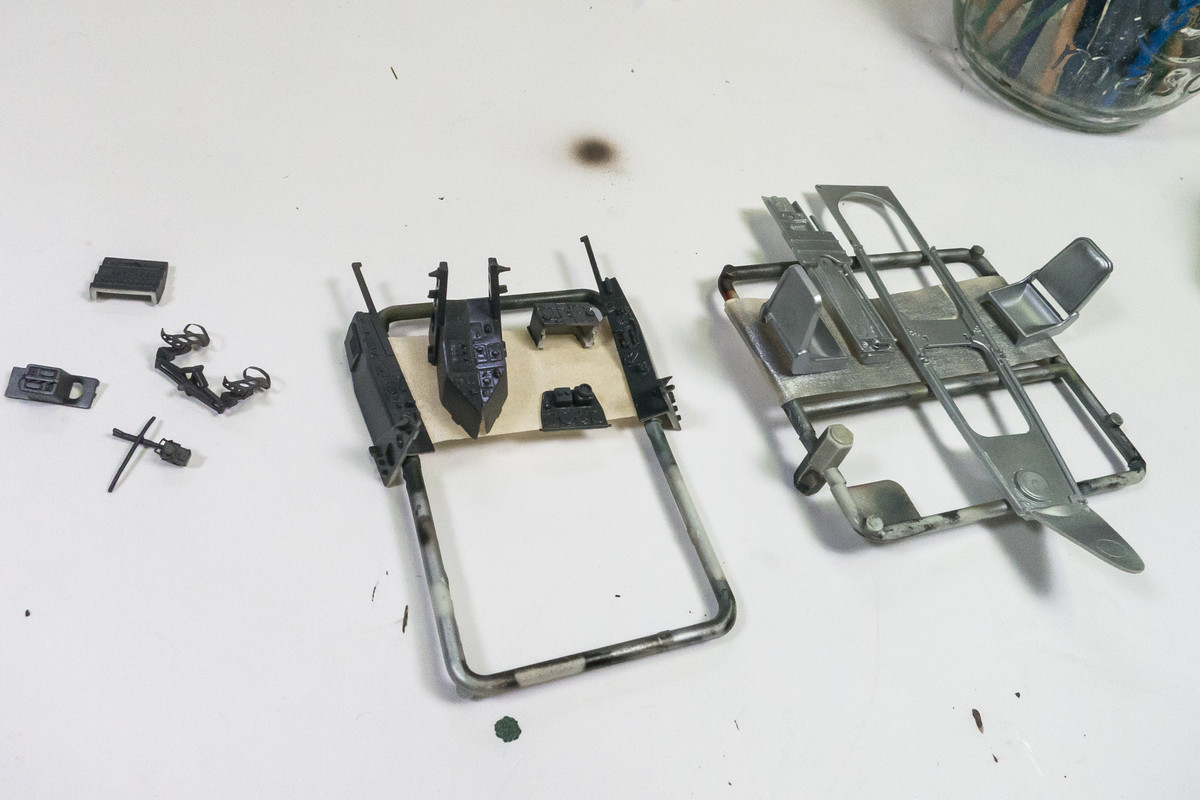
So moving forward with this build, I've selected the cockpit parts and divided them into two categories. One - the parts that have decals to be applied to them, which will be painted in RLM 66 Dark Grey (Mr Hobby Aqueous). Two - parts that will be hairspray chipped, which be painted in Tamiya AS-12 silver, decanted into an airbrush. The grey parts will be coated in a clear gloss and the silver parts with hairspray.
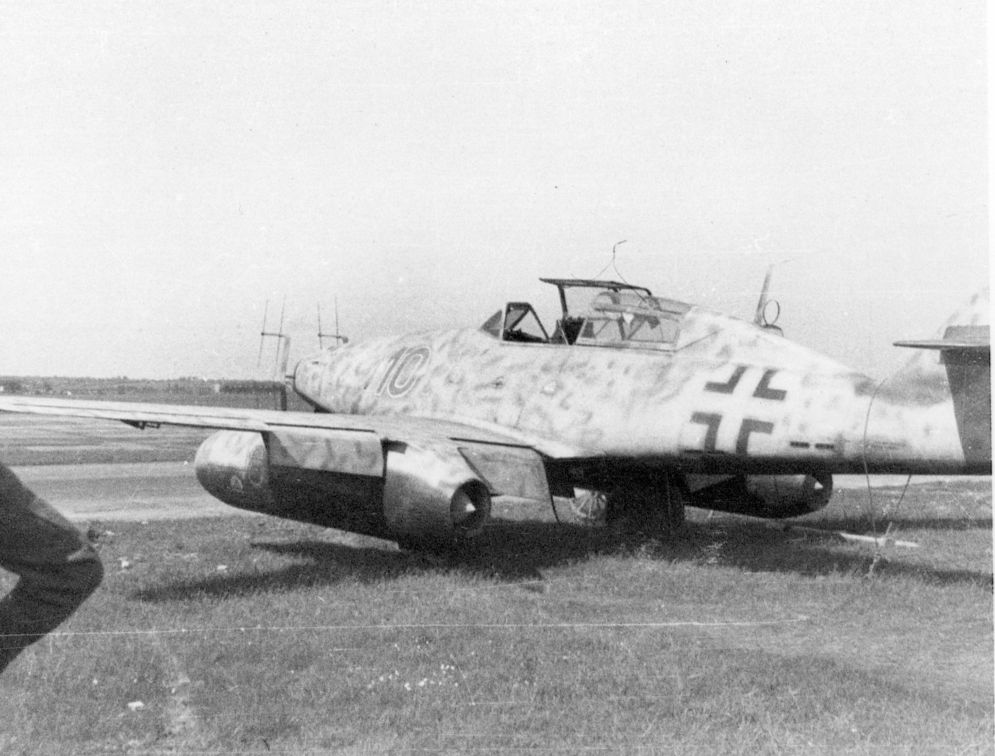
Although the camo painting is a long way off, I started thinking about how to represent the mottled finish on Red 10. Most descriptions of this scheme call out a base of RLM 76 on the topside with a RLM 75 mottle over it. However, the more I look at some of these late war mottle schemes, the more I think it may have been the opposite. Here are a couple of photos of Red 10 at the time of capture. Note the overspray of the lighter color over part of the red "10".
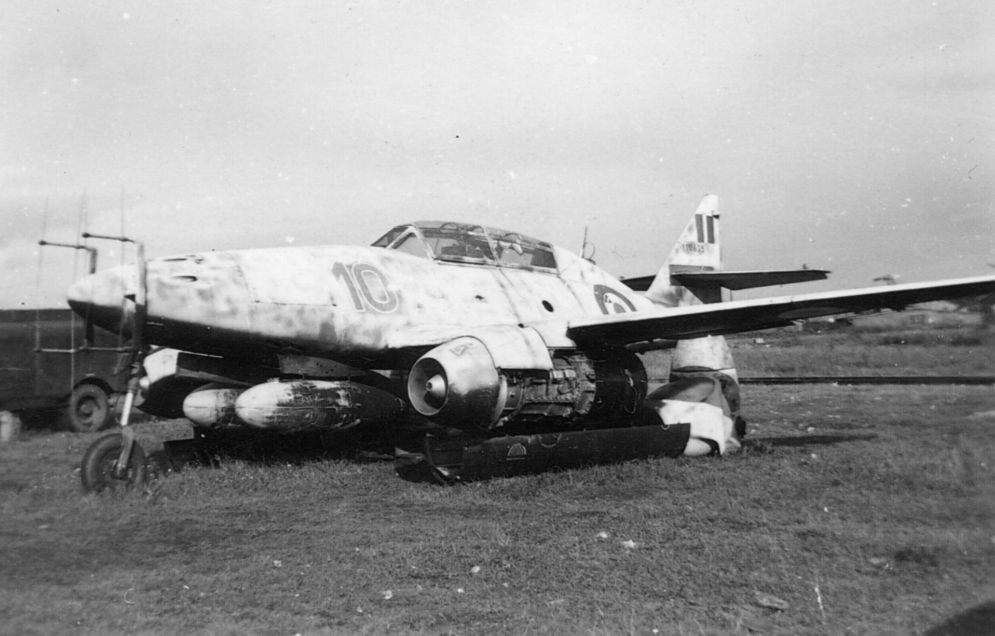
So I want to go with that opposite approach. Establish the dark color as the base and use the lighter RLM 76 to create the mottle effect. Using a spare Bf109 wing as a paint mule, I ran a test on this idea. The wing was sprayed with RLM 83 Dark Green (Mr Hobby Aqueous) and then given a random mottle pattern with RLM 76 Light Blue (AK Real Color 76 Version 2). I also tested a few of the custom masks that I had created in AutoCAD specifically for Red 10.
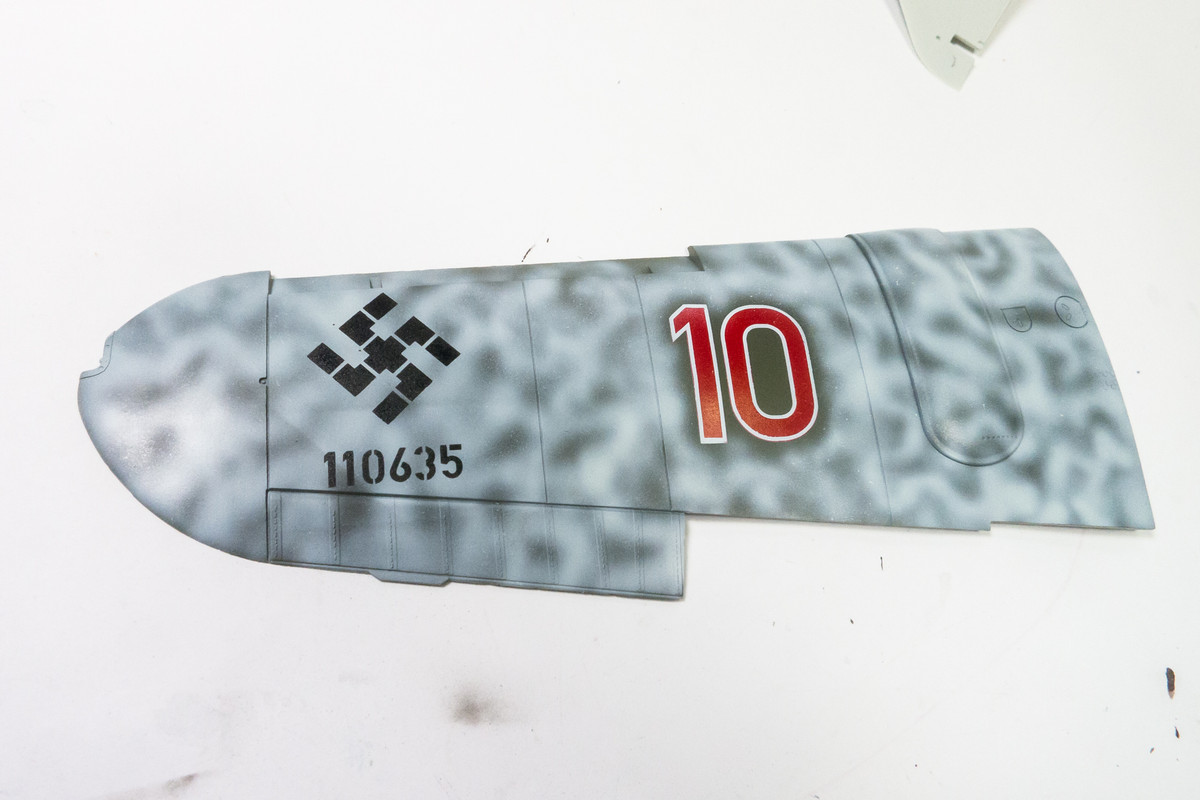
This approach seems to make sense visually as well as practically since it would represent an easier conversion to a nightfighter scheme.
Re: 1/32 Revell Me262B-1/U1 Nachtjager
Posted: Mon Nov 23, 2020 4:54 am
by Stuart

That's an interesting thought John and, although I know next to bugger all about Luftwaffe schemes, I think you maybe right. It does make more sense that they applied the light over the dark. If you look at the '10' in the bottom photo, it looks like they've actually gone over the edge of the 0 with a light colour.
Re: 1/32 Revell Me262B-1/U1 Nachtjager
Posted: Mon Nov 23, 2020 7:25 am
by LyleW
John, ripping good work!, god analysis on the bulkhead. You work is always educational and inspirational!
Re: 1/32 Revell Me262B-1/U1 Nachtjager
Posted: Mon Nov 23, 2020 11:40 am
by jkim
It's just a guess on my part. And also one of the ways that I can differentiate my nightfighter from other builds out there.
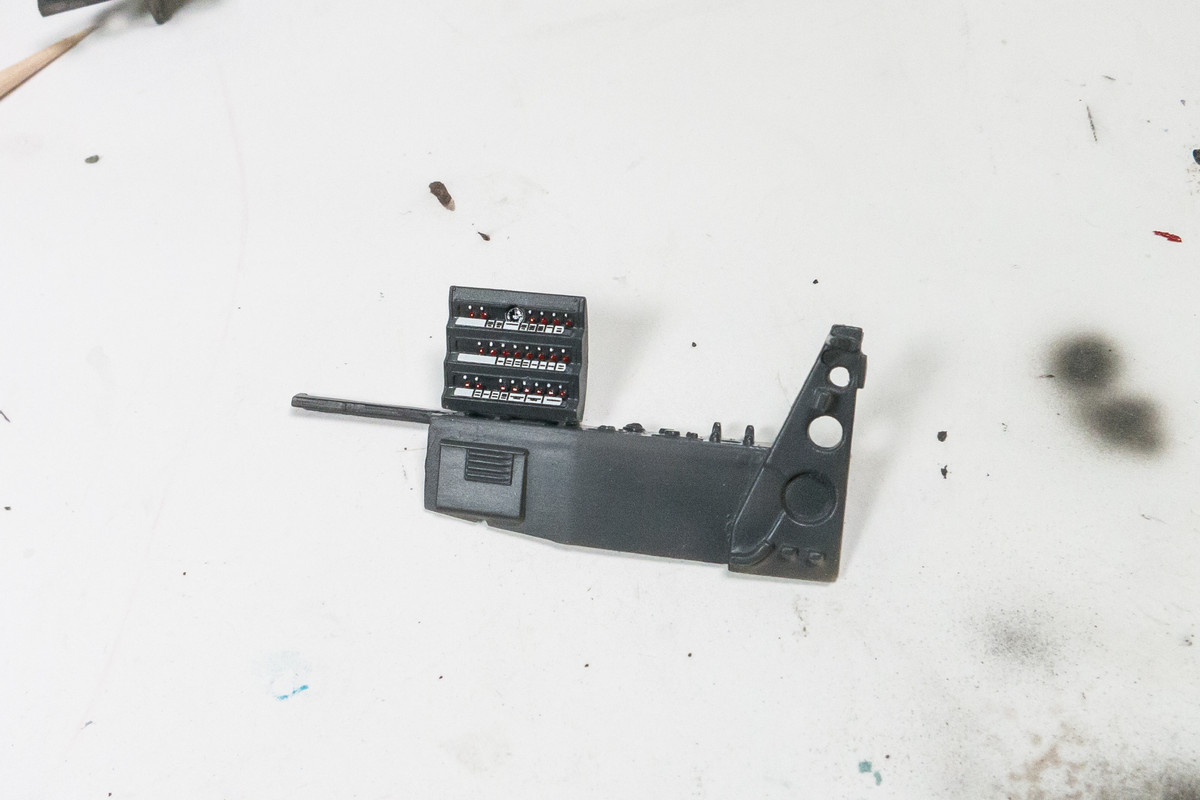
Still picking my way through the cockpit. Here is the starboard side electrical panel featuring a combination of hand-painted switches, PE label strips and an Airscale instrument dial.