Stikpusher wrote: ↑Fri Nov 25, 2022 9:16 am
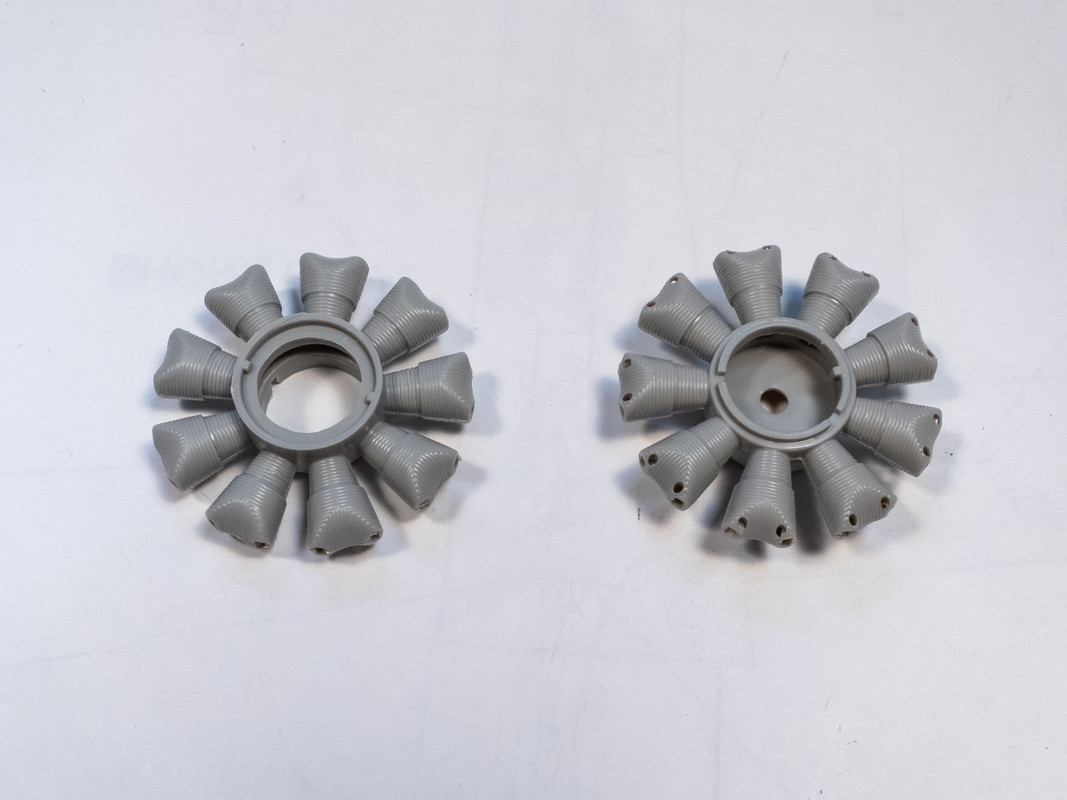
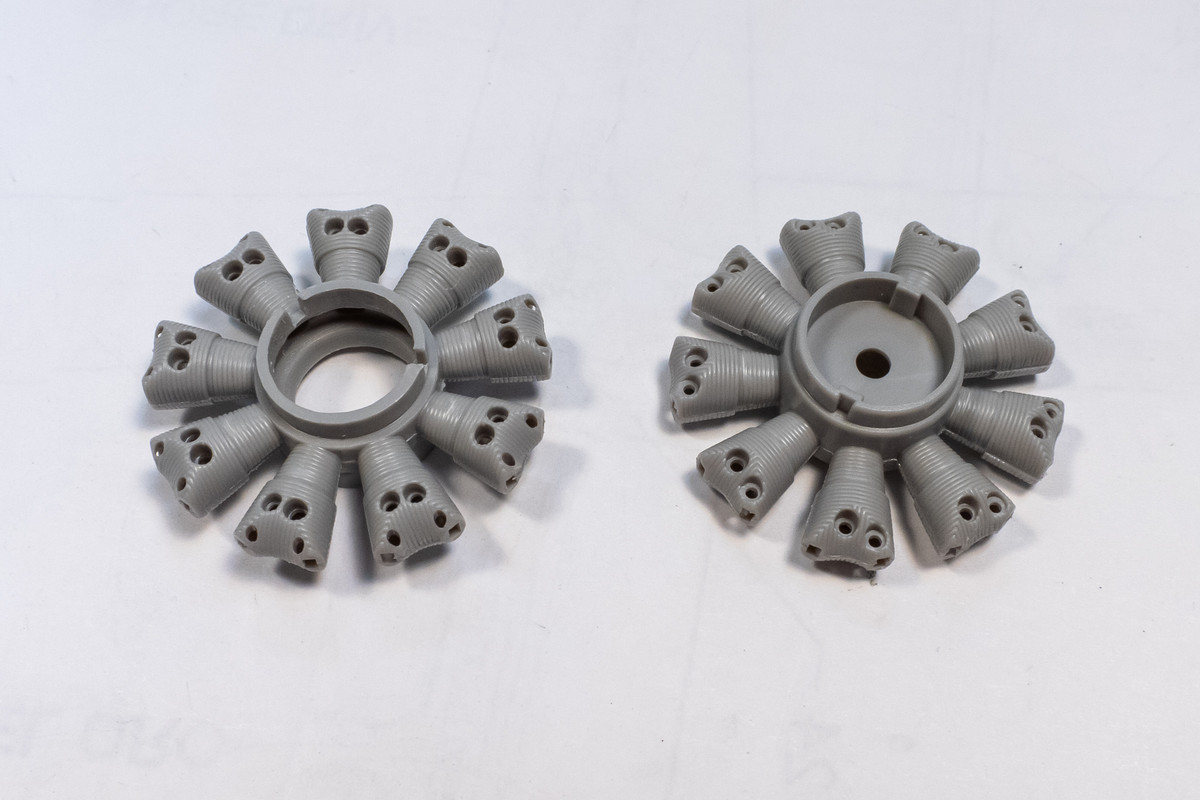
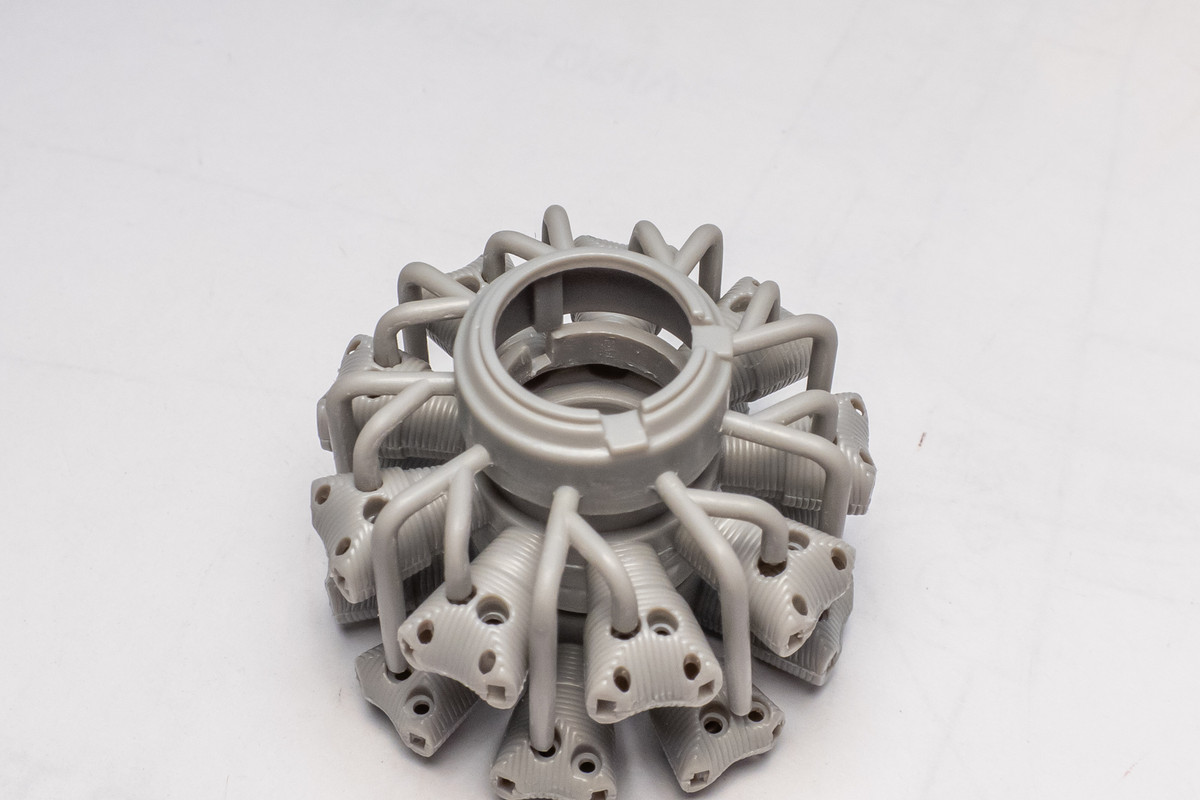
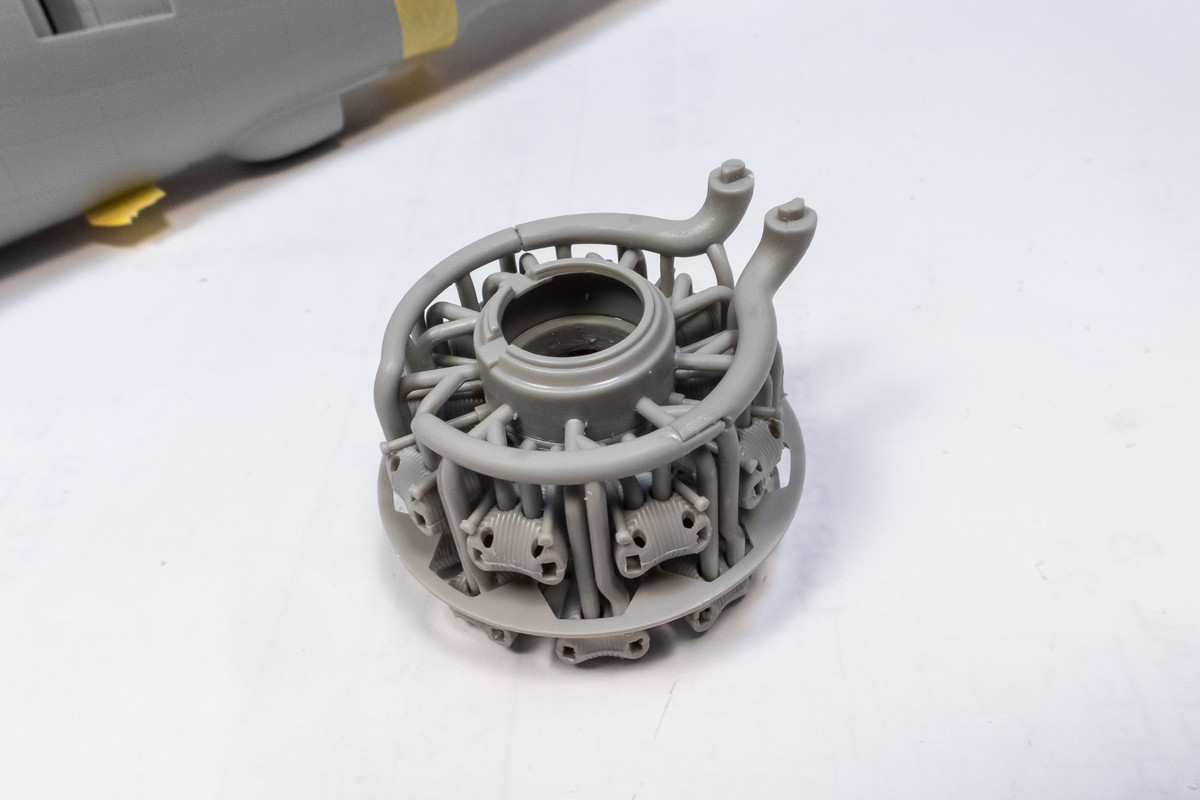
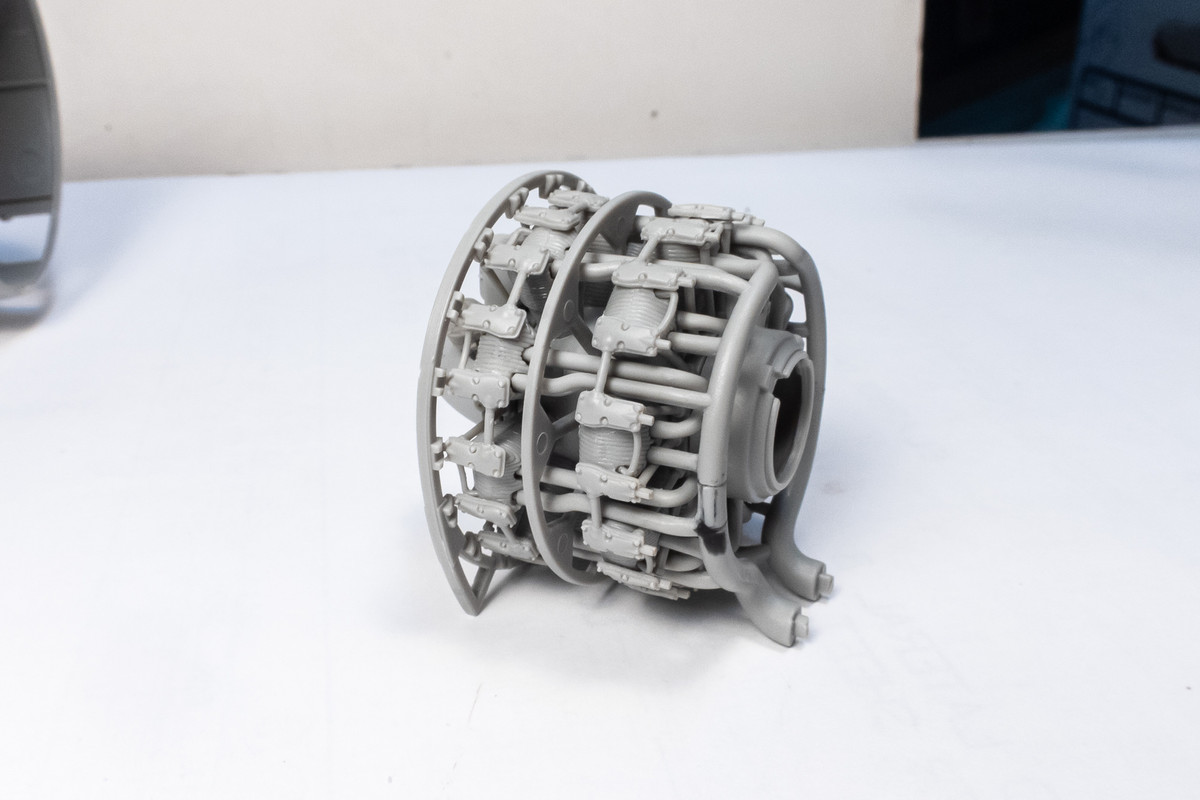
Oh that is gonna be one sweet engine all assembled and detailed. It’s too bad that more of it will not be visible.
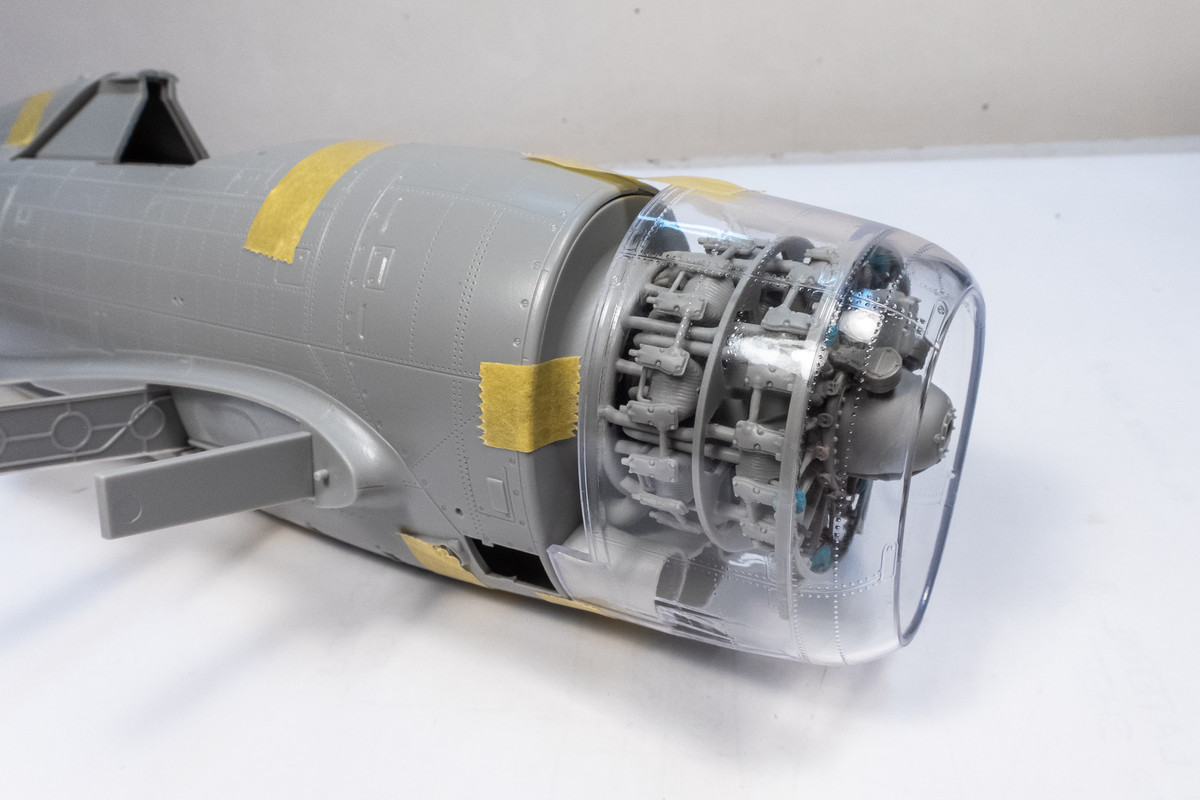
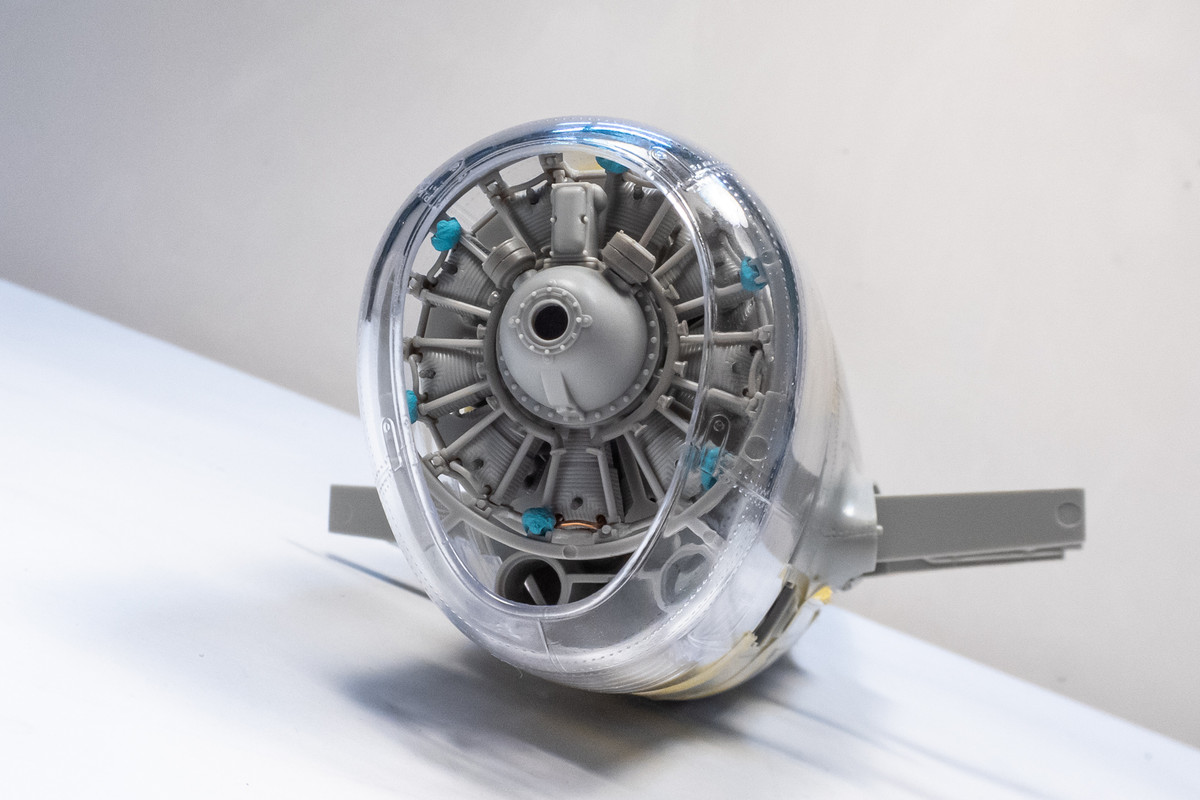
True, but it simplifies some things as well, which is a good thing. Will have a nice view into the front of the engine from the spinner-less prop.
BlackSheep214 wrote: ↑Fri Nov 25, 2022 7:55 pm
Well…. here’s an idea you could do. What if you paint only one half of the clear cowling to show off the engine?
Great idea but I'm not going to do that! I chose this scheme because of the checkerboard nose!
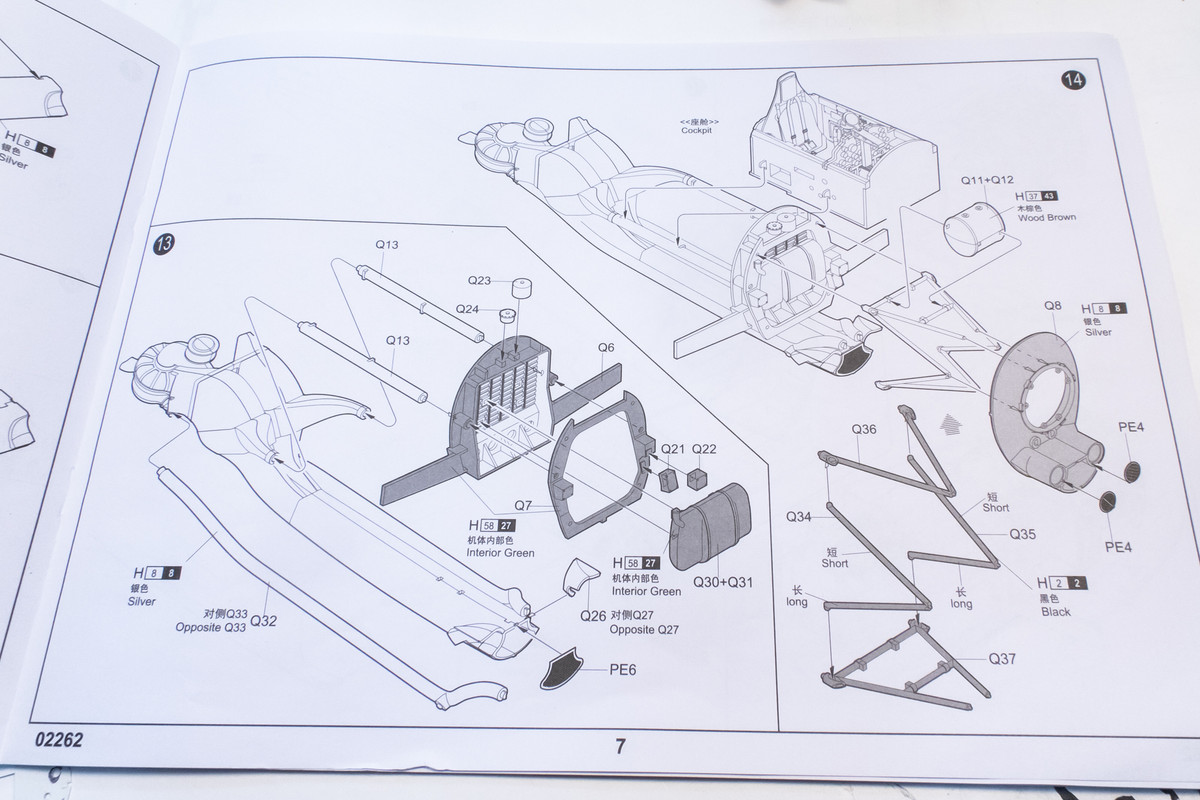
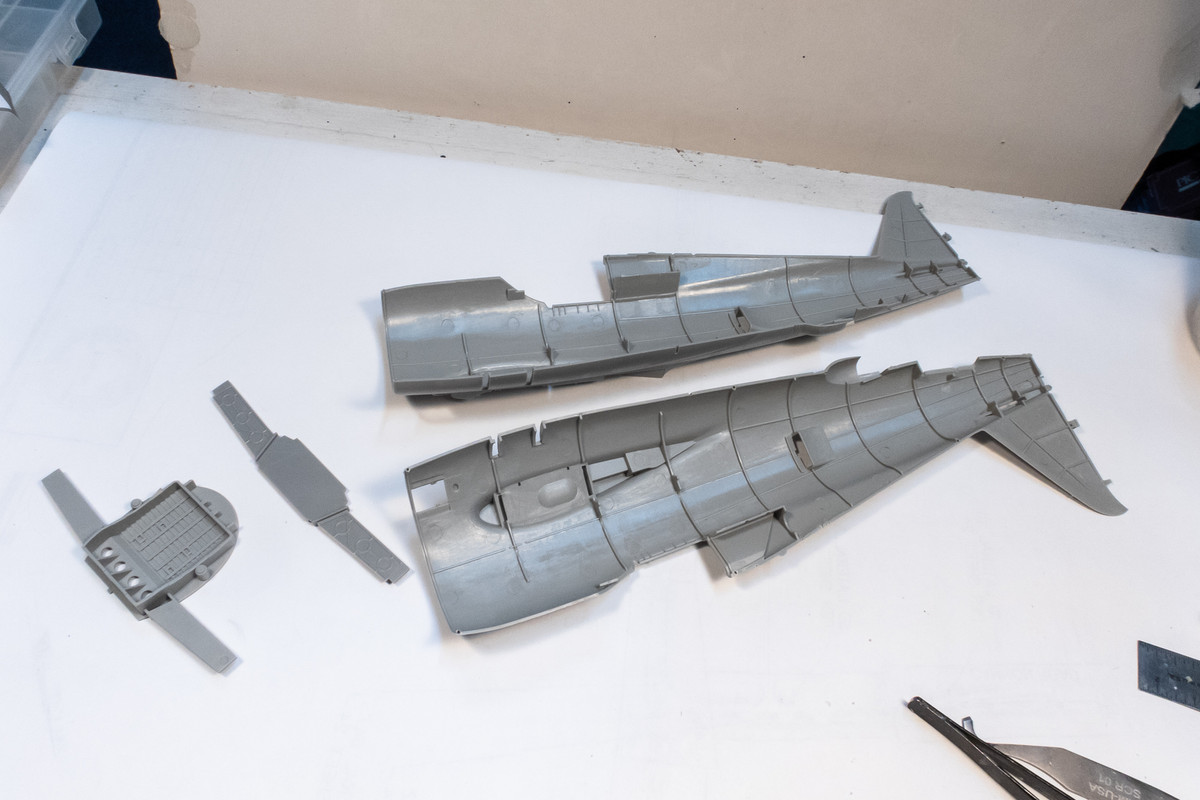
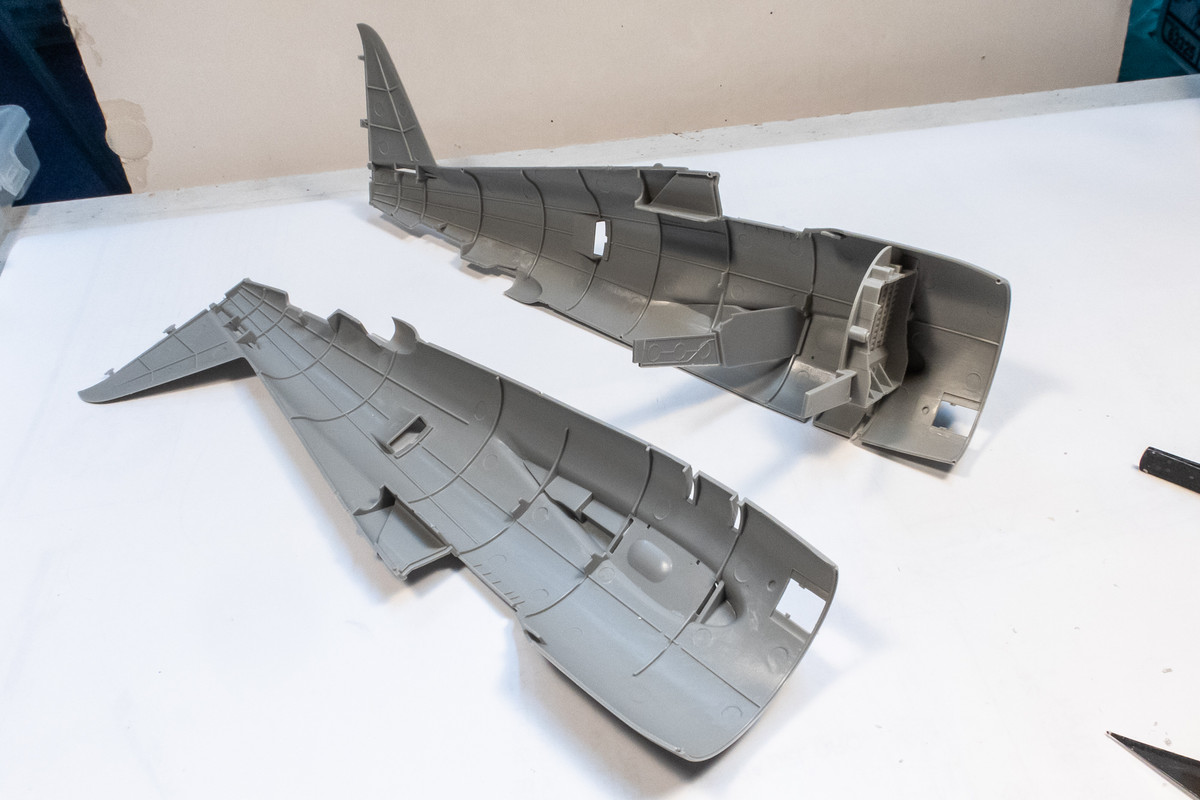
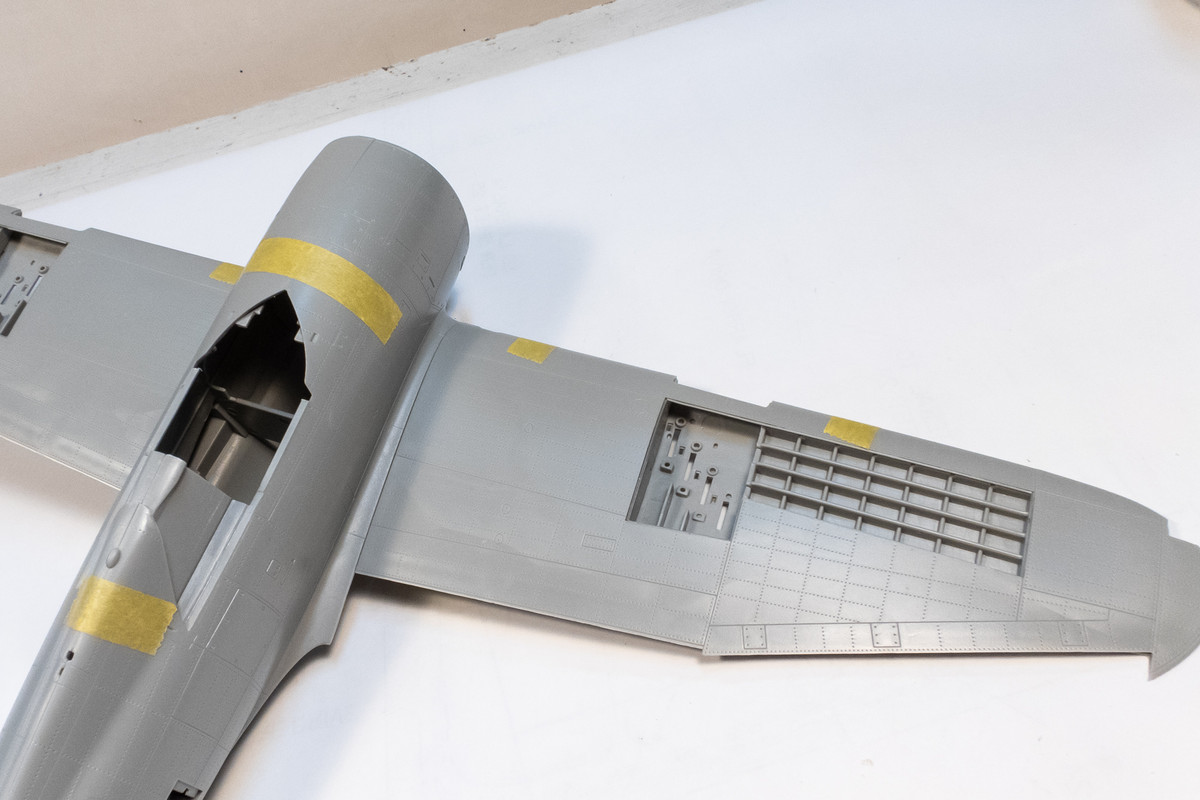
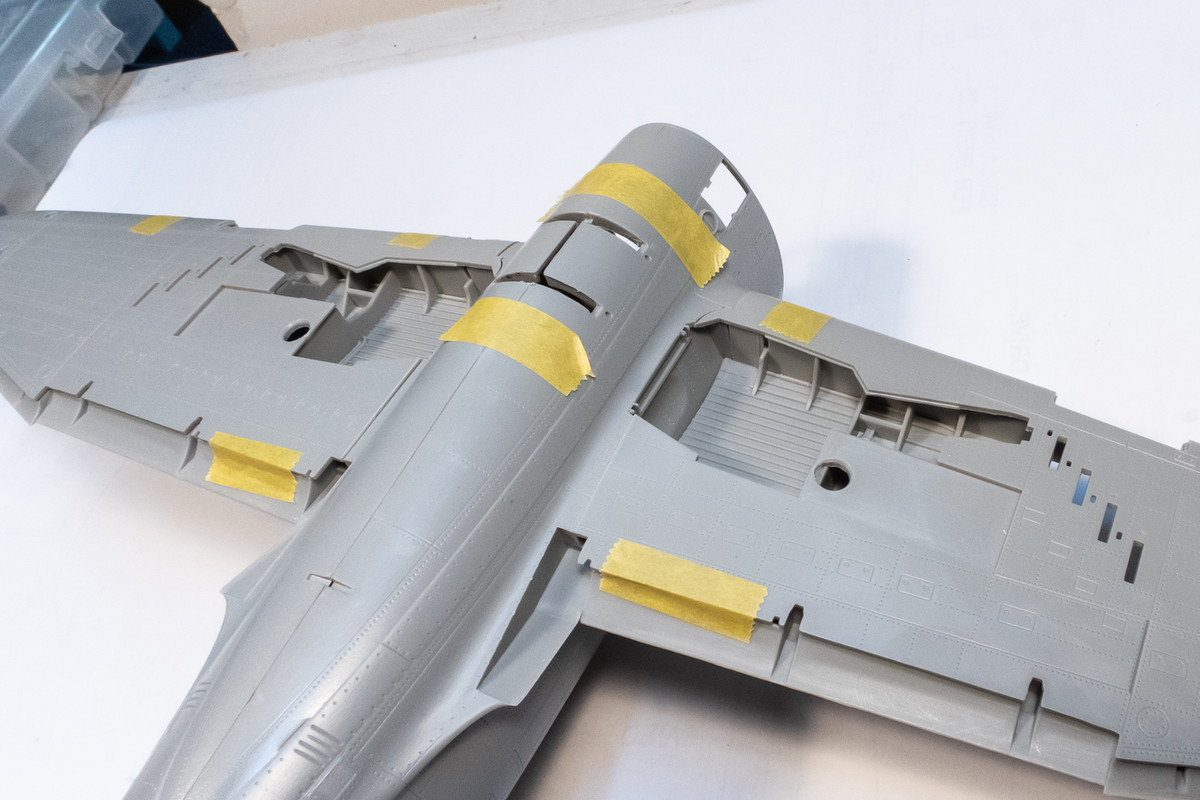
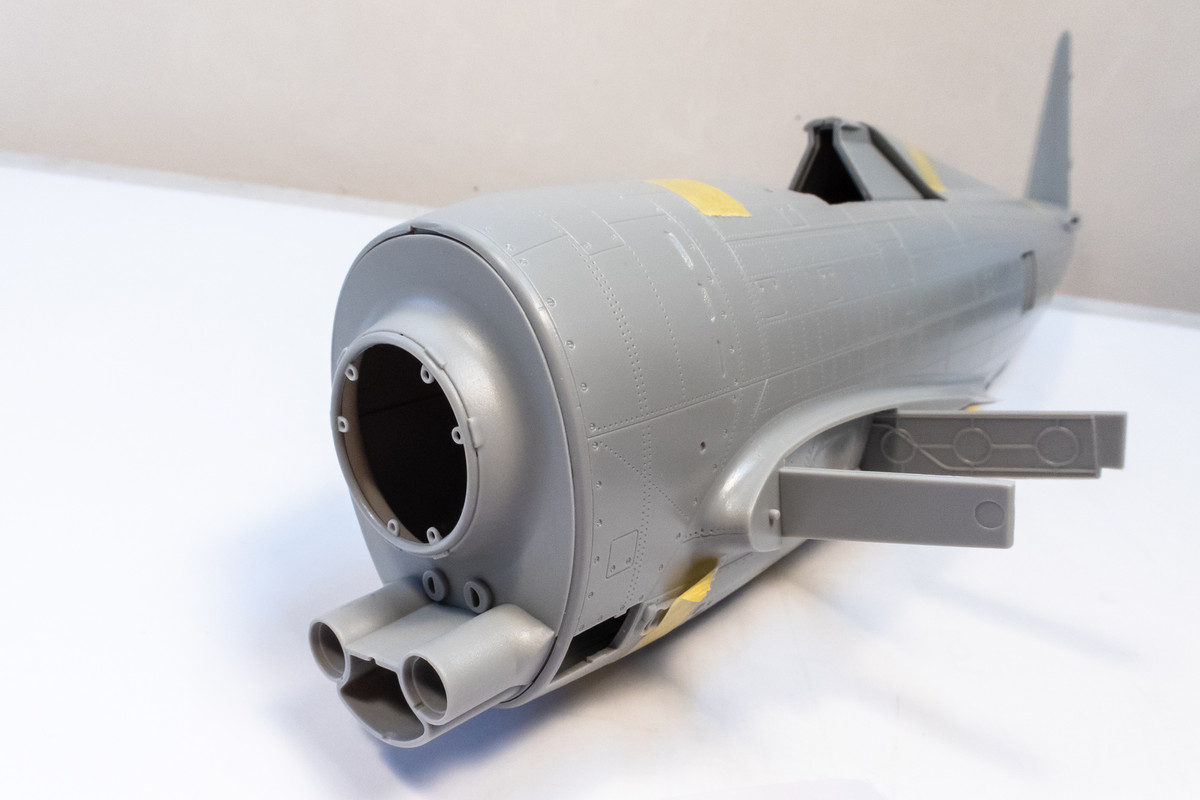
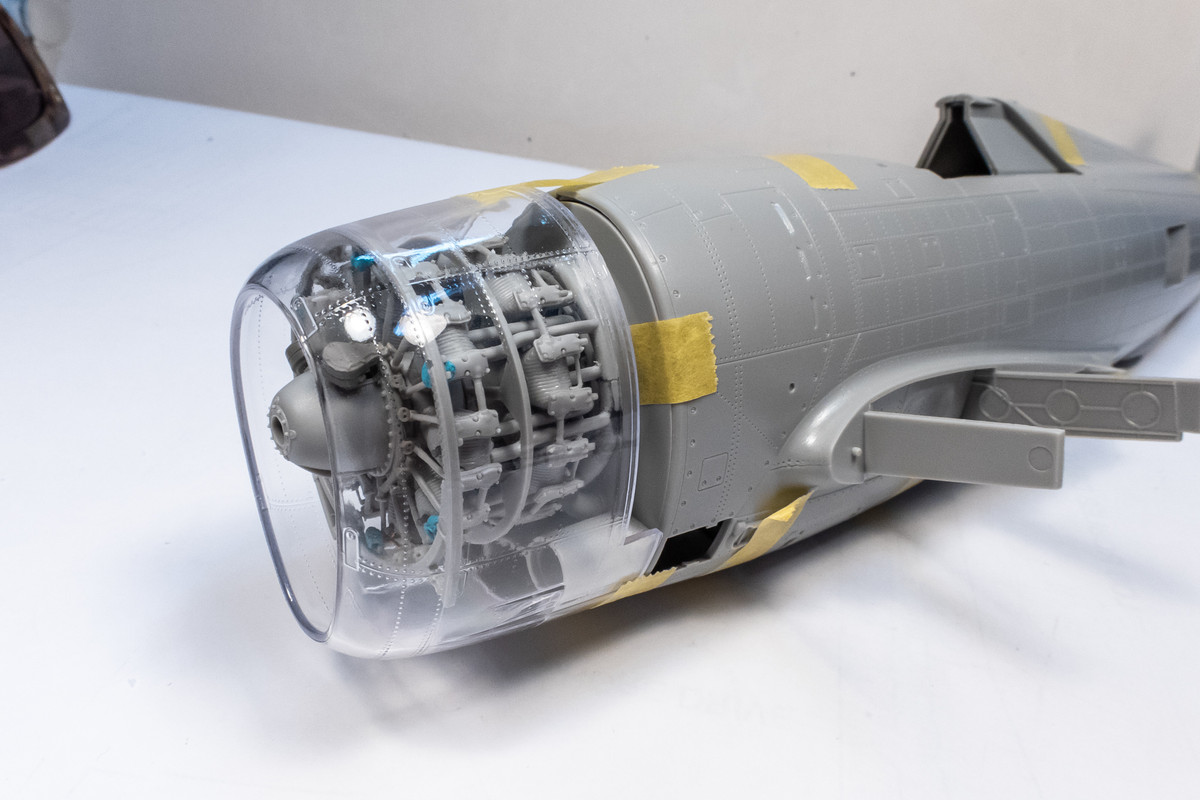
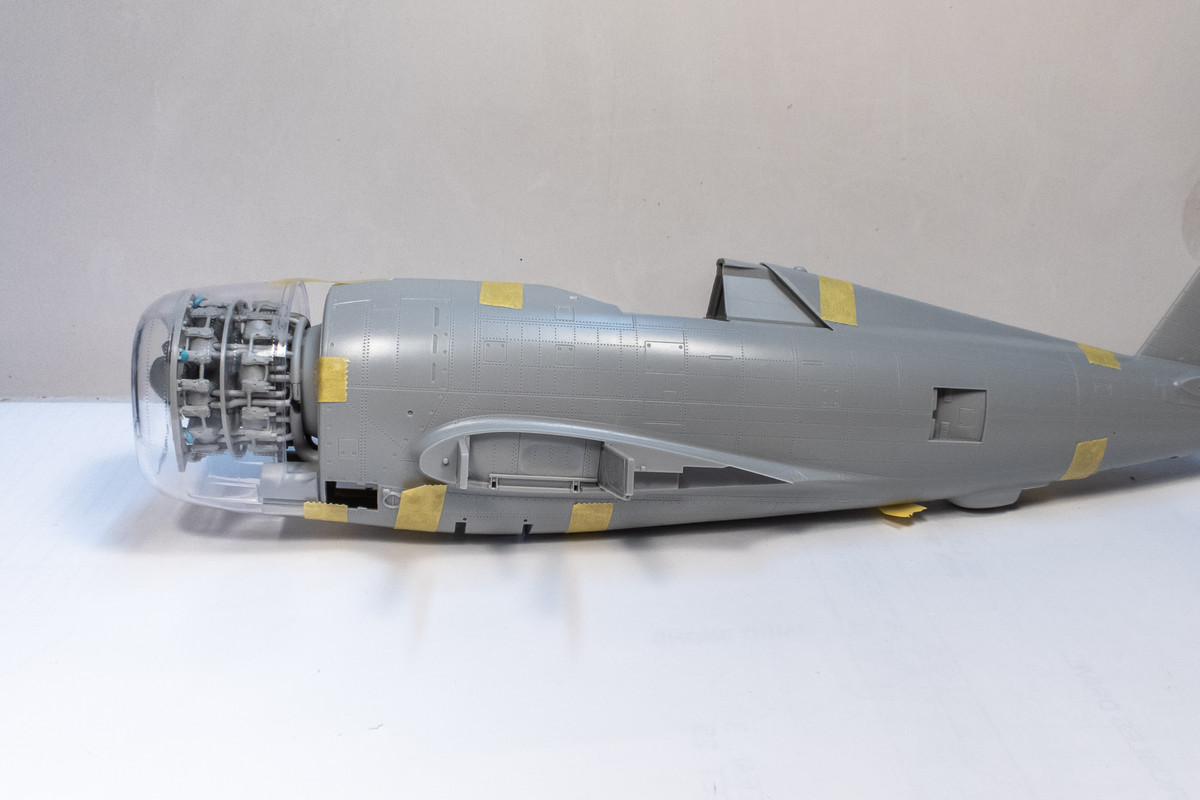
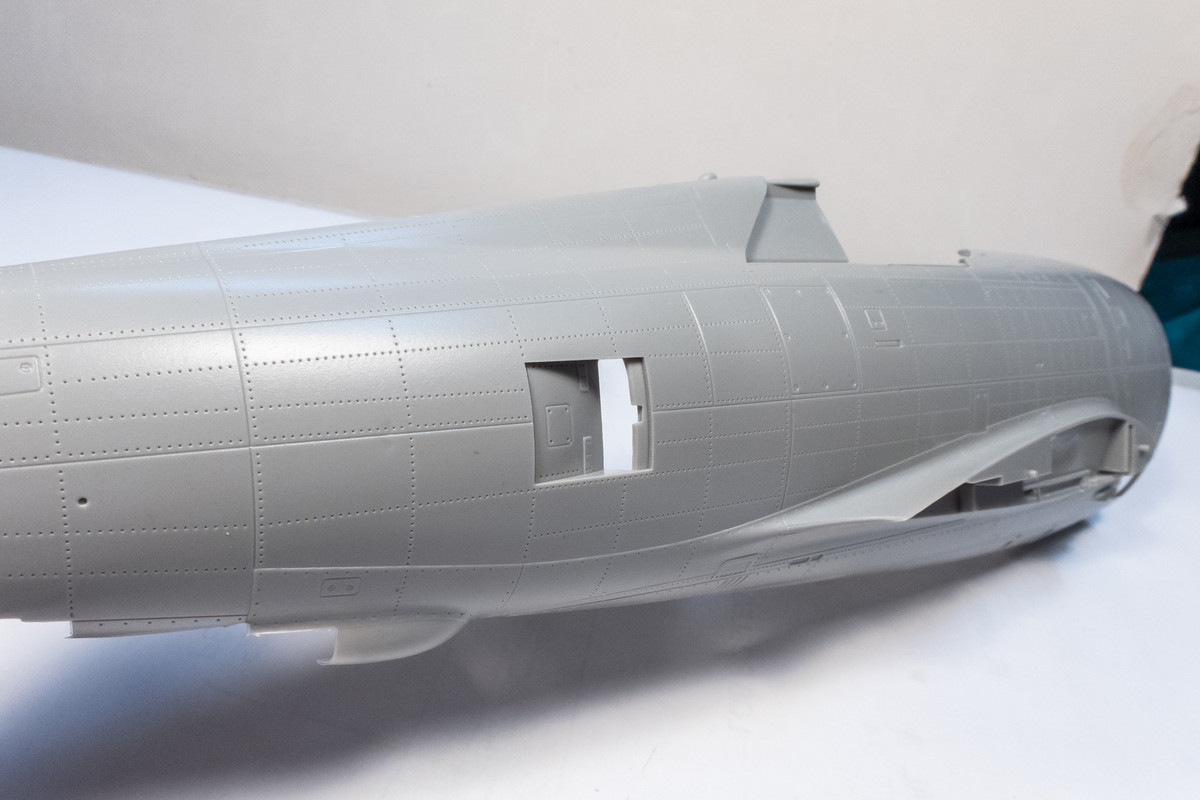
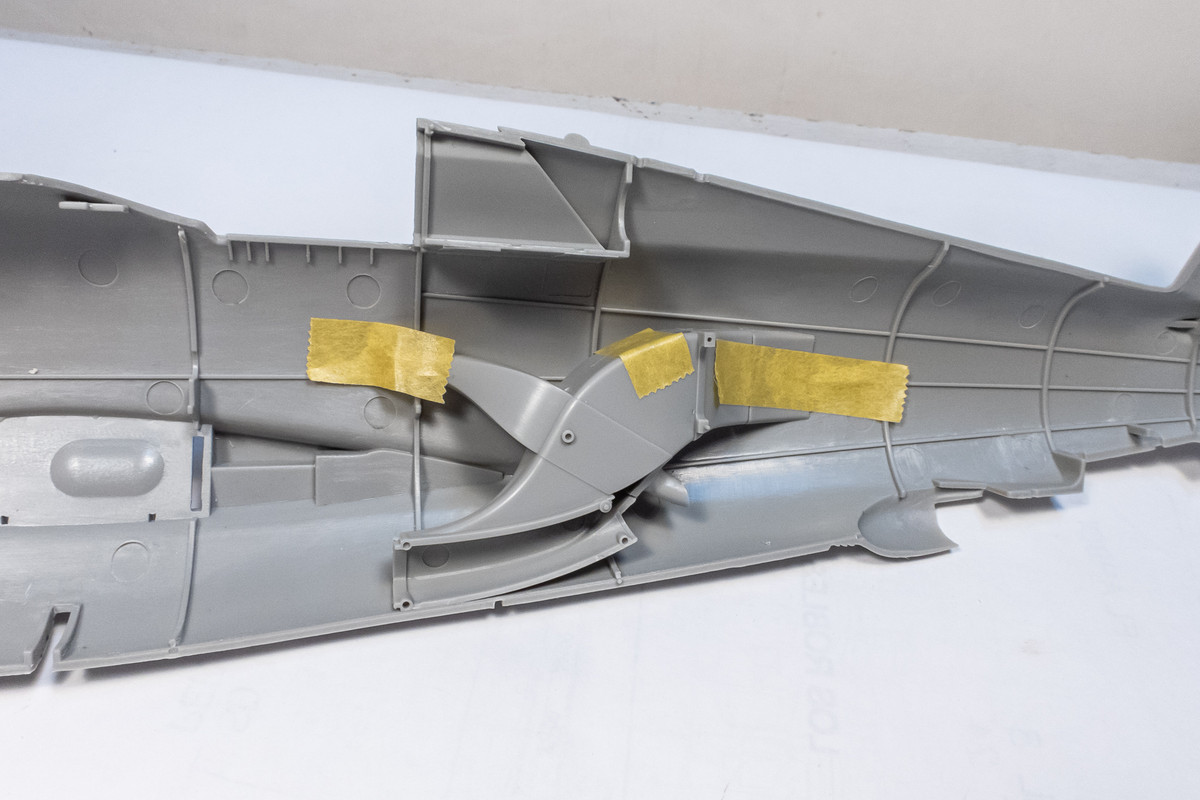
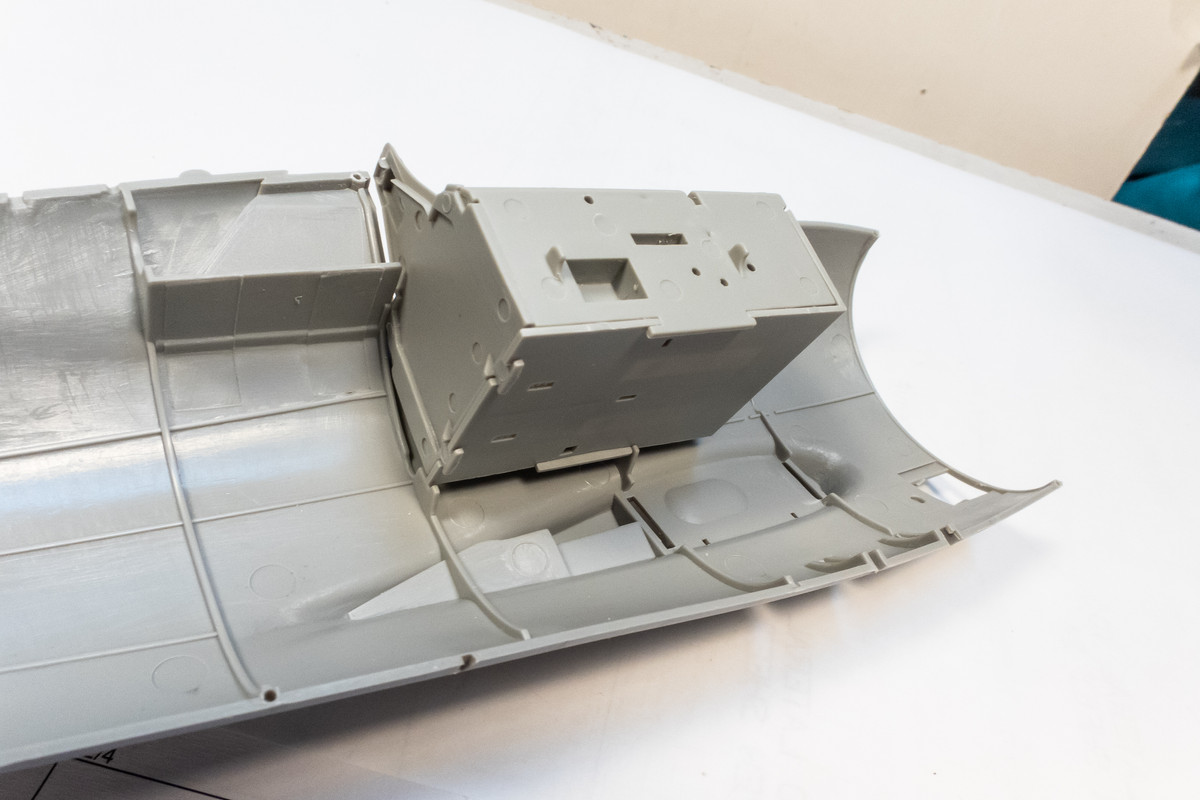
Before I move over to the cockpit, I wanted to check those mid-fuselage vents to see how the supercharger assembly affects the view into the opening. As you can see, the opening just drops off into the fuselage interior and ideally, should be blanked off to block this view.
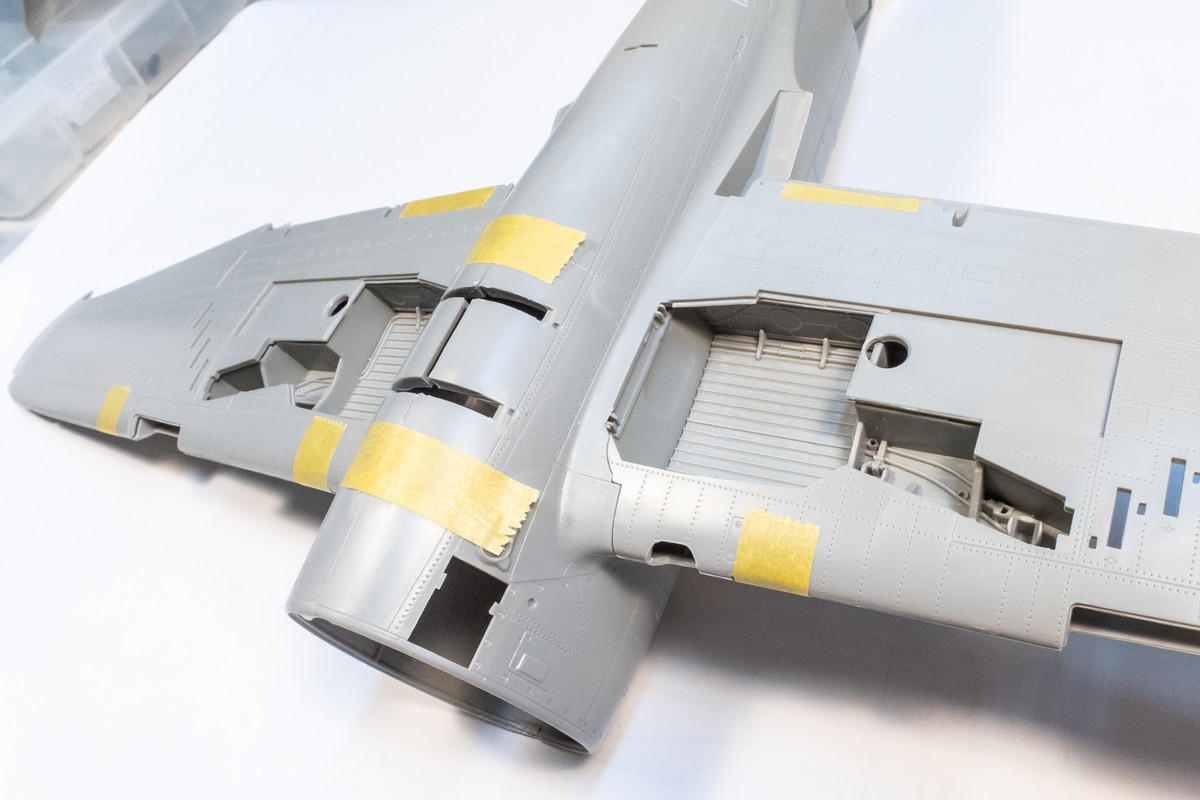
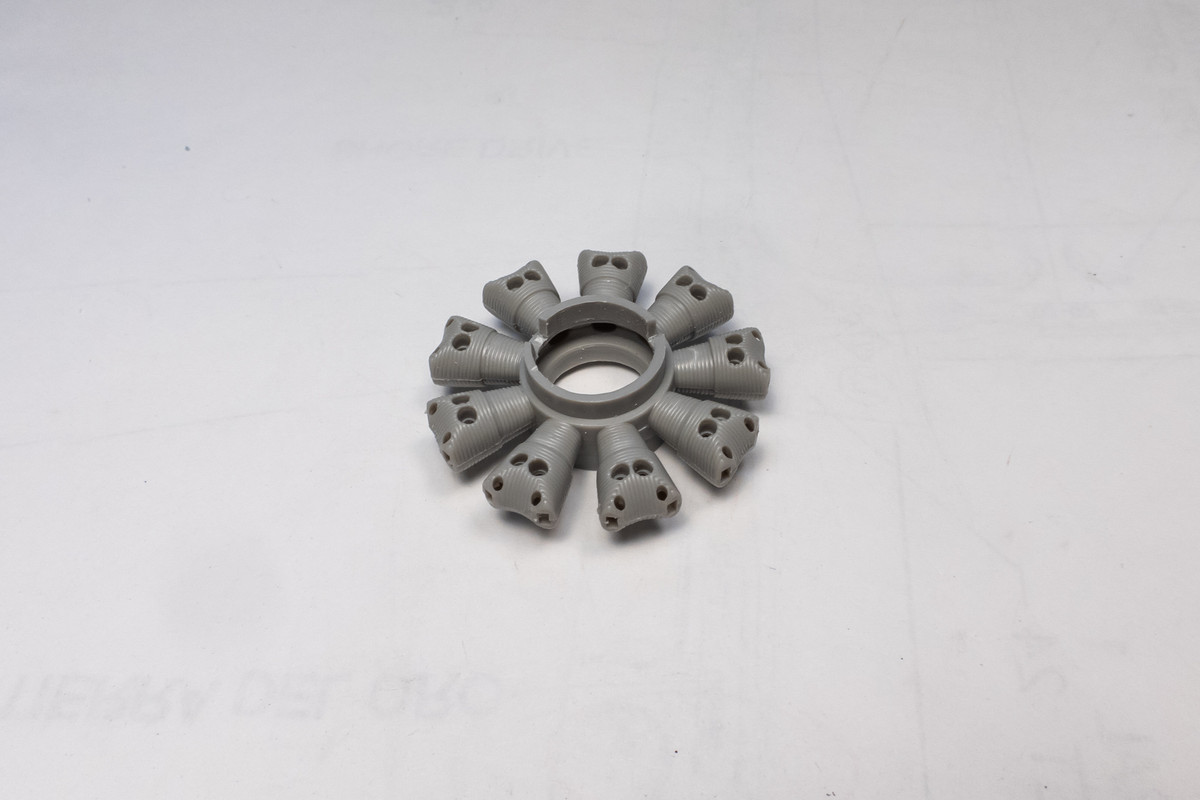
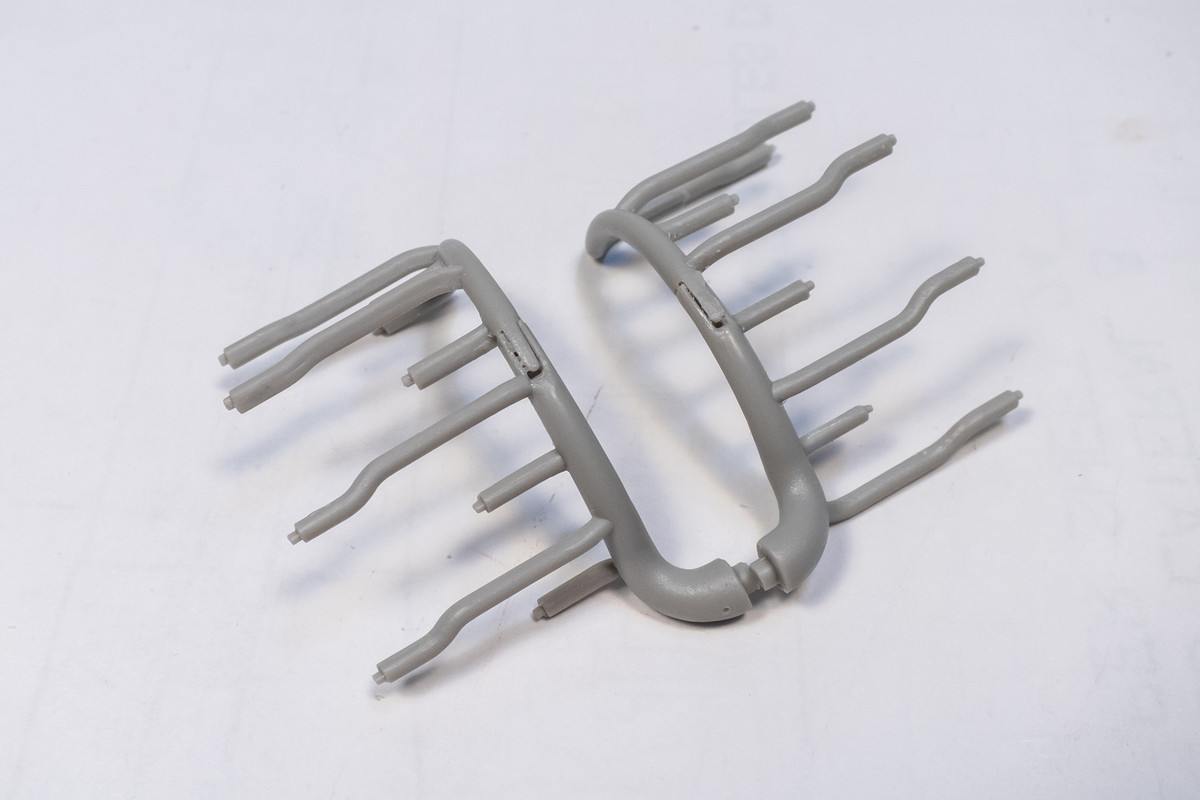
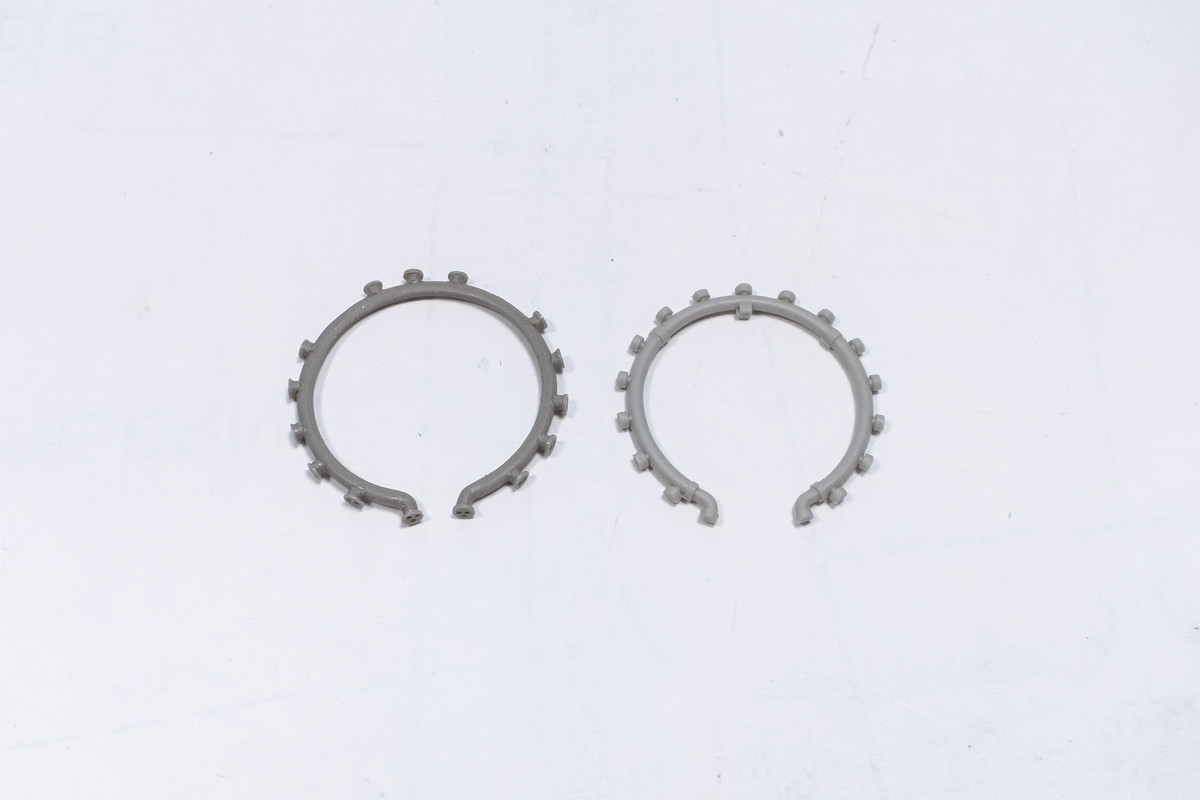
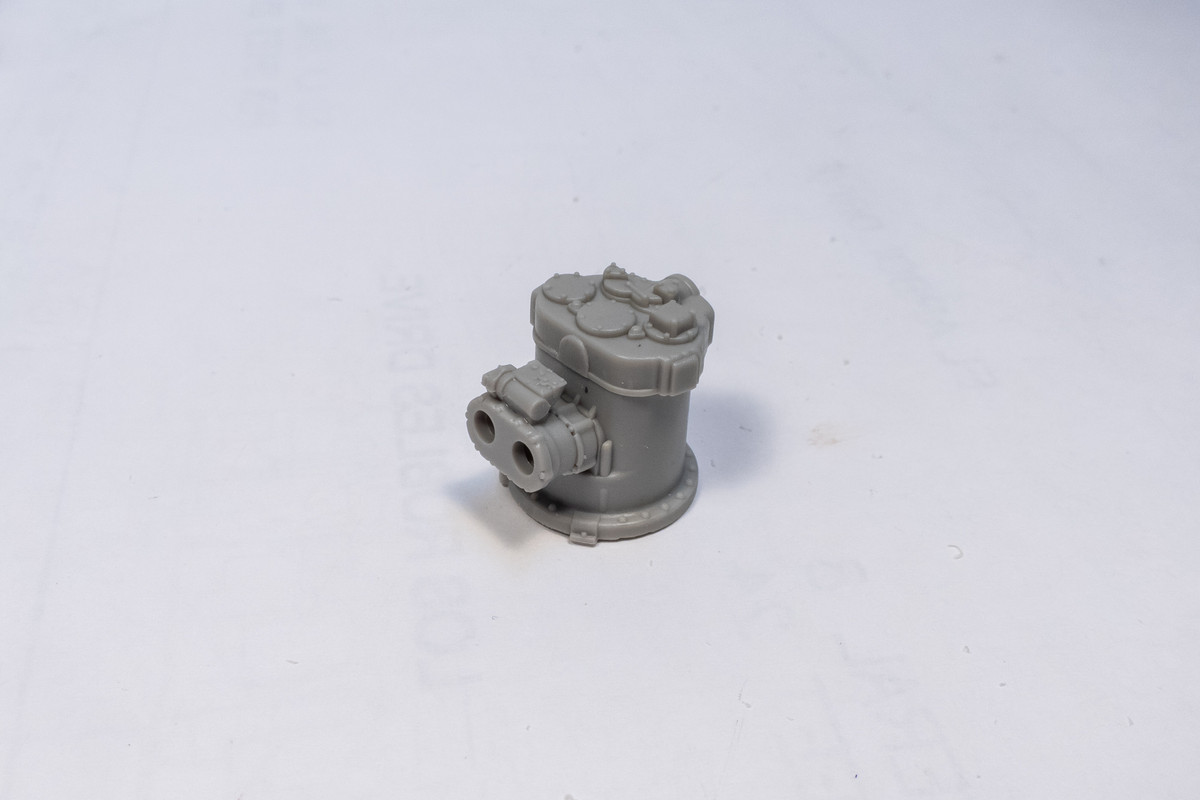
The supercharger assembly includes ducting from those vents as separate pieces.
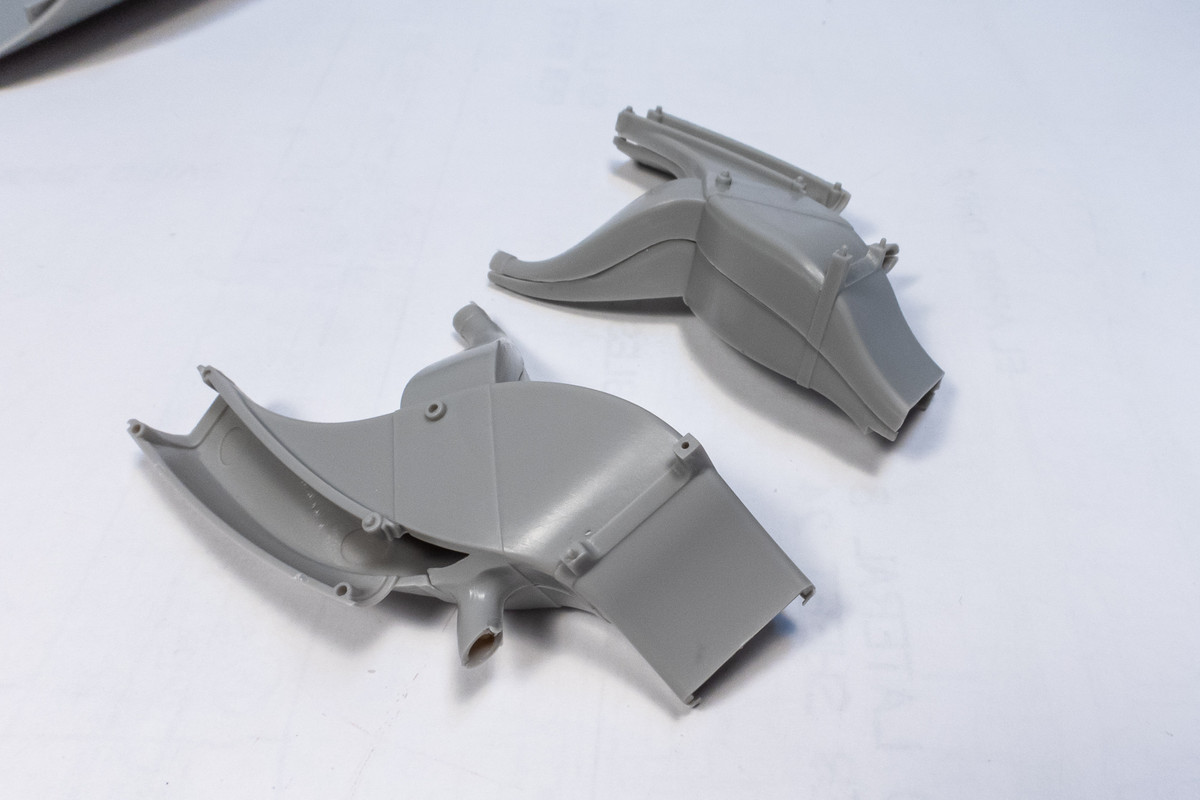
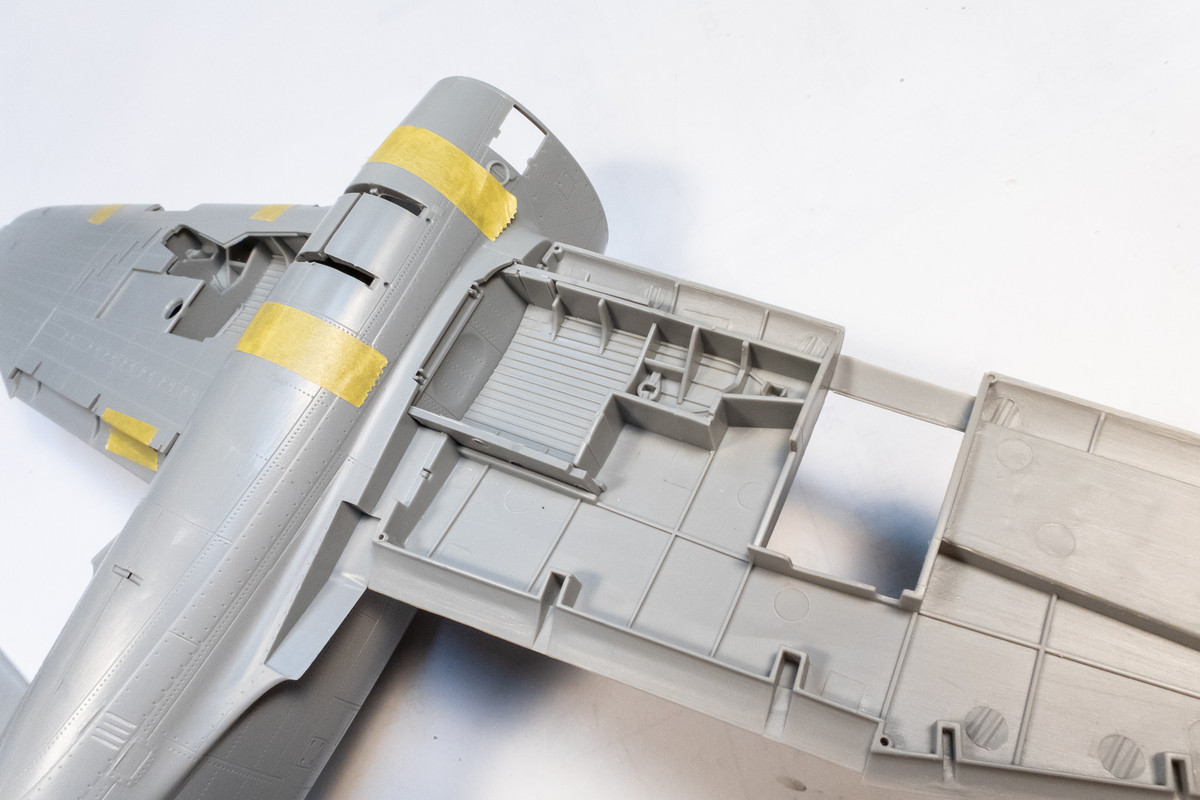
Installing these without the rest of the supercharger ducting looks like the best way to block this area off from view.

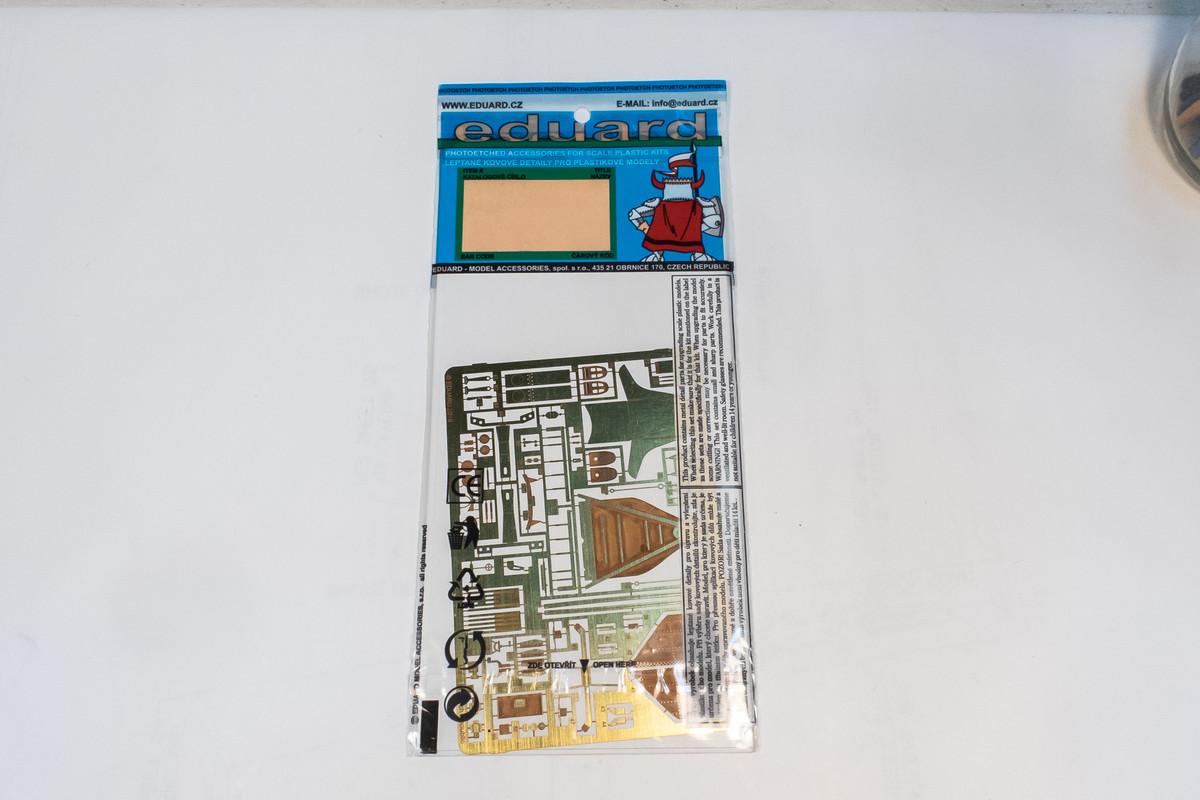
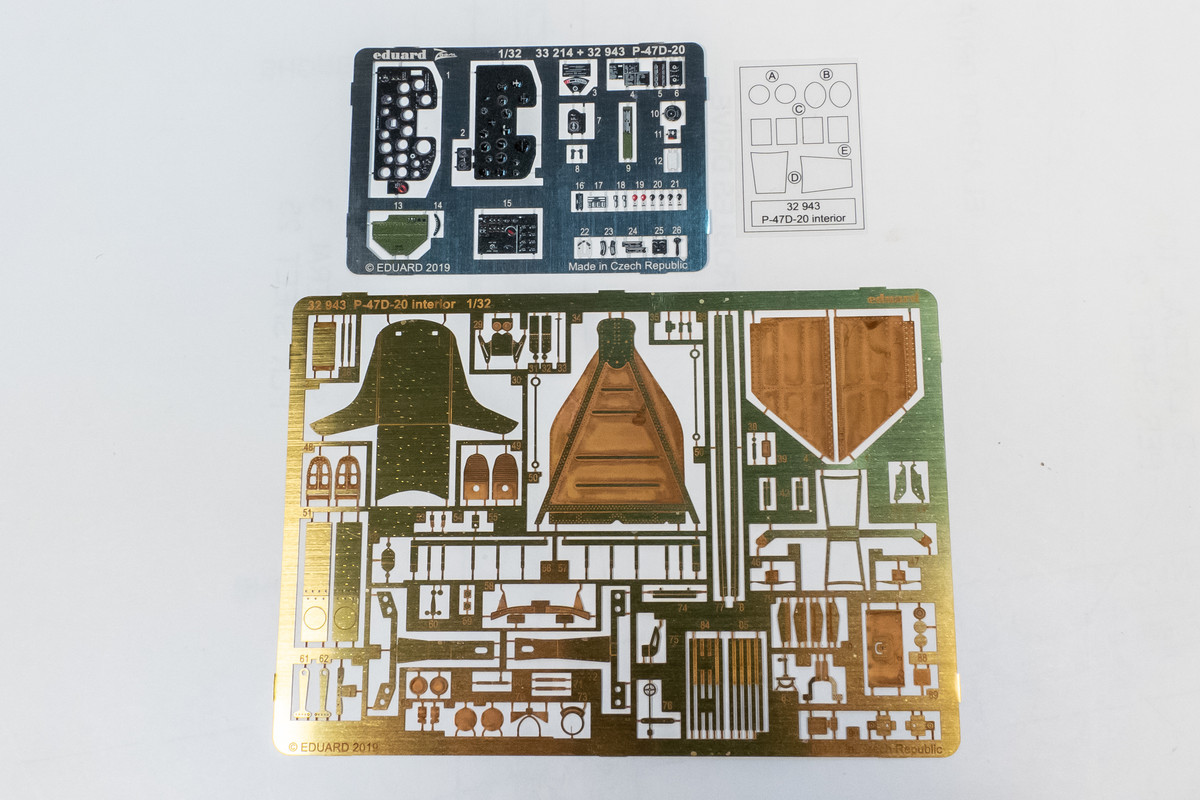
Ok, let's move to the cockpit for a looksee. The Eduard PE interior set FINALLY came, along with some Airscale cockpit placards and stencils, which I hope will come in handy.
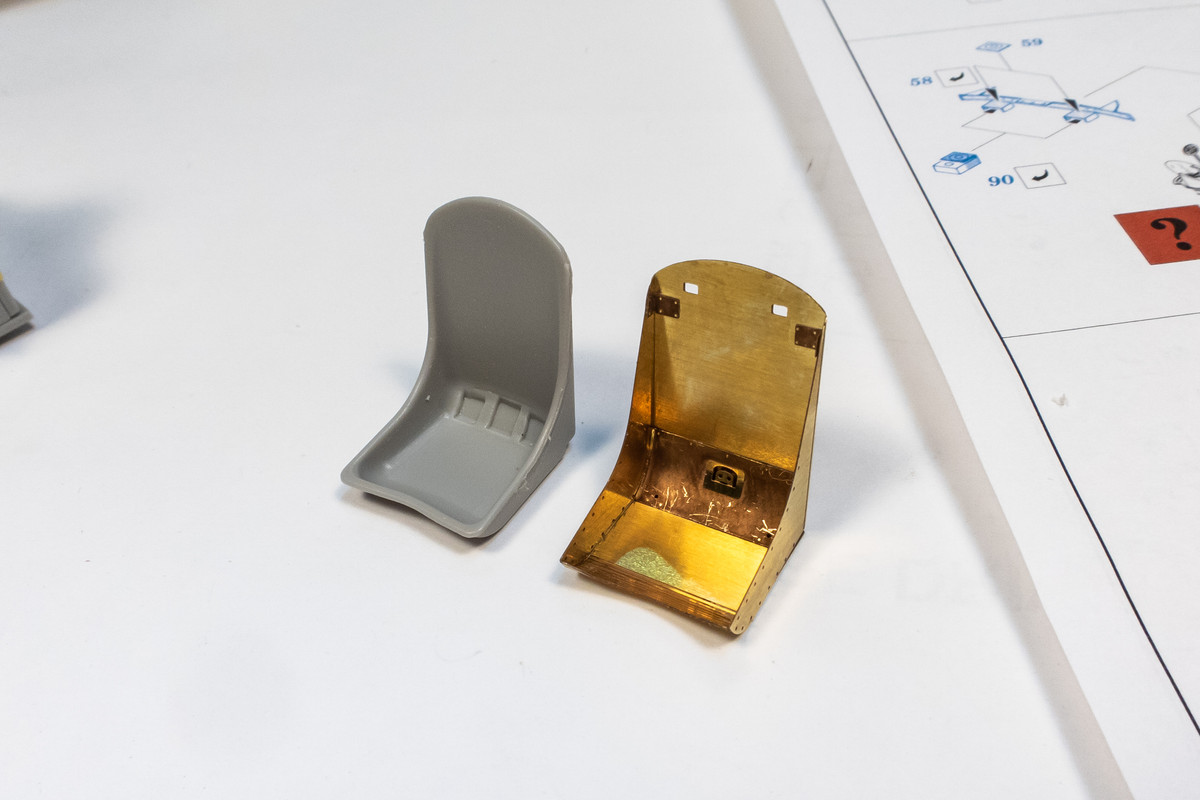
There are two frets supplied: one in color including the instrument panel, circuit panel and throttle quadrant faces. The unpainted fret has a host of other details including a seat, rear armor panel and overlays for the canopy cut-out section behind the headrest. As always, the components of the PE set will be analyzed before using. Tiny fiddly details that will be hidden from view may not be used, like details at the base of the seat frame. The instrument panel looks nice but I have a Yahu panel coming in. I'll probably assemble the Eduard IP as a comparison to the Yahu.
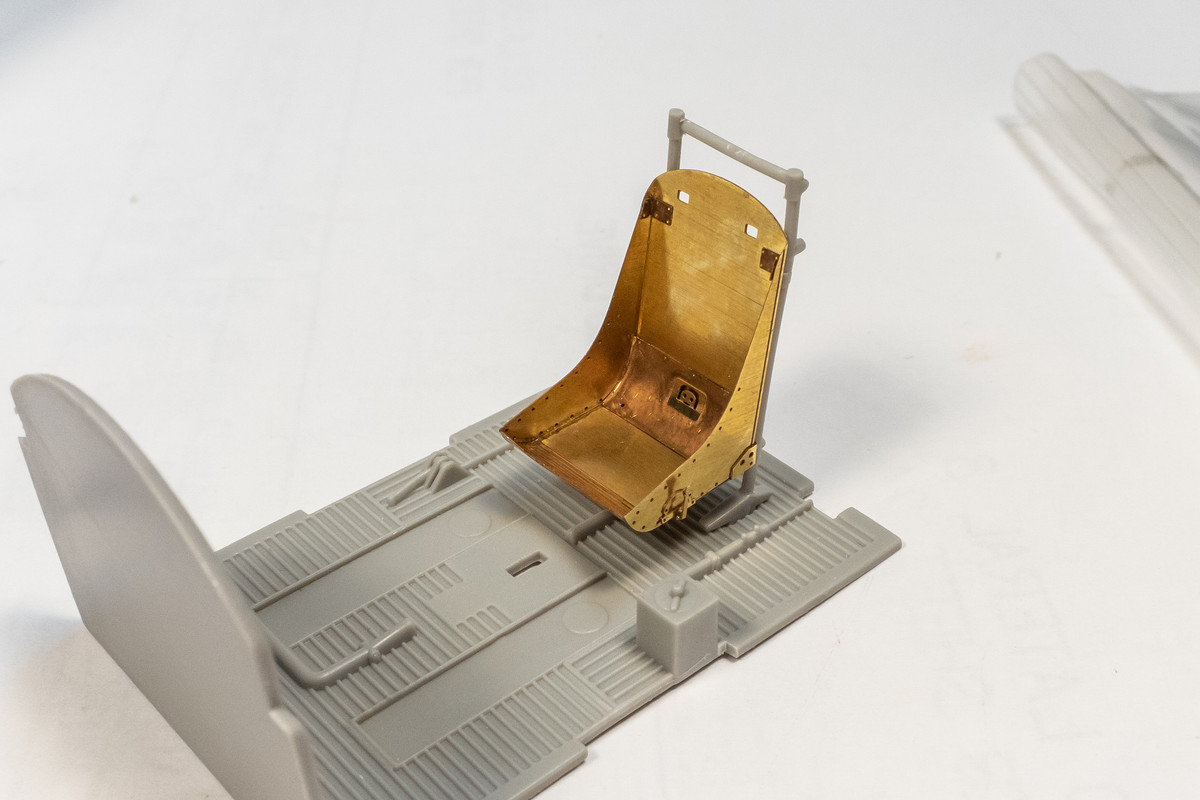
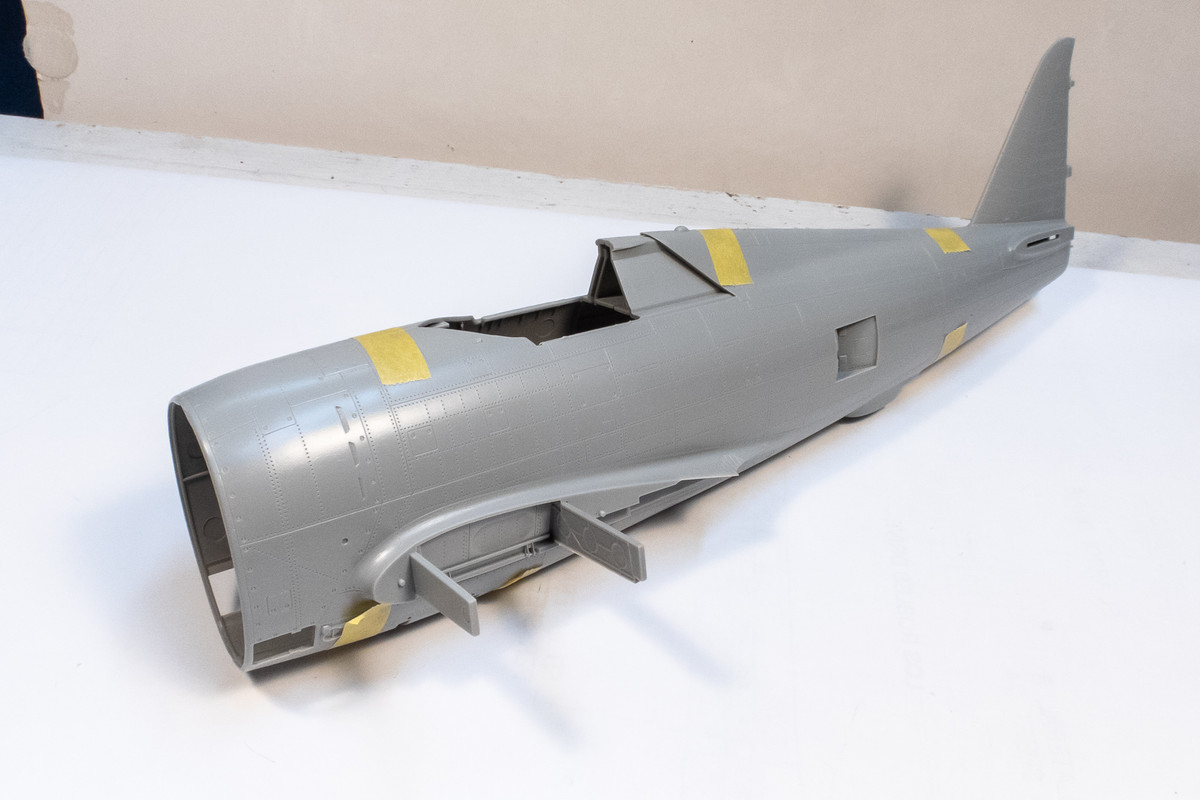
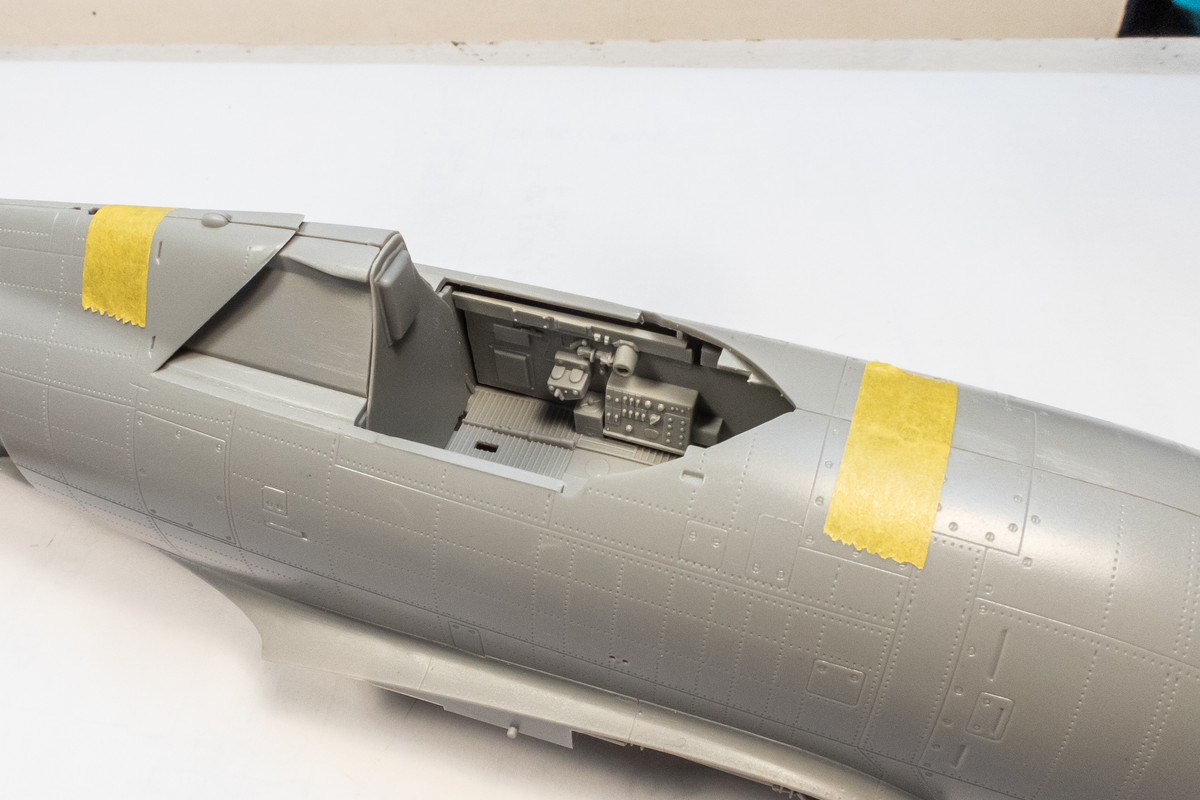
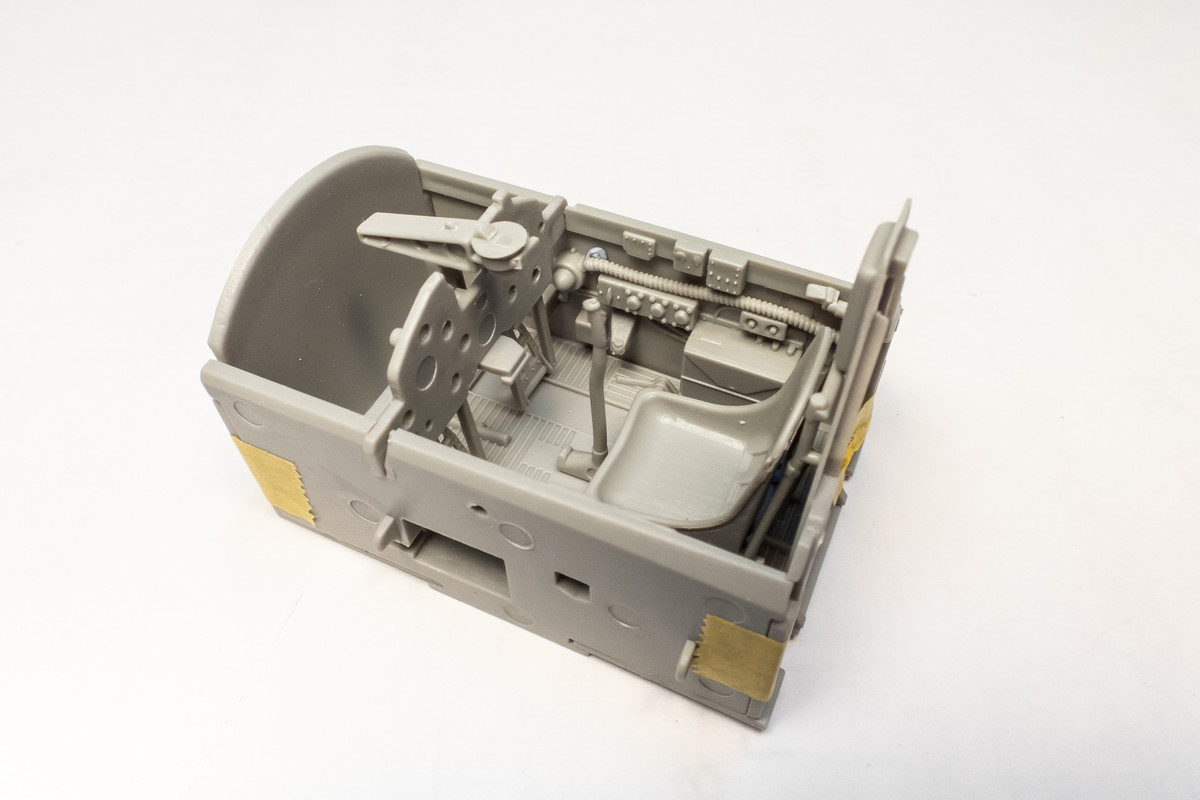
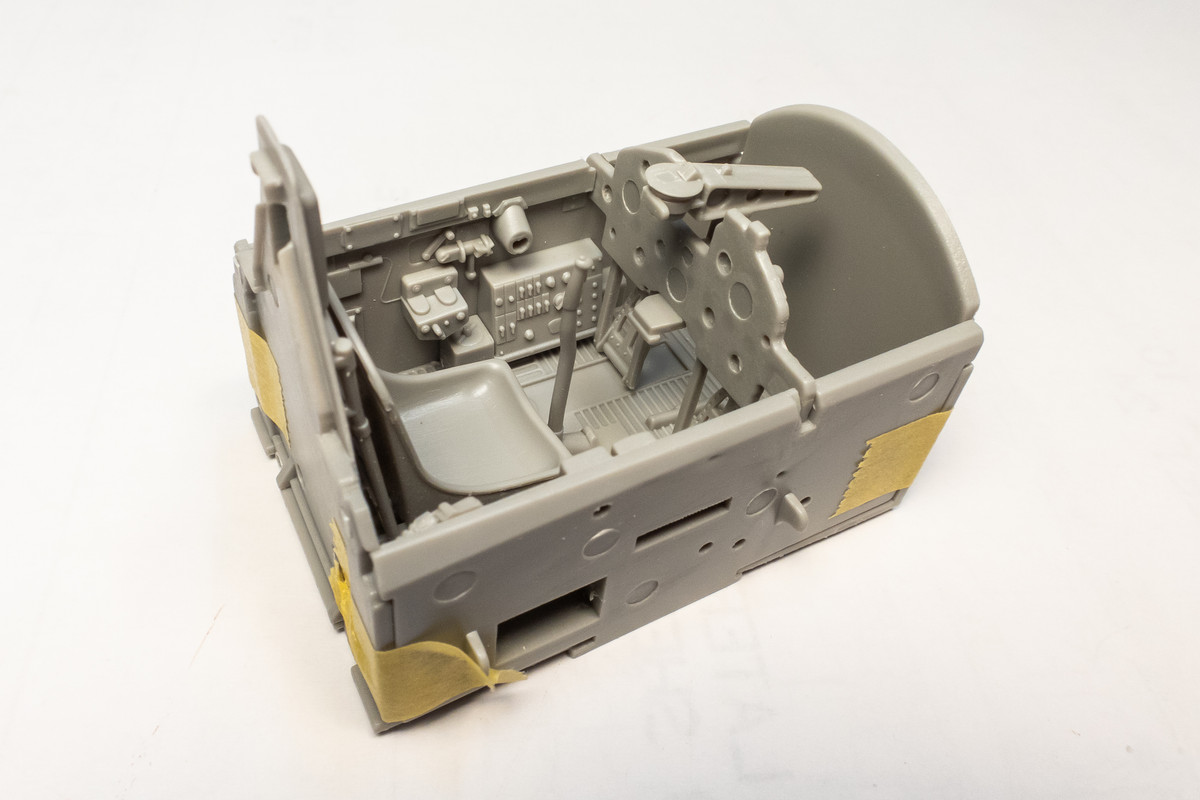
I wanted to check to see if the cockpit would be held into place without the supercharger structure. A good-fitting four-wall tub structure makes dry-fitting very easy.
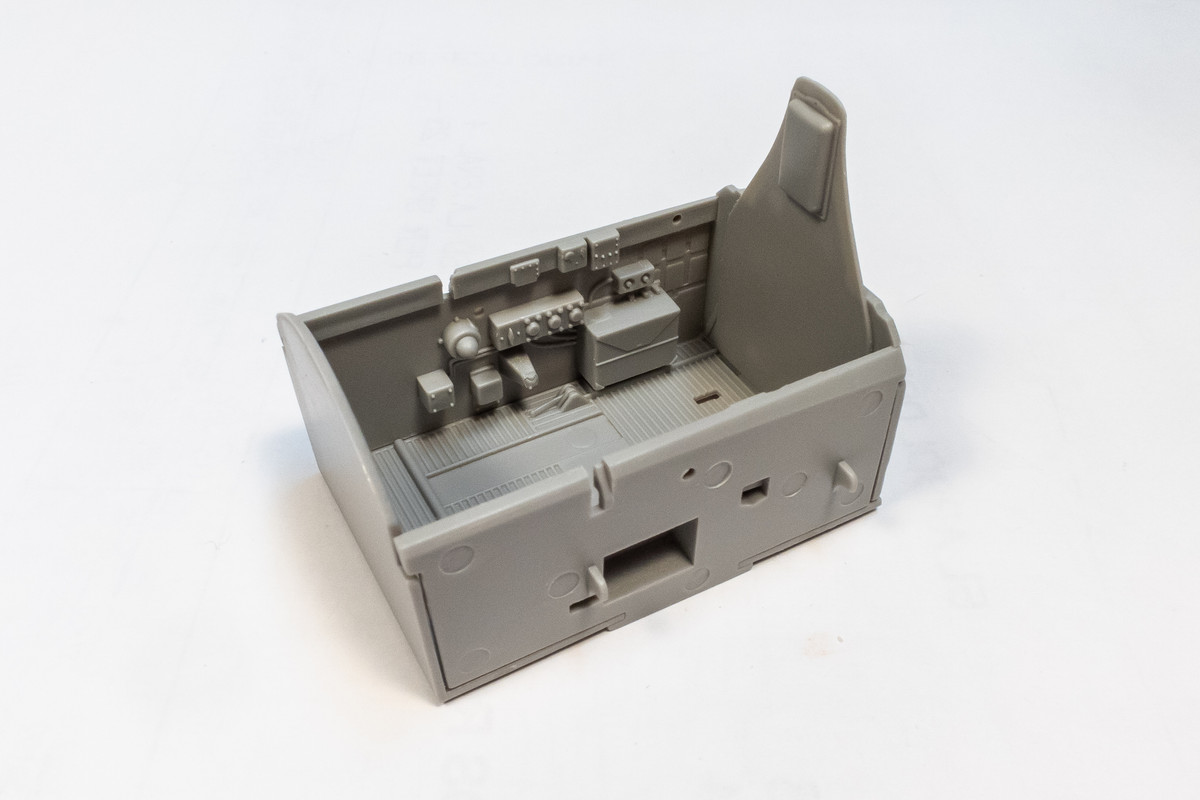
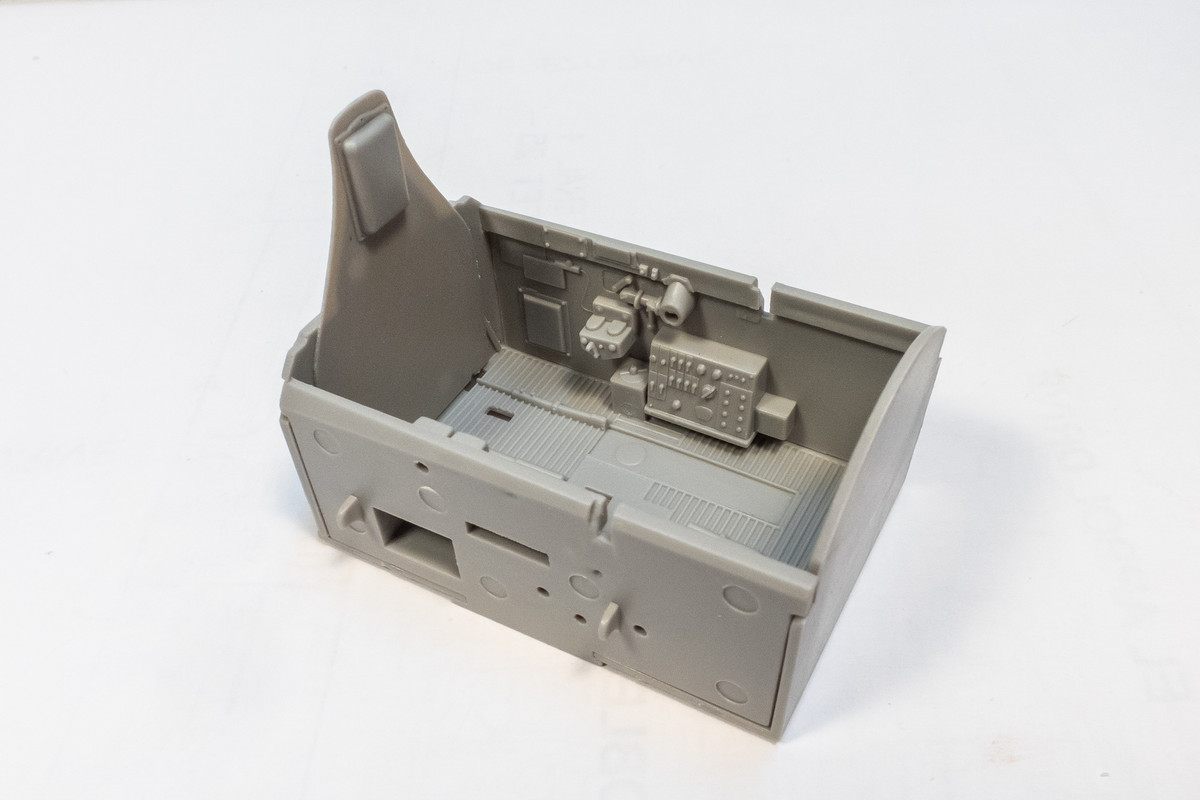
Two pegs on each fuselage side supports the cockpit. So the supercharger installation is not necessary to install the cockpit.
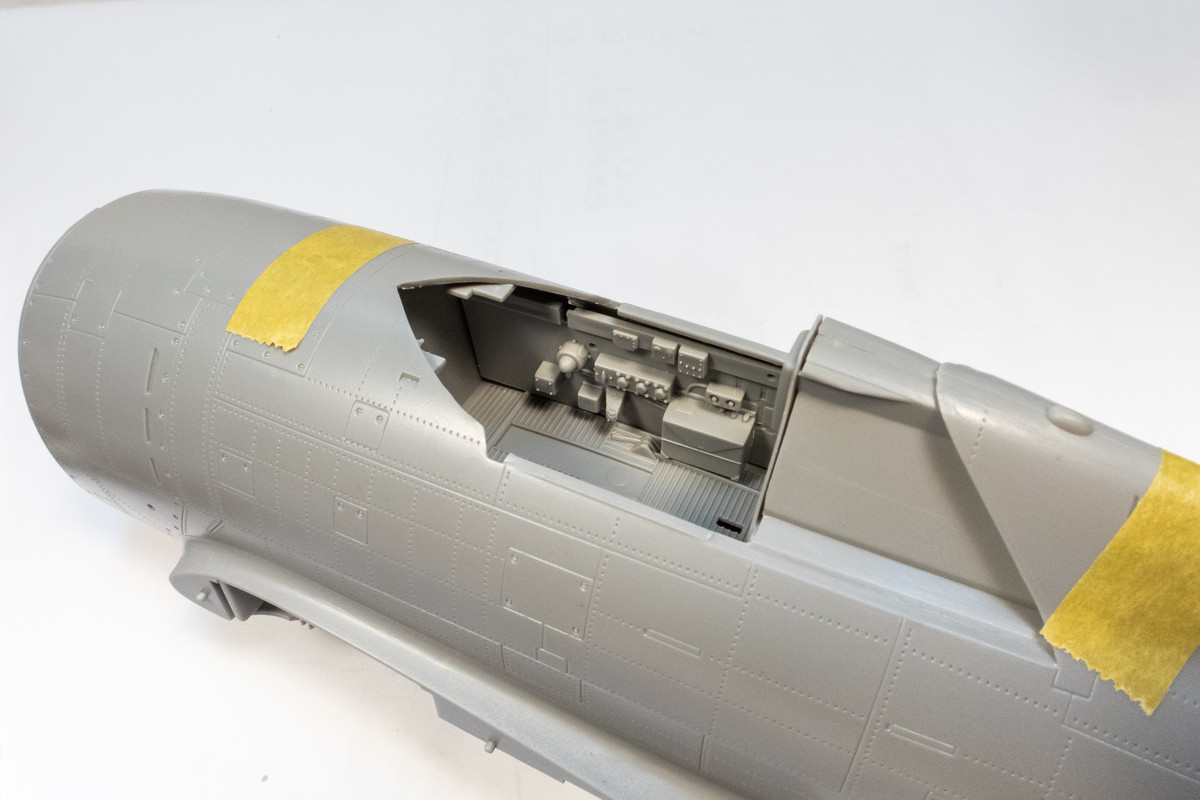
While I was at it, I added some of the other cockpit parts. Overall, I judge the cockpit on this kit to be very good. Lots of nicely molded, 3D-relief in the form of boxes and panels. For example, the large circuit panel on the port side has really nice knob and switch details. The Eduard part adds color and fine markings that I could not achieve with paint but will lose the 3D effect.
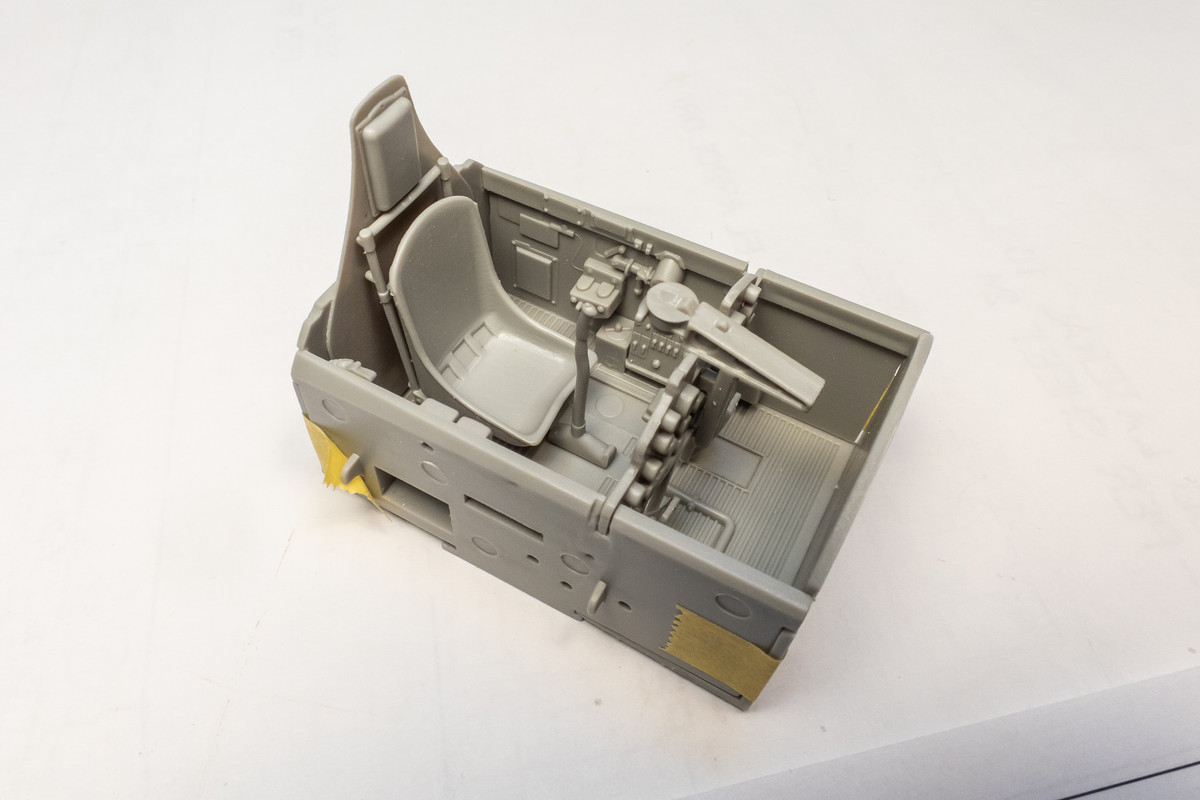
The seat looks like a nice upgrade without any drawbacks. It is thinner and has some added detail that the kit seat lacks.