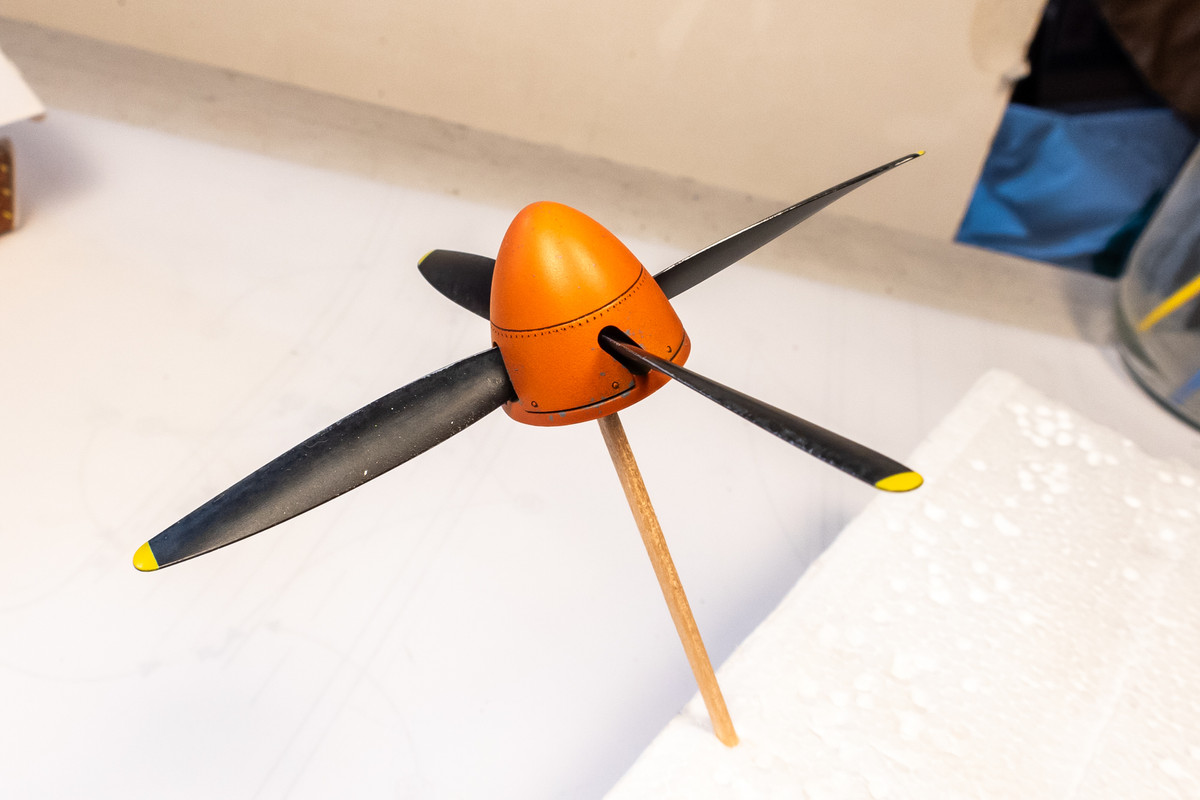
Page 4 of 9
Re: Eduard 1/48 Hawker Tempest II
Posted: Fri May 03, 2024 7:06 am
by BlackSheep214
Re: Eduard 1/48 Hawker Tempest II
Posted: Fri May 03, 2024 5:44 pm
by jkim
Thanks for the comments, guys!
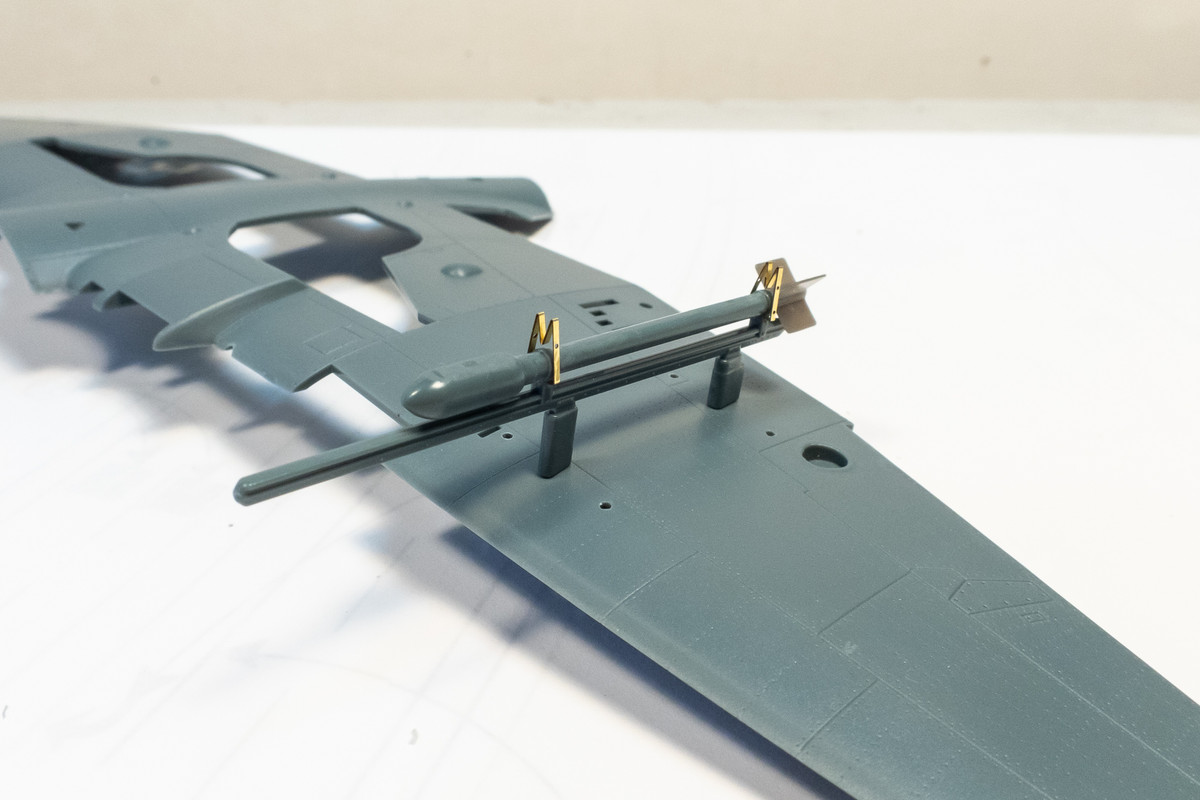
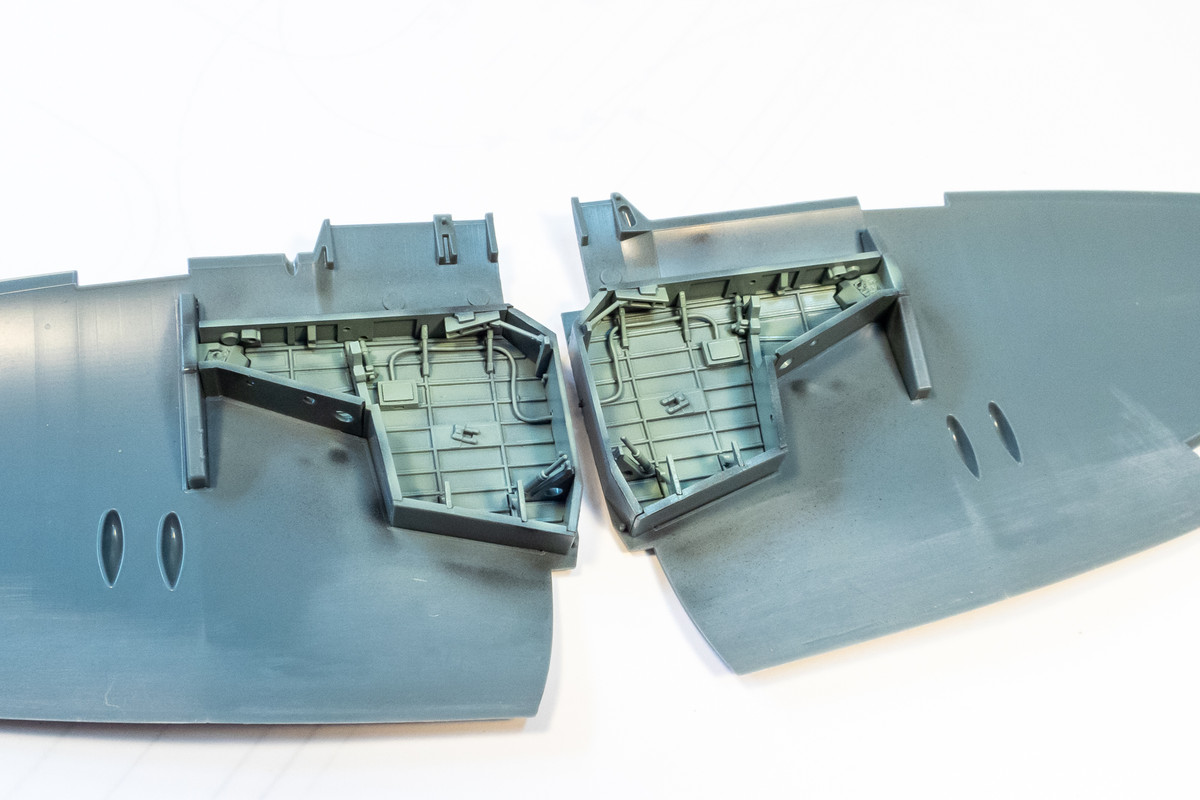
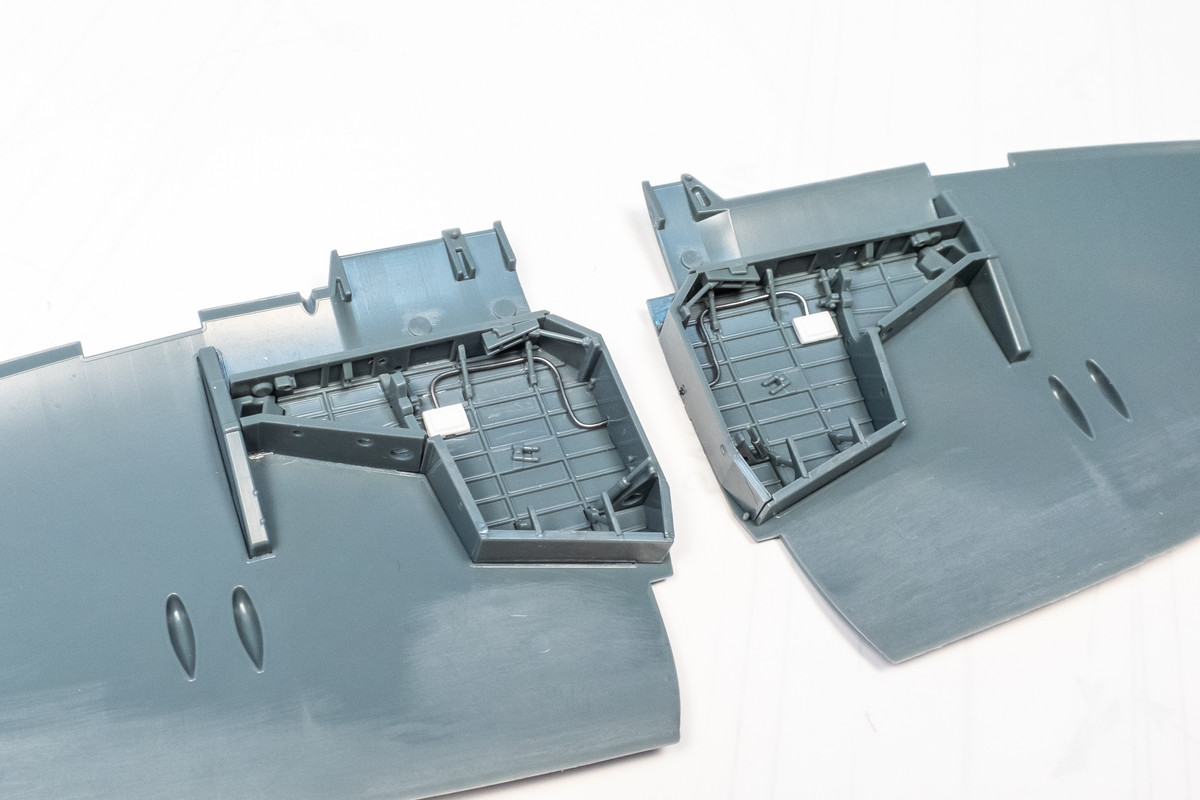
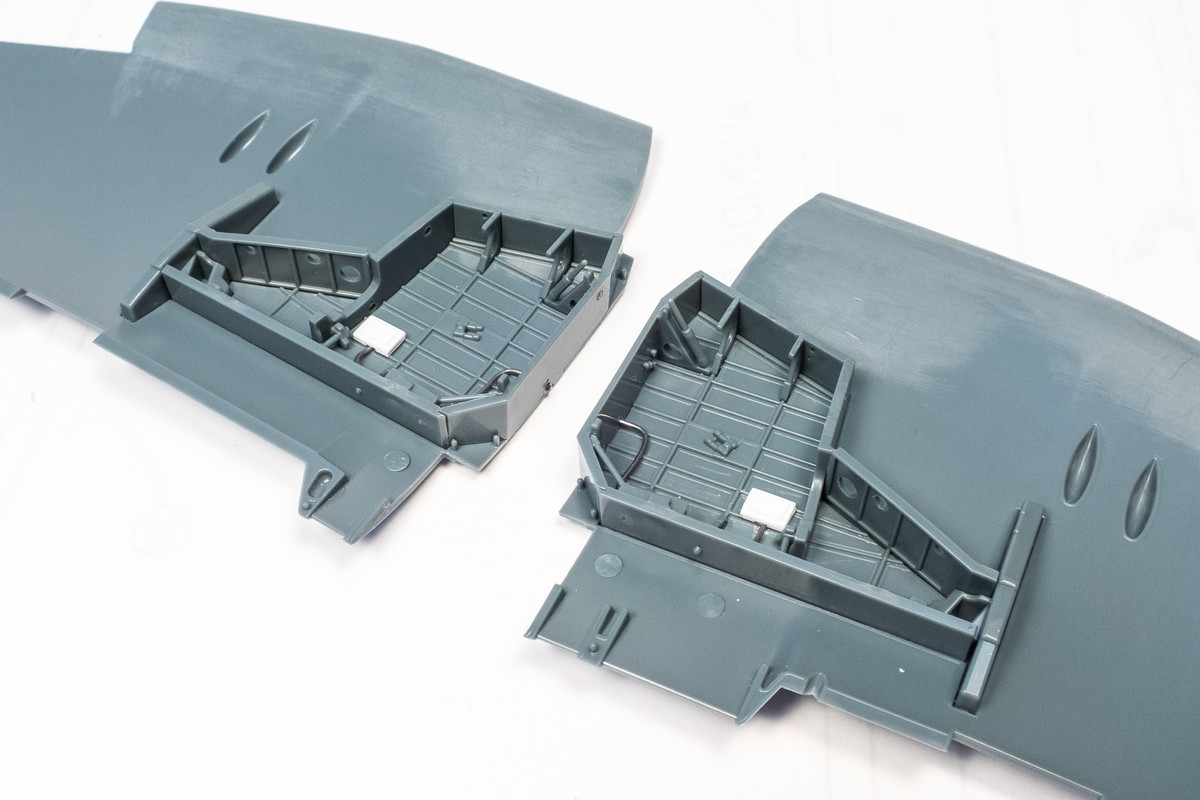
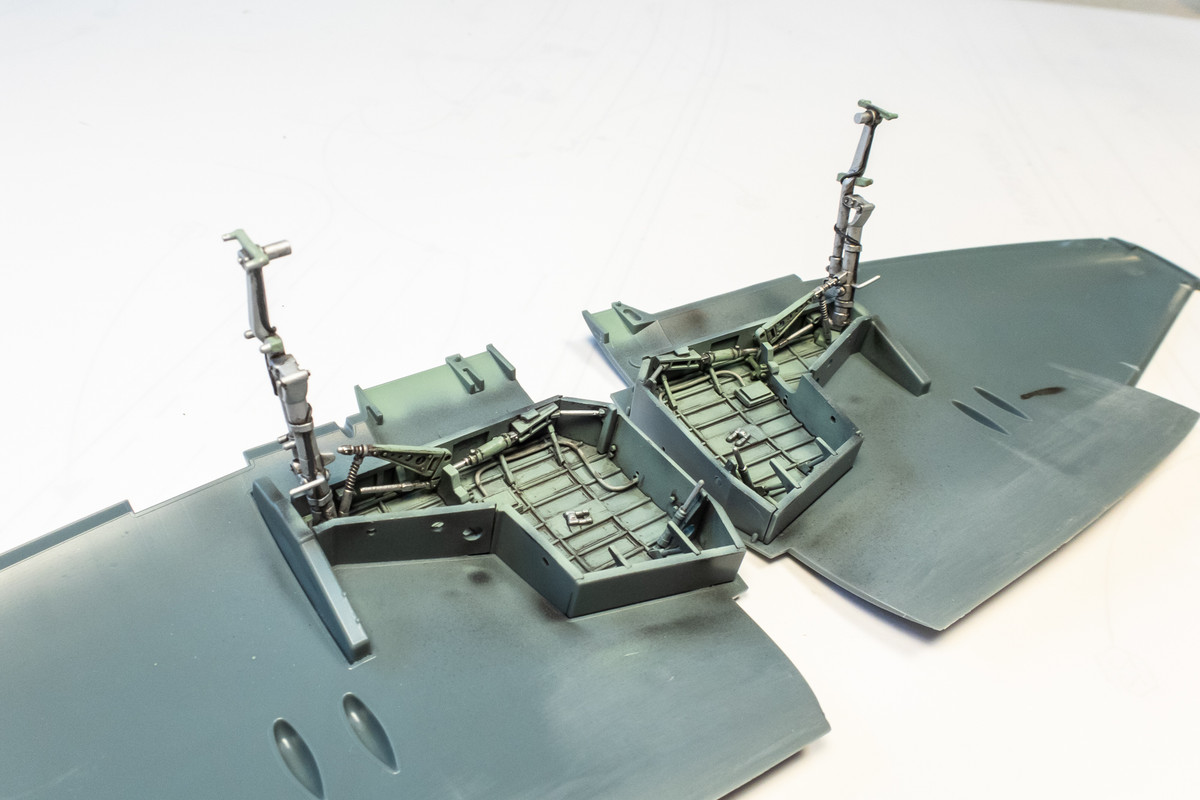
I've put together the wheel wells. All of the walls are separate parts but thankfully, they fit very well. Very similar to the Special Hobby 1/32 Tempest kit. The only thing I've elected to add here is a single wiring run and a small junction box that was cut from thin sheet styrene using my Portrait cutter.
Re: Eduard 1/48 Hawker Tempest II
Posted: Sat May 04, 2024 12:48 pm
by jkim
Re: Eduard 1/48 Hawker Tempest II
Posted: Sat May 04, 2024 4:50 pm
by jkim
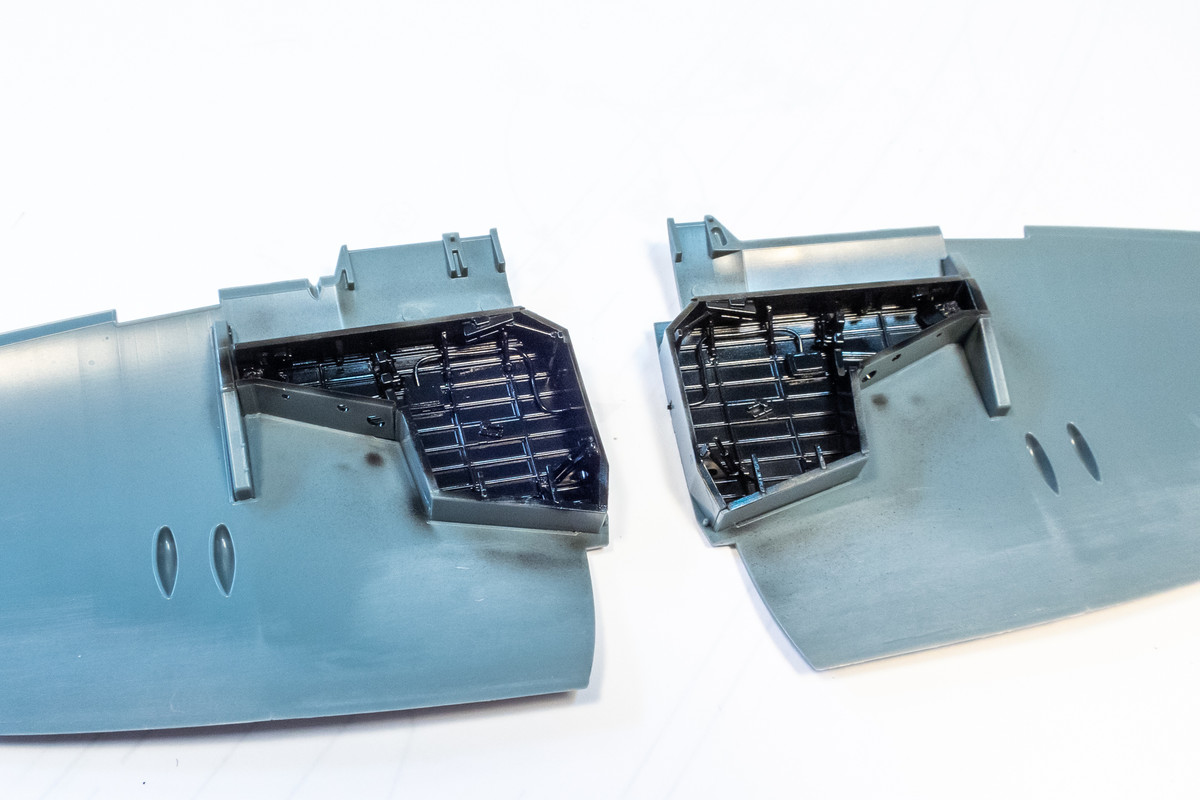
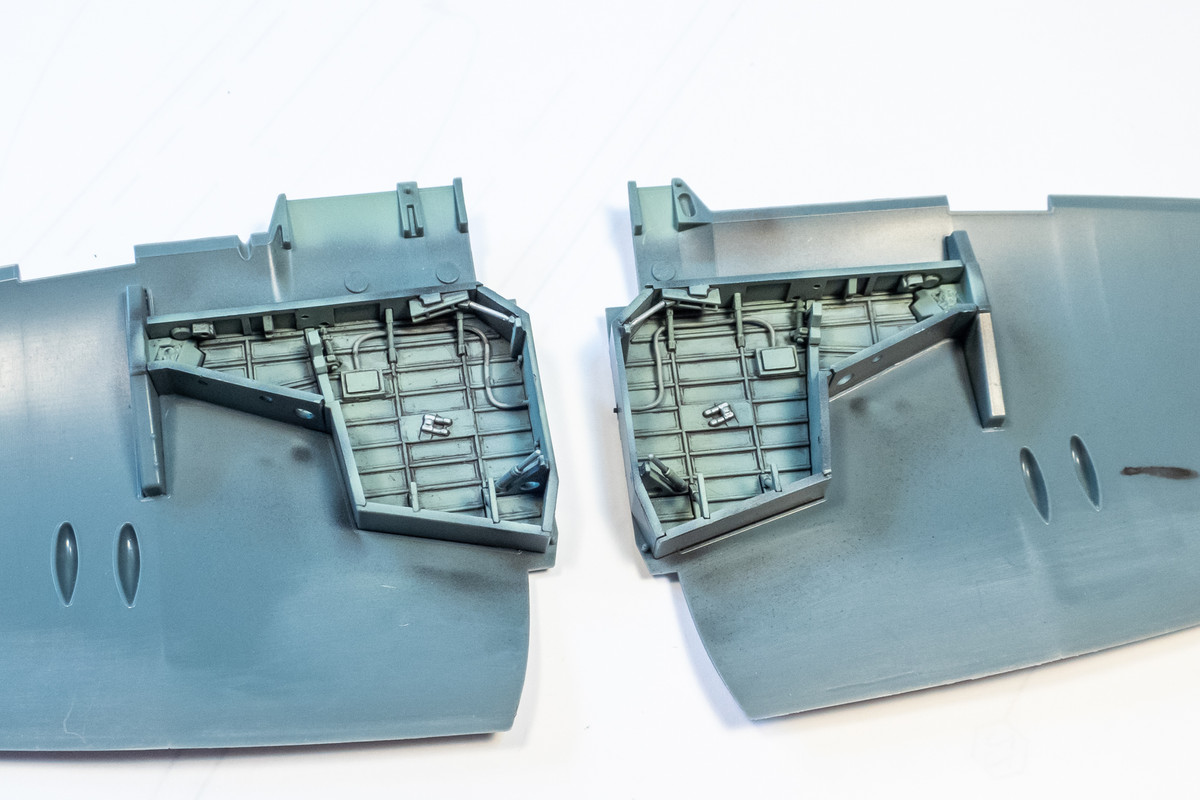
Wheel wells painted and given a pastel wash.
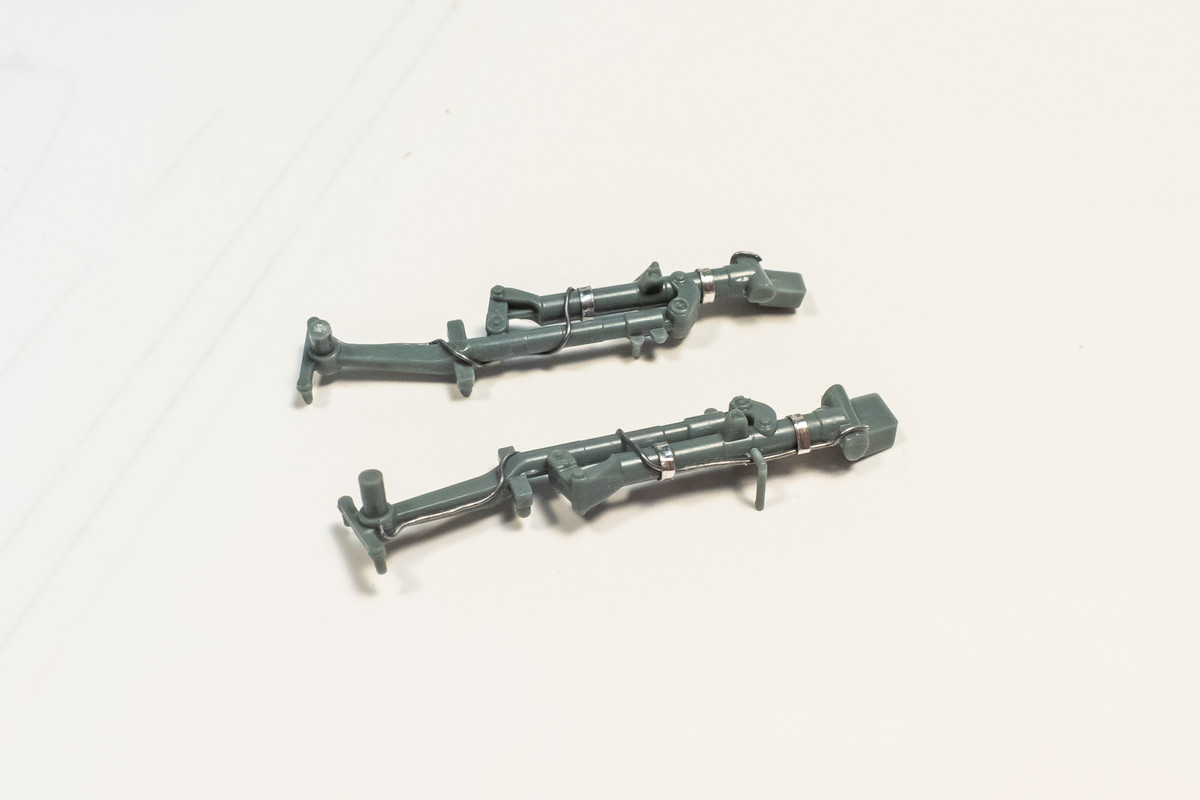
The landing gear components have been painted too.
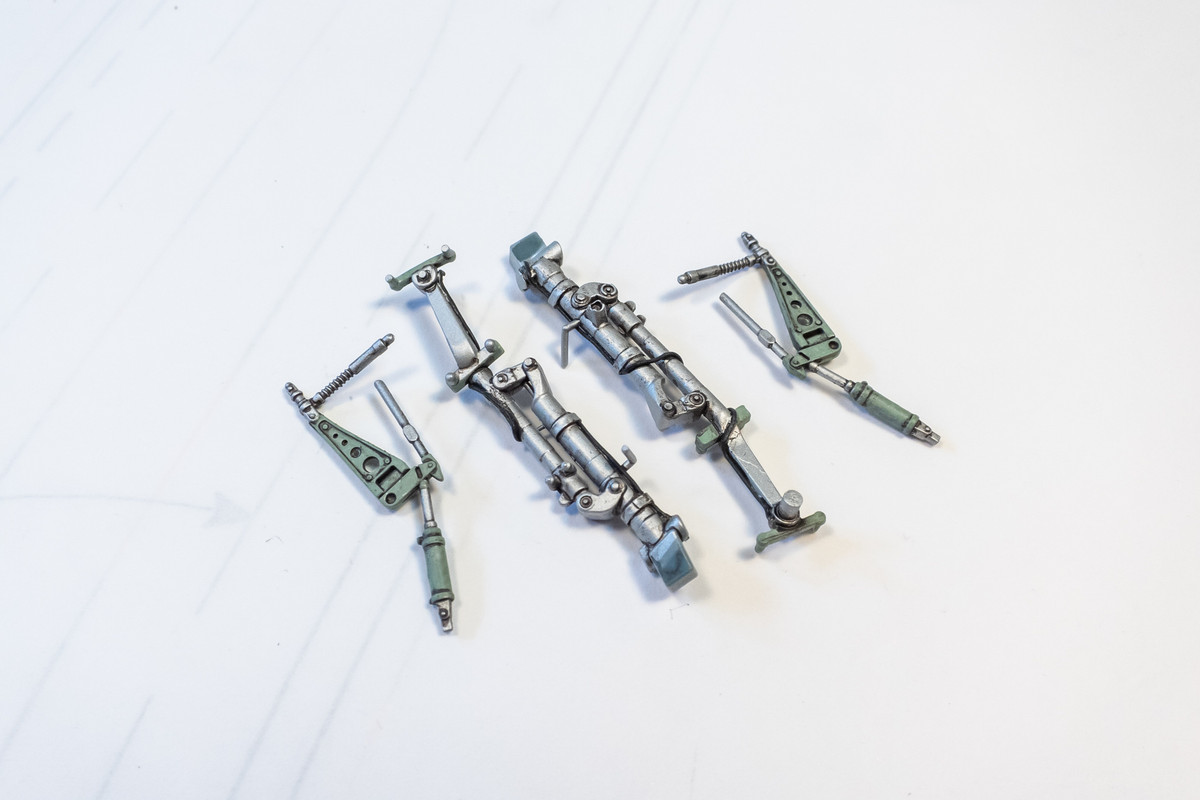
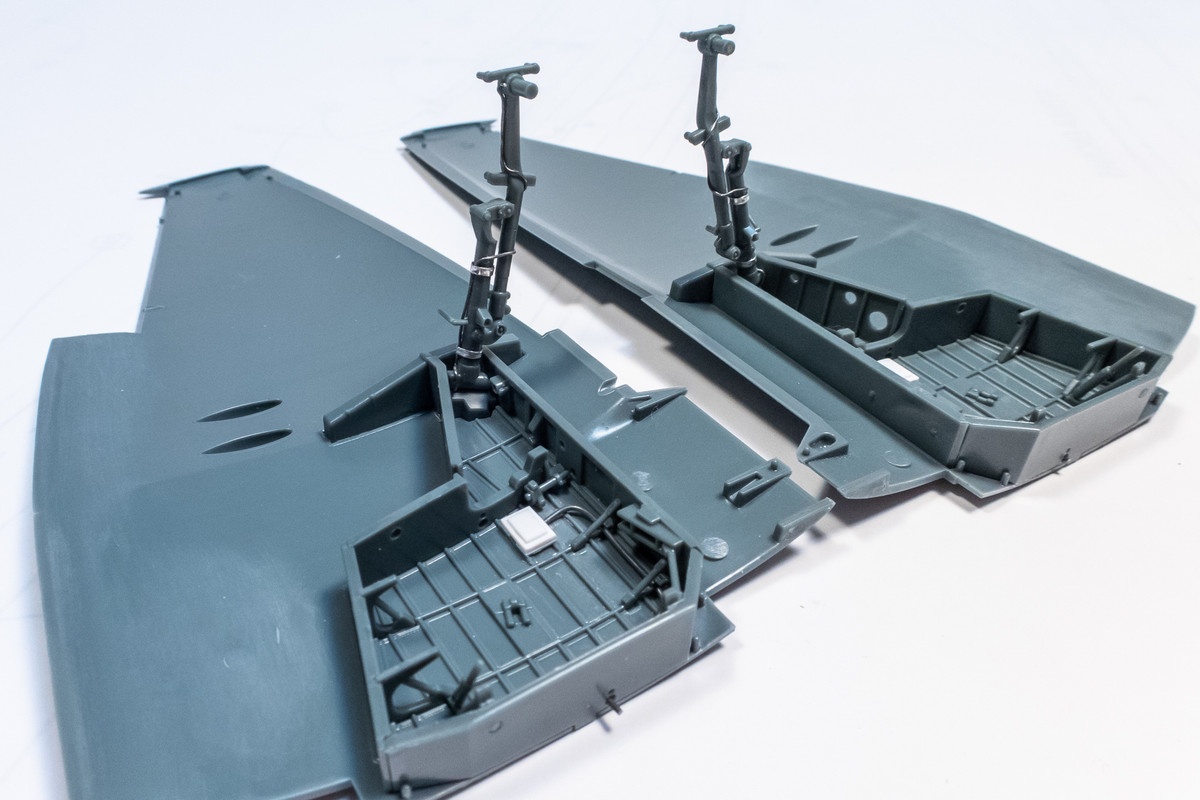
Posing them together.
Re: Eduard 1/48 Hawker Tempest II
Posted: Sun May 05, 2024 1:44 pm
by BlackSheep214
Re: Eduard 1/48 Hawker Tempest II
Posted: Sun May 05, 2024 9:26 pm
by Stikpusher

First class work there John!
Re: Eduard 1/48 Hawker Tempest II
Posted: Mon May 06, 2024 10:45 am
by jkim
Thanks of the comments!
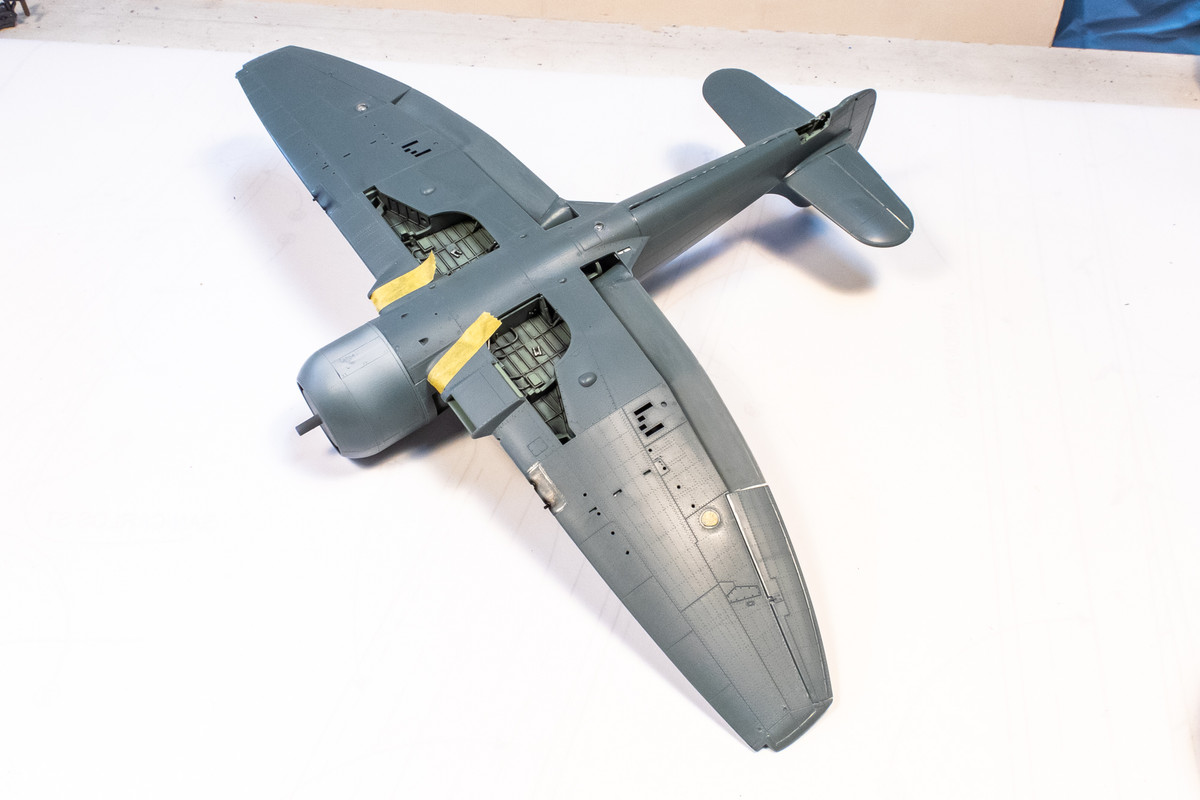
The wing tops have been glued on to the wing bottom. Like everywhere else, the fit was very good.
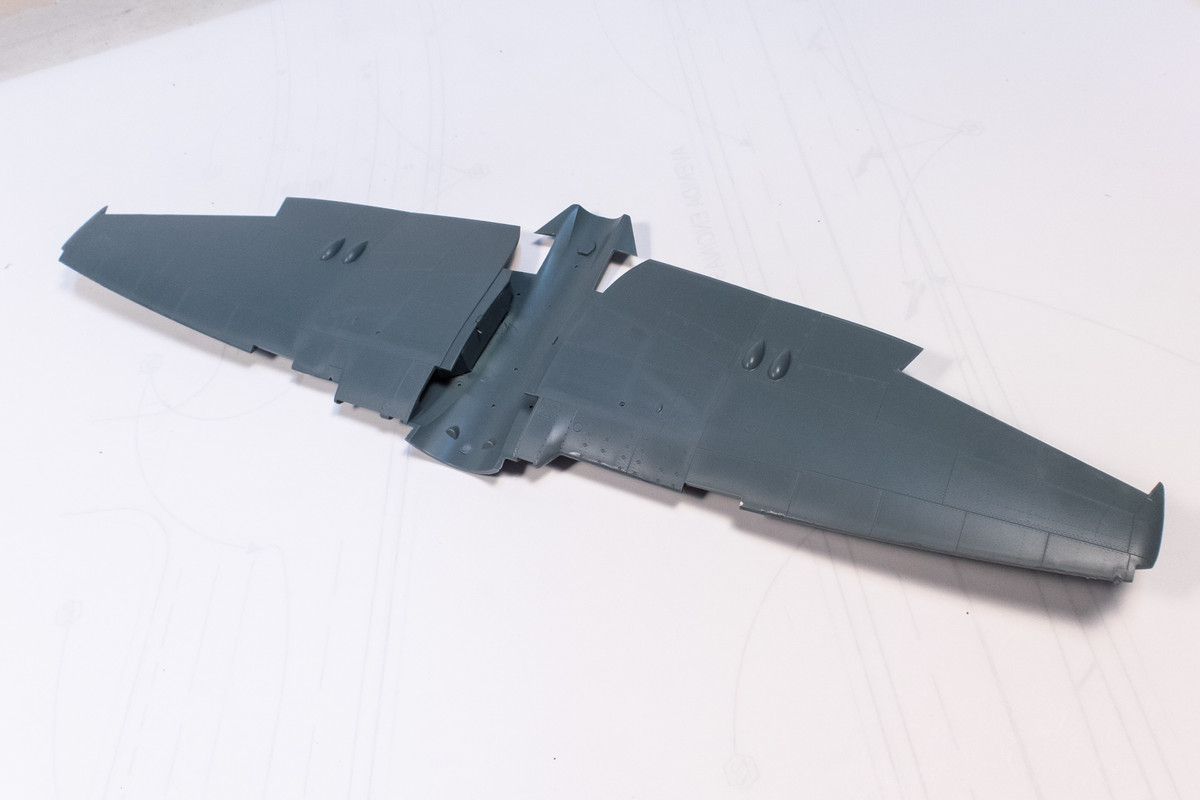
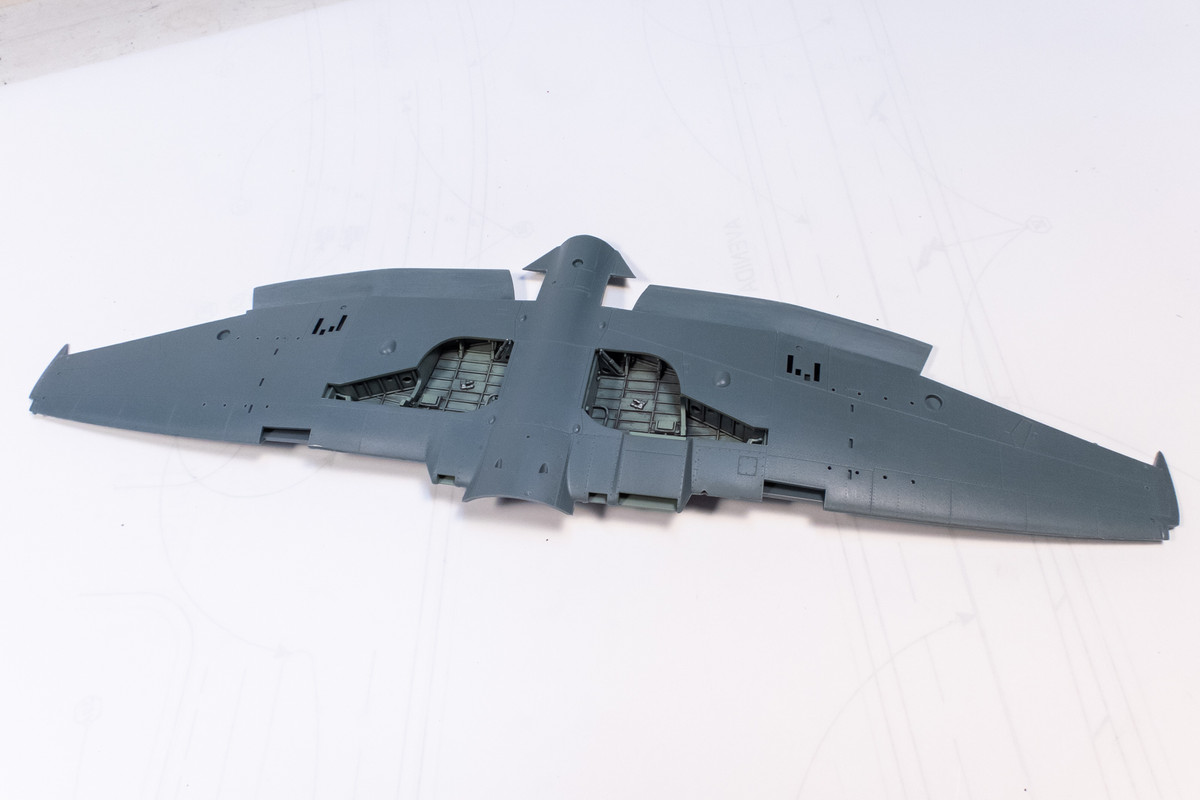
The Eduard instructions clearly show the little gun barrel tips being inserted into the leading edge inserts FROM BEHIND, but it is not physically possible to do so without some major plastic removal.
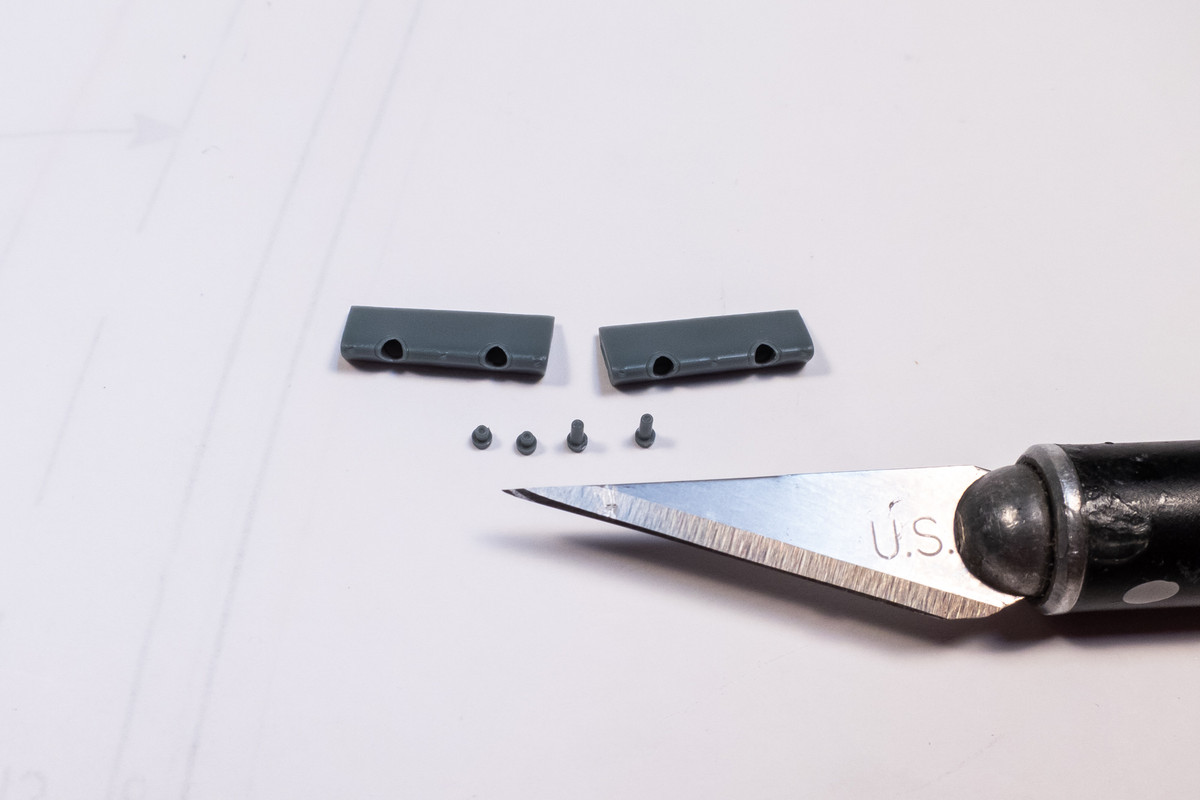
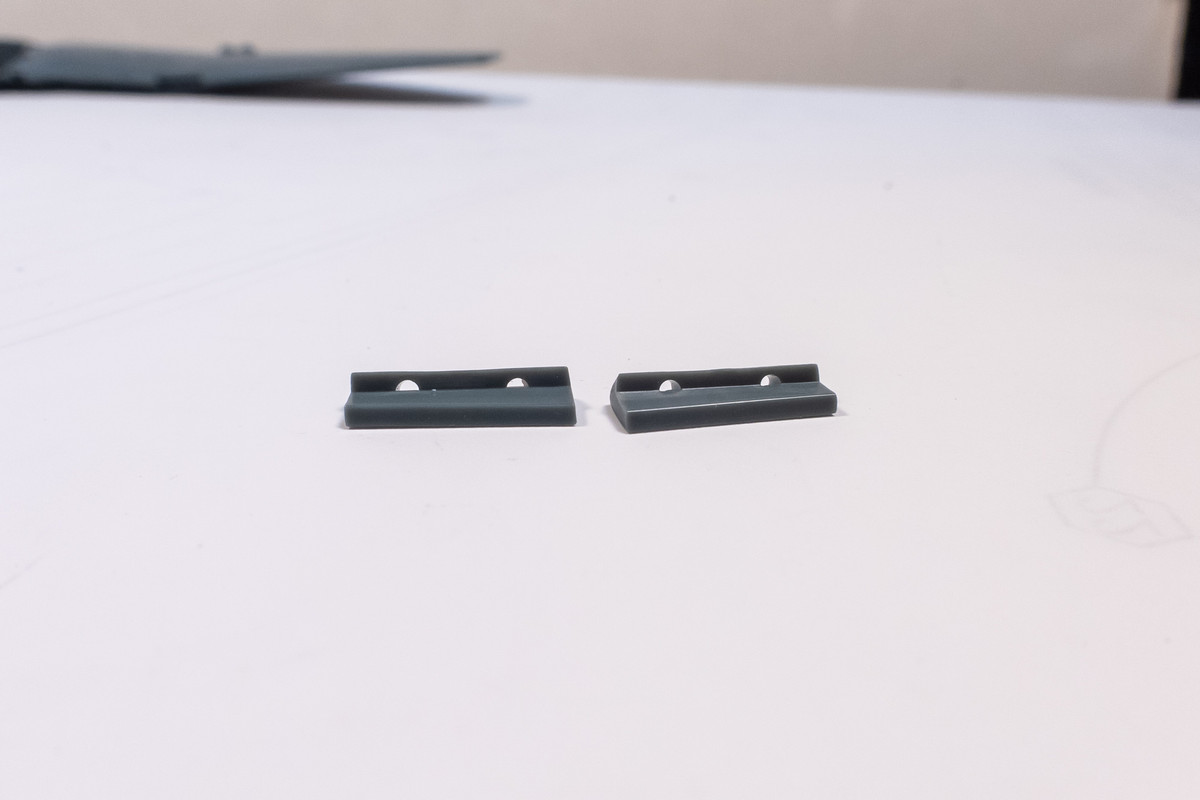
A quick test showed that placing them from the FRONT is the correct way. The dimpled ends of the barrels were drilled out. A spare pin vise is handy for holding small parts.
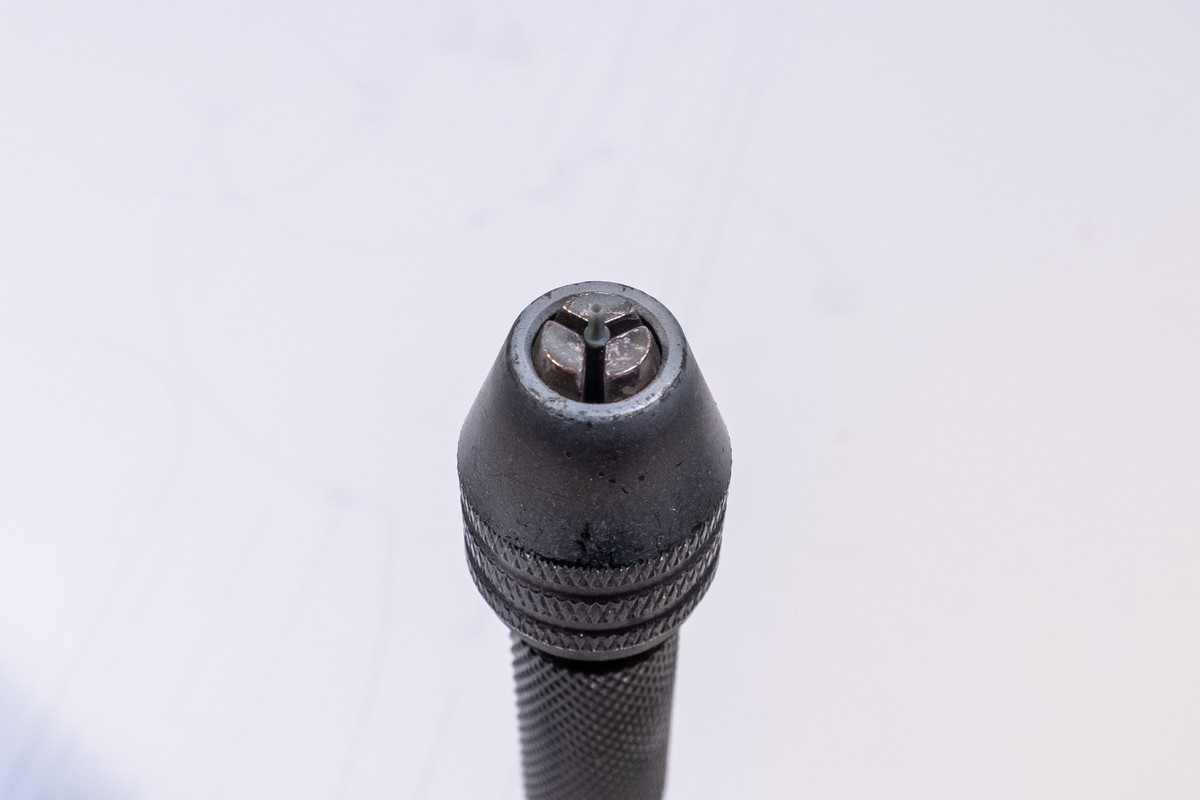
After the tips are drilled out the barrels are glued into the leading edge inserts.

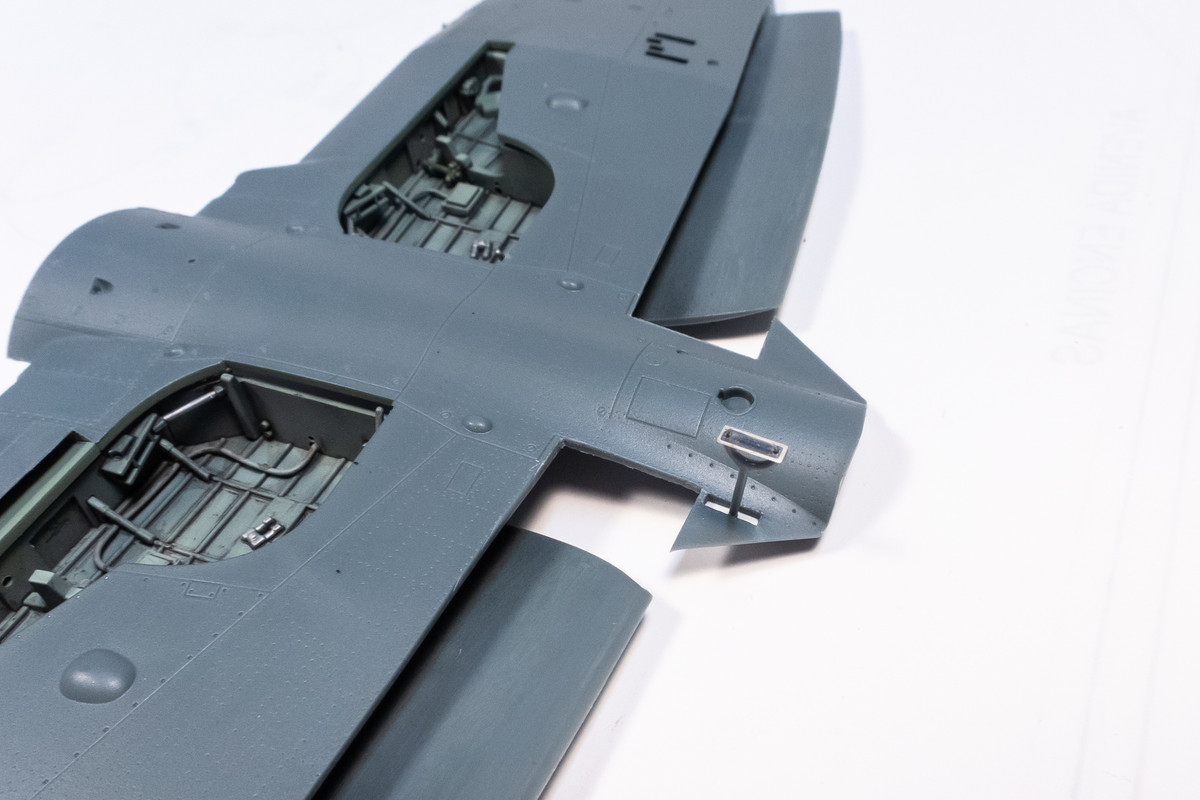
A quick modification before I glue the wings on to the fuselage. The boarding ladder recess is cut out.
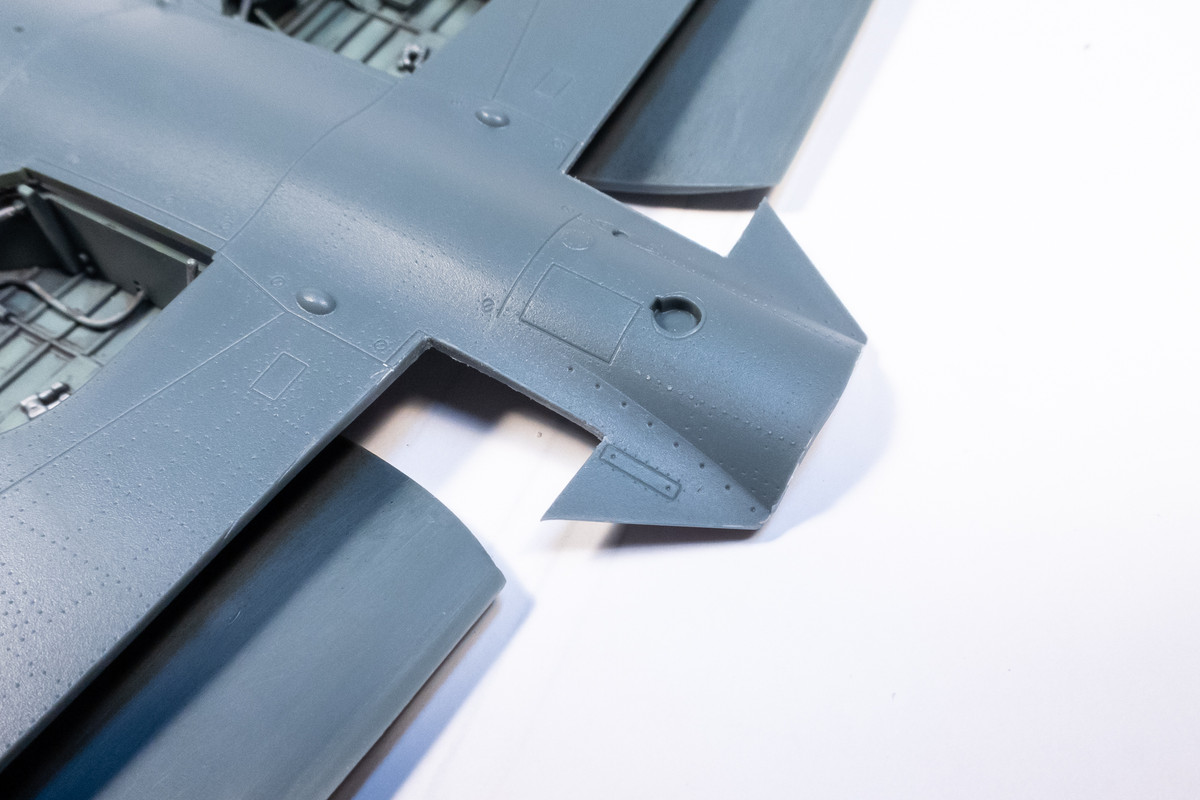
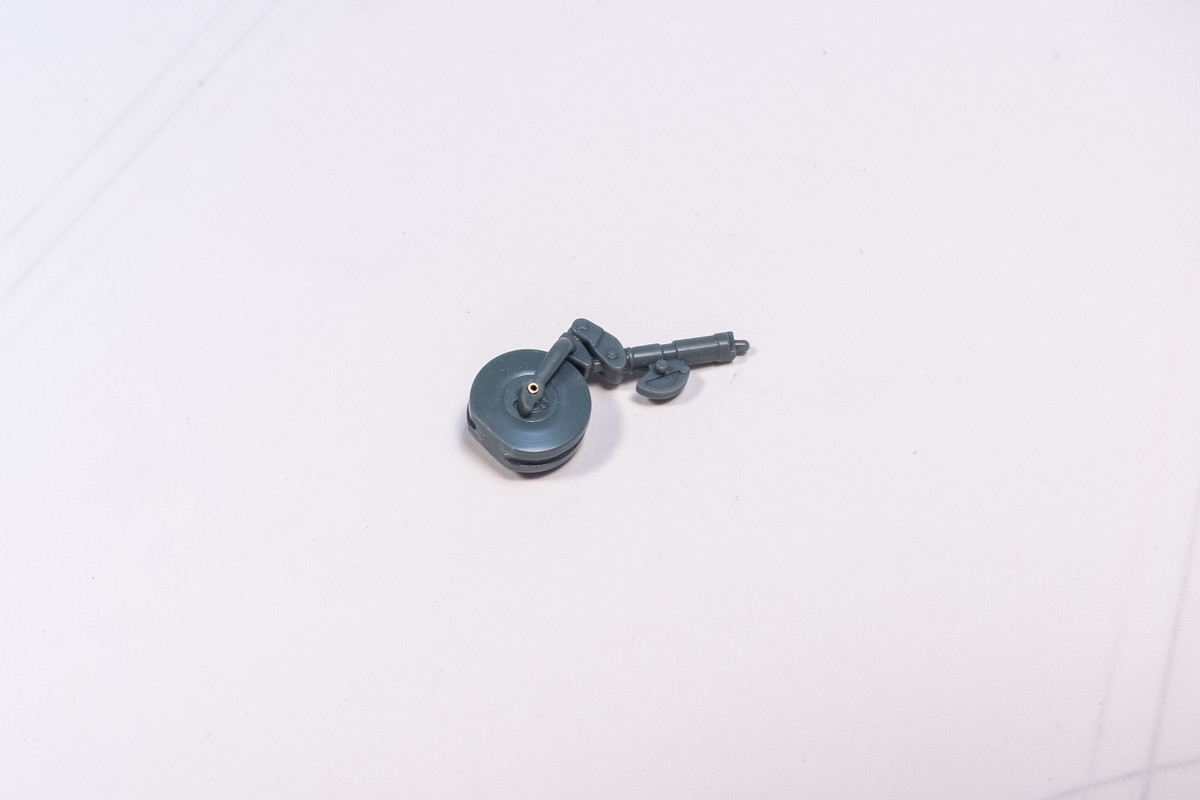
A small section of brass tubing is used to serve as an axle for the tail wheel.
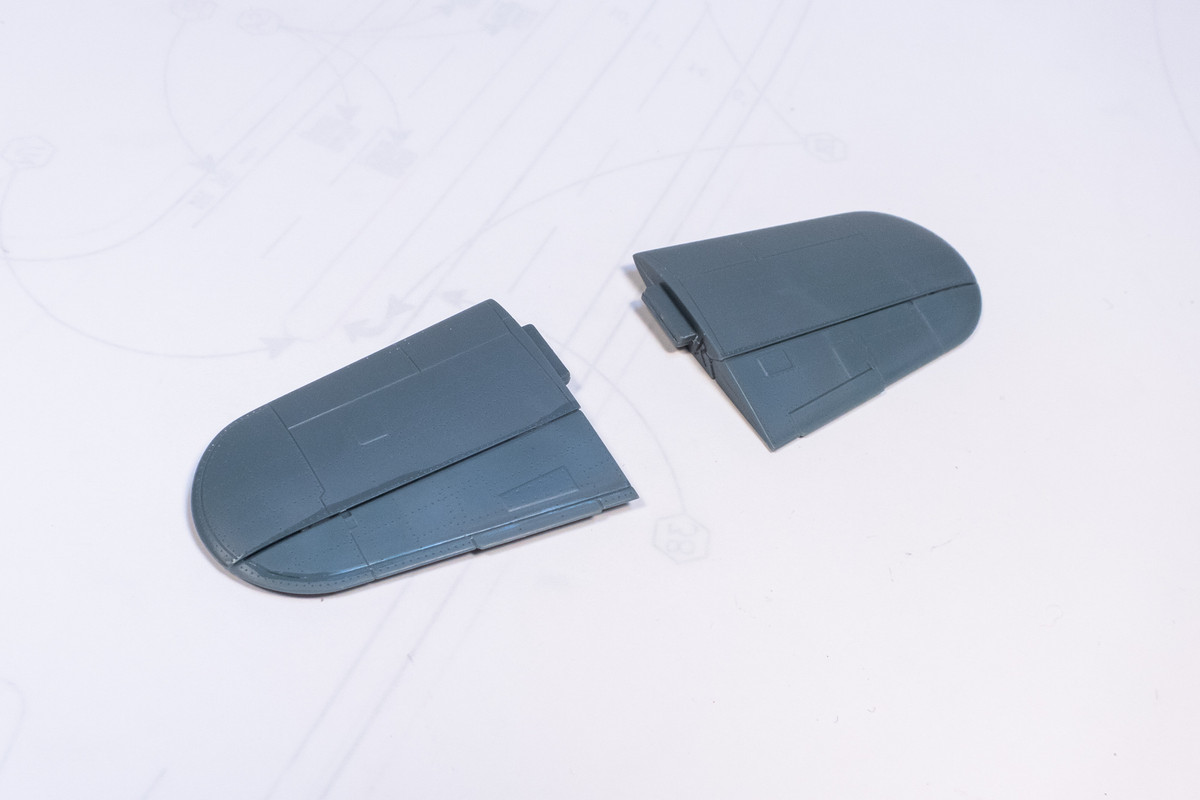
The horizontal stabilizers have been glued together.
Re: Eduard 1/48 Hawker Tempest II
Posted: Mon May 06, 2024 10:52 am
by LyleW
Just outstanding work, John.
Re: Eduard 1/48 Hawker Tempest II
Posted: Wed May 08, 2024 6:25 pm
by jkim
Thank you so much Lyle!
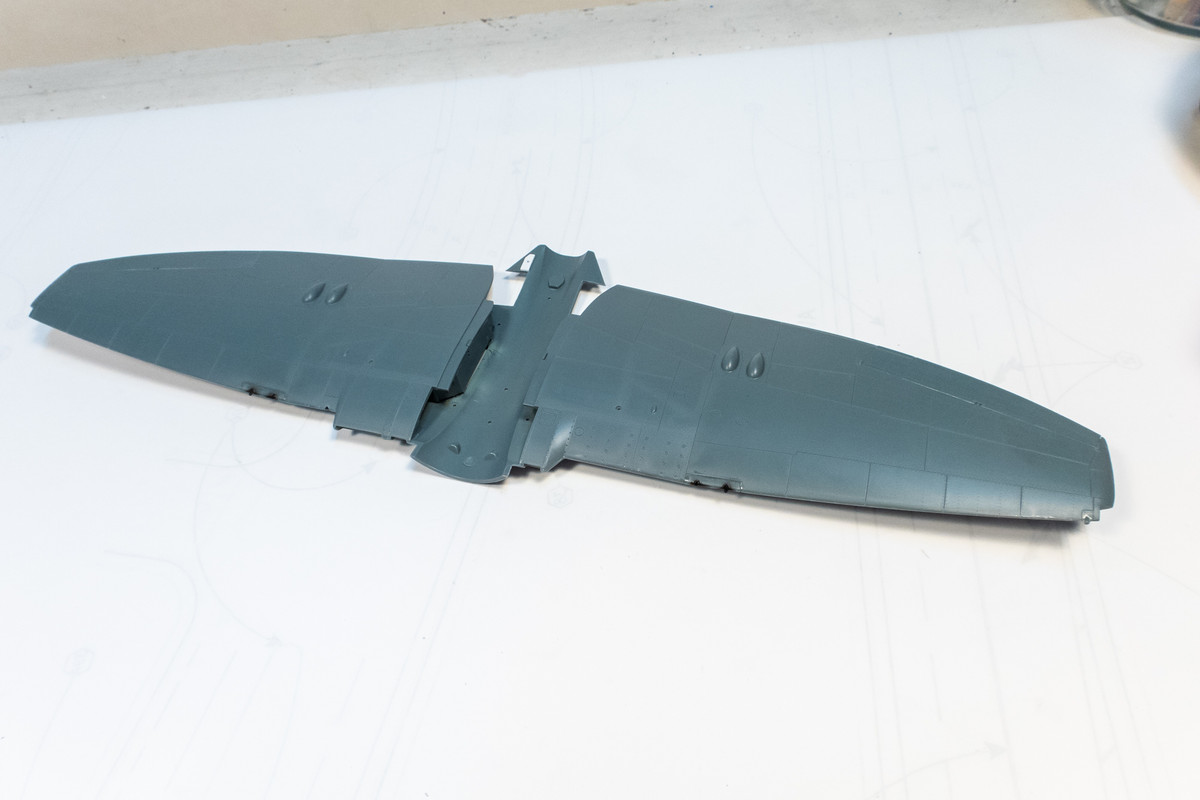
I've glued the gun inserts and the ailerons onto the wings.
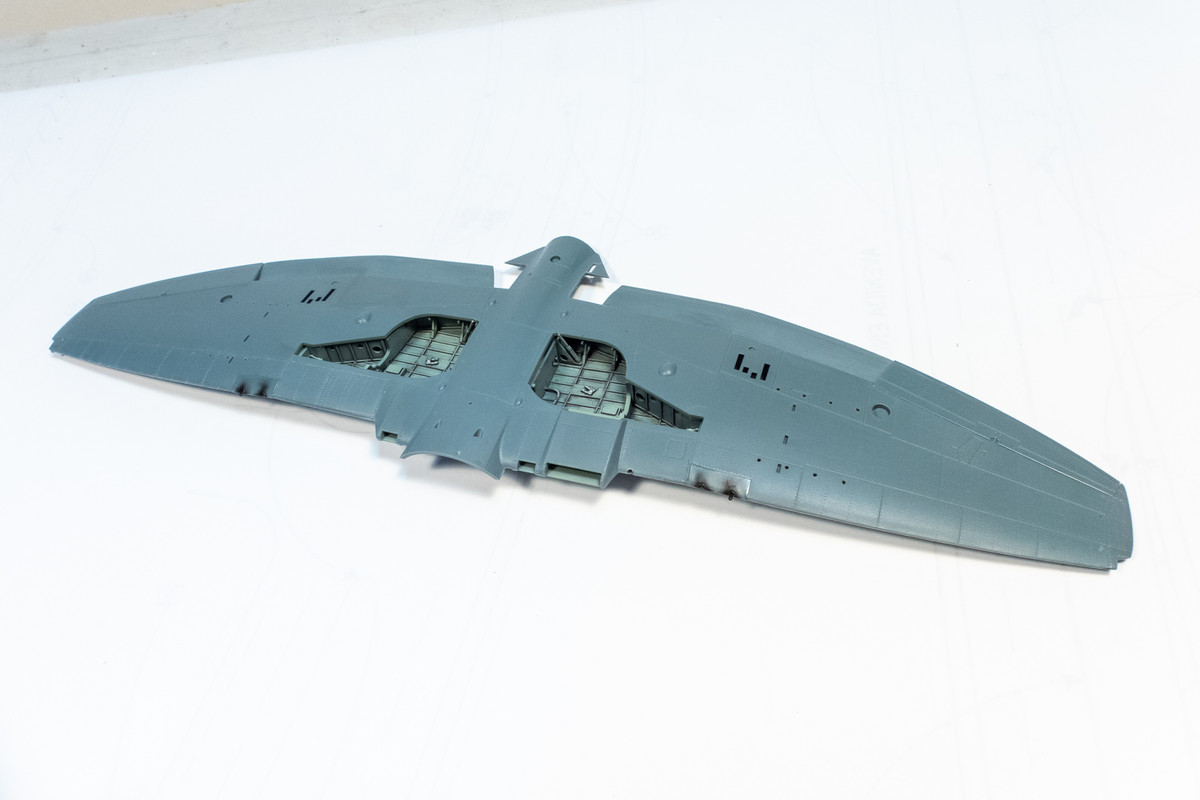
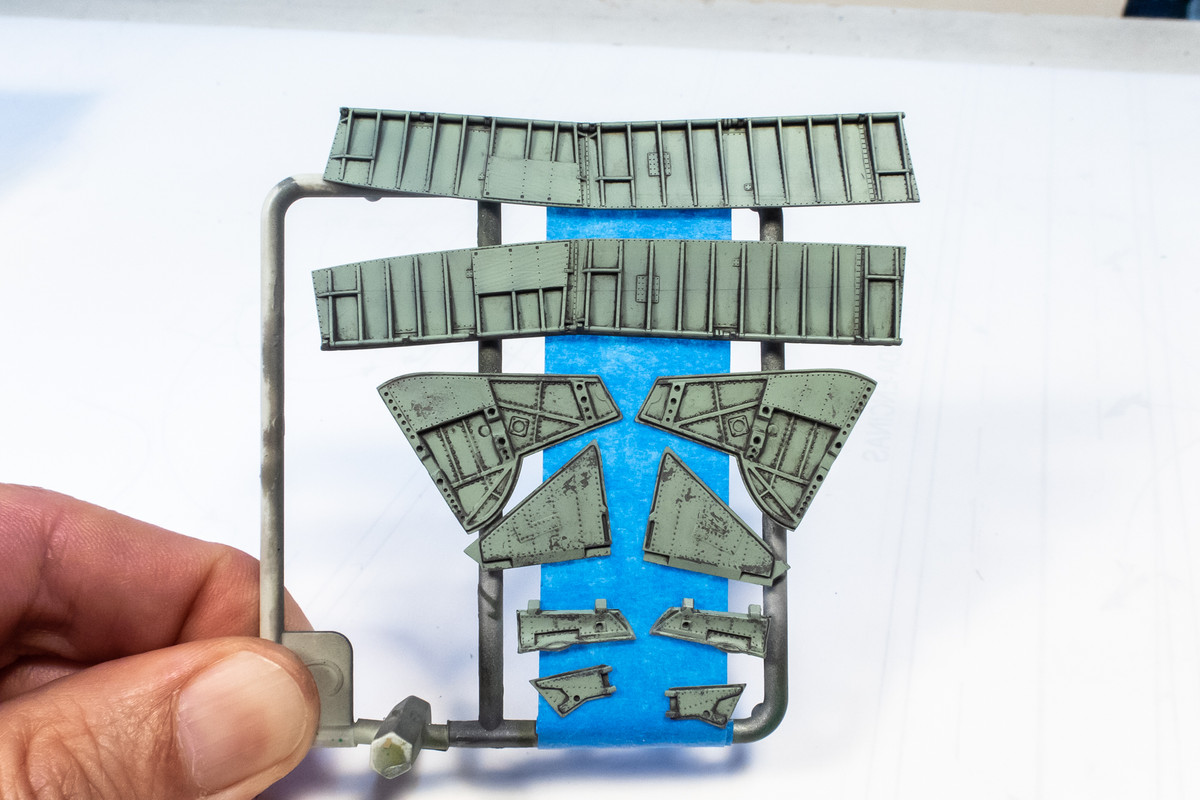
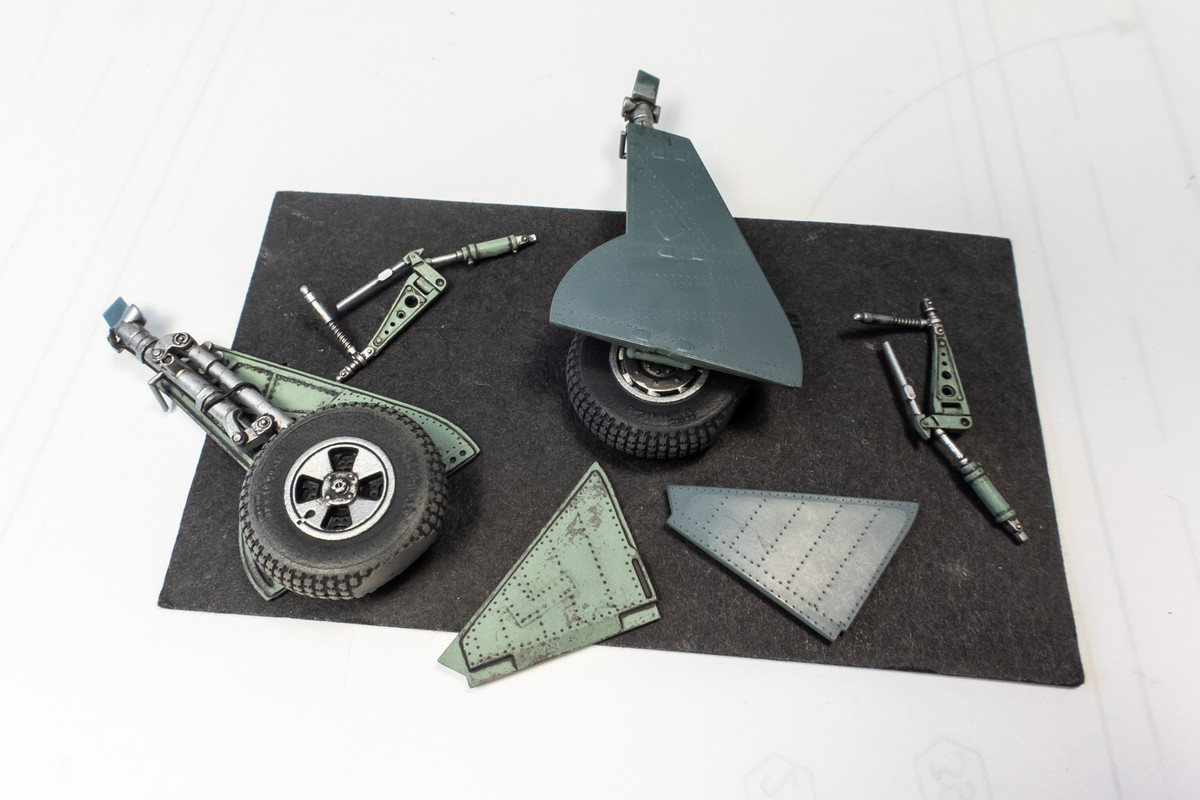
The interior sides of the resin flaps and landing gear covers have been painted and weathered.
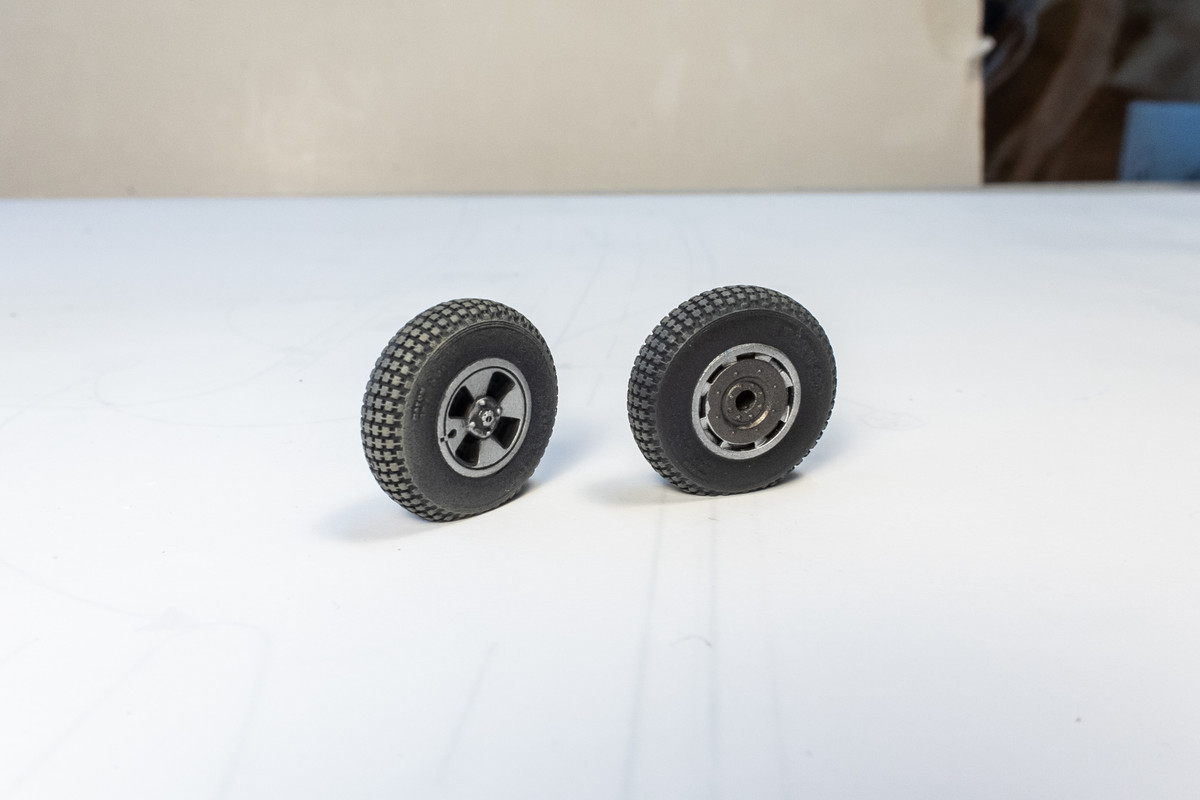
The Barracuda resin wheels are painted.
Posing the painted landing gear components together.
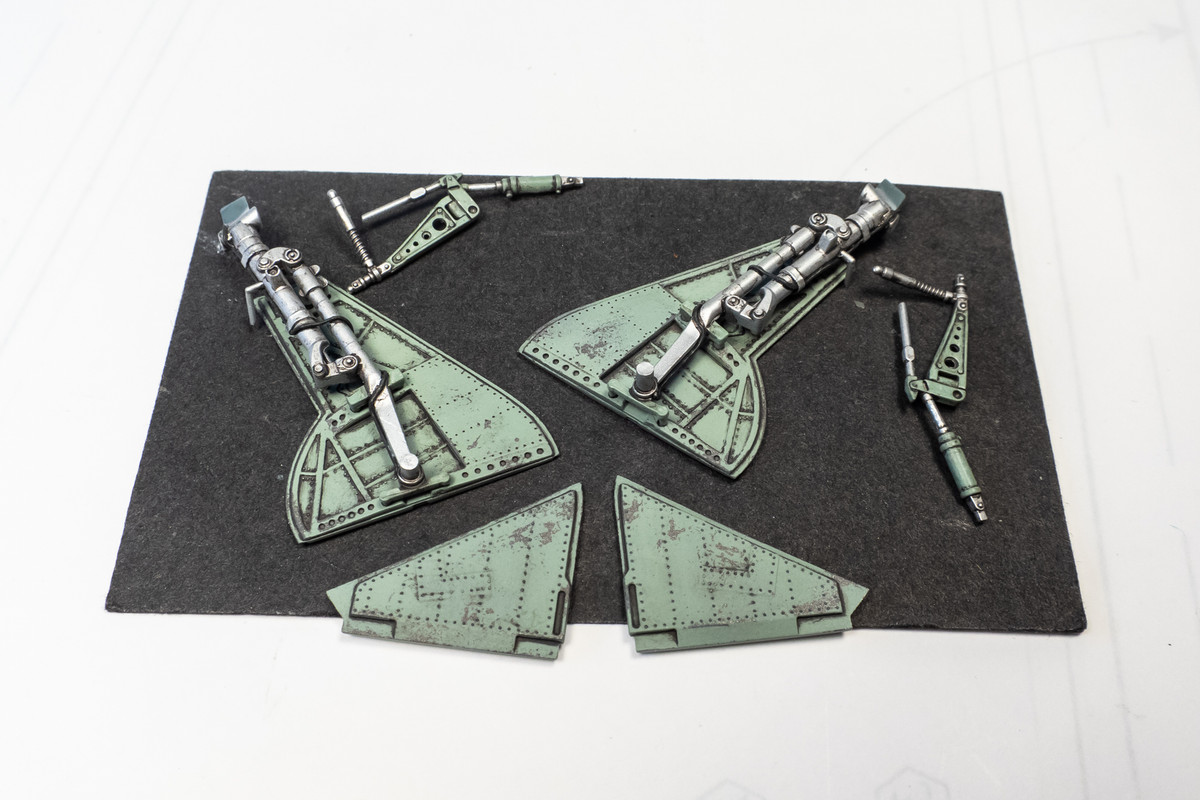
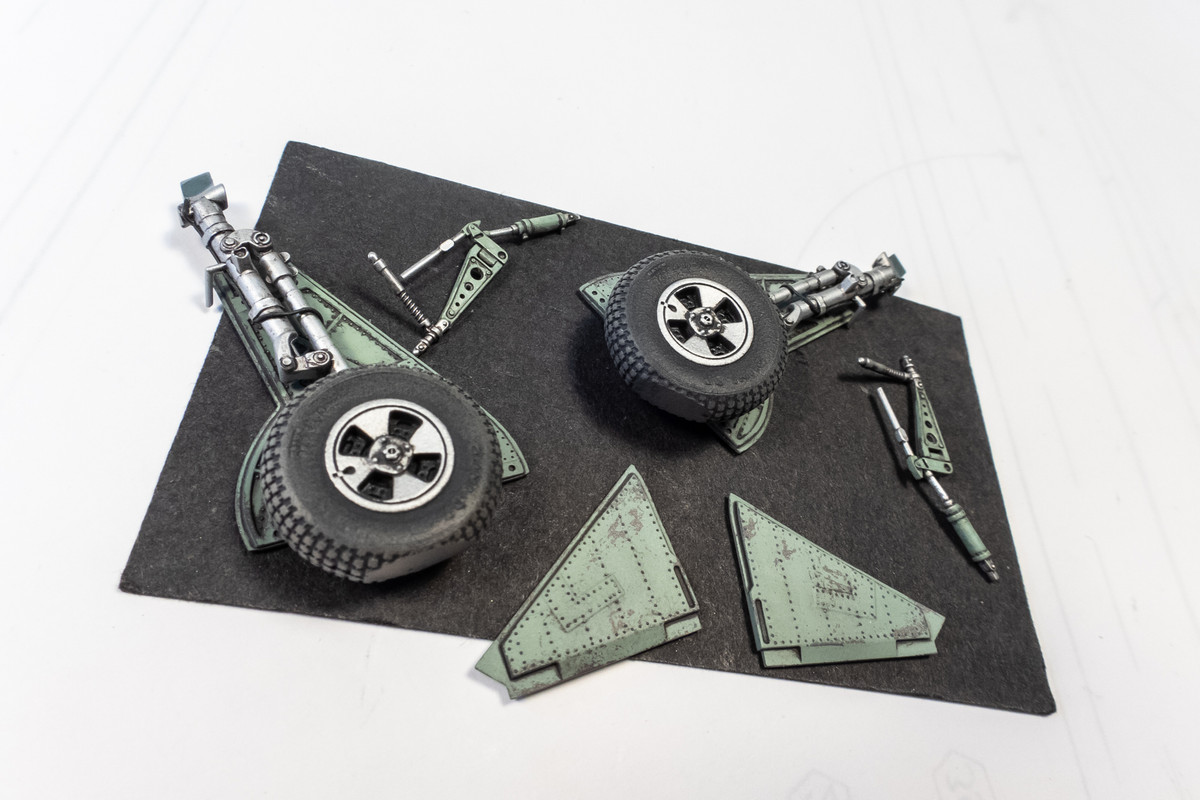
The exterior sides of the flaps and covers will be painted later.
Re: Eduard 1/48 Hawker Tempest II
Posted: Sat May 11, 2024 4:42 pm
by jkim