Russian fighter project

Post your work in progress of your aircraft builds in here.
User avatar
BlackSheep214
Elite Member
Posts: 12988
Joined: Sun Apr 06, 2014 8:47 pm

Re: Russian fighter project

Post by BlackSheep214 »

mostrich wrote: Sat Dec 21, 2024 2:58 am
BlackSheep214 wrote: Wed Dec 18, 2024 3:20 pm Hmmm… I’ll have to try it. How long does liquid sprue last once mixed?
I used a nearly empty Tamiya Extra Thin bottle and throwed some pieces of sprue in it. After a few hours of chemical (re)action and a brief stir it's ready to go. If you keep the lid tight it should be good for at least half a year. You can reactivate or thin it down to your needs by adding some TET or simply methyl ethyl ketone (aka butanone).

The Tamiya liquid glue of mine is getting a bit low. Might give it a go. I always have a lot of sprue pieces for stretching sprue for ship rigging, antennas for aircraft and armor, etc...
“Who controls the skies, controls the fate of this Earth”

Author unknown- 352nd Fighter Group, Blue-Nosed Bastards of Bodney

“Send one plane it’s a sortie; send two planes it’s a flight; send four planes it’s a test of airpower. - Richard Kohn
User avatar
speedgraflex
Moderator
Posts: 11055
Joined: Fri Feb 10, 2017 11:08 pm
Contact:

Re: Russian fighter project

Post by speedgraflex »

Yep. 6 months, tops. All of my old mixes are gone to sprue glue heaven.
Make more models!
User avatar
Gary Brantley
Elite Member
Posts: 2625
Joined: Tue Apr 08, 2014 9:40 pm
Location: Cameron, Texas

Re: Russian fighter project

Post by Gary Brantley »

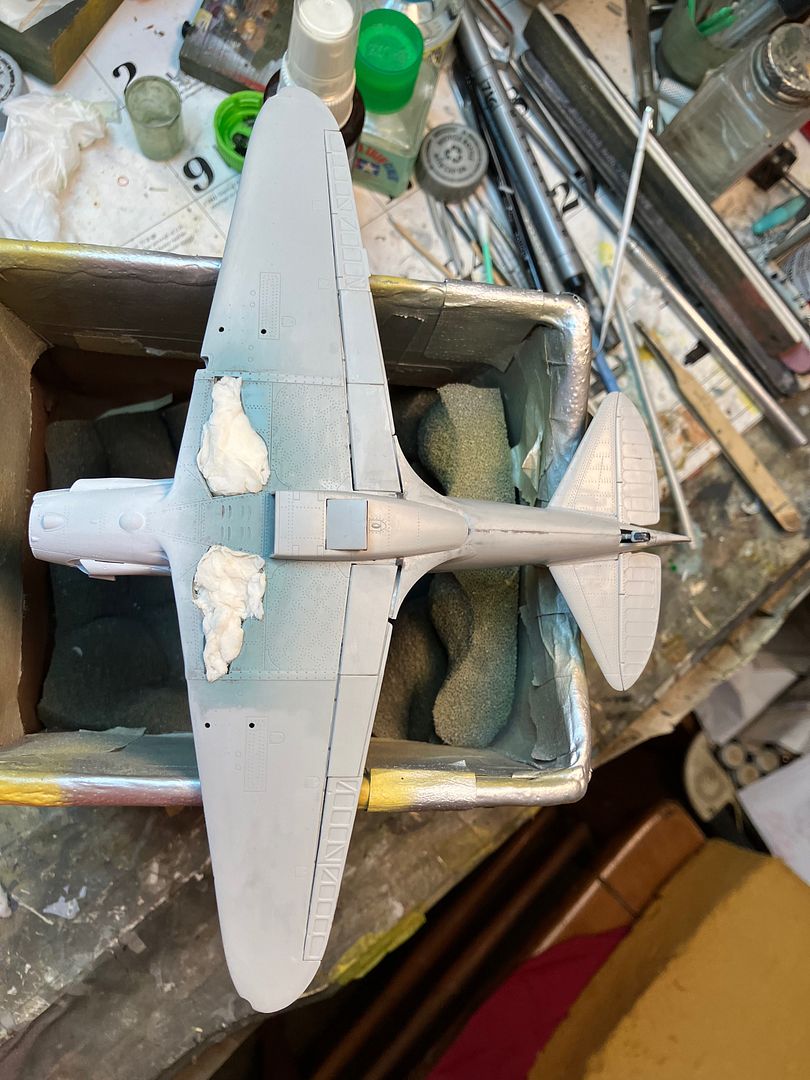
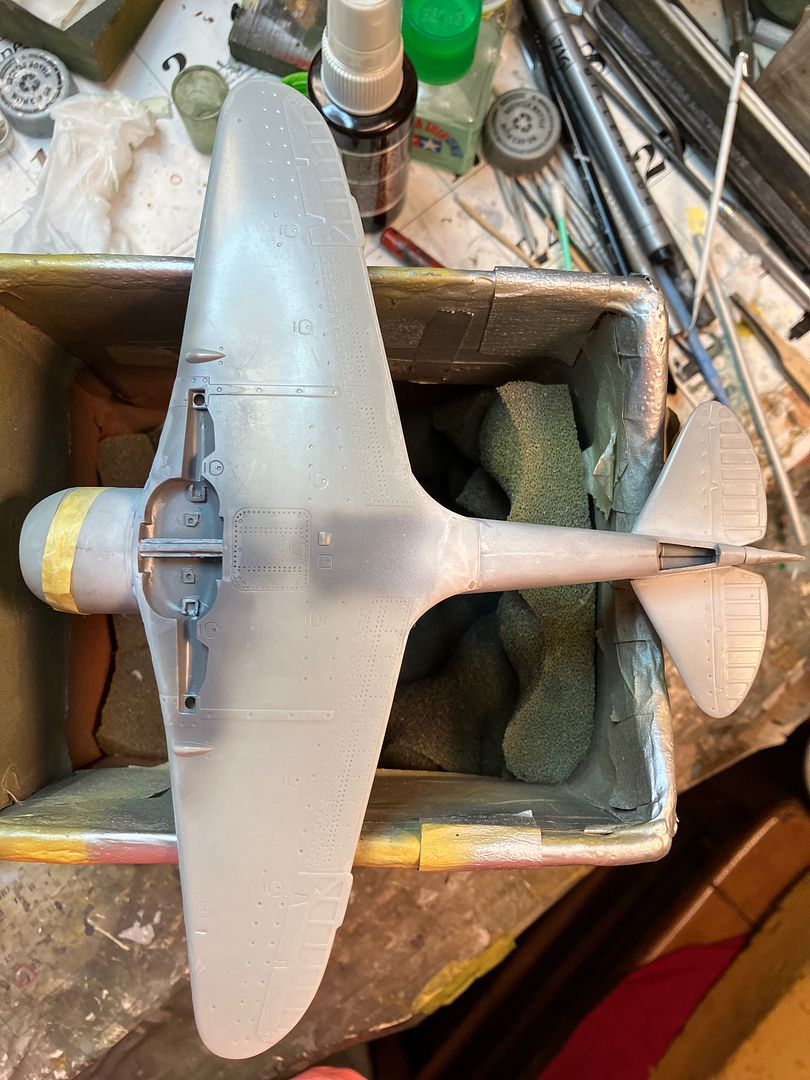
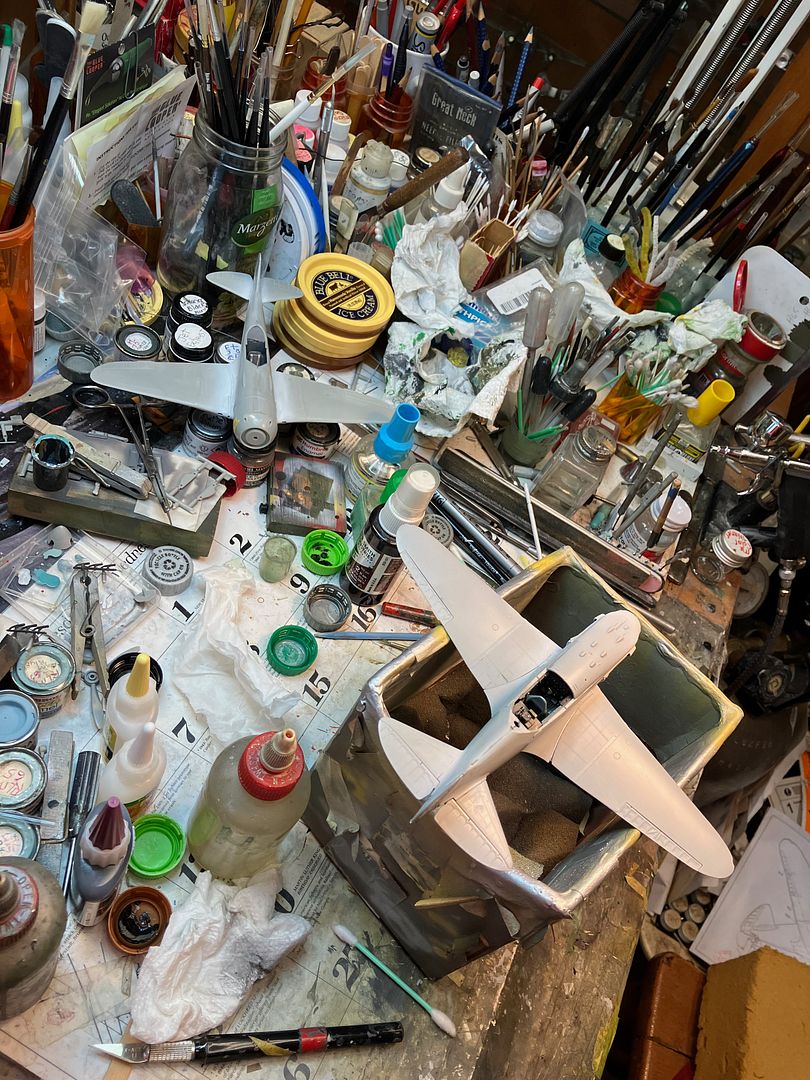
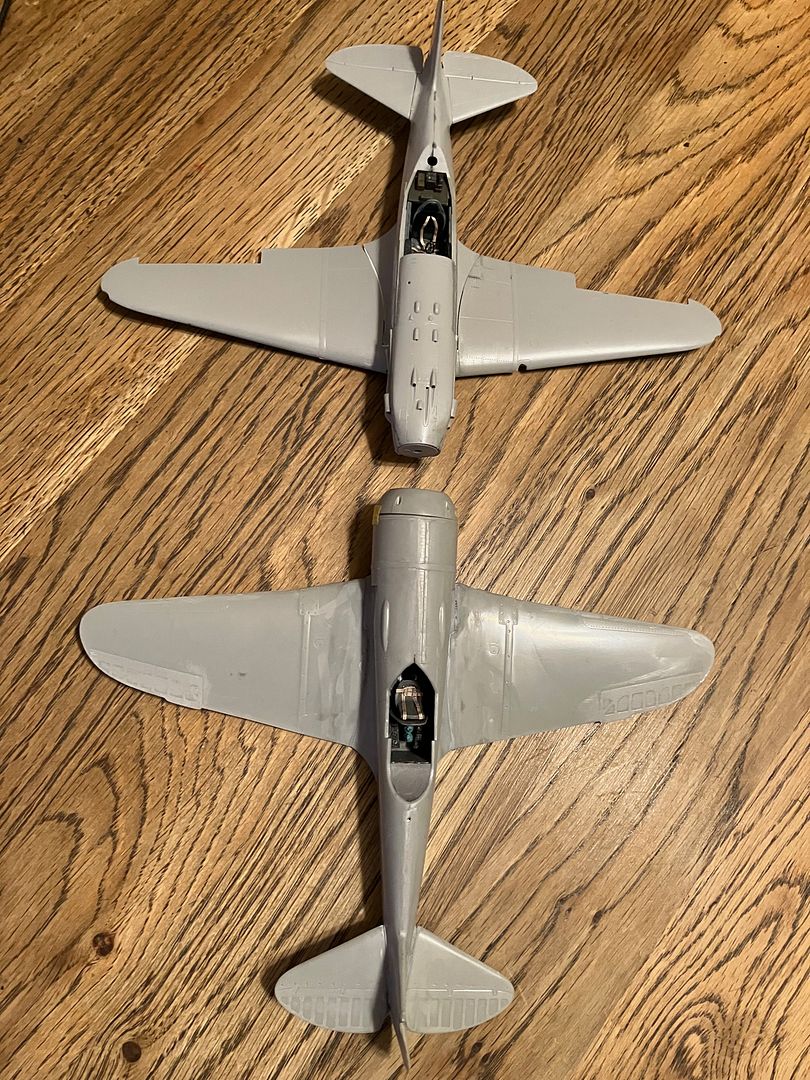
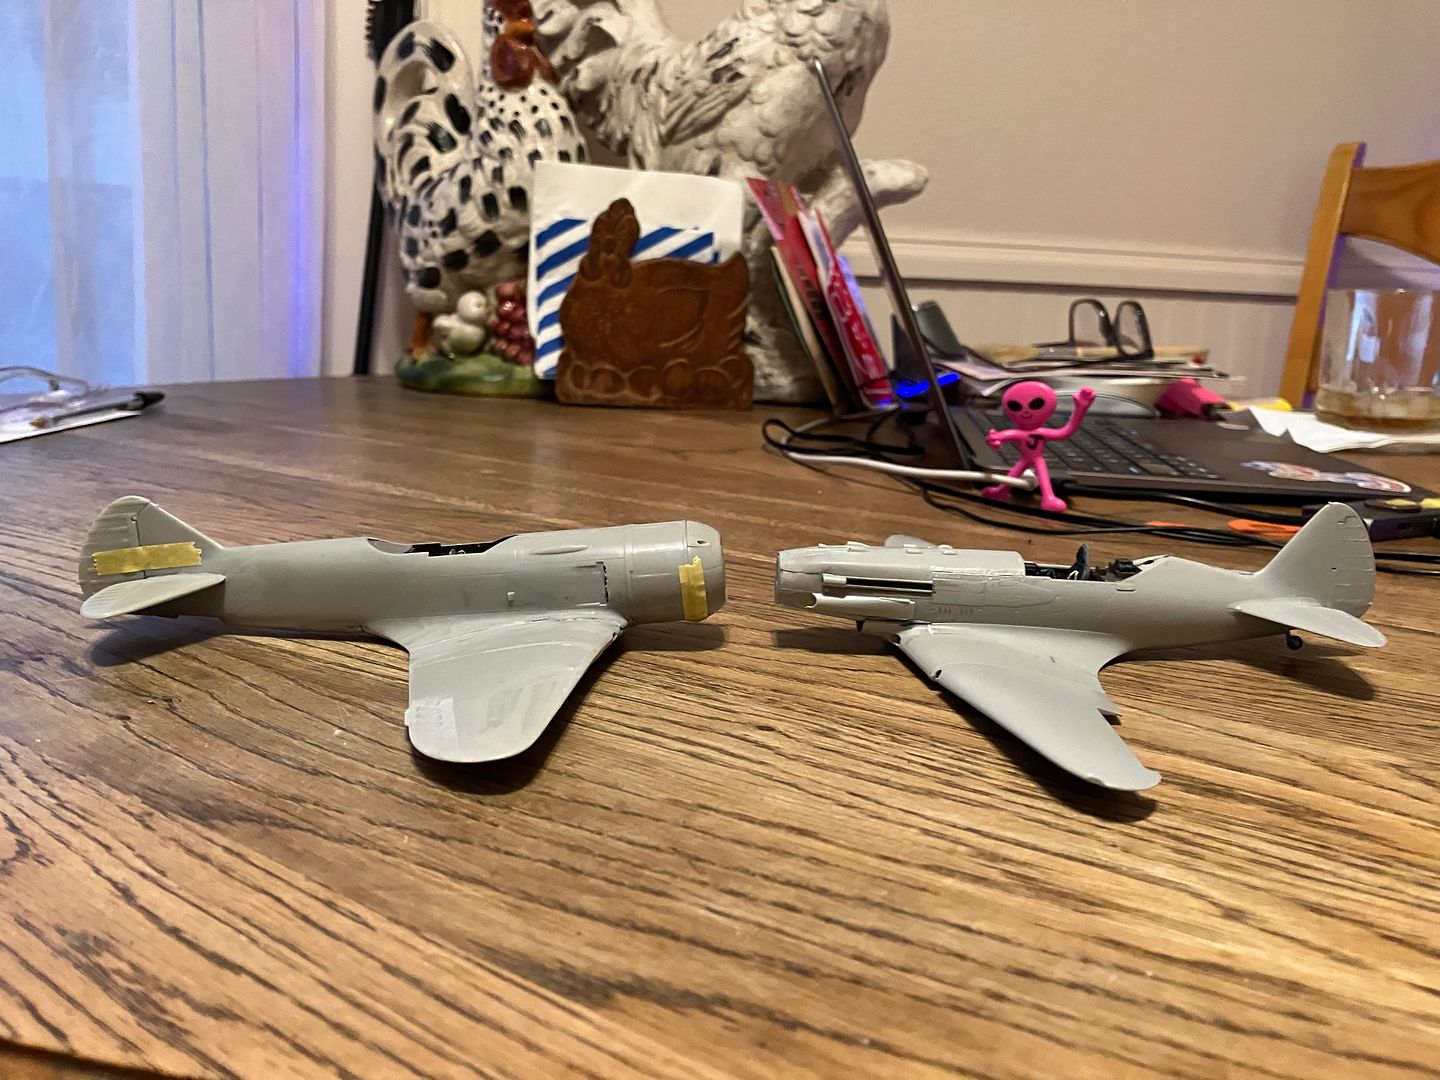
Well, I have a little update on this Russian project. Yesterday, I attached the wings to the Trumpeter MiG-3 and as expected, am left with a lot of gap filling to do. The Hobbycraft La-7 is pretty much ready for some primer, I guess; I suspect that some paint will reveal a few problem areas on that one too. I'll try to get some pics of the La-7 with its flying surfaces attached, but for now, the MiG has my attention and it's for that troublesome build that I need some advice and guidance.
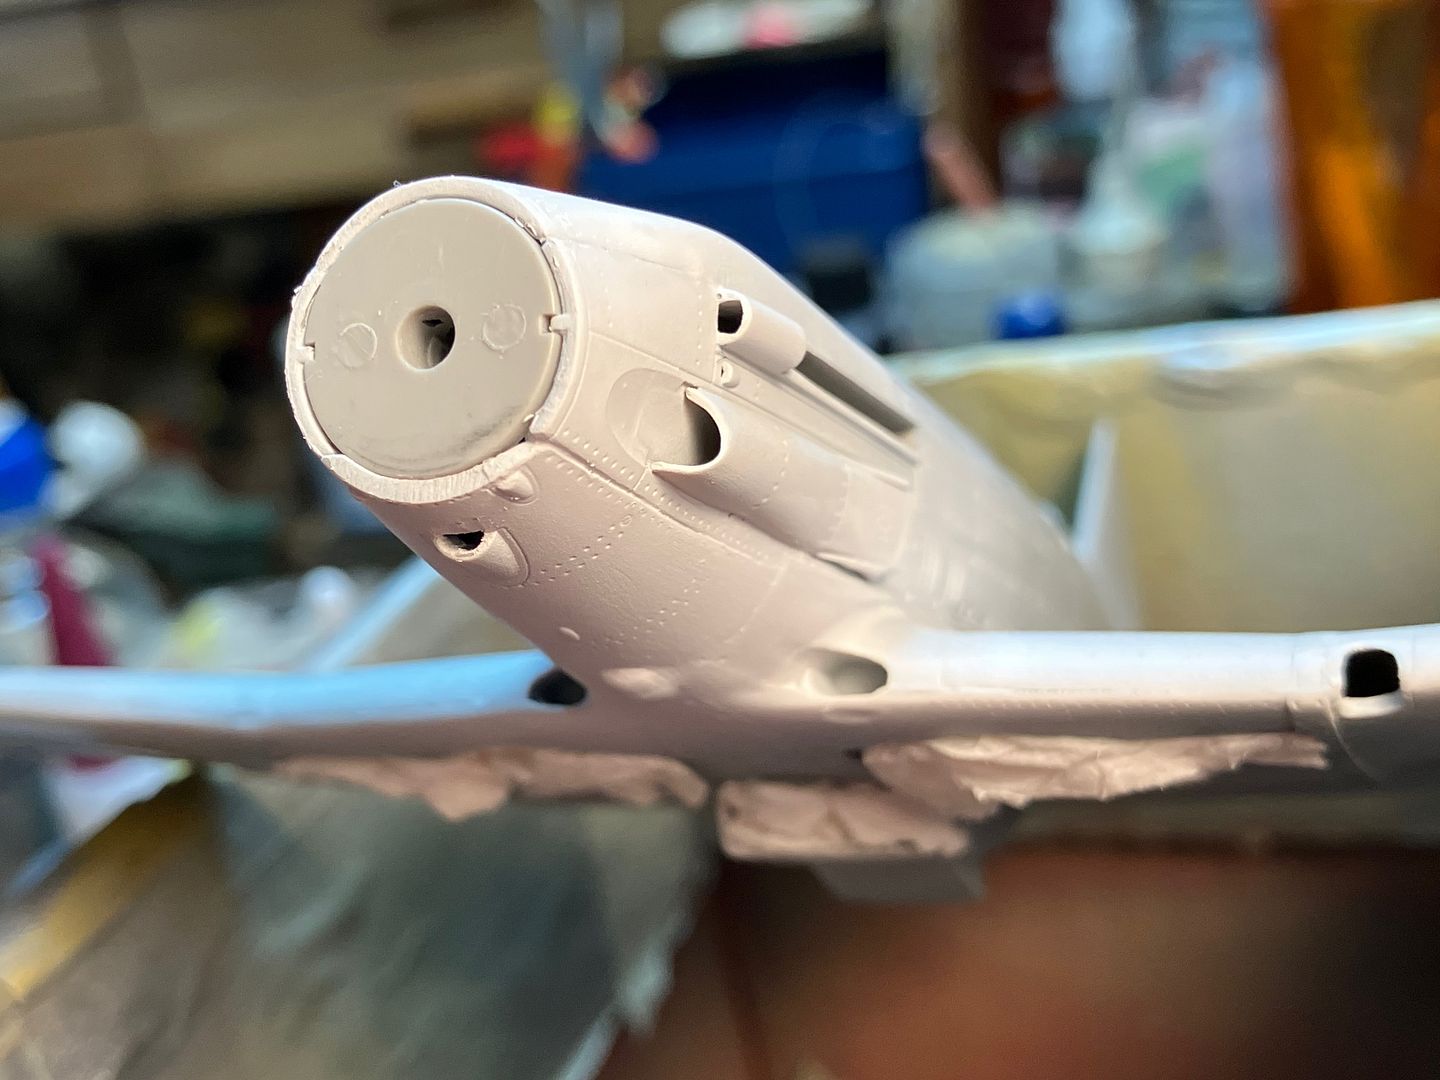
There are nine (9! 🙄) pieces that make up the forward fuselage and getting them all flying in formation together has been a struggle. I really like how the fuselage top is handled; a one-piece "cap" eliminates that pesky top seam there, but there my admiration ends. It was kinda like herding cats to get everything in place!

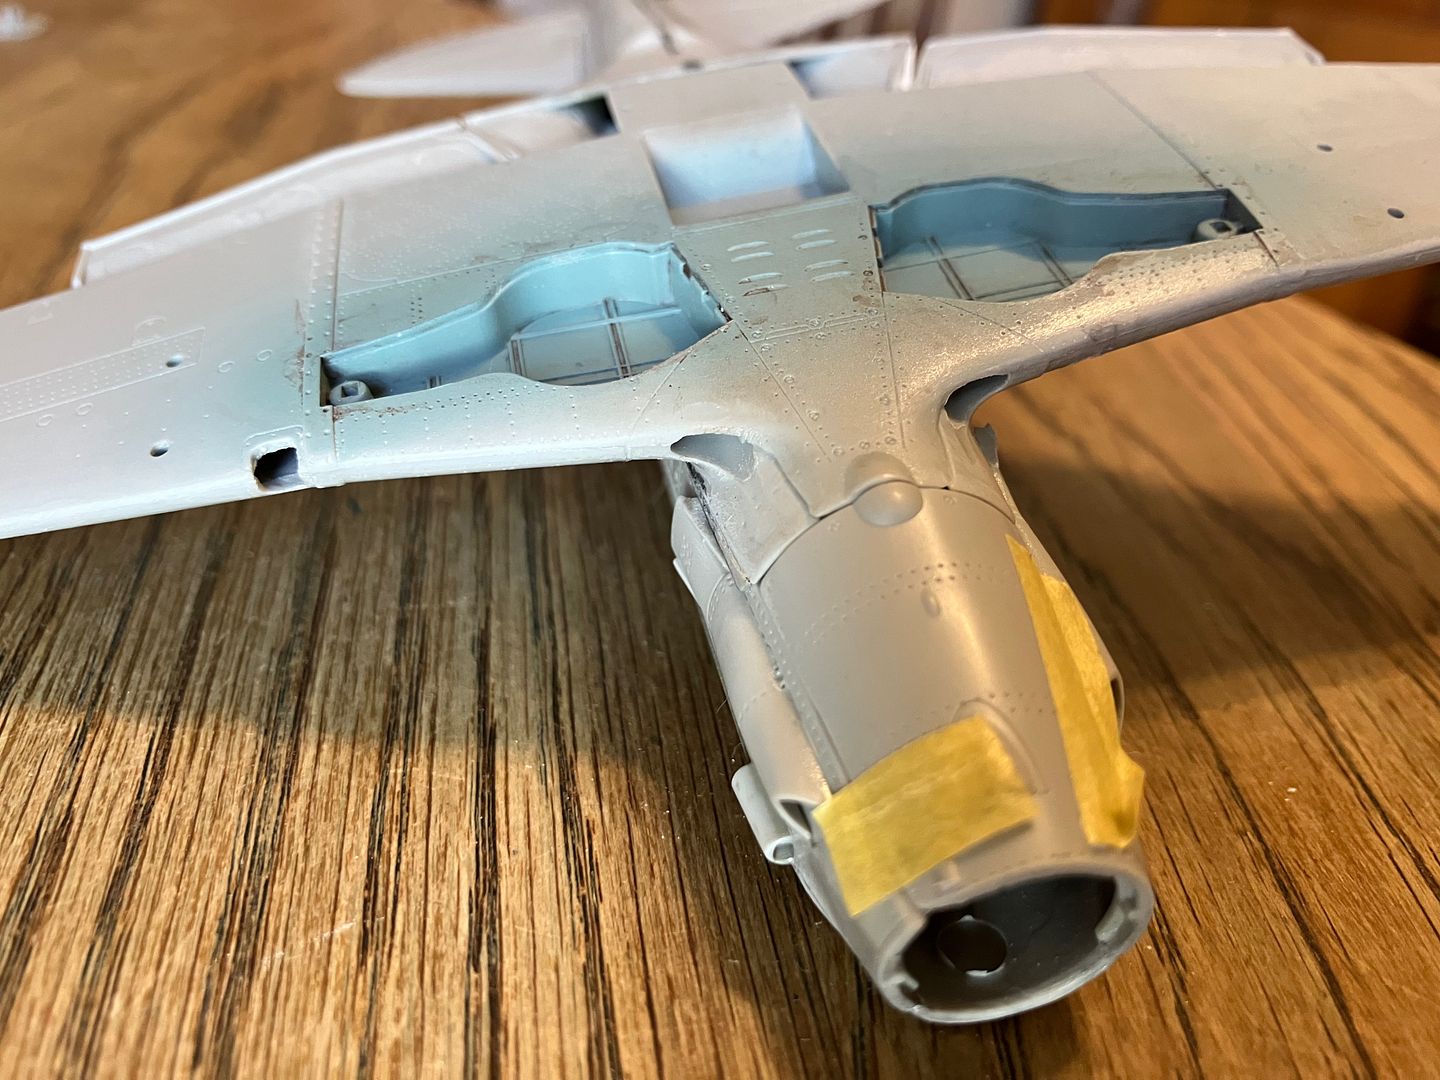
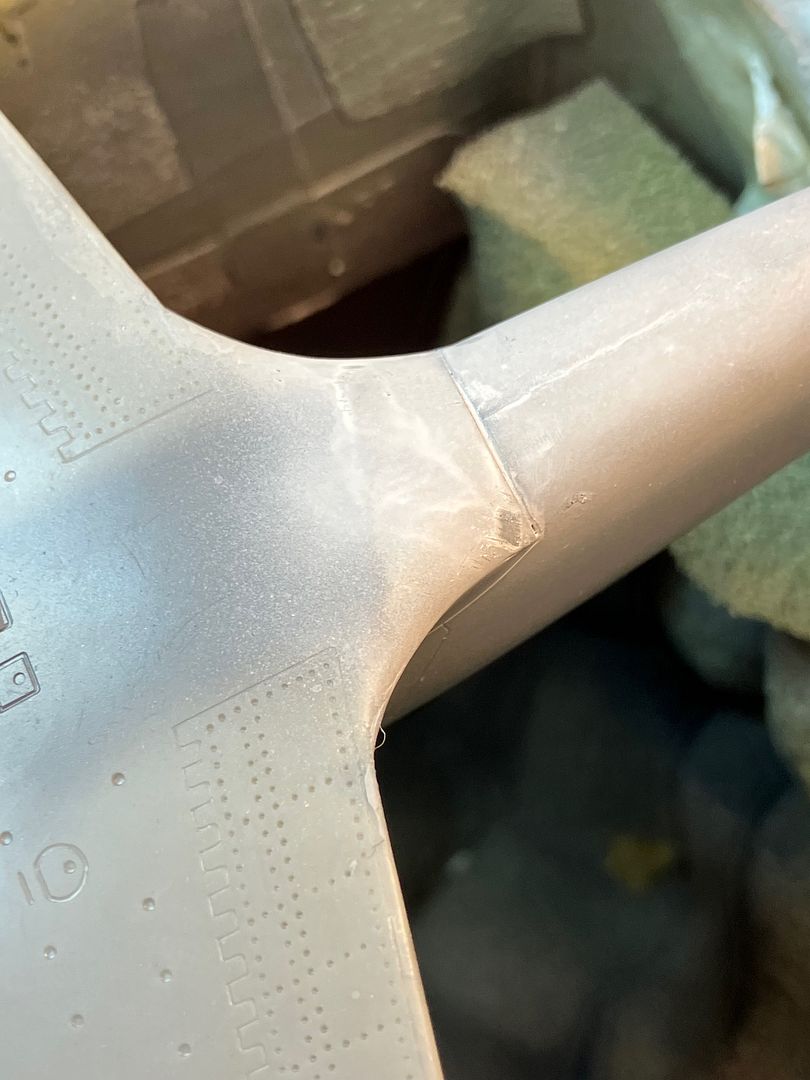
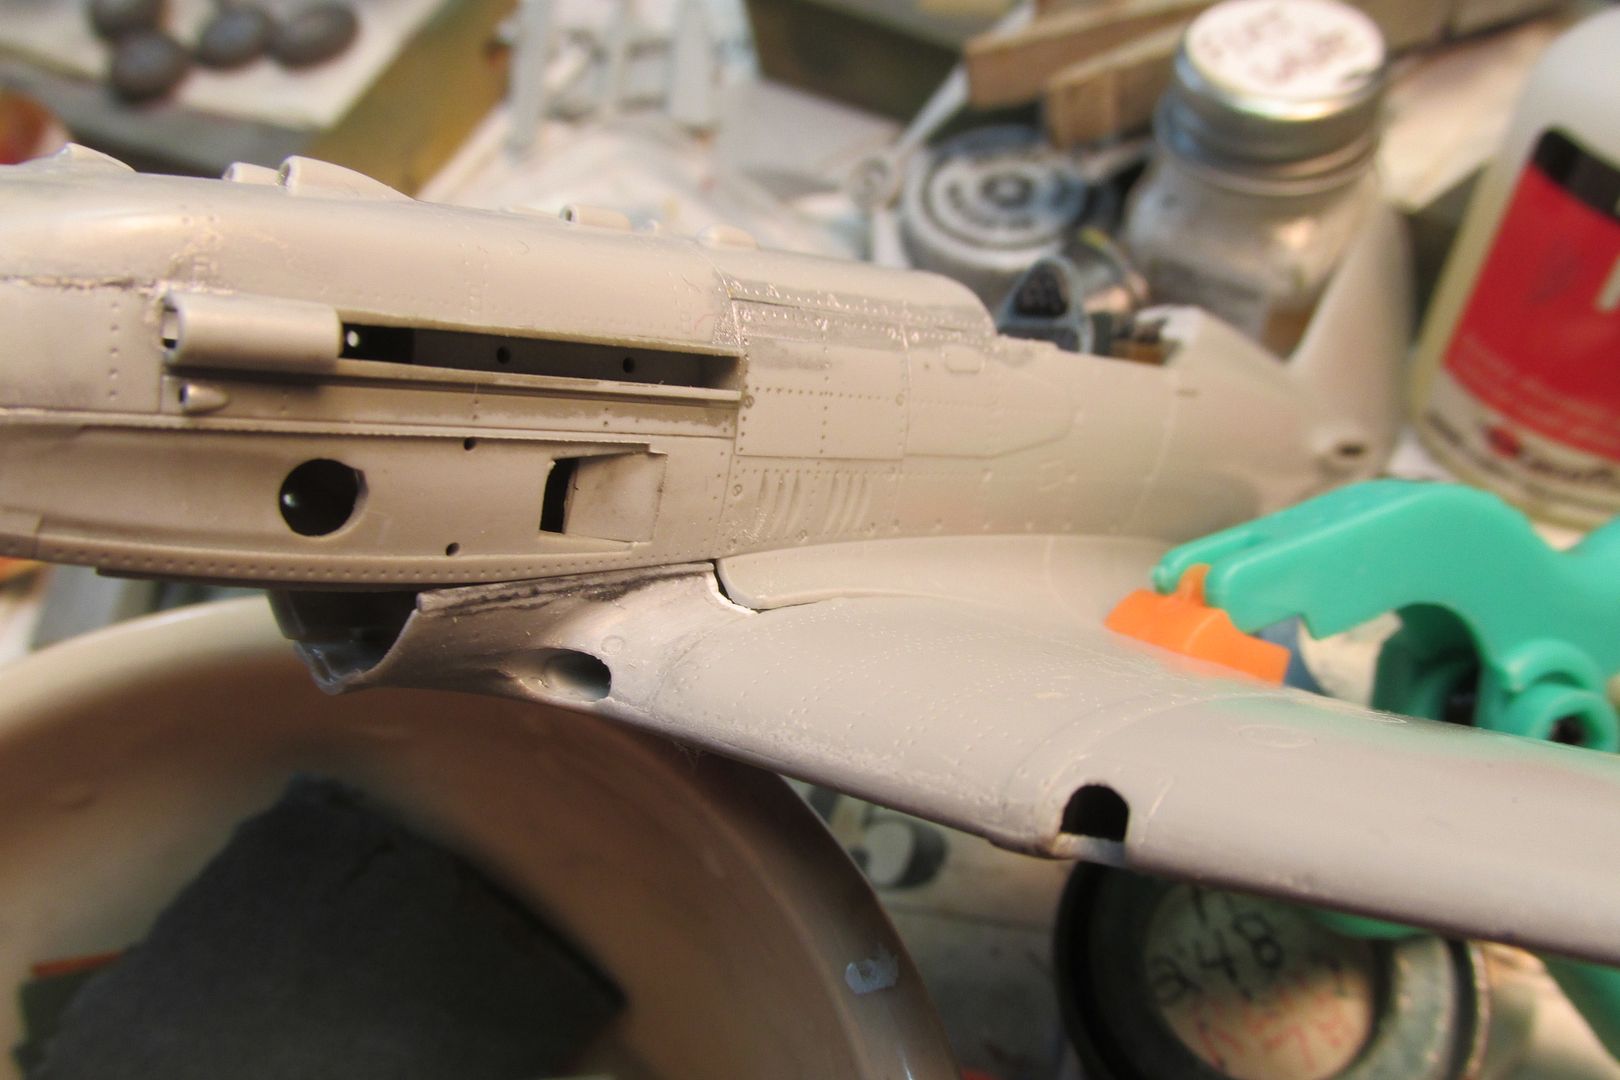
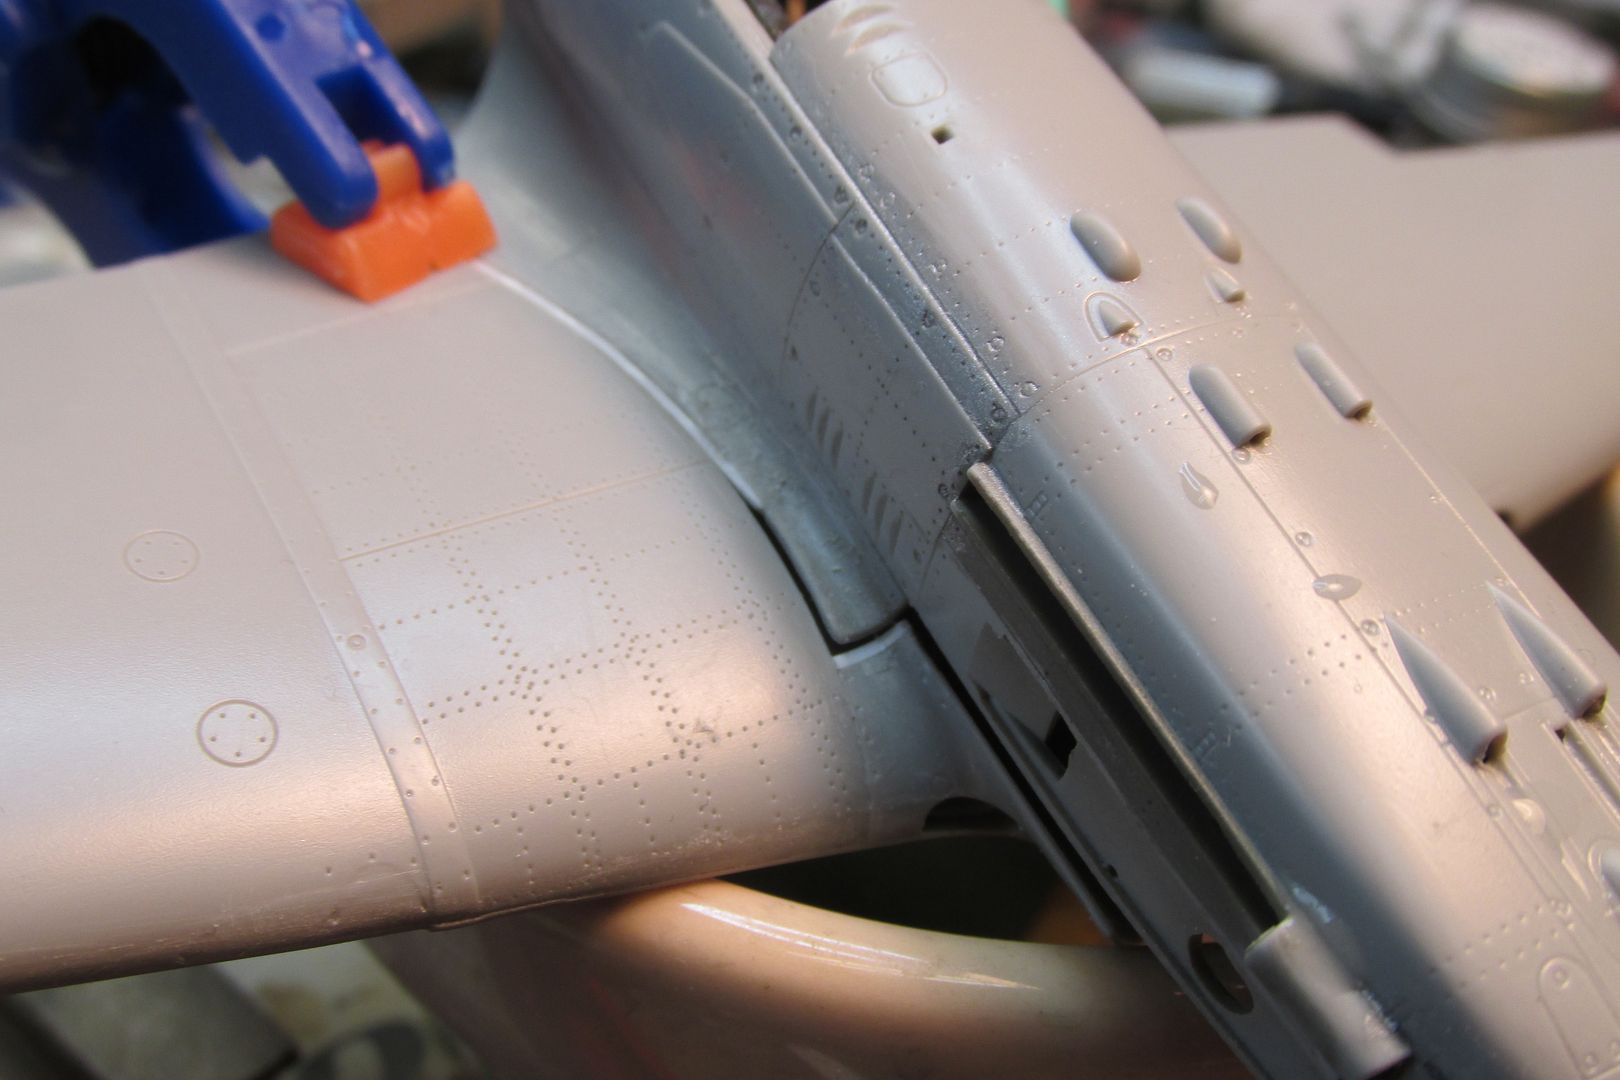
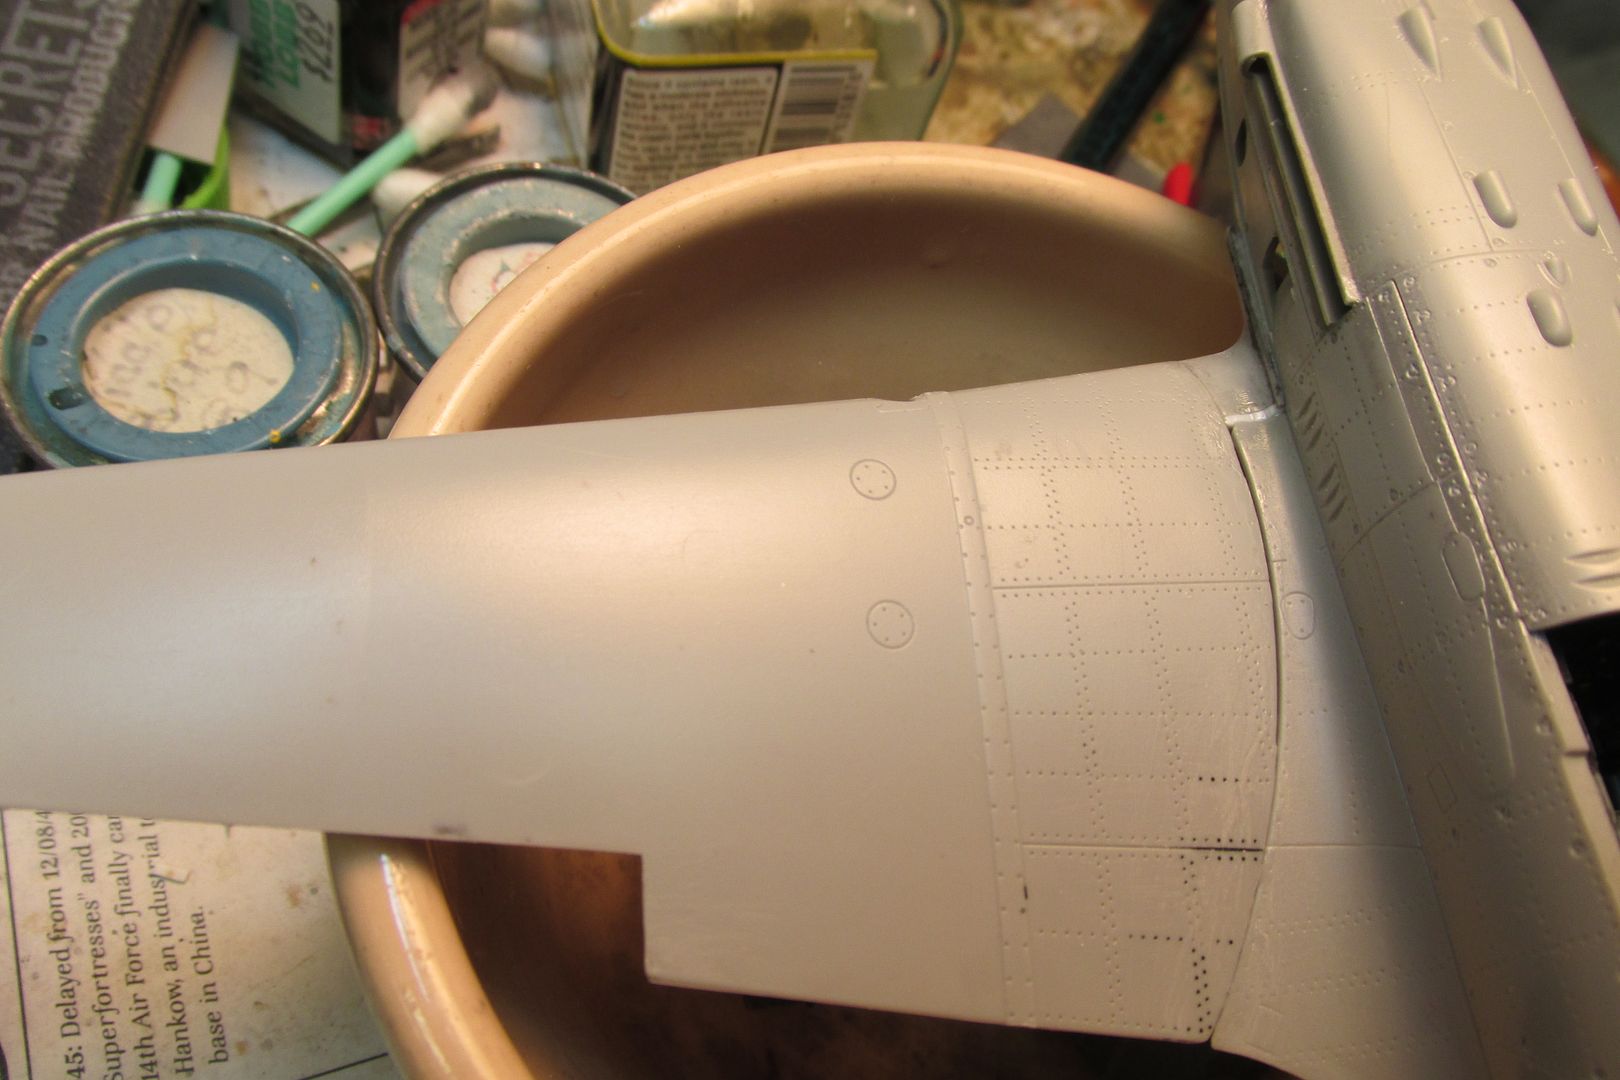
But it's the wing root area that's going to need the most work. I had a large gap on both sides. I believe I've uncovered the culprit too. The cockpit tub has four large tabs that insert into recesses in the inner fuselage sides. I think I may have pushed those tabs in a fraction too much, resulting in a narrowing of the lower fuselage and the excessive wing root gap. I had to shim several areas (and probably not enough of that!) just to close it as you see here.

Image

Image

blurry photo warning:
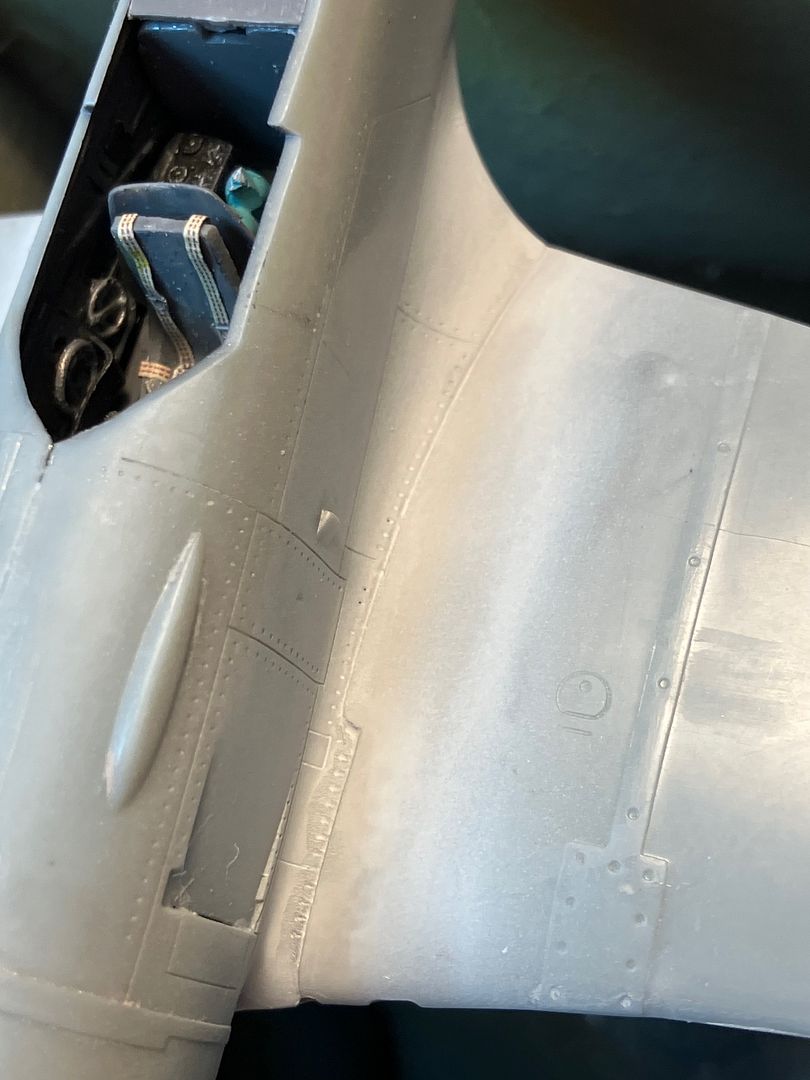
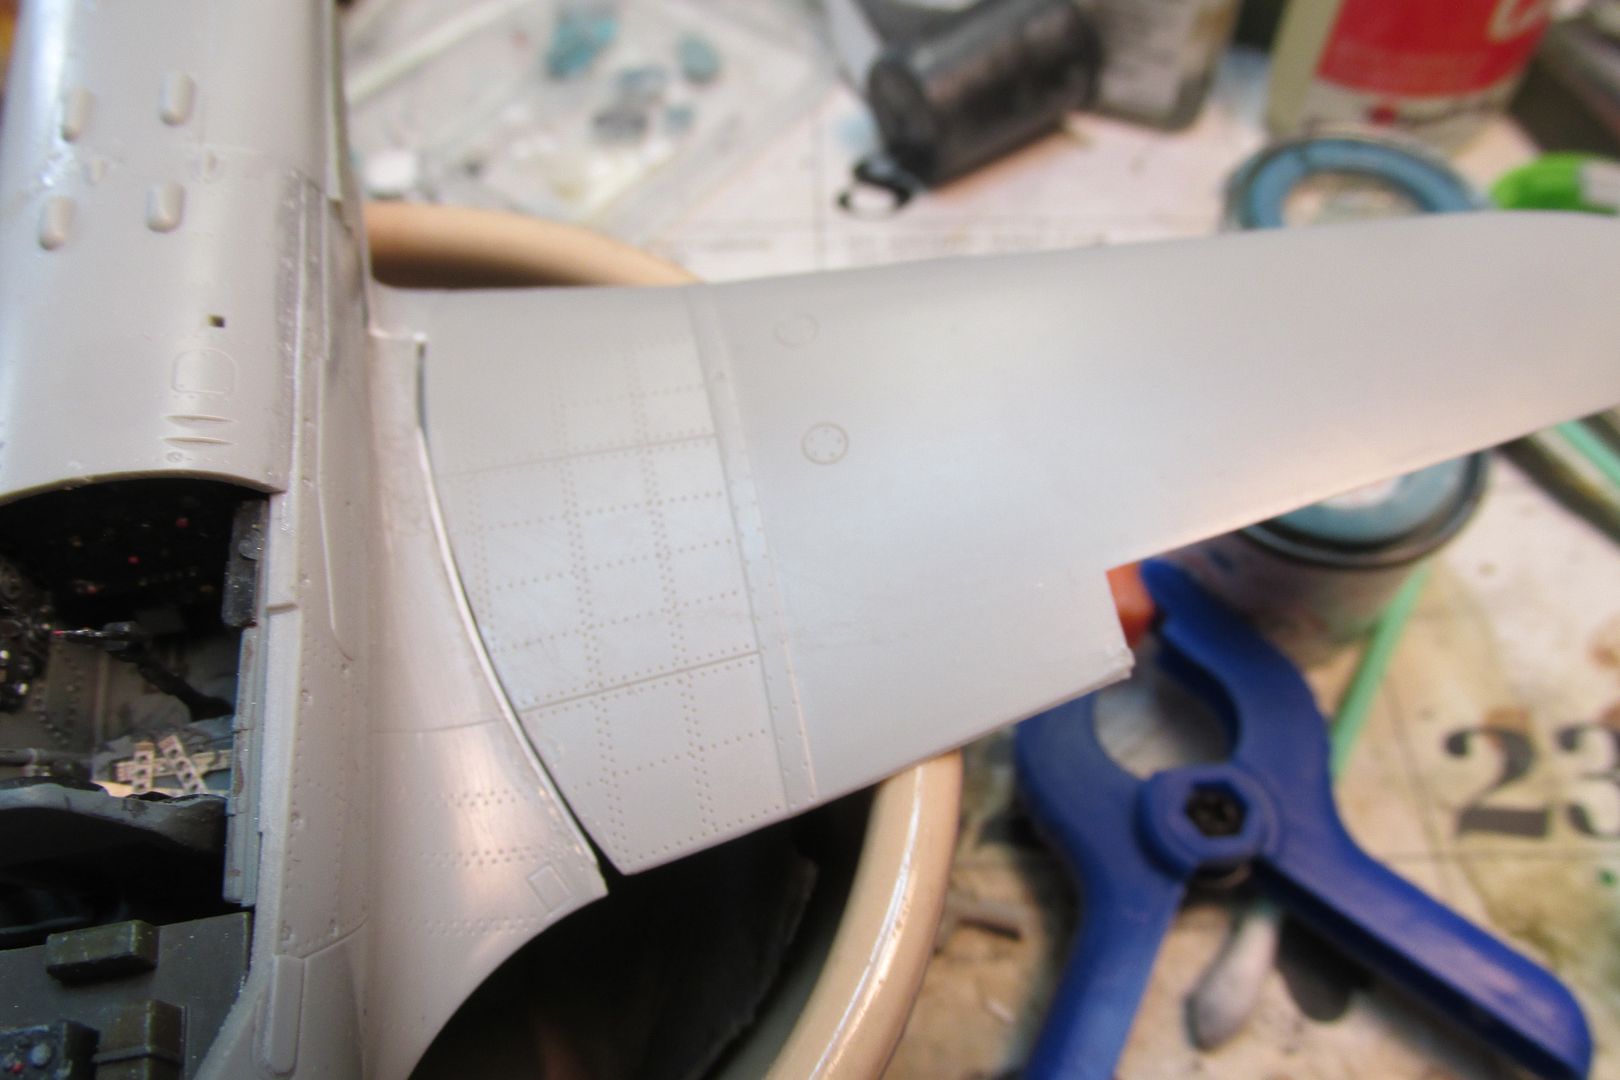
The port side was not quite as bad:
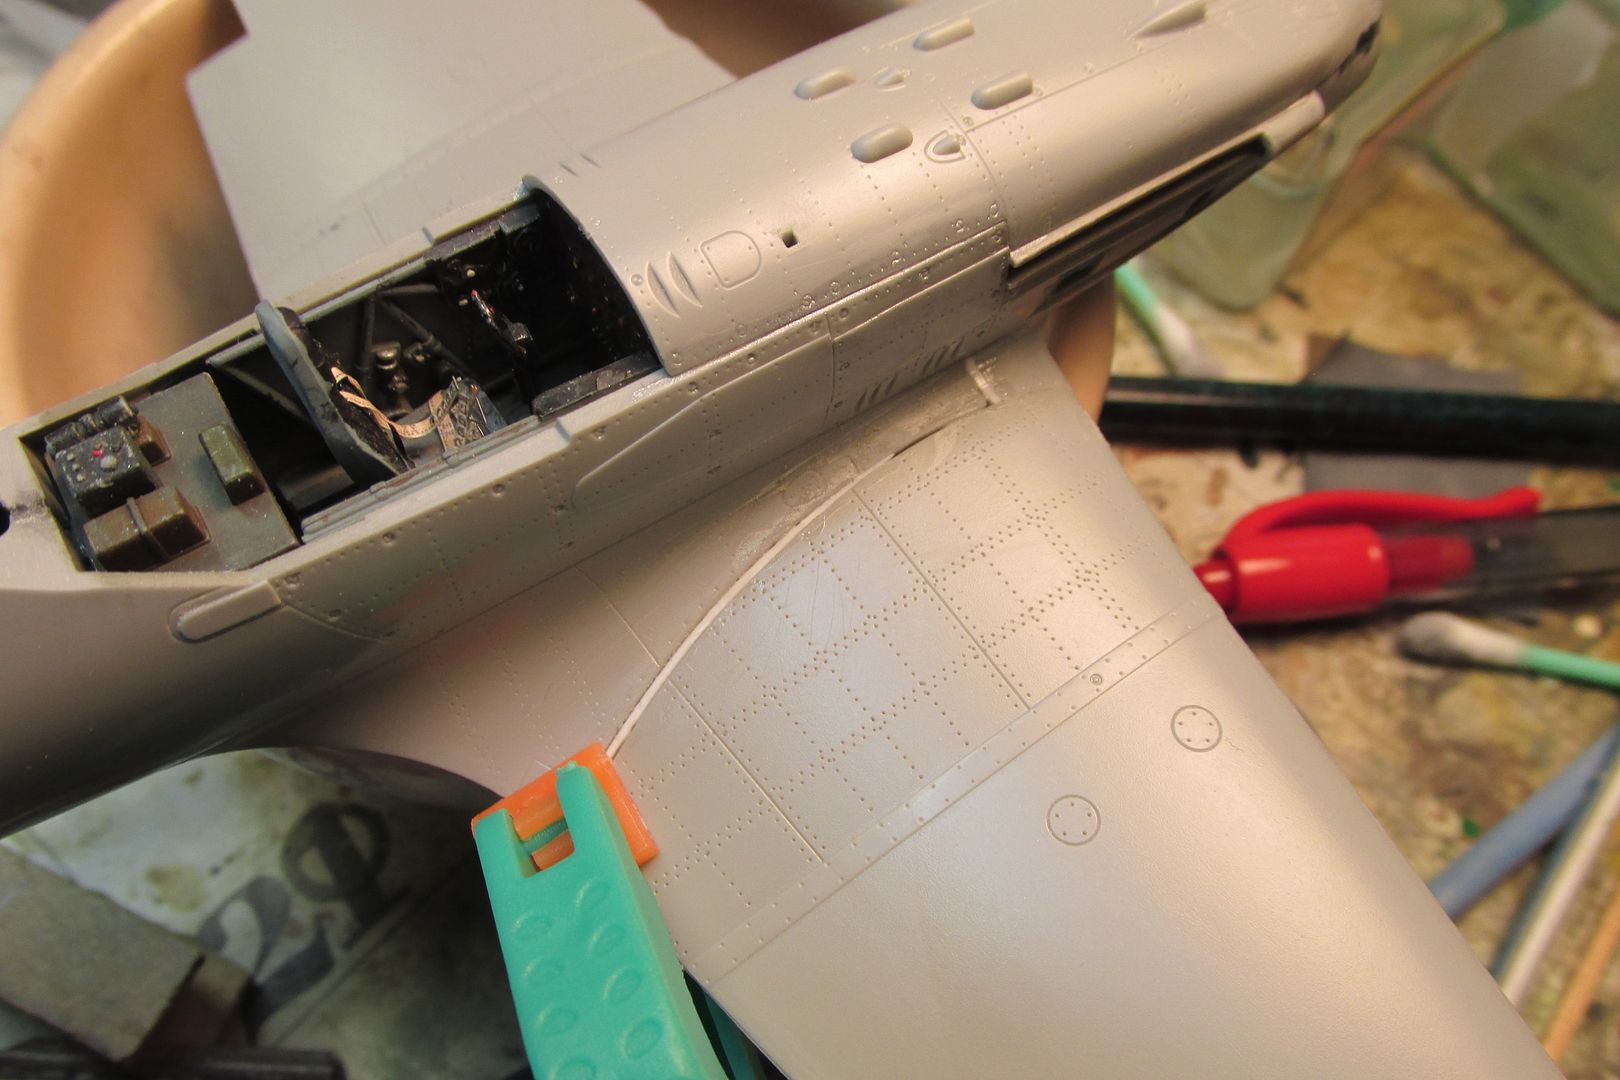
Image

Image

Starboard:

Image

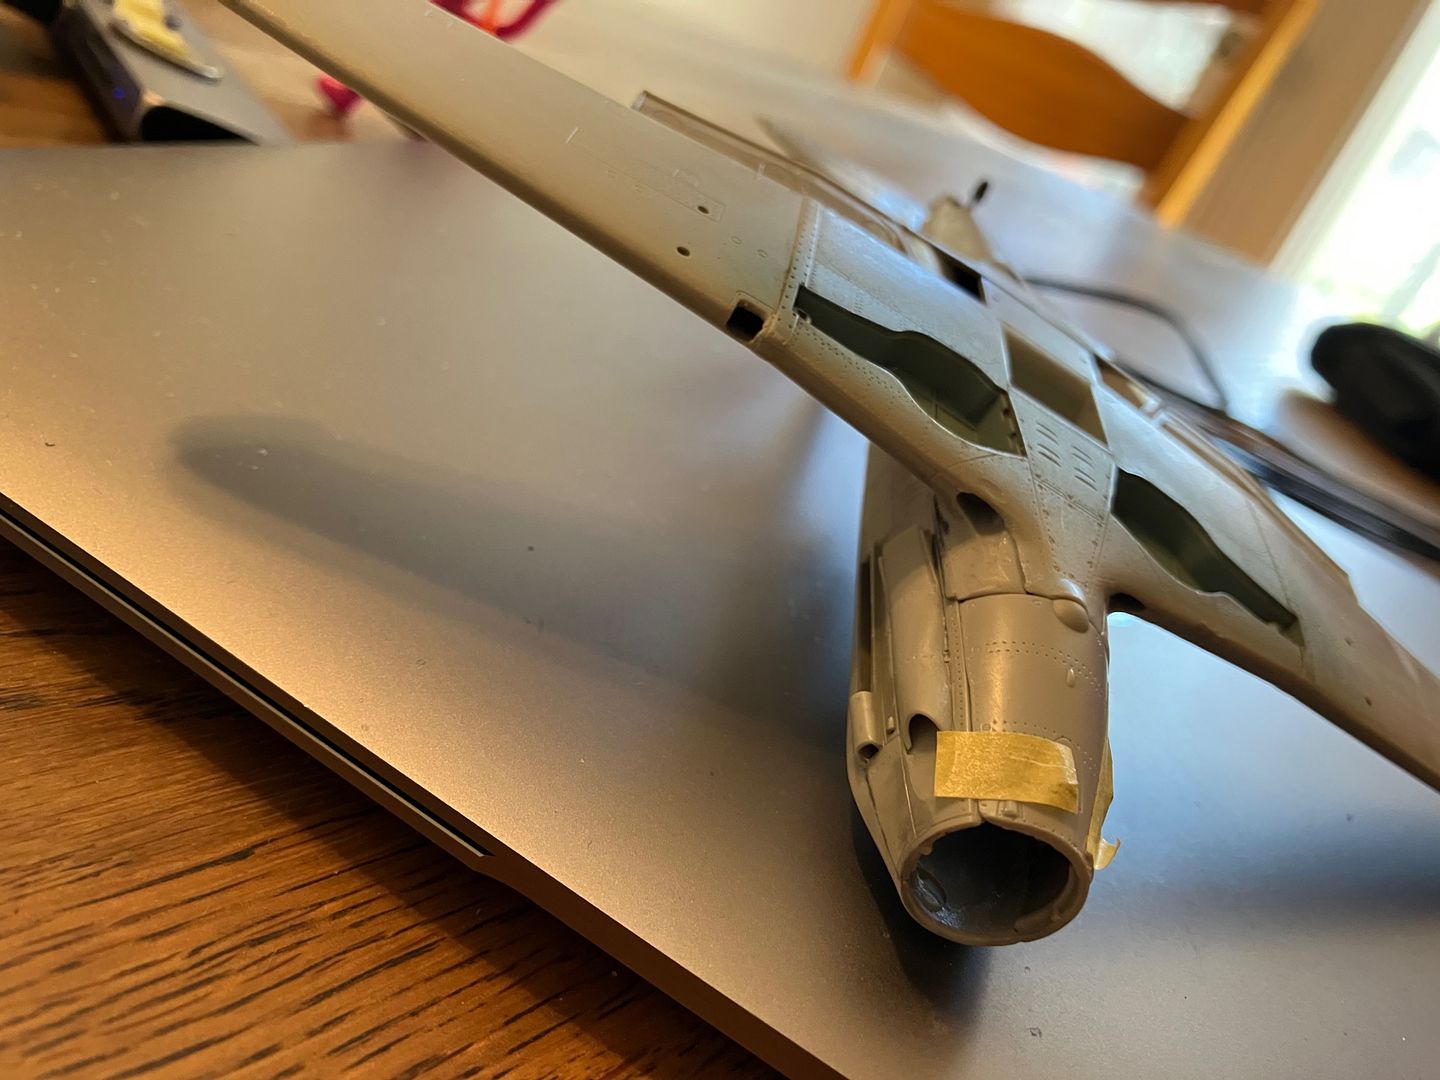
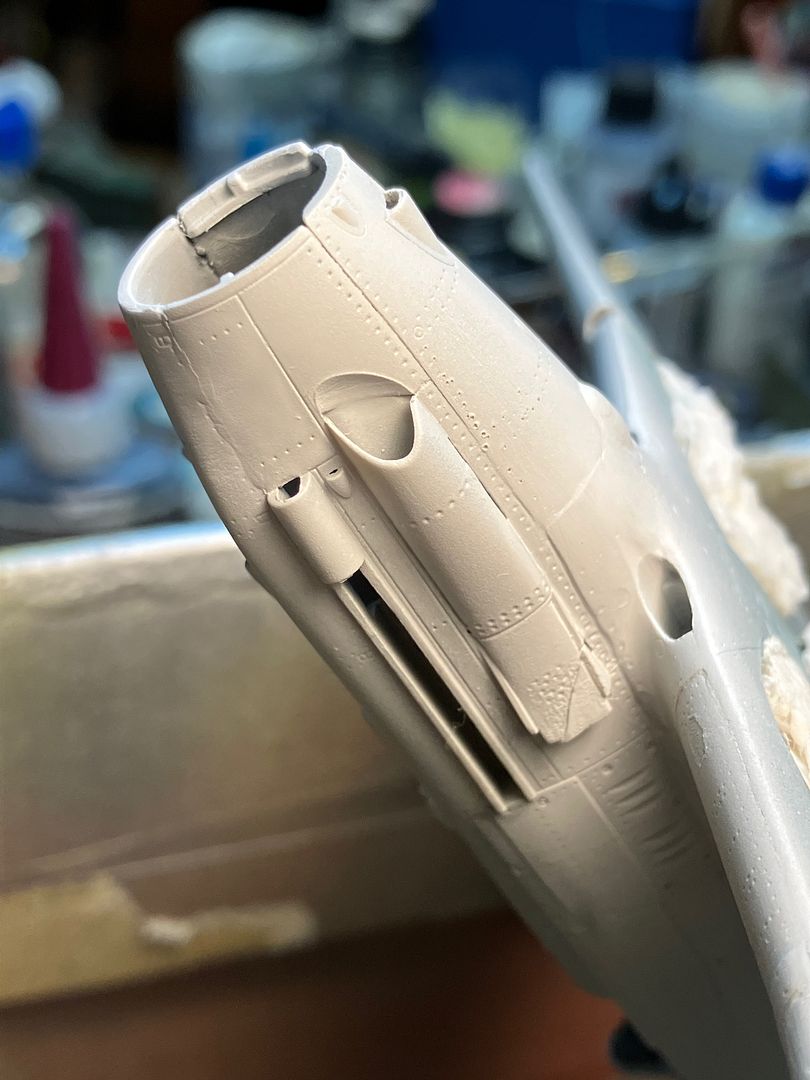
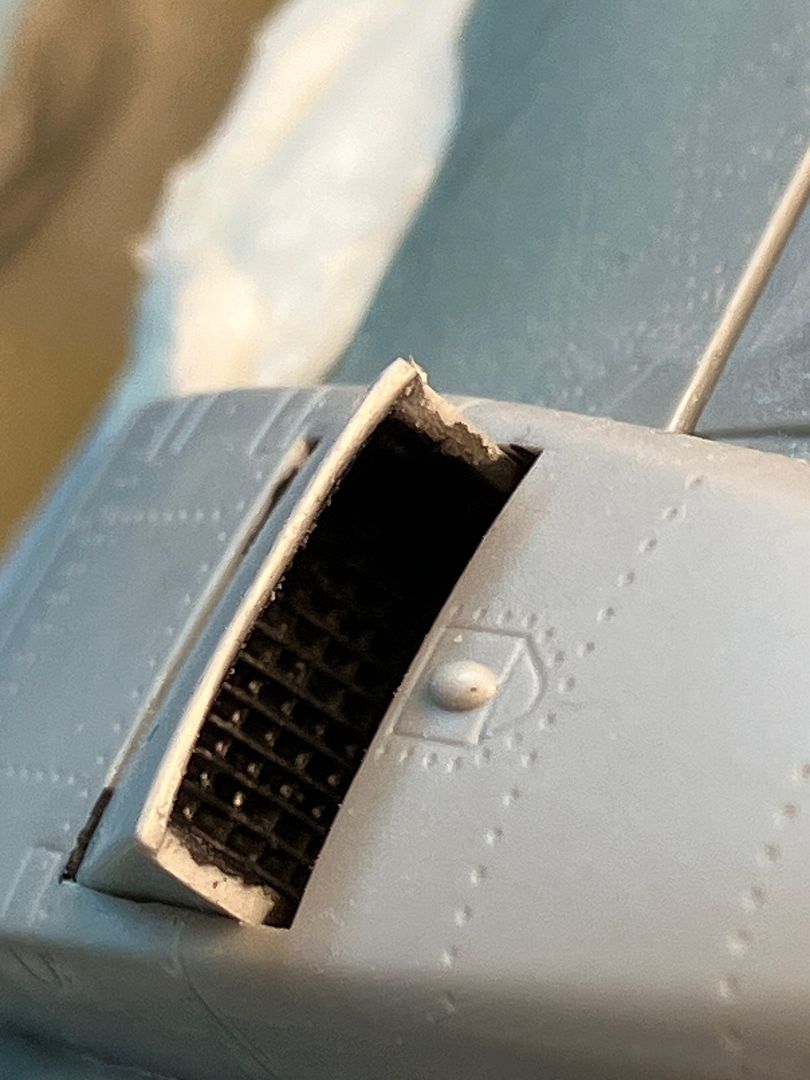
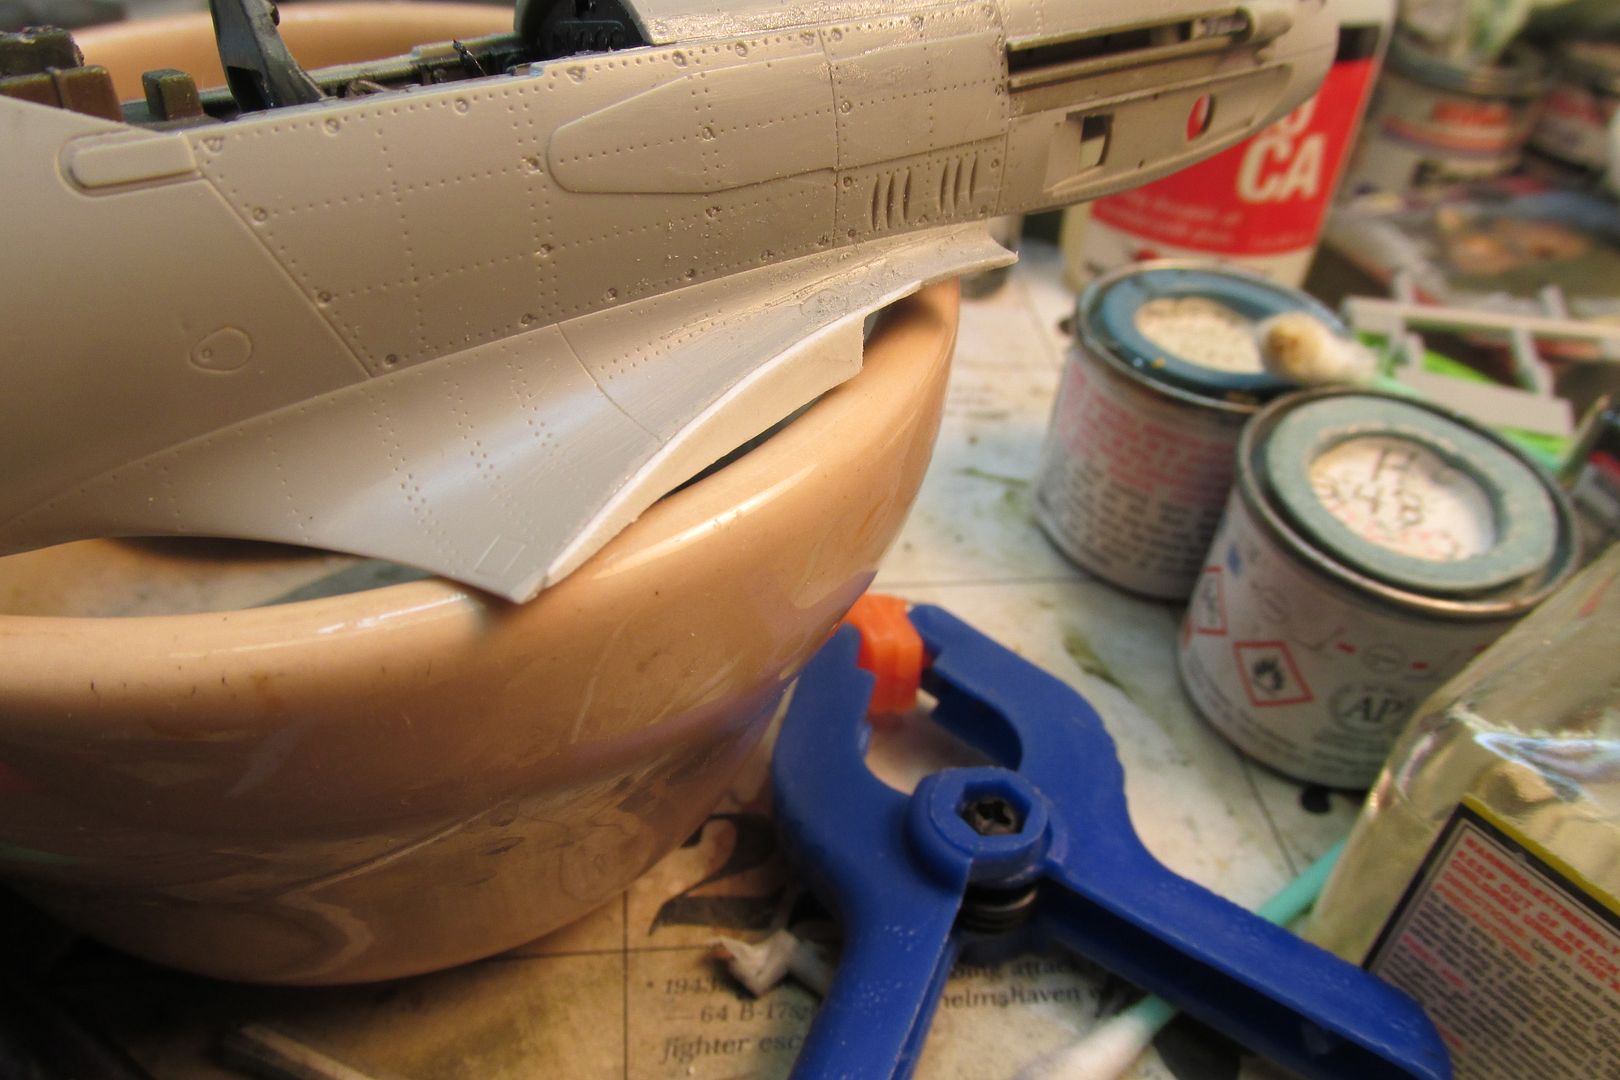
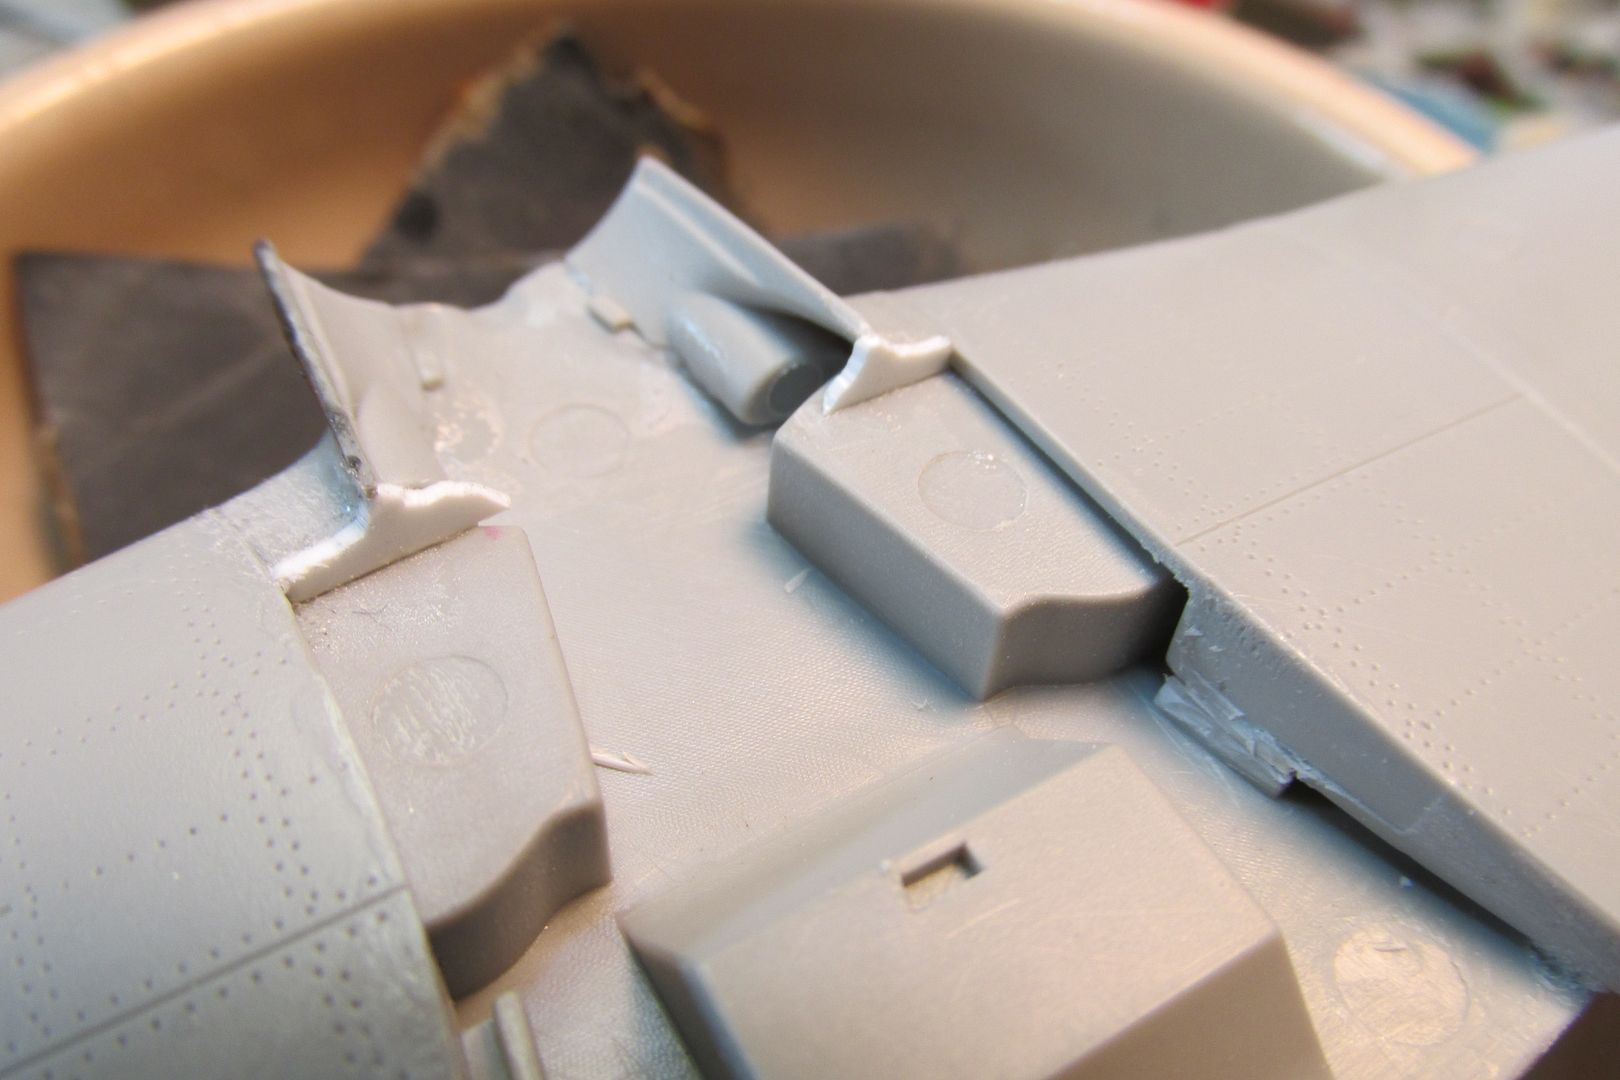
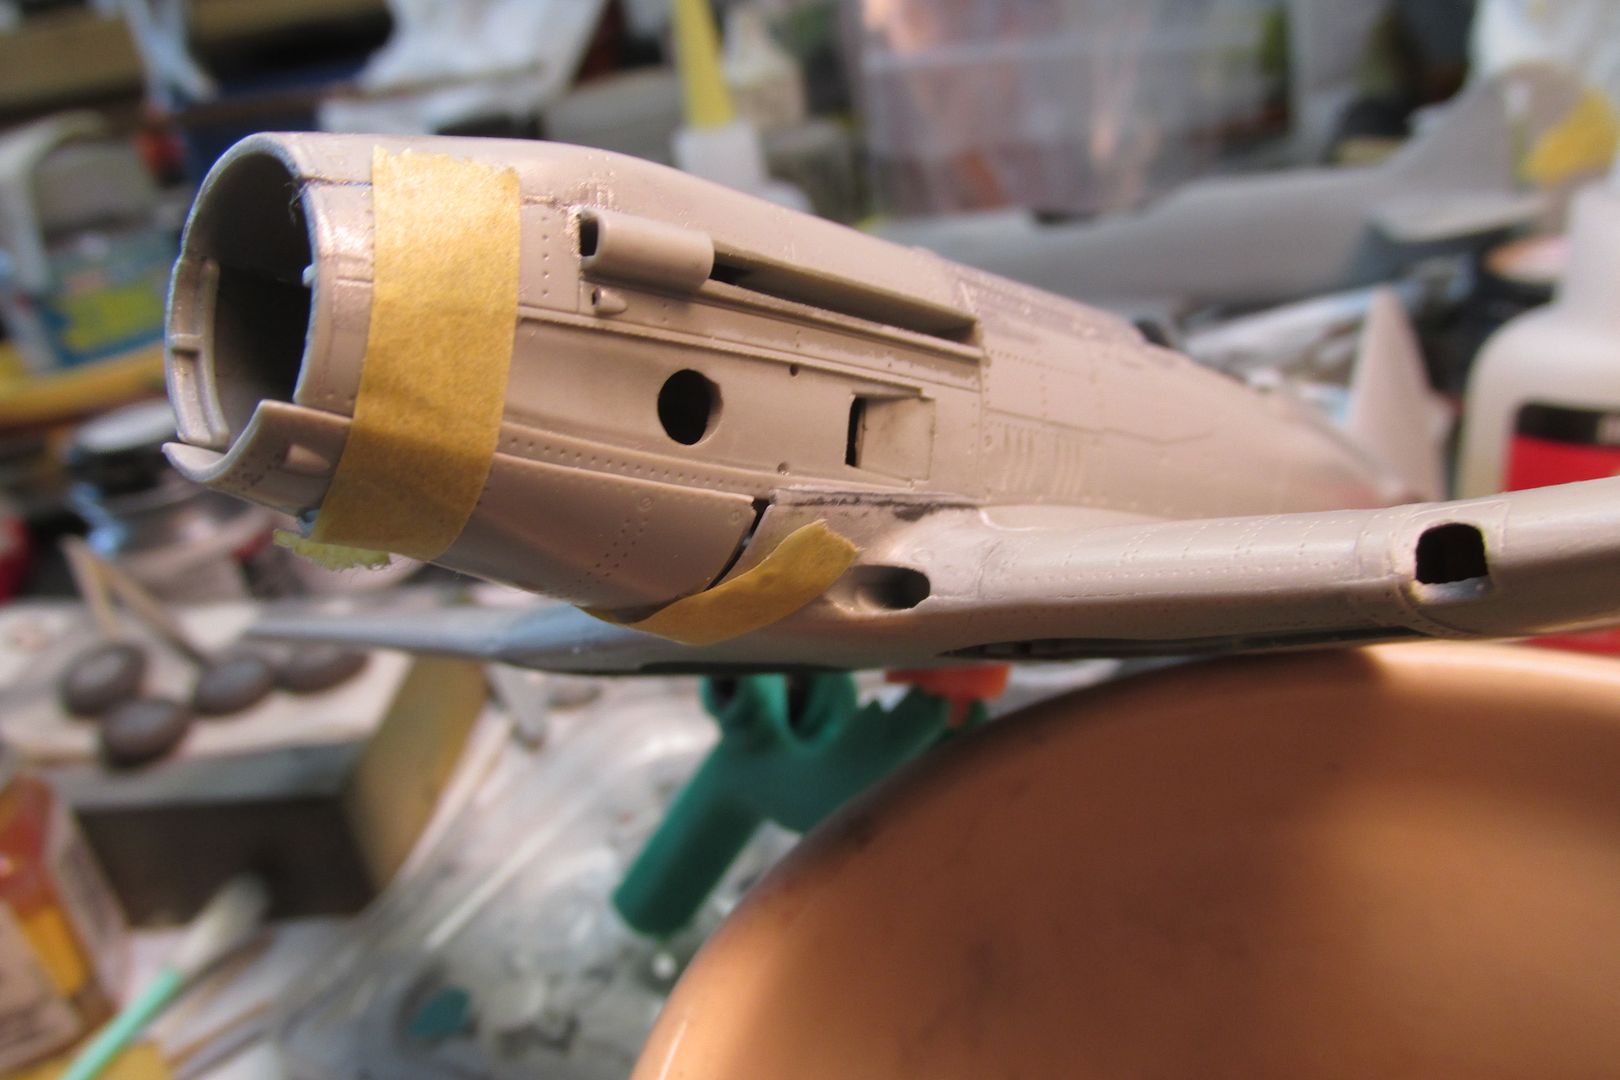
The worst fit offenders were the wingroot intake parts; each one has to mate with three different surfaces. The SB turned out somewhat better here; it was in line with the fuselage but had a huge gap, seen here:

Image

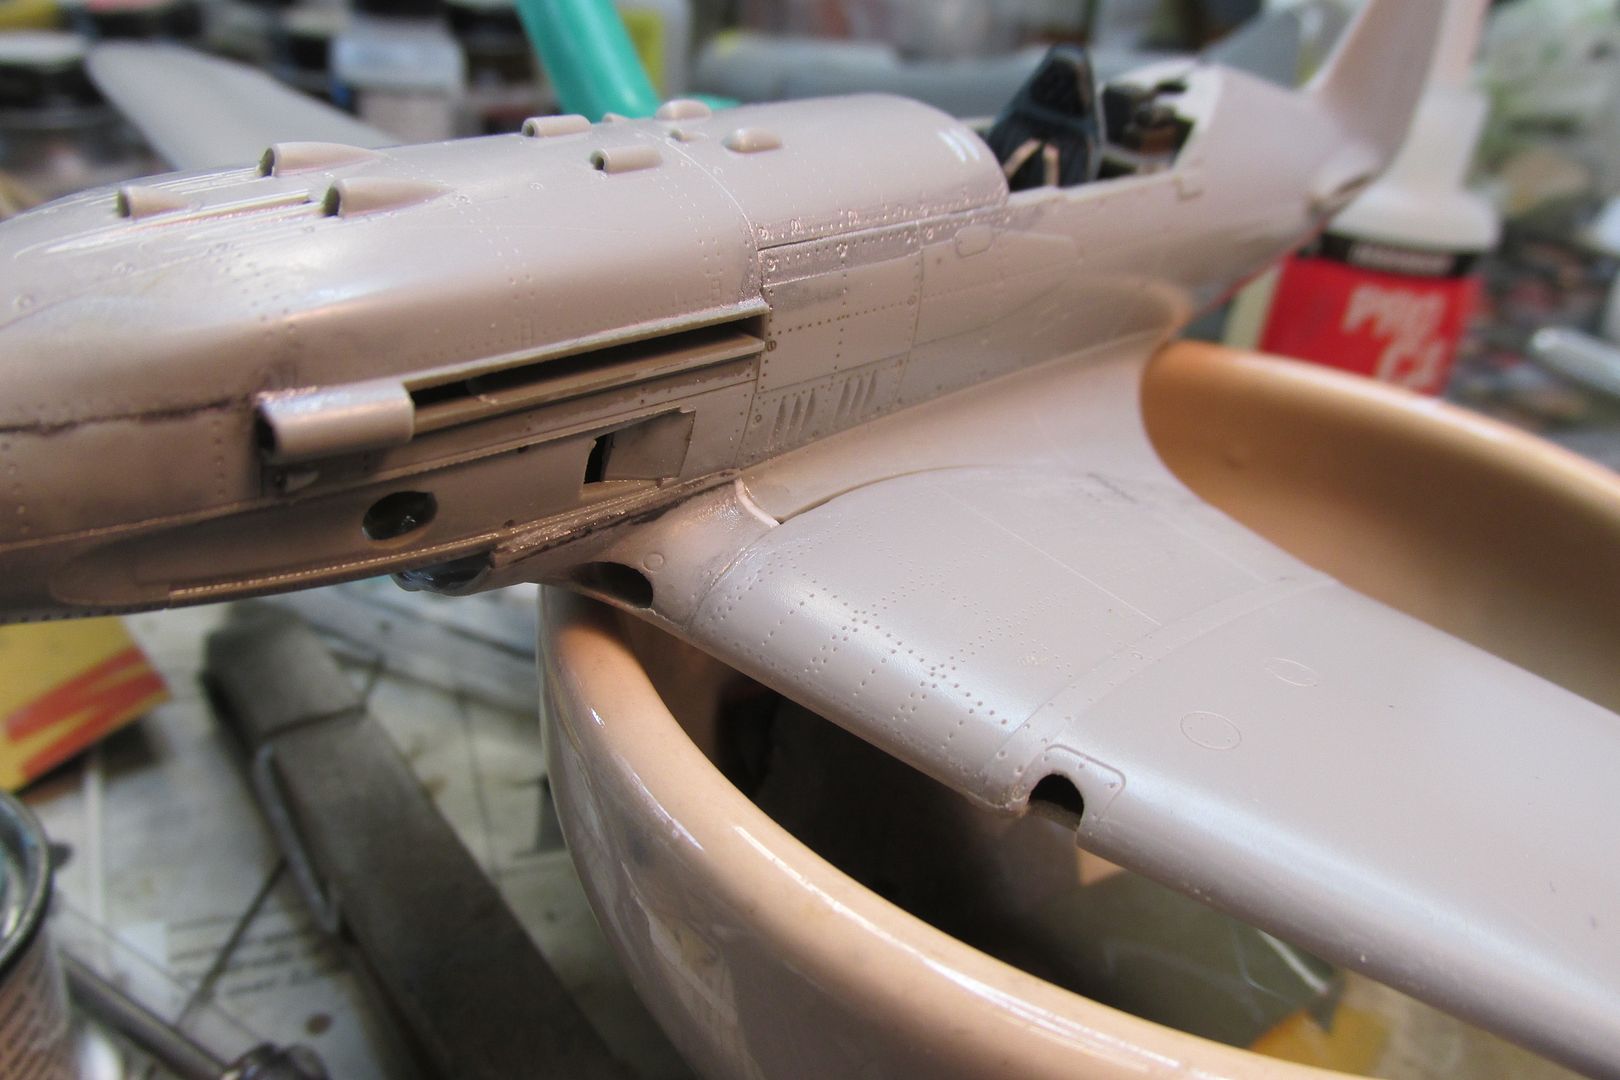
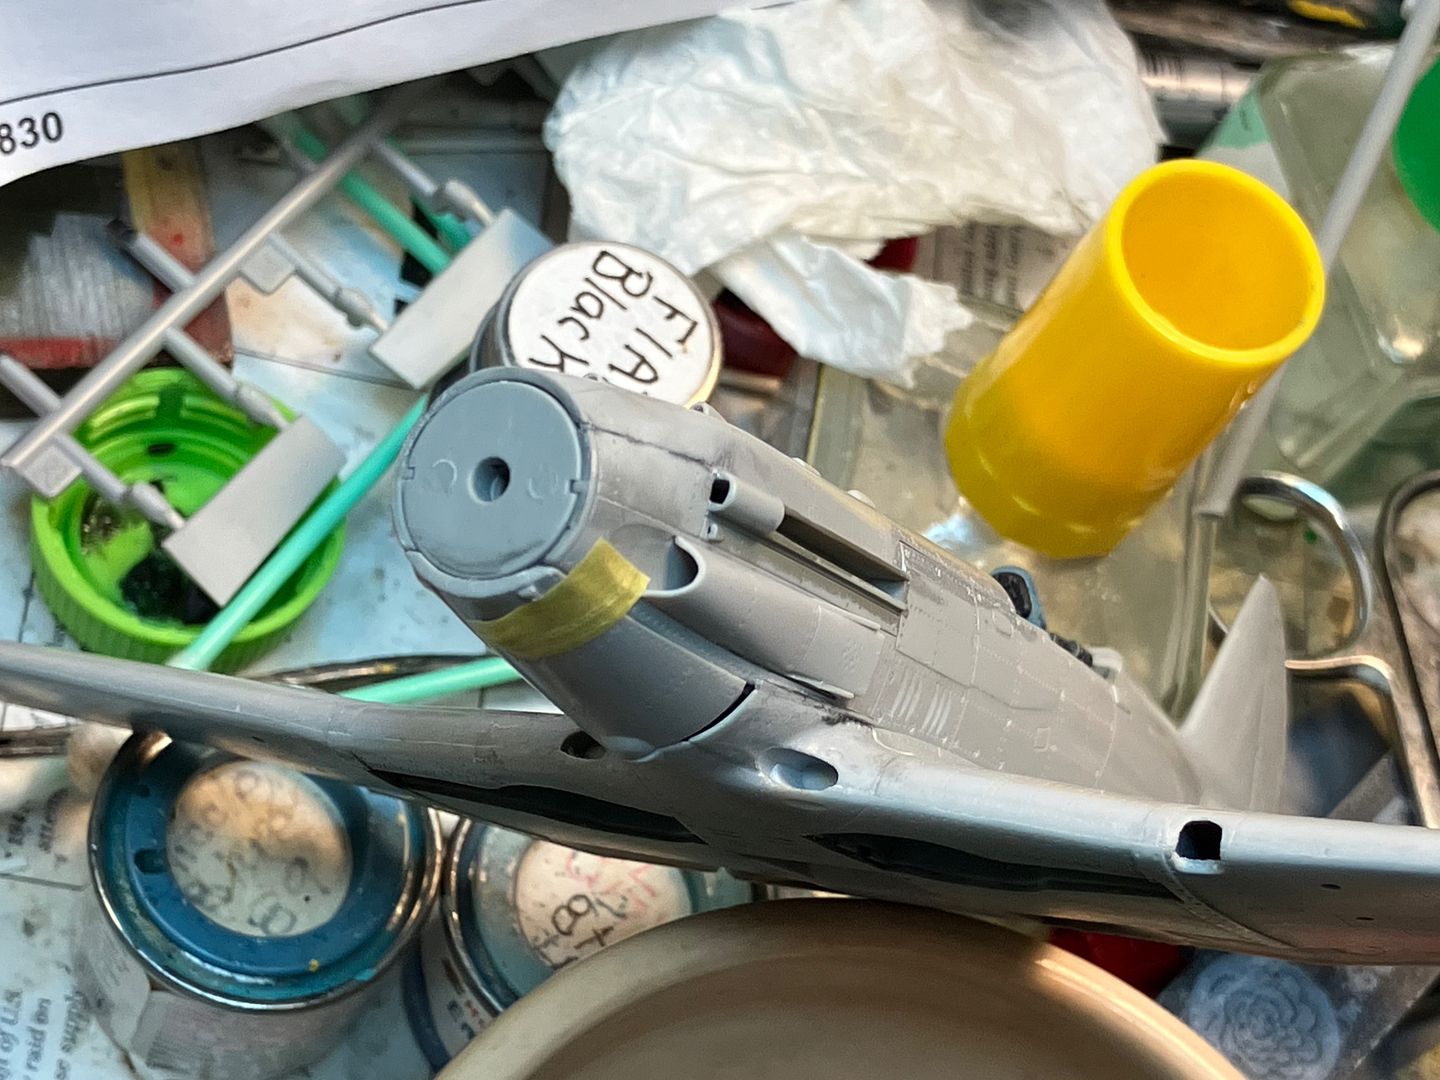
However, the port part hung down a few degrees, leaving a large gap between it and the fuselage side. I was able to hold the SB side tight and glue it in place. I had to resort to adding a small shim (stretched sprue) to the top edge of the root intake part and it still leaves a gap there. Here, you can see how both root intakes mate to another part of the lower fuselage.

Image

A much better fit on the SB side for that part:

Image

After getting the wing to fuselage nexus as close as I could, I glued her up! Now, the real fun begins, eh? I'm wondering just what method to use on those wing to root areas; I could fill them with Mr. Surfacer or perhaps John Kim's black CA and debonder technique? What are your suggestions to minimize detail damage and get a nice join there?

Image

Image

Image

Image

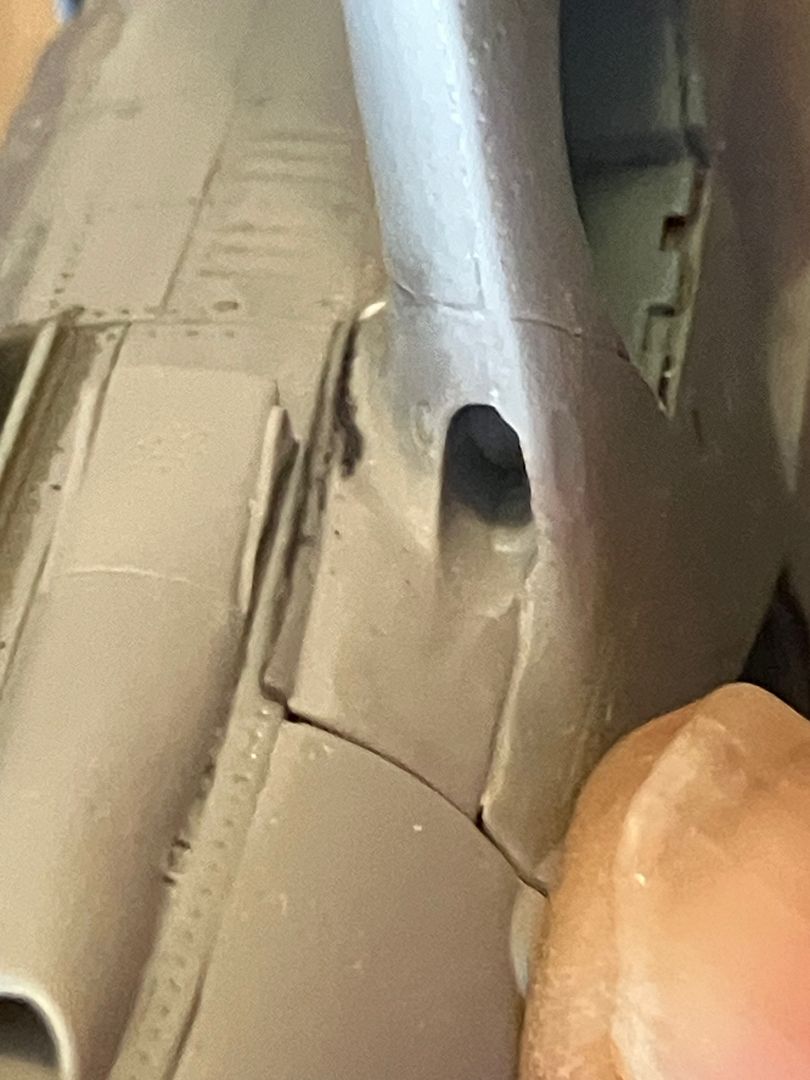
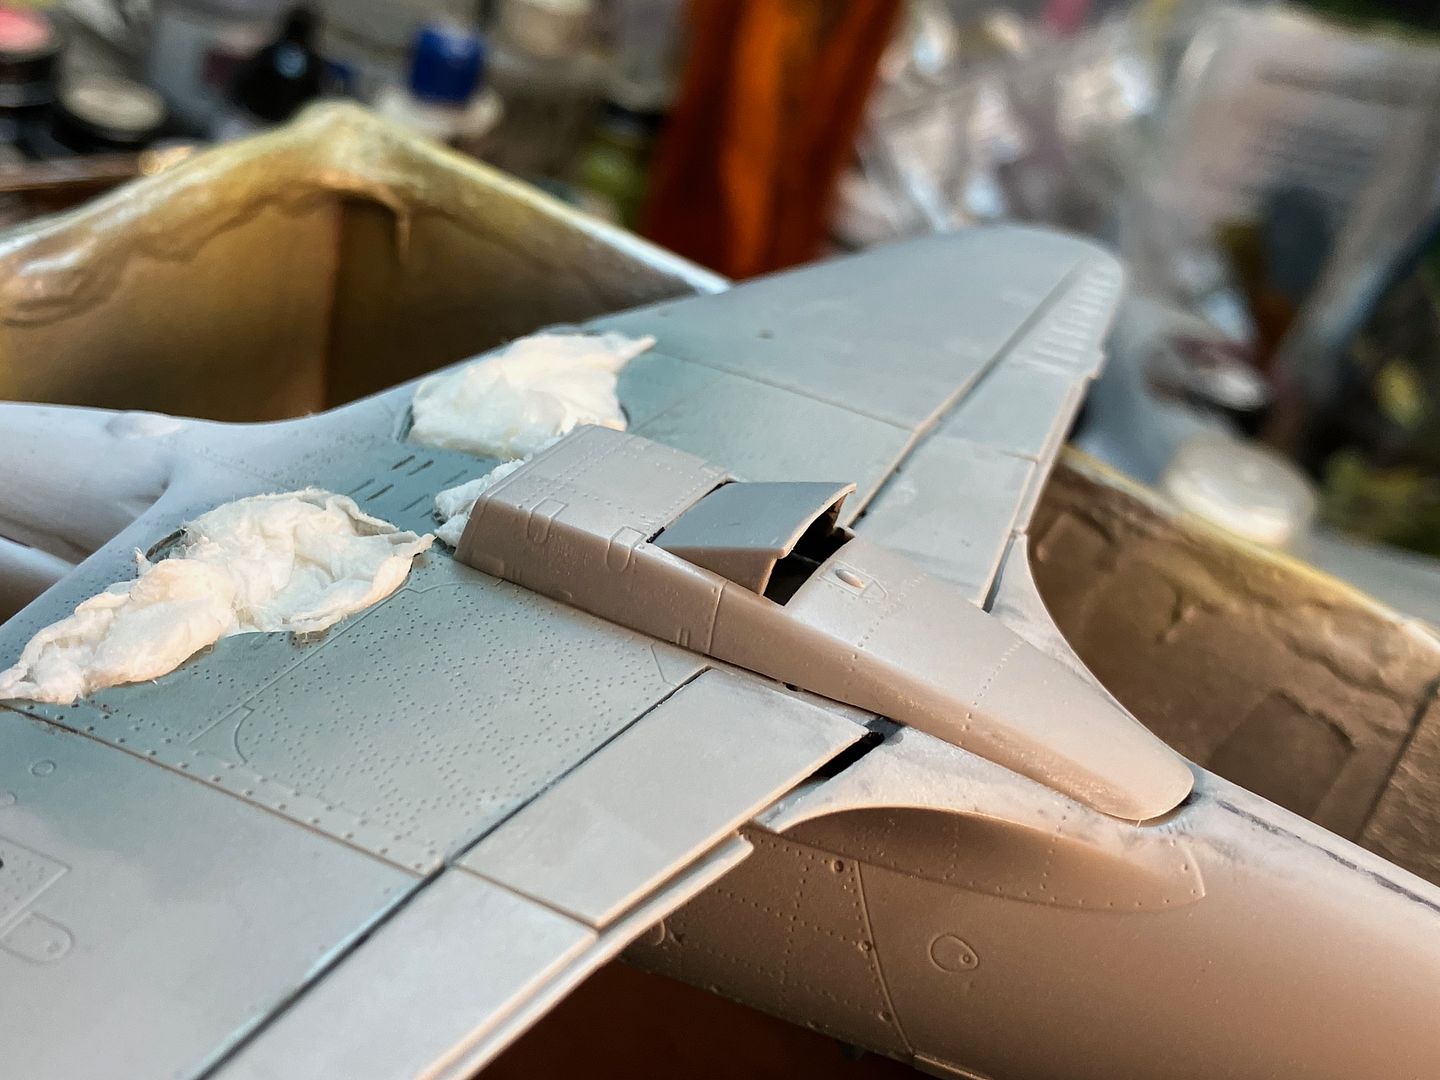
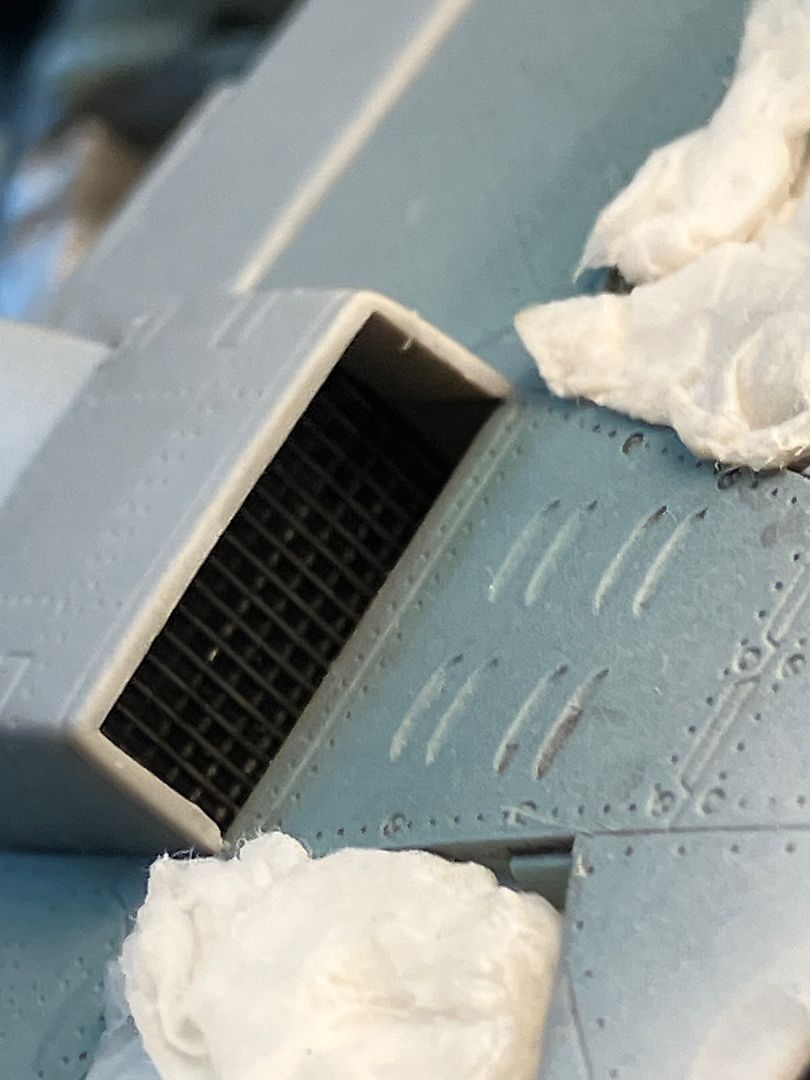
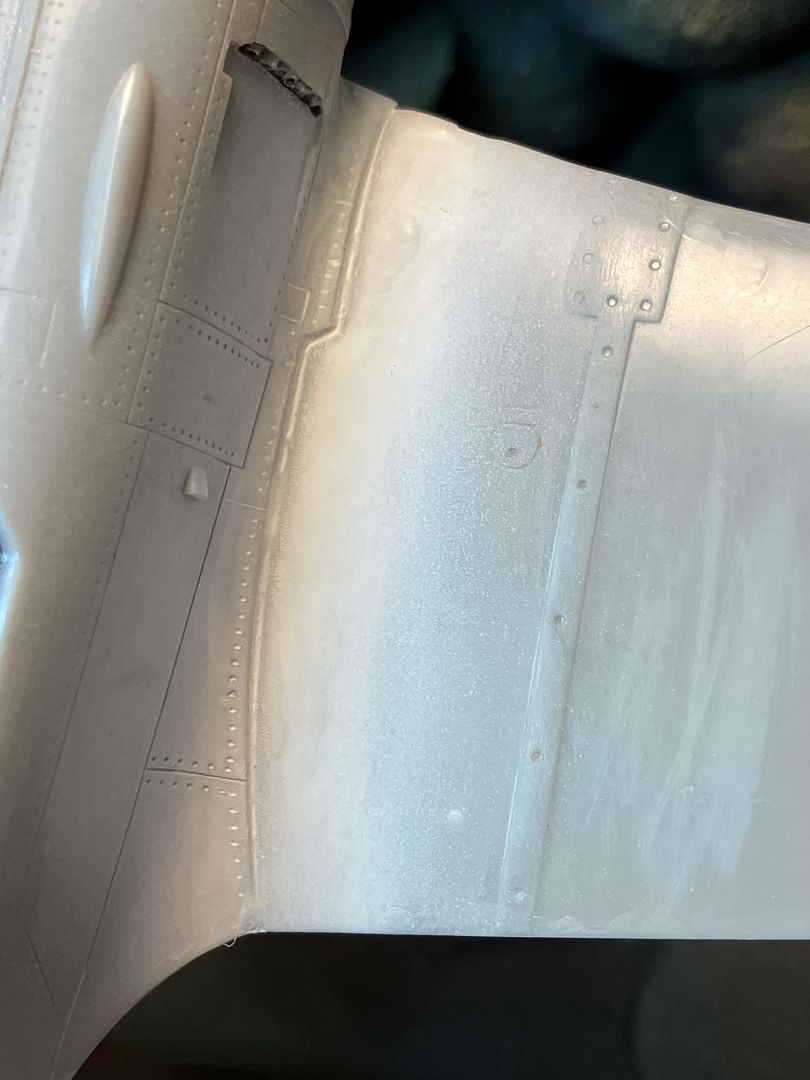
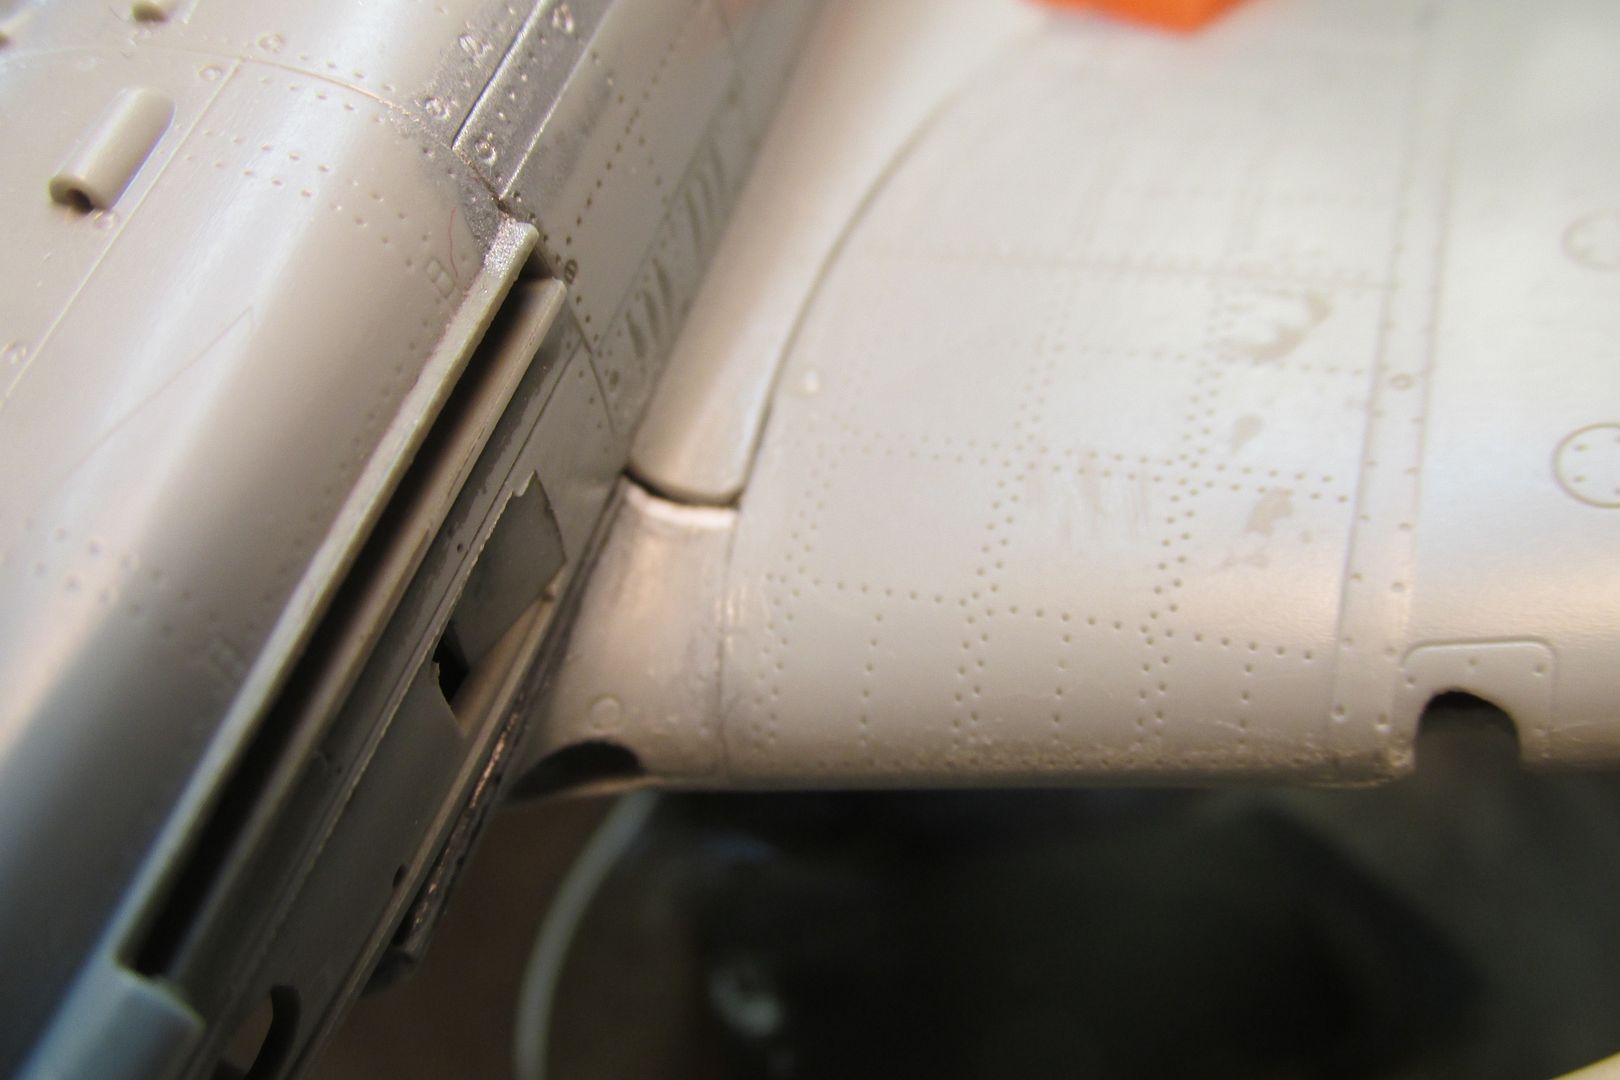
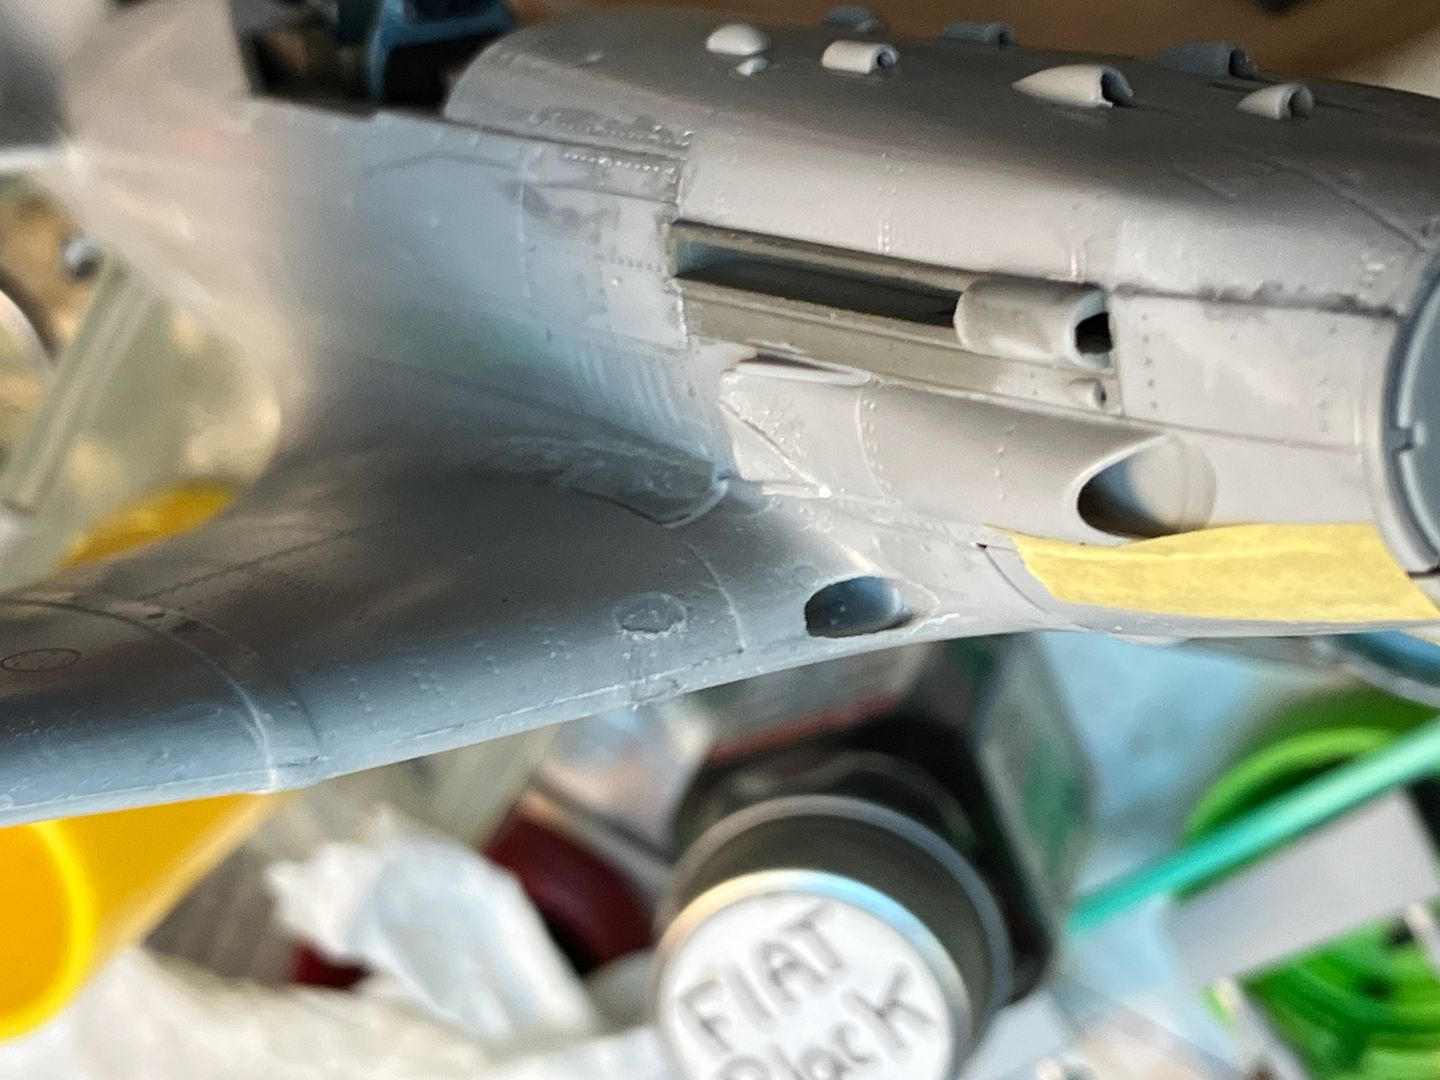
This is the best I could achieve with the port wing root intake part. I thinned the plastic on both surfaces, but I still have a gap where it meets the lower port fuselage.

Image

Image

Image

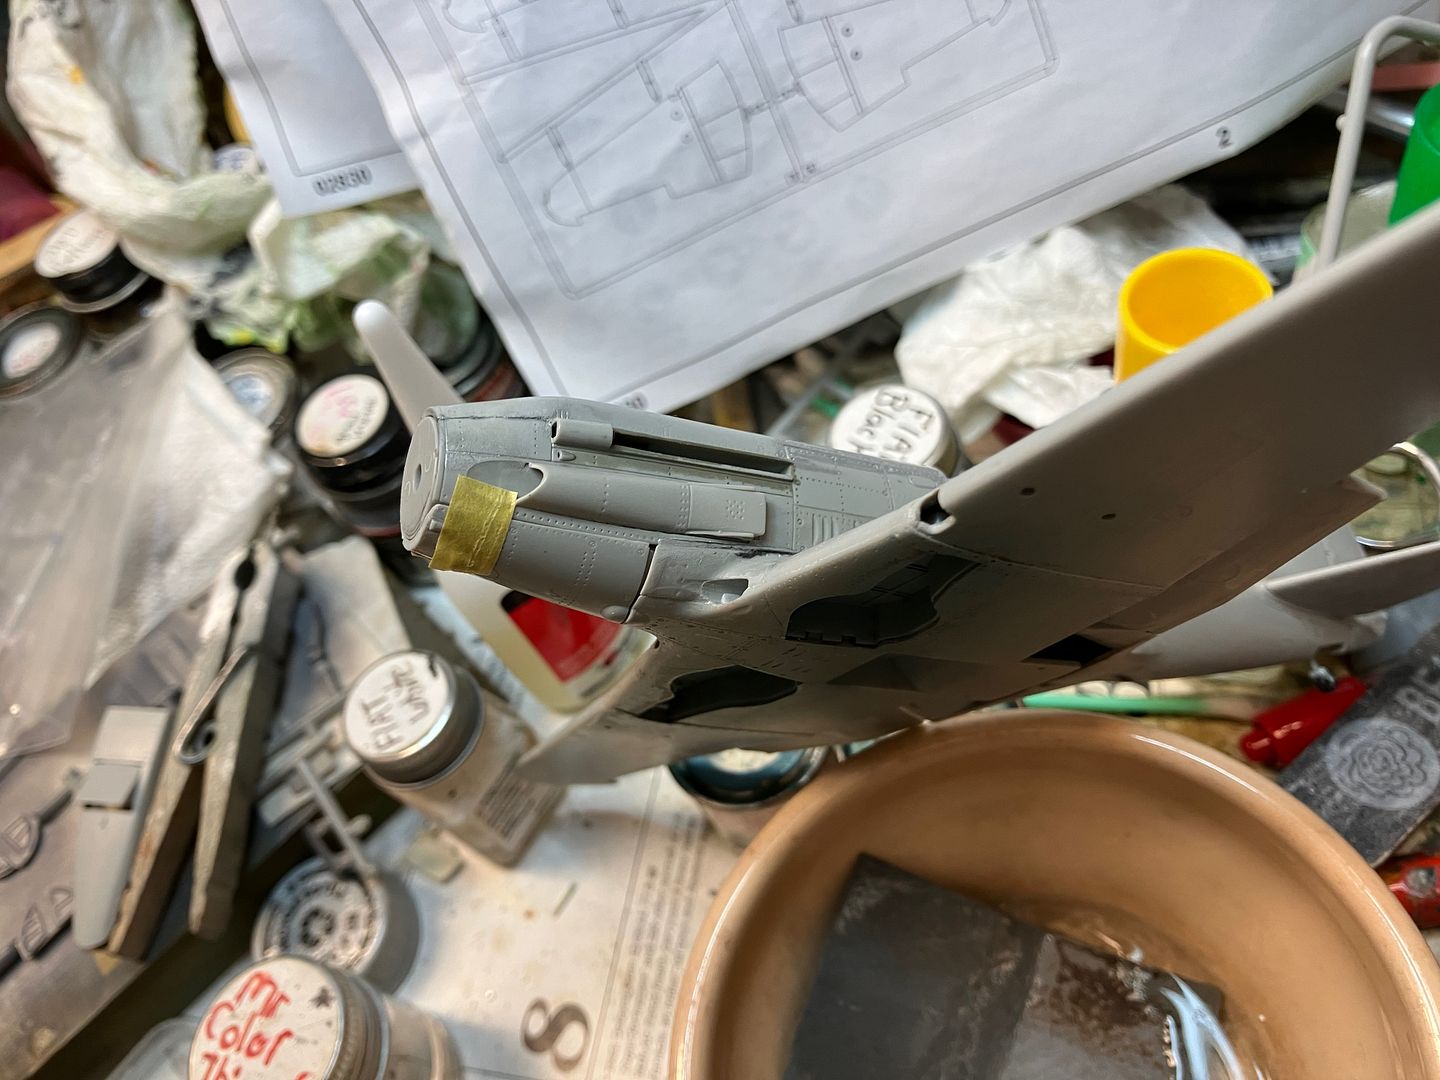
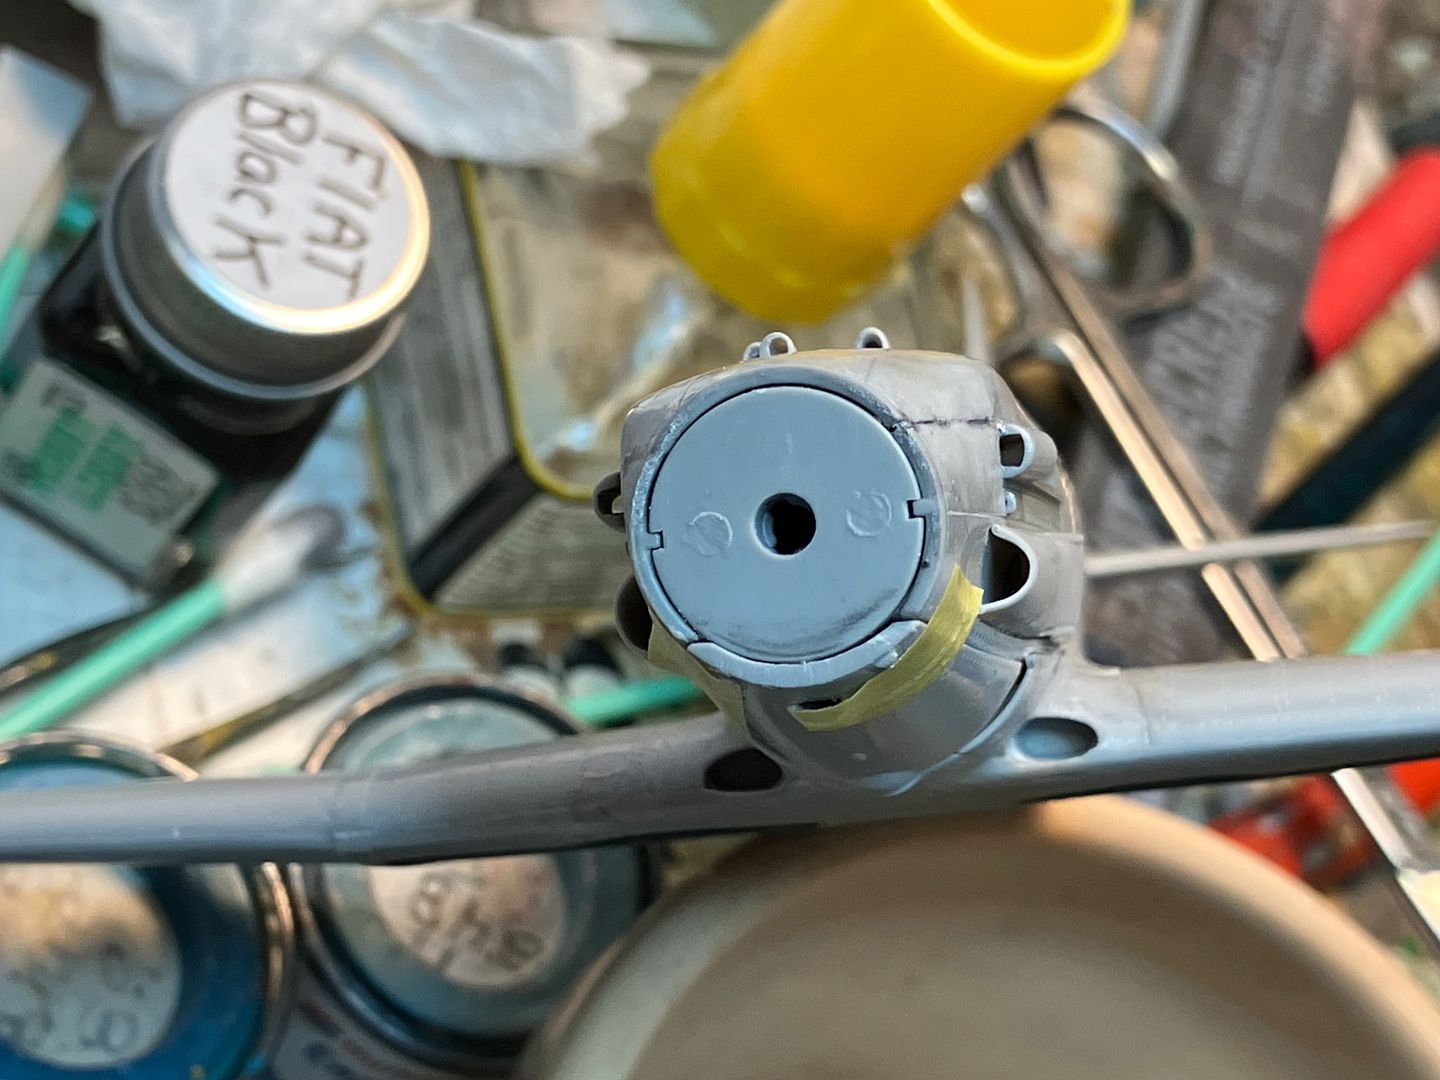
What to do about that gap? :hmm: 
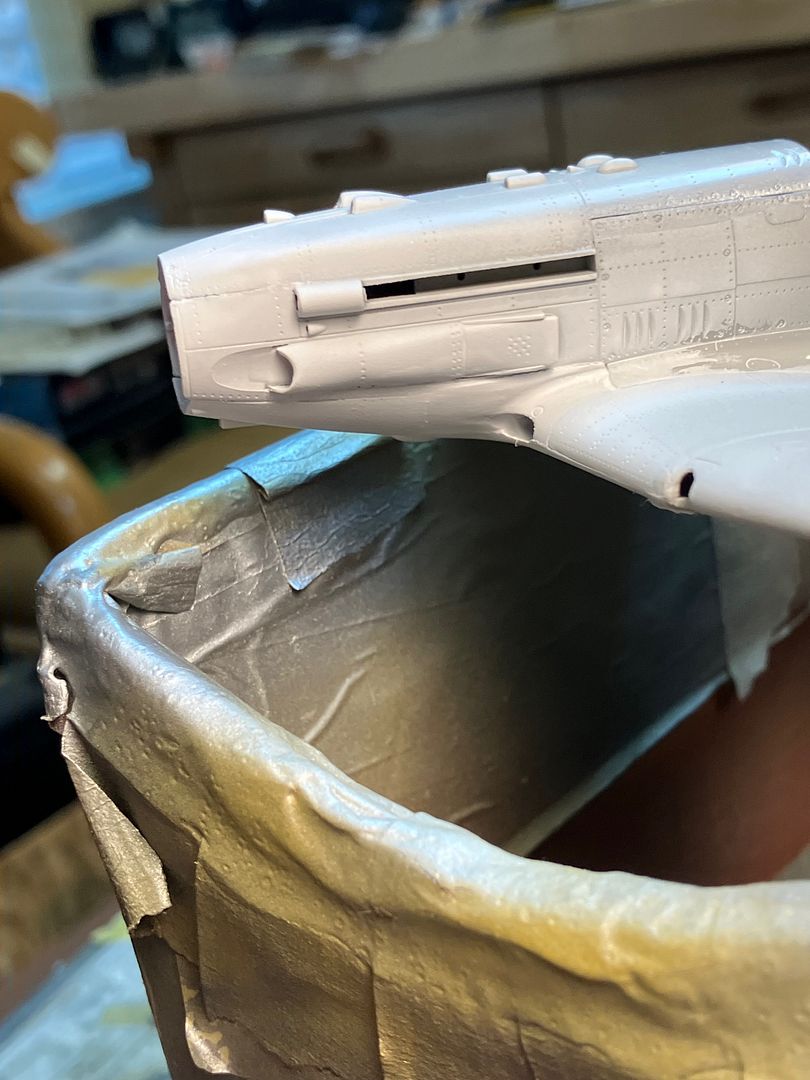
I can sure leave it as is and call it a "sprung" engine panel on an aircraft that's soldiering on. Or, perhaps heat that area enough with a hair dryer to soften the plastic and nudge the gap closer. :shocked: That seems a bit hazardous to me. I've even considered making a "field expedient" fairing from furnace tape to replicate an inservice repair to close that gap. What do you folks think would work best here?

I'd sure appreciate any advice or suggestions! Both planes are not too far from paint and I'm anxious to move them along. Thanks for checking in and please share your suggestions! :grin:

Image

Image
User avatar
BlackSheep214
Elite Member
Posts: 12988
Joined: Sun Apr 06, 2014 8:47 pm

Re: Russian fighter project

Post by BlackSheep214 »

Wow….all those gaps would drive me crazy. Keep fighting it, even if you need to make a batch of sprue goo.

I do love the Mig-3. Such a sexy looking fighter. I have yet done a La-7 and do want to add one to my stash.
“Who controls the skies, controls the fate of this Earth”

Author unknown- 352nd Fighter Group, Blue-Nosed Bastards of Bodney

“Send one plane it’s a sortie; send two planes it’s a flight; send four planes it’s a test of airpower. - Richard Kohn
User avatar
KSaarni
Elite Member
Posts: 5577
Joined: Sun Apr 06, 2014 7:13 am
Location: Gent, Belgium
Contact:

Re: Russian fighter project

Post by KSaarni »

Wouh, I lift my hat Gary, I would have given up long time ago with those kits !

But you just keep on triumphing with the build!


- Kari
---
On the bench:

TBM-3 Avenger 1:48 by Accurate Miniatures
SBD-5 Dauntless 1:48 by Academy
F2A Buffalo 1:48 by Special Hobby


https://www.facebook.com/GrundAsk-Scale ... 721218708/
User avatar
LyleW
Admin
Posts: 14799
Joined: Fri Dec 13, 2013 7:25 am
Location: Mt. Washington KY

Re: Russian fighter project

Post by LyleW »

Tap off the seams to minimize collateral damage. Try sprue-goo or some Bondo Glazing Putty
To make each build less crappy than the last one. Or, put another way, "Better than the last one, not as good as the next one!"..
User avatar
Gary Brantley
Elite Member
Posts: 2625
Joined: Tue Apr 08, 2014 9:40 pm
Location: Cameron, Texas

Re: Russian fighter project

Post by Gary Brantley »

BlackSheep214 wrote: Sun Jan 05, 2025 12:00 pm Wow….all those gaps would drive me crazy. Keep fighting it, even if you need to make a batch of sprue goo.

I do love the Mig-3. Such a sexy looking fighter. I have yet done a La-7 and do want to add one to my stash.
It helps that I'm about half-crazy to start with. :lol:

Yeah, that MiG-3 is a cool looking aircraft; looks like it might've had some air racer "blood"! :grin:
KSaarni wrote: Sun Jan 05, 2025 4:07 pm Wouh, I lift my hat Gary, I would have given up long time ago with those kits !

But you just keep on triumphing with the build!


- Kari
Kari, I've come so close to giving up but I'm too stubborn for that! :grin: I'm going to beat this bird into shape, one way or the other! Thanks for the vote of confidence! :bow:
LyleW wrote: Sun Jan 05, 2025 5:46 pm Tap off the seams to minimize collateral damage. Try sprue-goo or some Bondo Glazing Putty
Good suggestions, Lyle, both of them! :shoutout: And I may sure take your advice; the Bondo has saved my butt before! :grin:
User avatar
Gary Brantley
Elite Member
Posts: 2625
Joined: Tue Apr 08, 2014 9:40 pm
Location: Cameron, Texas

Re: Russian fighter project

Post by Gary Brantley »

I got that gap fixed. Heating the plastic with a hair dryer did the trick! :grin: It took several attempts as I was hesitant to get that plastic too hot. But gradually, I was able to press it closed a lot more. I think it's close enough for a Russian fighter now:

Image

Image

Image

After I've glued that into place, it's on to the wingroot gaps! :grin:
User avatar
speedgraflex
Moderator
Posts: 11055
Joined: Fri Feb 10, 2017 11:08 pm
Contact:

Re: Russian fighter project

Post by speedgraflex »

Gary, You’re doing great work on one of the most misshapen series of kit parts I have seen—really interesting to see your solutions. I’m glad you resorted to using heat. That is one of the lessons learned from my Dad who taught me early on that a hot water soak can help align parts. Looking forward to how you resolve the profile of that lower nose which still looks a bit segmented due to the short cast lower plate. Cheers
Make more models!
User avatar
Gary Brantley
Elite Member
Posts: 2625
Joined: Tue Apr 08, 2014 9:40 pm
Location: Cameron, Texas

Re: Russian fighter project

Post by Gary Brantley »

Thank you, Bruce! Bringing the heat really did help that problem. I've been futzing around with those nose joint issues for the last two cold days. I got up at 6am today after an early bedtime yesterday and got to work on the Mr. Surfacer 500 I had applied. I managed to get it fairly smooth and just had to try some white Vallejo primer over it. Well, it looks okay, not great. Some macro shots revealed some trouble areas still; more surfacer is drying in one place right now. I believe I could probably improve the appearance some but I'm running short on enthusiasm for that. I had tried to replace some rivet divots lost to sanding and that was good in one spot and terrible in another; I'll give that another try before more paint goes on.

Here are a few pics to show the repair and overall status. I've ordered some Apoxie Sculpt to use on those wingroot areas and that should arrive early next week. Then, I hope to finish those and get them ready for more paint!

I've already given that pesky seam a touch of filler and it will look better under paint now:

Image

It does look a little better from farther away (but then, all of mine are that way! :lol: ):

Image

Starboard side:

Image

Image

The ventral radiator is attached:

Image

Front:

Image

Rear (some kinda nasty edge to clean up here):

Image

A shot of the wing-to-belly joint on the Hobbycraft La-7:

Image

And some of the wingroots on that La-7 (SB will get some Apoxie Sculpt too):

Image

Image

And a few over and under pics of both birds:

Image

Image

Image

Image

And a very messy place to work!

Image

Thanks for stopping in and having a look, my friends! :grin:
Post Reply

Return to “Aircraft Work in Progress”