I don't blame you Bruce, sometimes it just costs too much to go the 'easy' route. Besides, you will have much more pride and a sense of accomplishment when you finish and paint up your figure for this plane. I also believe that given the quality of work you are applying to this Camel, a pre-painted figure would not enhance it; but probably even bring it down.
That being said....
Here's a small update for this month, I haven't gotten much done due to my Hobby Room being in full upheaval as I try again to clear out old stuff and reorganize.
All this is once again all armor and vehicles. So here we go.....
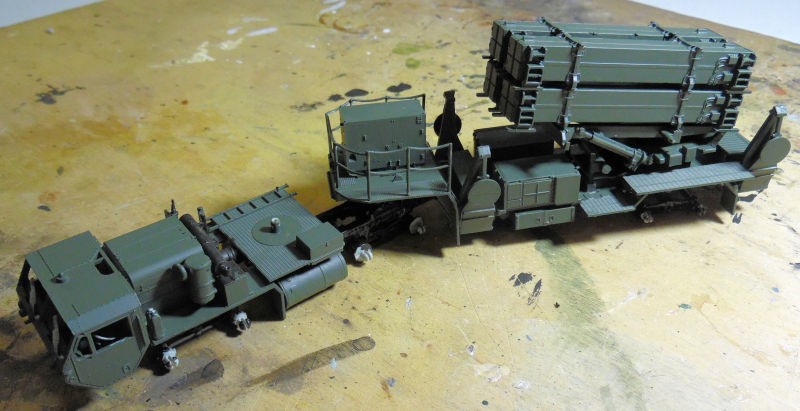
First is my Patriot system that got a basecoat of green:
Then my HEMMTT with the radar trailer also got a basecoat, this time in Tan:
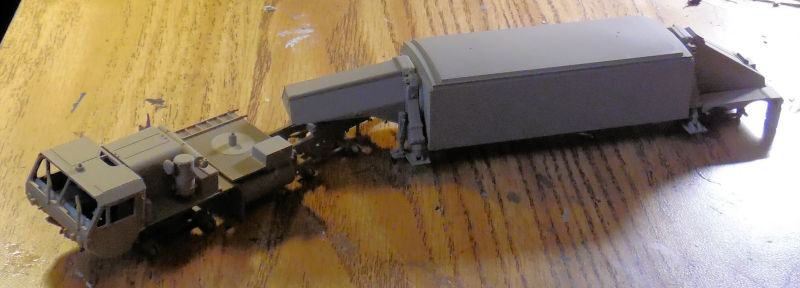
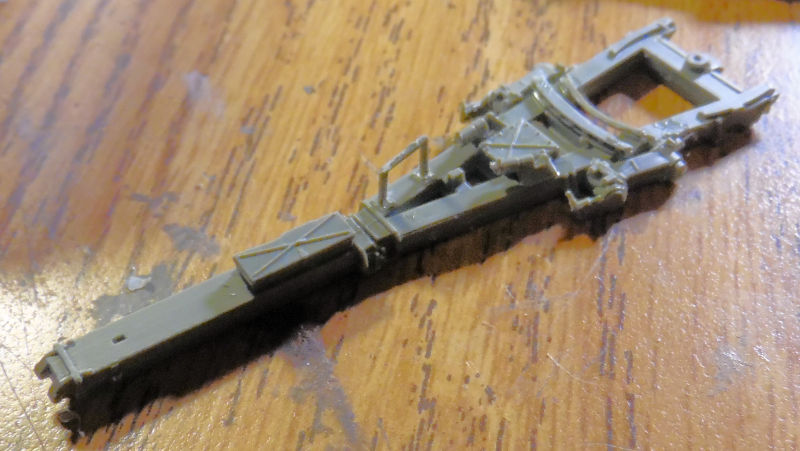
It's kind of hard to tell, but the color is consistent. Then I got started on a couple new models. First is the Armory Lance missile. I only got as far as this when I had to stop due to frustration with very tiny pieces. The very first piece I clipped from the sprue promptly fell on the floor and disappeared!! This is going to be a long tough fight:
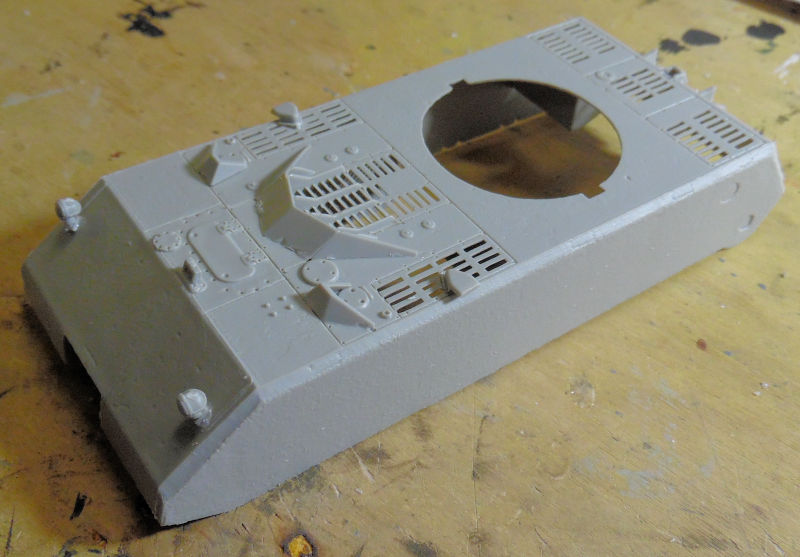
I then moved on to something else; a model I've had for decades and decided it was finally time to build it. This is the Pegasus Hobbies German Maus. I started with the wheels, but only got them on the bogies so I didn't take any pics of that, The first pic here shows the work I did on the upper hull:
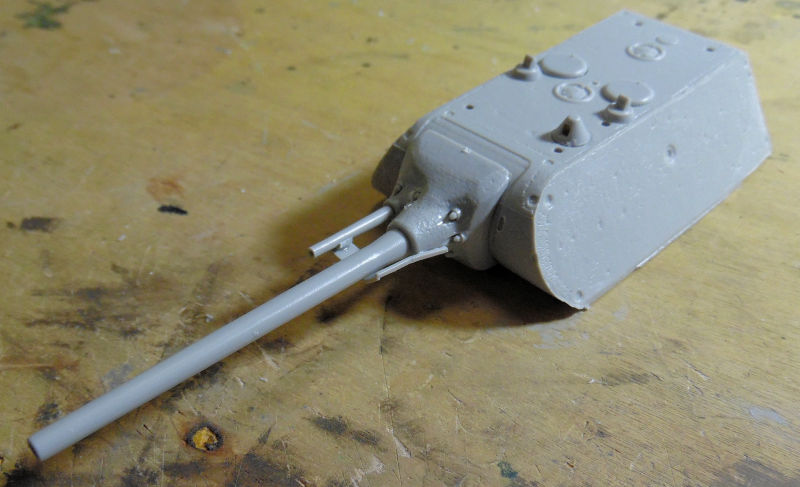
Then I built the turret:
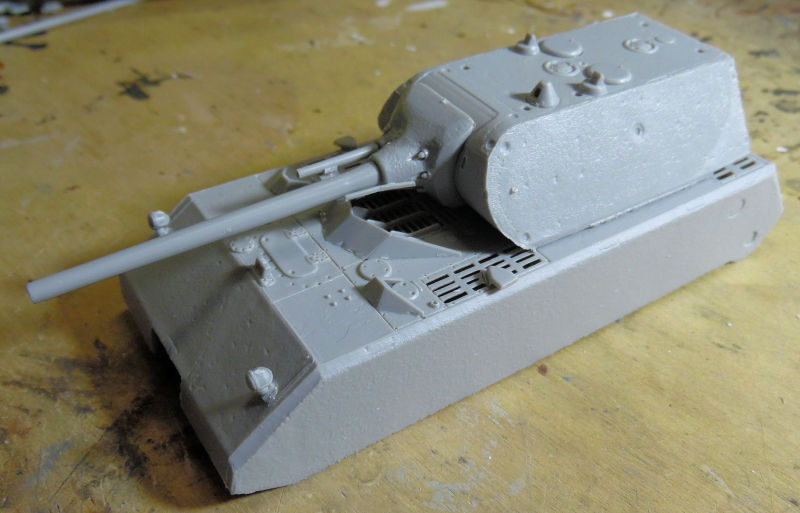
And now it's starting to look like the rolling pillbox that it is:
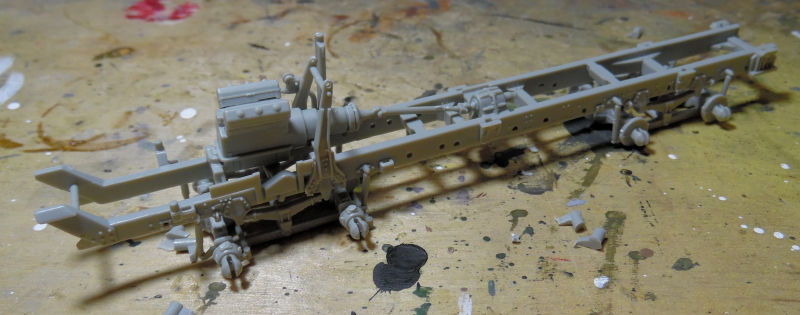
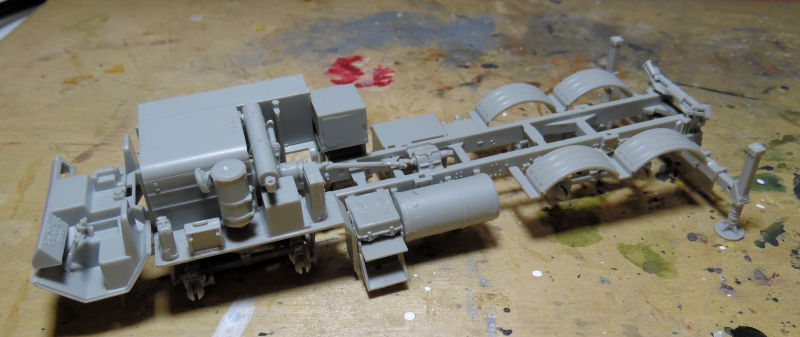
Afterward, I got started on the THAAD. Here is the ever-familiar HEMMTT chassis:
I got the rest of it built up afterward:
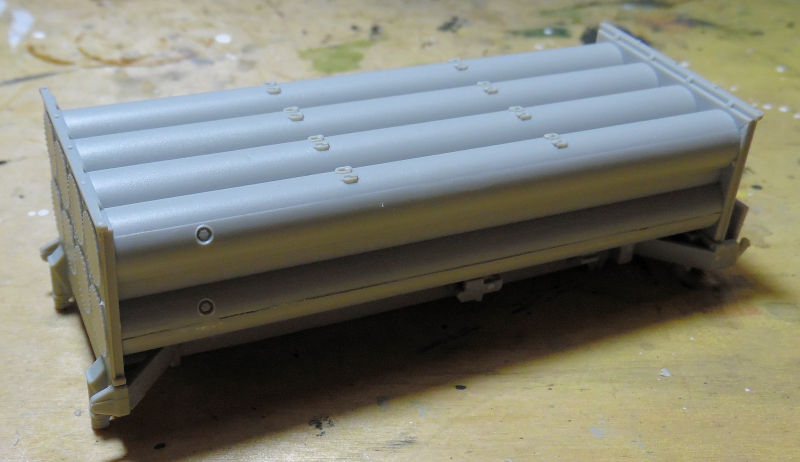
While that was drying, I built up the missile tubes on the TEL:
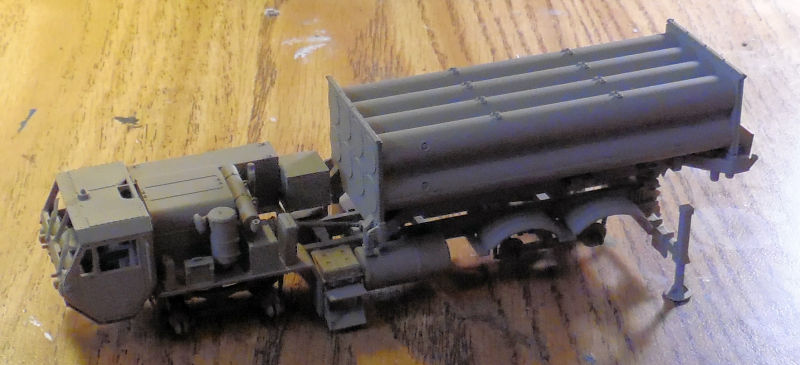
Then I mocked everything up and shot the basecoat of tan on this too:
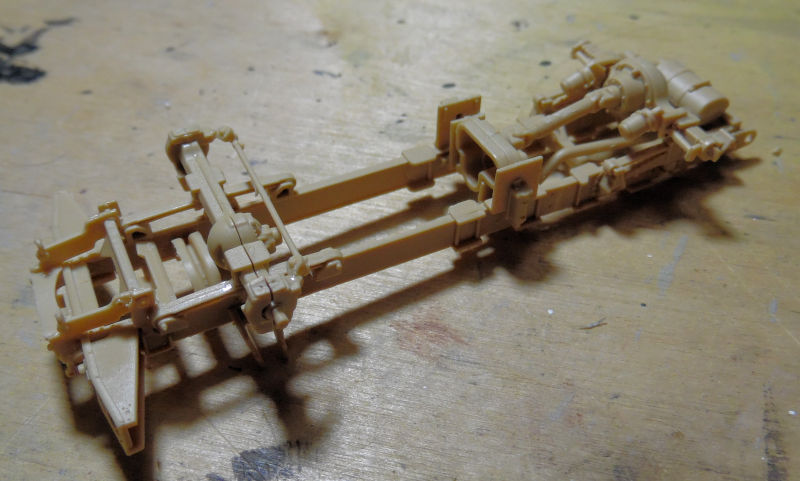
Finally, the last model I started was one I'd been putting off since it's a Tiger Model kit. They have outstanding detail, but the fit and size of several tiny pieces; along with vague instructions, make this beast a, real bear to build. This is the MRAP that I started by building the chassis first:
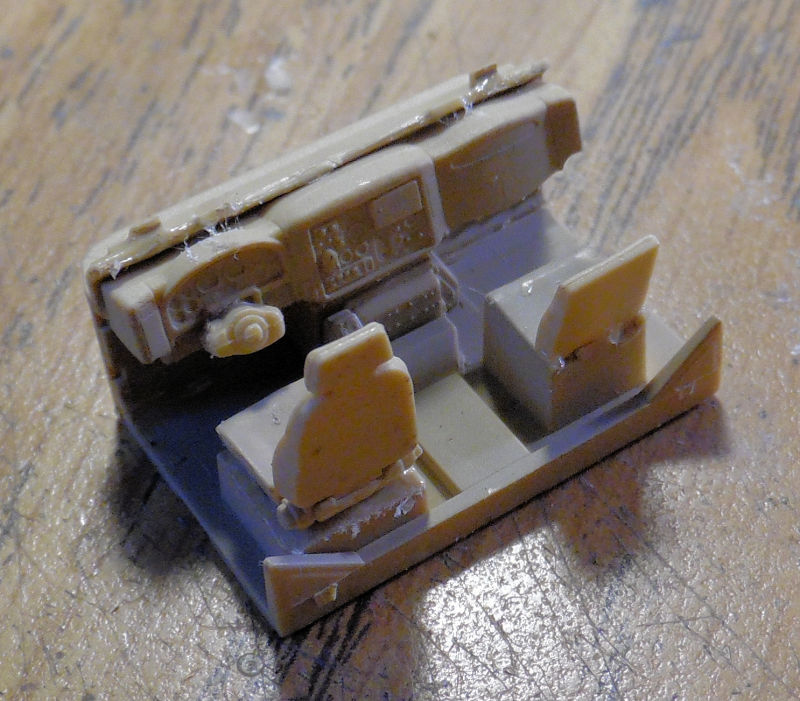
I then built the driver's cabin interior, sans steering wheel; they always pop off and disappear as I make my effort to close the cab:
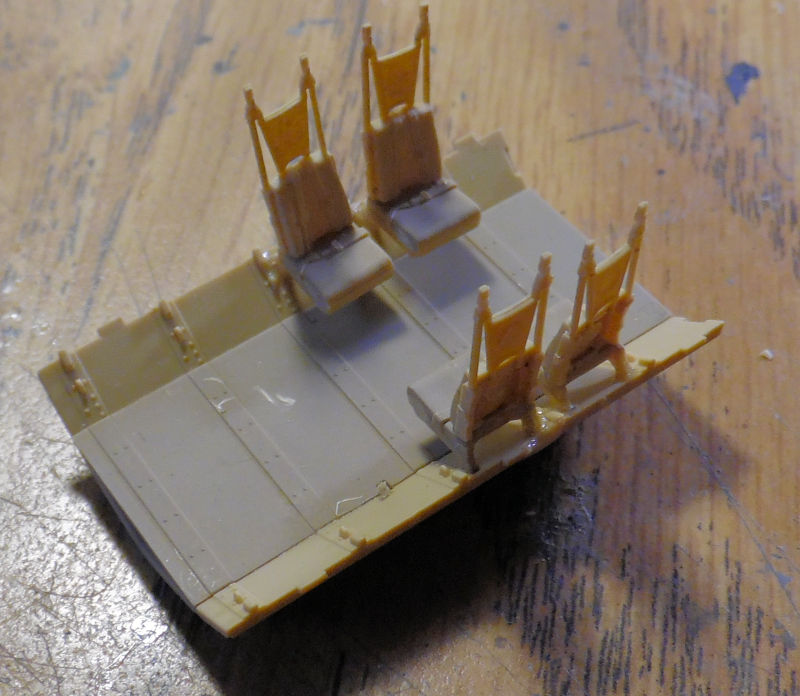
The rear has a bit of an interior as well, so I might just be building this with the rear ramp down:
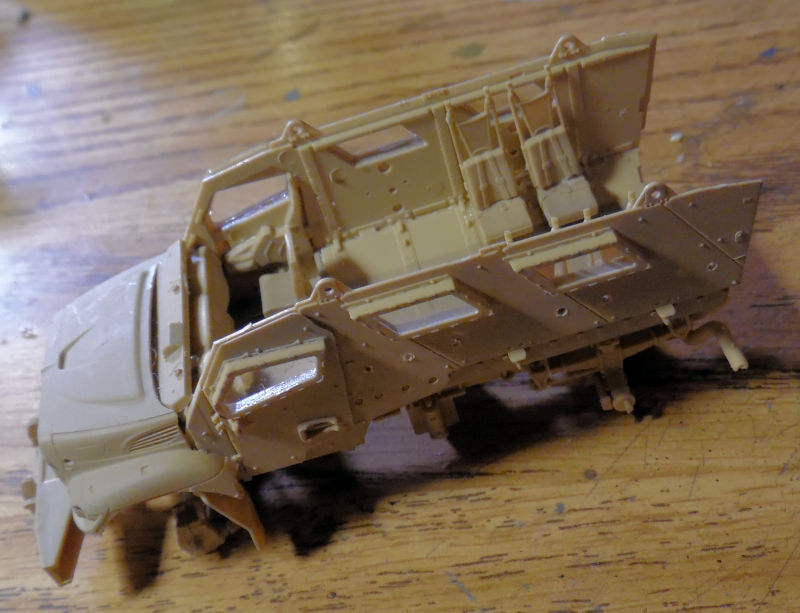
I then added the side walls to the whole thing:
It's not a bad interior; I might have to fill it out with a bit of stowage. Not much mind you; just enough to make it look a little busy in there:
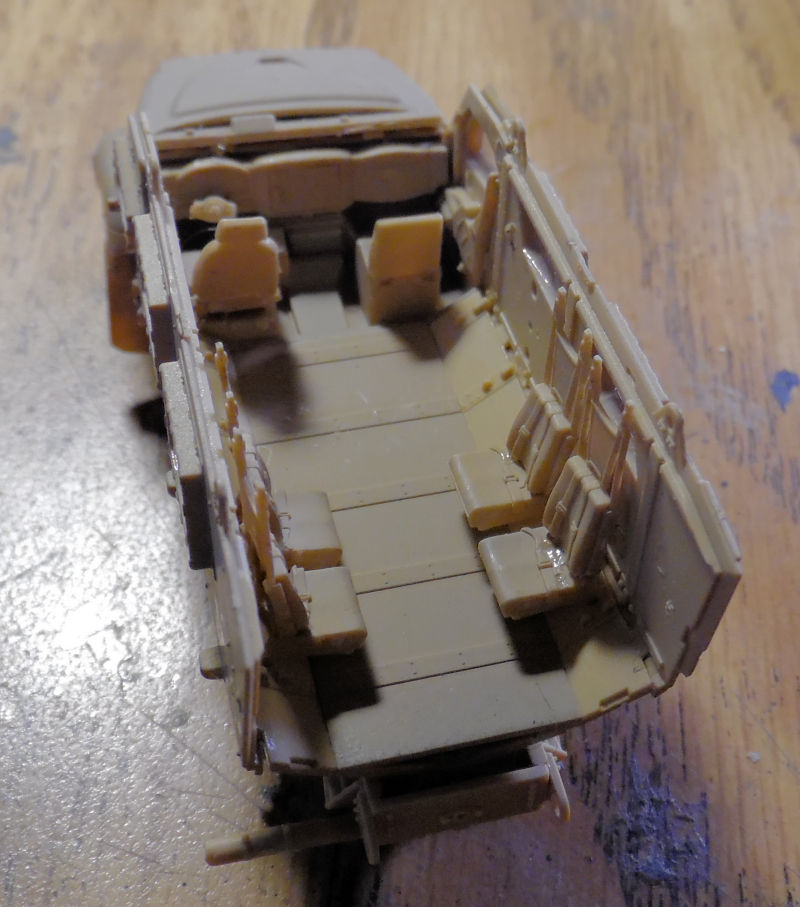
Painting of the interior happened next, at least on the seats:
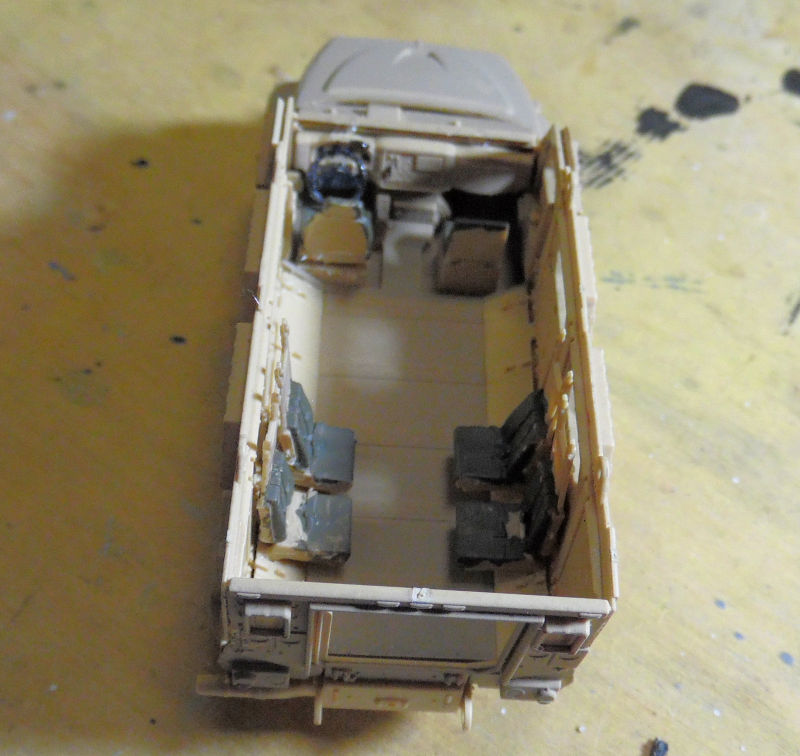
Finally, most of the hull parts were added to this to complete the bottom of it:
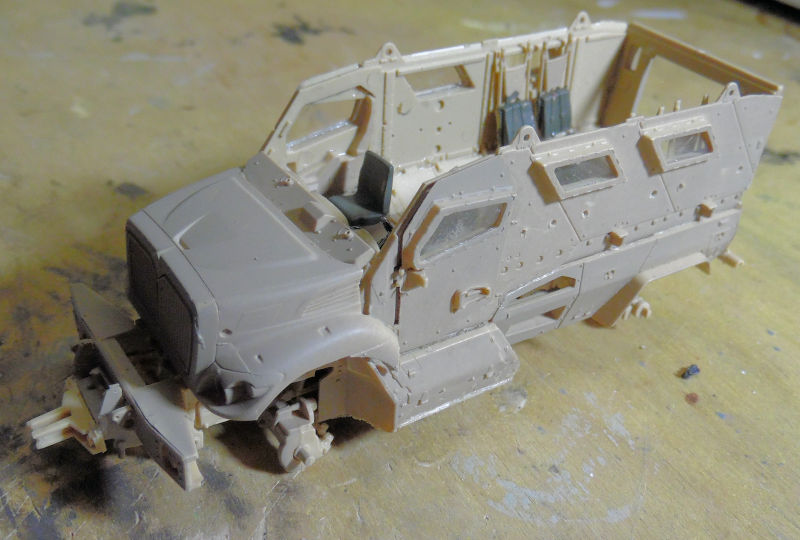
It doesn't show well here, but I painted the chassis and suspension; I should have turned this on it's side:
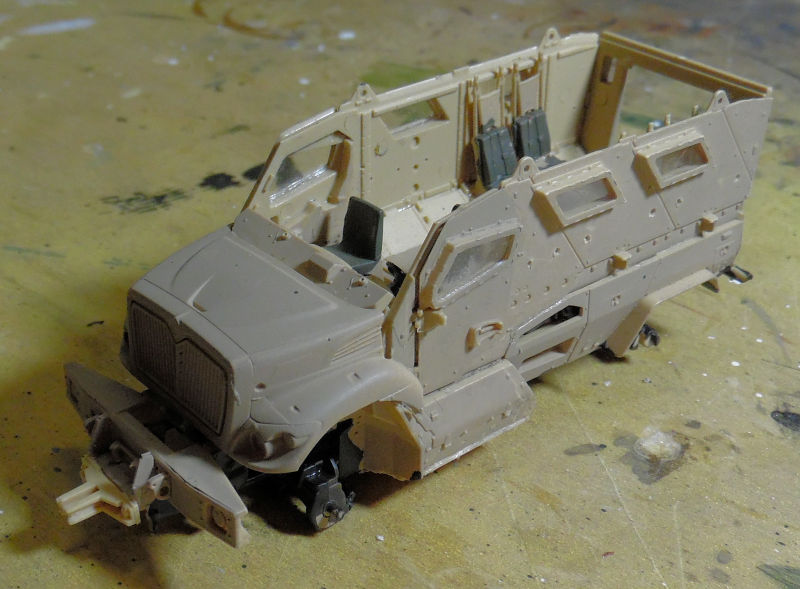
After some touch up and additions inside, this will be ready to close up.
That concludes this short tour, thank you for stopping in and as always, comments are welcome.