Page 31 of 52
Re: 1/32 Tamiya F4U-1a Corsair - Boyington 17740
Posted: Wed Apr 24, 2019 2:49 am
by BorgR3mc0
speedgraflex wrote:Wow! That’s a beautiful photo, but to my eyes the Tamiya leg is quite compressed. Maybe the aircraft has a load out or fuel pod attached to it as well. As far I know those Corsairs stood awful tall, but I understand that Tamiya really studied this aircraft and your time to make adjustments if necessary has passed.
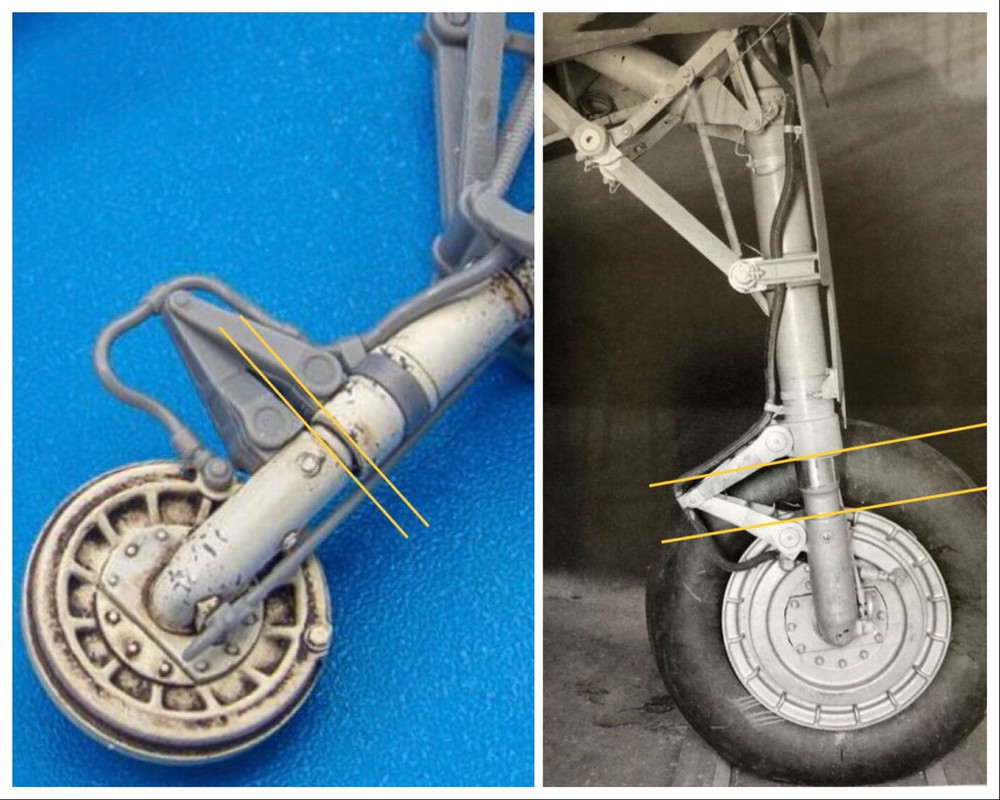 Important! John look at how darn real your work looks. Sincerely.
It could be that Tamiya studied an museum example where the pressure in the cillinder was low.
Re: 1/32 Tamiya F4U-1a Corsair - Boyington 17740
Posted: Wed Apr 24, 2019 10:56 am
by jkim
BorgR3mc0 wrote:It could be that Tamiya studied an museum example where the pressure in the cillinder was low.
Yes, but you would think that is something they would take into account when making a model?
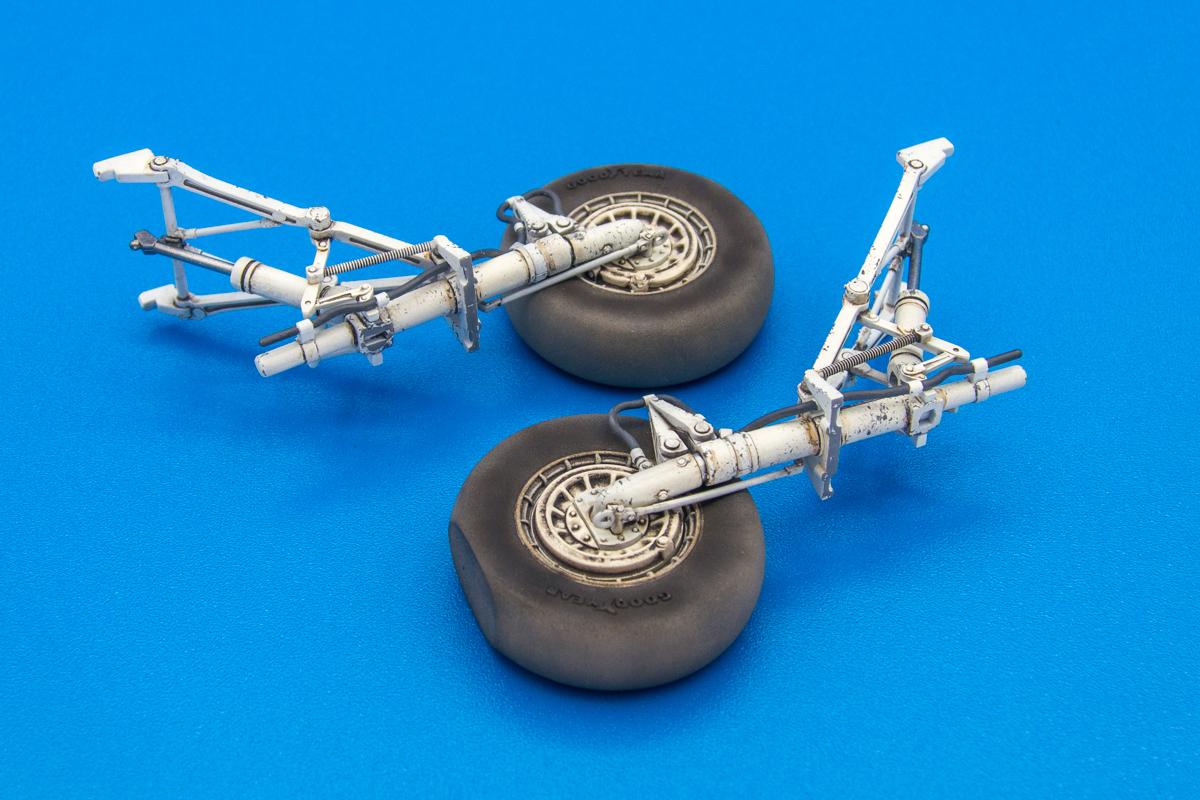
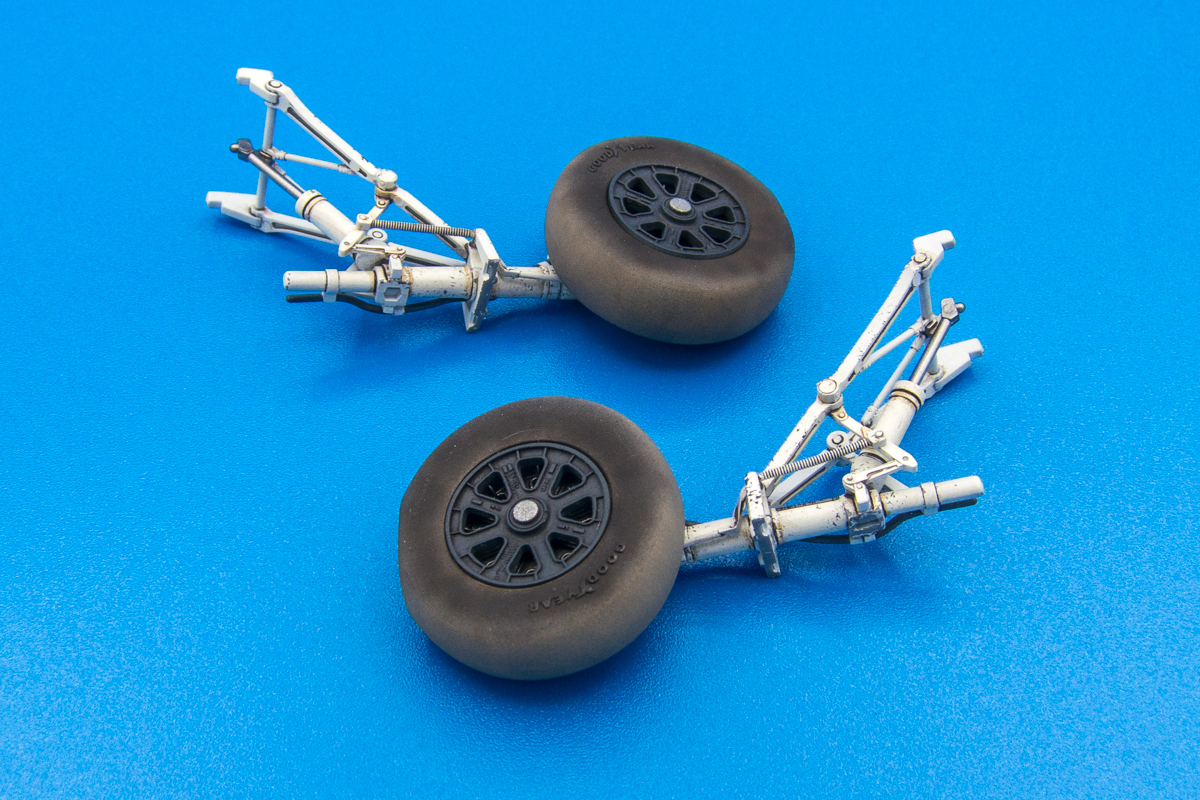
Dry-fitting the wheels to the painted struts.
Re: 1/32 Tamiya F4U-1a Corsair - Boyington 17740
Posted: Wed Apr 24, 2019 12:30 pm
by KennyX
My opinion, for what it’s worth- don’t sweat it too much. Your legs here look fantastic. They’re beautifully done. And this is on tamiya, not you. You have the aftermarket option. Go shopping. If you can find better legs, use them. If not, no sweat- these legs are finished masterfully.
Re: 1/32 Tamiya F4U-1a Corsair - Boyington 17740
Posted: Wed Apr 24, 2019 1:44 pm
by speedgraflex
I agree with what Ken wrote. I am in awe of your work. I believe the mix of wet and dry surface impressions is extremely masterful.
Plus... Torben posted an amazing photo, too! I am excited—and very caffeinated as well!!!!
Re: 1/32 Tamiya F4U-1a Corsair - Boyington 17740
Posted: Wed Apr 24, 2019 2:08 pm
by jkim
Thank you for the words of support, Ken and Bruce! To be perfectly honest, I don't know if I would have addressed the issue even if I knew of it beforehand. It's one of those deals where you balance the effort expended with the impact of the result. For me, it's not that big of a deal... a matter of millimeters and it is barely noticeable.
I talked a bit about it just for discussion purposes. There are... ahem... future Corsair builds coming up and I thought it'd be good to throw out some ideas on how to address it.

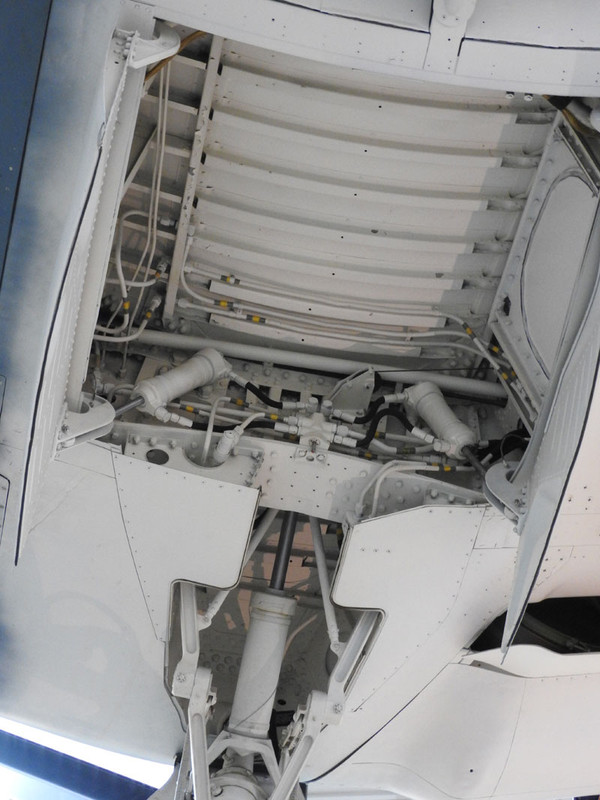
Now I'm looking at the wheel wells. There is a junction for the hydraulic lines located on the wing spar. It is represented in the kit parts but it is very small and I don't know if it is possible to drill holes in it to accept wiring. Plus I have to figure out where the wiring will be placed including the termination points where I would have to drill some holes. I'm not going for a complete 100% accurate representation but want to make it busy enough to be passable.
F4U-1D
Re: 1/32 Tamiya F4U-1a Corsair - Boyington 17740
Posted: Wed Apr 24, 2019 2:40 pm
by speedgraflex
You always have my support! Keep it. It’s killer work. Never seen better, truly. I keep comparing your work against what is finished/published online.
If you are going to build more Corsairs, please consider joining the Air Corps Library like I did! 50 bucks/year and beautiful copies of original plans plus the manuals plus the pilot handbooks for Mustangs and Corsairs.
I would replace the Tamiya part I think... would you take a foto?
Re: 1/32 Tamiya F4U-1a Corsair - Boyington 17740
Posted: Wed Apr 24, 2019 11:42 pm
by jkim
speedgraflex wrote:I would replace the Tamiya part I think... would you take a foto?
Here's the part. I think it is pretty accurate. It's just that the little receptacles that stick out are so small that it would be difficult to drill out holes to accept wiring. And the hydraulic lines on the restored aircraft photos are on the thick side. What I might do is add small sections of brass tubing as sleeves to accept a thicker gauge wire.

I didn't feel like dealing with that area tonight so I did some prep work on the outer wings. Holes need to be drilled out to accept light housings. Tamiya makes it as easy as possible by telling you how big the hole needs to be in millimeters and then providing a seat for the drill bit to help center the hole.
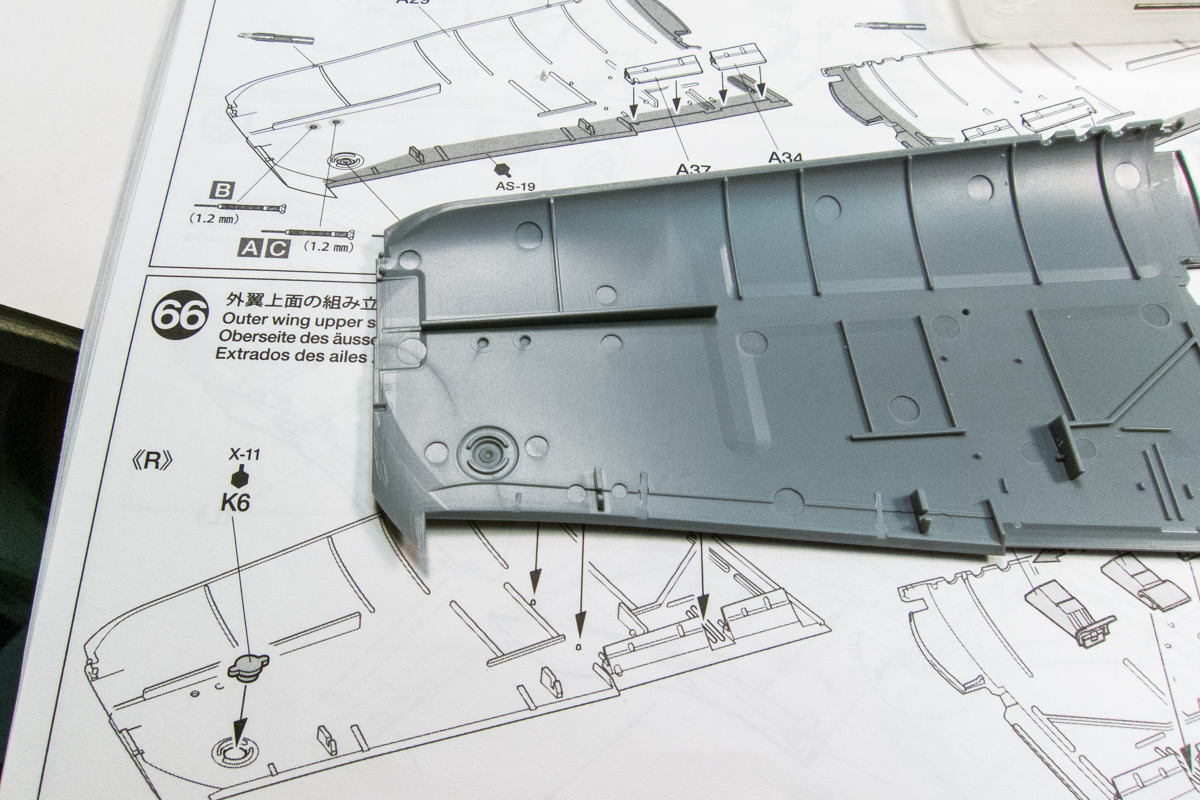
I like to use a drill bit a tiny bit smaller than the actual hole and then enlarge it slowly to prevent making too big a hole.
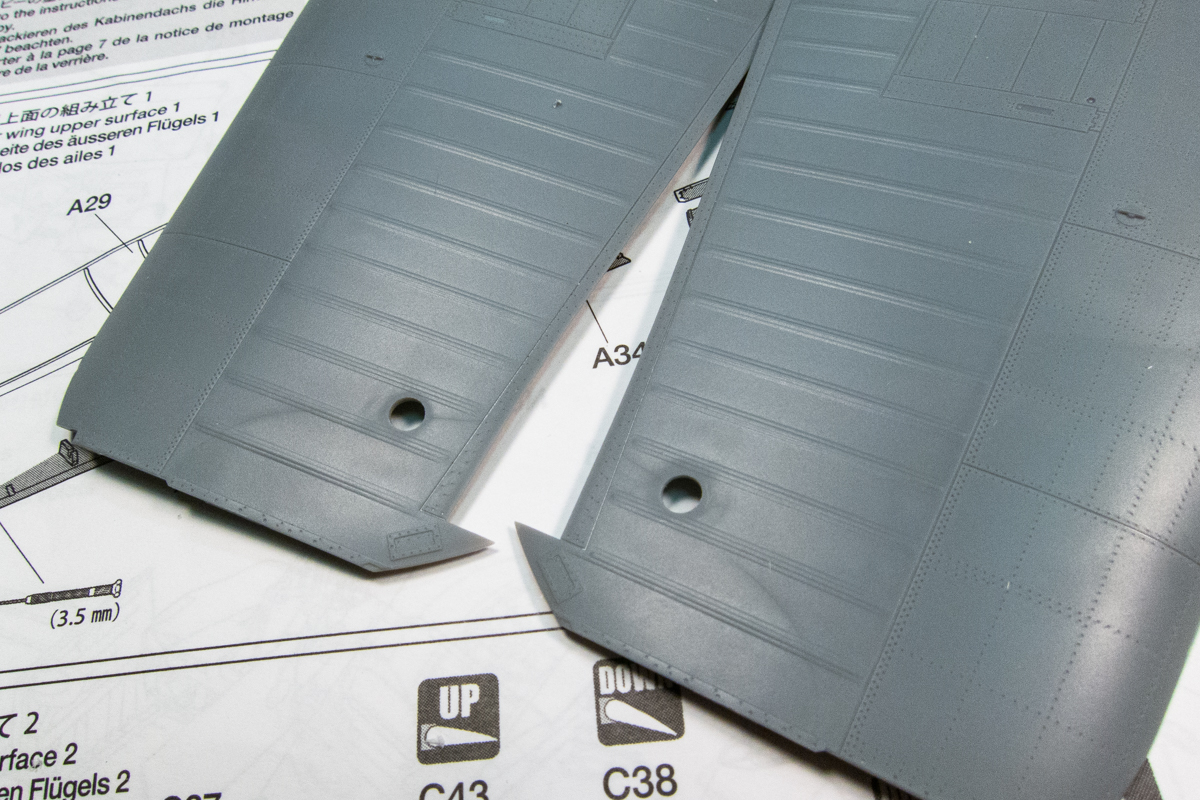
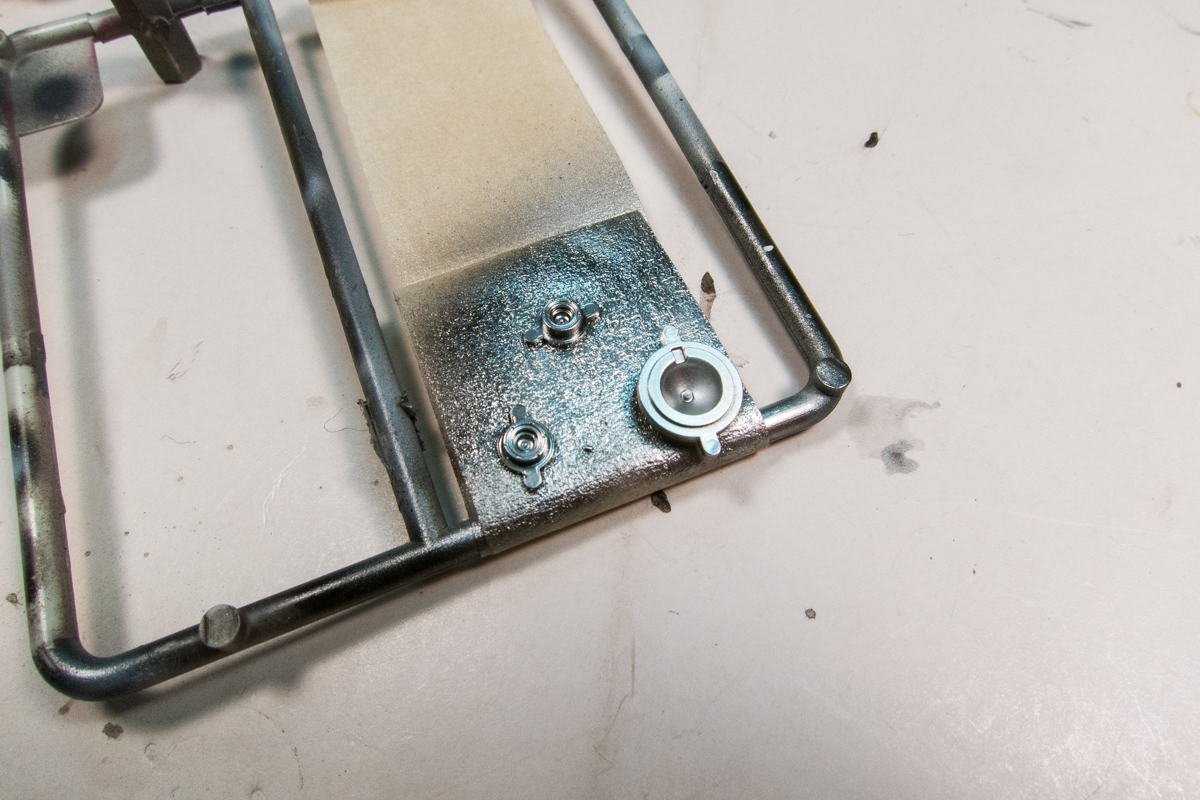
Here are the light enclosures in place.
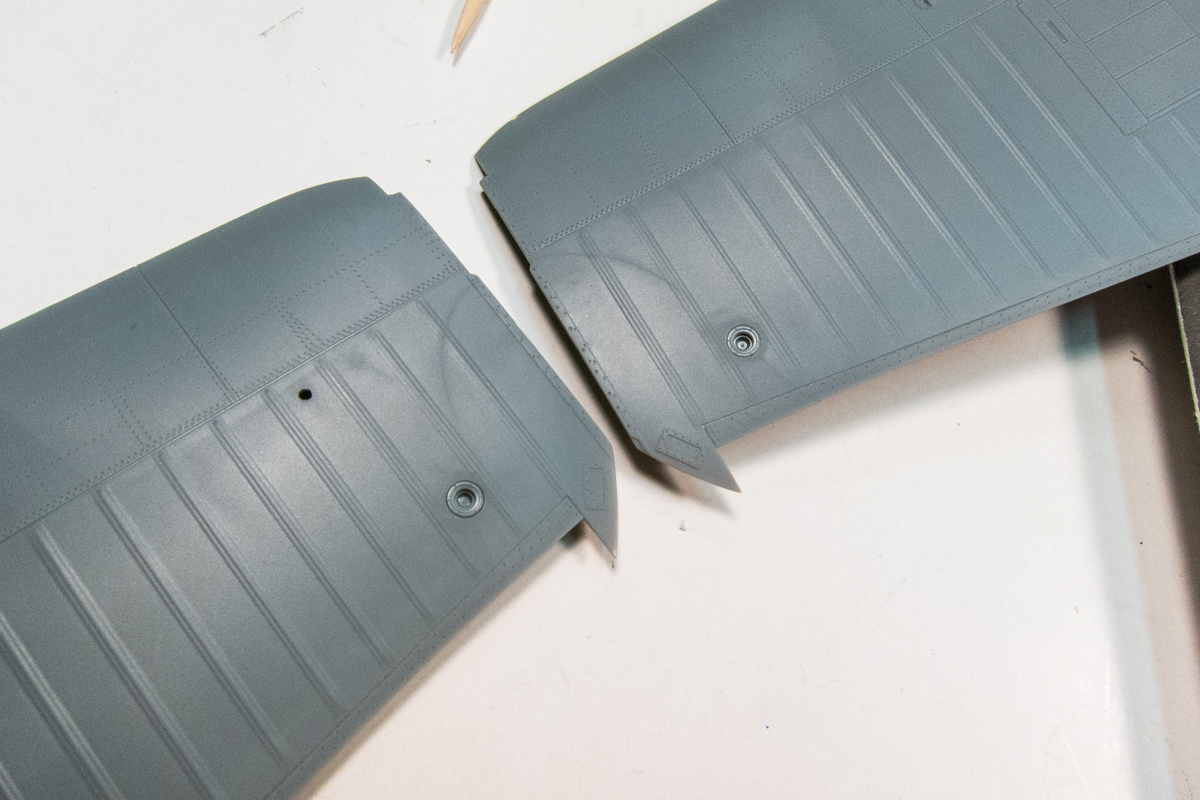
Before they are installed, they are painted using Alclad Chrome.
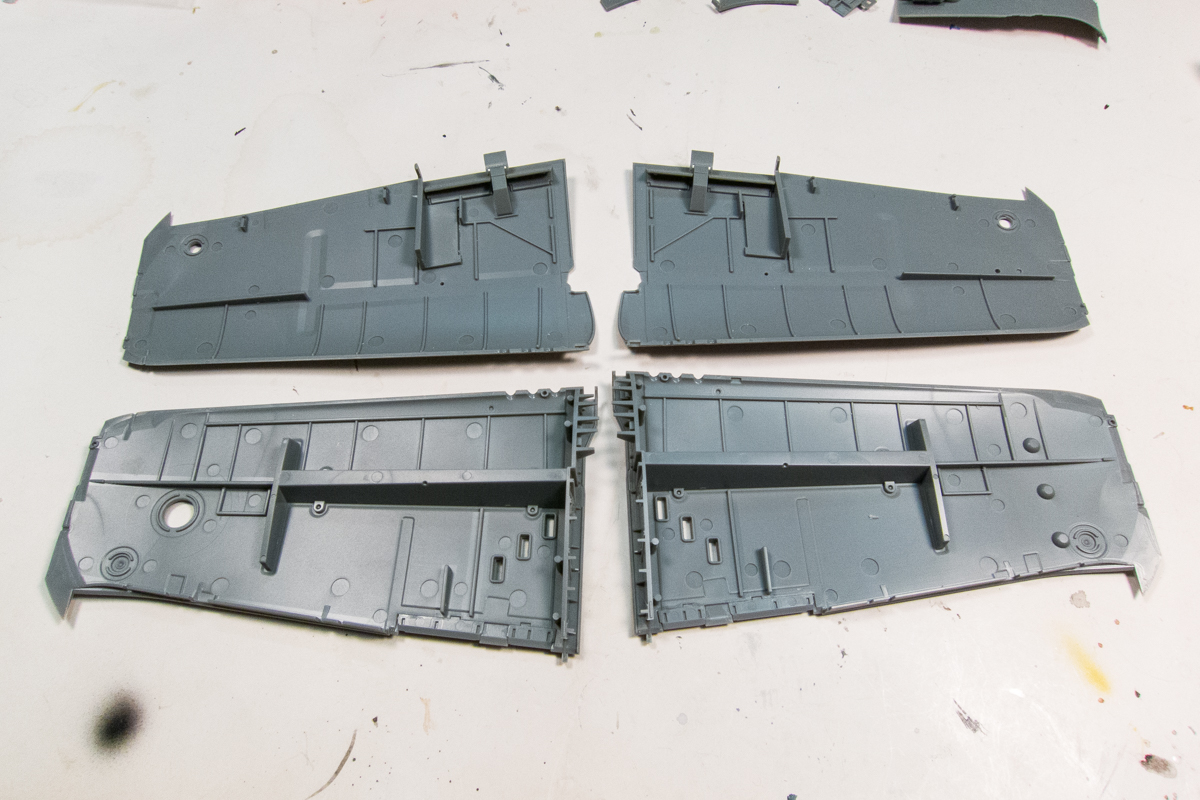
Here are the outer wings with some of the internal structure in place. The Tamiya instructions warn you NOT to glue in the big H-shaped spars. They should simply be trapped into place when you glue the upper and lower halves together.
Re: 1/32 Tamiya F4U-1a Corsair - Boyington 17740
Posted: Thu Apr 25, 2019 9:29 am
by speedgraflex
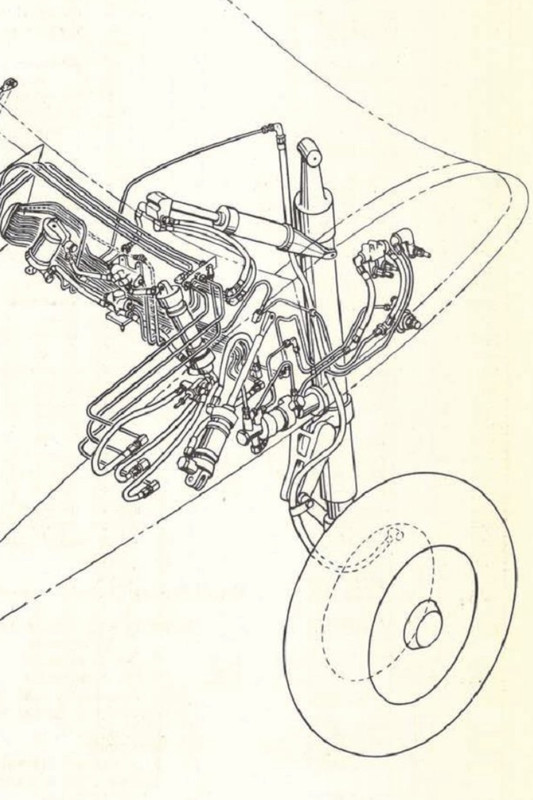
Thanks for posting the photo! You’re right—the part looks great. It’s actually a little slimmer than the original though—delicate, even. The original is beefier as befits a junction box. You could easily scratch the plate from styrene with a brace, drill the holes out and run the wires straight through. I will check the parts catalog.
AirCorps Library
Structural Repair Instructions
Re: 1/32 Tamiya F4U-1a Corsair - Boyington 17740
Posted: Fri Apr 26, 2019 11:56 am
by jkim
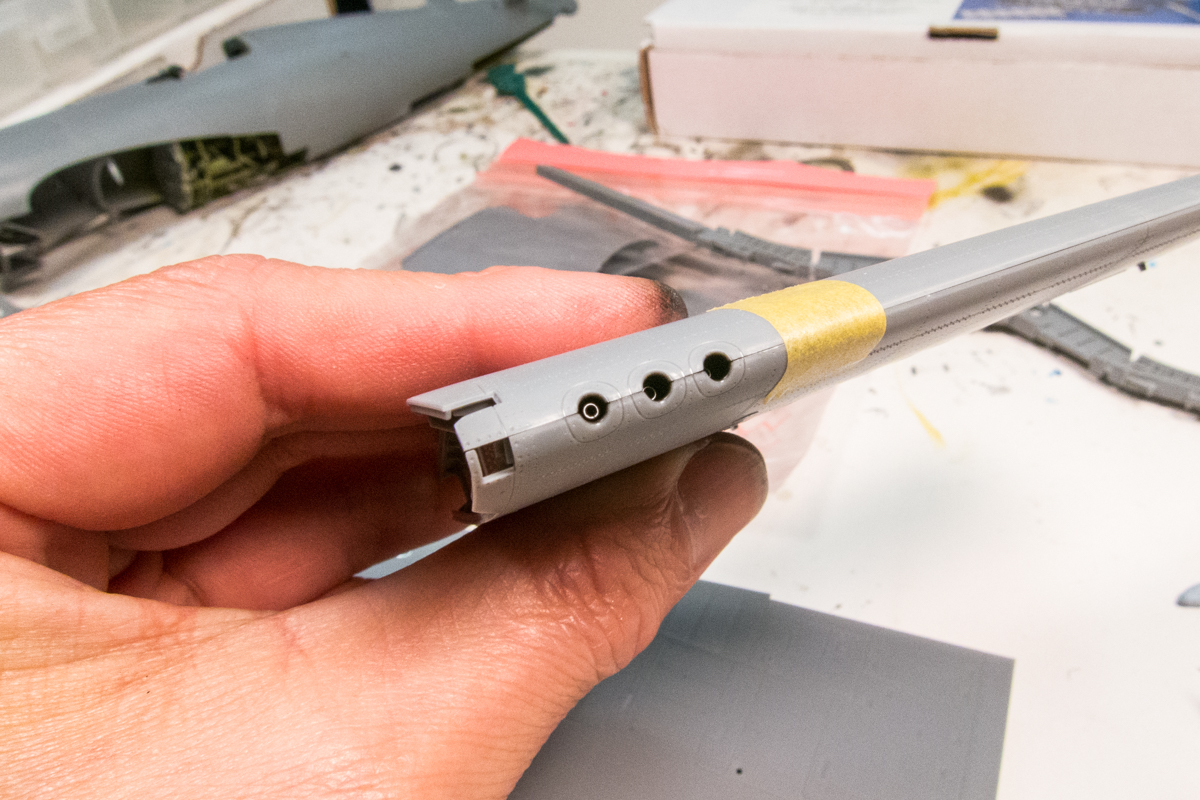
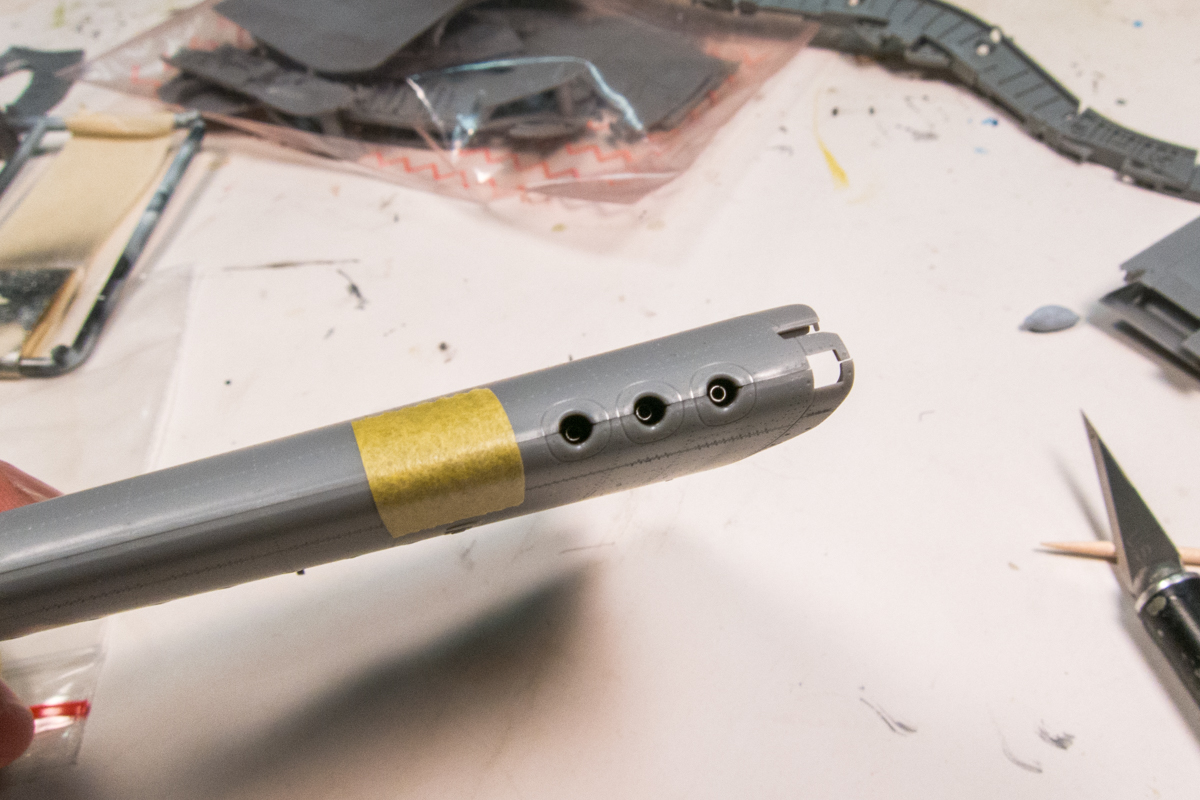
A little more work on the outer wings to report. If you look at the ammo chutes on the kit, you'd notice that the wing guns might be staggered. Photos confirm this.
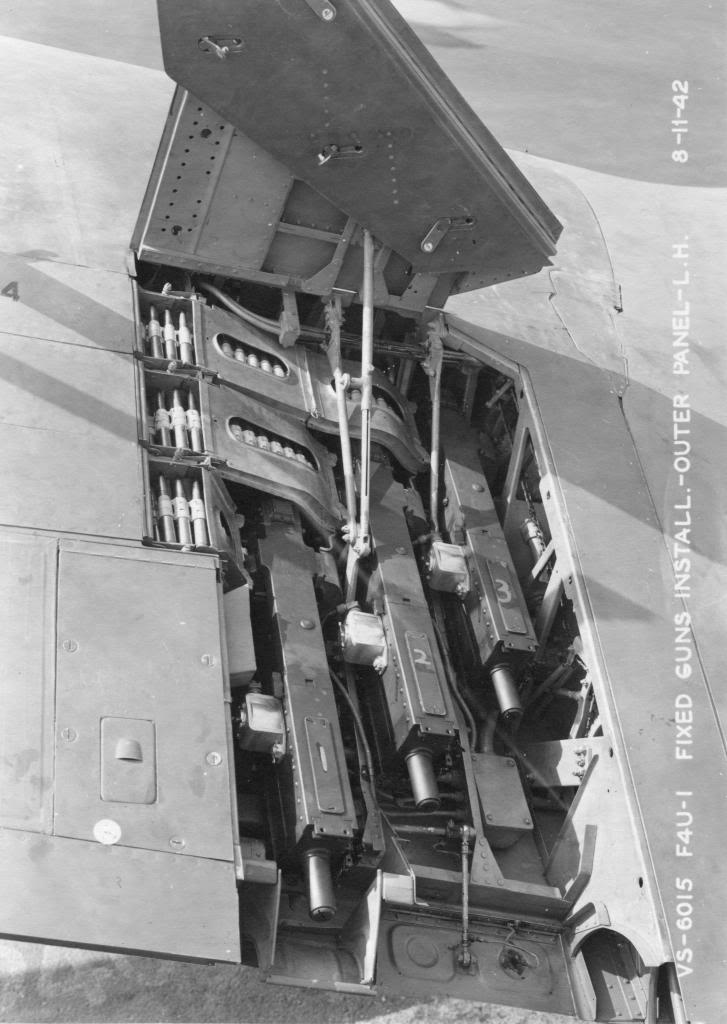
So instead of placing my gun barrels straight across like I had originally shown, I've staggered them.
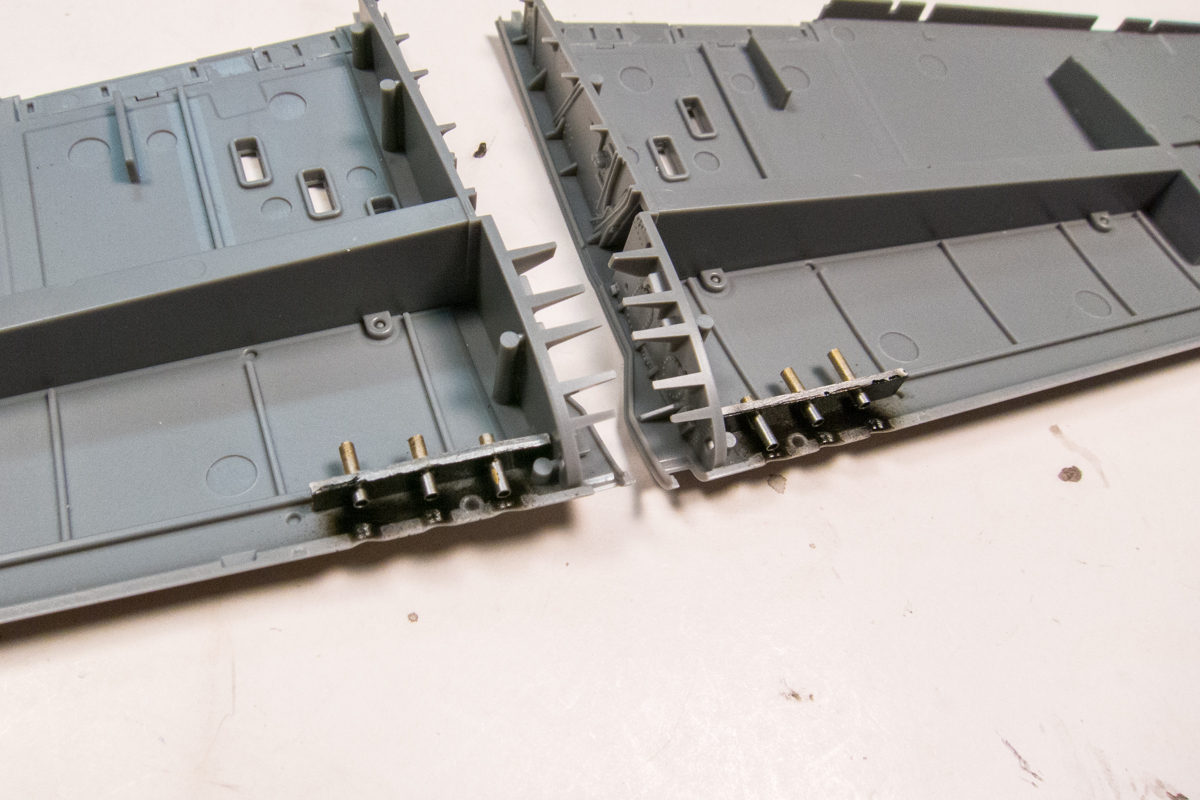
It's not dimensionally accurate but I wanted to give the visual impression of the staggered guns. Practically speaking, you'll be able to see the barrels that are closest to the fuselage but the others will be hidden in the shadows.
Re: 1/32 Tamiya F4U-1a Corsair - Boyington 17740
Posted: Fri Apr 26, 2019 1:44 pm
by speedgraflex
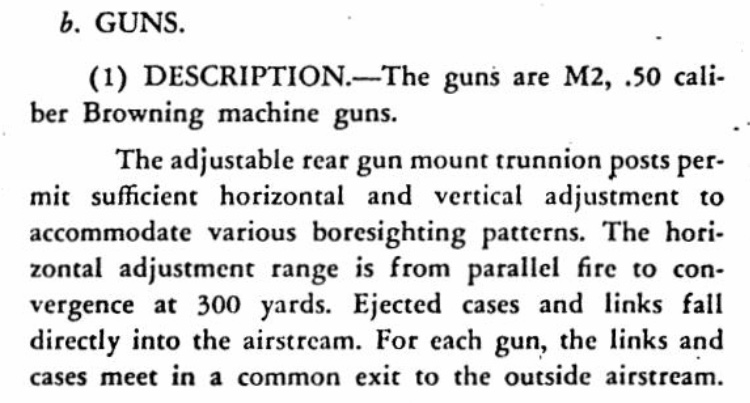
 The guns were adjustable vertically and horizontally for different firing patterns. Your set up and the one in your photograph are for convergence. Here’s the relevant section of the manual: