Page 33 of 35

Re: 1/32 Special Hobby Hawker Tempest Mk V

Posted: Sun Jun 05, 2022 9:17 pm
by jkim
Thank you Kari and Stuart!

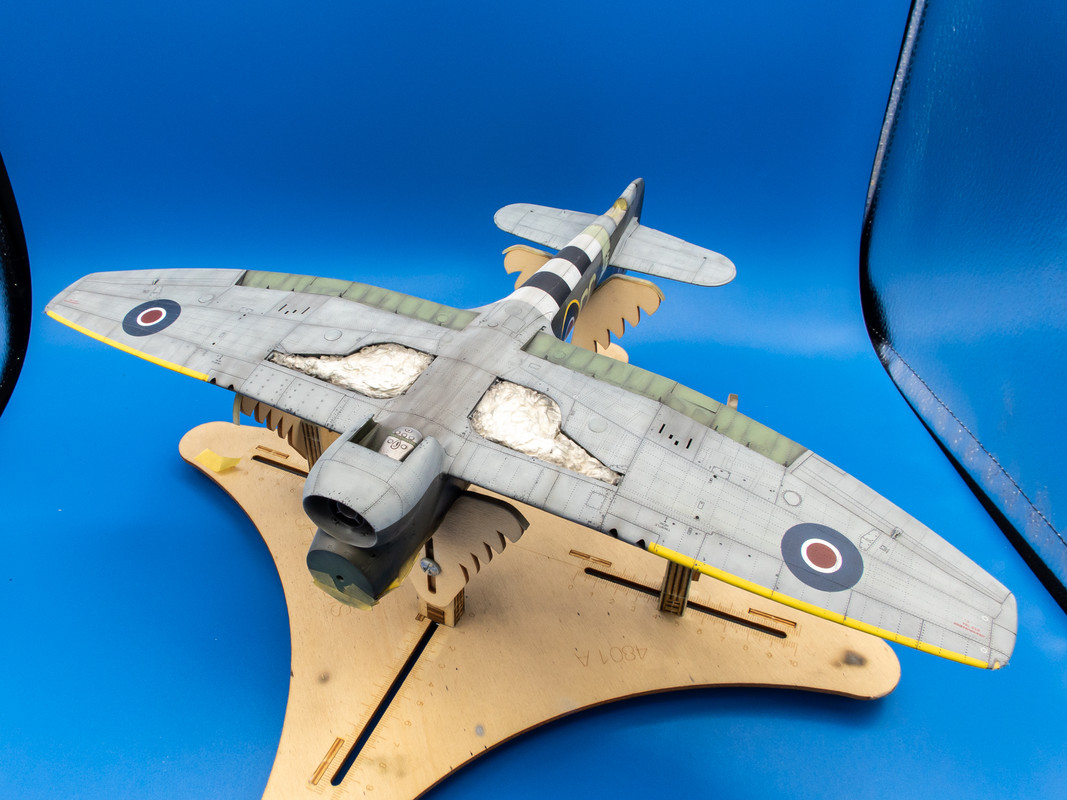
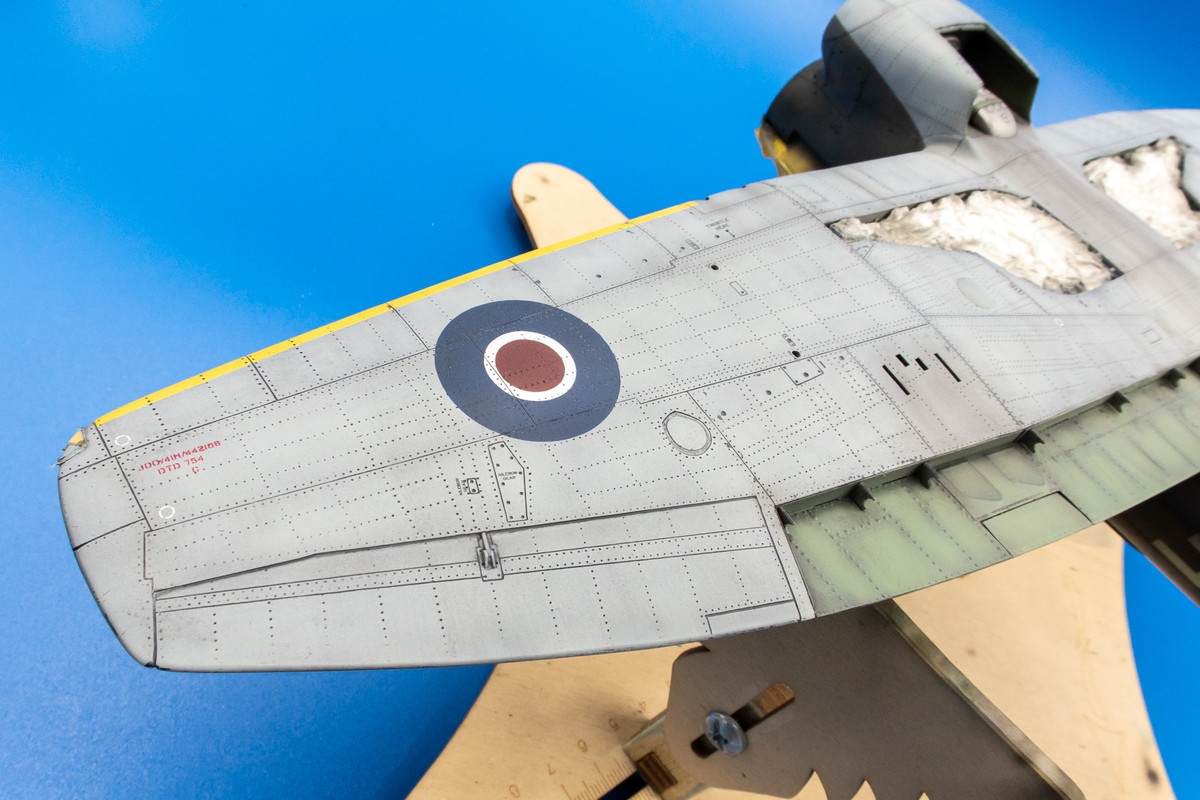
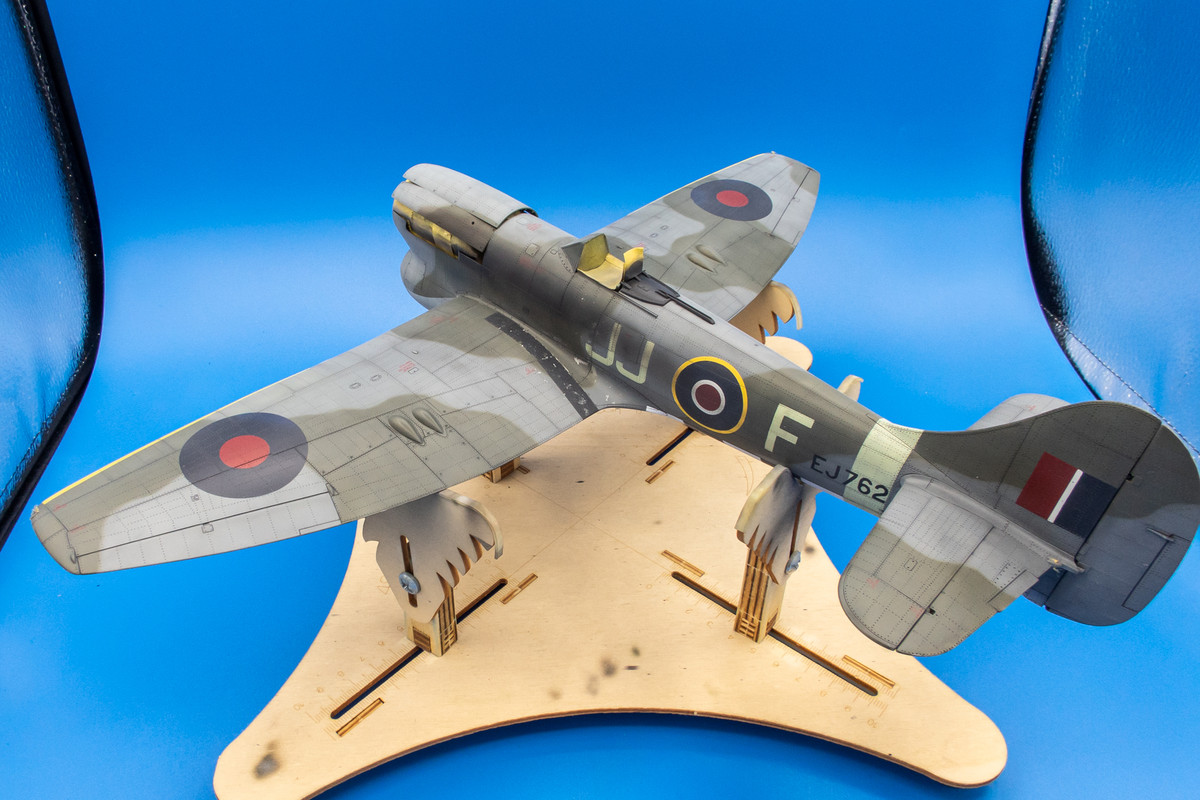
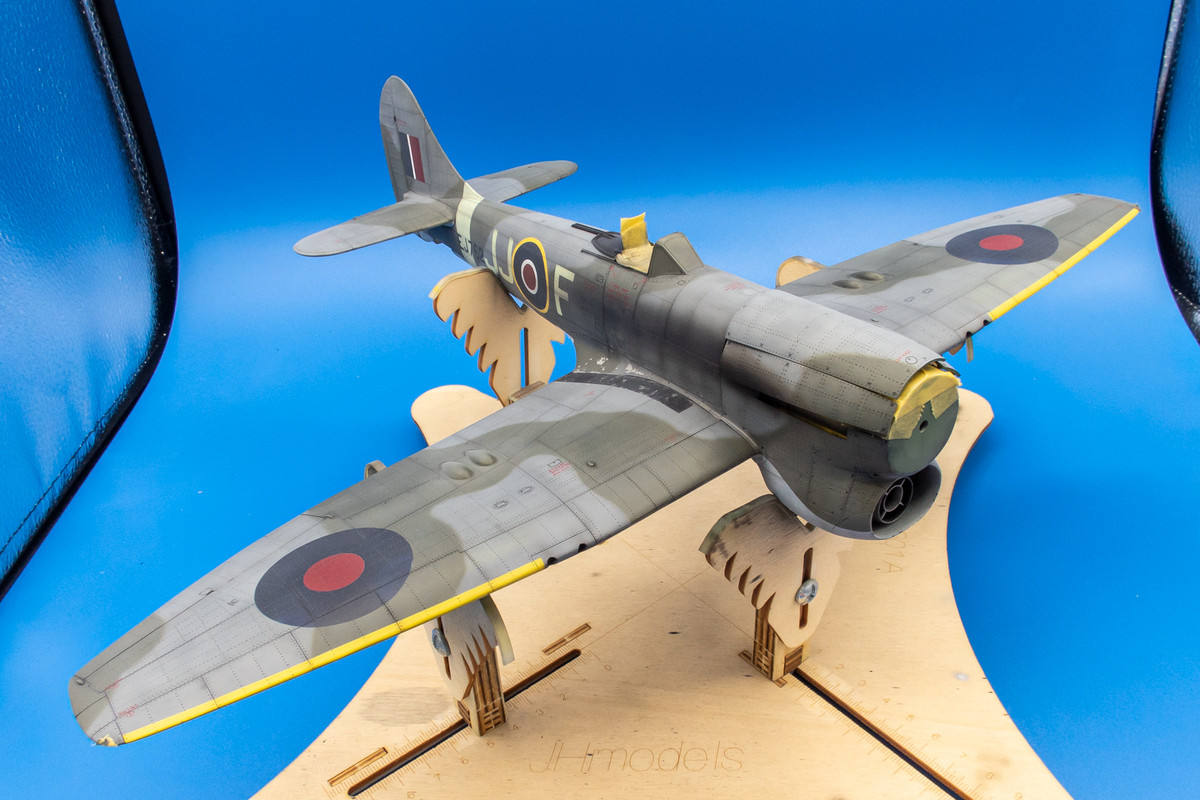
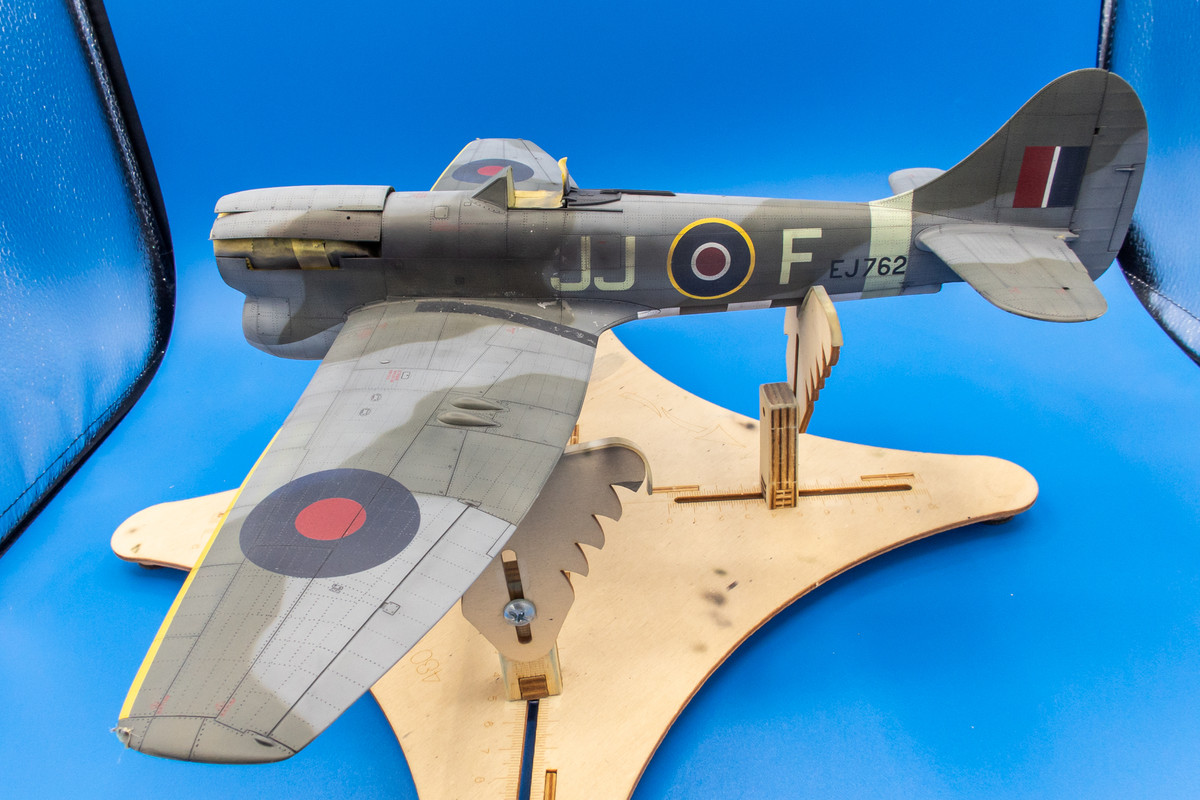
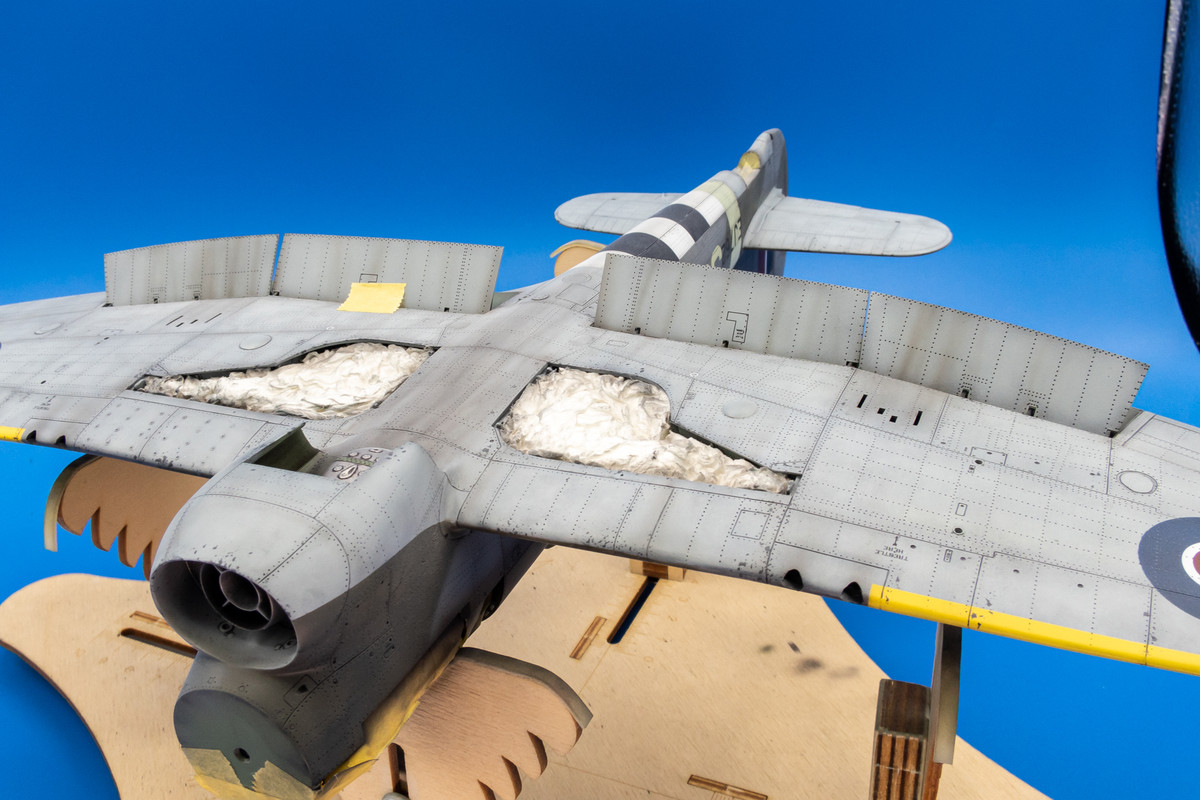
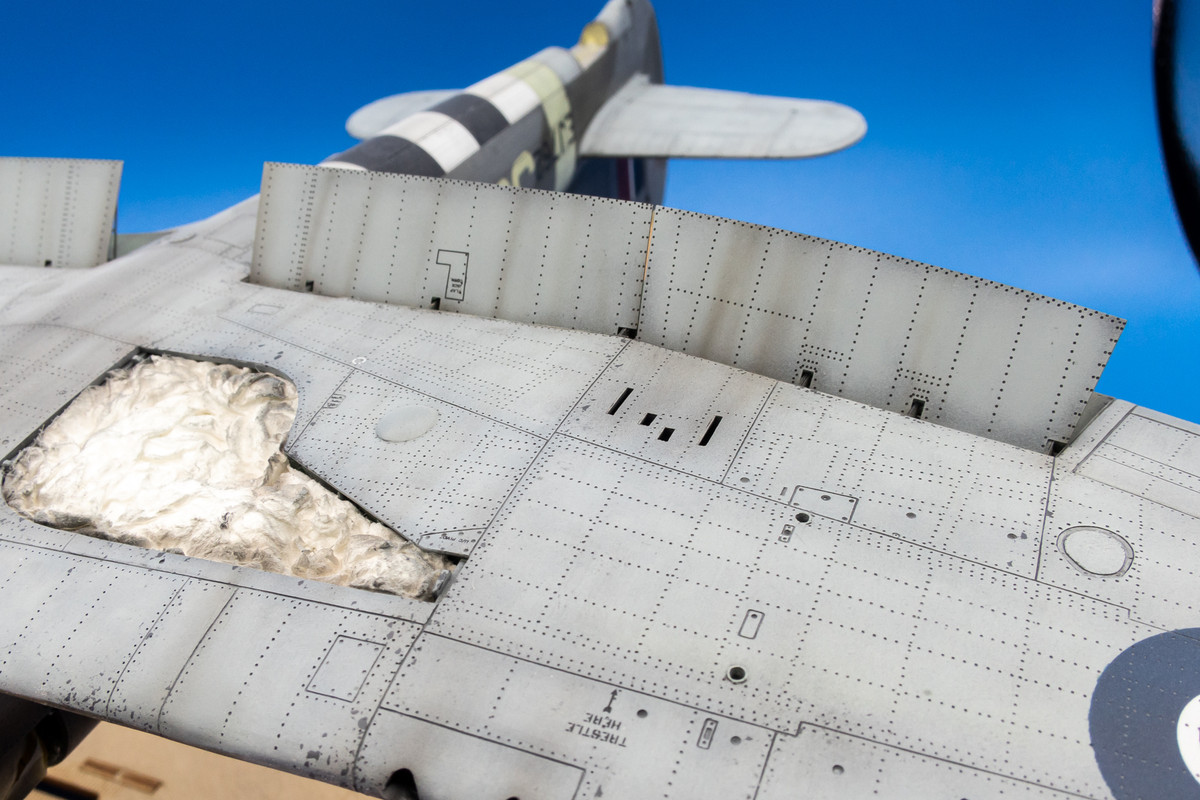
It's time for the flat coat! I use Model Master Acryl Clear Flat thinned with 90% iso alcohol. First I do the bottom...
Image
Image

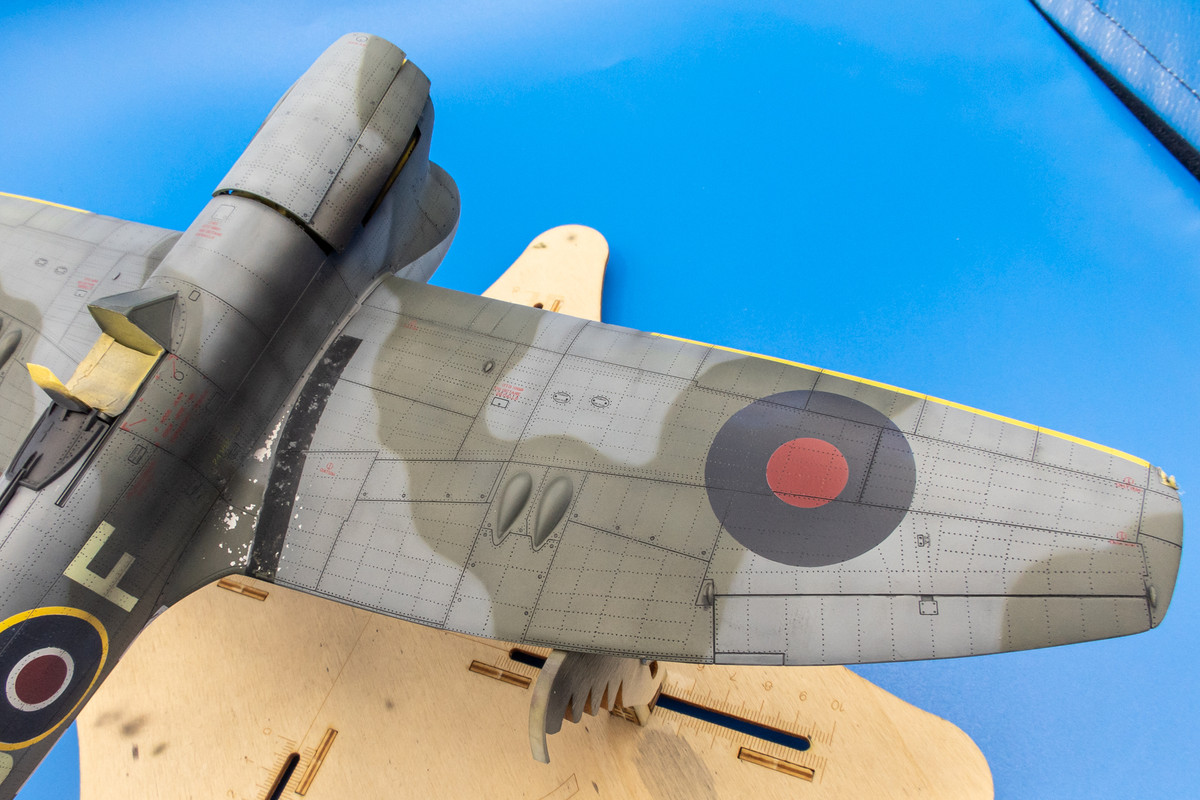
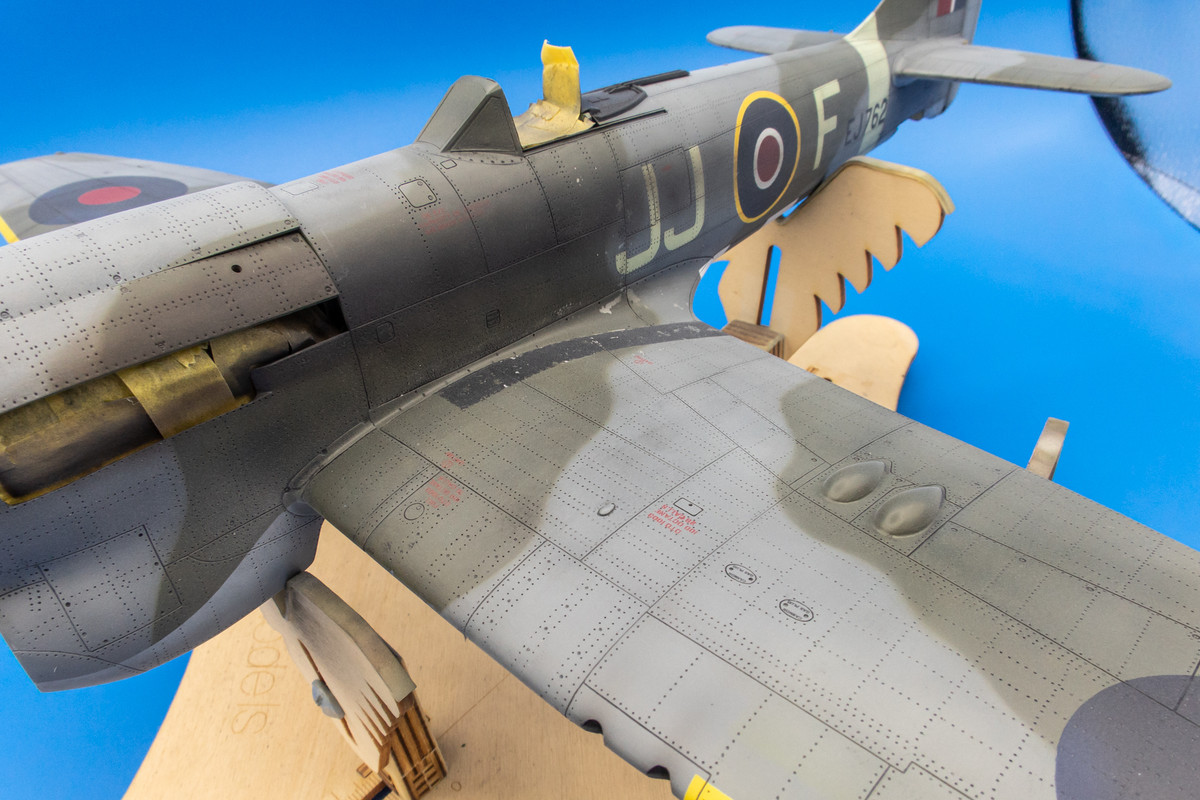
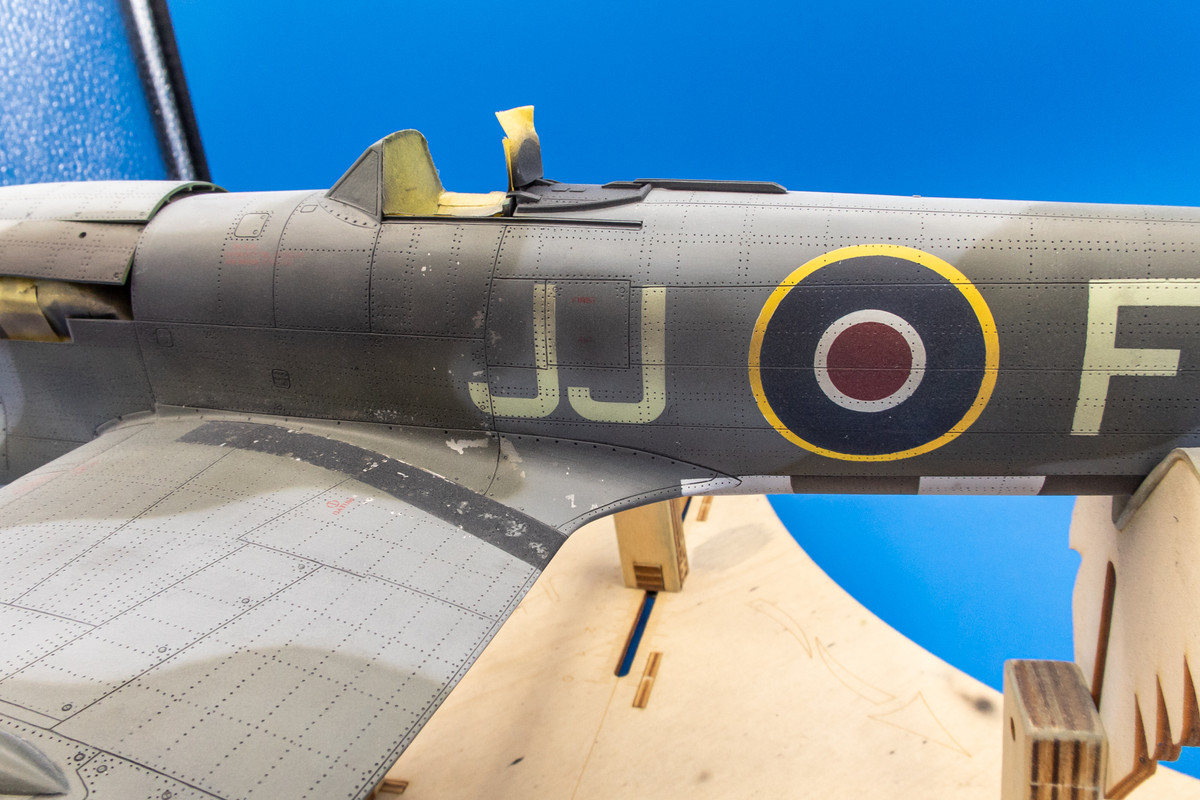
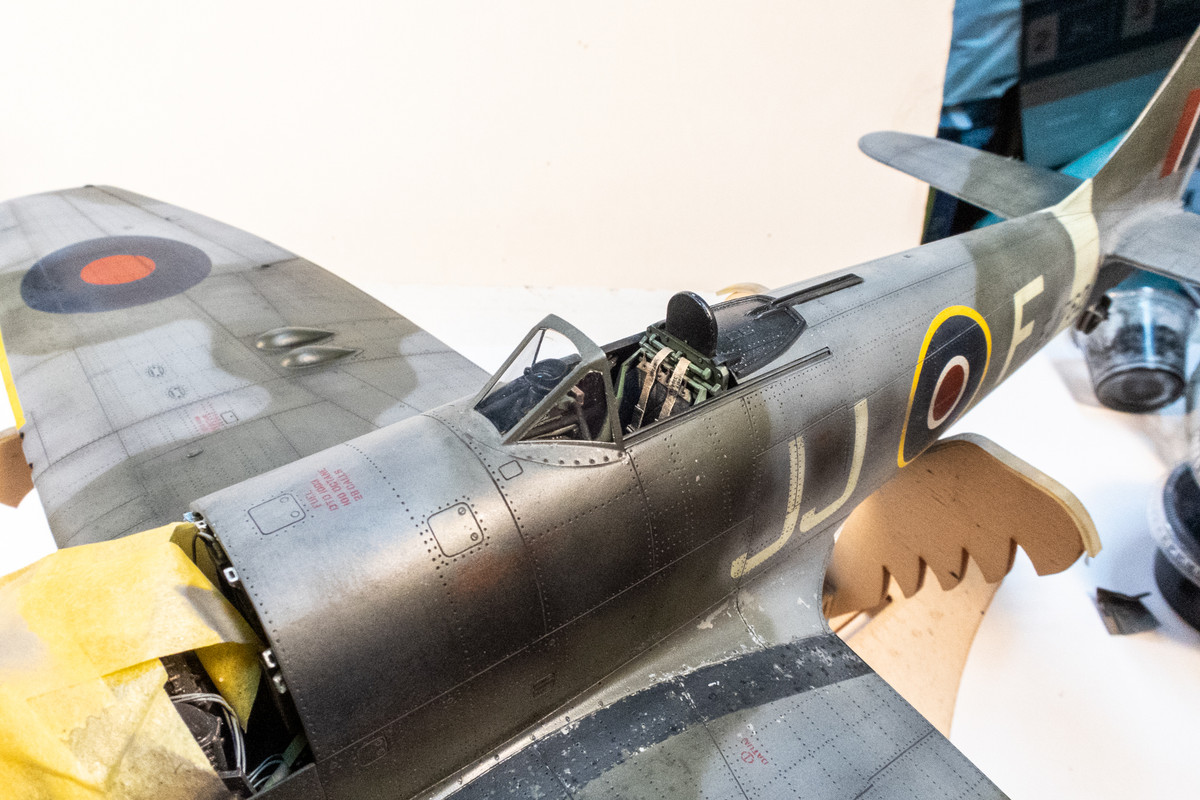
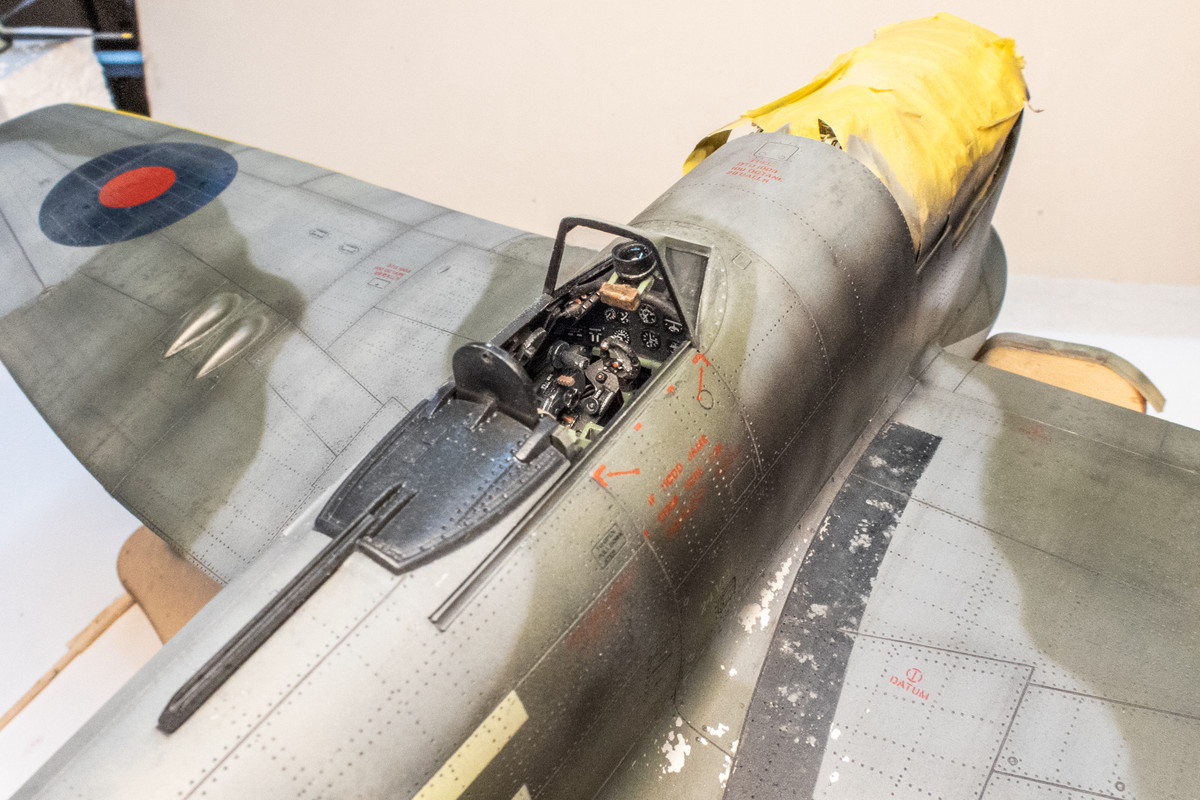
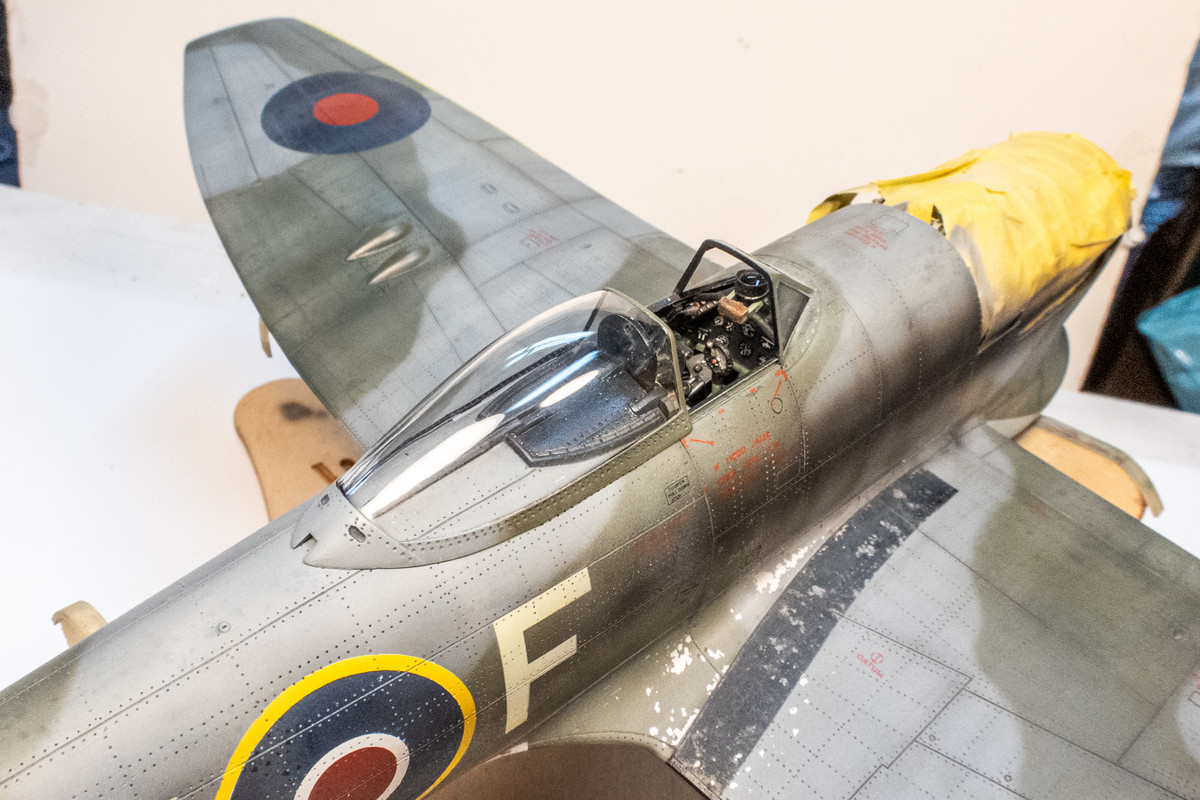
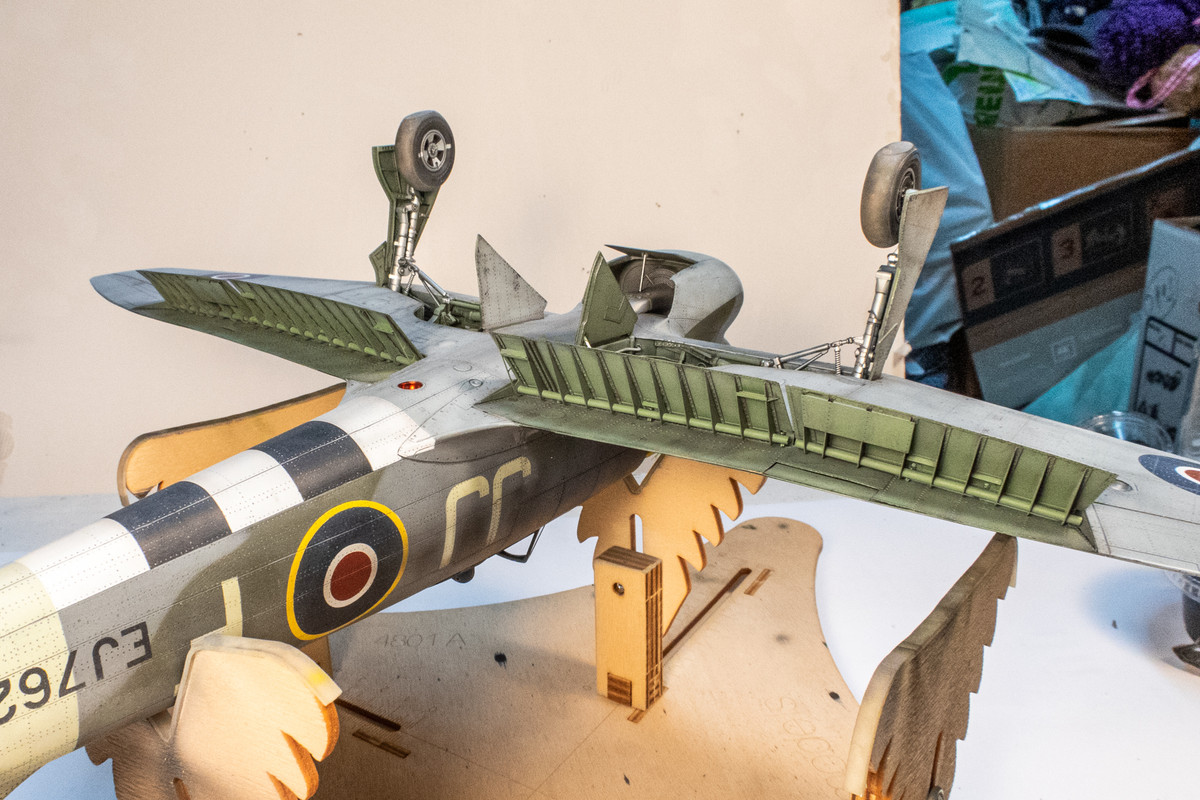
After the bottom is dry, I flip the model over and do the top. The separate engine cowlings have been painted and were taped together and placed in position to check the camo demarcations and exhaust stains.
Image
Image
Image
Image
Image
Image

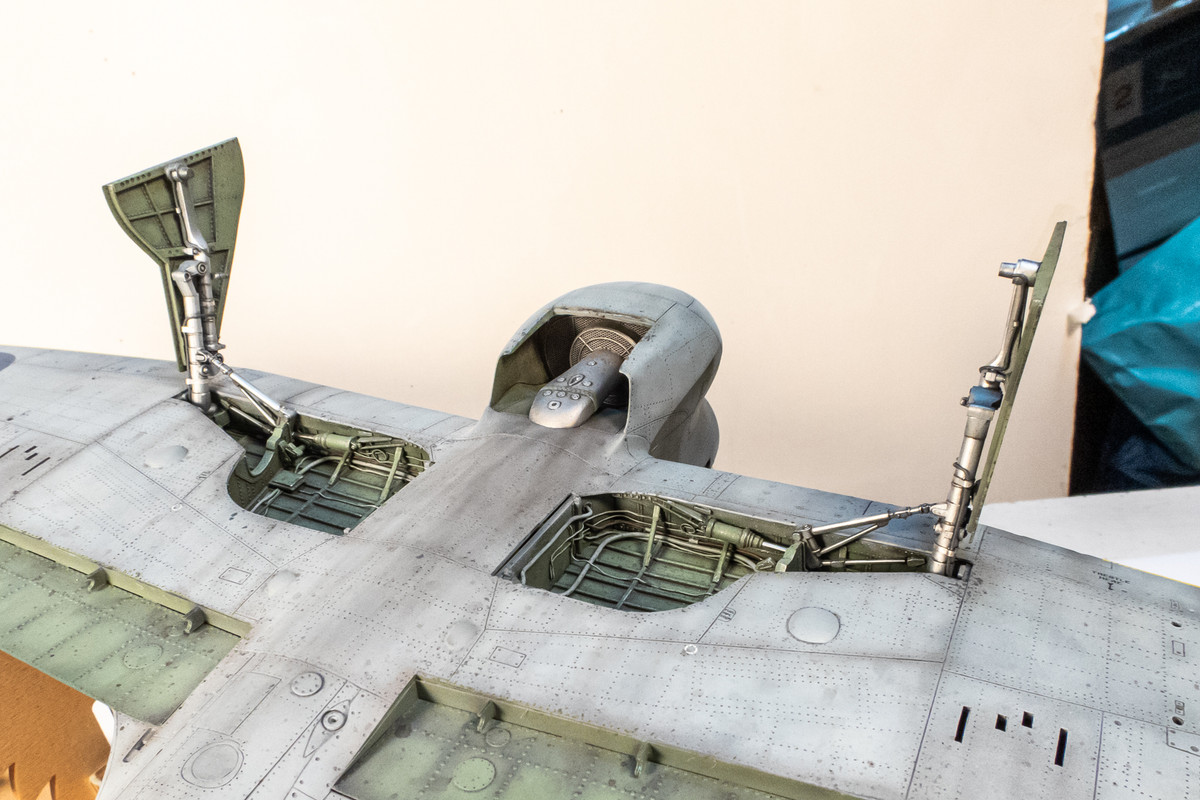
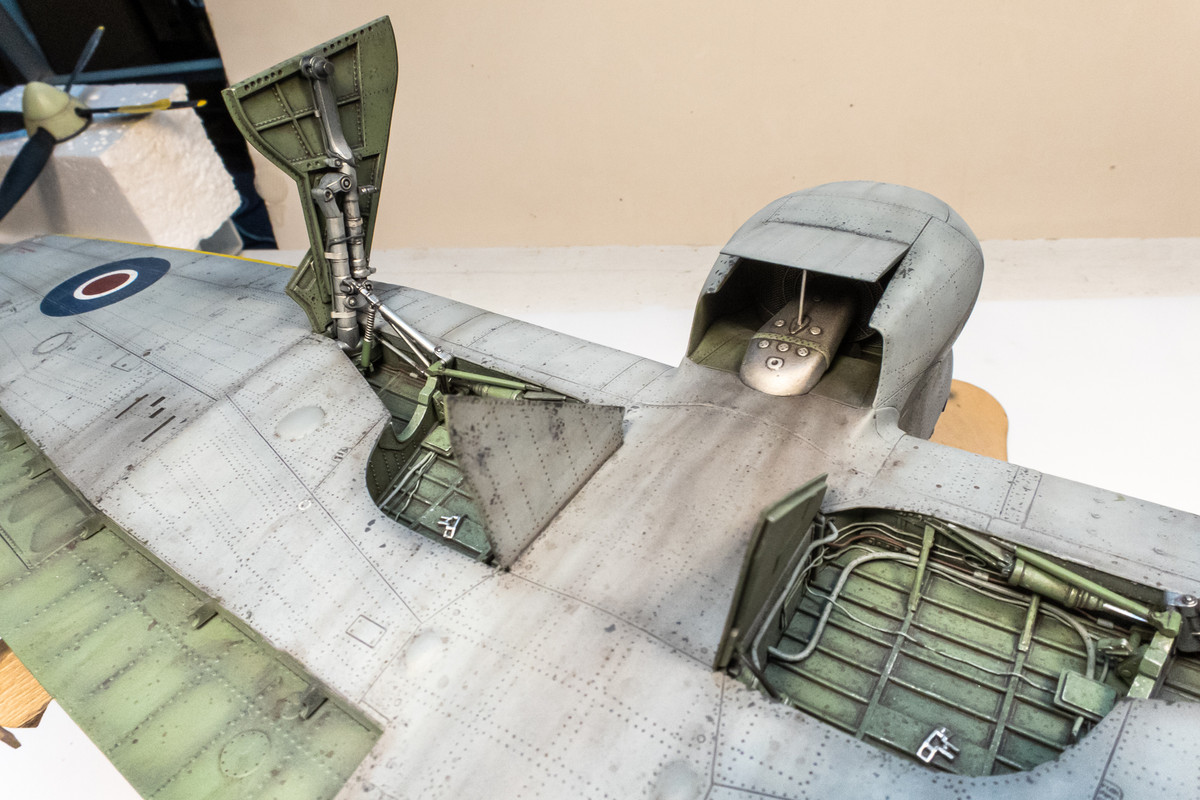
I wanted to see what the flaps looked like in place...
Image
Image
Image

I still have some weathering steps to perform before I can remove all of the masking.

Re: 1/32 Special Hobby Hawker Tempest Mk V

Posted: Sun Jun 05, 2022 11:58 pm
by Stikpusher
:shoutout: :shoutout: :shoutout:

Looking fabulous. I love the restrained look of wear on this one.

Re: 1/32 Special Hobby Hawker Tempest Mk V

Posted: Mon Jun 06, 2022 4:49 am
by tempestjohnny
:P1:

Re: 1/32 Special Hobby Hawker Tempest Mk V

Posted: Wed Jun 08, 2022 10:47 pm
by jkim
Thanks guys!

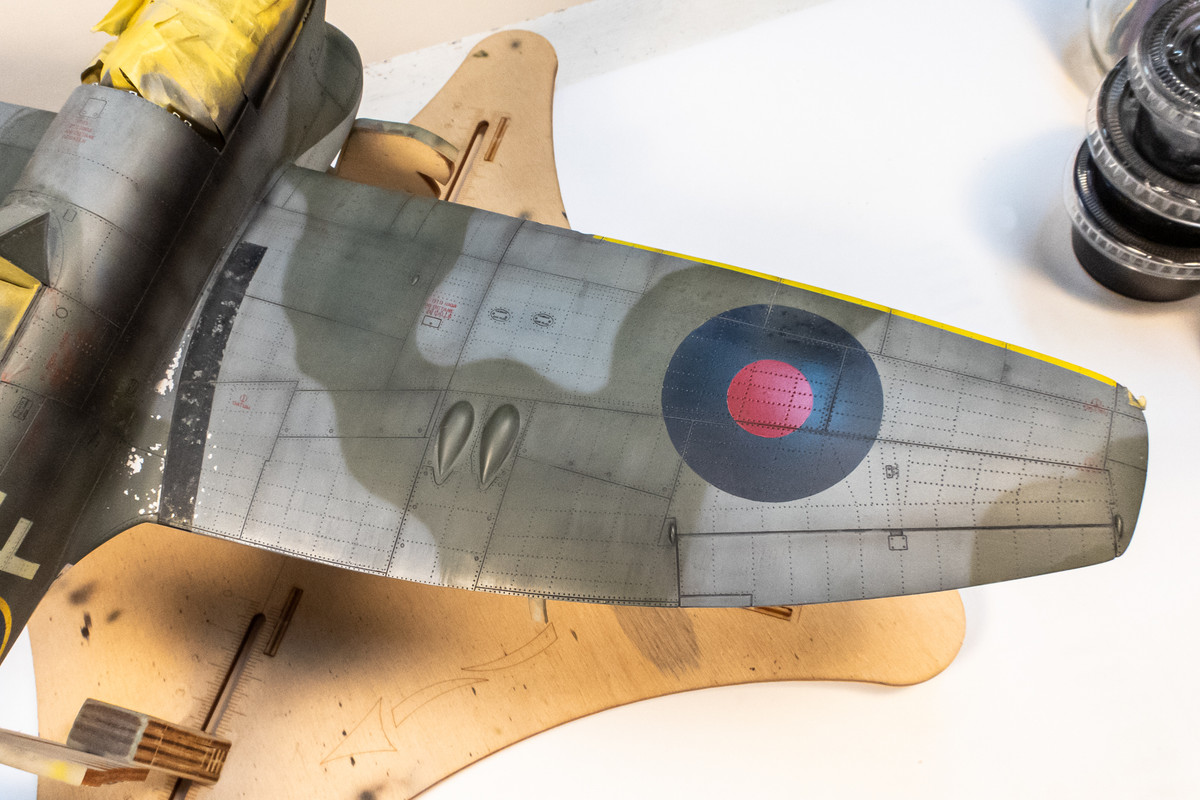
I did some salt weathering on top. An interesting technique that's hard (for me) to get right. The idea is to use salt crystals as a mask to create either paint chipping or spotty weather stains. I find it easiest to work with a flat finish so the salt weathering is usually the last painted effect that I will perform. Water is spread over the surface of the model and rock salt crystals are sprinkled on.
Image

Once it is dry, a very watered down contrasting color is misted over the model. In this case I used Tamiya Buff. After the buff is dry, I use a spray bottle of water and a clean cloth to remove the salt crystals and hopefully leave random spot stains. I want a very subtle effect but in this case, it is hardly noticeable. Which is better than overdoing it.
Image

I let the model sit for a couple of days. I had some other things to take care of but also wanted to give some time for any pesky residual pockets of salt to dry up and flare as white frost.

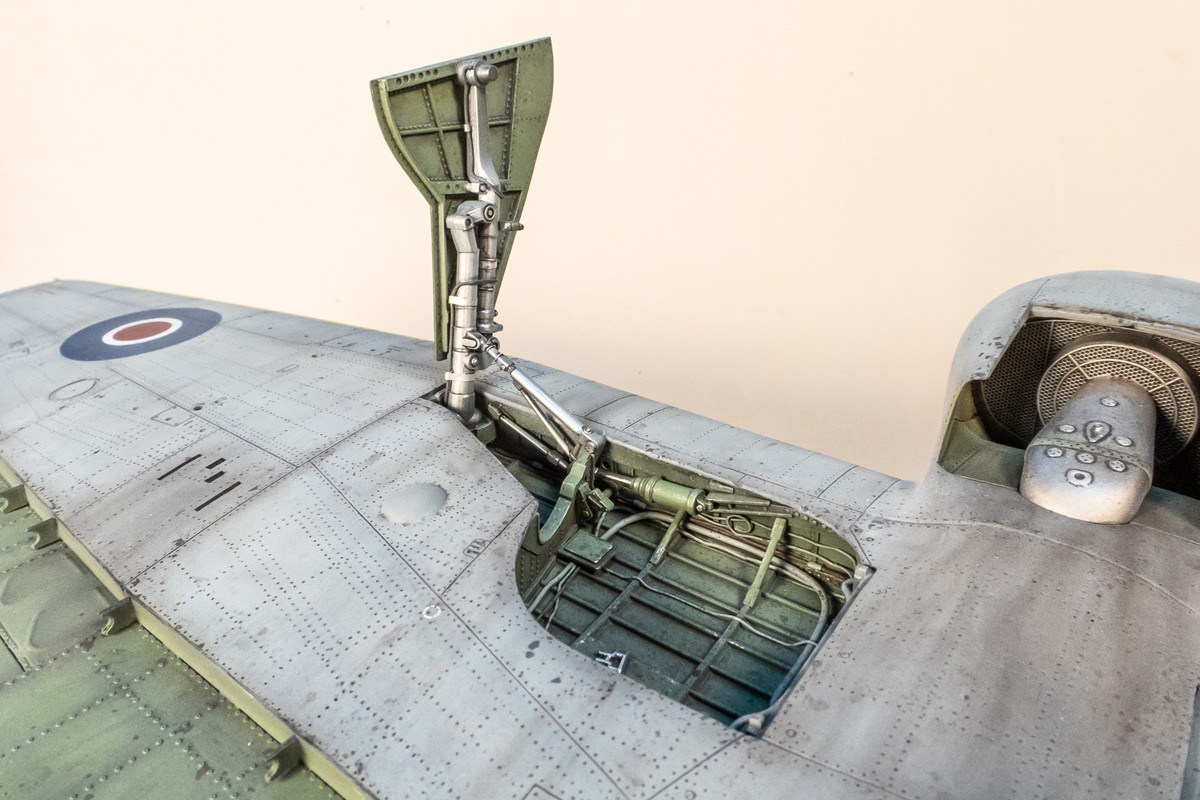
I spattered some dark brown pastel wash on the bottom and wiped it off, leaving another layer of dirt on the bottom. Considering the weathering on the bottom complete, I removed some of the masking and started to install the landing gear legs.
Image
Image

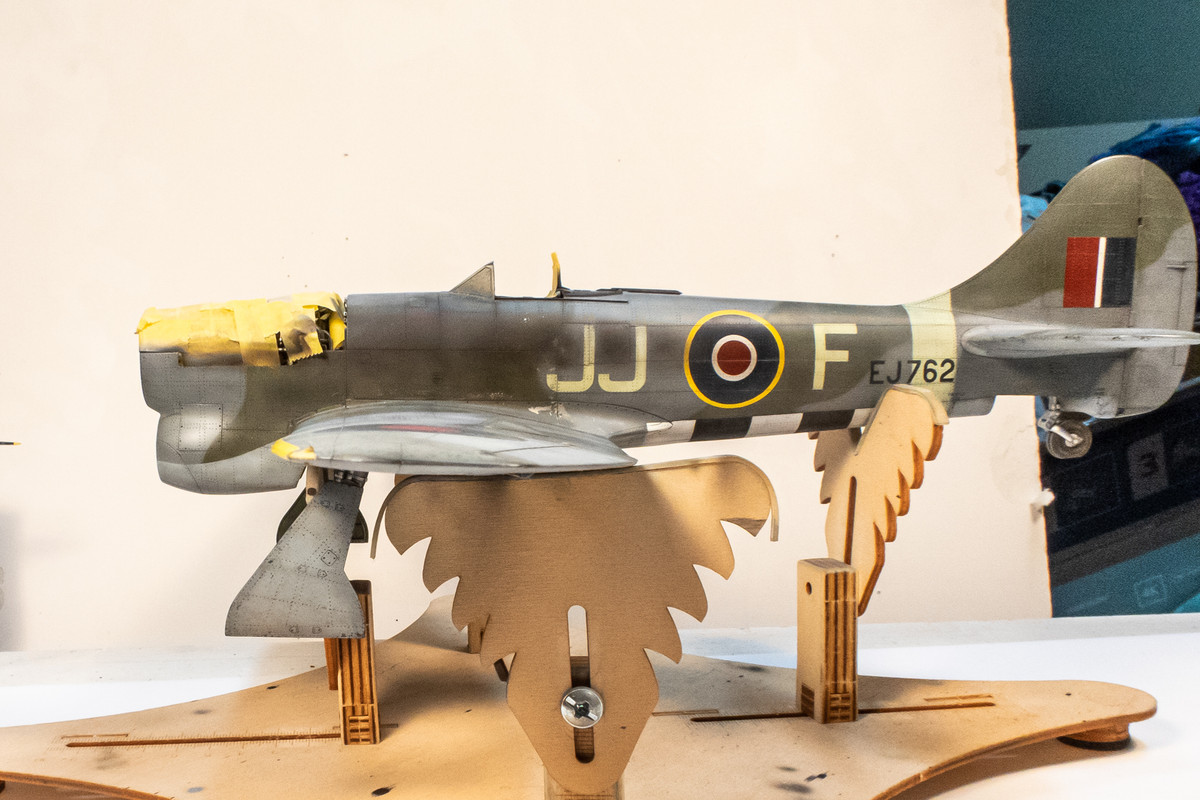
Checking the forward rake of the landing gear legs. As a rough visual reference, I want the bottom edge of the landing gear legs to be parallel to the alignment of the exhaust pipes on the fuselage.
Image

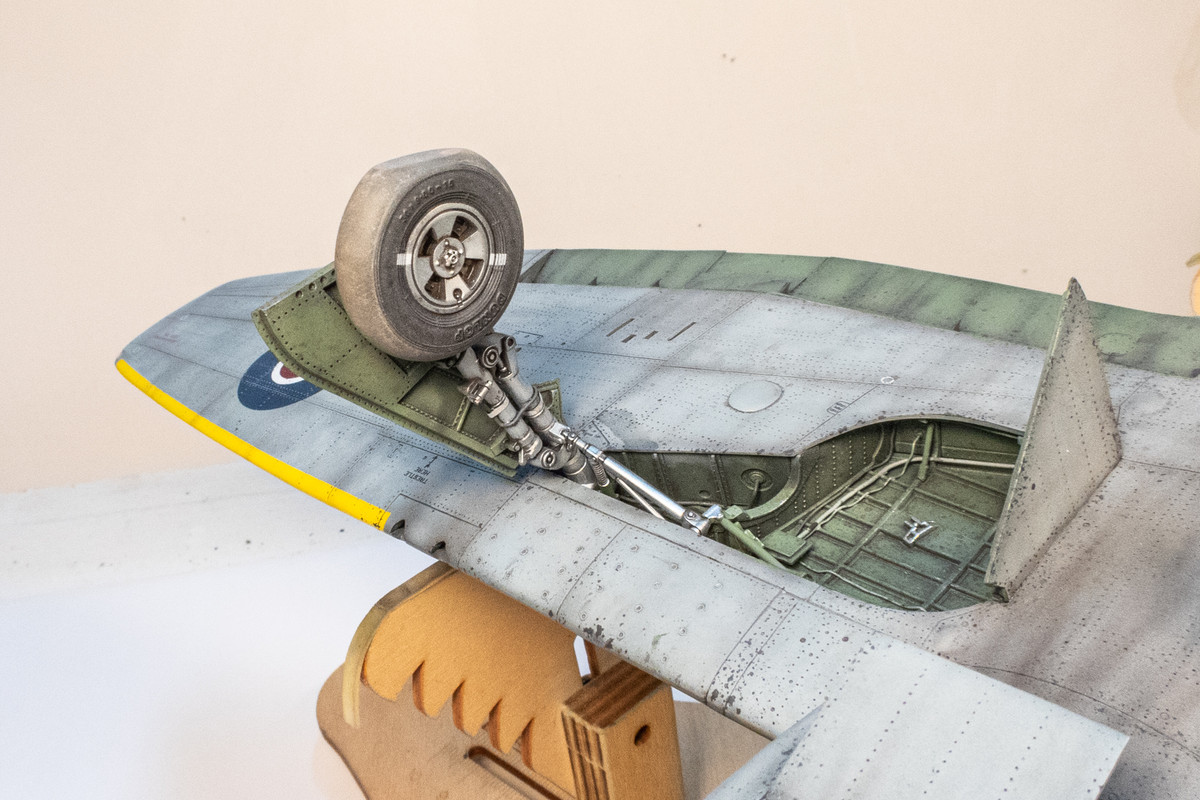
After I'm satisfied with the position of the landing gear legs, I glued into place all of the auxiliary struts and landing gear doors. The radiator exit flap was also attached at this time.
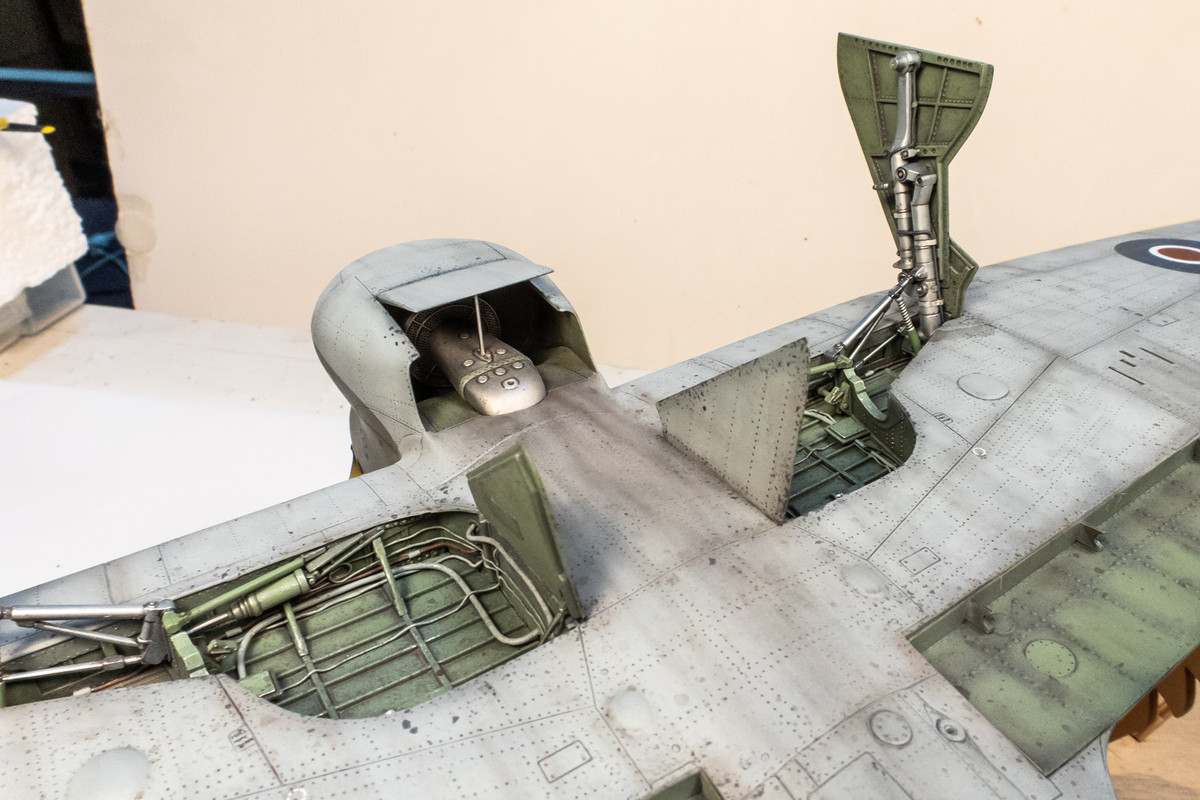
Image
Image

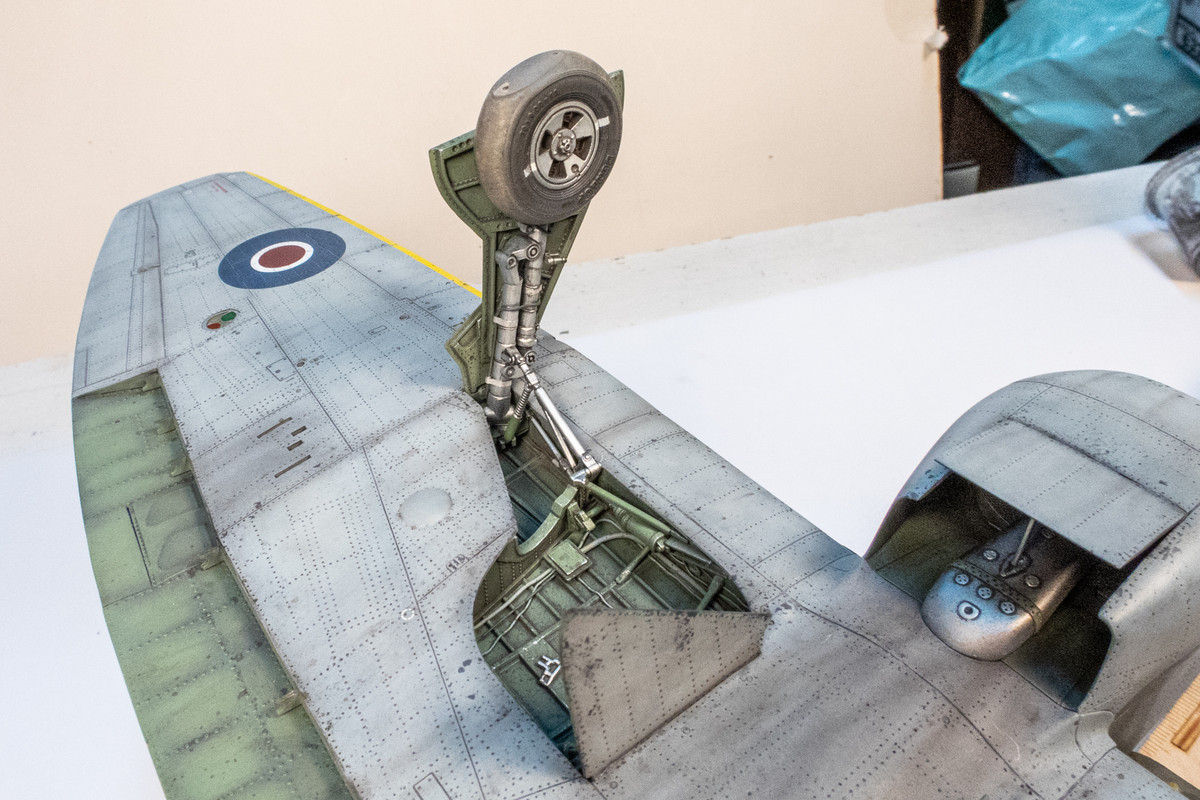
The landing gear legs have been attached with Tamiya Extra Thin cement so I am want to let the glue cure completely before attaching the wheels but here's a sneak peak at the Tempest on her own legs.
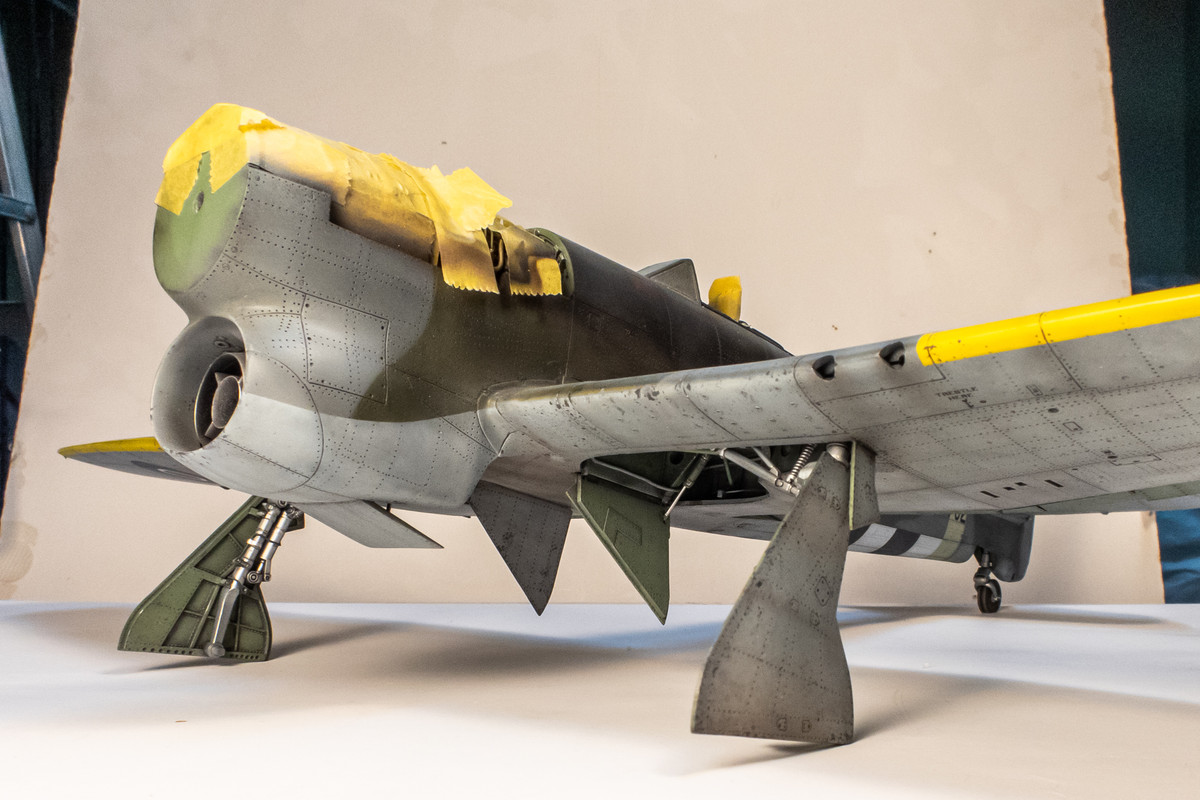
Image

Here's a view of the port wing that shows the salt weathering effects a little better.
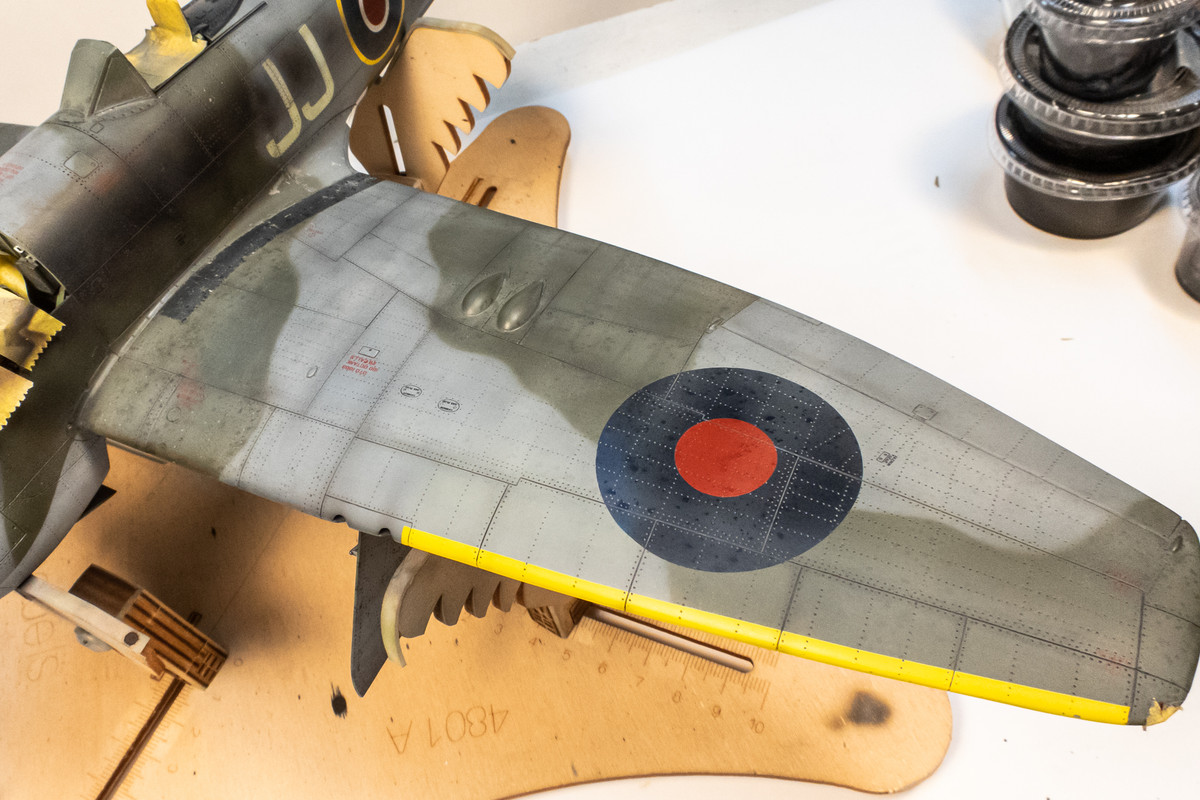
Image

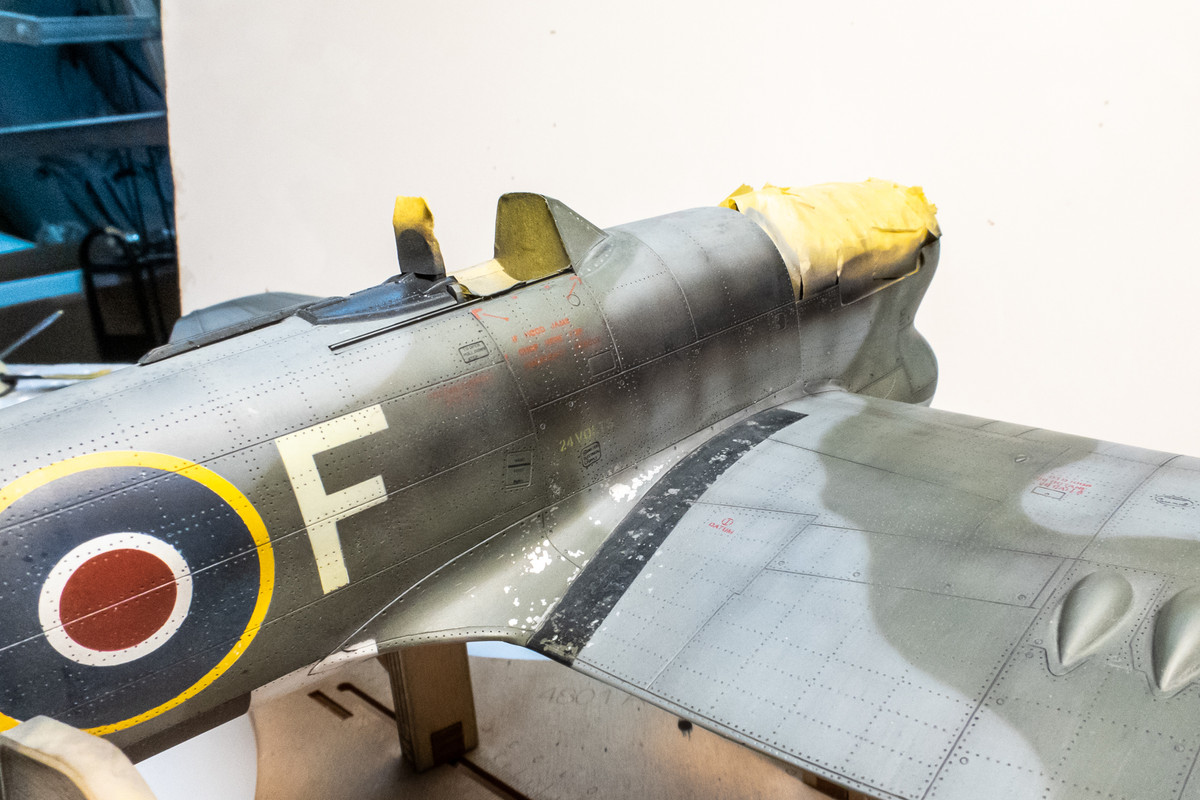
I've worked a little bit more on the exhaust stains. Looking at the archive photo of this aircraft, I am guessing that the JJ+F codes were scrubbed clean of the exhaust stains and although I couldn't replicate the exact effect, I tried to show something similar on the port side.
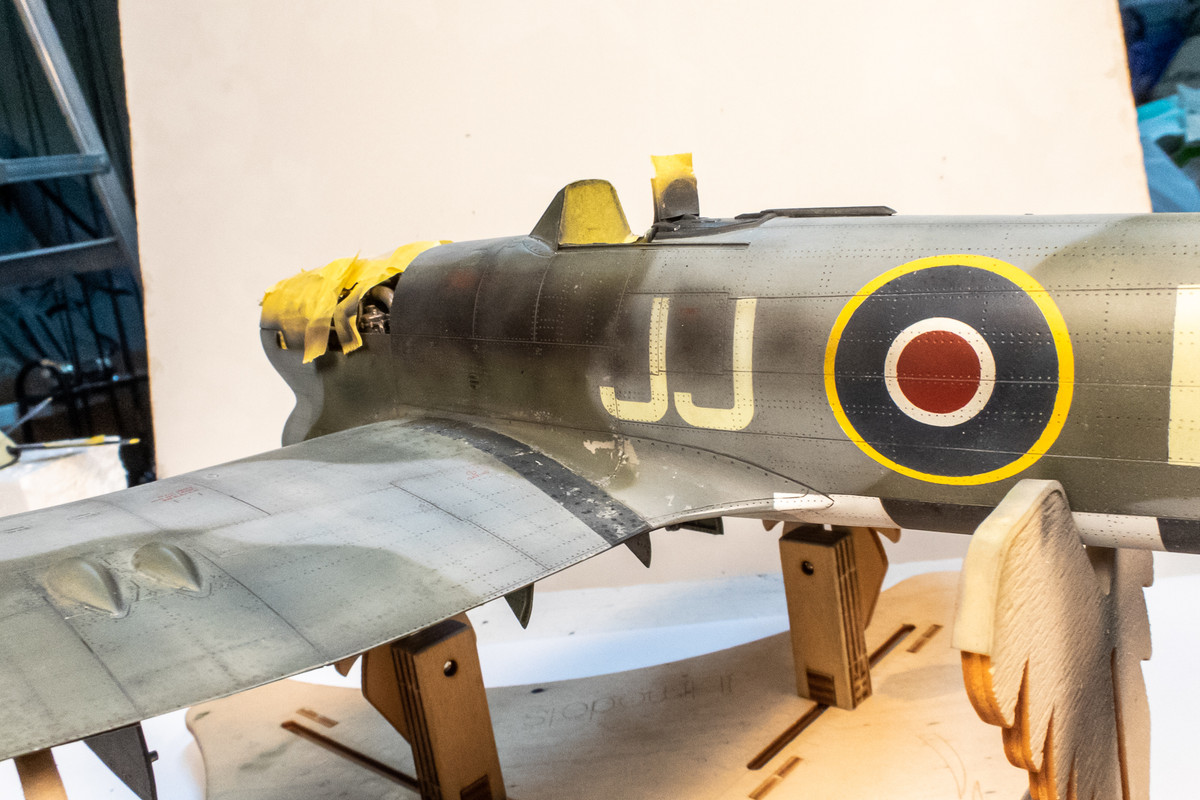
Image

A similar but less severe effect was attempted on the starboard side.
Image

Re: 1/32 Special Hobby Hawker Tempest Mk V

Posted: Wed Jun 08, 2022 10:56 pm
by Stikpusher
Excellent detail work John. All the small things are really adding up now! :shoutout:

Re: 1/32 Special Hobby Hawker Tempest Mk V

Posted: Thu Jun 09, 2022 2:54 am
by mustang1989
I can never get enough of your layer upon layer of weathering techniques John. Something to learn around every corner with your builds.

Re: 1/32 Special Hobby Hawker Tempest Mk V

Posted: Thu Jun 09, 2022 8:57 am
by keavdog
Looking just awesome

Re: 1/32 Special Hobby Hawker Tempest Mk V

Posted: Thu Jun 09, 2022 11:02 pm
by jkim
Thanks everyone!

I can see the finish line coming up soon on this one! With the salt weathering stage done, I felt safe about removing most of the masks, including the clear windscreen. No major surprises but there was a fair amount of dust collecting on the interior side of the windscreen that I'll have to clean off.
Image
Image

The masks from the sliding canopy were removed with no issues. It stays in place without glue and can be posed either open or closed but it tends to pop out from the rails if you play with it too much.
Image
Image

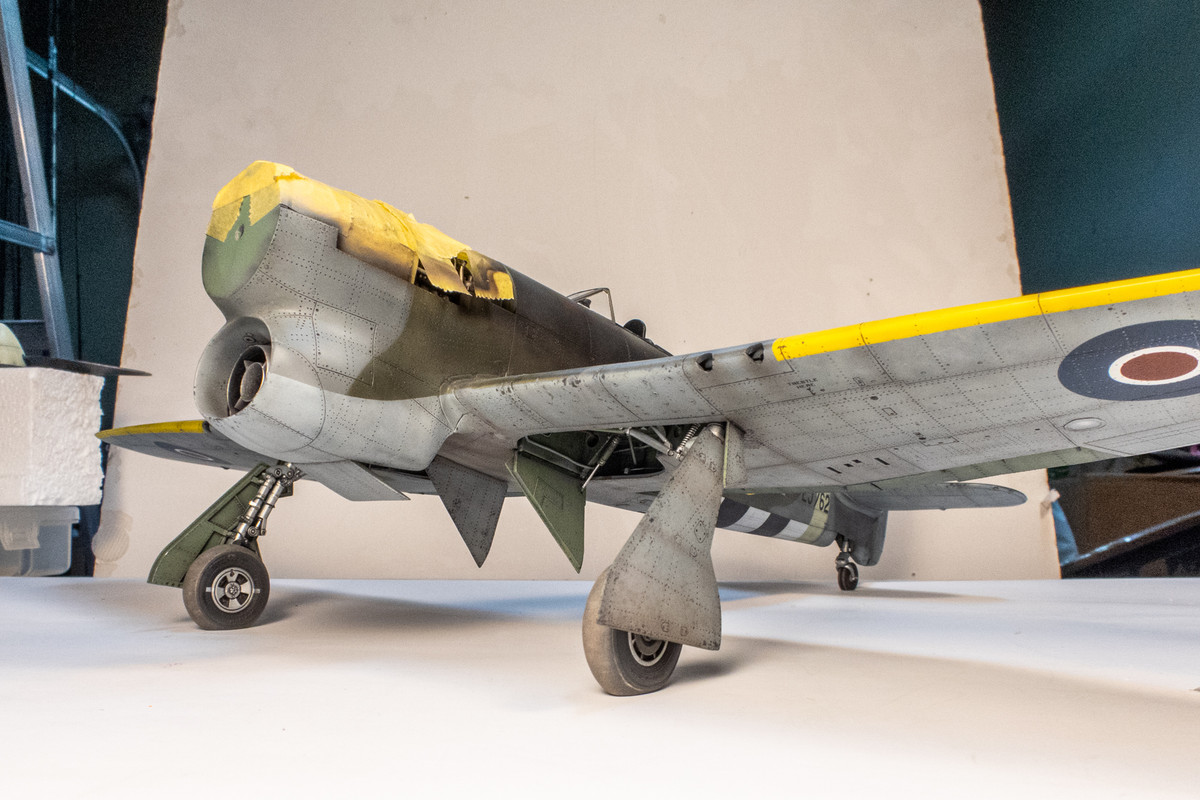
The resin wheels are now glued into place. 2-part JB Kwik Weld epoxy was used to give me time to position the flat spots correctly.
Image
Image

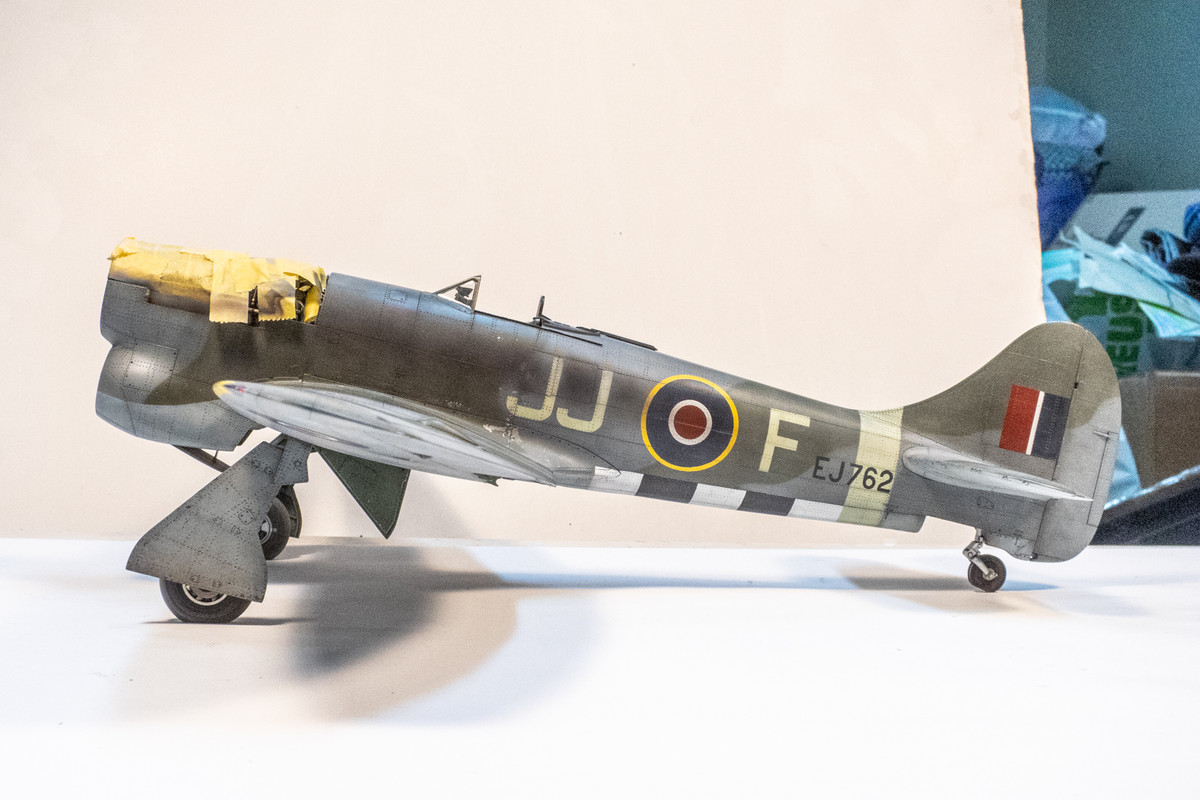
After ten minutes, the epoxy has cured enough to place the Tempest upright on her own feet.
Image

Stance check...
Image

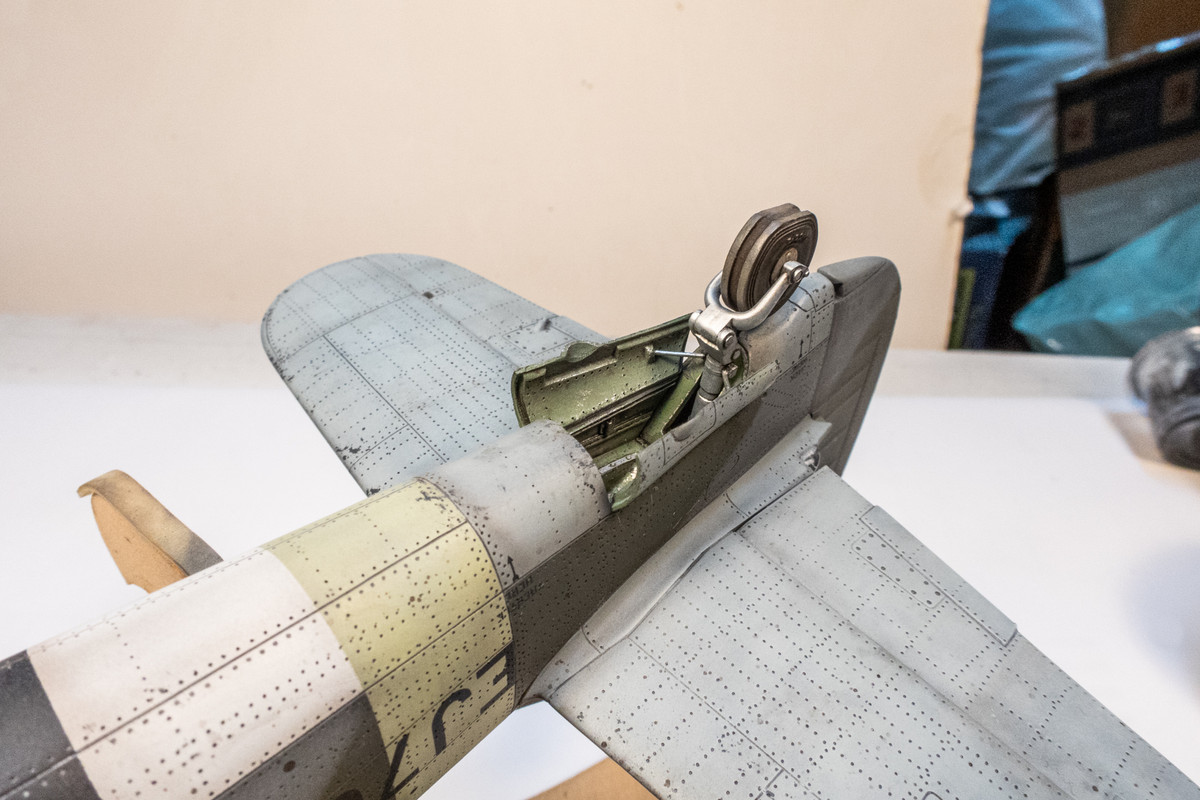
The tail gear and doors have been glued into place. The tail wheel still rotates freely so the flat spot can rotate to the correct orientation after the main wheels are glued into place and the stance of the aircraft finalized.
Image

Only the inner flaps will be glued into place. The outer flaps can be held in place by friction and it will be easier to secure the wings without the outer flaps when it is time to transport the model.
Image

She's just about done with only a few more things to add.

Re: 1/32 Special Hobby Hawker Tempest Mk V

Posted: Fri Jun 10, 2022 12:01 am
by keavdog
Getting close! I'm not sure if I asked you this before, but what do you use for your landing gear struts - they look fantastic.

Re: 1/32 Special Hobby Hawker Tempest Mk V

Posted: Fri Jun 10, 2022 11:21 am
by jkim
Thanks John! I was originally going to paint the landing gear a light grey but my research seemed to show that the legs were a metallic finish so I ended up painting them with AK Extreme Metal White Aluminum. Very similar to Alclad.