Page 37 of 42
Re: KENNY X HAS A TANK
Posted: Sun Mar 03, 2019 4:20 pm
by Stikpusher
Kenny, everything is looking just right so far! Keep it up!
Re: KENNY X HAS A TANK
Posted: Sun Mar 03, 2019 5:20 pm
by KennyX
Thanks, Carlos! I’m still enjoying this project a whole lot and I’m really happy about how it’s coming along.
Re: KENNY X HAS A TANK
Posted: Sun Mar 03, 2019 7:56 pm
by speedgraflex
Keep on trucking, bud!
Re: KENNY X HAS A TANK
Posted: Mon Mar 04, 2019 2:29 pm
by KennyX
You got it my man!
Yeah, it wouldn’t be a Kenny X build is something silly didn’t happen. LOL I realized today that Is forgotten to install the other half of all the hinges on these lids back here. So I took some time out of my dry brushing and added them. Much better!
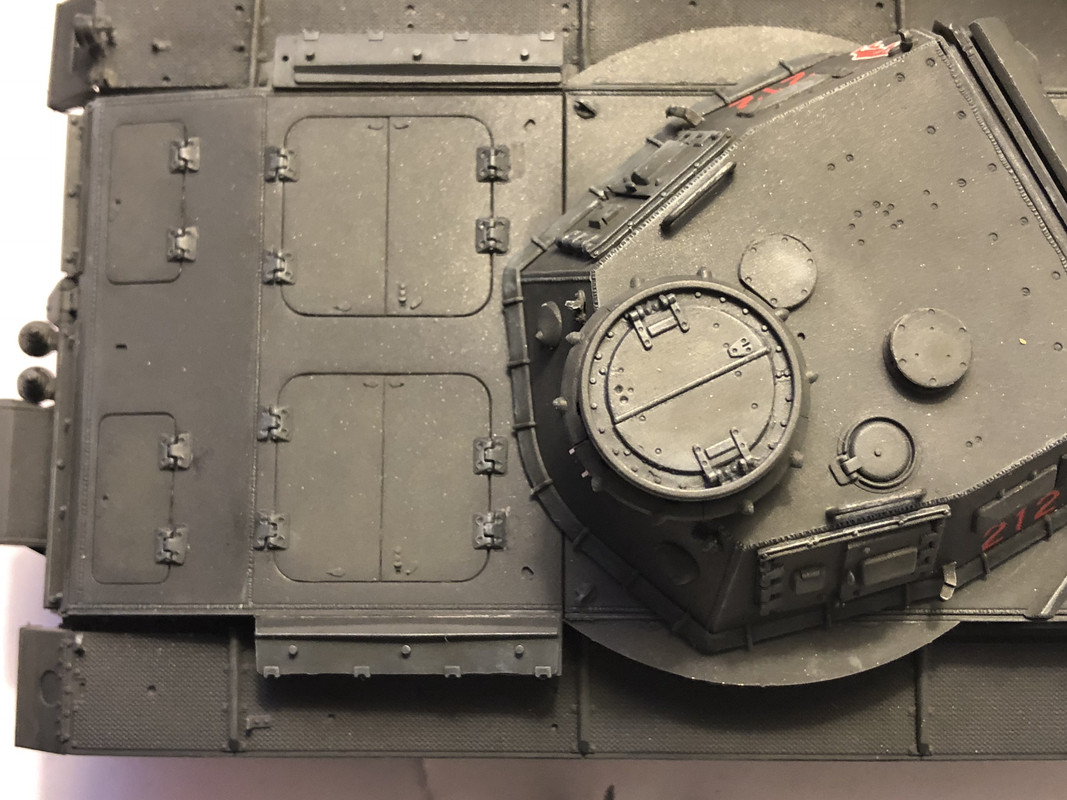
And back to dry brushing...
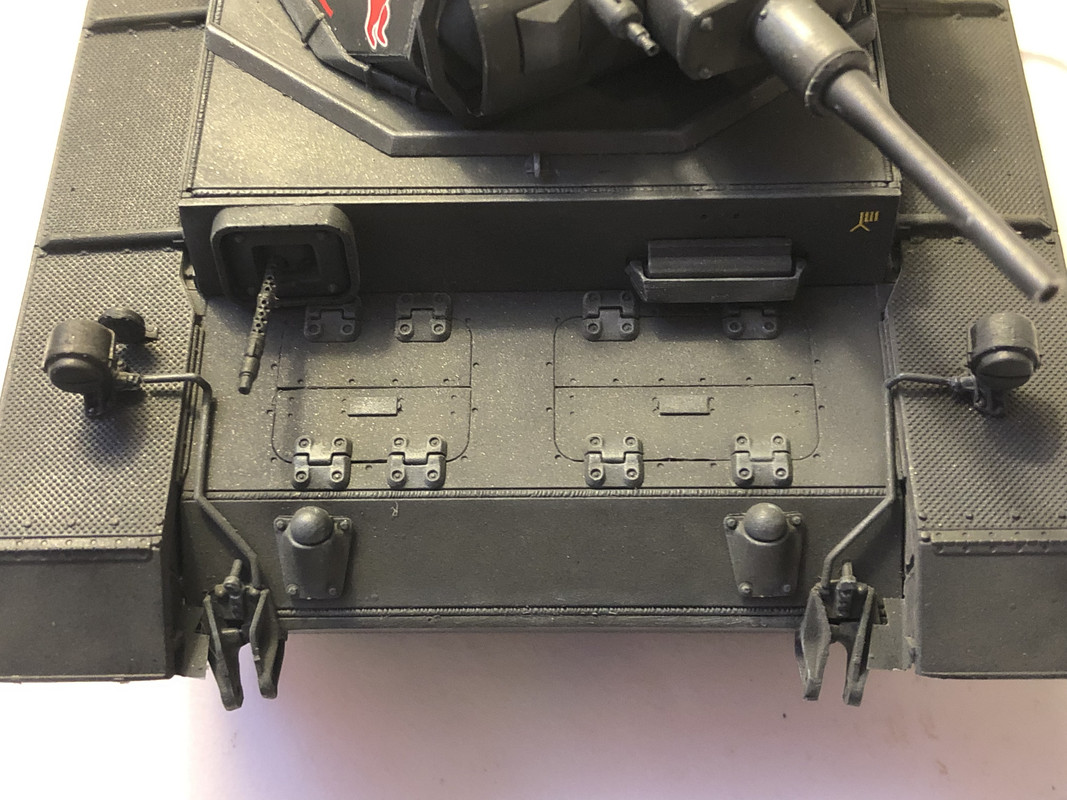
Front end is looking mean already! I can’t wait for the track links I ordered to get here so I can install them on here. I really think they’ll be a great addition.
Re: KENNY X HAS A TANK
Posted: Thu Mar 07, 2019 10:02 am
by KennyX
Dry brushing is complete!
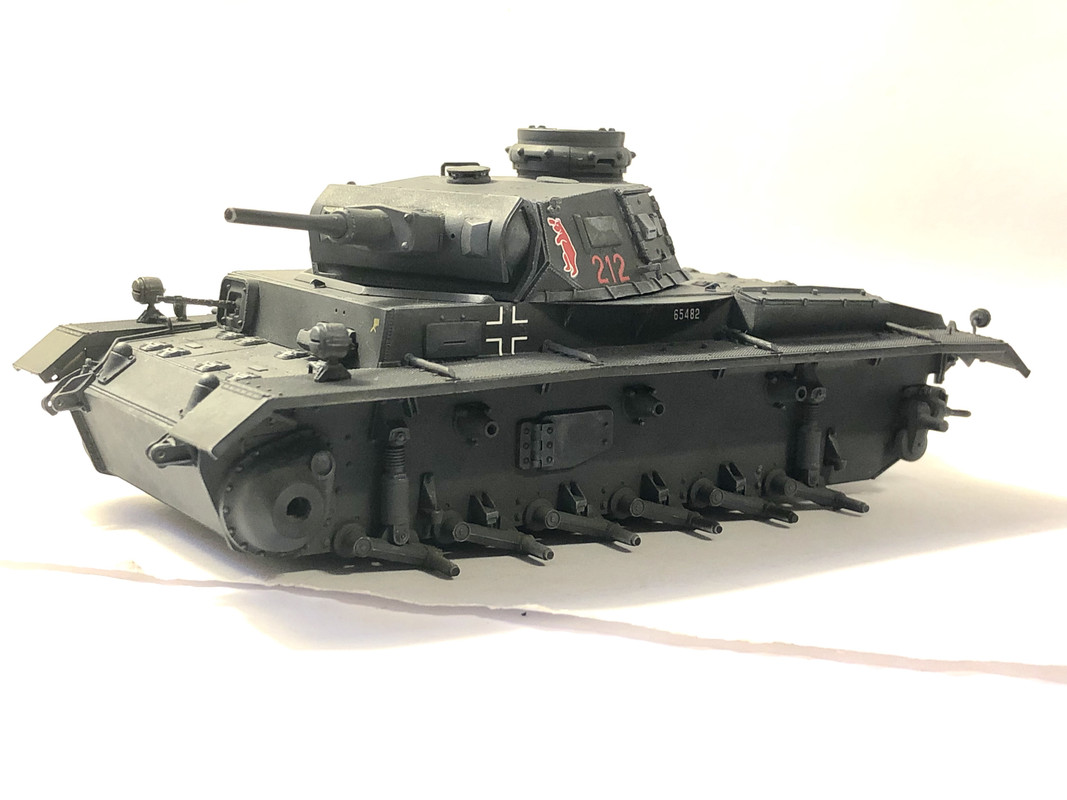
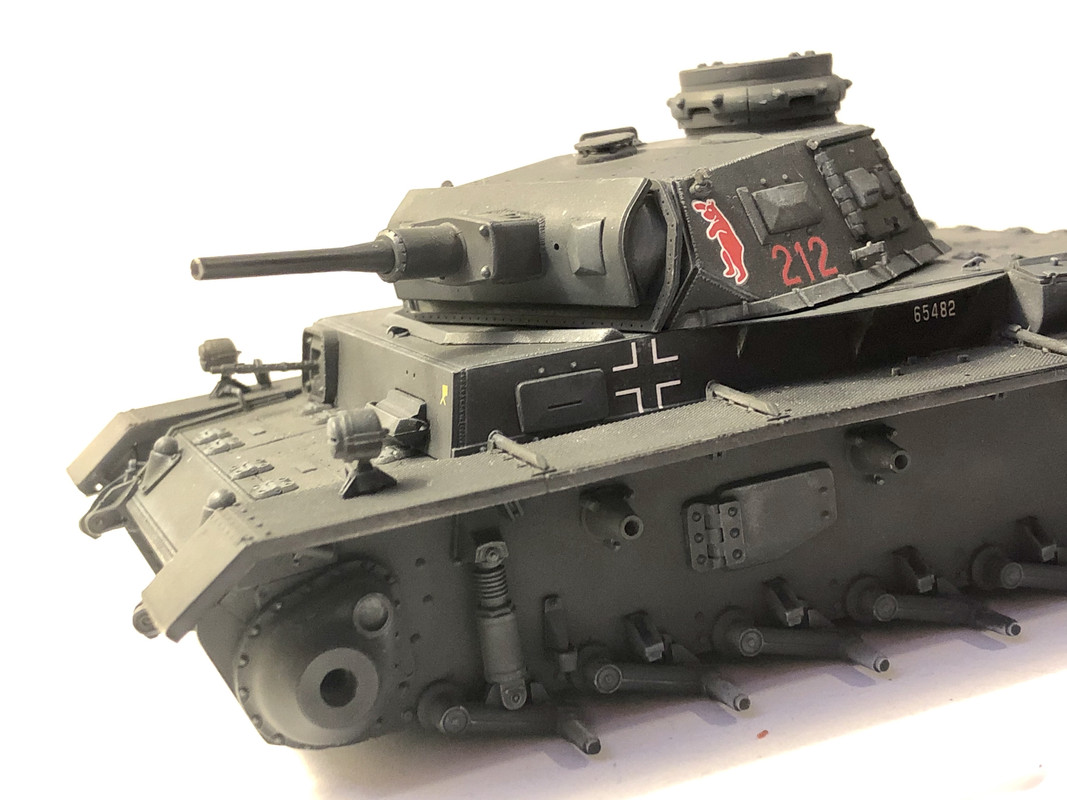
Time for dot fading and streaks with the oils!!
Re: KENNY X HAS A TANK
Posted: Thu Mar 07, 2019 10:13 am
by LyleW
OOHH...a low-rider! I've not tried the dot thingy. I imagine it would look like I spilled a bag of Skittles on the model. I'm a wartchin this.
Re: KENNY X HAS A TANK
Posted: Thu Mar 07, 2019 10:18 am
by Stikpusher
Me too. I have a few older builds I am thinking of trying it out on to see how they might look better. The base color just does not look right “as is”. I think some dot filters might do the trick. I need to see how you do it for a base idea of how to do so...

Re: KENNY X HAS A TANK
Posted: Thu Mar 07, 2019 10:21 am
by KennyX
Lyle and Carlos,
I’ll document my process in-detail like I did the airbrushing, then! It will be fun. I’ll make sure to be thorough with the details.
Re: KENNY X HAS A TANK
Posted: Thu Mar 07, 2019 11:08 am
by Stikpusher
Thanks Kenny.
Re: KENNY X HAS A TANK
Posted: Thu Mar 07, 2019 4:57 pm
by KennyX
Okay! Oil Dot Filtering!
Here’s how I do it:
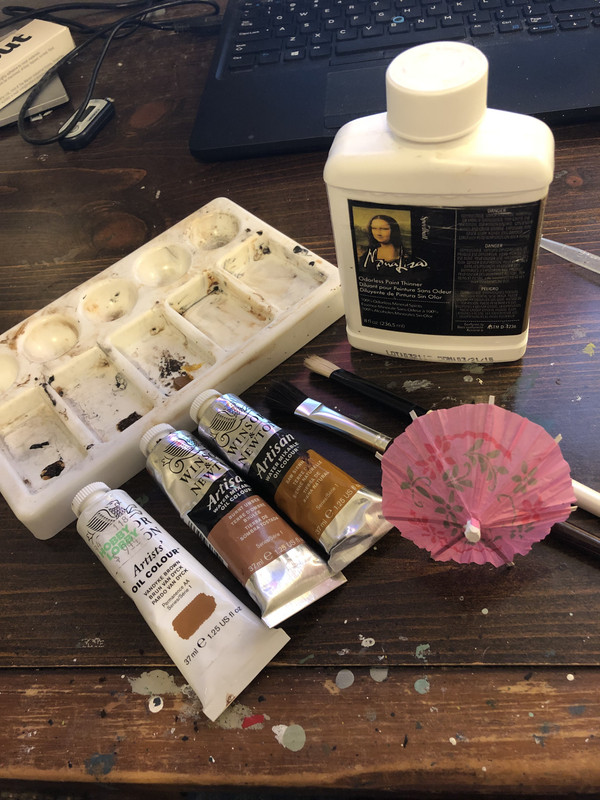
1. Get your oils, a few nice brushes, your thinner, and an applicator like a cocktail umbrella. I like earth tones. Van Dyke Brown, Burnt Umber, Raw Sienna are what I picked. Dispense a small amount of each onto your pallet and fill a few of the troughs with thinners. I use Mona Lisa White Spirit. It is gentle and has never caused me issues. Please note though, that I’ll only do this on a model that has been sealed with a clear coat, after giving the clear coat plenty of time to cure:
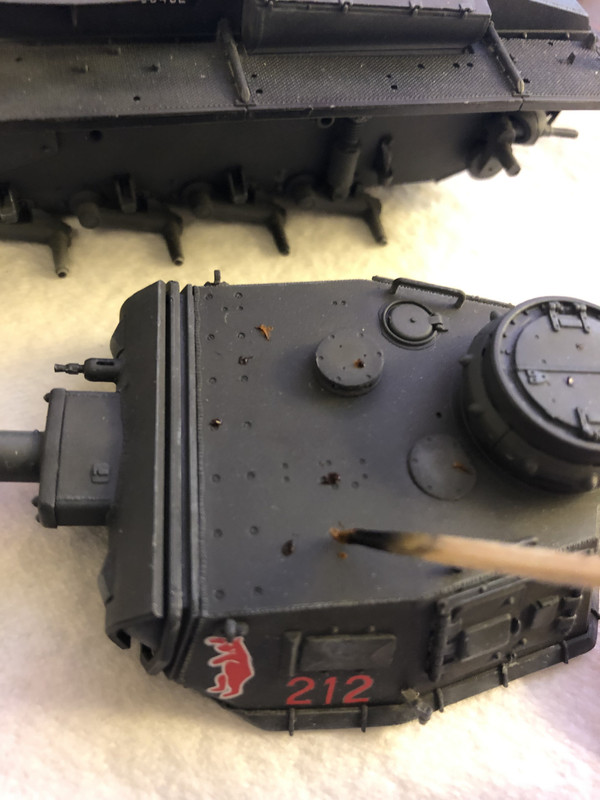
2. Take a very small amount of each color, just enough to make a small bead on the tip of your applicator, and gently apply it to the surface of the model in a random fashion:
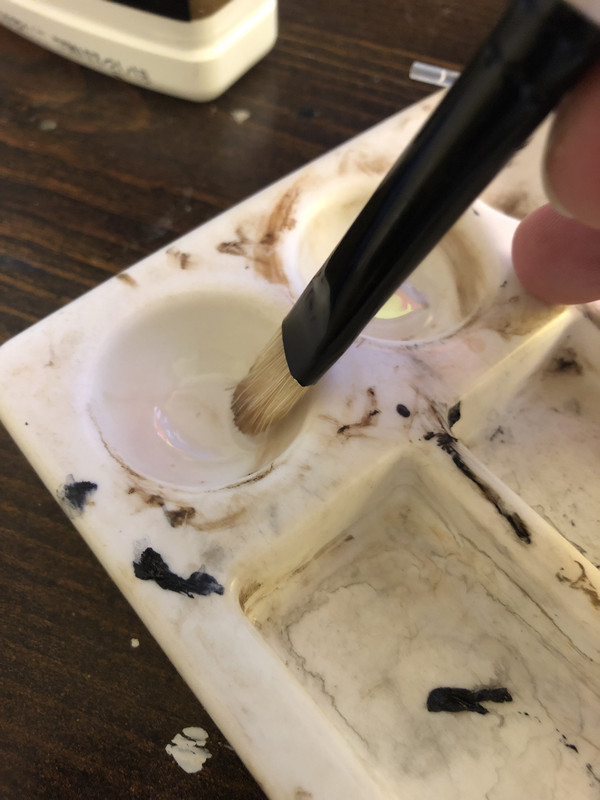
3. Dip your brush in thinner and then swipe it off onto a paper towel to remove the excess:
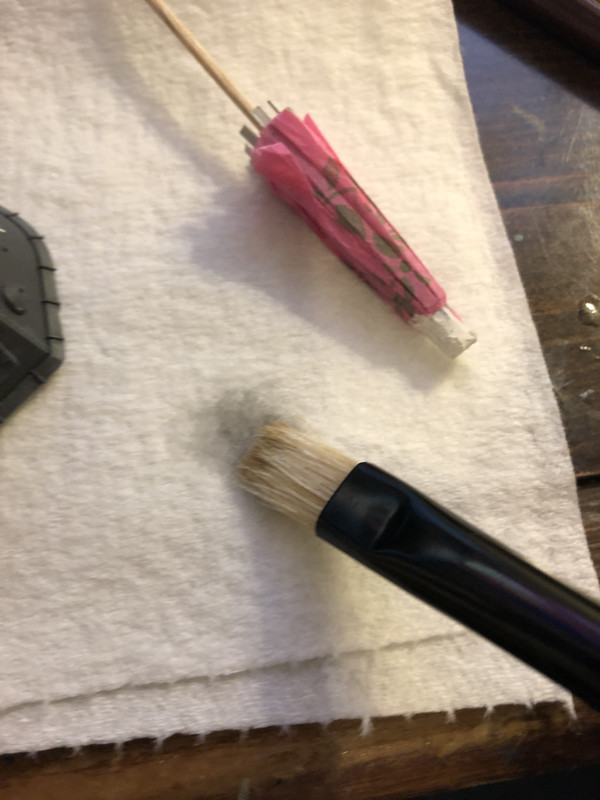
4. Blend those oils in there by swirling the brush over the surface of the model:
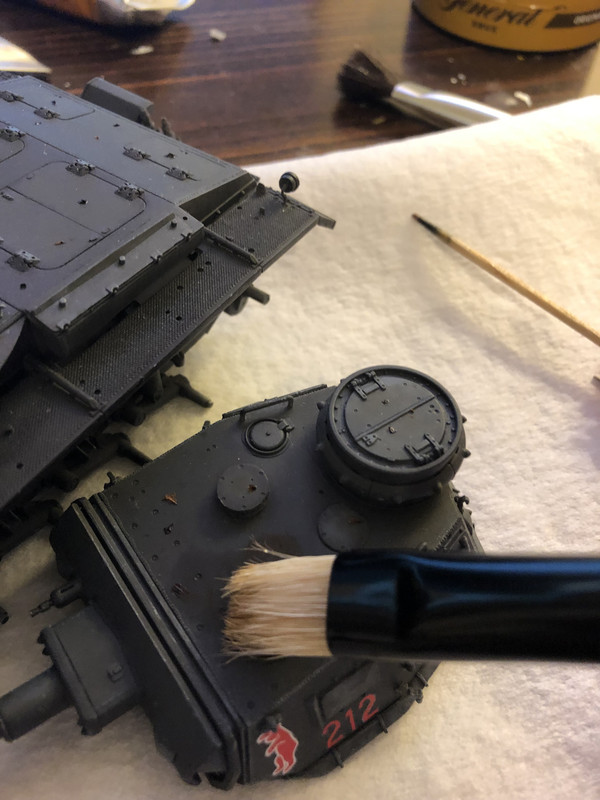
I repeated this process three times. The first with all colors. The second, only with dots of Van Dyke Brown and Raw Sienna, and the lat, with just Burnt Umber.
Initial Reaults under harsh light:
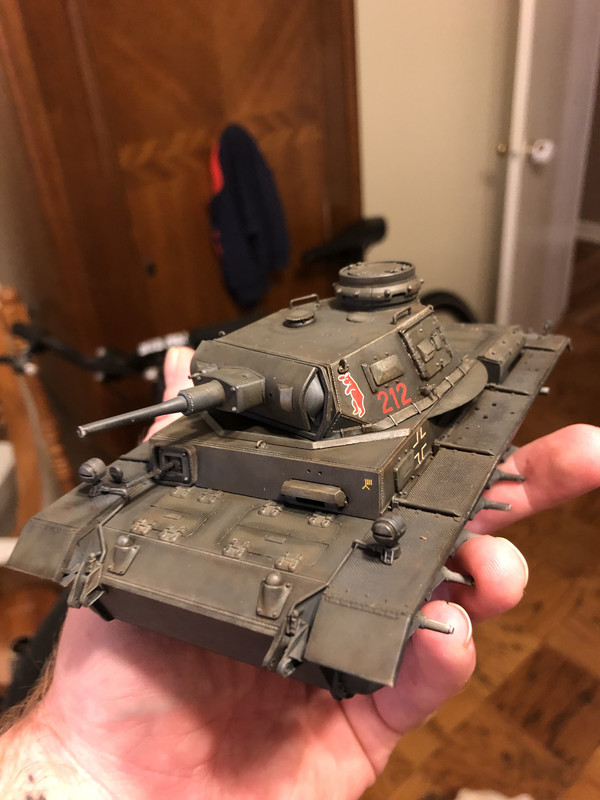
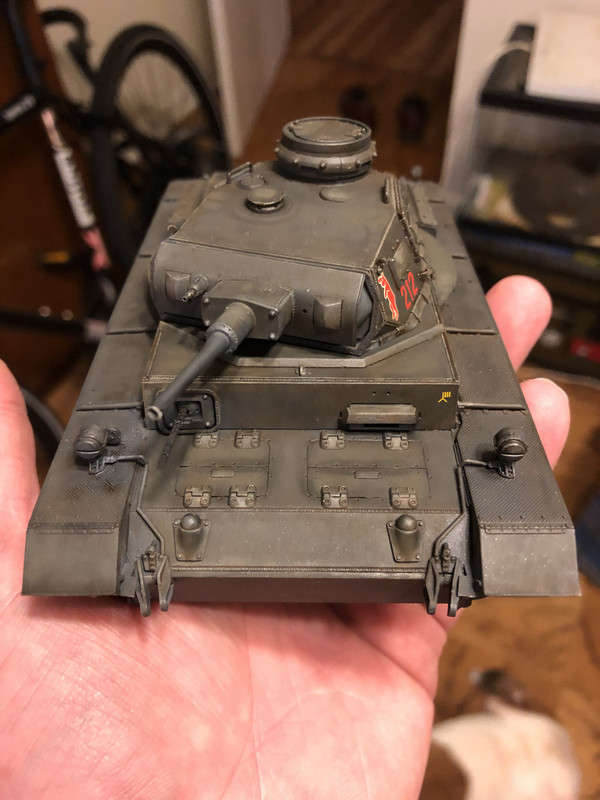

At this point I am happy with the filter effect, however that might change later, so I’m letting
Der Schnappër rest until tomorrow. These oils mellow out a lot as they dry and cure, so I try not to do too much at one time. If necessary I can do more tomorrow.
So that’s where we’re at! Part 2 where we check it out after drying and curing tomorrow!