Okay! How about we talk about streaks?
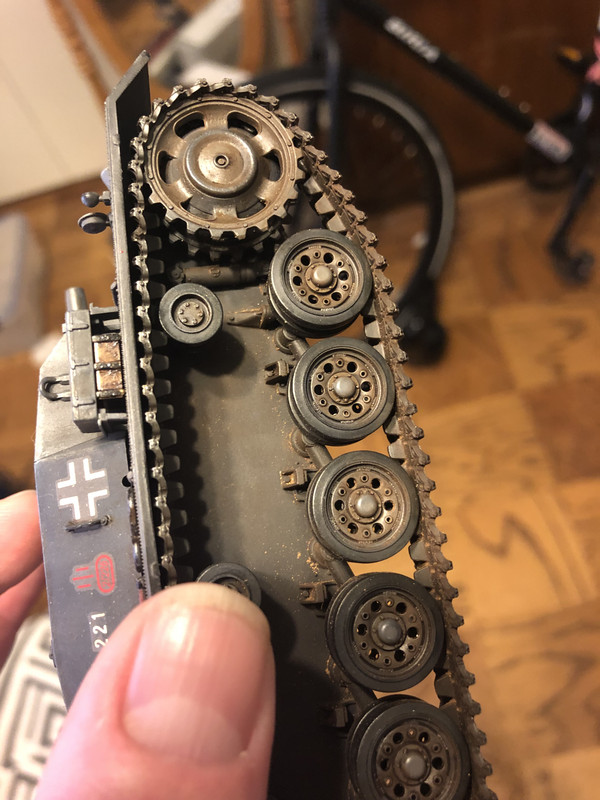
I’m thinking about how this was a diving tank. What does a diving tank look like after it’s re-emerged? What does a great-big, mean, alligator snapping turtle look like when he re-emerges? Water runs down the giant spikes and contours on his carapace, and mud and grime all flow right along with it. And some spots may be more muddy and grimy than others so we’ll account for that, too because mud doesn’t cake you in a uniform pattern.
1. Get your “mud” ready! Burnt Umber, and I have my applicator, thinners with which I’ve made a slightly more pigmentaed wash, and my brush, of course. Here I’m getting a dab of thinner on the brush as well.
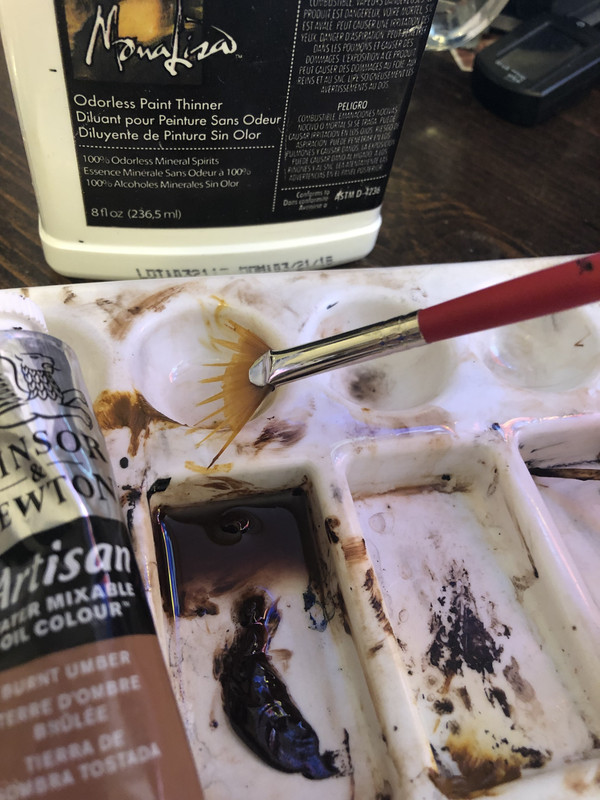
2. Wipe off the brush just a bit. I like these brushes for streaks.
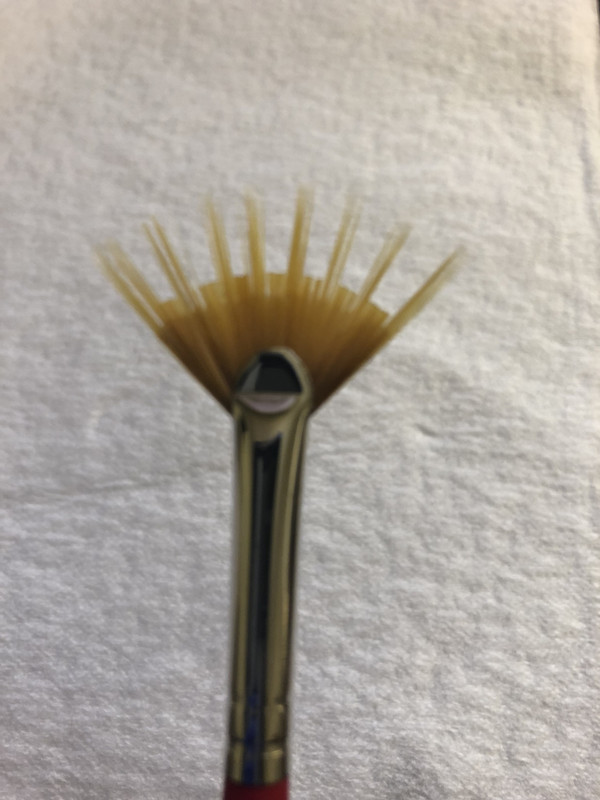
3. Apply that thickened wash to the area you’d like to streak. I like to drag it across sometimes and stipple it on other times.
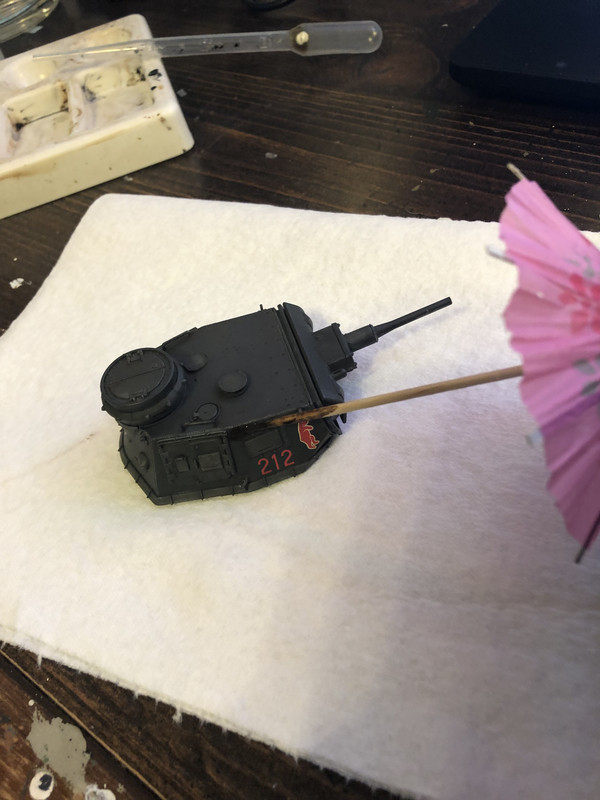
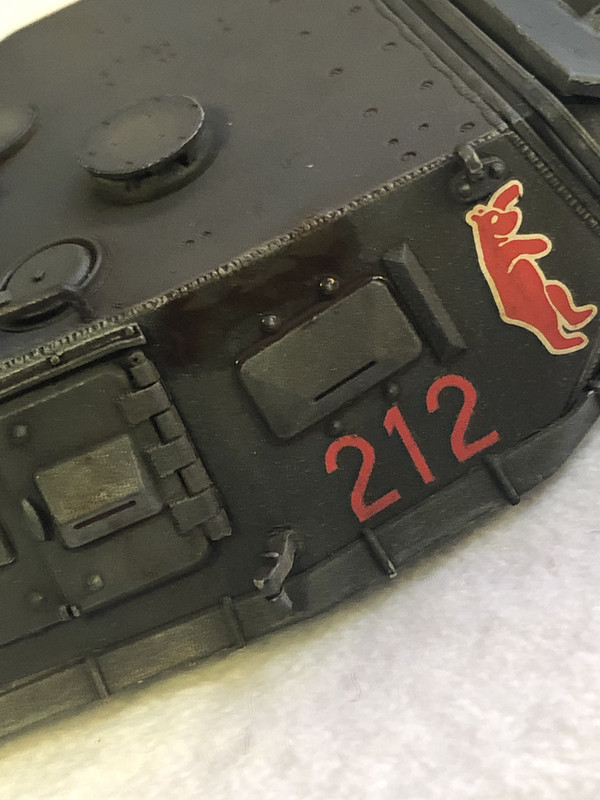
4. Use your brush to streak the paint downward. I use lots of brush strokes and I may do this process two or three times on each area, adding thinner to the brush if I need to.
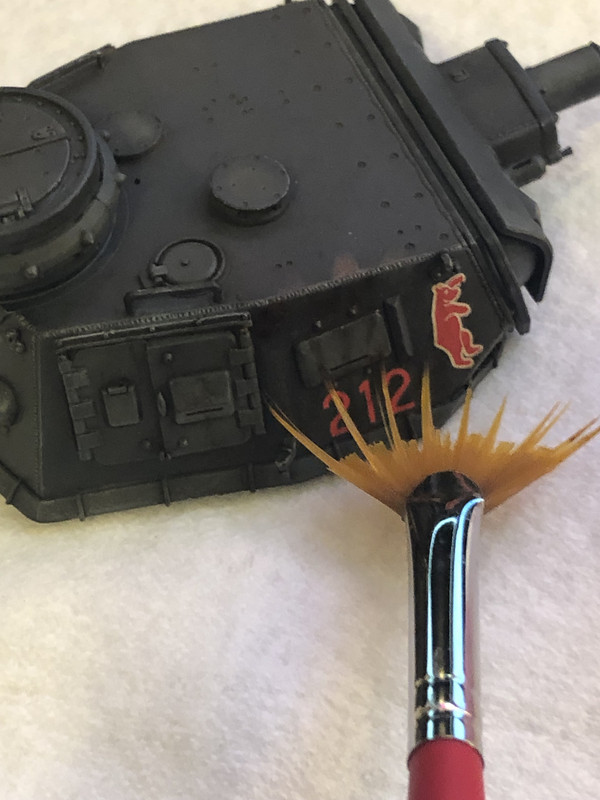
That’s pretty much it. And like I said, sometimes I’ll repeat the process over certain areas, adjusting the amount of thinner on the brush, or even with a slightly thicker or thinner wash, too. For this model I basically went in layers and whilst doing so I let my imagination wander over the snapping turtle subject and it’s similarities with the tank subject, and if I imagined a spot where there’d maybe be more mud, I’ll build it up with thicker washes little by little. Also, I liked the look of that Burnt Umber combined with yesterday’s filters. So I opted to do a bit more dot fading with Burnt Umber after I’d streaked it up to my liking.
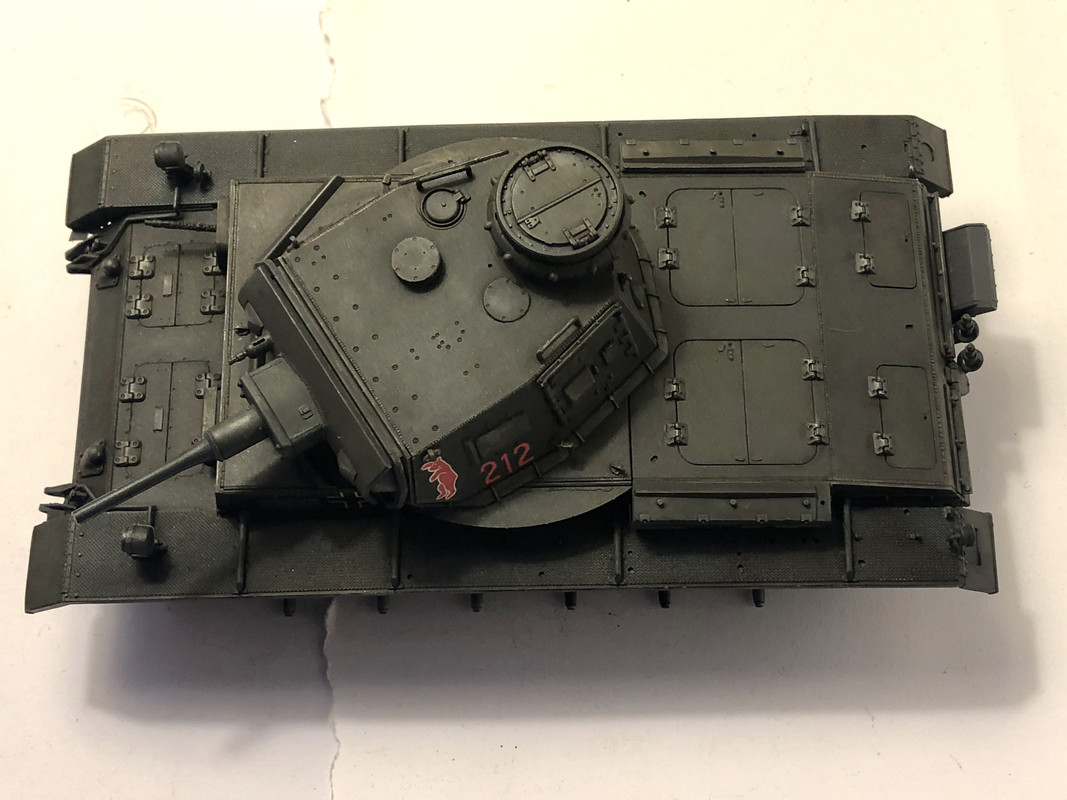
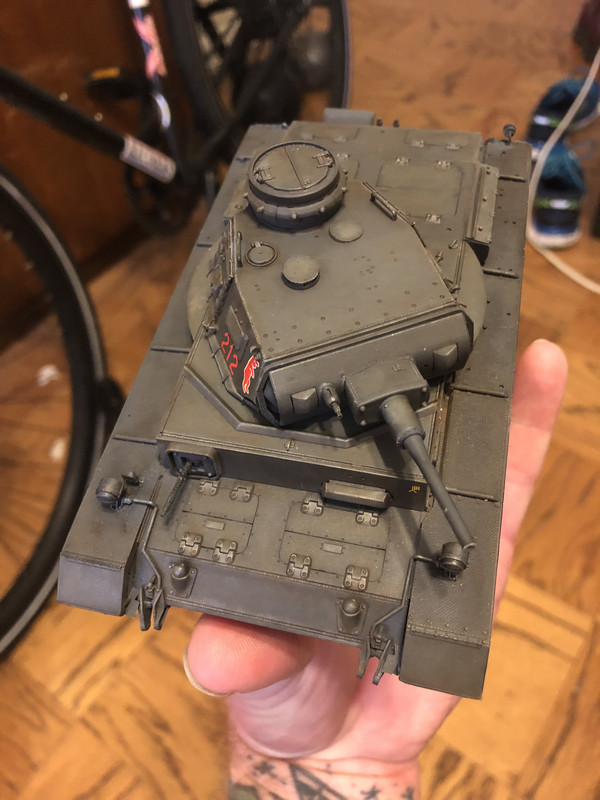
Here’s the results.
“Studio”:

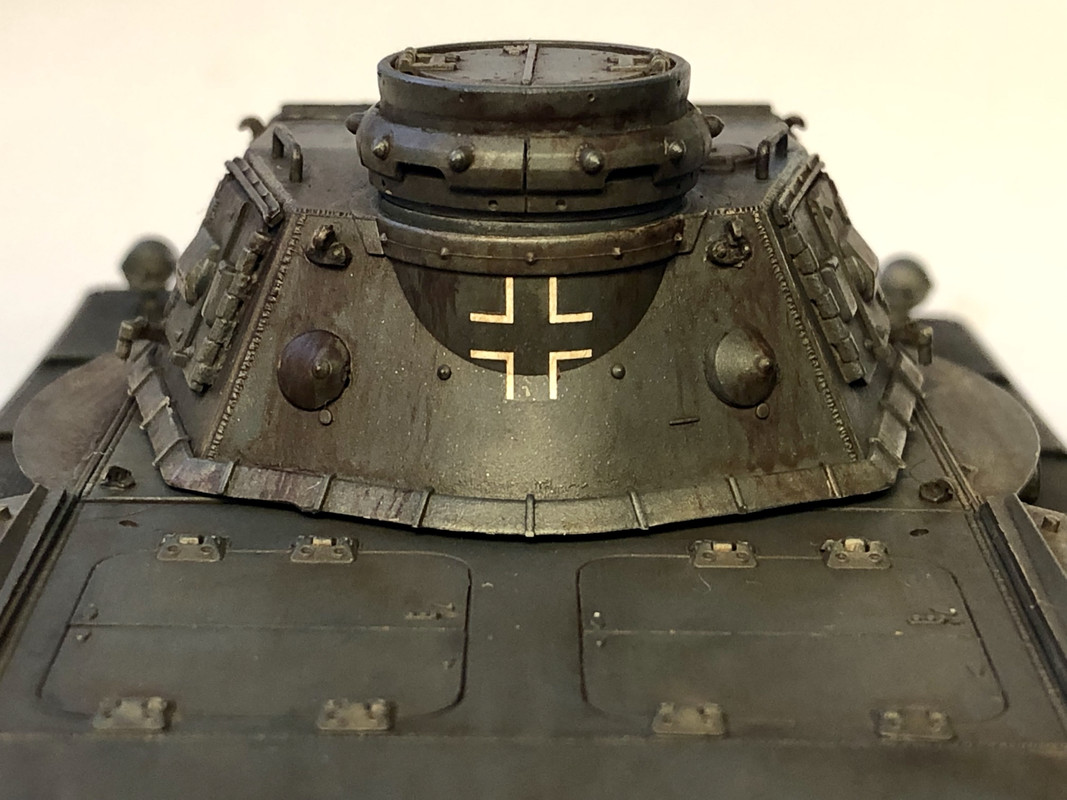
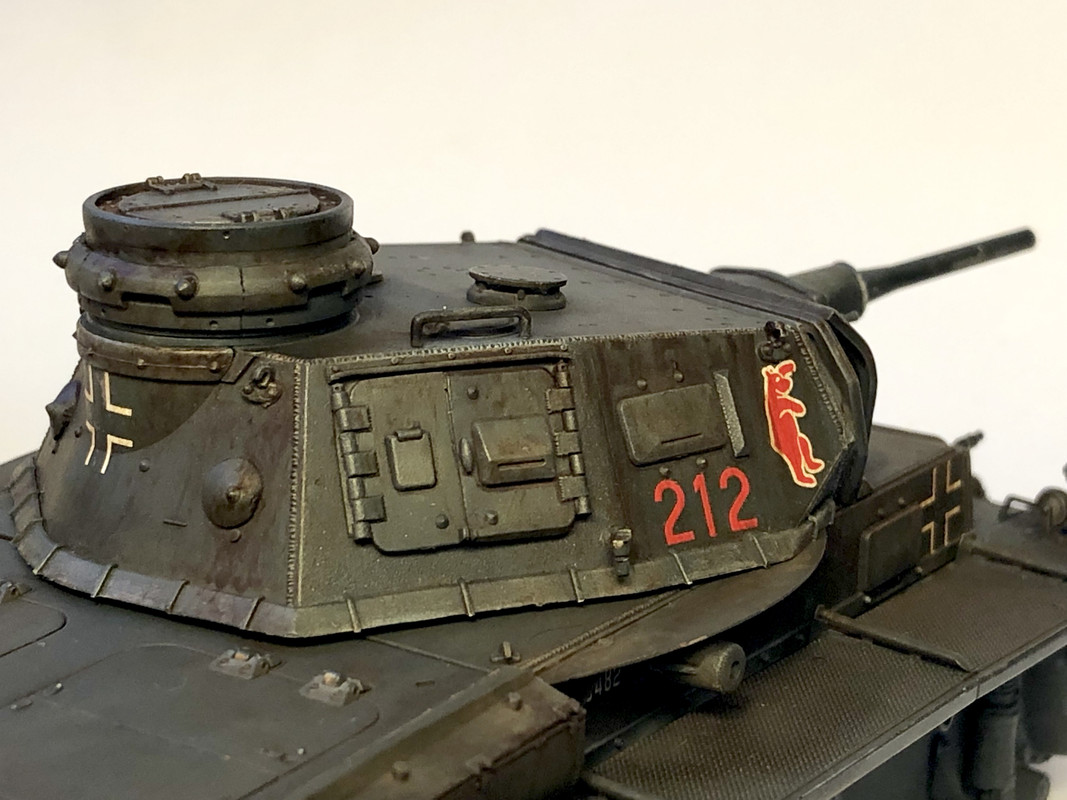

Under harsh light:

Looks like the old baw Kenny X went fishing and caught him an alligator snapper with the fly rod, doesn’t it?
 oh my.... I’m sold... thanks for the “how to” Kenny!