Page 5 of 9
Re: Hasegawa 1/20 Ma.K Grosser Hund
Posted: Sun Dec 13, 2015 3:44 pm
by MichelC
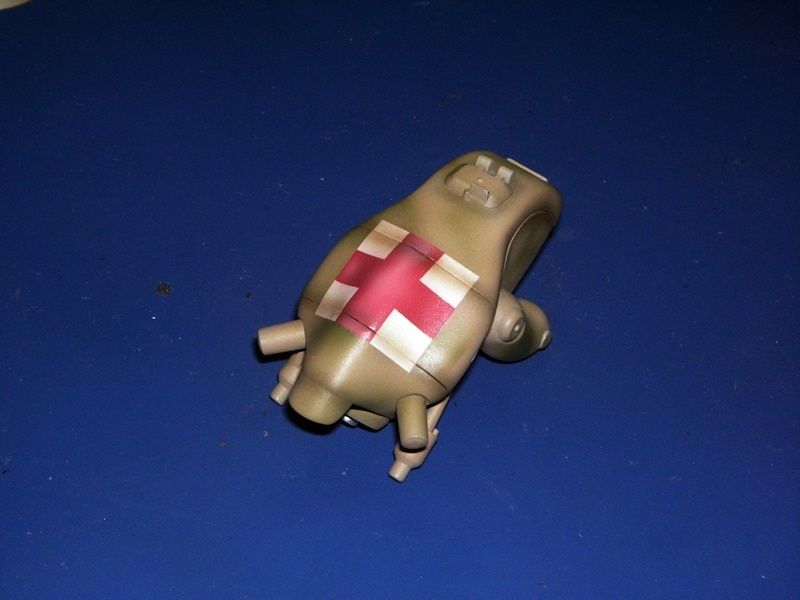
Post-shading of the crosses:
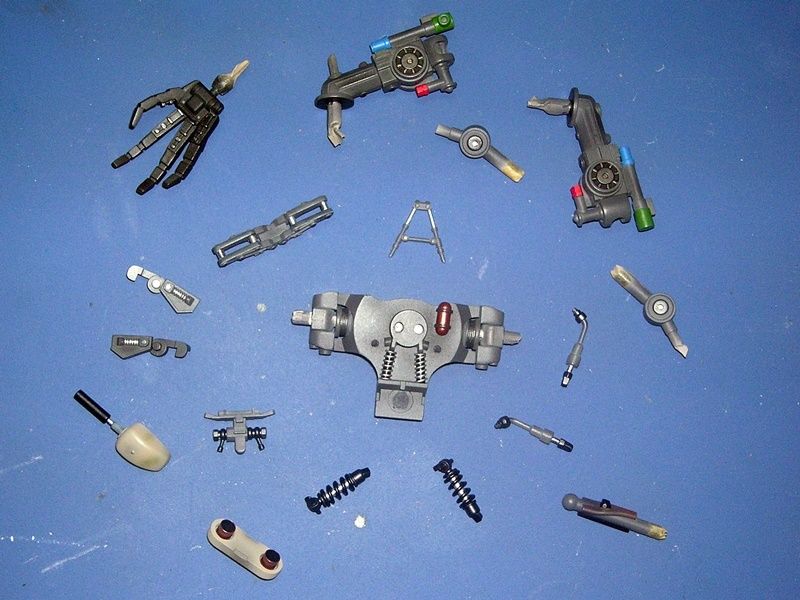
Painting of the details. I used Vallejos, Vallejo Air metalics and inks in places as well as graphite powder for some of the metallic finishes.
M
Re: Hasegawa 1/20 Ma.K Grosser Hund
Posted: Mon Dec 14, 2015 5:07 am
by Stuart
That's going to look awesome when put together MC!
Re: Hasegawa 1/20 Ma.K Grosser Hund
Posted: Mon Dec 14, 2015 5:11 am
by MichelC
Thanks Portman! Yeah, lotsa pieces, each has to be done separately.
Hoping to get this thing finished by the end of the year!

M
Re: Hasegawa 1/20 Ma.K Grosser Hund
Posted: Mon Dec 14, 2015 7:22 am
by LyleW
Well, then.....Get on with it! This is really looking good. Great detail, great paint....
Re: Hasegawa 1/20 Ma.K Grosser Hund
Posted: Mon Dec 14, 2015 11:11 am
by MichelC
Thanks, Lyle! Glad you like it!
M
Re: Hasegawa 1/20 Ma.K Grosser Hund
Posted: Sat Dec 19, 2015 4:32 am
by Thomas_M
Re: Hasegawa 1/20 Ma.K Grosser Hund
Posted: Sun Dec 20, 2015 1:59 pm
by MichelC
Thanks a lot Thomas!
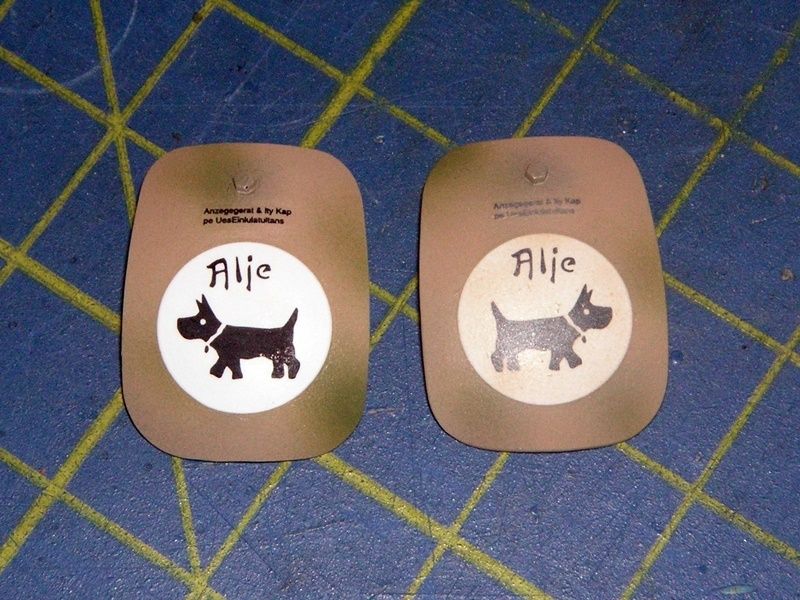
Time for the decals. That round emblem on the convex surface took quite some sweet talking to get it to conform. I used Daco Strong as a decal softener. Worked well but one has to be careful. It should be swished over the decal with a brush rather than left to soak as it will melt the paint around the decal right down to the primer. Don't ask me how I know...

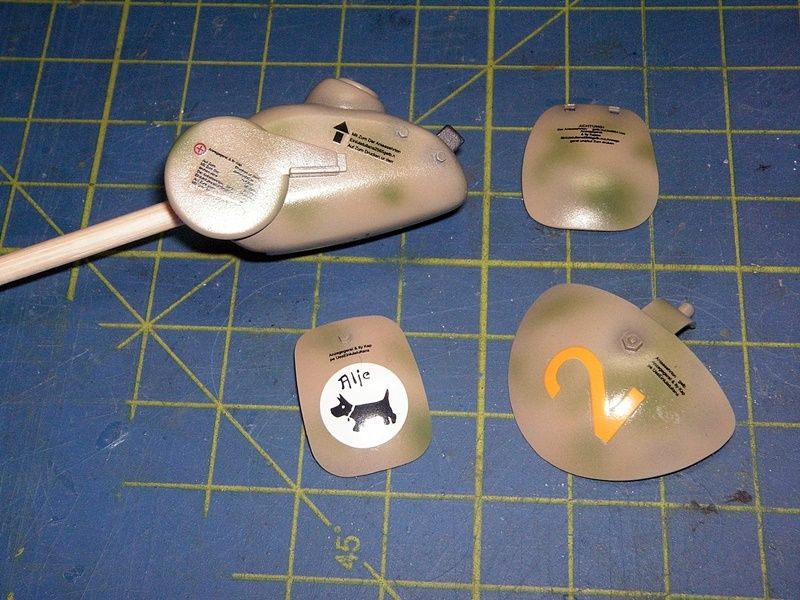
What's a decaling session without creating some custom decals, eh?

Here's how to make a red placard with white lettering and a metallic border. Apply red square onto piece of aluminum tape (first primed with transparent metal primer). Then apply white lettering onto red square. The lettering came from the kit's stencils, which Haseg furnishes in both black and white, a nice touch.
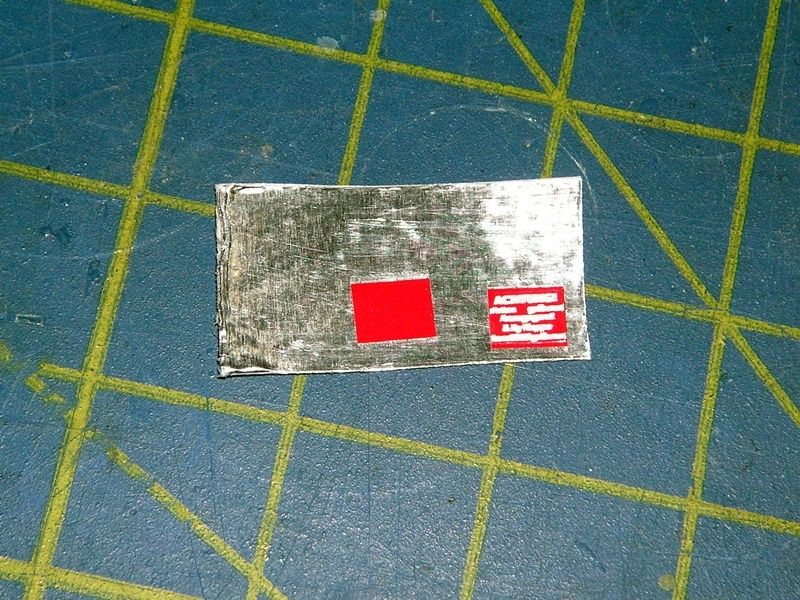
Cut out the placard slightly larger than the red square and, voila!
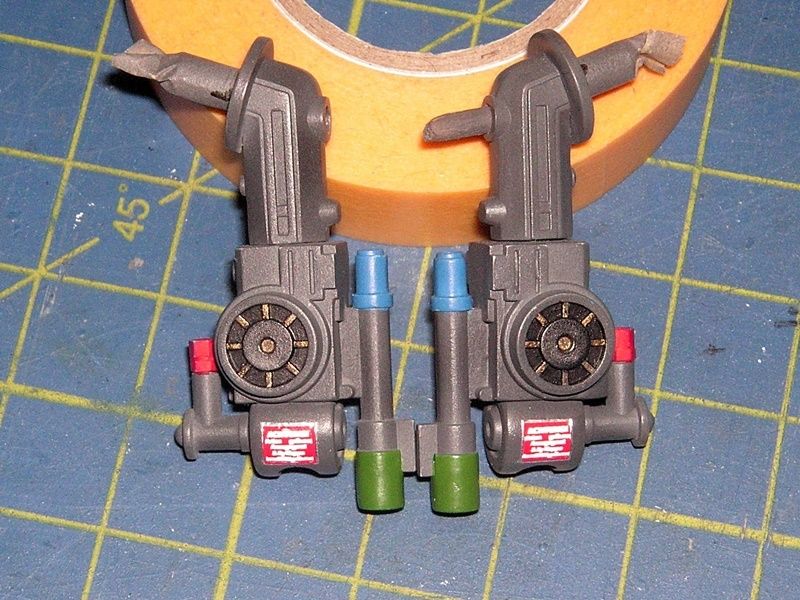
Once all the decals were in place I inflicted some damage, as usual, with a hobby knife.
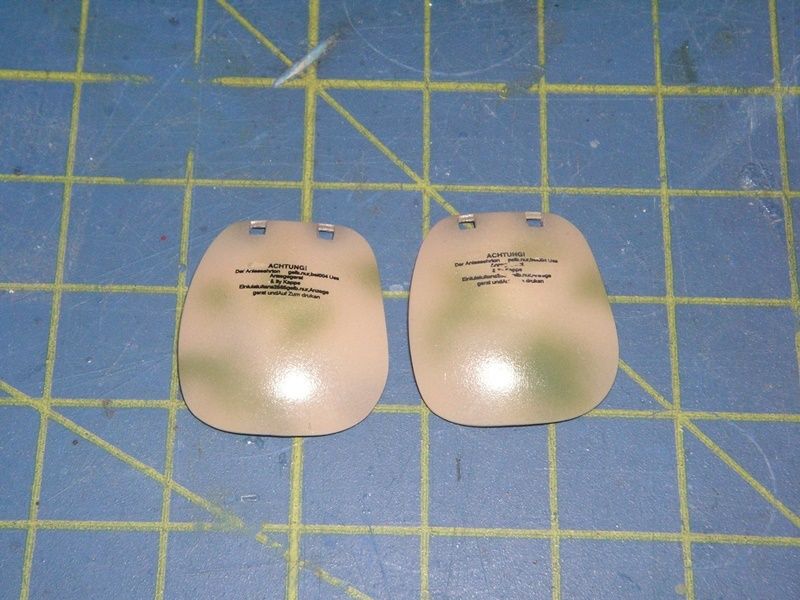
Last but not least, all decals were post-shaded with the base color to fade them and integrate them with the model.
M
Re: Hasegawa 1/20 Ma.K Grosser Hund
Posted: Mon Dec 21, 2015 2:42 am
by Thomas_M
Well observed! Post shading new and fresh looking decals is mostly forgotten but will stand out on a weathered build. Thumbs up!
Re: Hasegawa 1/20 Ma.K Grosser Hund
Posted: Mon Dec 21, 2015 5:23 am
by MichelC
Thomas_M wrote:Well observed! Post shading new and fresh looking decals is mostly forgotten but will stand out on a weathered build. Thumbs up!
Yes, and another area where modelers sometimes 'sin' is clear parts. A/C canopies, headlights and other clear parts that are all clean, bright and shiny while the rest of the model is covered in dust and dirt just doesn't make sense. Easily handled by spraying a light coat of matte clear with or without some sandy brown.
Just my 2c.
M
Re: Hasegawa 1/20 Ma.K Grosser Hund
Posted: Mon Dec 21, 2015 9:38 am
by BlackSheep214
Can't wait to see the finished product - especially how you do the clear parts weathered/dirty.


