Re: 1/32 Revell He111 with HPH cutaway
Posted: Sun Jun 23, 2019 8:22 pm
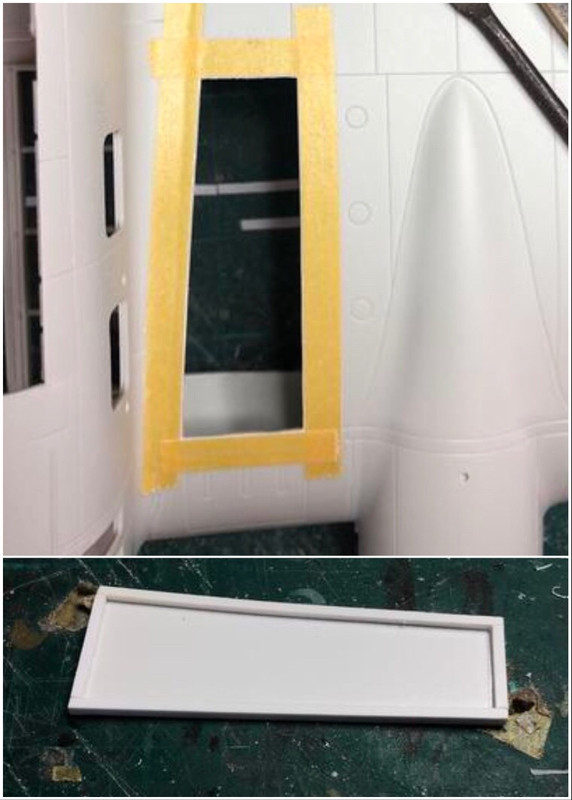
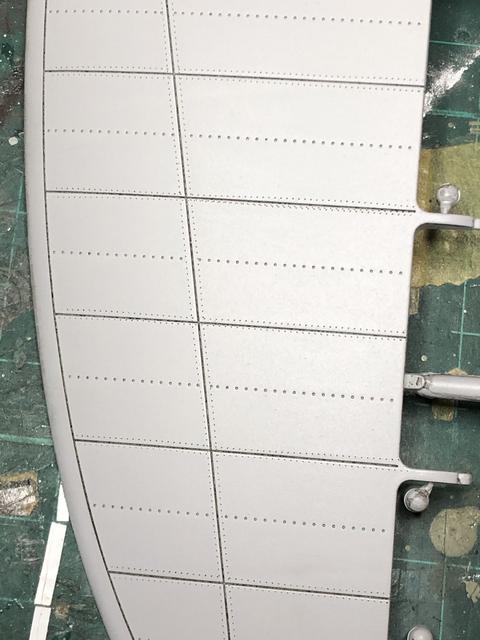
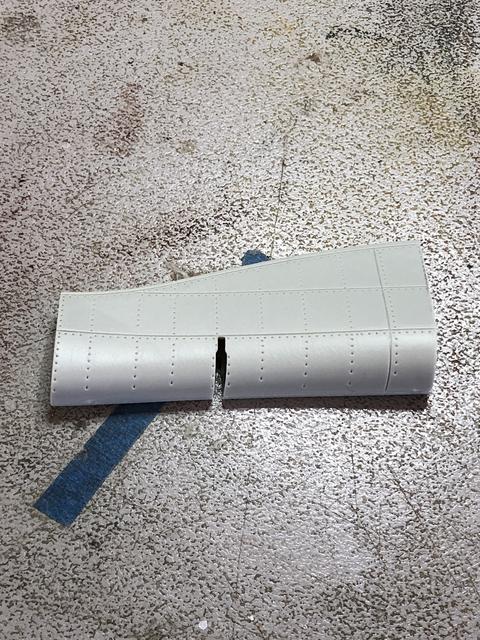
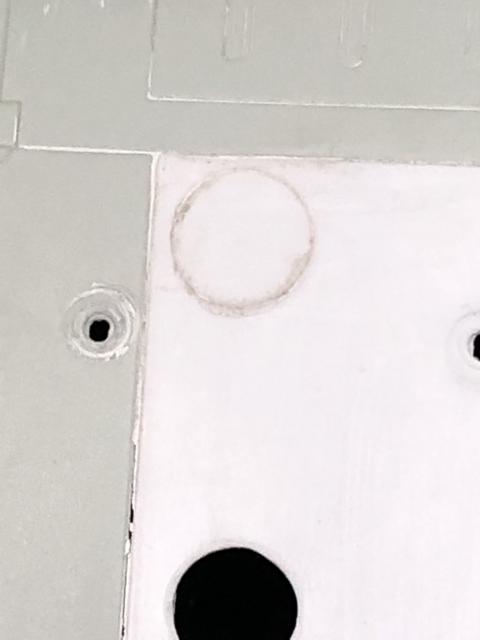
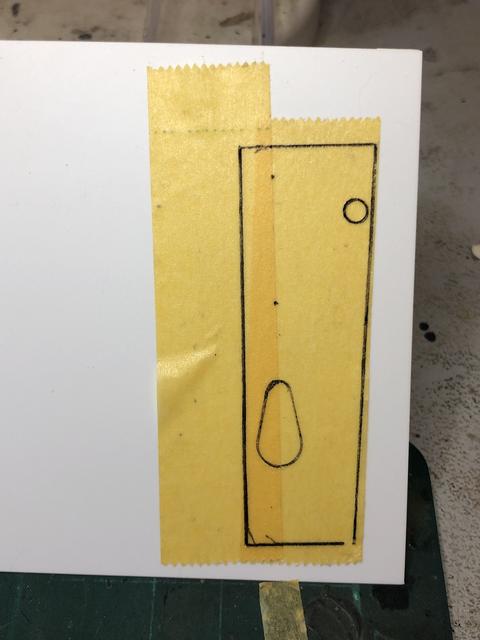
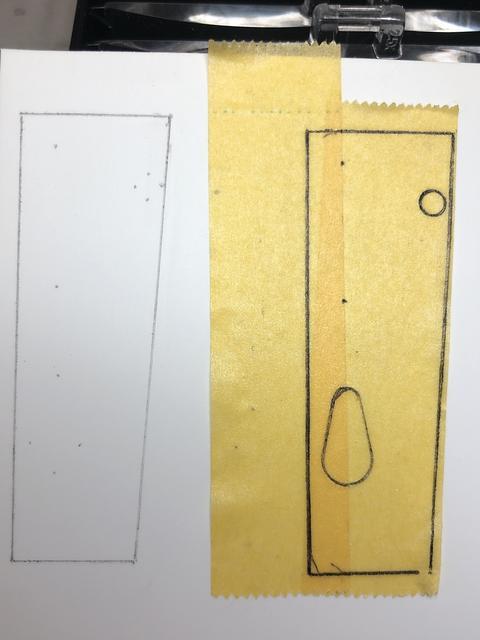
So twelve days of procrastination and I have finally started work on the fuel filler ports. The tape template was removed from the wing and placed onto a piece of 0.50mm styrene sheet. I then pinpointed the panel corners, centre of the open fuel cell doors and other detail using a needle point scribe. The template was removed and the dots joined to make the panel outline, with details relief brought out using a 0.5mm mechanical pencil. This way, I still had the intact template if I made an error:
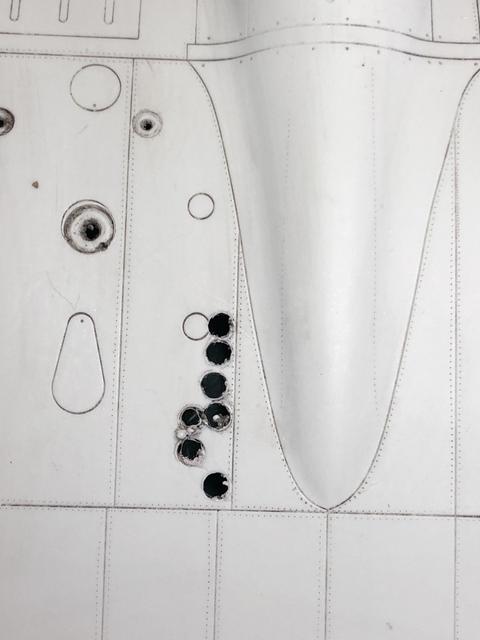
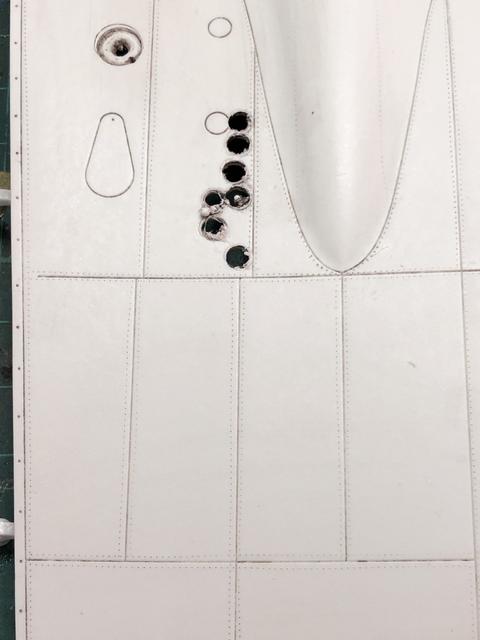
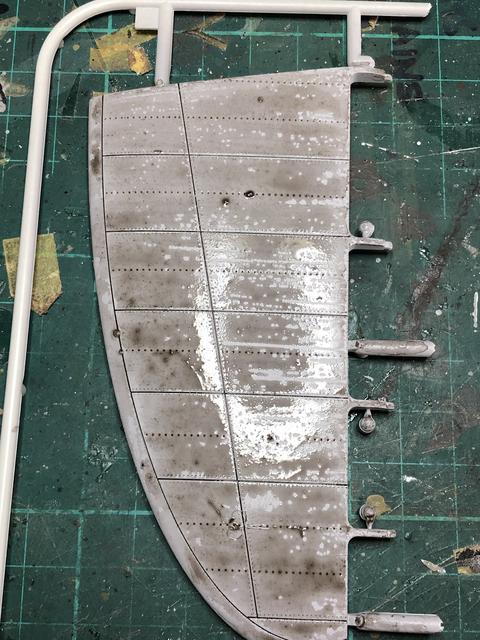
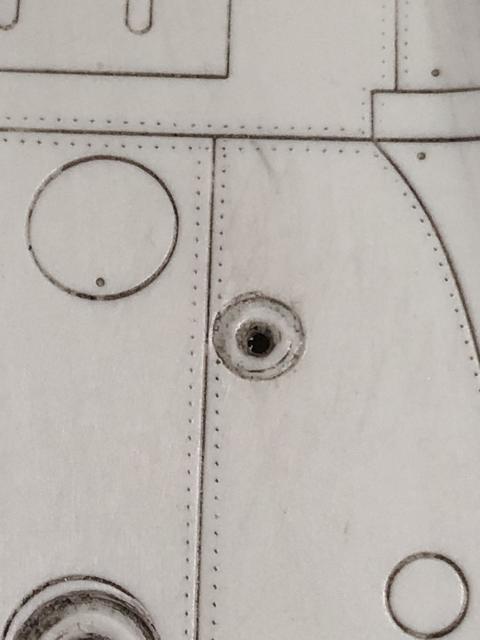
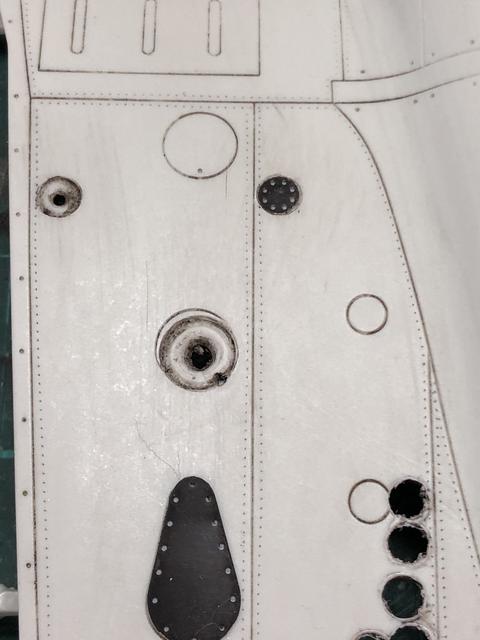
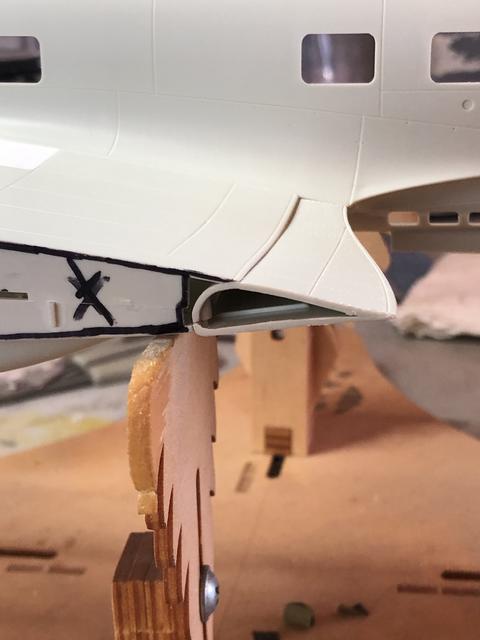
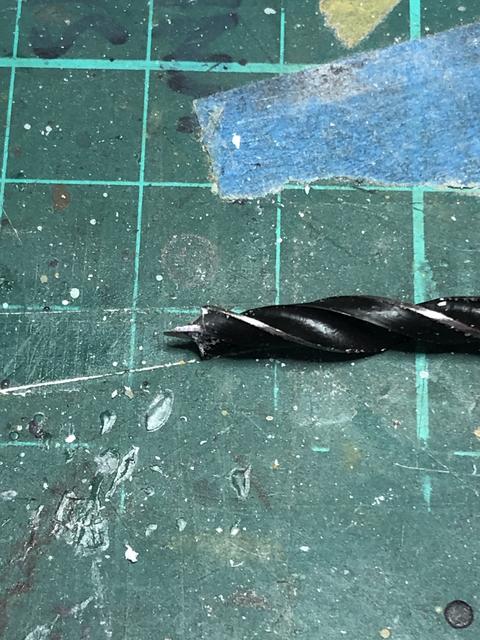
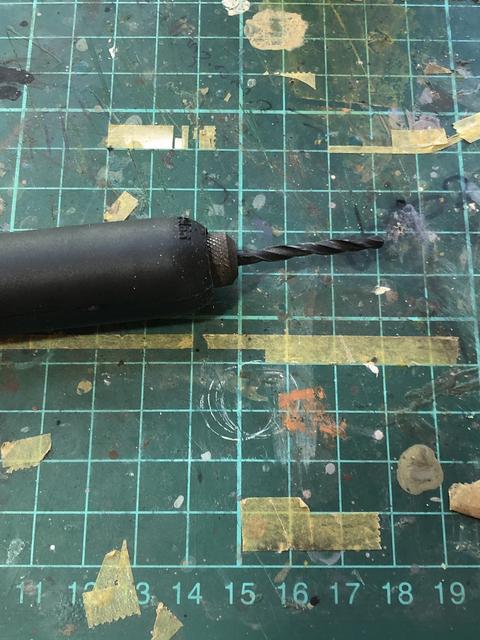
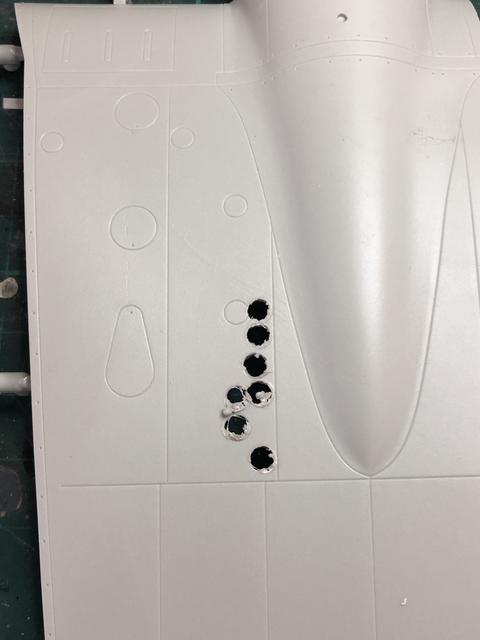
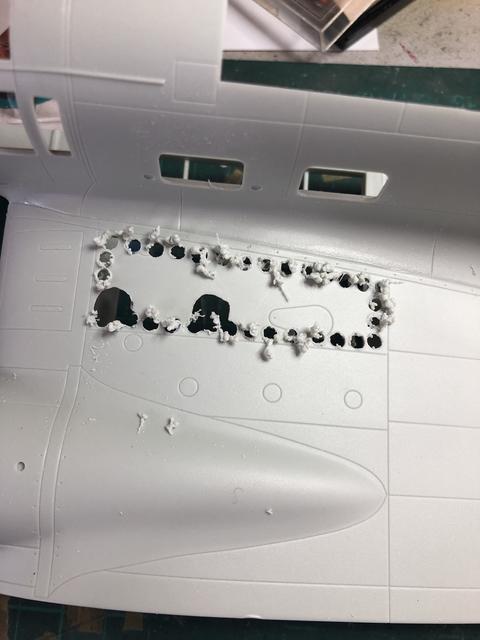
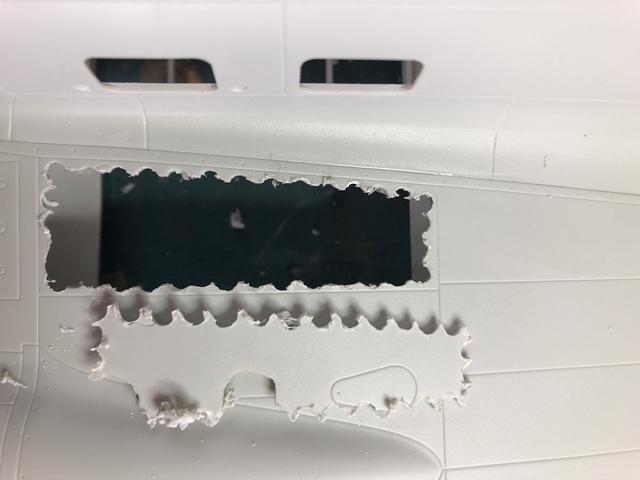
I test drilled the other spare wing piece to get the right speed and drill size to chain drill the panel I needed removed with my faux Dremel. Happy with my choice, I drilled out the actual piece, removing the waste with sprue cutters:
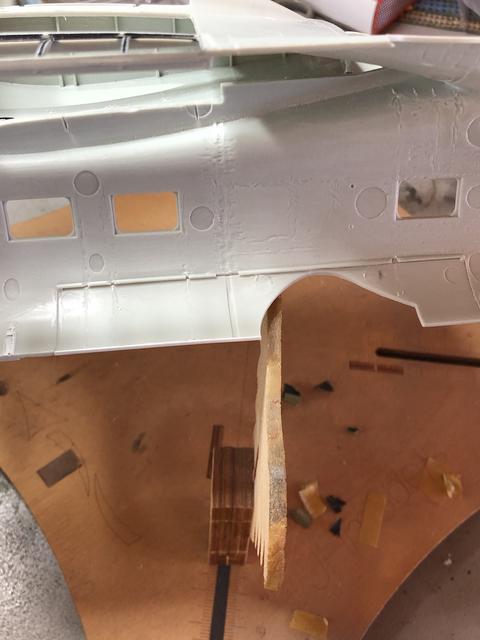
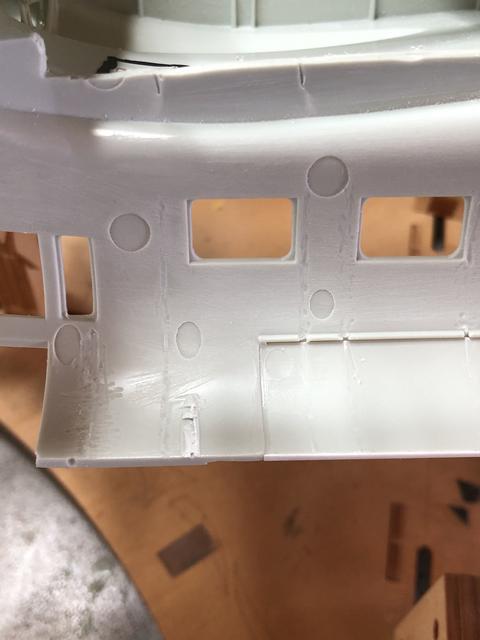
I then carefully taped the borders of the panel and using a flat file, sand stick and a lot of patience, I remove material to the tape edge:
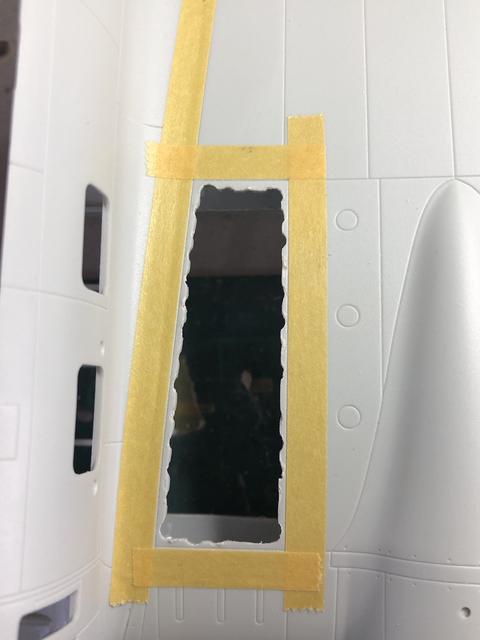
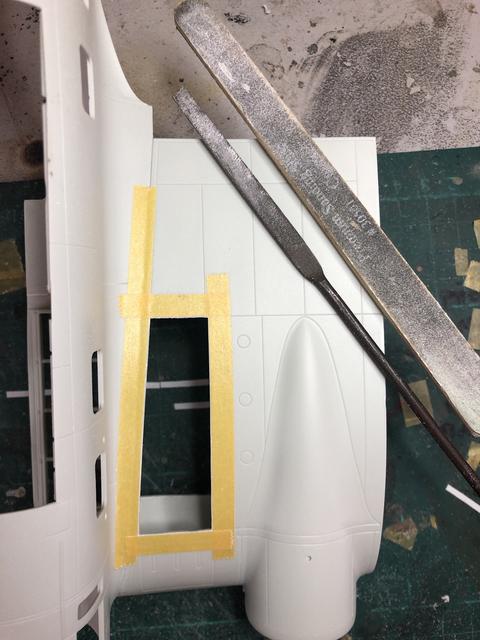
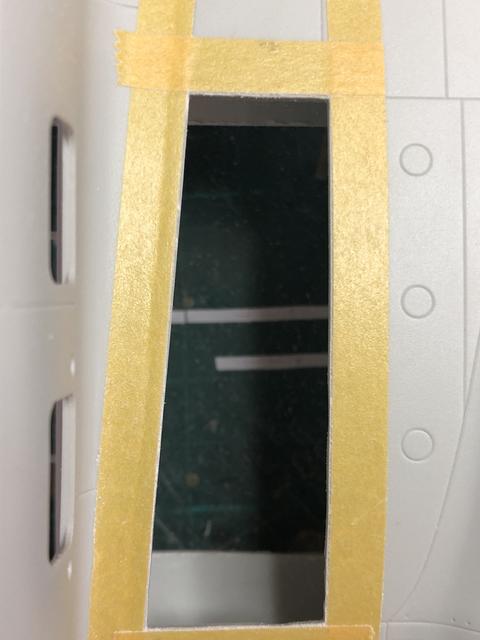
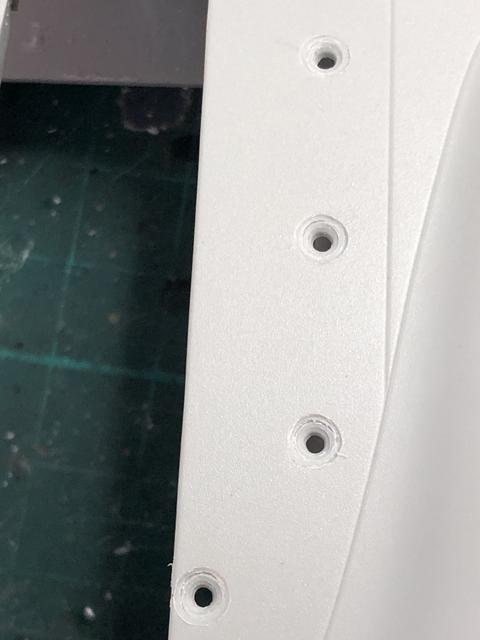
Until I was left with this result:
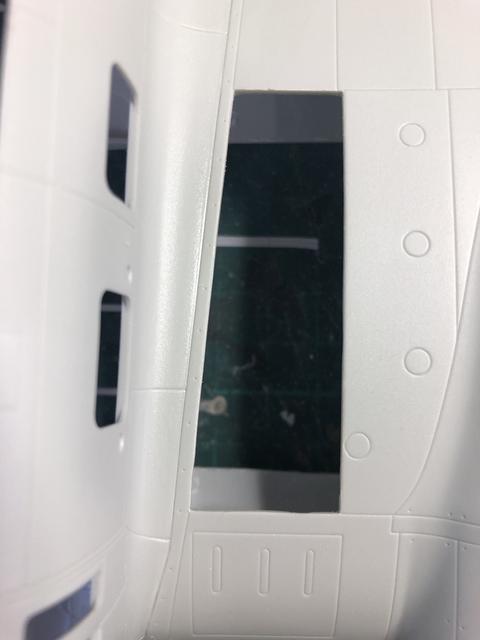
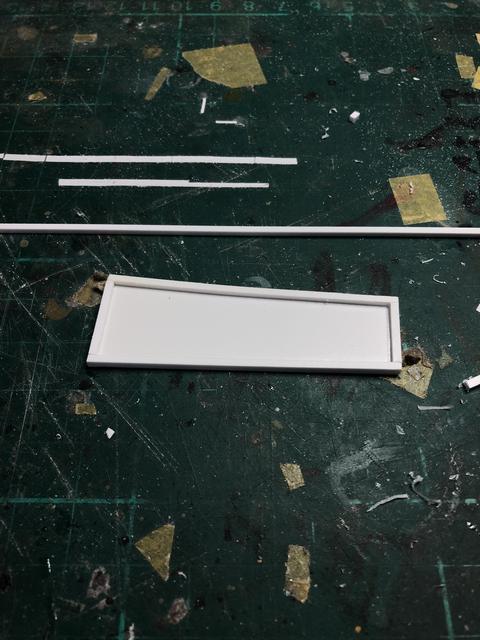
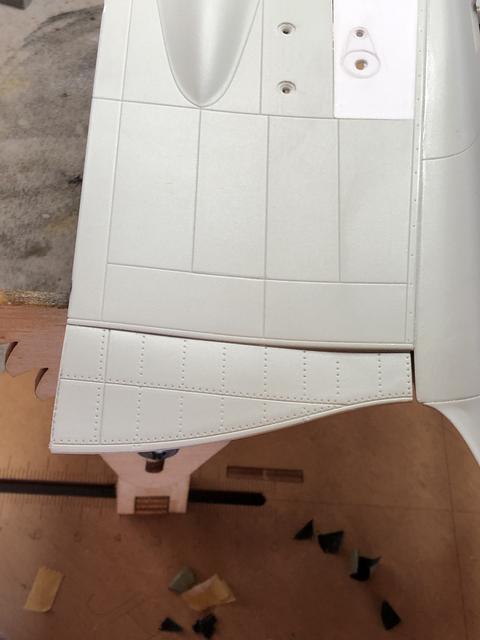
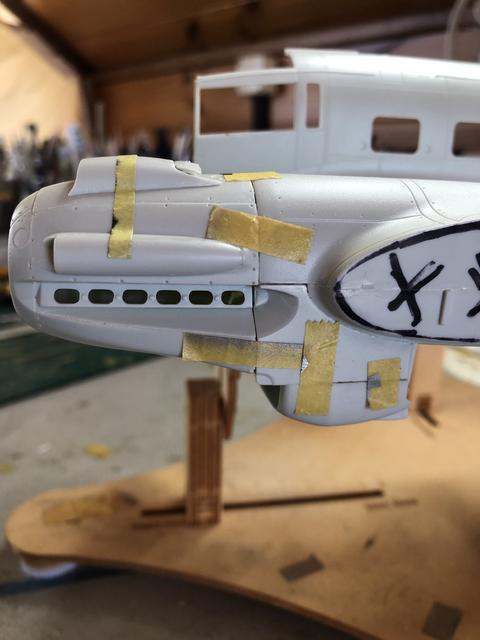
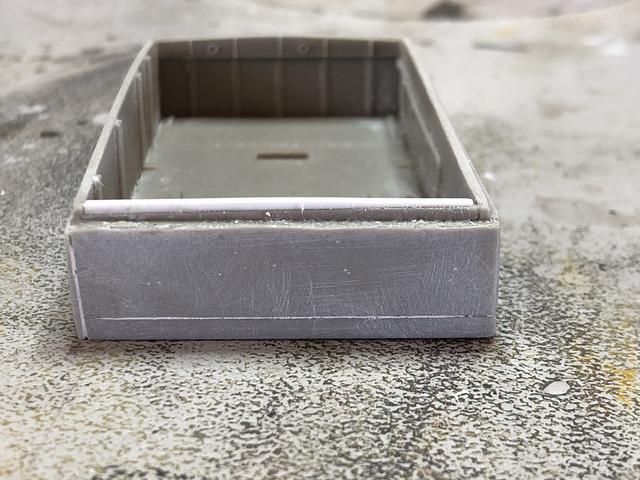
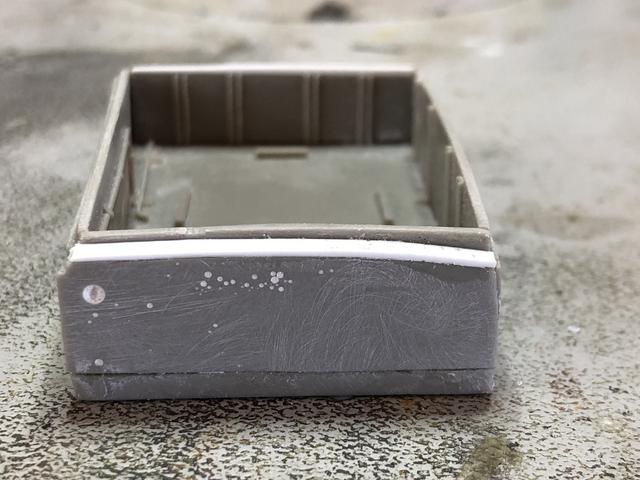
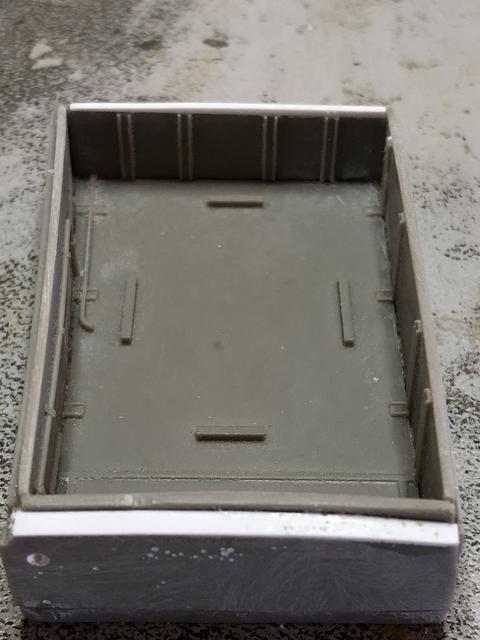
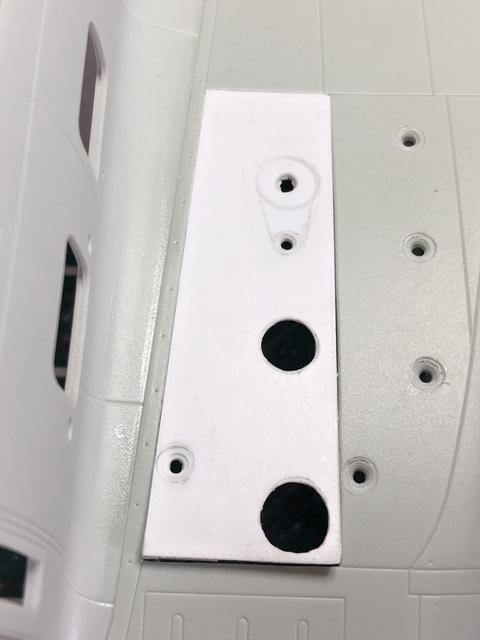
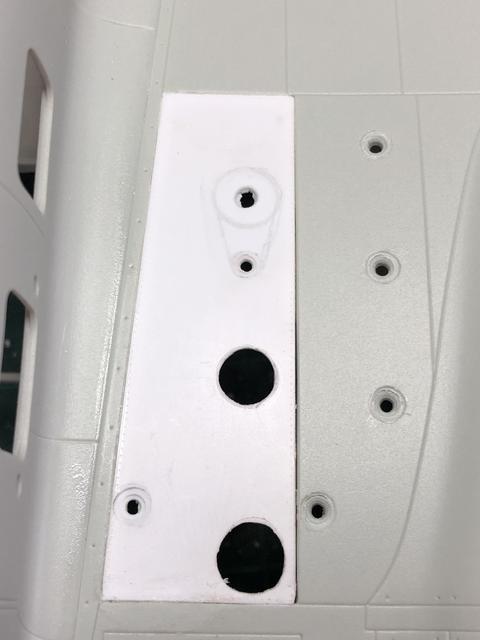
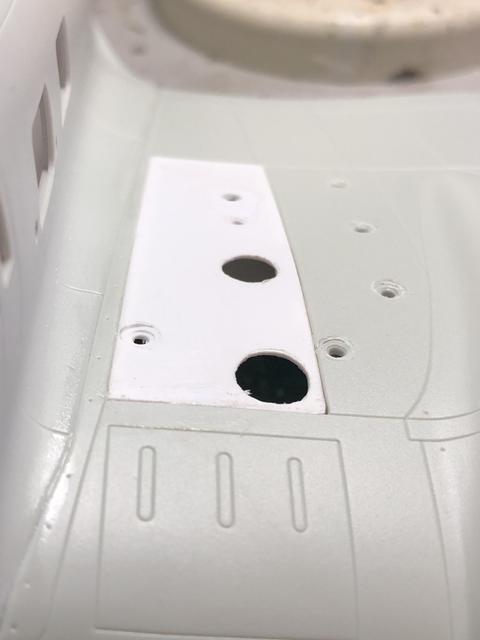
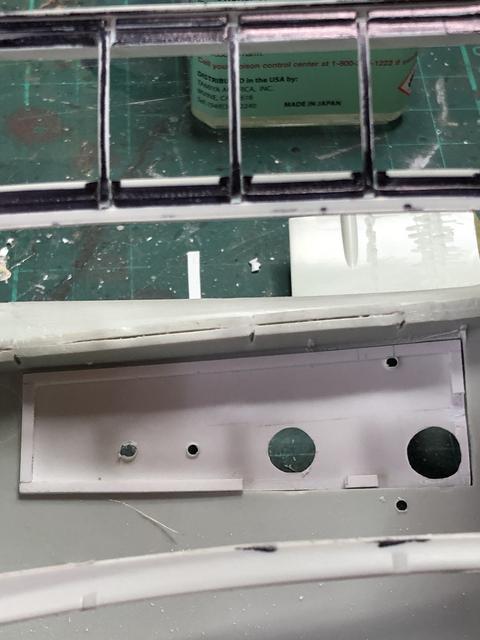
The replacement 0.50mm panel was edged with 1.5 x 1.5 strip to provide a good anchor the the plastic around the opening. Some test fits show the work has paid off and I am close.I will impart a slight curvature in the new styrene to match the wing shape and fix the smaller rear end first, allowing it to set up before moving forward to complete installation.
Regards
I test drilled the other spare wing piece to get the right speed and drill size to chain drill the panel I needed removed with my faux Dremel. Happy with my choice, I drilled out the actual piece, removing the waste with sprue cutters:
I then carefully taped the borders of the panel and using a flat file, sand stick and a lot of patience, I remove material to the tape edge:
Until I was left with this result:
The replacement 0.50mm panel was edged with 1.5 x 1.5 strip to provide a good anchor the the plastic around the opening. Some test fits show the work has paid off and I am close.I will impart a slight curvature in the new styrene to match the wing shape and fix the smaller rear end first, allowing it to set up before moving forward to complete installation.
Regards