Okay, here's an update. They are currently importing the photos into the new MA Gallery and once that is done, they'll apply the SSL# so I can hotlink from their gallery. Until then, I have opened a Postimage account and I will now post my latest progress I've made during this latest few weeks of self-quarantine. This is a test to see if they work and it is also a very long post! You've been warned!
That reminds me of a joke: During period of lockdown there will be a pretty good baby boom about nine months from now. In 2033 and later years they will all be known as the "quaranteens"! LOL!
Okay, now back to your regularly scheduled program here.
I'll be starting with my aircraft. Some of these may be repeats; if so I apologize, I just forgot where I left off.
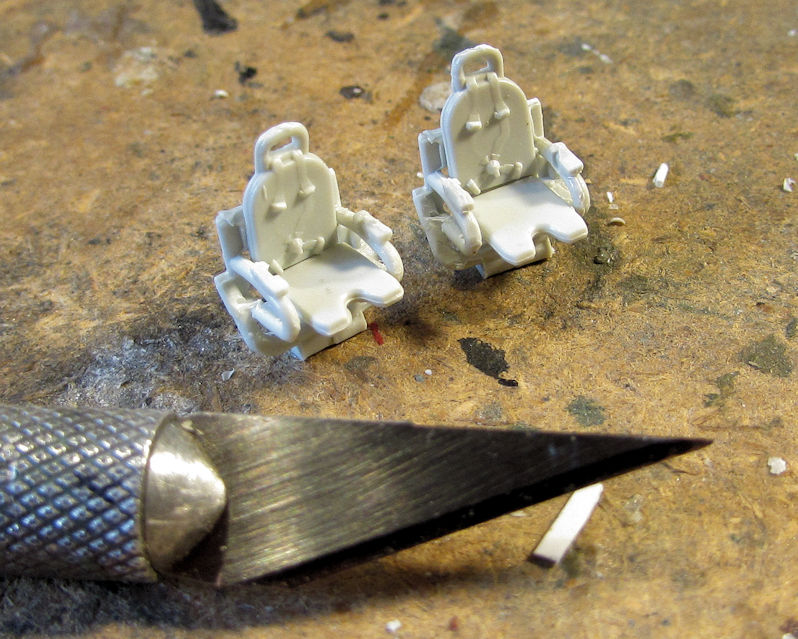
Okay, first one in the tour is the C-54 Skymaster. I started by assembling the seats. Yes; there is four pieces per seat:
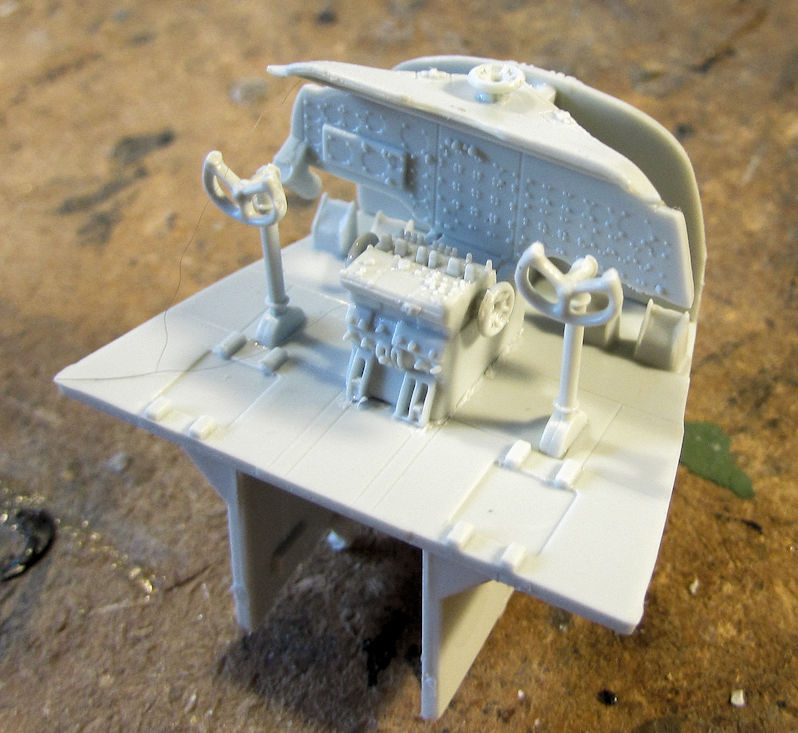
Here is the rest of the cockpit sans seats:
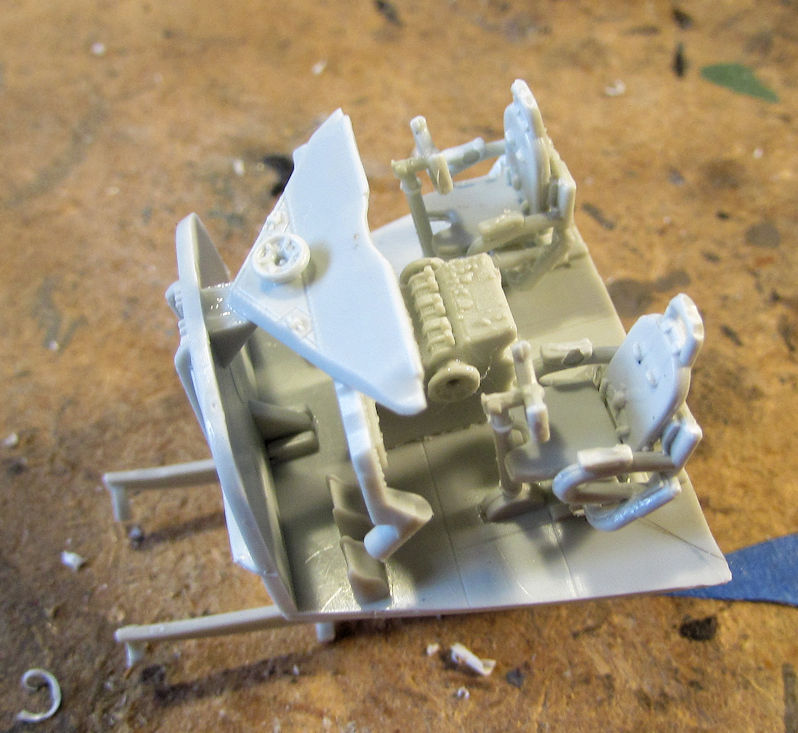
I added the seats here to see how they fit:
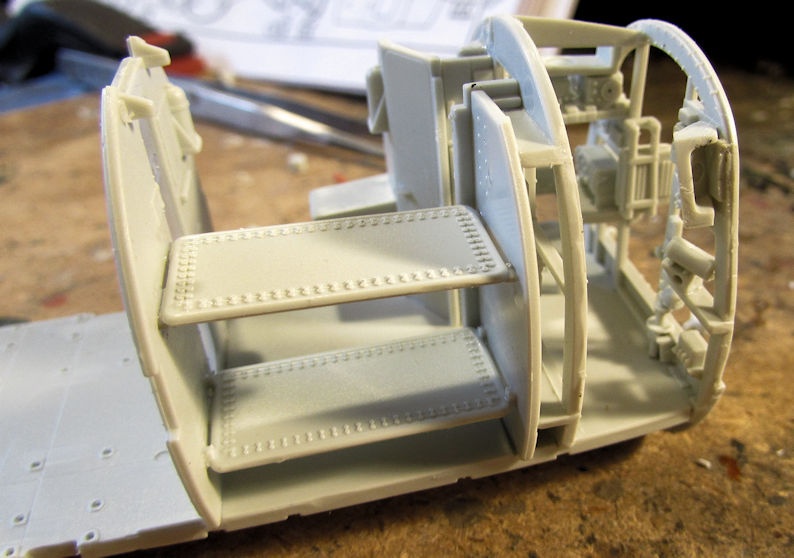
But wait! There's more.... Here's the pilot rest area and such behind the cockpit which won't be seen so won't be painted:
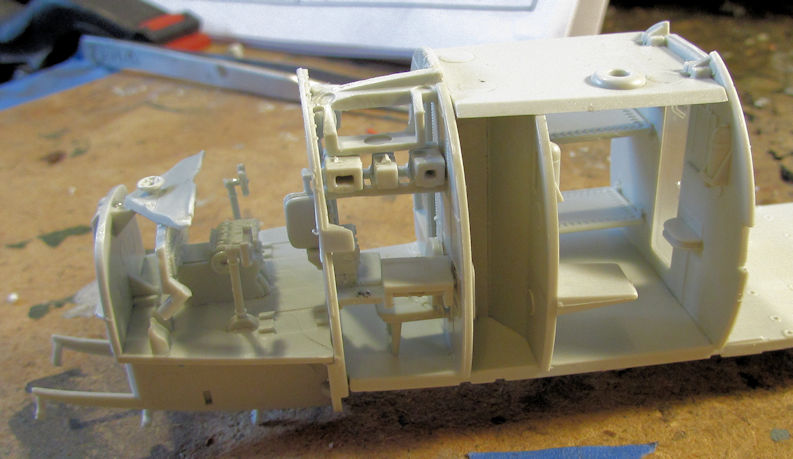
That's as far as I got on that. The next one in our tour is the Airbus A-400 Grizzly transport. I started with the cockpit again; a fairly easy build:
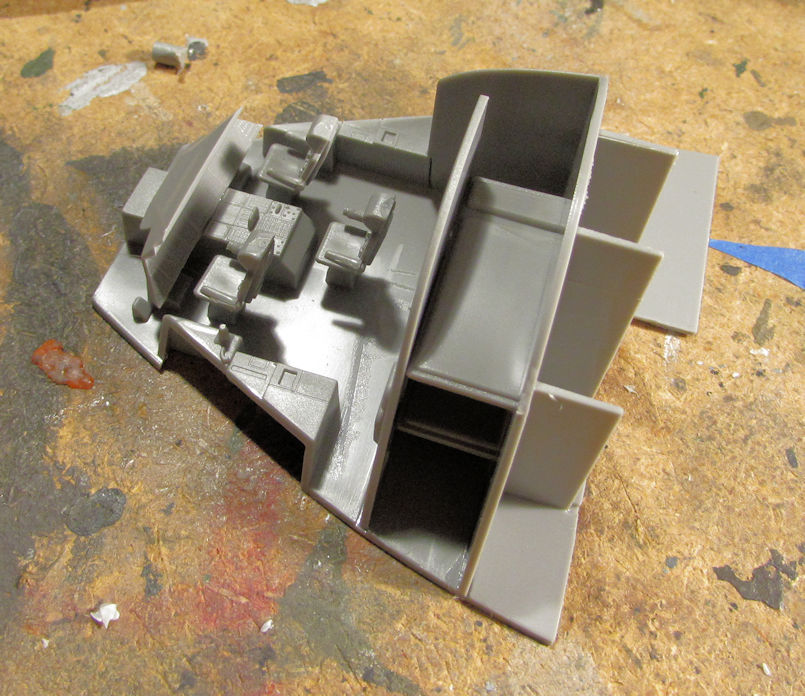
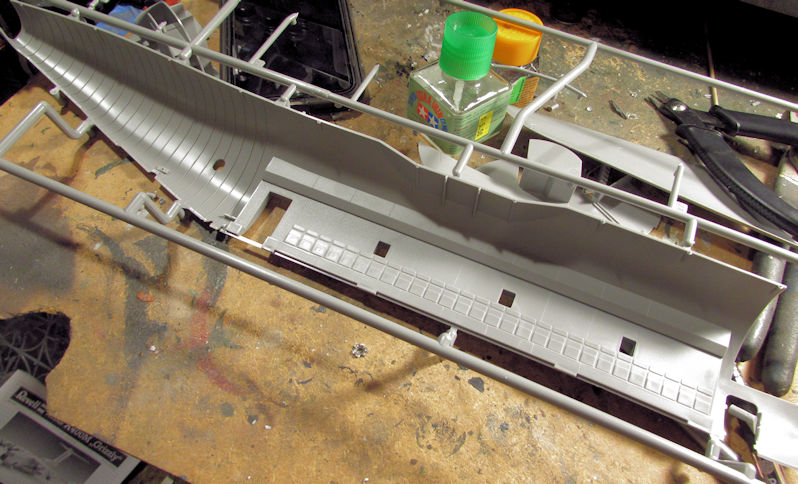
I then added the clear parts to the outer fuselage sides:
After that I built the components for the tail and dry-fit them together:
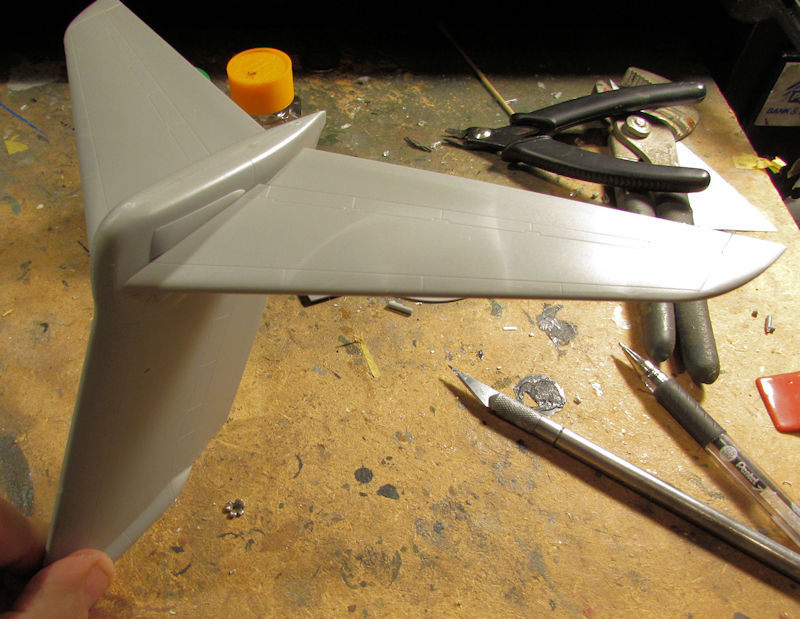
Next were some wing fillets that had to be glued together:
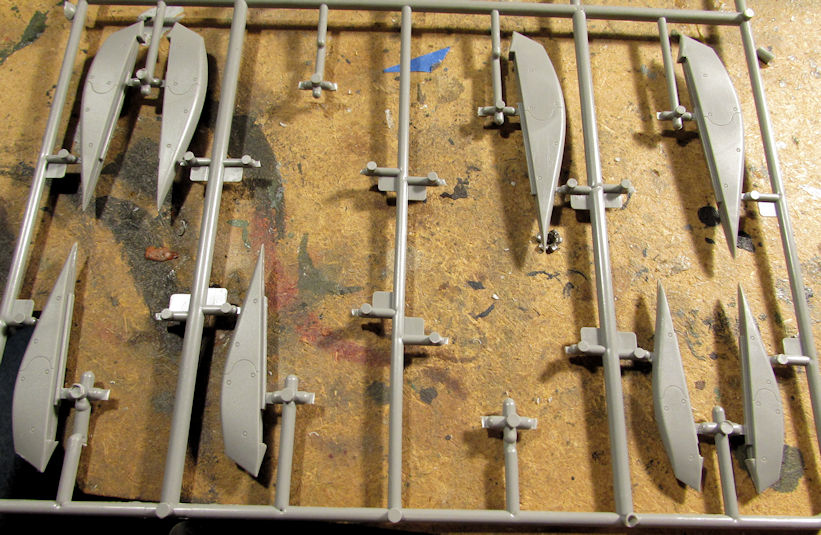
I then finally put the three wing parts together:
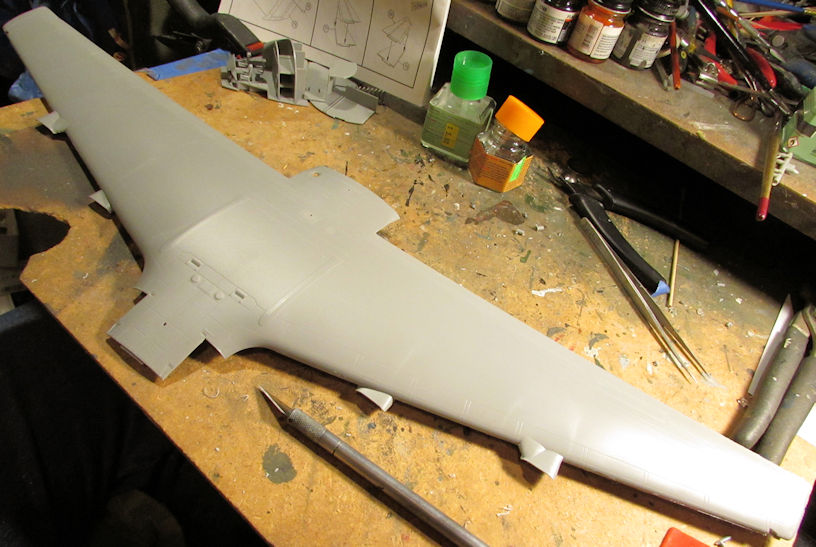
After painting the cockpit, I assembled all the remaining interior parts together to get further along on this. Here is the interior cockpit and cargo bay floor enclosed inside the inner fuselage halves:
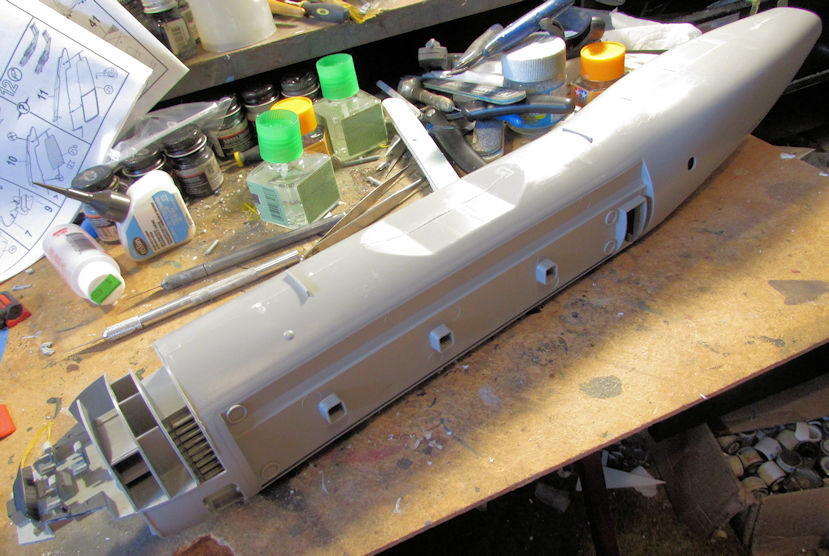
Check out this interior... it's the last time it's going to be seen as I'm closing this bird right up. That's why it isn't painted:
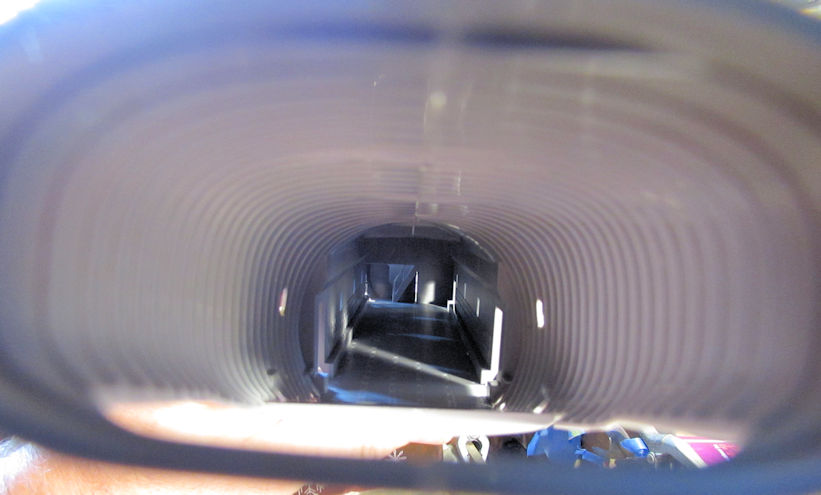
This is how the interior fuselage tube fits inside the outer fuselage. It's only dry-fit into place so I can see what issues I'll have:
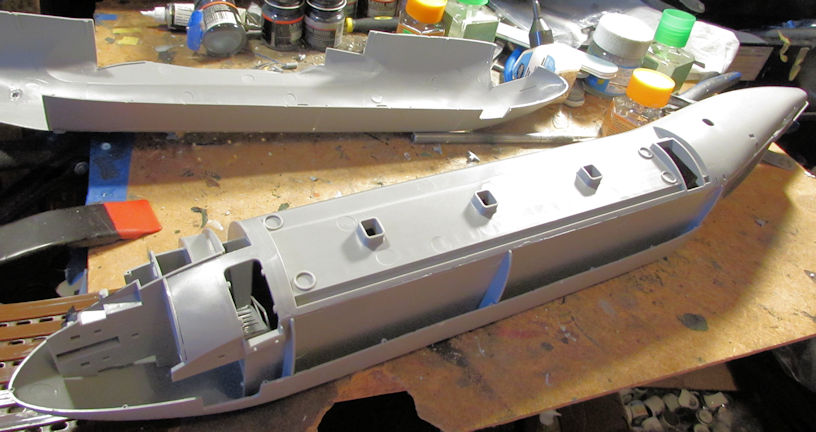
Finally, after dry-fitting this all together, I found out how many issues I'm going to have. I also can see how big this monster is:
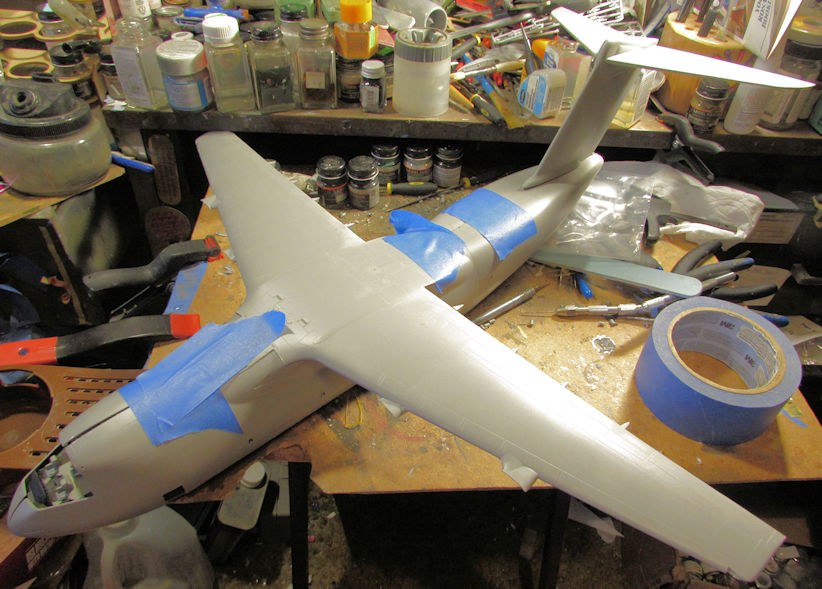
Okay, that is enough of that. The next one I tried to move forward on was my Shinmeiwa float plane. I did manage to get the main fuselage together with the cockpit cemented inside. I then also dry-fit the assembled wings and the tail to see how this bird was going to look:

One major issue was found when I taped the lower tub under the forward part of the fuselage assembly. Not sure how I'm going to fix this yet so this bird went back on the shelf for now:
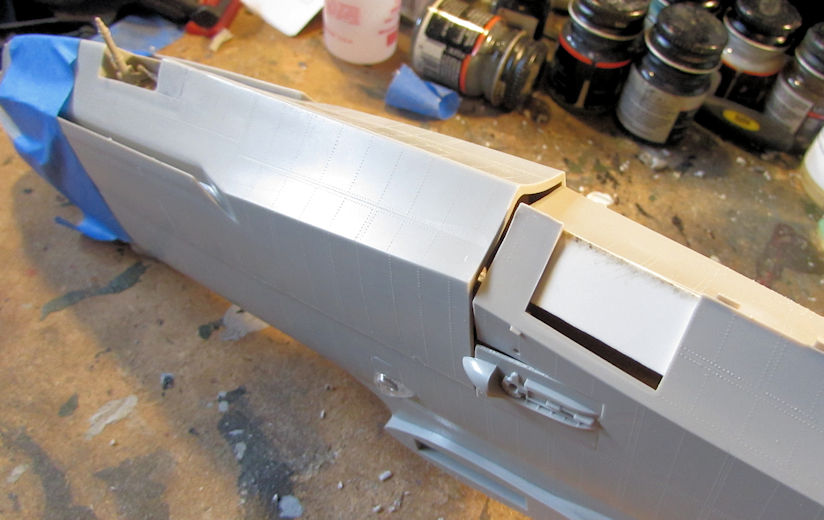
After all that, I started the decals on my Israeli Sufa; starting with the stencils and walkway stripes. They are a bit difficult to see on this but here's where I'm at so far:
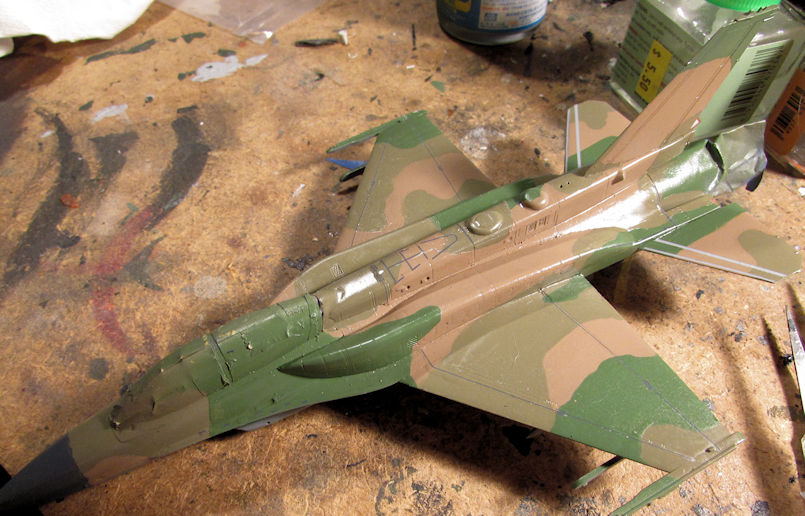
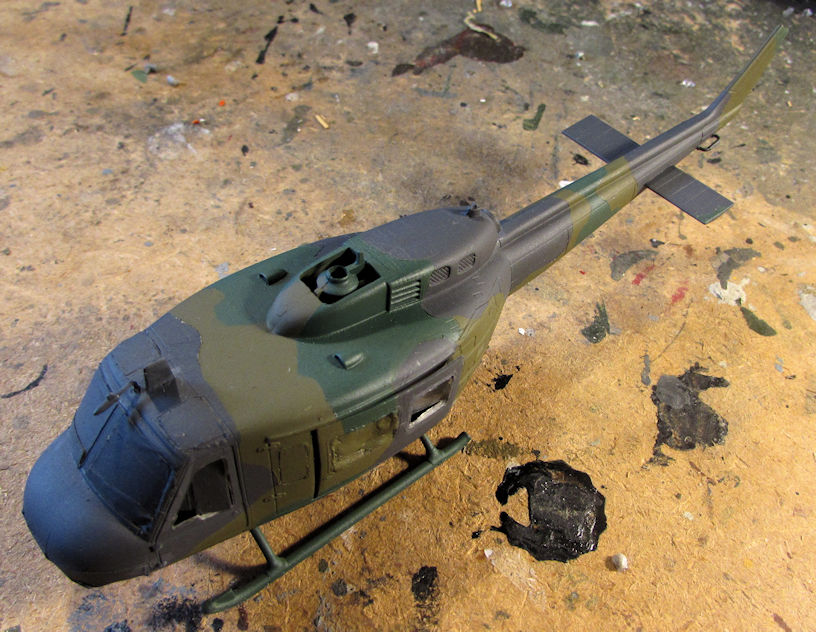
I'm not sure if I posted this or not; or whether you were able to see this before, but I also finished shooting all the paint on the helicopter, making this now complete and ready for clearcoat:
I also shot the bottom color on the Gotha; it looks pretty bright in this pic, but I think it will tone down some later:

Later I masked that off to prepare for the upper dark grey color:
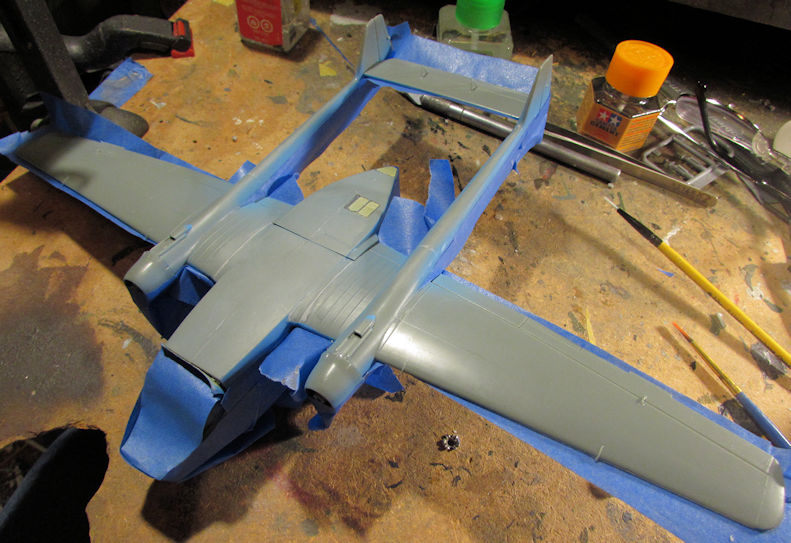
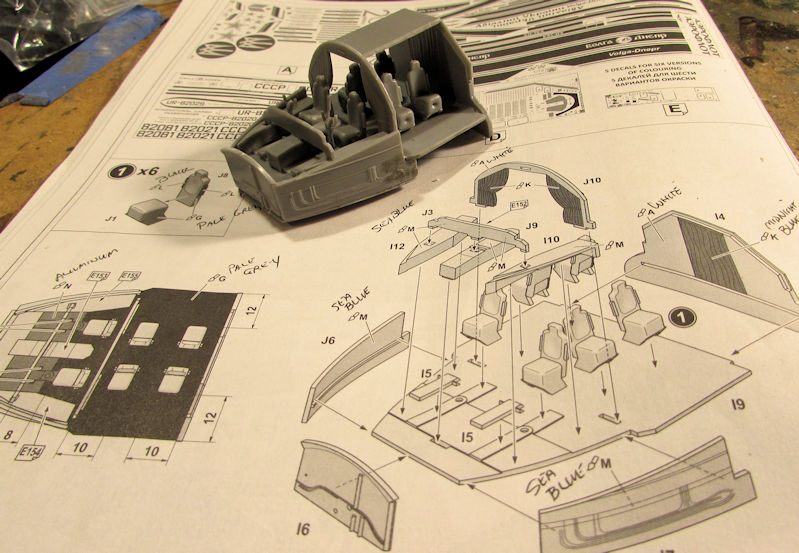
Hopefully I'll be able to spray that soon. Meanwhile, during all this, I've been working on the Russian AN-124 Condor, starting with the cockpit:
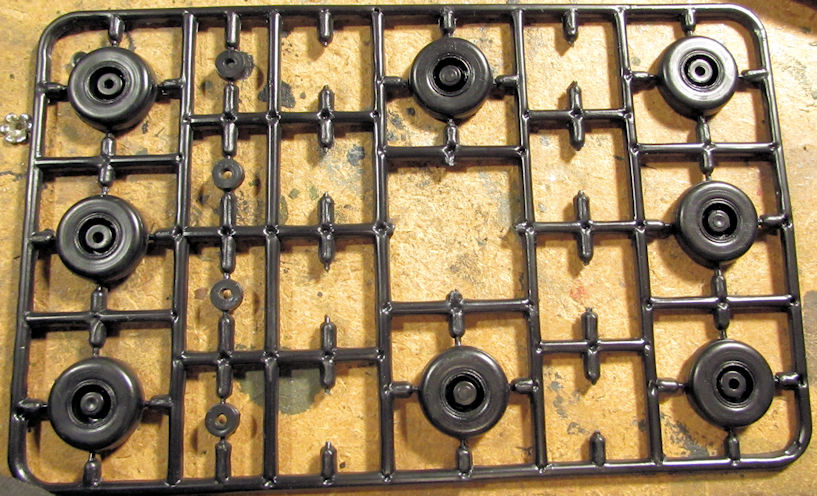
Yes, this massive bird is in 1/72 scale and yes I'm building it. I started afterward with some of the wheels. Each main wheel; of which there are 20; is four pieces each. Here were the first ones I started by adding the hubs to the center of the tires:
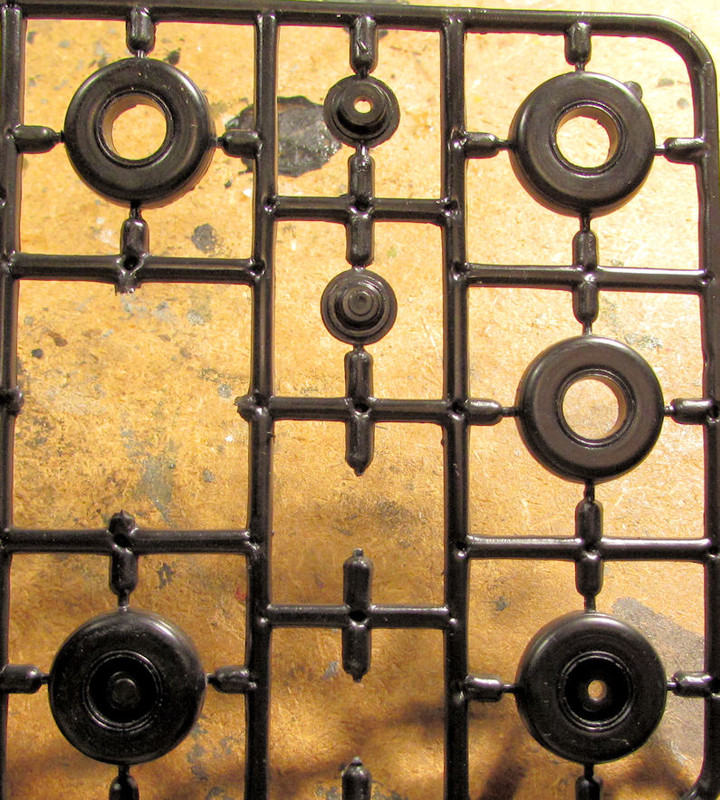
The first four wheels and hubs are done:
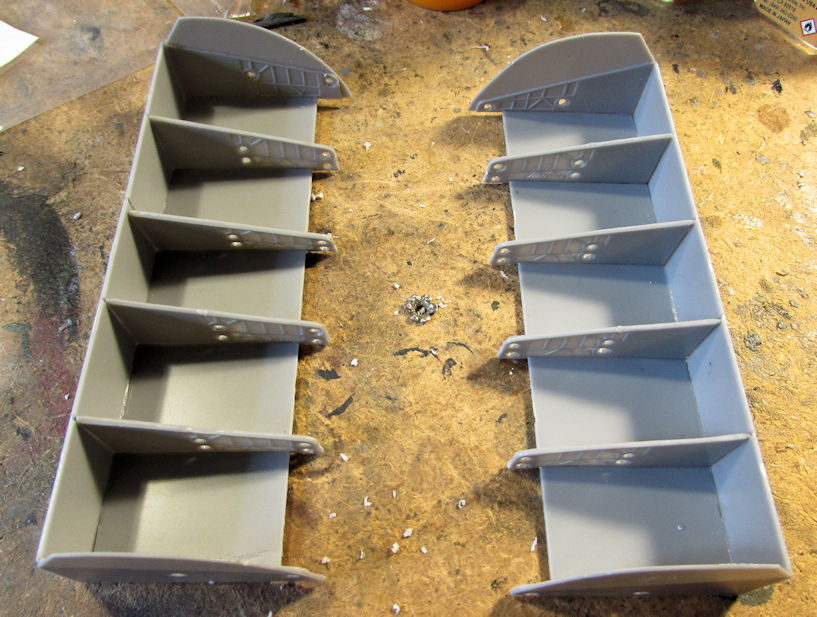
Later I assembled the shells of the main landing gear bays. These parts are all in regular injection molded plastic so they are easily assembled with plastic glue. That's why I'm doing these first:
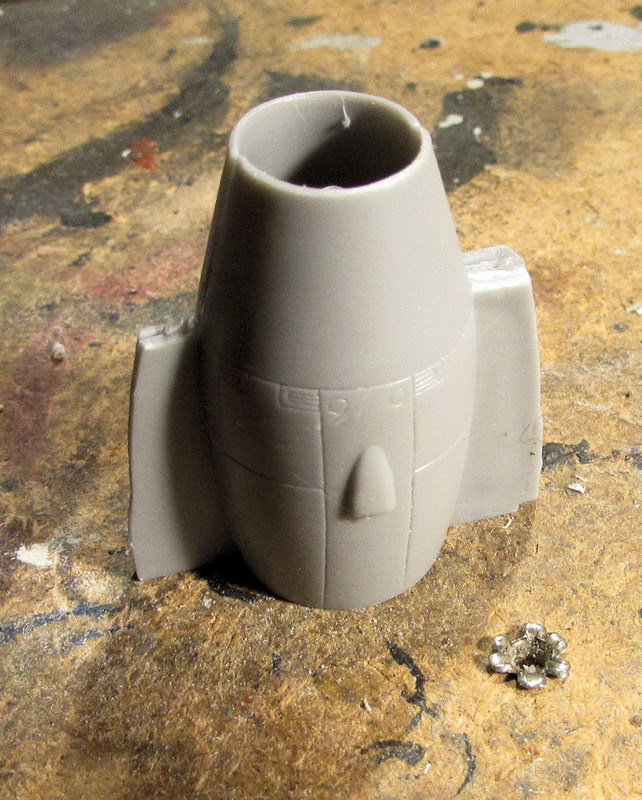
Next I started on one of the engines. This is only the rear part of it right here and that assembly has five parts to it:
Here are the remaining parts to finish this engine, some of which are already added to the rear section:
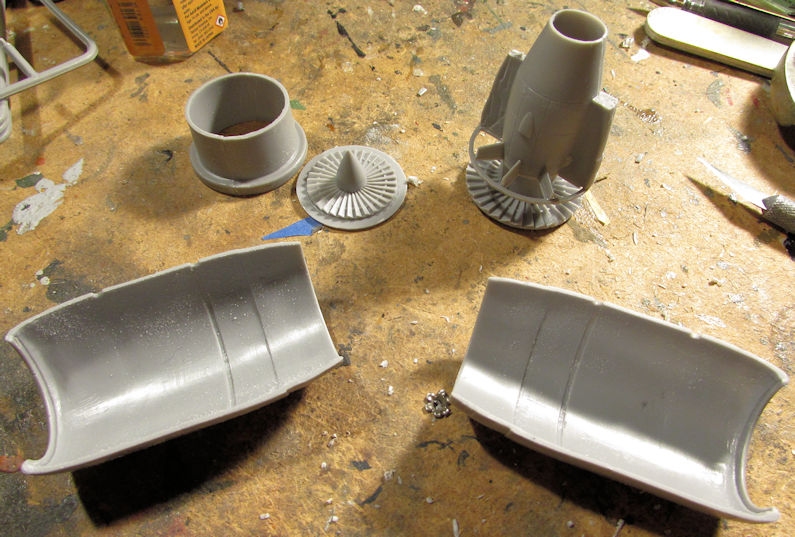
This is how they are all supposed to fit inside... in theory:
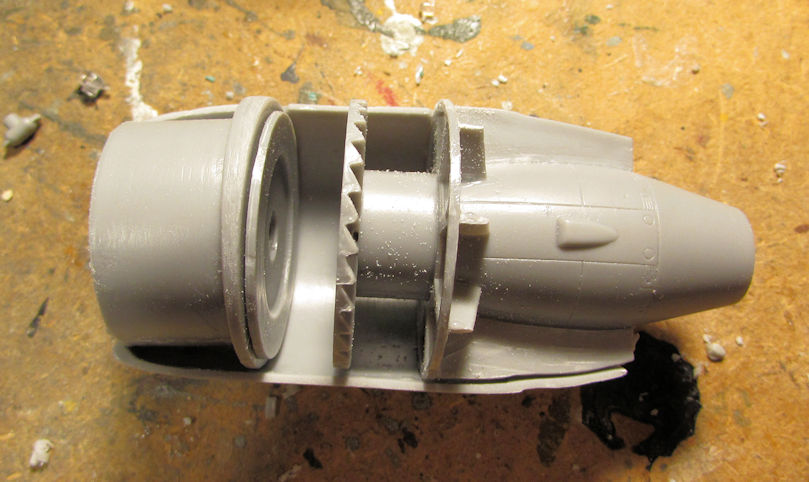
This is reality; even after extensive reseating of parts and sanding down of all interior parts:
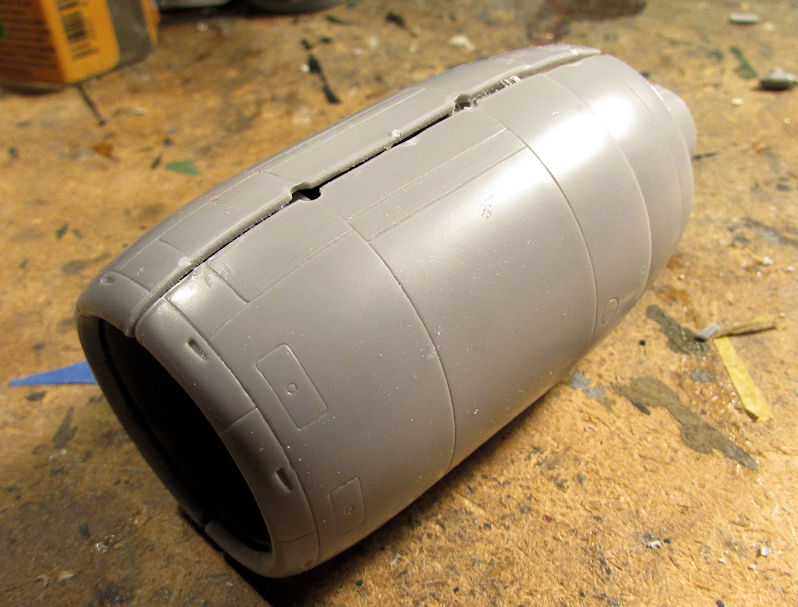
Finally after three days of sanding and refitting; I managed to get this closed up enough to add the pylon to it:
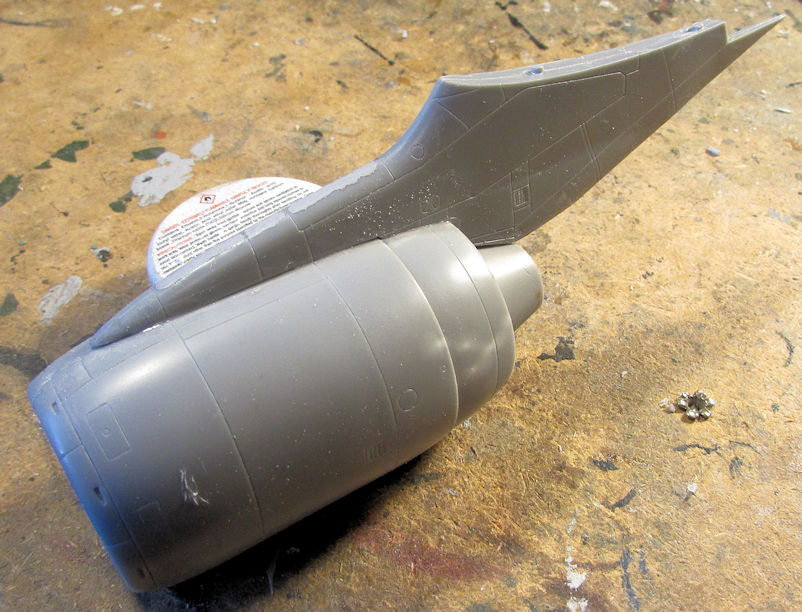
That was just one engine! Man, this is gonna be a long build!
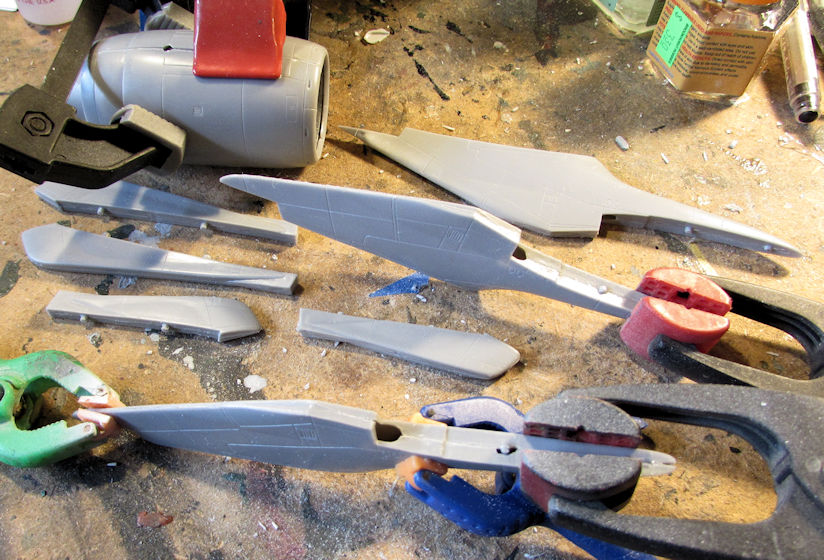
So, I continued on, assembling most of the wing fillets and some additional pylons. Most all the halved parts had to be sanded on the join edges before glue was applied in order to get them to fit properly. You can see the second engine clamped together in this pic too:
Okay, after all that, here is the progress I made on my military vehicles. Since I had finished ten of them recently, it was time to get started on some more. I had wanted to add a few more Abrams and a Paladin to the force so they got started. I also had two tank transporters to build for a tank transporter group build on the Missing Lynx Braille Scale Forums so I also started them.
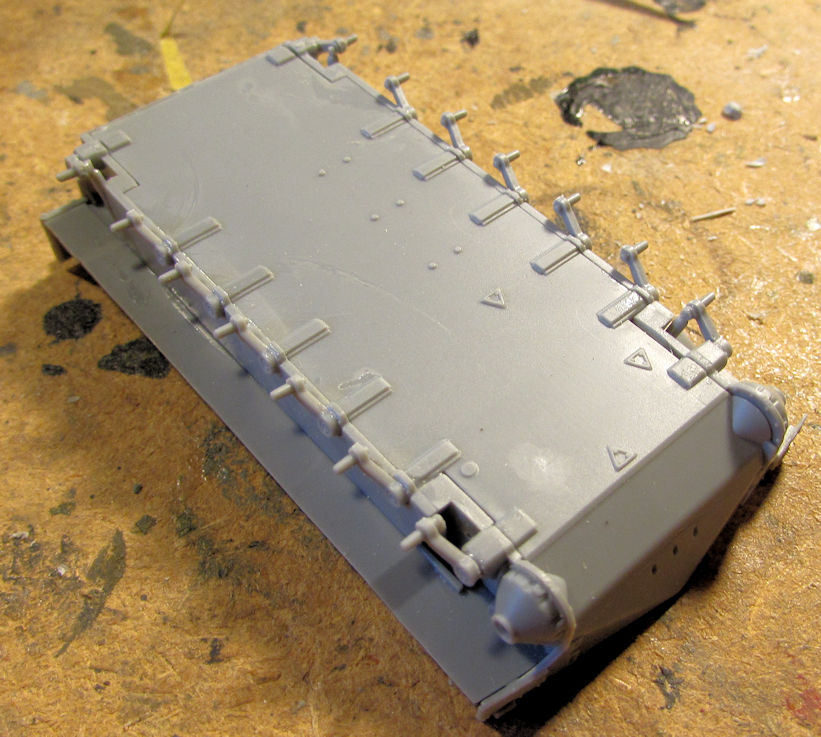
Let's start with the M-109A6 Paladin. I started with the lower hull of course. I had to add all these torsion bars and try to get them lined up properly. What a pain! I think I got close enough:
Next I decided to try and assemble the turret. Of course I also wanted to make the gun elevate too and I had an idea. So I pulled out the parts only to find this:
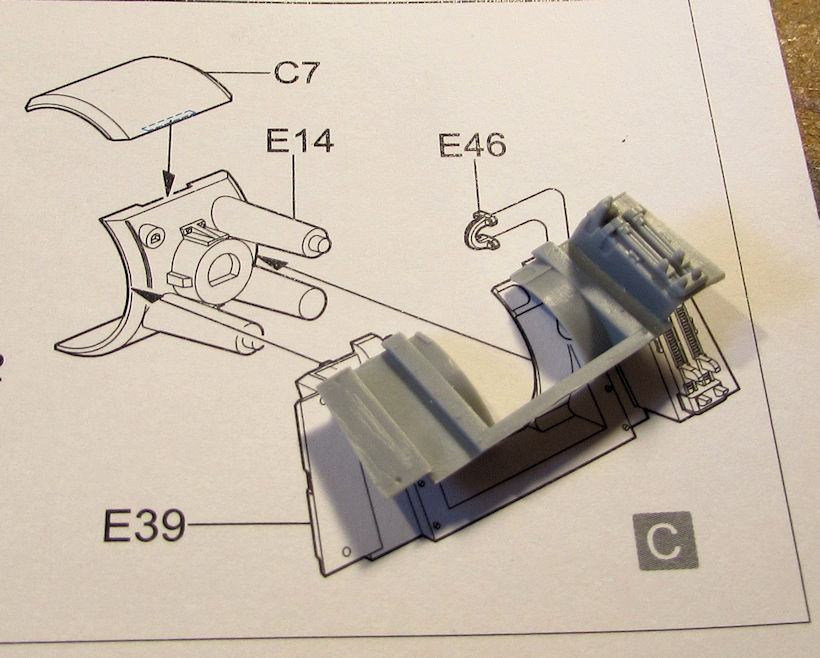
That's right: part E-14 is completely missing! Well, I have two additional kits of this very same model (one is going to be made Israeli) so I have a spare kit to cannibalize for this additional part. I just have to find it in the stash. Until then, I moved on...
I have two Flyhawk Abrams in the stash to make an Abrams SEP. One will have a mine roller on it; the other without. I also have the Tiger Models Abrams that I'll be making a SEP TUSK I Abrams.
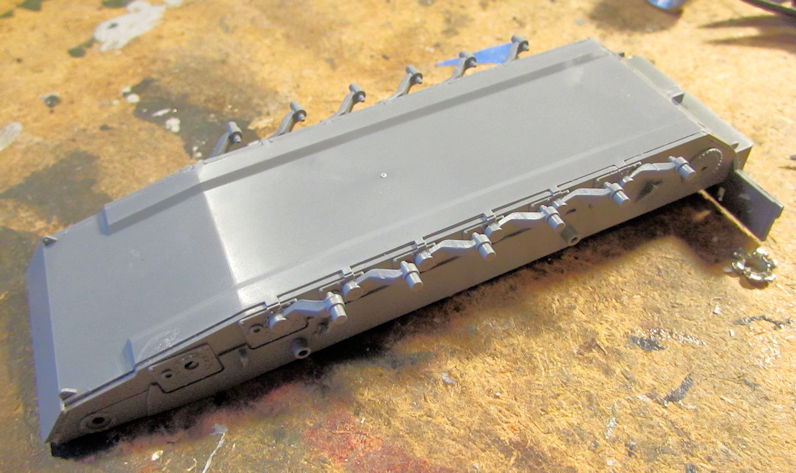
Here's the SEP Abrams started here. I had to do the torsion bars again. This is getting tiresome! I'm hoping I got the, all lined up well enough:
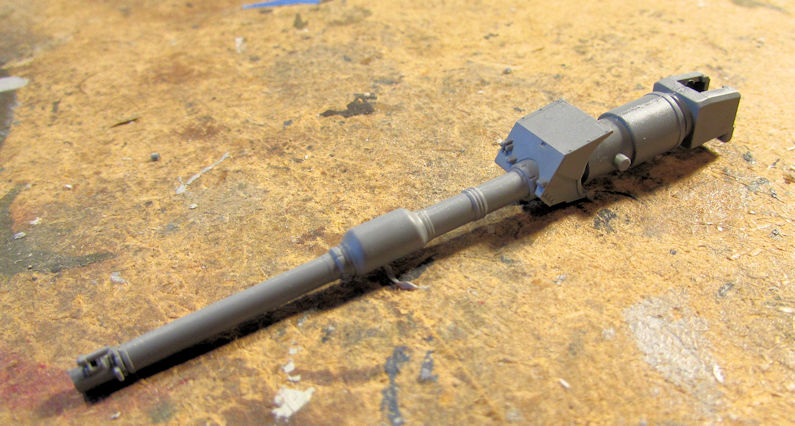
Next was the gun assembly, fairly straightforward:
I then added the sides to the upper hull. There's more to add to this but it is started:
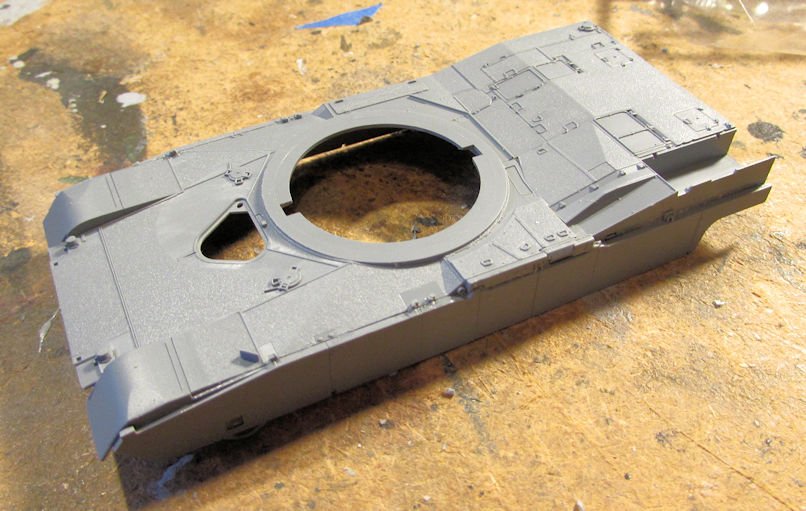
Here is the upper hull sitting on the lower hull. Looks good so far:
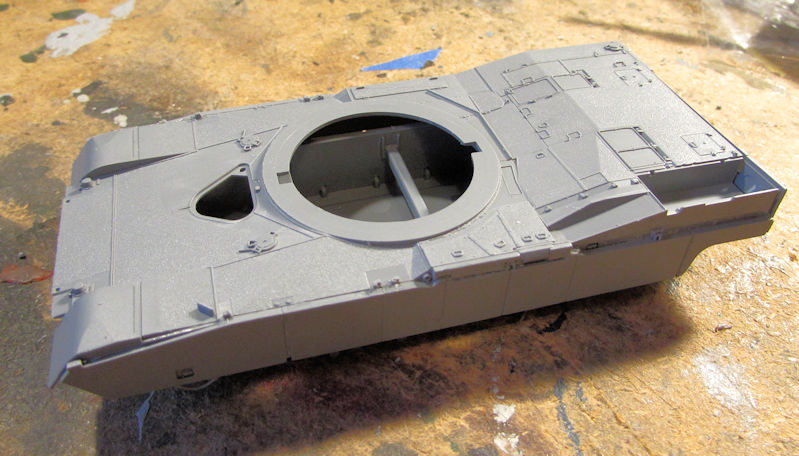
Later I added the turret to see how it's coming along:
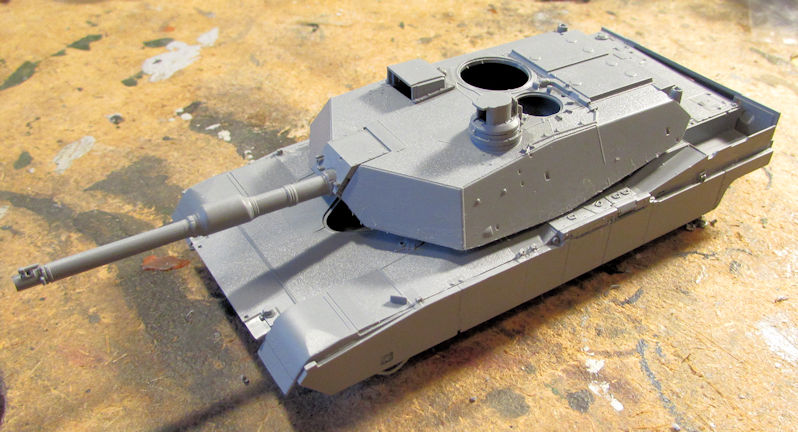
Moving along, I started the Tiger Model SEP TUSK I Abrams. This time I started with the gun. This is the "three gold leaf" kit that has everything, including this metal gun. I had to add three resin parts and three photo-etch parts to this gun. A fourth resin part goes on later:
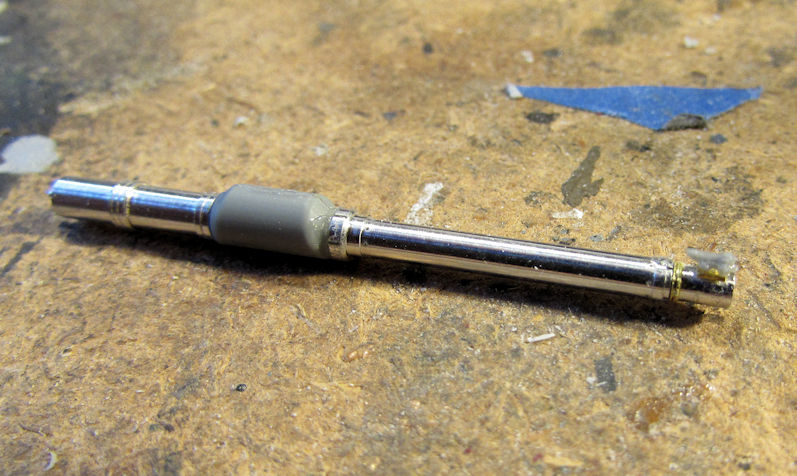
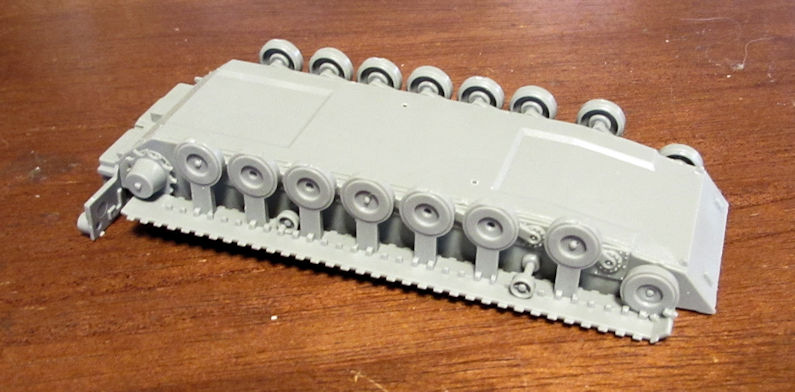
Next was the lower hull again. This time, Tiger Models made the suspension and roadwheels exceptionally easy to assemble:
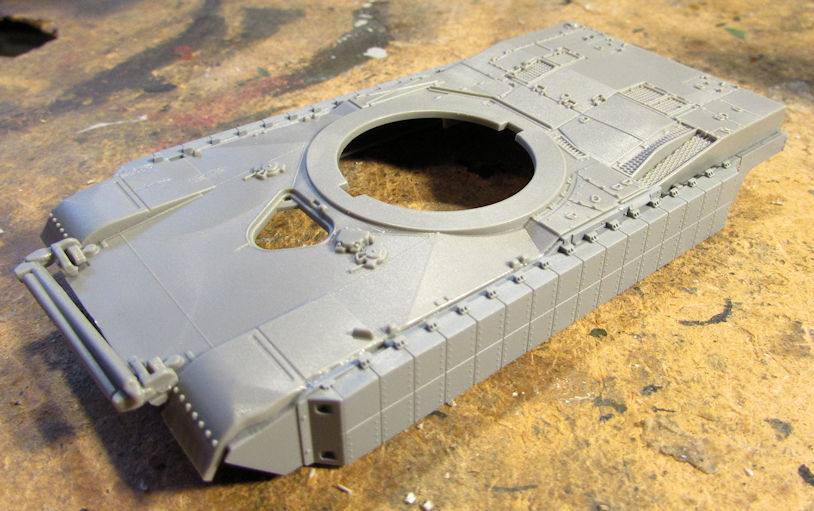
Next I did the upper hull, adding a few of the detail pieces and the side skirts:
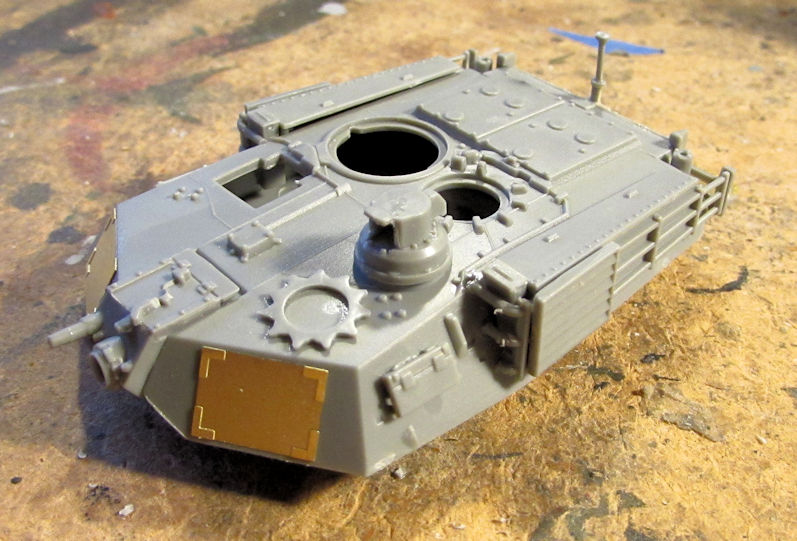
Finally, I got started on the turret. There was a lot of P/E to add, and I've only done about a third of the detail parts to this:
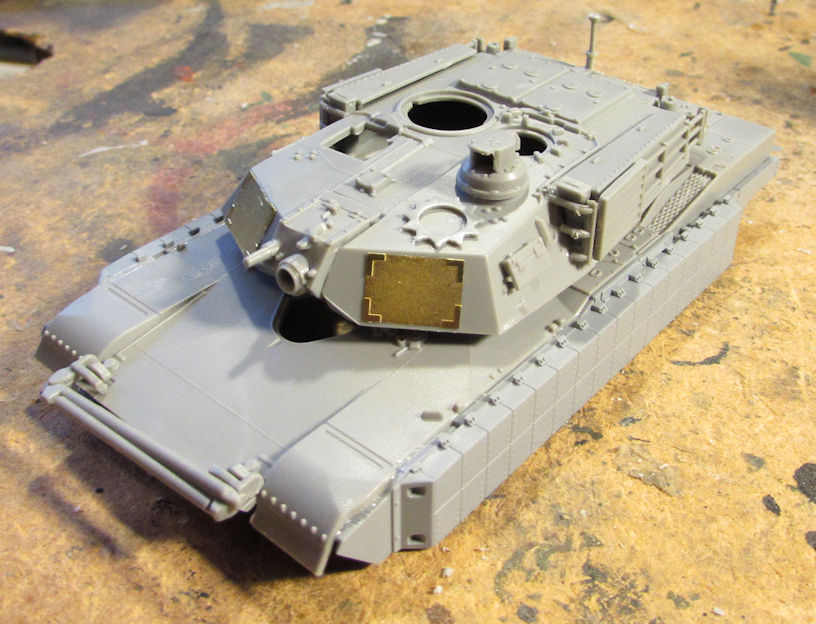
Finally, here's a shot of this thing all dry-fit together on the upper hull:
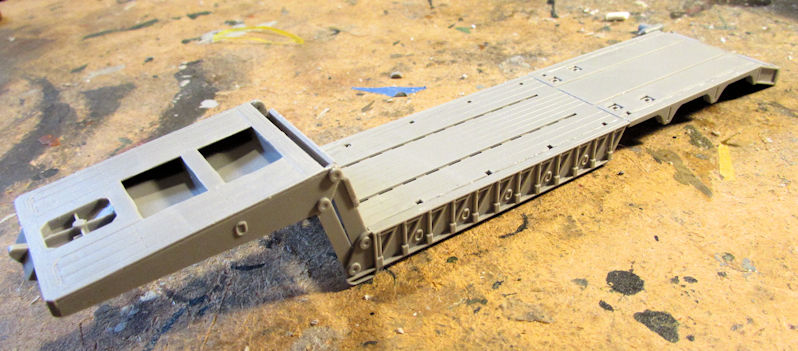
Finally on to the two tank transporters. This first one is the HEMMTT tractor with the trailer. I did something a bit different on these two tank transporters: I started the trailers first. Here's the HEMMTT trailer mostly assembled up to the wheels:
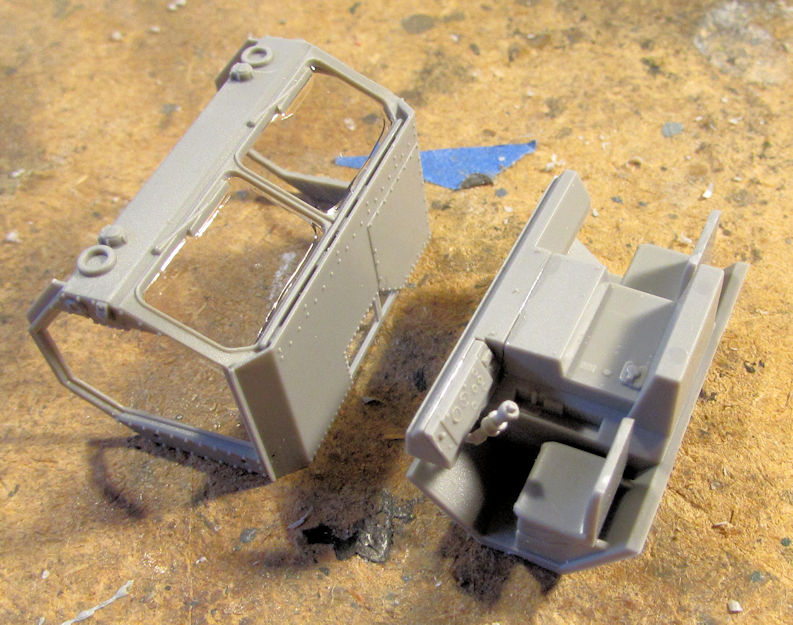
Next I did the cab; adding the windows and assembling the interior:
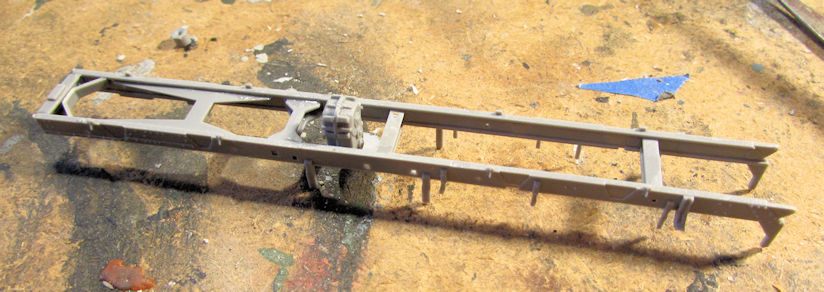
Next up was the chassis. Here it is after two steps; just before assembling the engine:
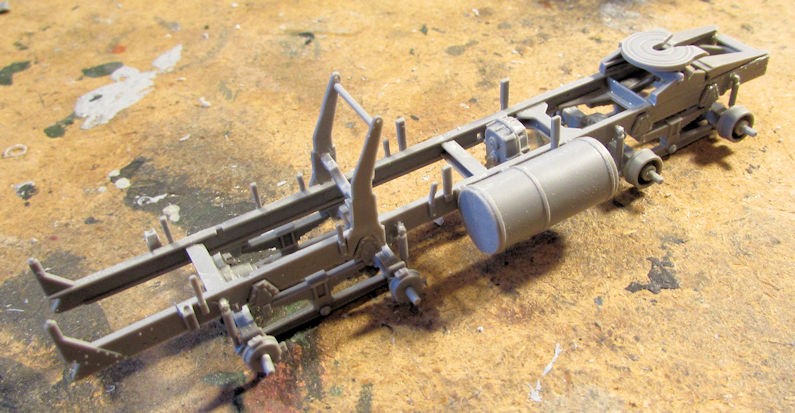
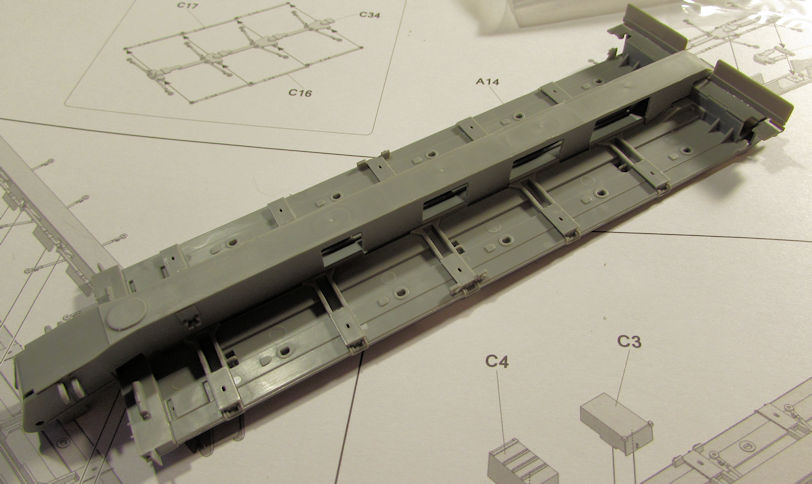
After this I started on the trailer for the M-1070. I got most of the main part assembled. The center part is only dry-fit; I have some linkages to add inside first before gluing that down:
Now, when I started the neck portion of the trailer; the first piece I cut off broke right away:
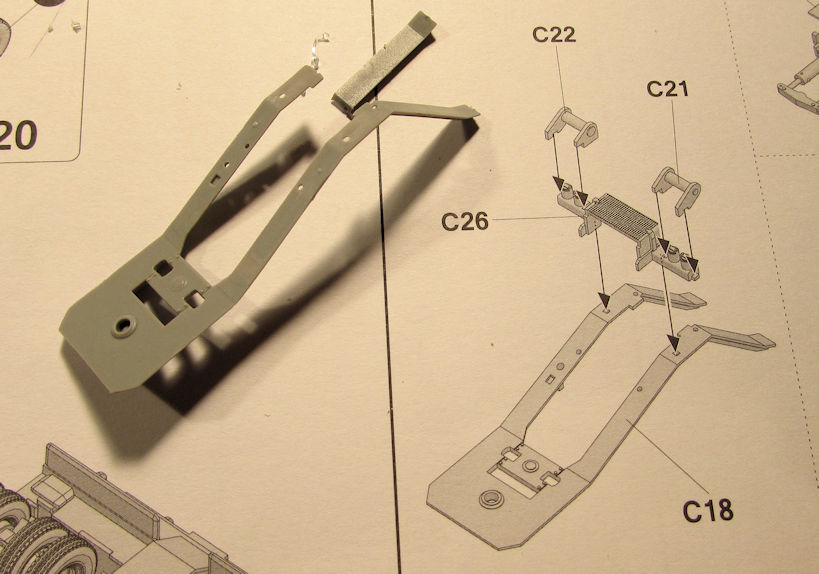
Later, after assembly, you couldn't see the break, so all worked out in the end. Here is the trailer with all three major assemblies waiting for completion:
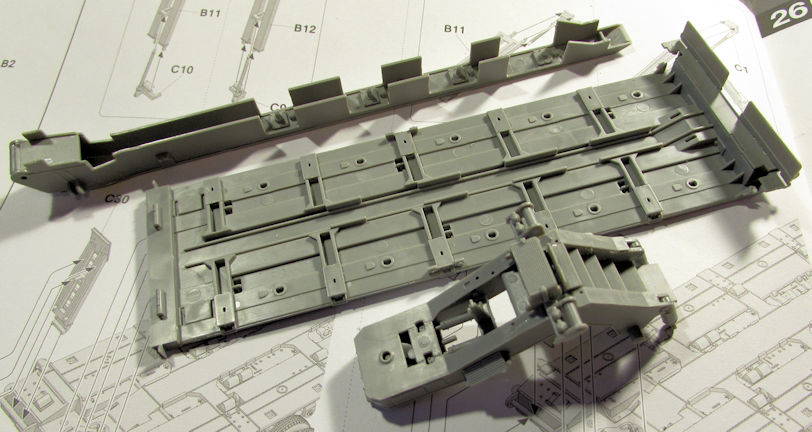
And that is where I have stopped so far. I hope I didn't bore you with this huge update. Take care now and thanks for looking in; comments are welcome.

