1/32 Revell Me262B-1/U1 Nachtjager

Post your work in progress of your aircraft builds in here.
Post Reply
User avatar
Duke Maddog
Elite Member
Posts: 7668
Joined: Tue Jun 03, 2014 11:22 am
Location: Rowland Heights, CA

Re: 1/32 Revell Me262B-1/U1 Nachtjager

Post by Duke Maddog »

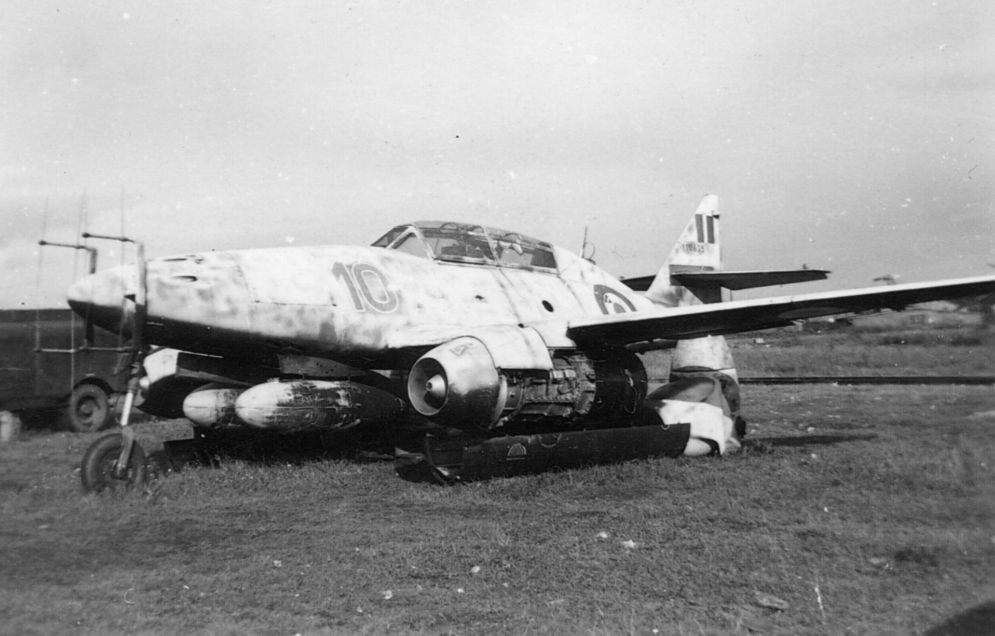
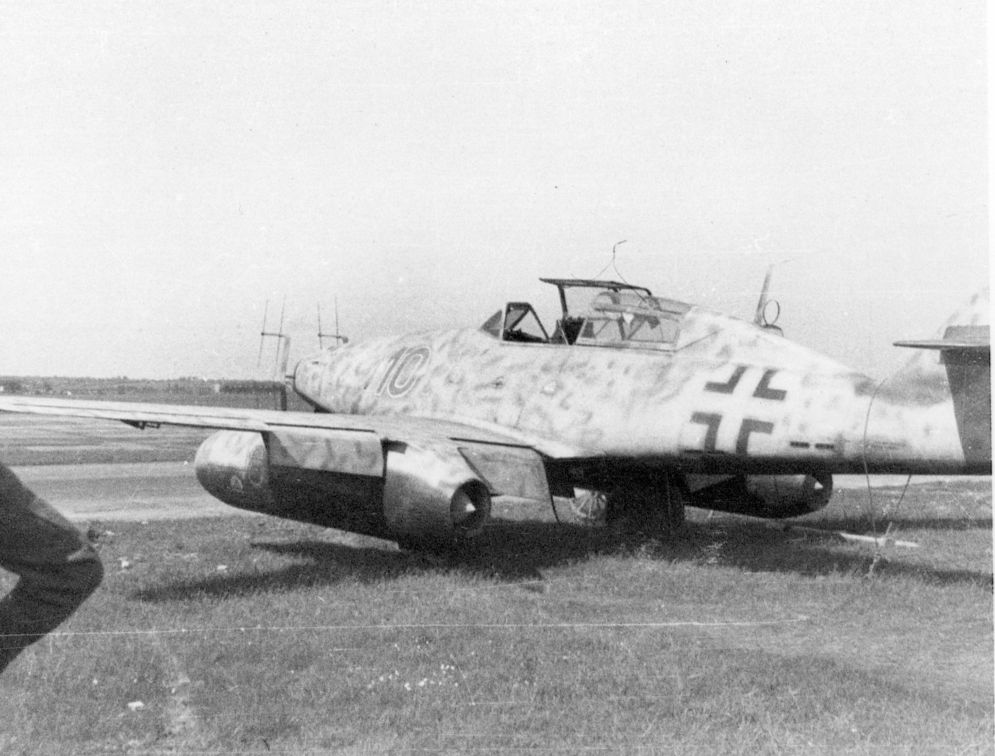
Looks great John. I also noticed in the pics you show of the real thing, how the lower pic shows the original insignia on it while the upper pic shows it after the British added their markings. Hmmm, maybe making that one would be an interesting diversion.... :hmm: :lashed:
The Duke
Virtuoso of Miniatures

"Do you know what the chain of command is? It's the chain I get and beat you with 'till you understand who's in ruttin' command!"
-Jayne Cobb, Firefly Episode 2 "The Train Job"

We are modelers - the same in spirit, in hunger to insanely buy newly released kits, hustlers in hiding our stash from our better halves and experts in using garbage as replacements for after-market parts.
User avatar
jkim
Elite Member
Posts: 4073
Joined: Mon Apr 10, 2017 4:03 pm

Re: 1/32 Revell Me262B-1/U1 Nachtjager

Post by jkim »

Yes! All of the photos of these nightfighters came after capture. So it is interesting to note the time elapsed between the shots with the crosses and with the roundels. The optional markings with roundels is definitely on offer but I'll never do it. It's just me, personally... it gives me a kinda sad impression of seeing a bird with captured markings. Like it is in jail or something. :wink:
John aka JKim
-----------<><
Image
User avatar
Floki
Elite Member
Posts: 3548
Joined: Wed Dec 12, 2018 2:23 am
Location: Muncie, Indiana

Re: 1/32 Revell Me262B-1/U1 Nachtjager

Post by Floki »

I feel the same way John.
The work your doing on the switches is excellent very nice and clean.
March as one, Don't look back
Odin's sons... Attack!
Unleash hell! Do not repent! Warfare grants us no lament
Let your weapons slash and tear This is no place for fear
Hold the lines! Move as one! In unity our victory's won
Our shields will form a mighty wall
United we shall never fall
User avatar
speedgraflex
Moderator
Posts: 11358
Joined: Fri Feb 10, 2017 11:08 pm
Contact:

Re: 1/32 Revell Me262B-1/U1 Nachtjager

Post by speedgraflex »

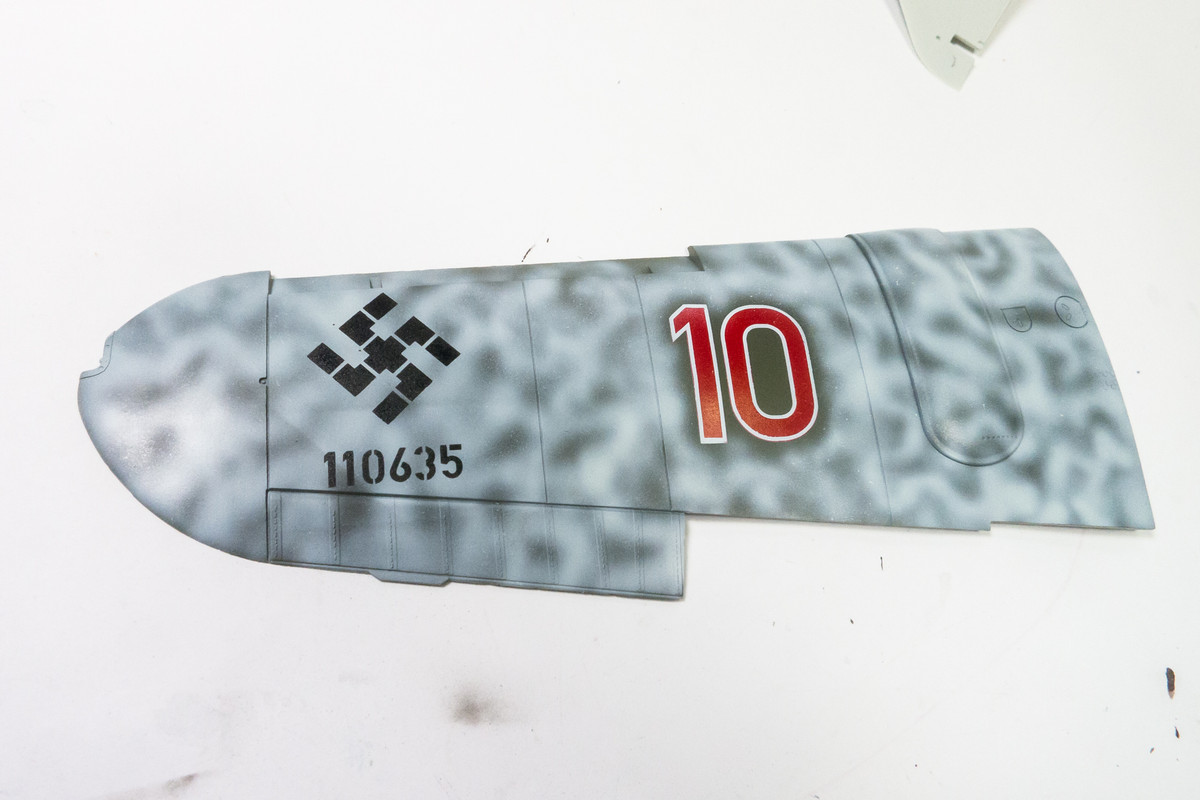
I love love love love your interpretation of the camo. I think that’s absolutely brilliant, and I believe in this case and maybe in other cases it’s important to begin with the final effect on the model itself. Bravo, John! That’s truly how the paint job looks—soft and wavy and misty. Very, very beautiful modulation! Amazing! Truly!
Make more models!
User avatar
KennyX
Elite Member
Posts: 2631
Joined: Sun Dec 24, 2017 11:19 am

Re: 1/32 Revell Me262B-1/U1 Nachtjager

Post by KennyX »

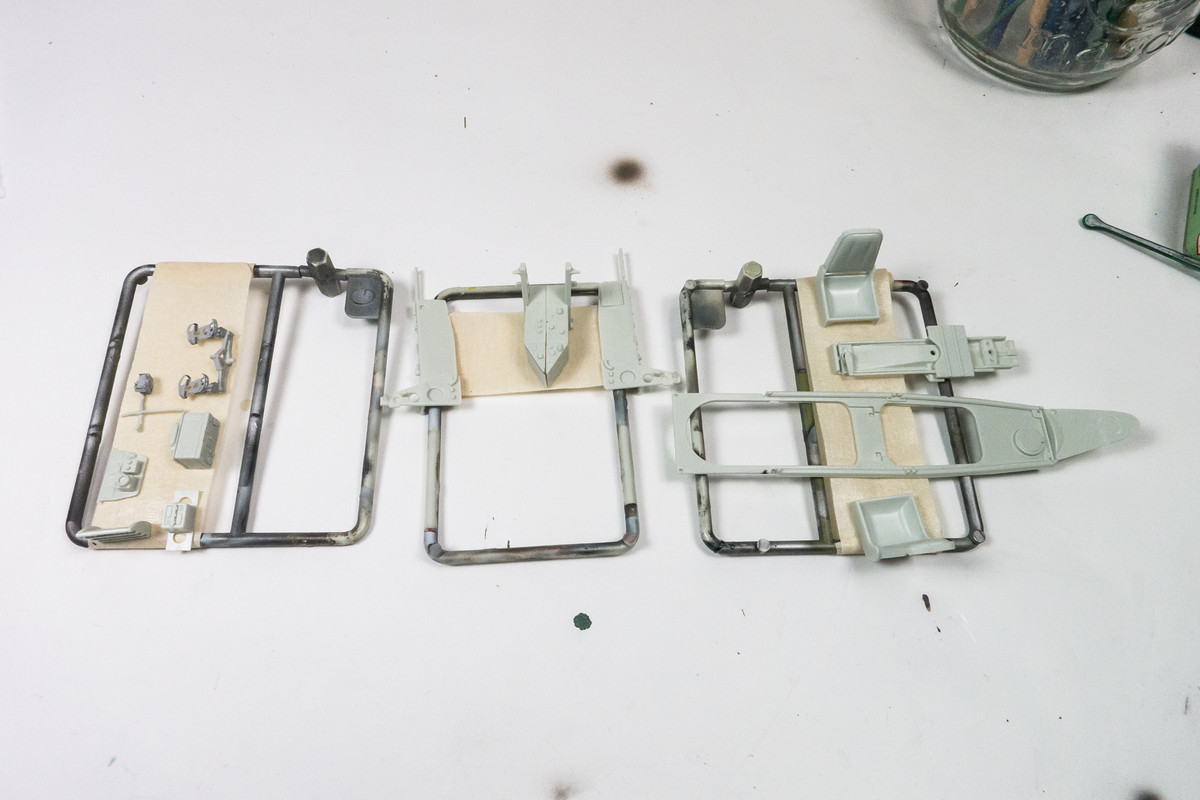
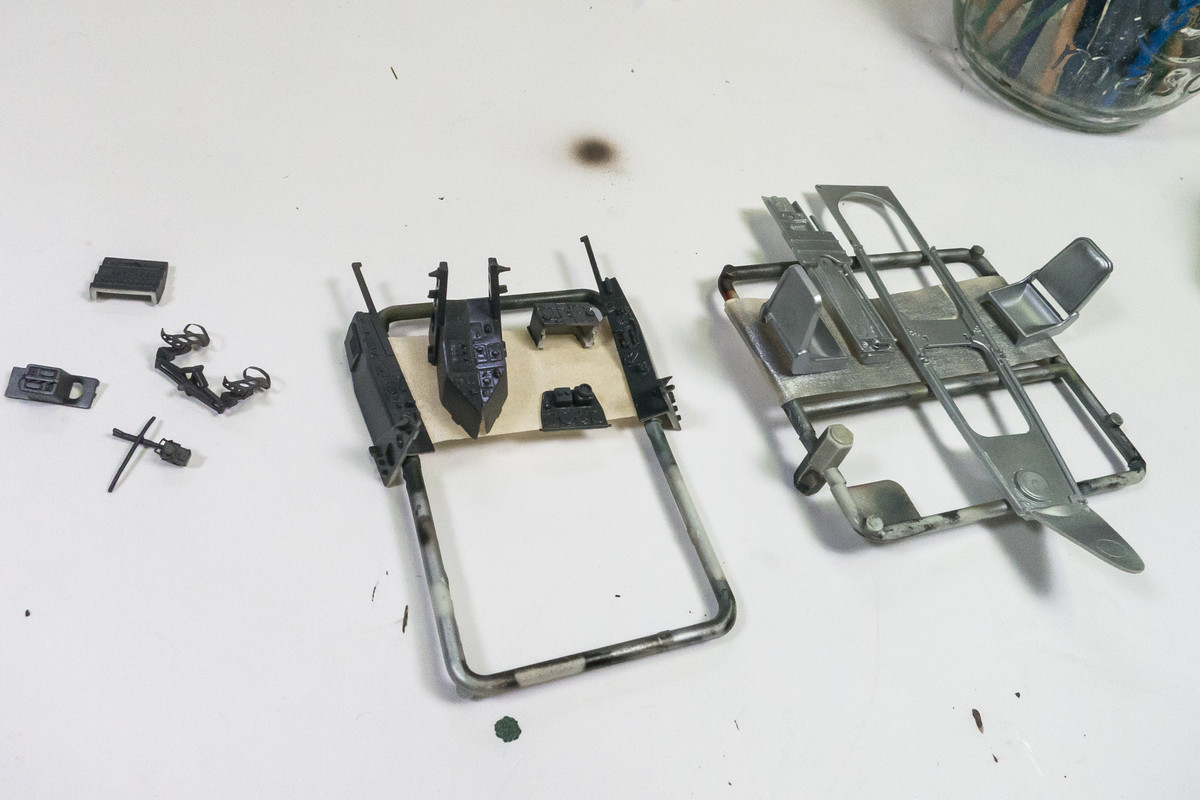
jkim wrote:So moving forward with this build, I've selected the cockpit parts and divided them into two categories. One - the parts that have decals to be applied to them, which will be painted in RLM 66 Dark Grey (Mr Hobby Aqueous). Two - parts that will be hairspray chipped, which be painted in Tamiya AS-12 silver, decanted into an airbrush. The grey parts will be coated in a clear gloss and the silver parts with hairspray.
Image
Image

Although the camo painting is a long way off, I started thinking about how to represent the mottled finish on Red 10. Most descriptions of this scheme call out a base of RLM 76 on the topside with a RLM 75 mottle over it. However, the more I look at some of these late war mottle schemes, the more I think it may have been the opposite. Here are a couple of photos of Red 10 at the time of capture. Note the overspray of the lighter color over part of the red "10".
Image
Image

So I want to go with that opposite approach. Establish the dark color as the base and use the lighter RLM 76 to create the mottle effect. Using a spare Bf109 wing as a paint mule, I ran a test on this idea. The wing was sprayed with RLM 83 Dark Green (Mr Hobby Aqueous) and then given a random mottle pattern with RLM 76 Light Blue (AK Real Color 76 Version 2). I also tested a few of the custom masks that I had created in AutoCAD specifically for Red 10.
Image

This approach seems to make sense visually as well as practically since it would represent an easier conversion to a nightfighter scheme.
About your painting approach— I WHOLE-HEARTEDLY AGREE WITH YOU. Like Bruce, I agree with your interpretation. I love it. It’s very aesthetically pleasing to me also.
Kenny X
Head Mother Trucker In-Charge @ Kenny X’s Reichs Winzigkleines Flugzeugewerks *and now* Airboat Records, too!
User avatar
speedgraflex
Moderator
Posts: 11358
Joined: Fri Feb 10, 2017 11:08 pm
Contact:

Re: 1/32 Revell Me262B-1/U1 Nachtjager

Post by speedgraflex »

I have to add reinforcement to that. The camo is off the charts good.
Make more models!
User avatar
mostrich
Admin
Posts: 3105
Joined: Sun Apr 06, 2014 2:13 pm
Location: Hamburg, Germany
Contact:

Re: 1/32 Revell Me262B-1/U1 Nachtjager

Post by mostrich »

#metoo
I'm absolutely with you on the color interpretation. Also your way of looking on captured material goes similar with mine. I like them more in their house colors, no matter where they're from.
Cheers,
Torben
User avatar
jkim
Elite Member
Posts: 4073
Joined: Mon Apr 10, 2017 4:03 pm

Re: 1/32 Revell Me262B-1/U1 Nachtjager

Post by jkim »

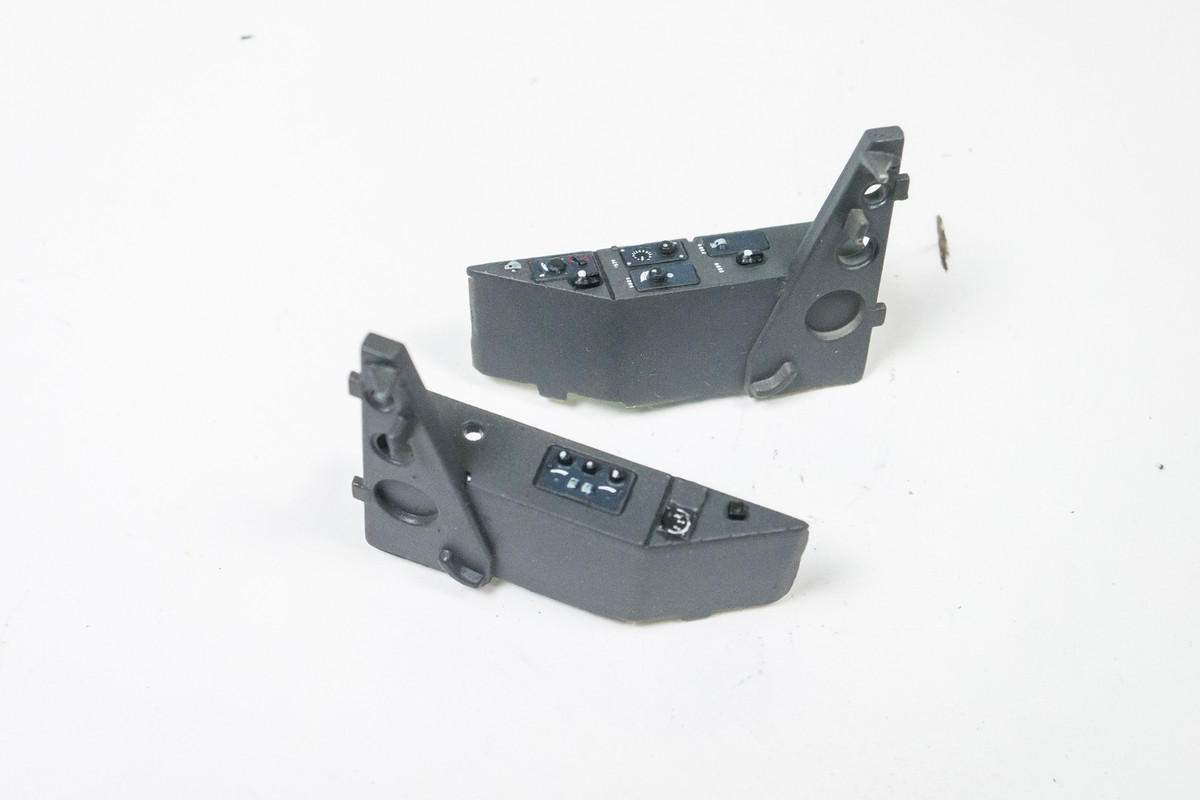
Thanks guys! It has been a few days and I HAVE been working on the 262 but it has been slow progress. It's taken me about three evenings now, applying the decals to the cockpit parts. I've been evaluating each section, determining where the decal fits, where to divide the decals to get a better fit, and substituting PE replacements or hand-painting where appropriate. Walters Solvaset has been working very well to literally melt the decal pieces into place over all of the raised detail. I've gotten more adept at centering the decals over the appropriate details and even daring to CAREFULLY touch and prod the decal as it softens. It's been a slog and I'm not finished yet but I'm able to post some progress shots at least.

Rear cockpit side panels...
Image

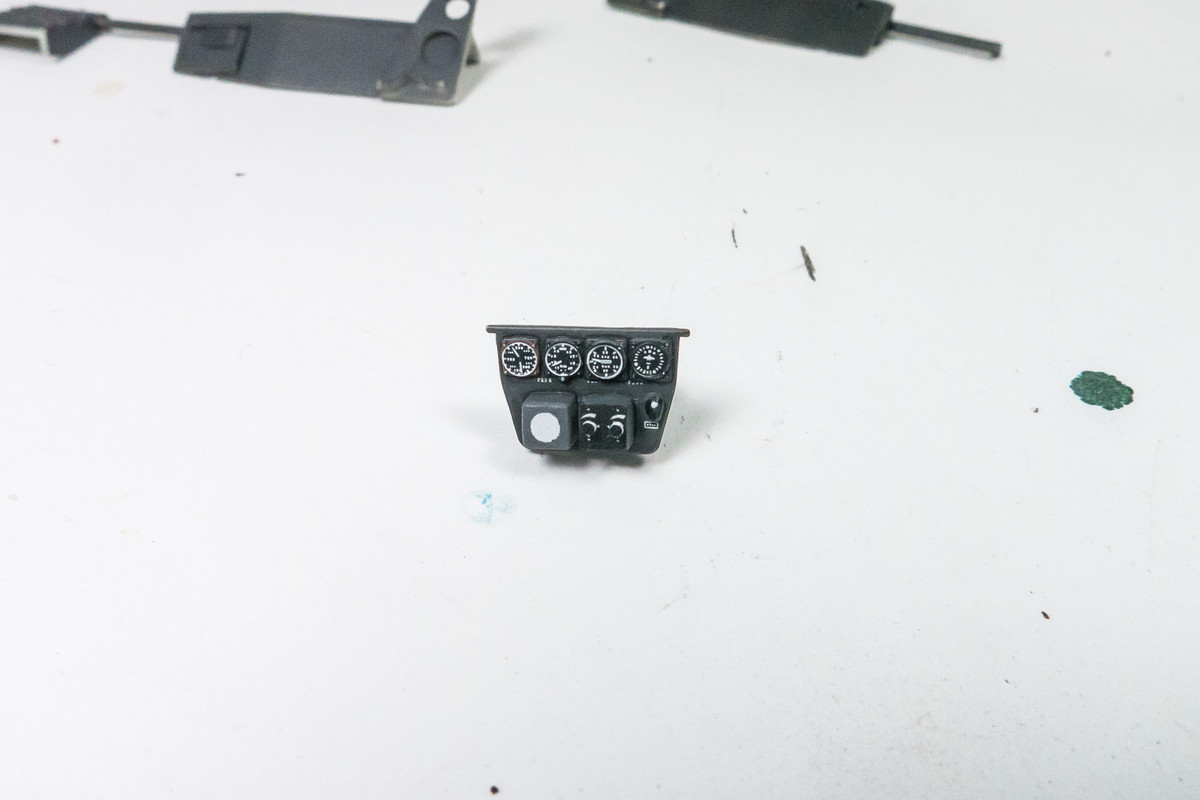
Rear cockpit instrument panel... I still need to add clear lenses to all of the instruments as well the shroud on the radar display.
Image

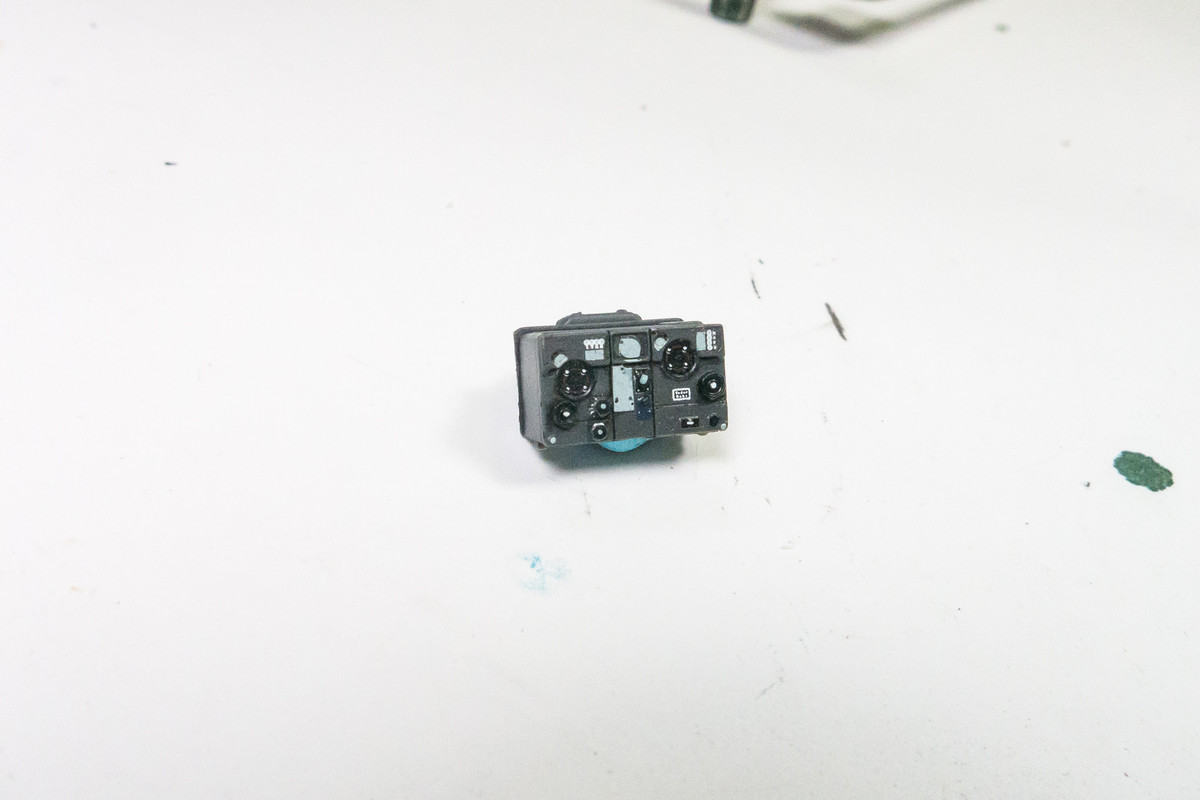
Radar unit....
Image

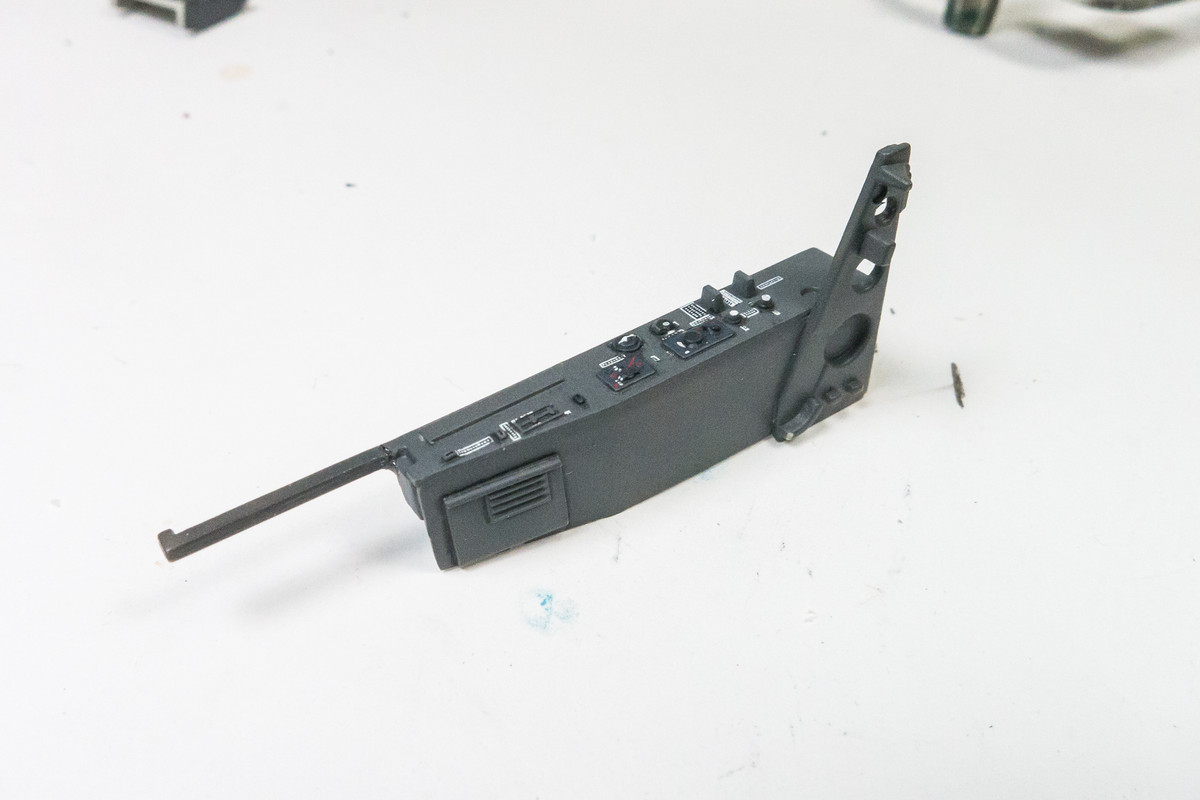
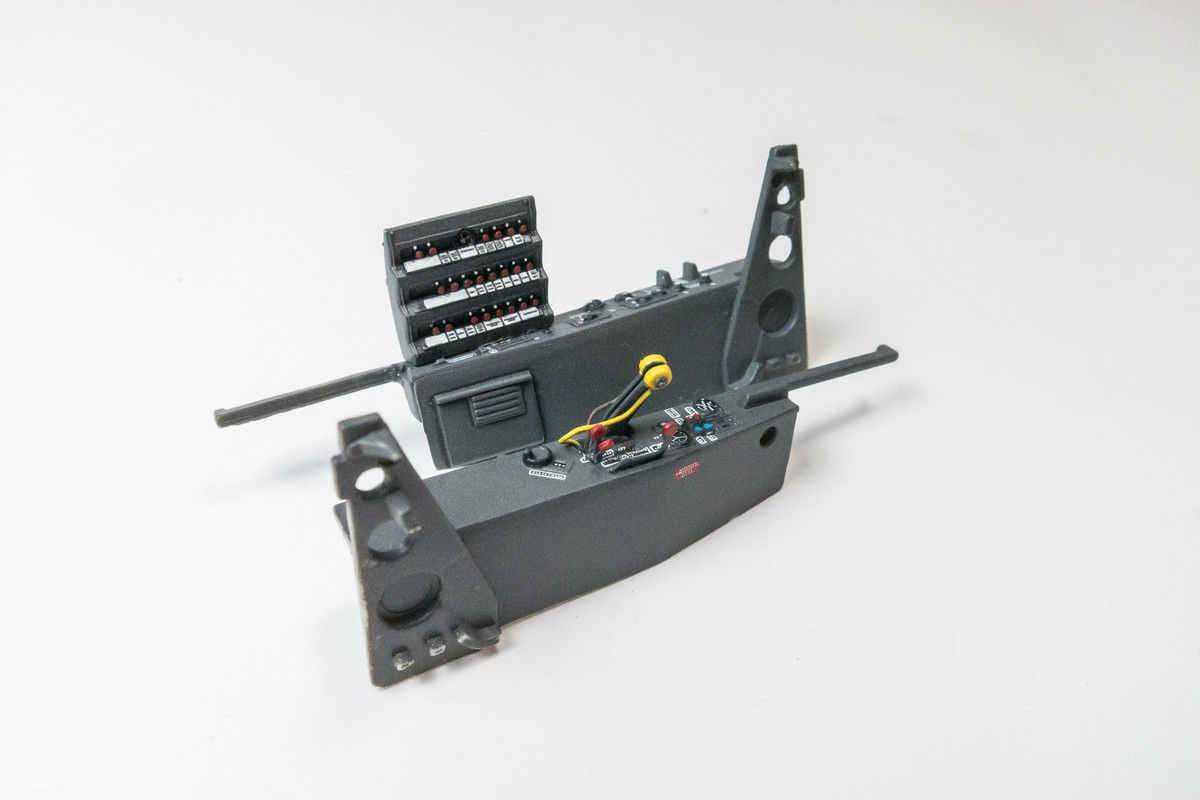
Front cockpit starboard side panel.
Image

Still working on the port side panel as it houses the throttle quadrant. All of these components will get a bit of weathering but I'm not going to sweat that too much since it will be difficult to see inside the cockpit with all those canopy frames in the way.

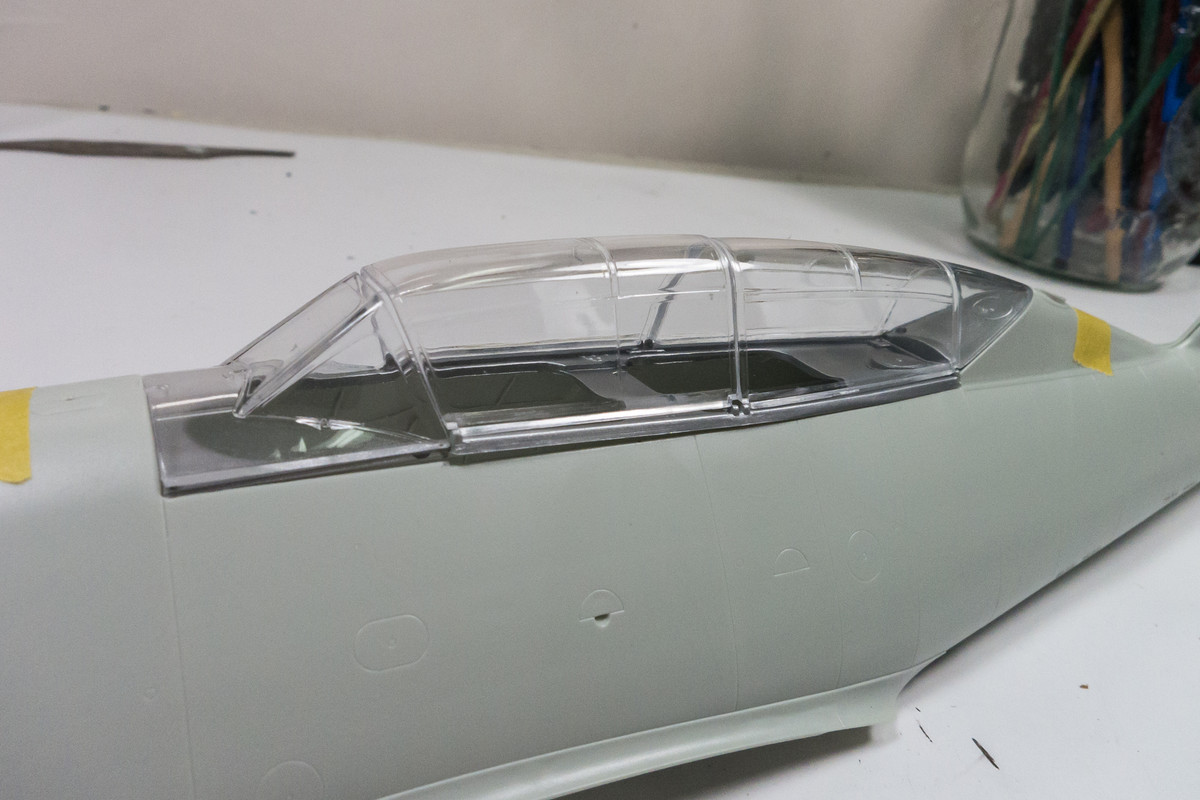
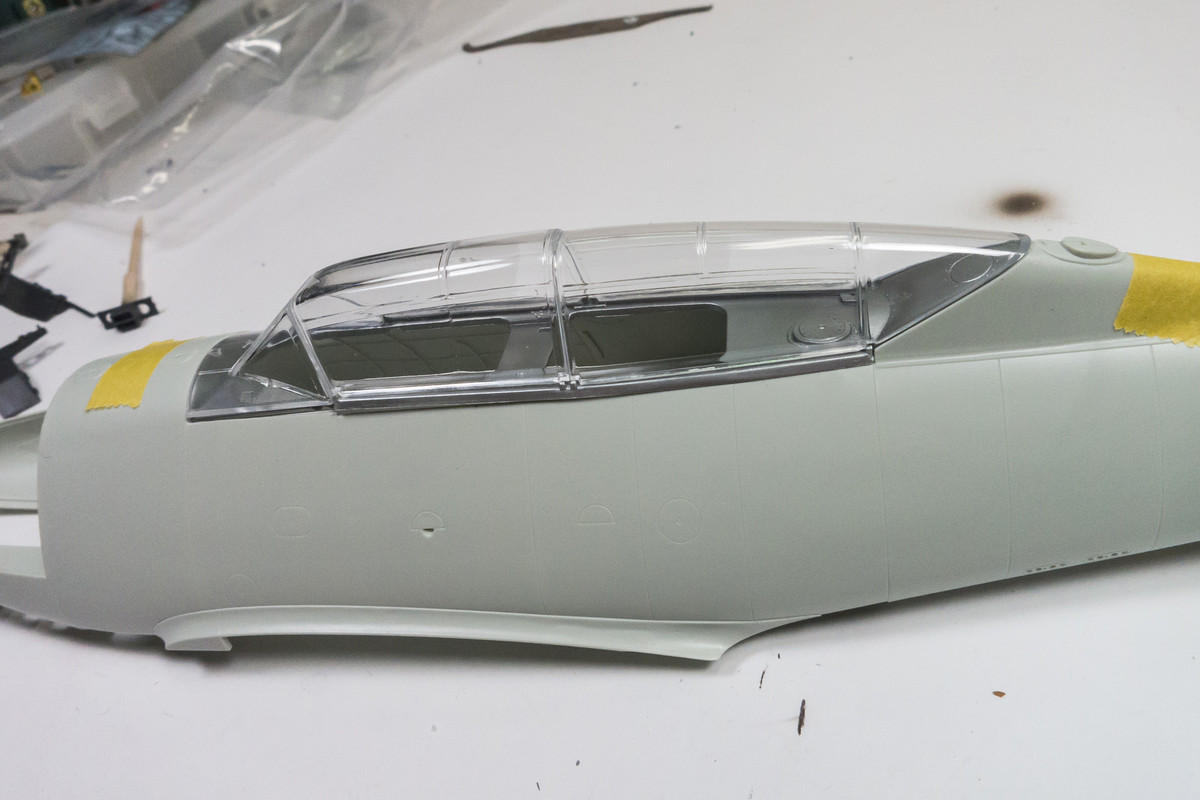
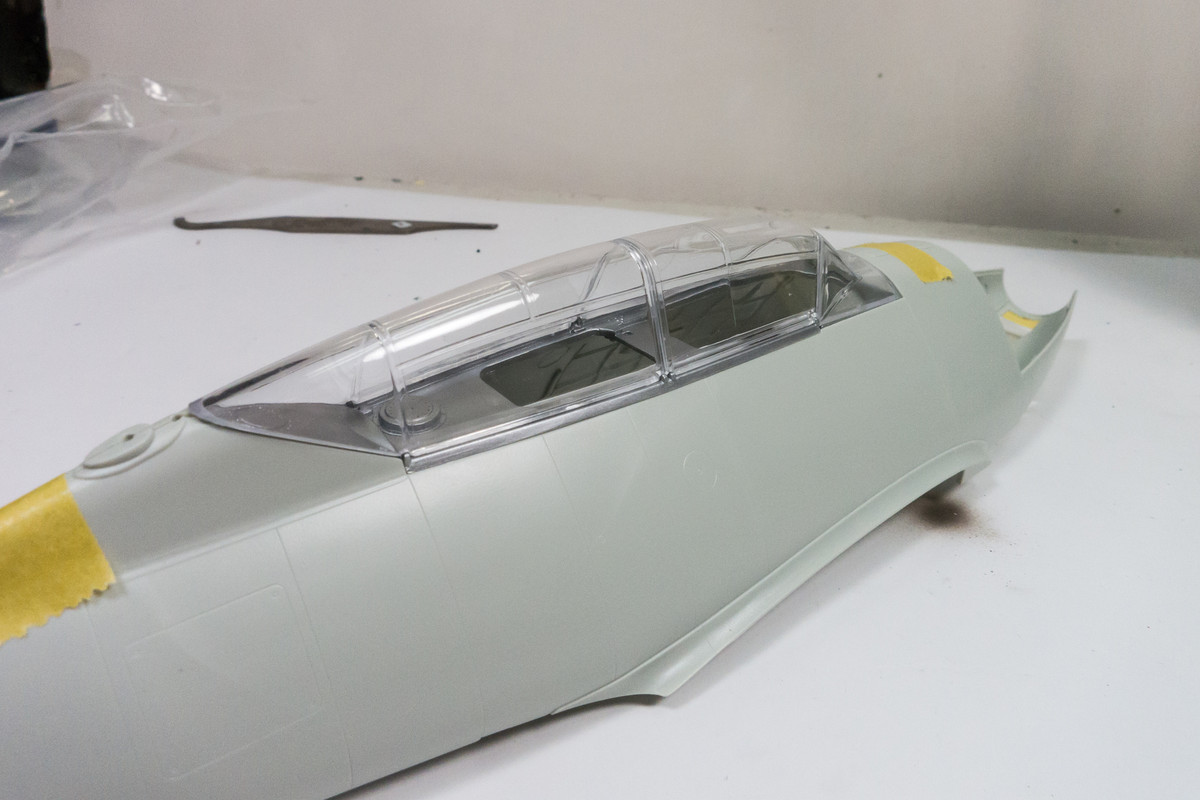
And speaking of... while waiting for decal solution to dry, I've performed a dry fit of the clear canopy parts to the fuselage. The majority of the canopy rests on the separate cockpit sill part, which I needed to verify for the painting process.
Image
Image
Image
John aka JKim
-----------<><
Image
User avatar
Stuart
Elite Member
Posts: 11902
Joined: Sun Apr 06, 2014 1:06 pm
Location: North Wales

Re: 1/32 Revell Me262B-1/U1 Nachtjager

Post by Stuart »

Slow progress but time spent John!
Stuart Templeton 'I may not be good but I'm slow...'
User avatar
jkim
Elite Member
Posts: 4073
Joined: Mon Apr 10, 2017 4:03 pm

Re: 1/32 Revell Me262B-1/U1 Nachtjager

Post by jkim »

Thank you Stuart! Progress has been painfully slow but yes, we are moving forward, half step at a time.

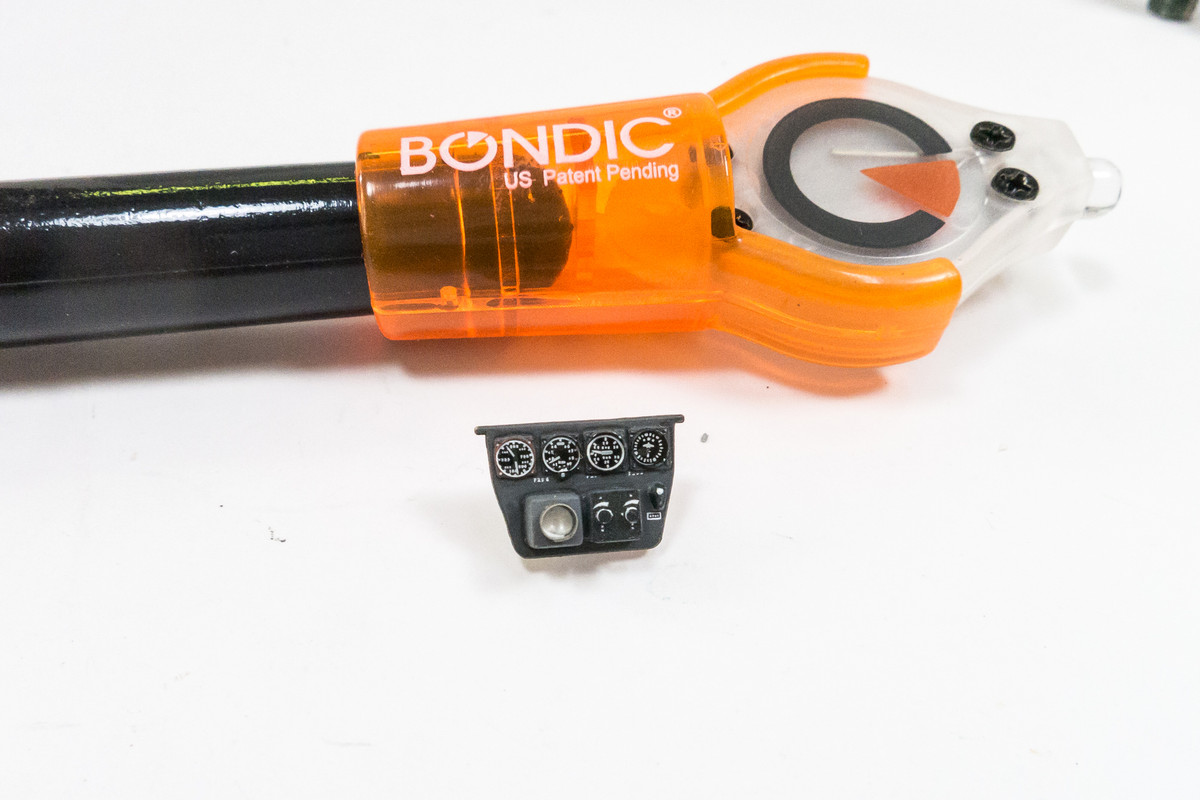
All the cockpit bits are in different stages and I'm just trying to kick all of the balls forward as best as I can. Not very systematic but I don't really have a choice given the strange modular construction order. I've filled some of the instrument dials with UV epoxy glue. This stuff is really handy. Not only does it dry on command once you shine the little UV light on it, it is very strong. The front instrument panel for the radar operator has been finished with the UV epoxy in the dials and the shroud for the radar display (an Eduard PE part) has been added.
Image

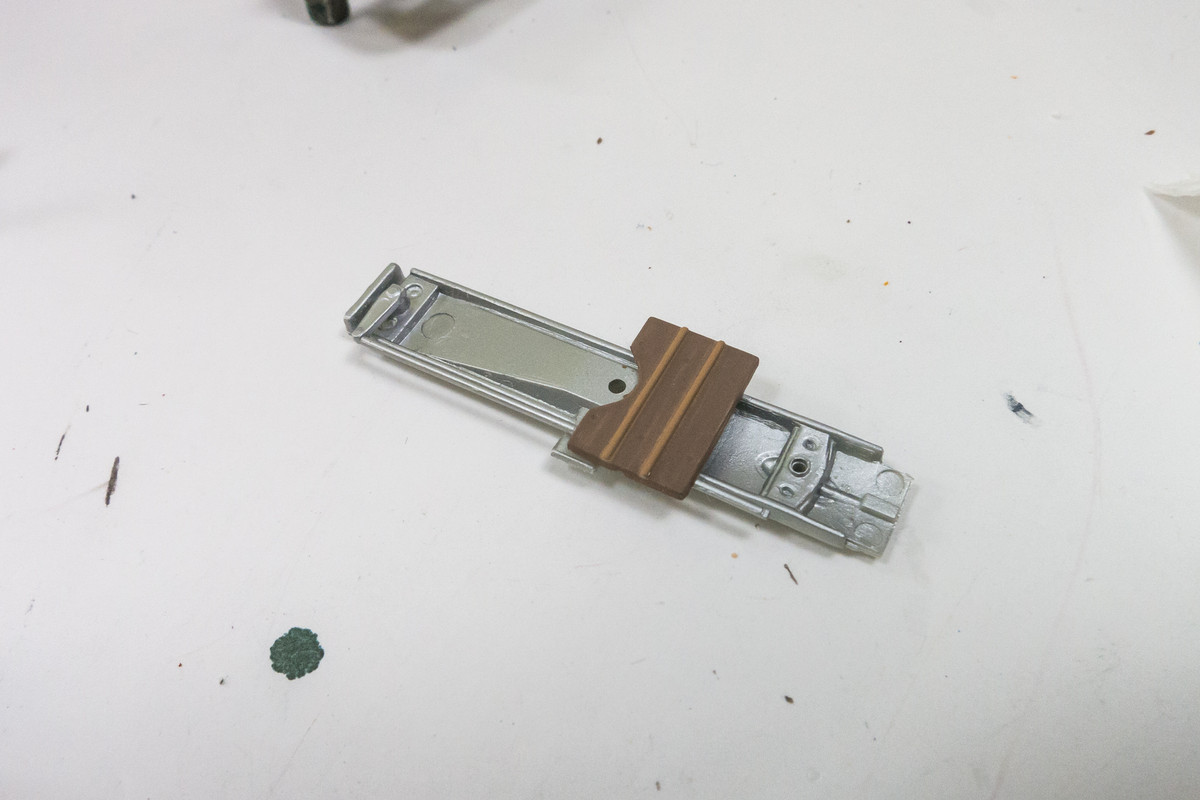
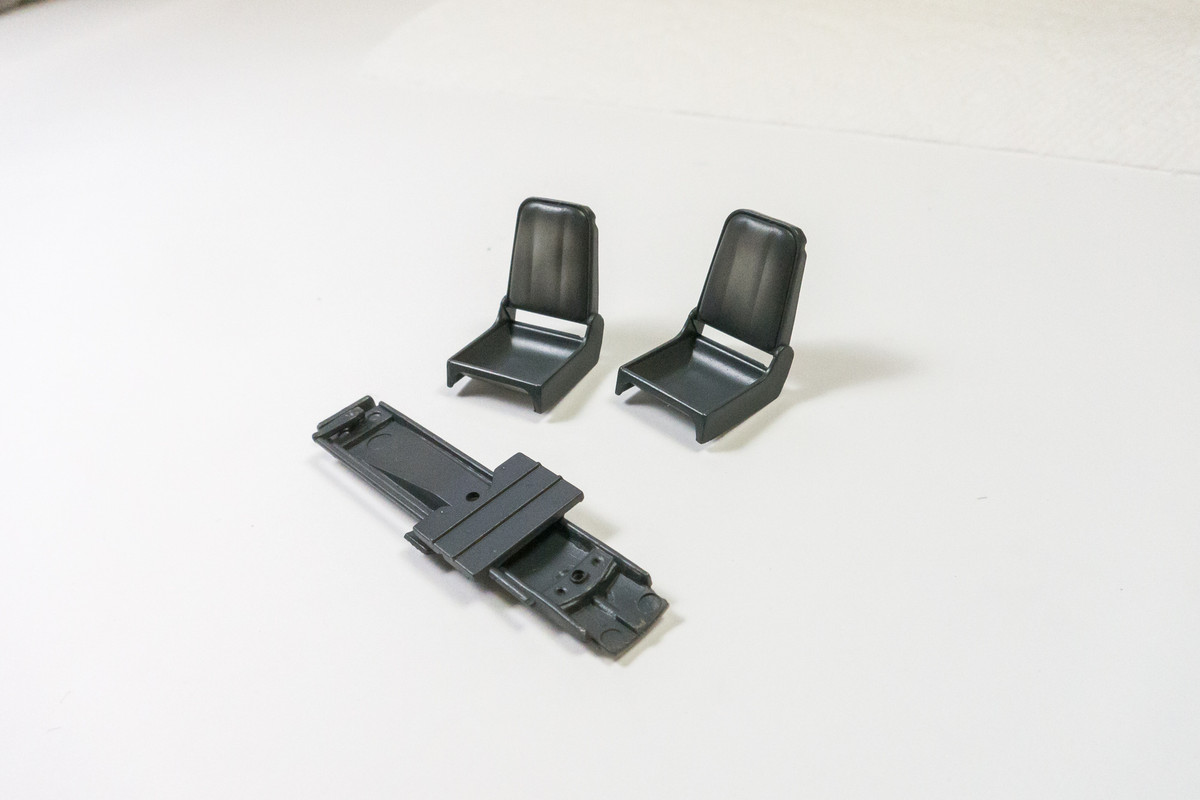
The foot panel was painted brown since it was made of wood. Now the previously sprayed silver parts can be coated with hairspray and then RLM 66 Dark Grey (Mr Hobby Aqueous).
Image
Image

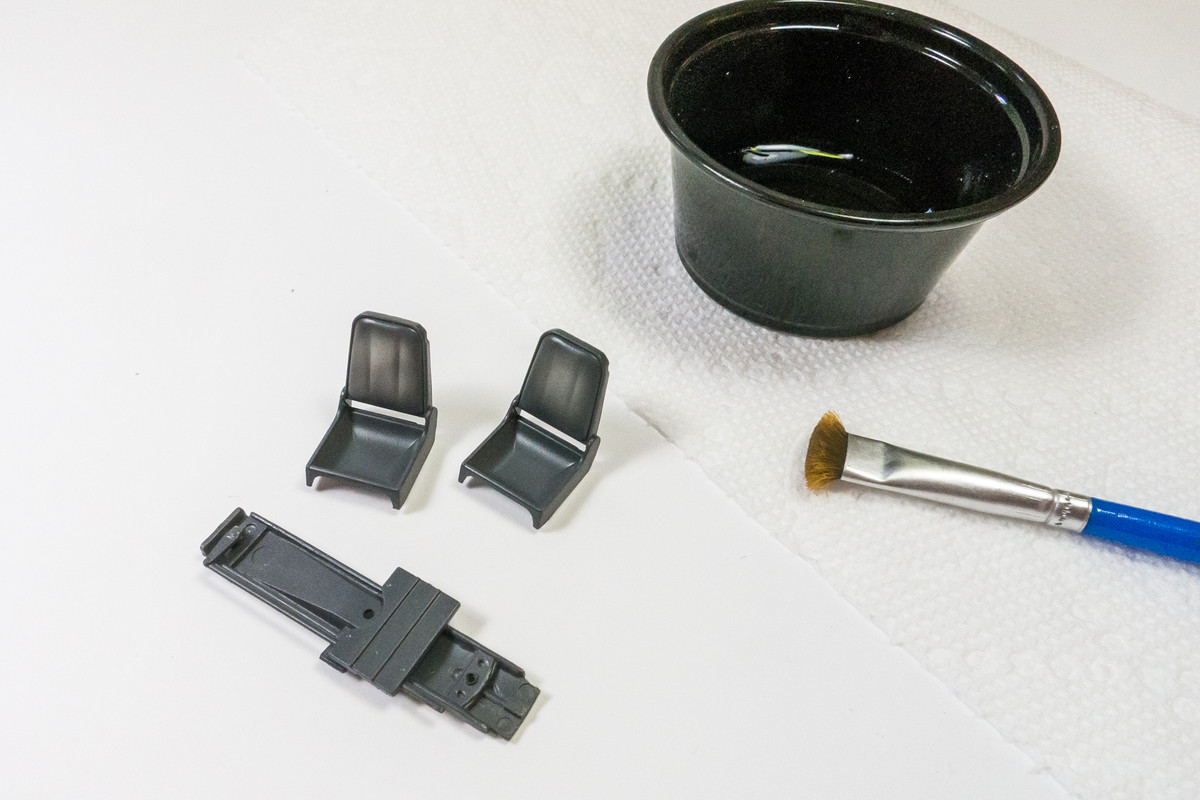
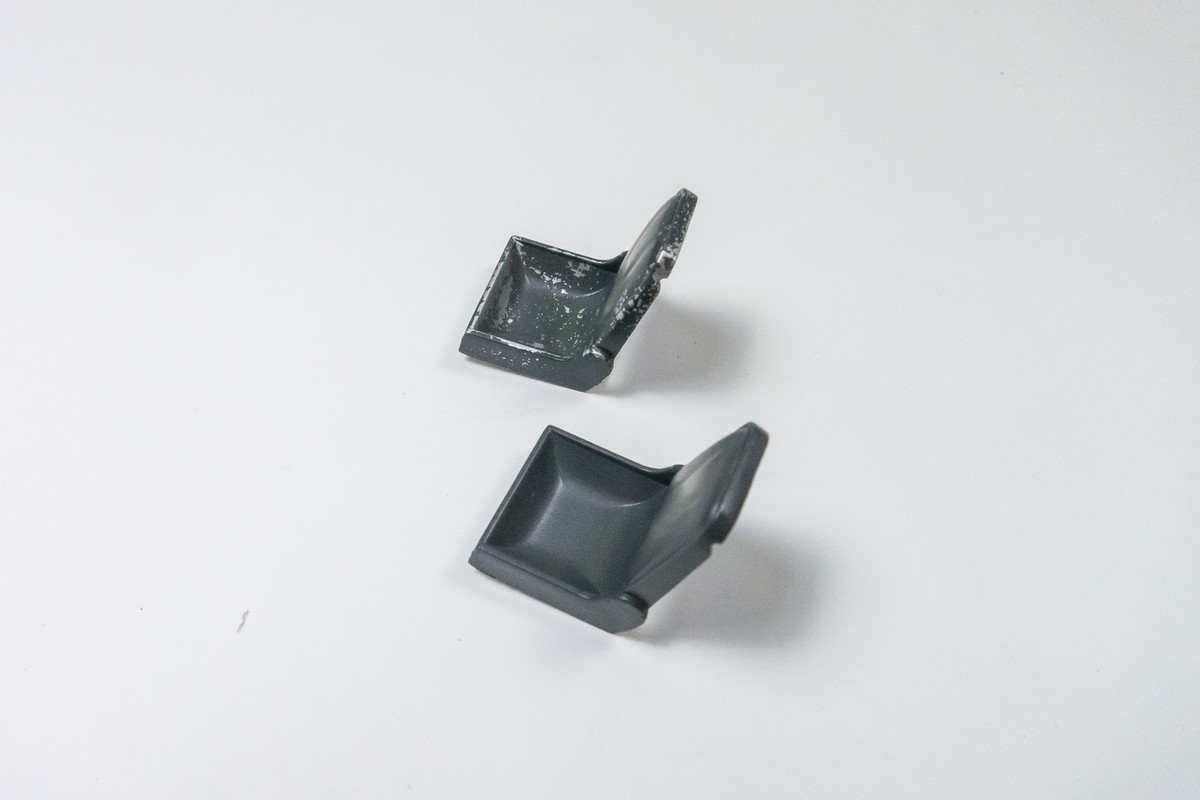
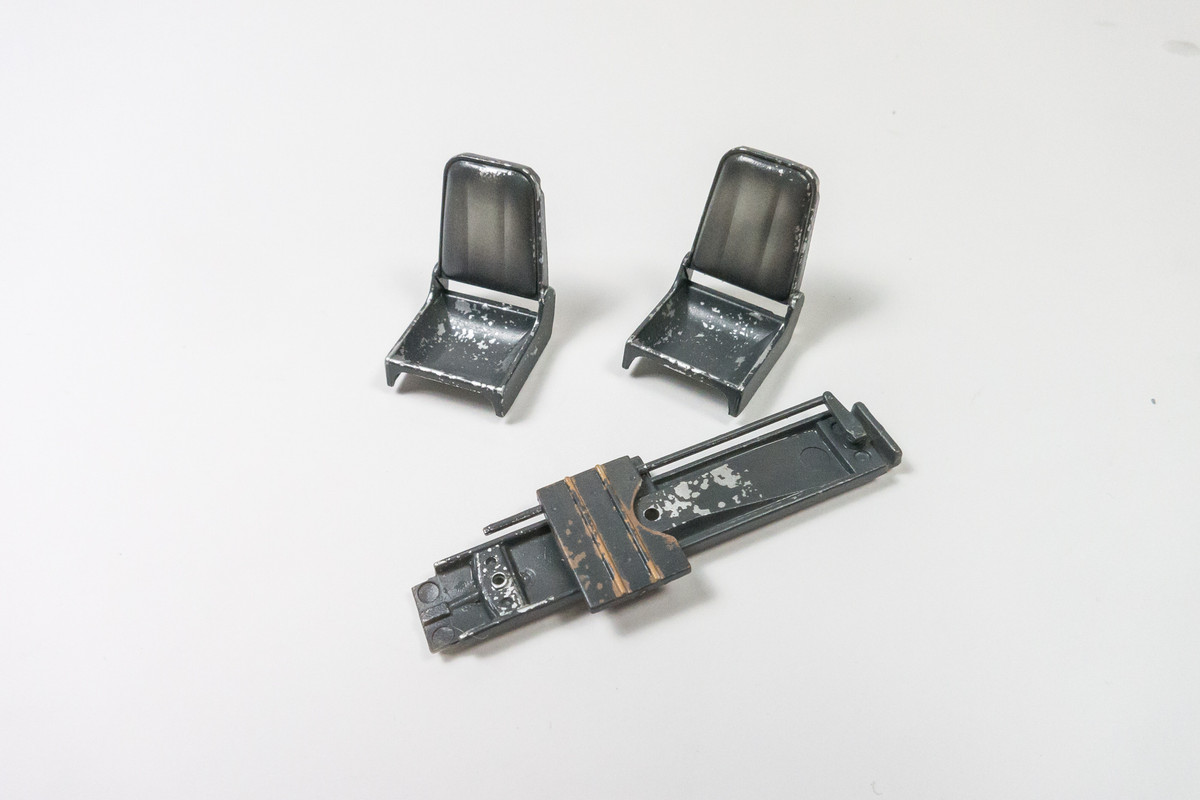
After giving the grey a couple hours to dry, I used a stiff paint brush dipped in water to "activate" the hairspray layer. The grey paint comes off in little chunks, mimicking paint chipping off due to constant wear.
Image
Image
Image

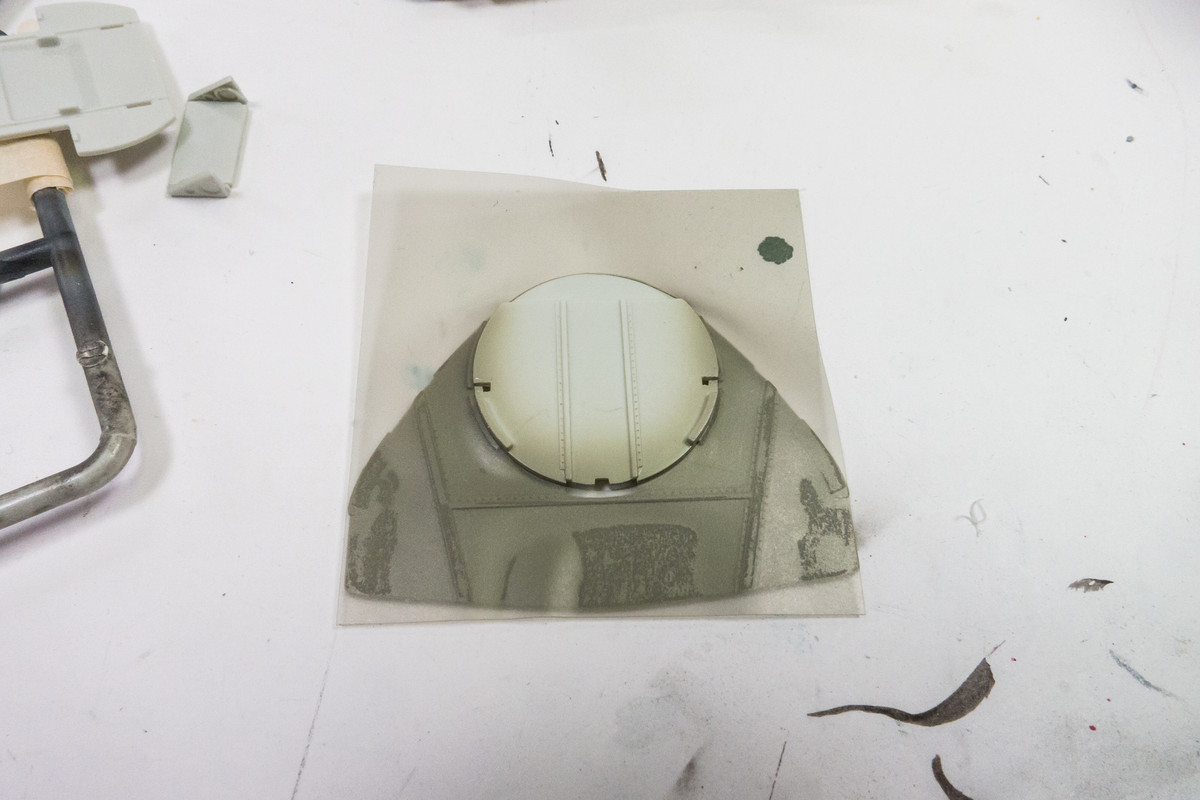
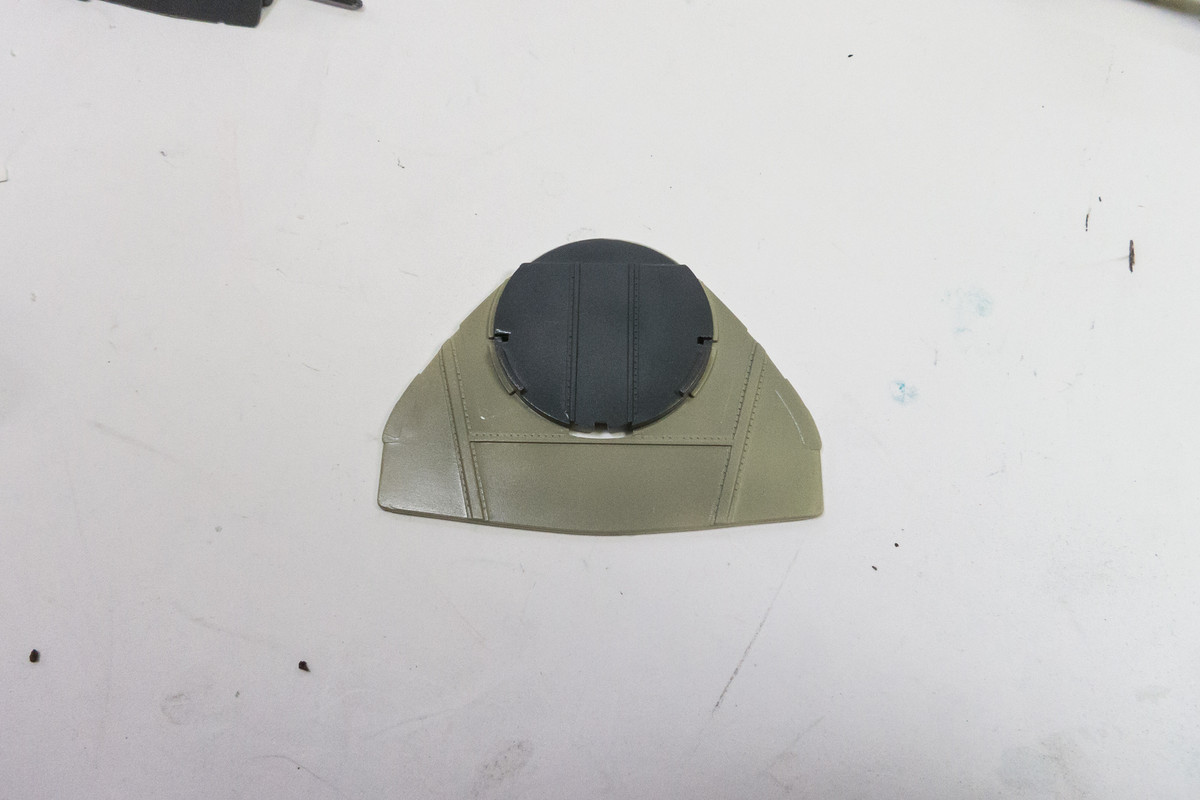
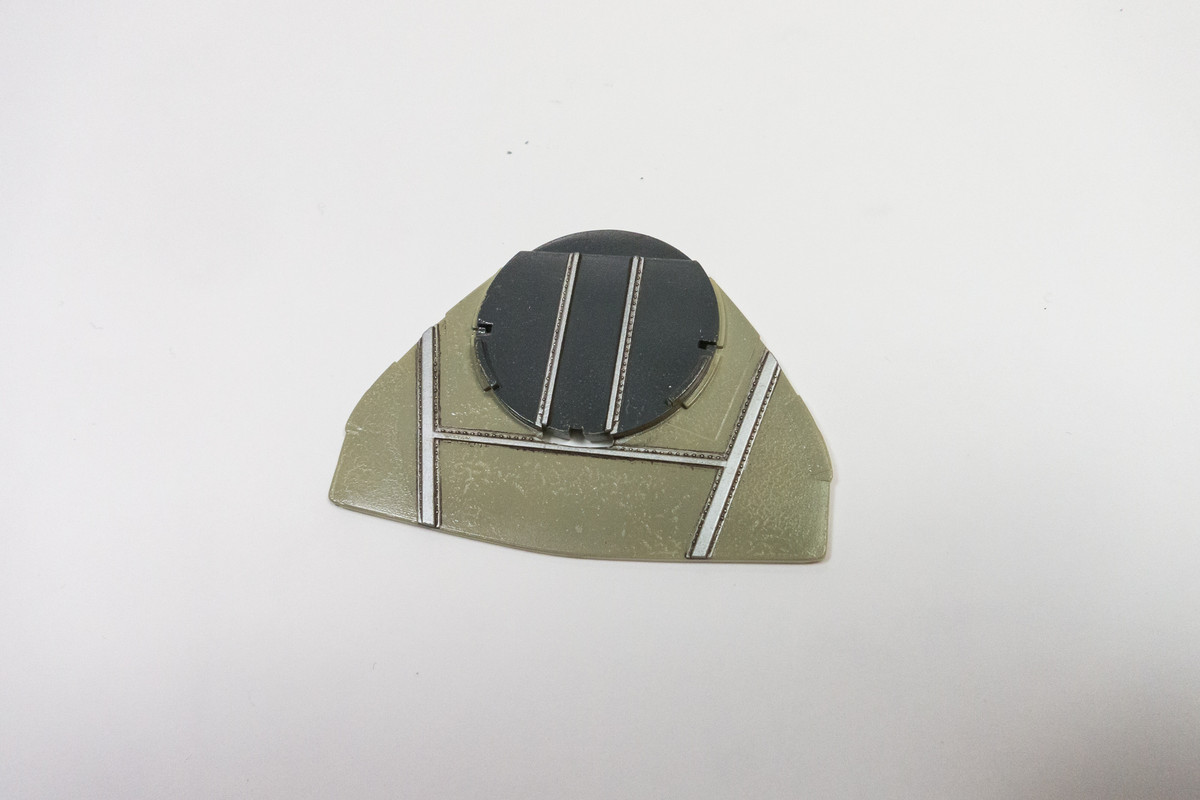
The front cockpit bulkhead has been painted RLM 02 Grey. The lower part of the bulkhead will form the frontal wall of the wheel wells while the upper circle highlights the circular cockpit area, which will be painted in RLM 66 Dark Grey. Another handy use for the Silhouette Portrait cutter is to make as-needed paint masks.
Image
Image

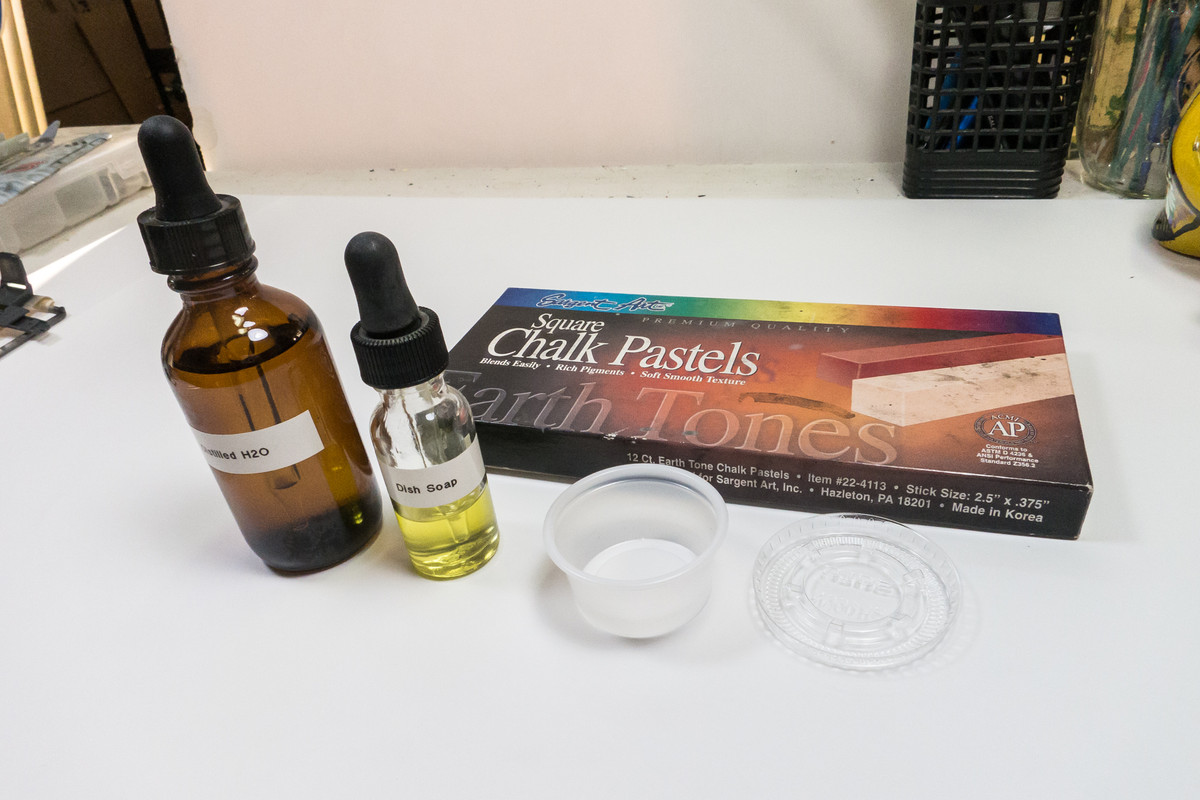
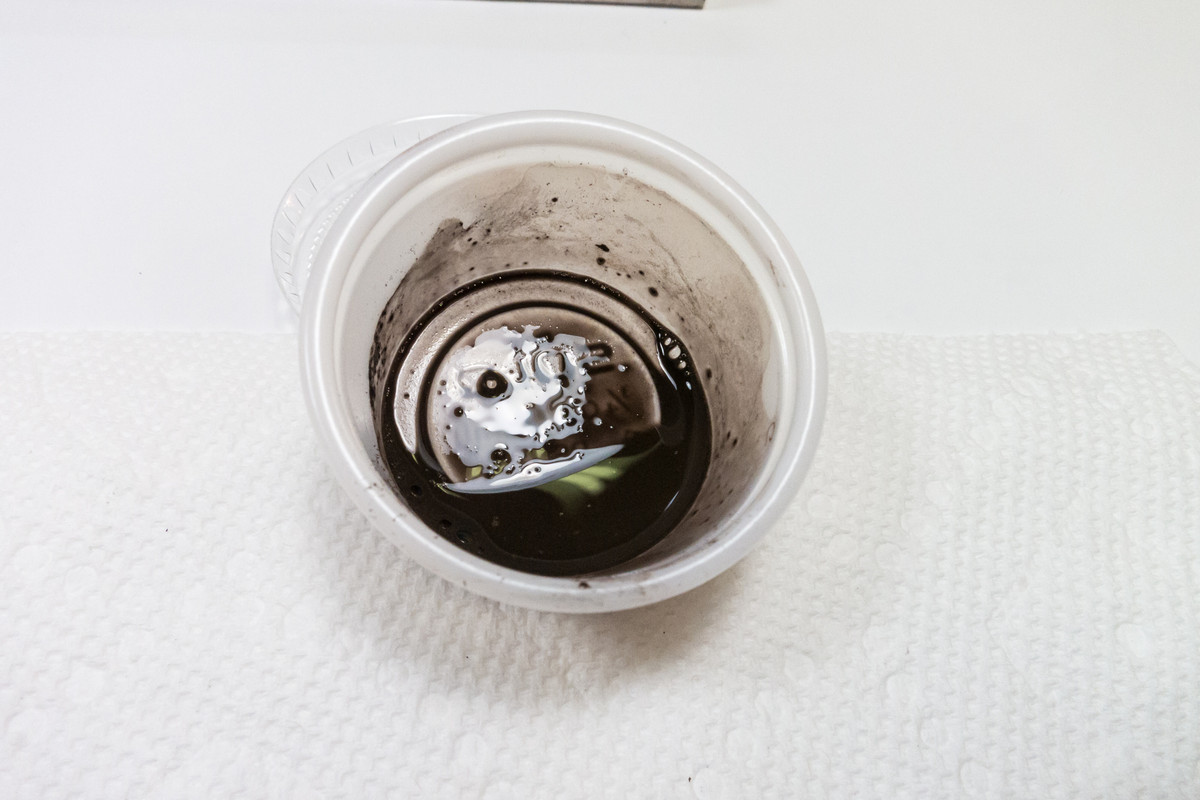
Although the front bulkhead will be all but invisible (at least from the cockpit), I wanted to give the raised details a pastel wash. So I created an new batch of dark brown wash. I use pastel chalks scraped into a small container with a bit of water and a drop of liquid soap to help suspend the pastel particles.
Image
Image
Image

The port pilot sidewall has been completed. I used the Eduard PE parts for the smaller levers but used the kit double throttle and added some wiring to it.
Image

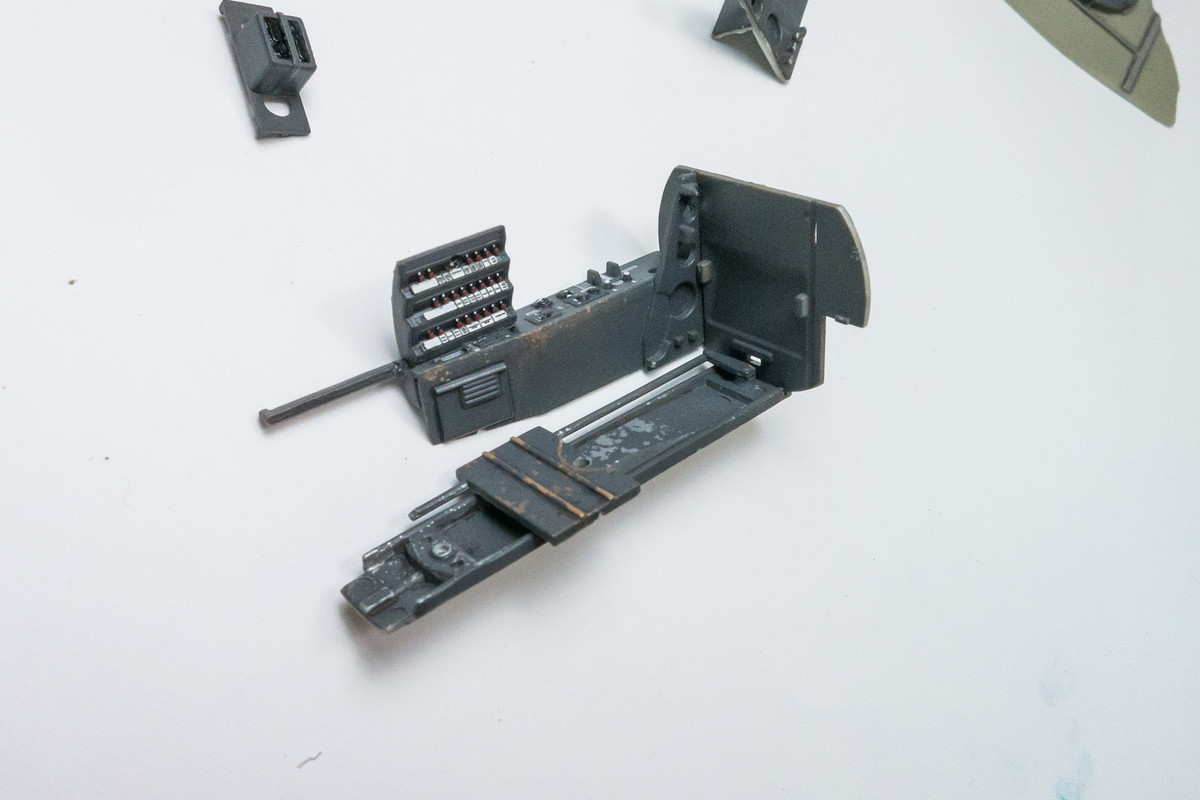
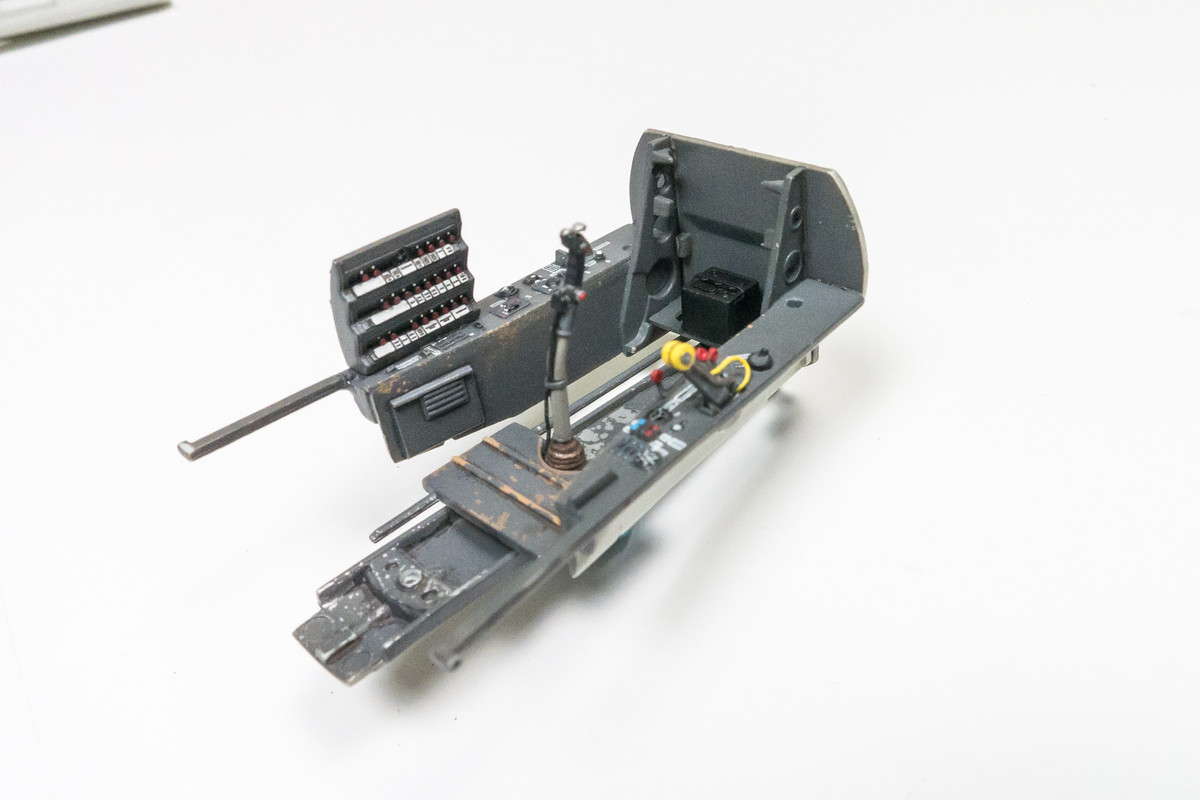
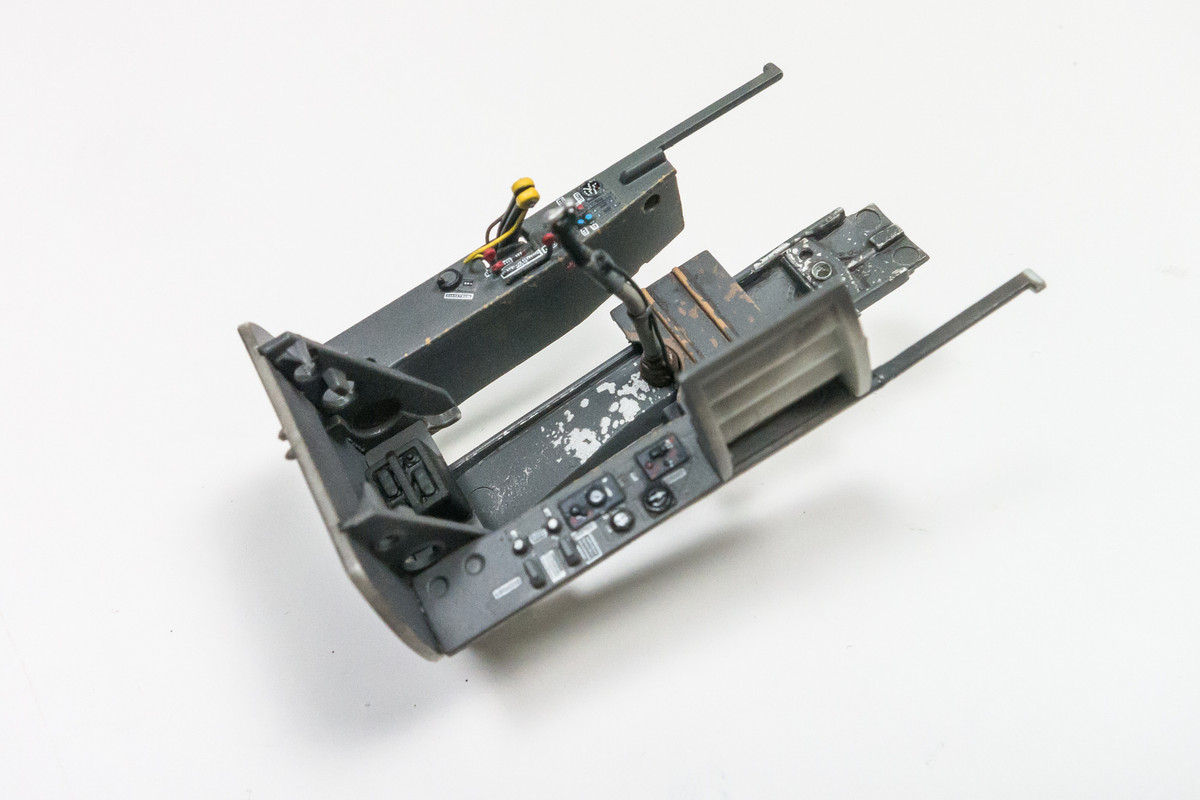
And finally, I've started to assemble the front cockpit assembly. The sidewalls have been given some tan chipping to represent the wood material that these panels were made of.
Image

The port sidewall is glued onto the rear bulkhead as well as the control stick. I've added a wire to it. The radio box will be under the seat so I didn't bother painting it besides the black base color.
Image
Image
John aka JKim
-----------<><
Image
Post Reply

Return to “Aircraft Work in Progress”