Page 5 of 34
Re: 1/32 Revell Me262B-1/U1 Nachtjager
Posted: Mon Nov 23, 2020 1:40 pm
by Duke Maddog
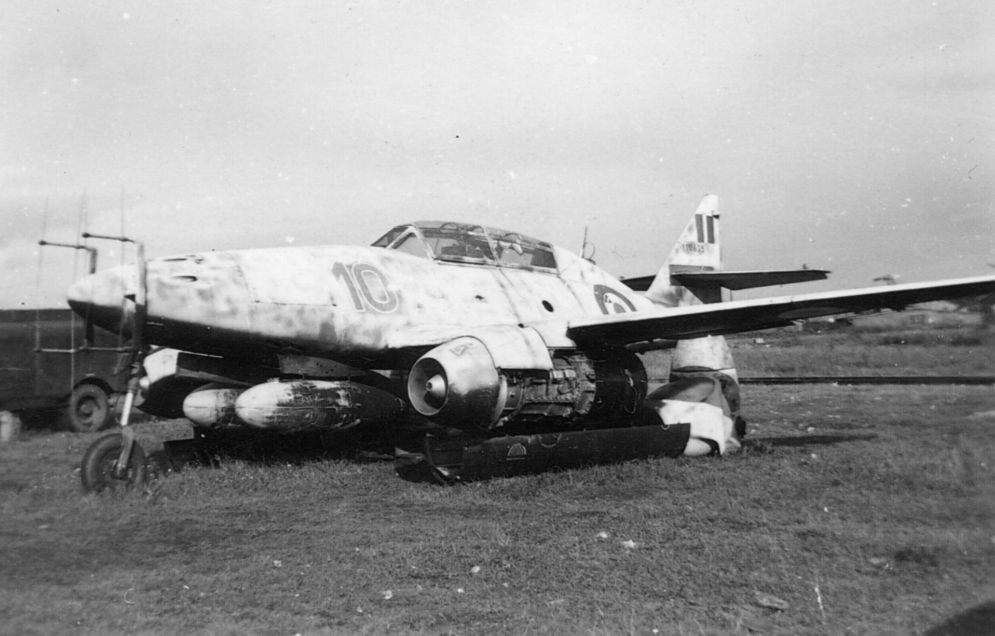
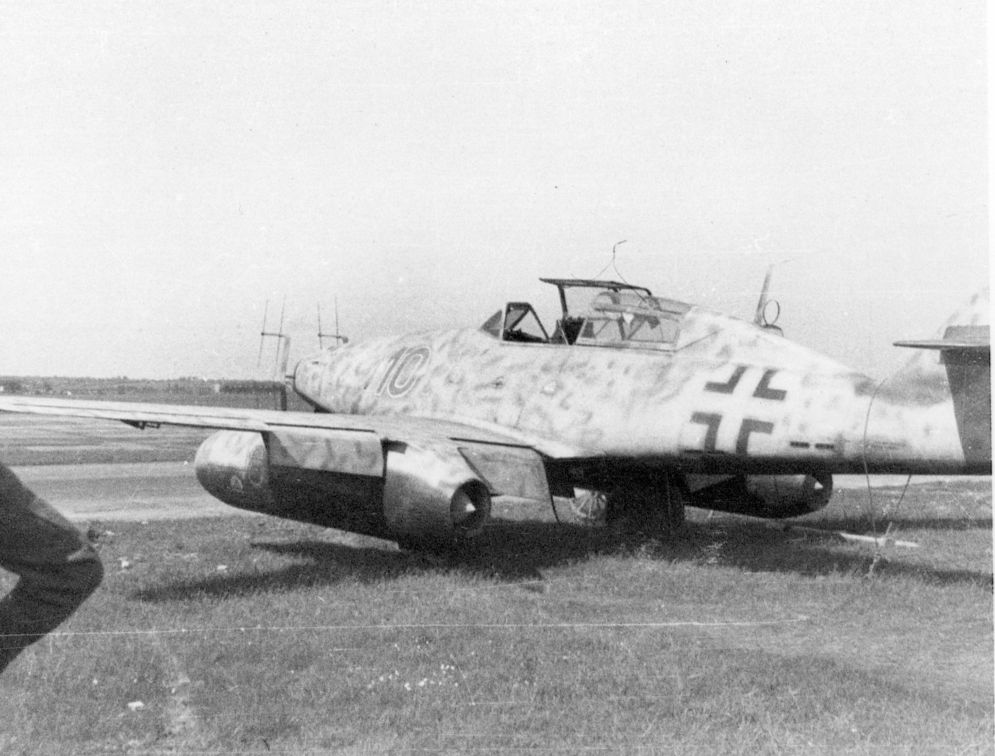
Looks great John. I also noticed in the pics you show of the real thing, how the lower pic shows the original insignia on it while the upper pic shows it after the British added their markings. Hmmm, maybe making that one would be an interesting diversion....


Re: 1/32 Revell Me262B-1/U1 Nachtjager
Posted: Mon Nov 23, 2020 3:28 pm
by jkim
Yes! All of the photos of these nightfighters came after capture. So it is interesting to note the time elapsed between the shots with the crosses and with the roundels. The optional markings with roundels is definitely on offer but I'll never do it. It's just me, personally... it gives me a kinda sad impression of seeing a bird with captured markings. Like it is in jail or something.

Re: 1/32 Revell Me262B-1/U1 Nachtjager
Posted: Mon Nov 23, 2020 5:44 pm
by Floki
I feel the same way John.
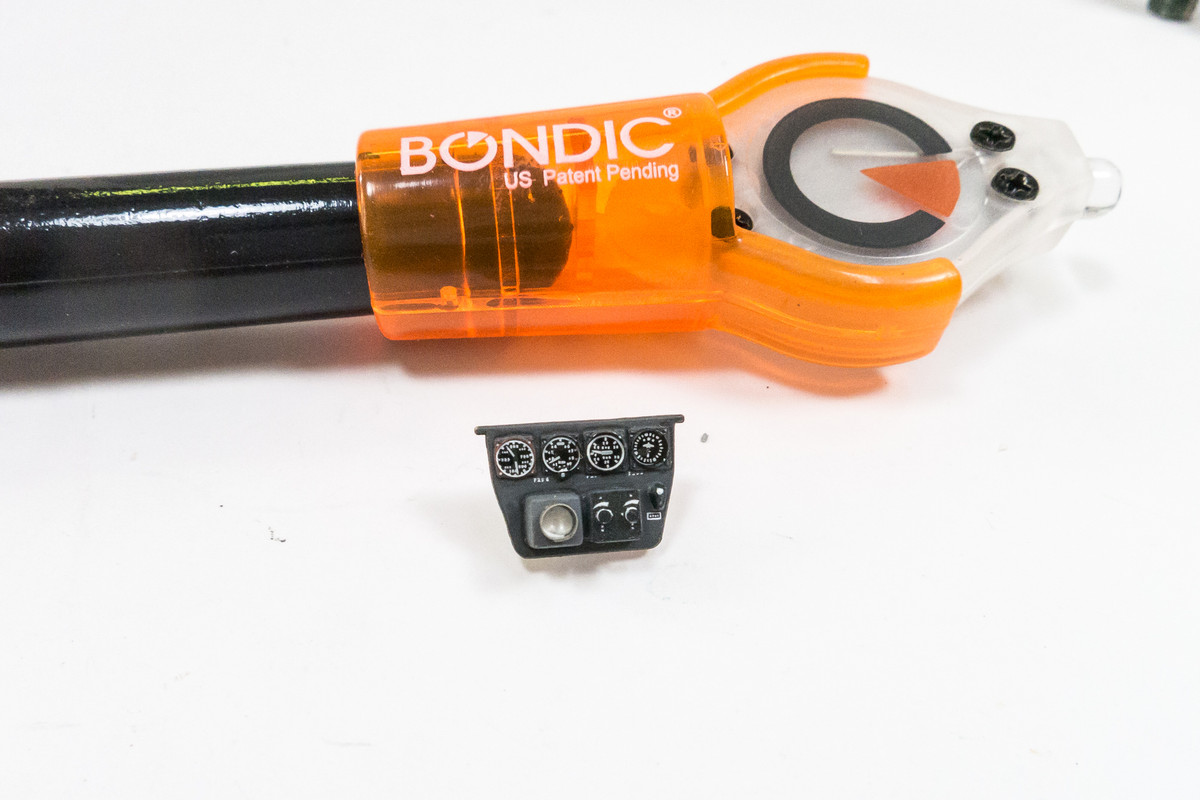
The work your doing on the switches is excellent very nice and clean.
Re: 1/32 Revell Me262B-1/U1 Nachtjager
Posted: Mon Nov 23, 2020 6:48 pm
by speedgraflex
I love love love love your interpretation of the camo. I think that’s absolutely brilliant, and I believe in this case and maybe in other cases it’s important to begin with the final effect on the model itself. Bravo, John! That’s truly how the paint job looks—soft and wavy and misty. Very, very beautiful modulation! Amazing! Truly!
Re: 1/32 Revell Me262B-1/U1 Nachtjager
Posted: Mon Nov 23, 2020 8:00 pm
by KennyX
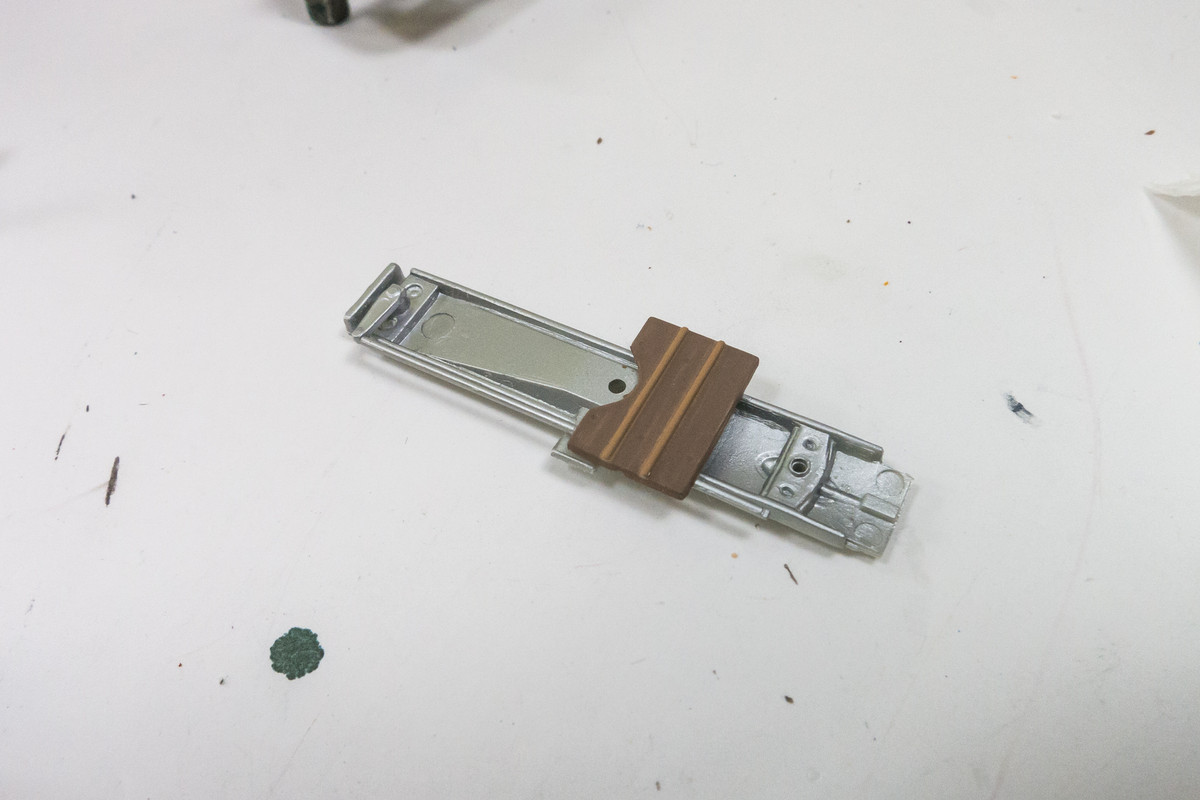
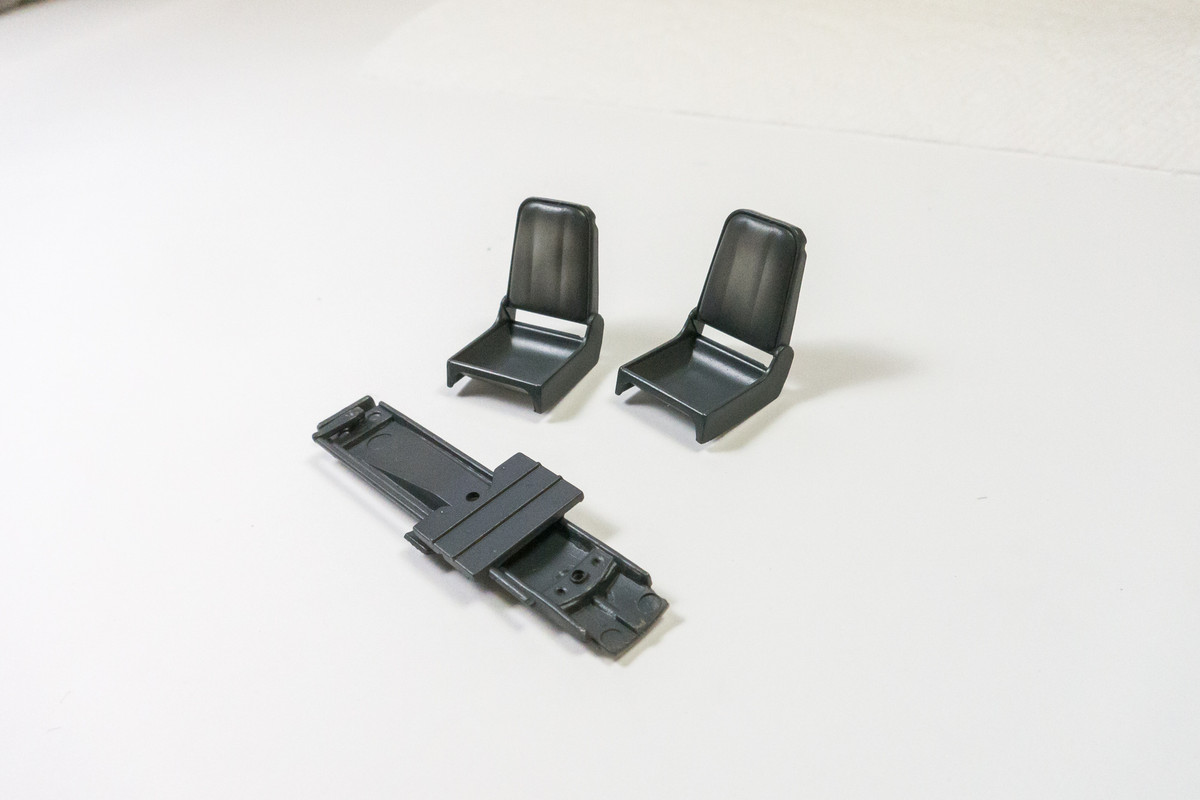
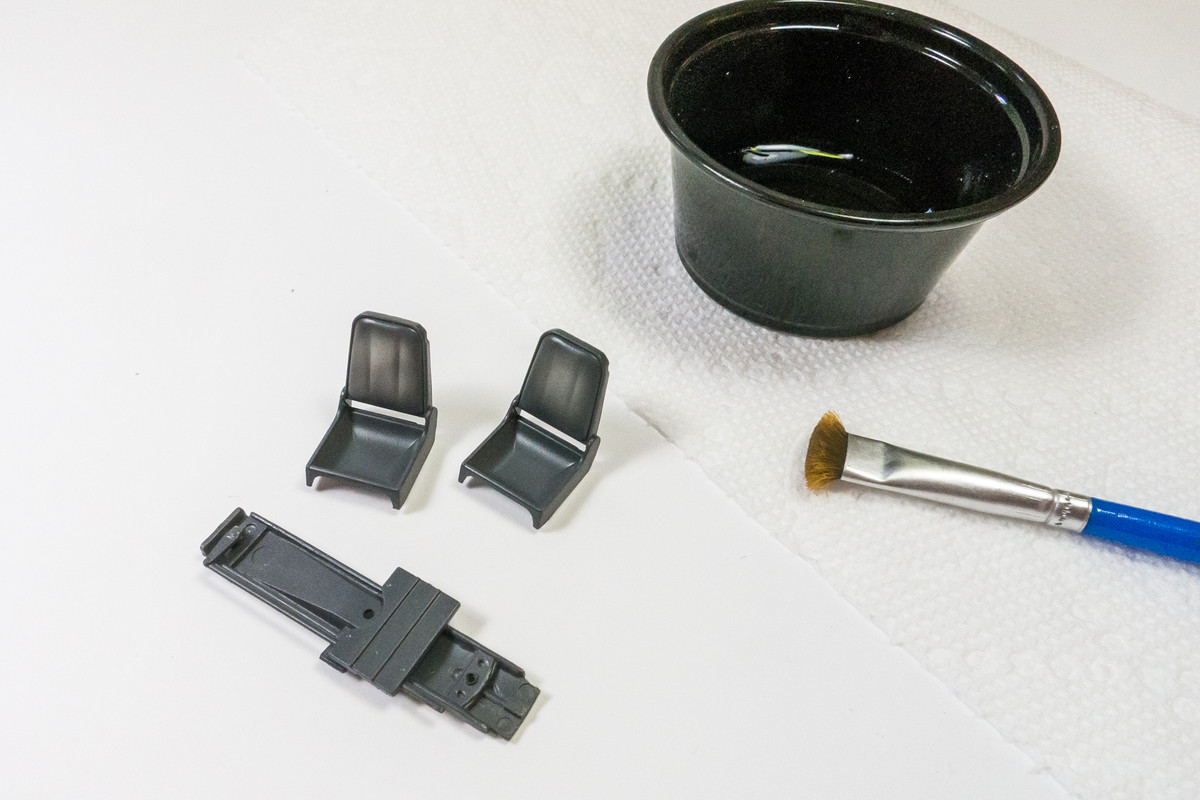
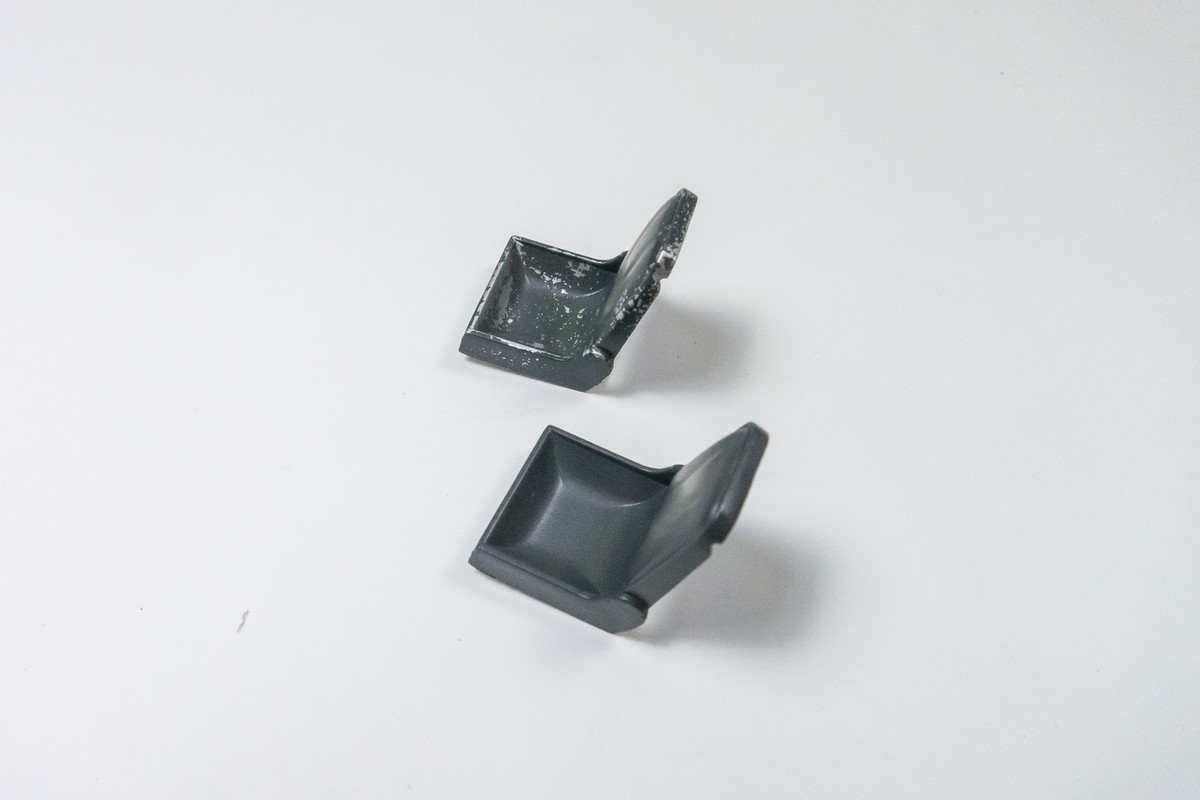
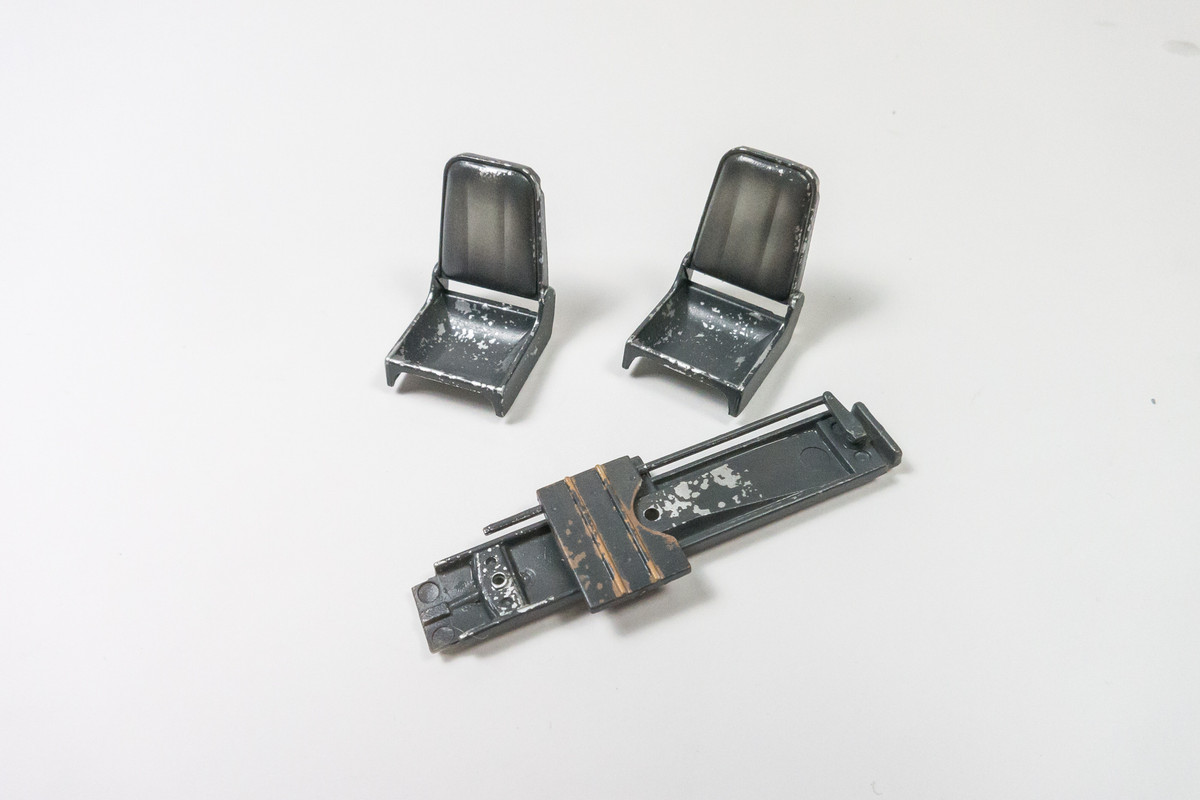
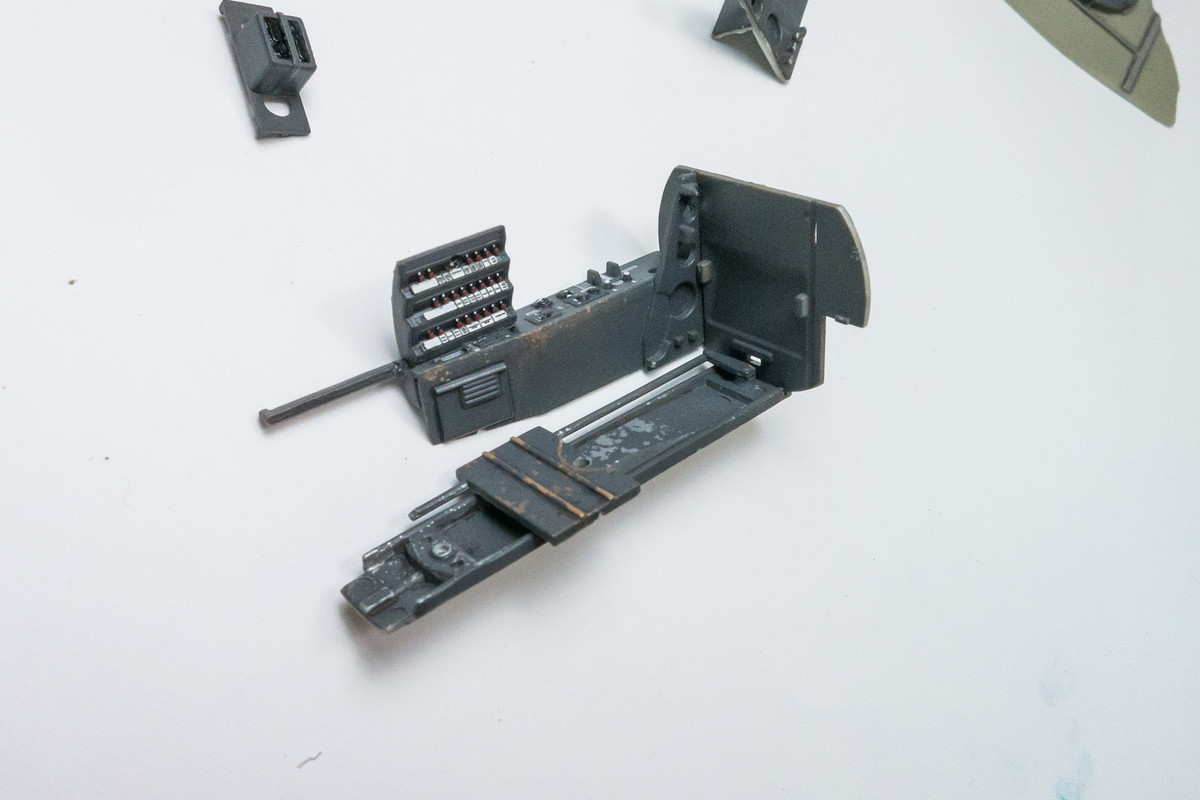
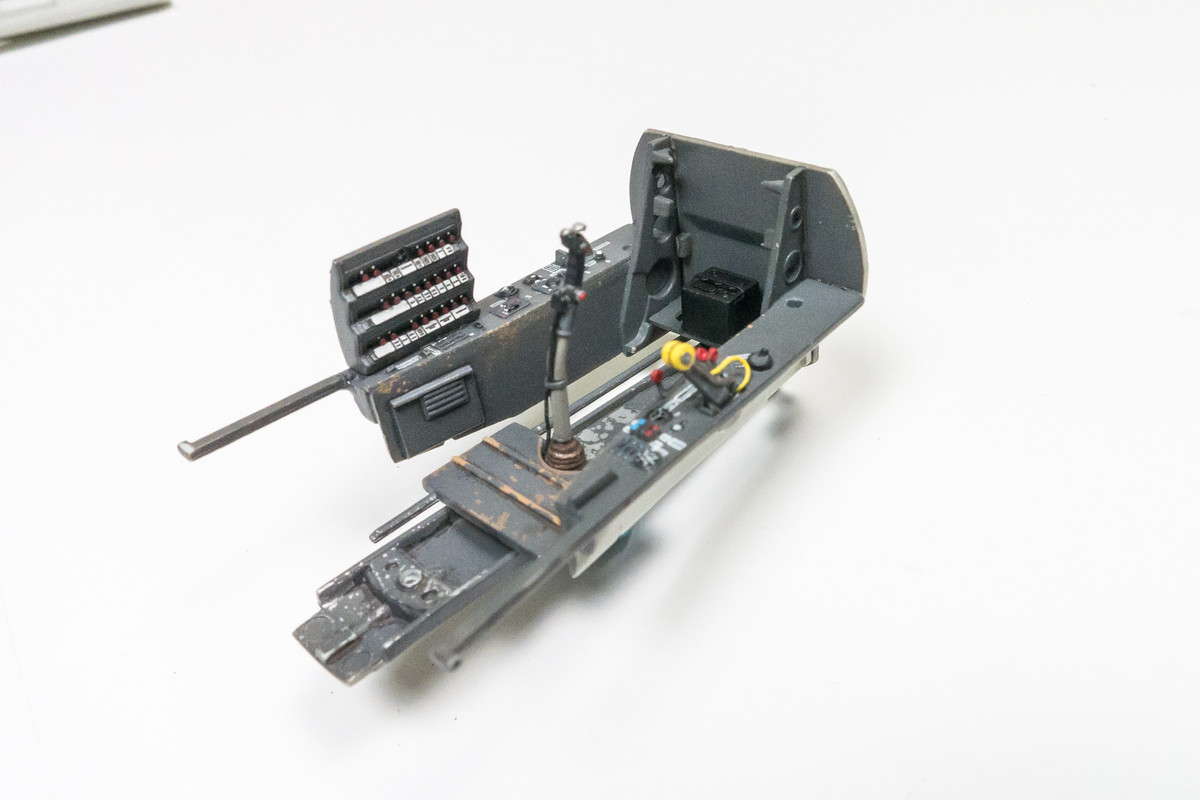
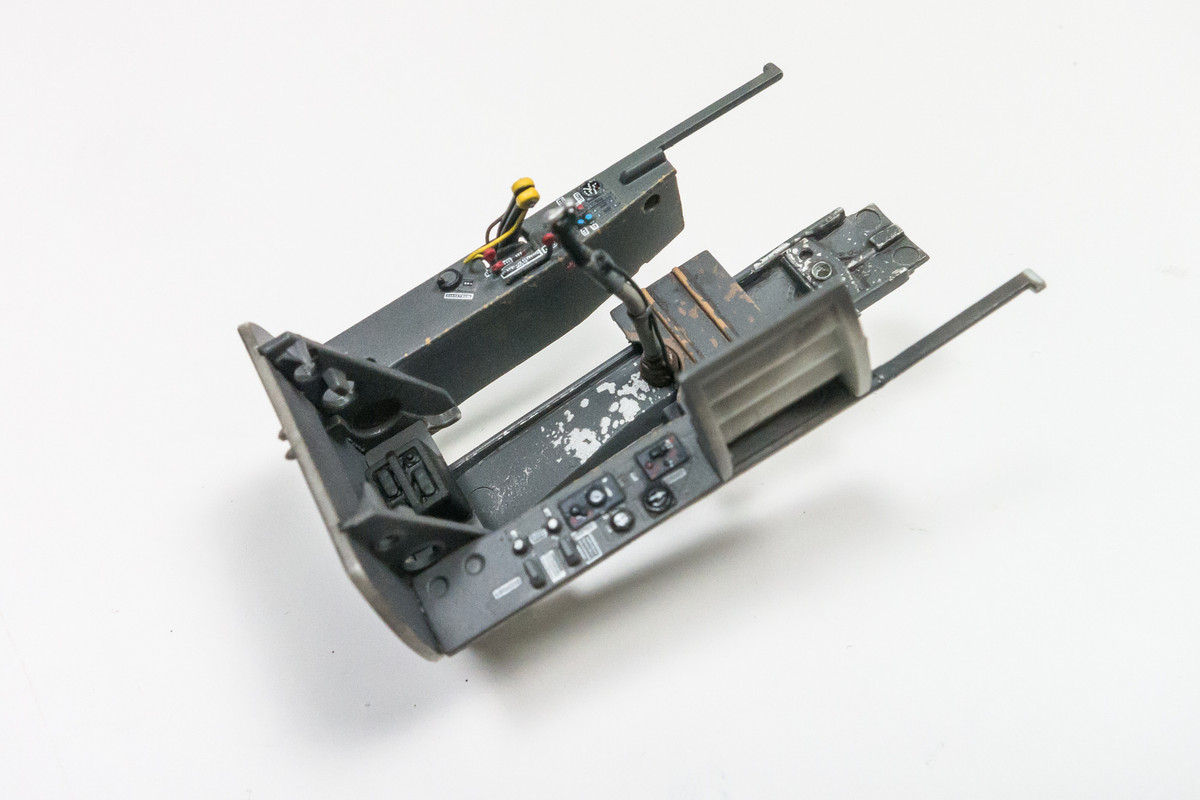
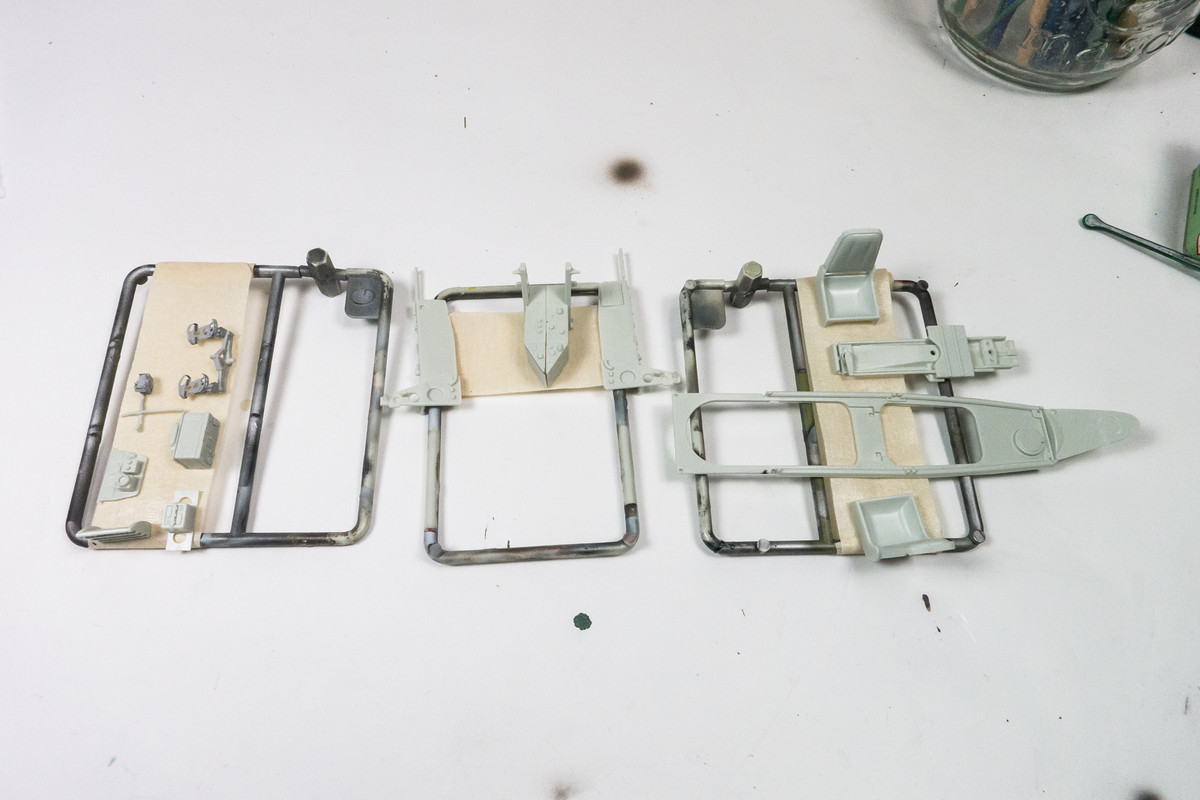
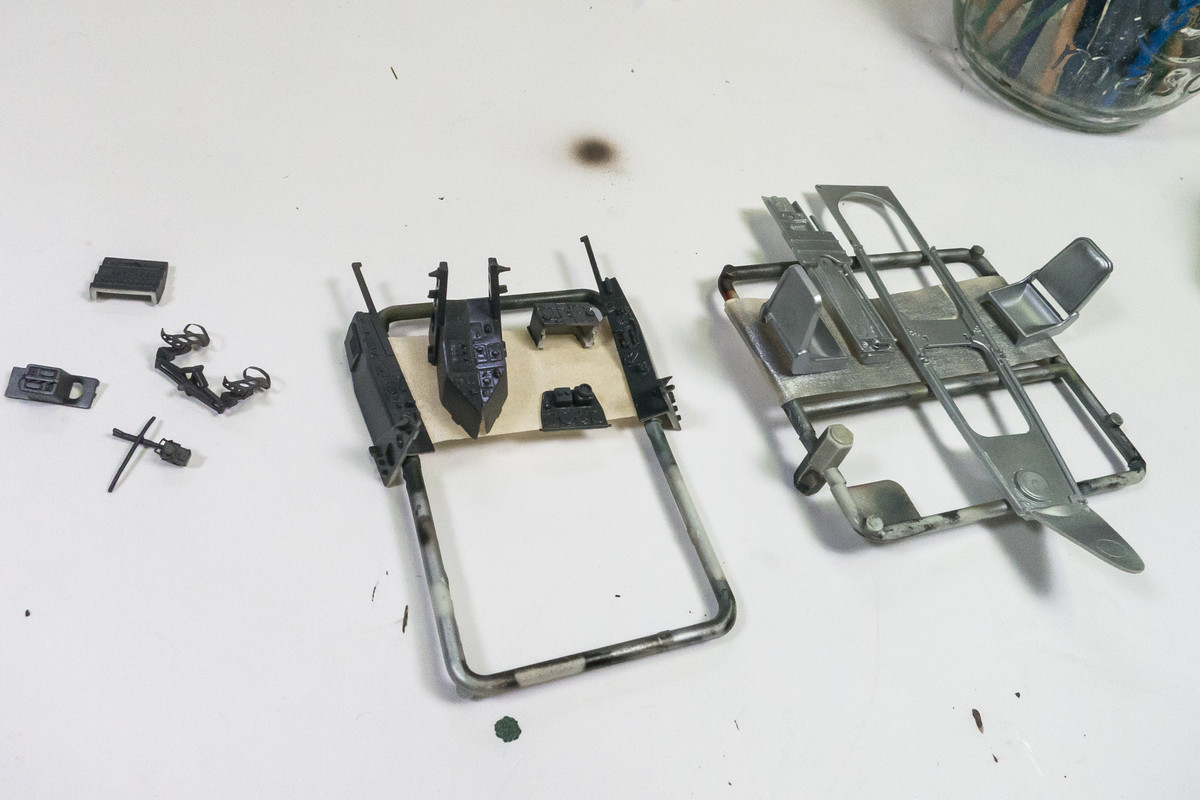
jkim wrote:So moving forward with this build, I've selected the cockpit parts and divided them into two categories. One - the parts that have decals to be applied to them, which will be painted in RLM 66 Dark Grey (Mr Hobby Aqueous). Two - parts that will be hairspray chipped, which be painted in Tamiya AS-12 silver, decanted into an airbrush. The grey parts will be coated in a clear gloss and the silver parts with hairspray.
Although the camo painting is a long way off, I started thinking about how to represent the mottled finish on Red 10. Most descriptions of this scheme call out a base of RLM 76 on the topside with a RLM 75 mottle over it. However, the more I look at some of these late war mottle schemes, the more I think it may have been the opposite. Here are a couple of photos of Red 10 at the time of capture. Note the overspray of the lighter color over part of the red "10".
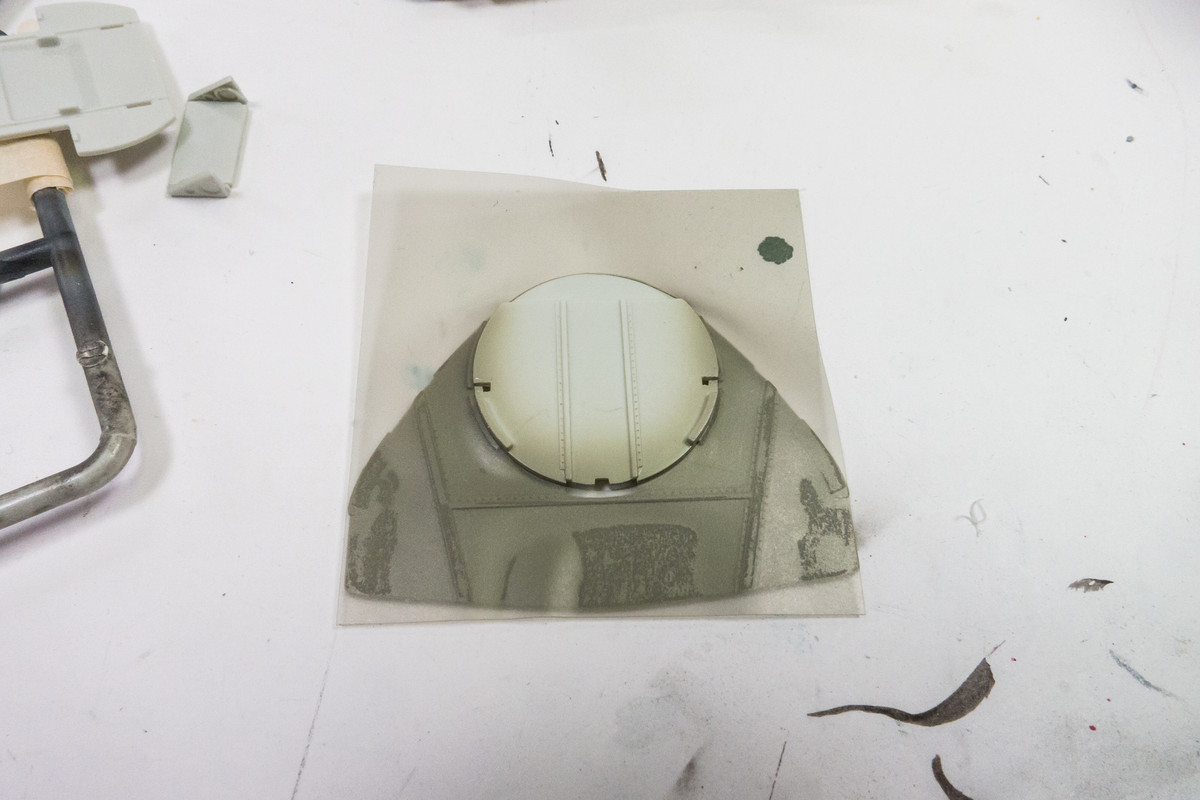
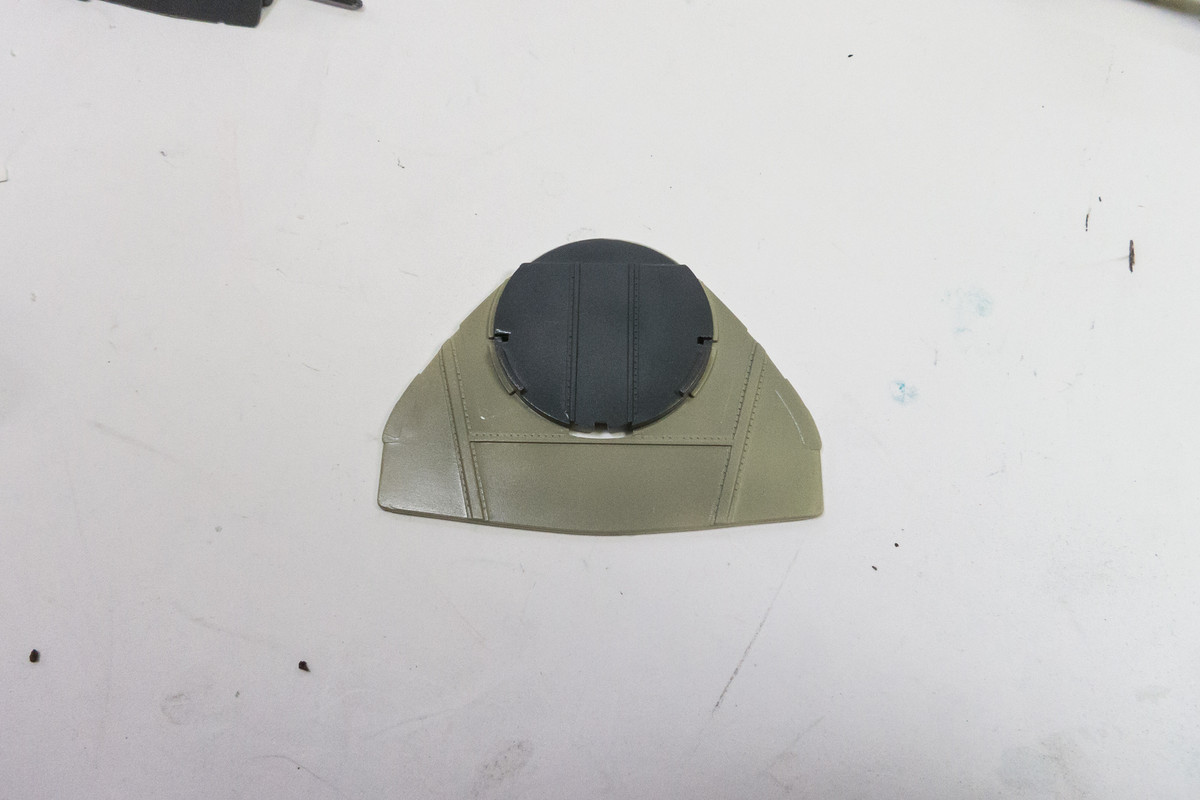
So I want to go with that opposite approach. Establish the dark color as the base and use the lighter RLM 76 to create the mottle effect. Using a spare Bf109 wing as a paint mule, I ran a test on this idea. The wing was sprayed with RLM 83 Dark Green (Mr Hobby Aqueous) and then given a random mottle pattern with RLM 76 Light Blue (AK Real Color 76 Version 2). I also tested a few of the custom masks that I had created in AutoCAD specifically for Red 10.
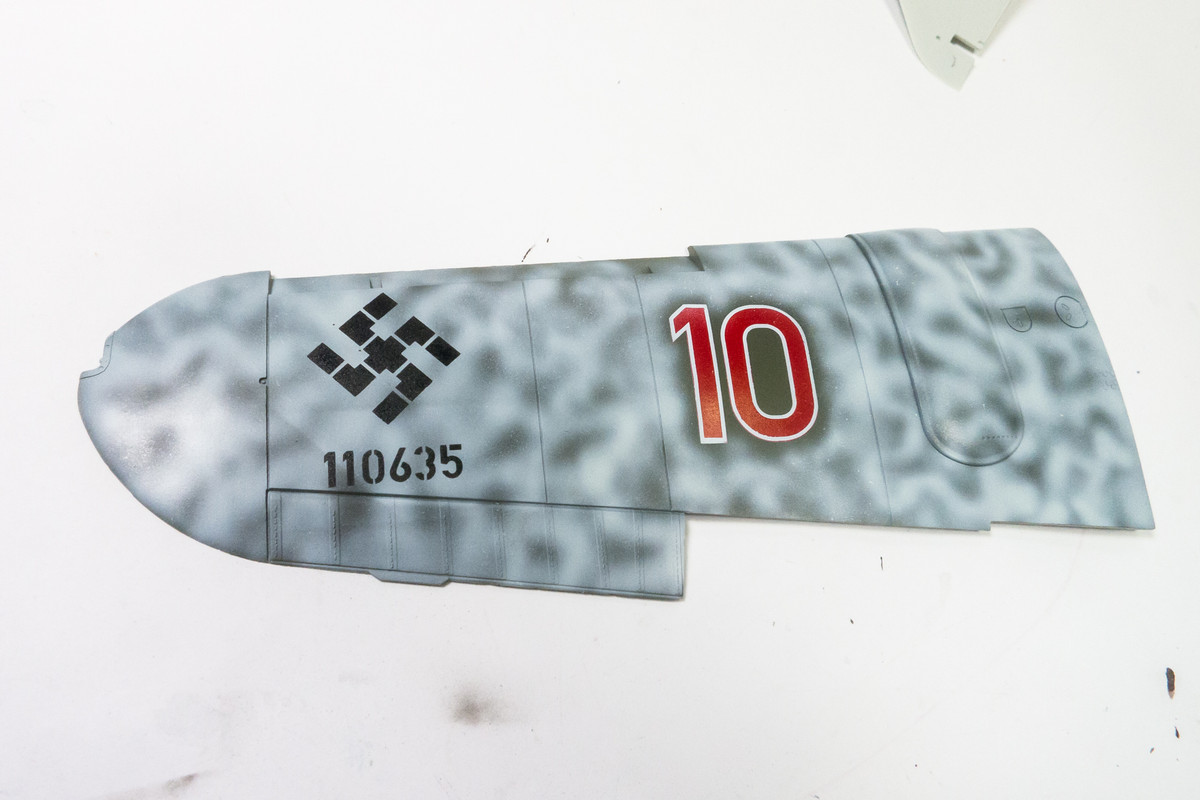
This approach seems to make sense visually as well as practically since it would represent an easier conversion to a nightfighter scheme.
About your painting approach— I WHOLE-HEARTEDLY AGREE WITH YOU. Like Bruce, I agree with your interpretation. I love it. It’s very aesthetically pleasing to me also.
Re: 1/32 Revell Me262B-1/U1 Nachtjager
Posted: Mon Nov 23, 2020 11:11 pm
by speedgraflex
I have to add reinforcement to that. The camo is off the charts good.
Re: 1/32 Revell Me262B-1/U1 Nachtjager
Posted: Tue Nov 24, 2020 8:23 am
by mostrich
#metoo
I'm absolutely with you on the color interpretation. Also your way of looking on captured material goes similar with mine. I like them more in their house colors, no matter where they're from.
Re: 1/32 Revell Me262B-1/U1 Nachtjager
Posted: Wed Nov 25, 2020 11:43 am
by jkim
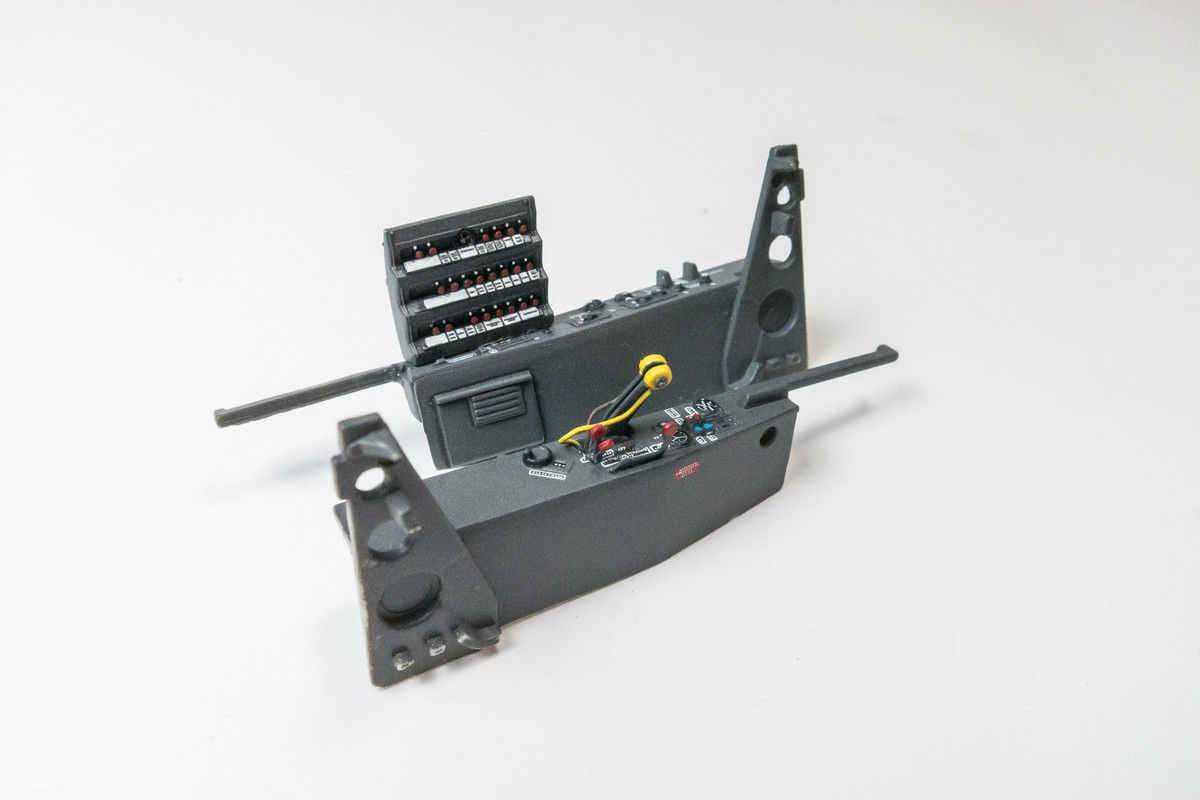
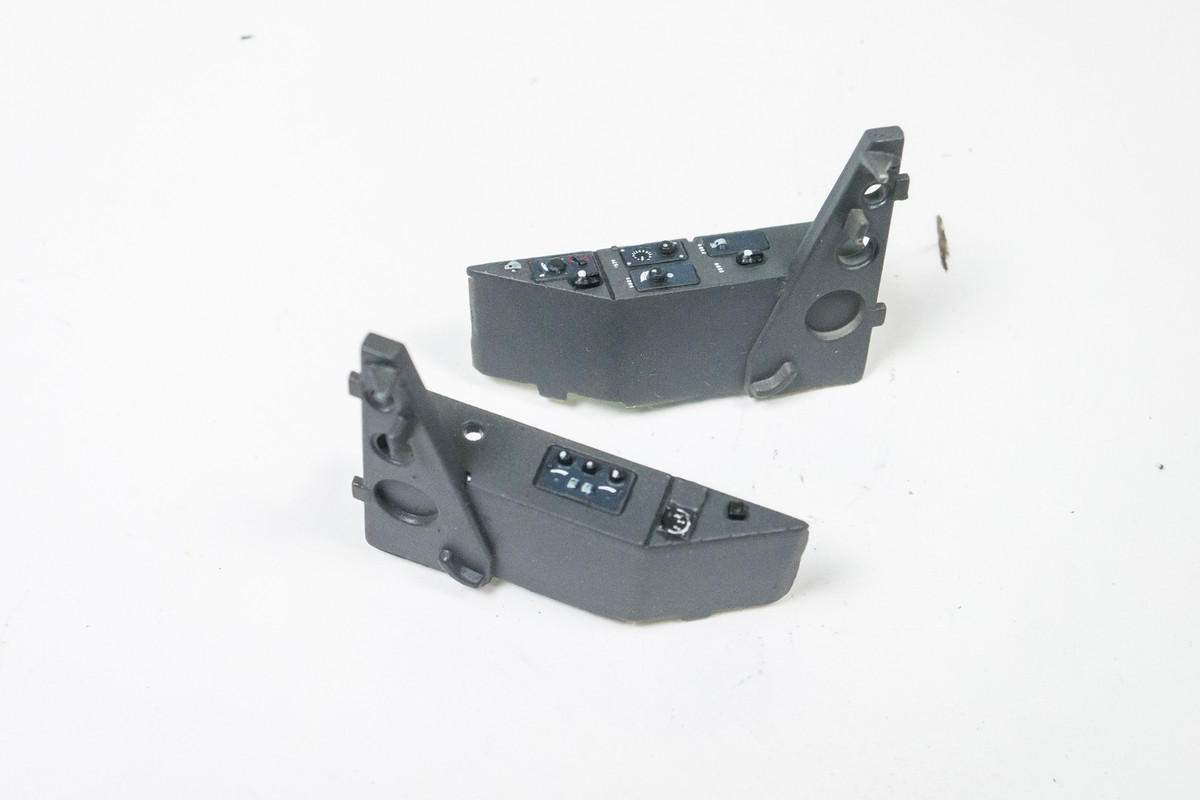
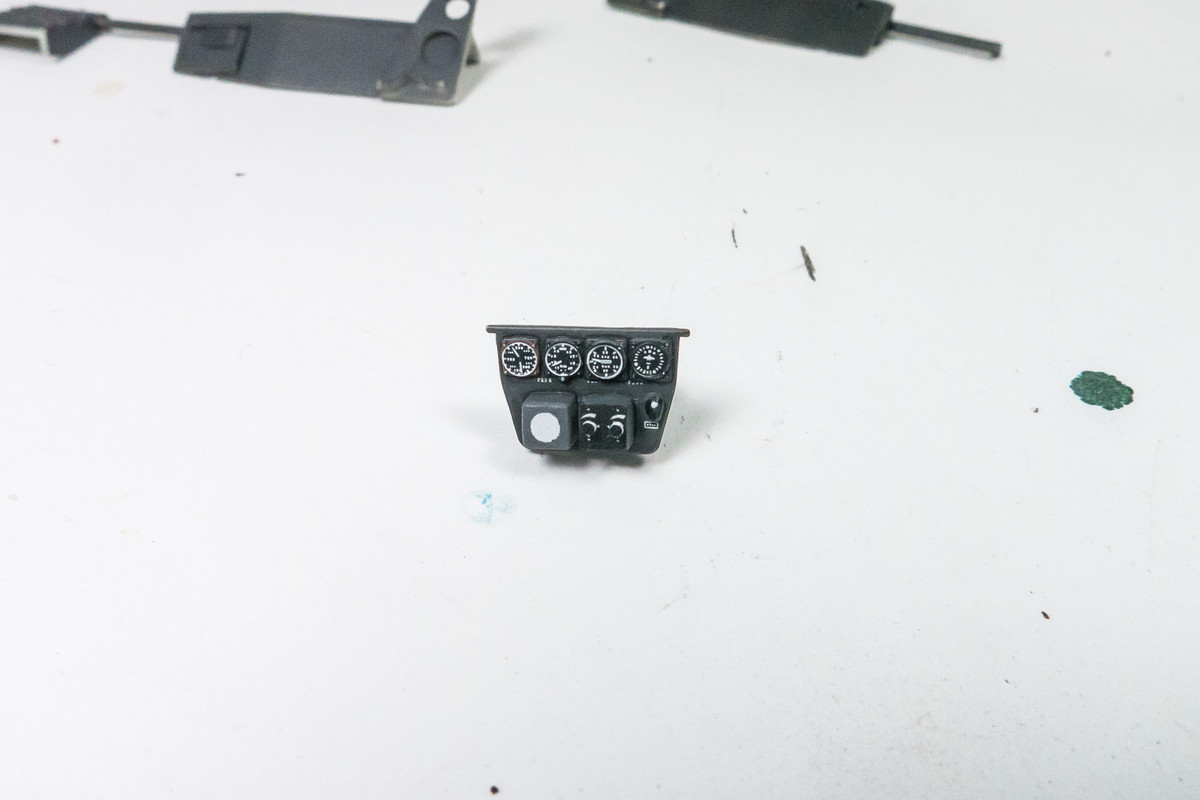
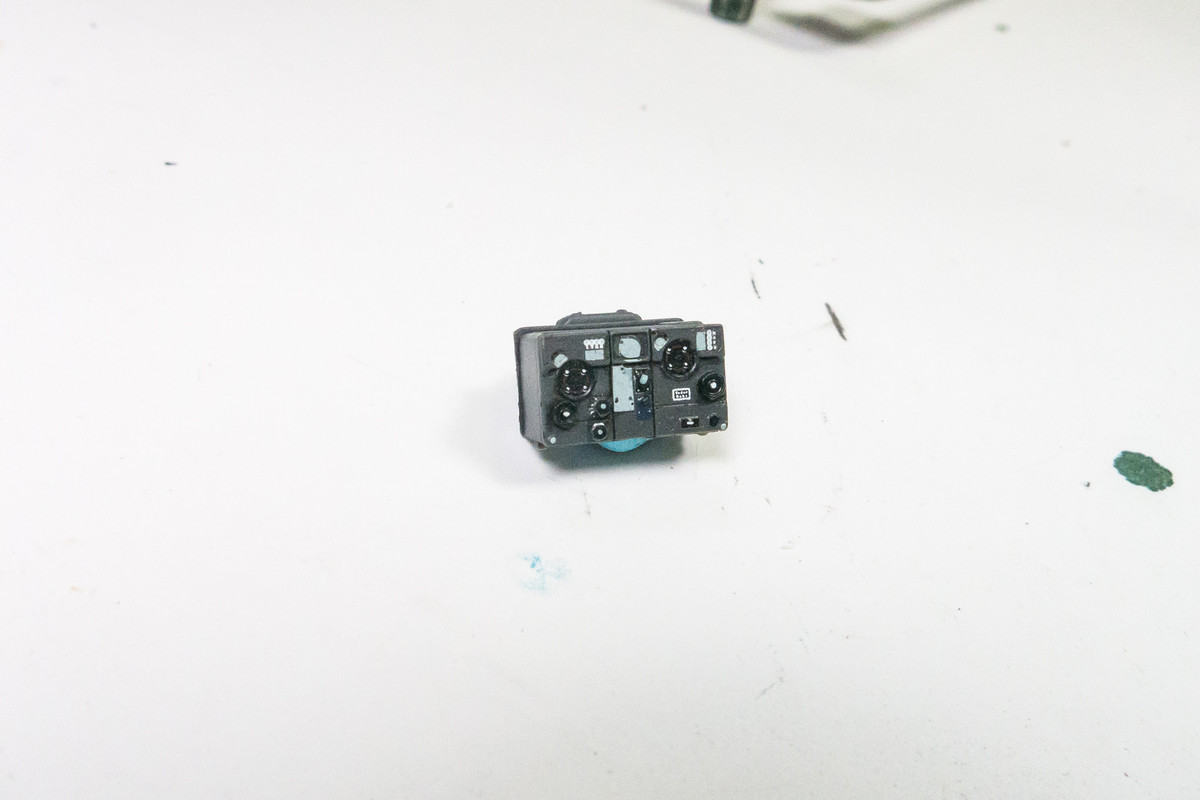
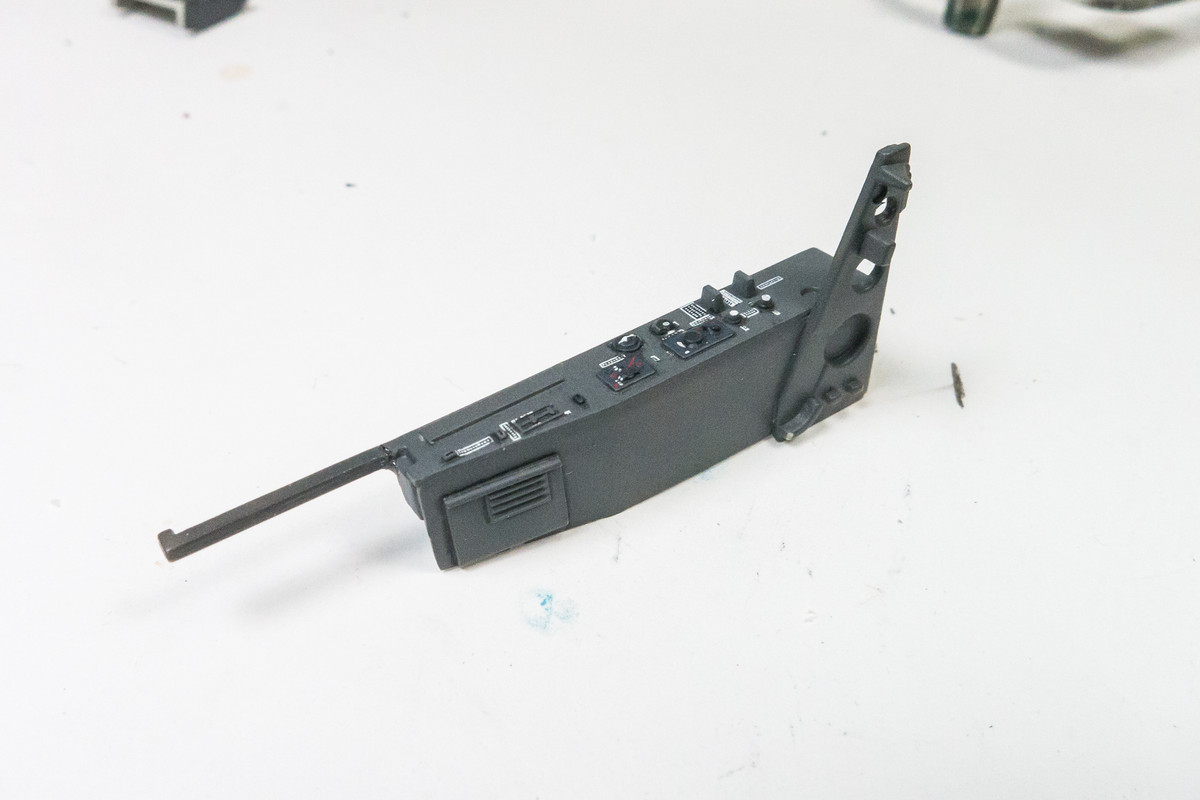
Thanks guys! It has been a few days and I HAVE been working on the 262 but it has been slow progress. It's taken me about three evenings now, applying the decals to the cockpit parts. I've been evaluating each section, determining where the decal fits, where to divide the decals to get a better fit, and substituting PE replacements or hand-painting where appropriate. Walters Solvaset has been working very well to literally melt the decal pieces into place over all of the raised detail. I've gotten more adept at centering the decals over the appropriate details and even daring to CAREFULLY touch and prod the decal as it softens. It's been a slog and I'm not finished yet but I'm able to post some progress shots at least.
Rear cockpit side panels...
Rear cockpit instrument panel... I still need to add clear lenses to all of the instruments as well the shroud on the radar display.
Radar unit....
Front cockpit starboard side panel.
Still working on the port side panel as it houses the throttle quadrant. All of these components will get a bit of weathering but I'm not going to sweat that too much since it will be difficult to see inside the cockpit with all those canopy frames in the way.
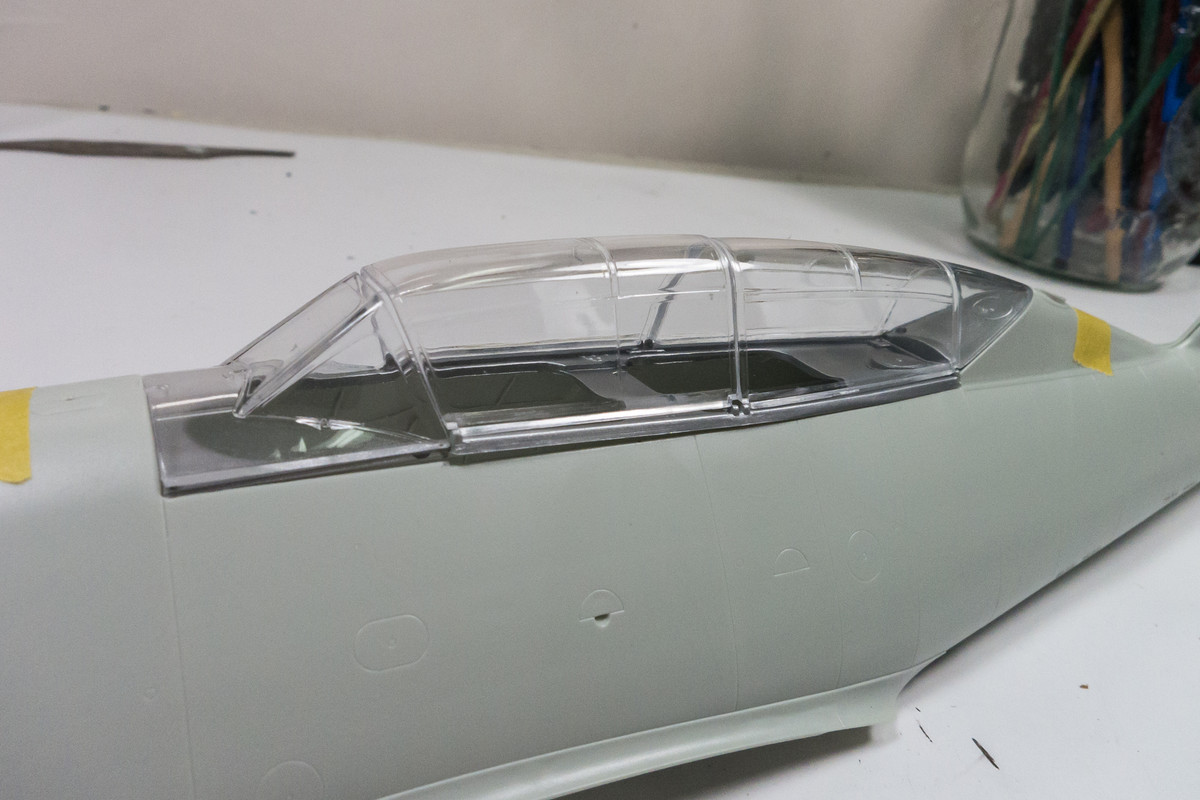
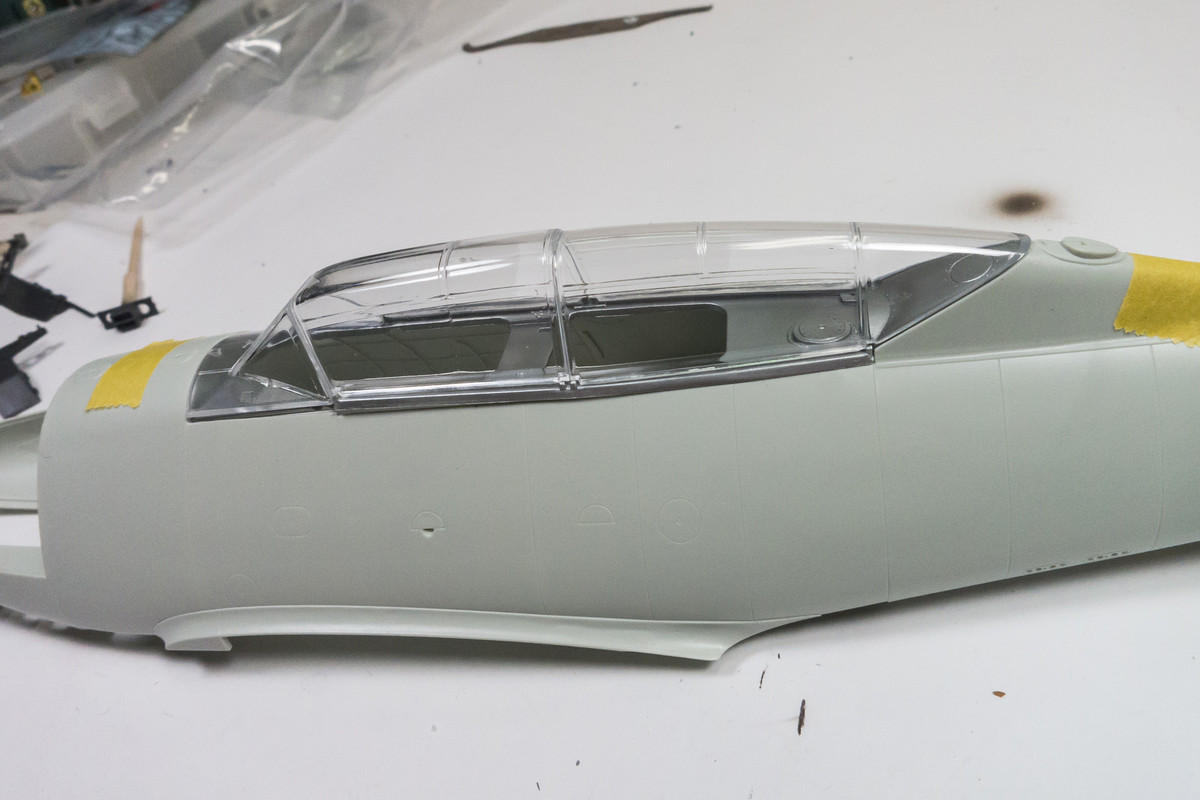
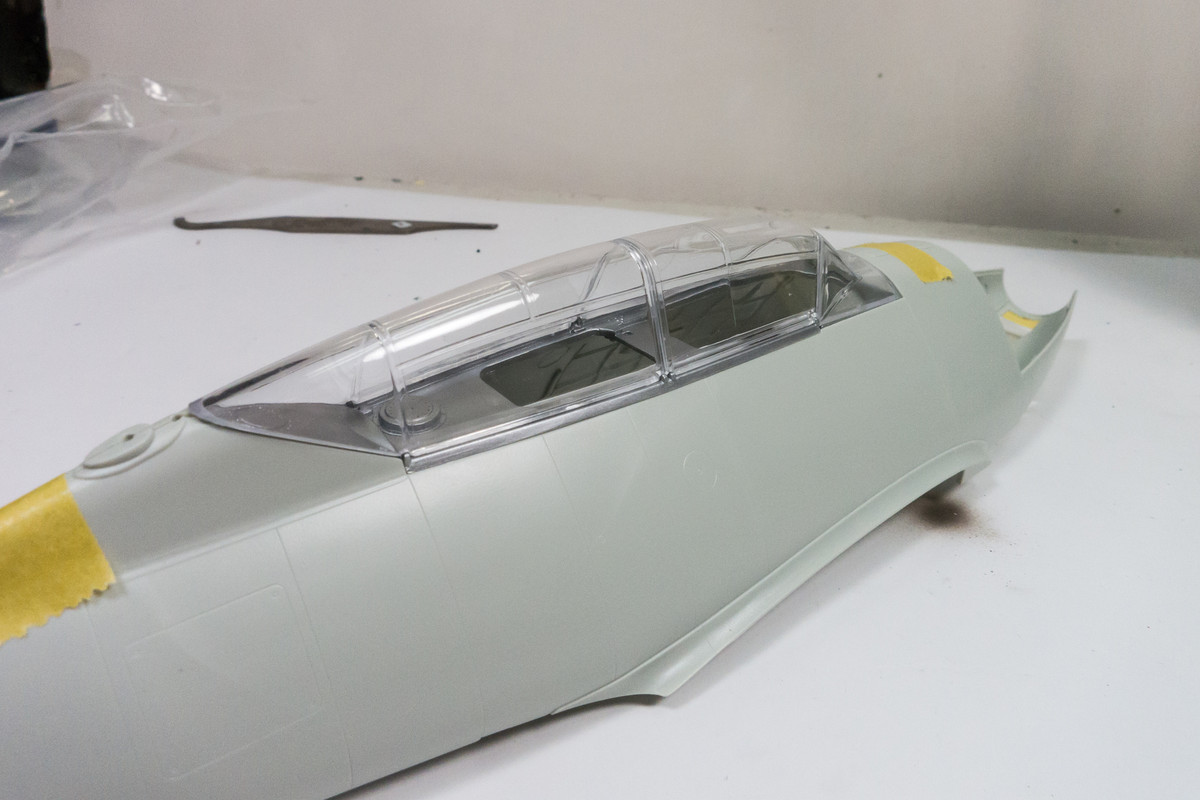
And speaking of... while waiting for decal solution to dry, I've performed a dry fit of the clear canopy parts to the fuselage. The majority of the canopy rests on the separate cockpit sill part, which I needed to verify for the painting process.
Re: 1/32 Revell Me262B-1/U1 Nachtjager
Posted: Wed Nov 25, 2020 3:58 pm
by Stuart
Slow progress but time spent John!
Re: 1/32 Revell Me262B-1/U1 Nachtjager
Posted: Wed Nov 25, 2020 11:27 pm
by jkim