Page 5 of 10
Re: 1:48 P-51B “Spare Parts” (Tamiya Kit)
Posted: Sat Feb 06, 2021 11:00 pm
by KennyX
jkim wrote:Looks good! Even if the puttied seams settle a bit and start showing, I wouldn't even sweat it since that probably happened on the real aircraft as well.
John,
Thank you for bringing that part up. In a case like that I think it’d probably fall under my “Don’t sweat the small stuff” directive. This subject is a rebuilt station hack. So all ideas of making it pristine kinda go right out the window. I kinda just figured it like as you said— the putty probably settled and even got chipped out here and there in real life, and if it happens on the model I won’t worry too much about it as long as it looks cool.
Now, getting back to what you mentioned before about consistency in the surface it’s self overall and how bare metal can reveal all kinds of issues, *that* I’m sweating big time. The wings have been buffed out as thoroughly as I could get them with the micro mesh pads. I like going from 3200 to 12000 for a job like that. Ans before I get on attaching the wings I’m going to go ahead and do the rest of the airframe. And I did forget about one thing— I have to paint the intake before I attach the wings. I honestly have no idea how I’d paint that area if it were assembled together already. So I’ll take care of that, and buffing-out the fuselage, and then I’ll get the wings on there and get the canopy done. After that I’m really counting on the Mr. Surfacer to give me hints at trouble spots on the aircraft so I can address them before I start painting.
As to the painting it’s self, I’m going to hit it with gloss black after priming and then take it slow and work section by section with the various Alclad shades. It’ll be an adventure, that’s for sure. I’ll do a dry run or two on spare plastic first like how I did when I was testing clots for my Zeros.
I’m pretty excited.
Re: 1:48 P-51B “Spare Parts” (Tamiya Kit)
Posted: Sun Feb 07, 2021 2:05 am
by Handiabled
You are making great progress on this one Kenny
Re: 1:48 P-51B “Spare Parts” (Tamiya Kit)
Posted: Sun Feb 07, 2021 12:30 pm
by Medicman71
Very nice Kenny!

Re: 1:48 P-51B “Spare Parts” (Tamiya Kit)
Posted: Wed Feb 10, 2021 7:56 pm
by KennyX
Thank you gentlemen!
Okay, so I got an update on Spare Parts for you!
Firstly, I refilled and re-sanded the panel lines in the wings. Then reheated the buffing process with the micro mesh pads. After that came a coat of Mr. Surfacer 1500. The panel lines which I filled are still ever so slightly visible, but only from certain angles. They disappear completely and then ever so subtly reappear, and frankly, I think that’s rad. And here’s what I hope: that the High Speed Silver which I intend to lay down on those areas will amplify the effect a little bit. Have a look:
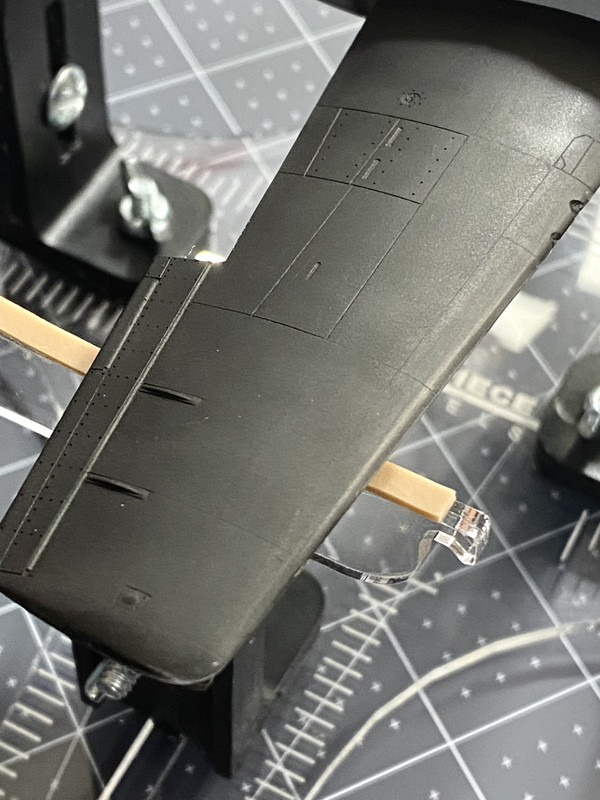
I dig that.
Now, on the belly. Firstly, I painted the intake and the wing panels beneath it. I wouldn’t have been able to paint the intake or the panels that run under it properly any other way had I waited until after attaching the wings. I primed the areas and then sprayed X-1 mixed with gloss clear (5:1) on there, and then Alclad Aluminum, followed by an overspray of Duraluminum on the intake. Heh, speaking of faintly visible panel lines, that fill job I did on the intake halves seam, which looked gone to m under Mr. Surfacer sure came back with the Alclad under certain harsh lighting conditions HAHHAAAAA! I’m opting not to sweat that because as you can see in the second pic below it’s such a minuscule little thing, and I have no intentions of displaying this aircraft upside down. That said, I am going to take some time tomorrow to go over the seam work topside on the spine just to make sure nothing like that crops up there.
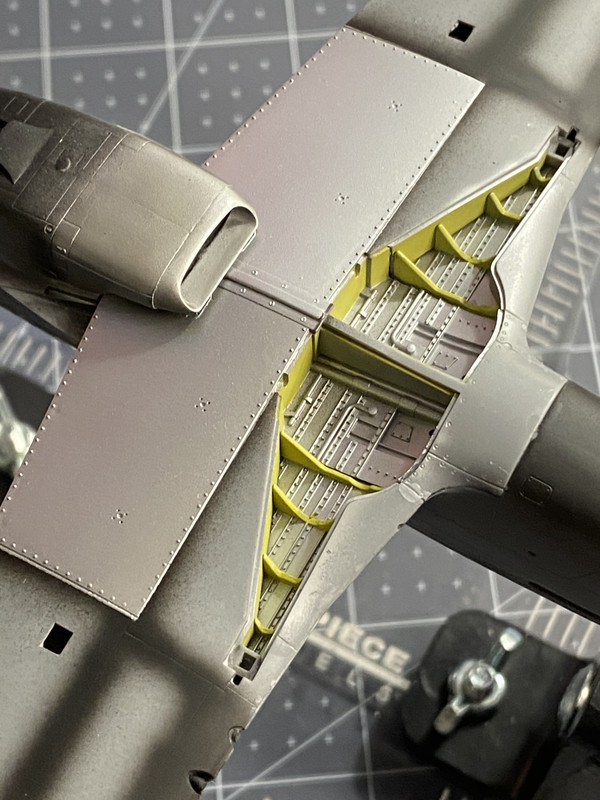
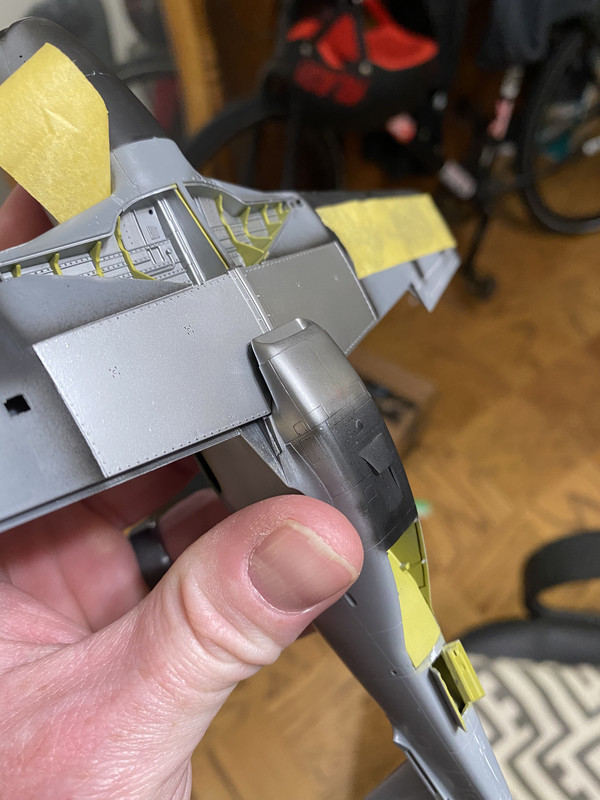
And here my in-progress Pony with her wings on her:
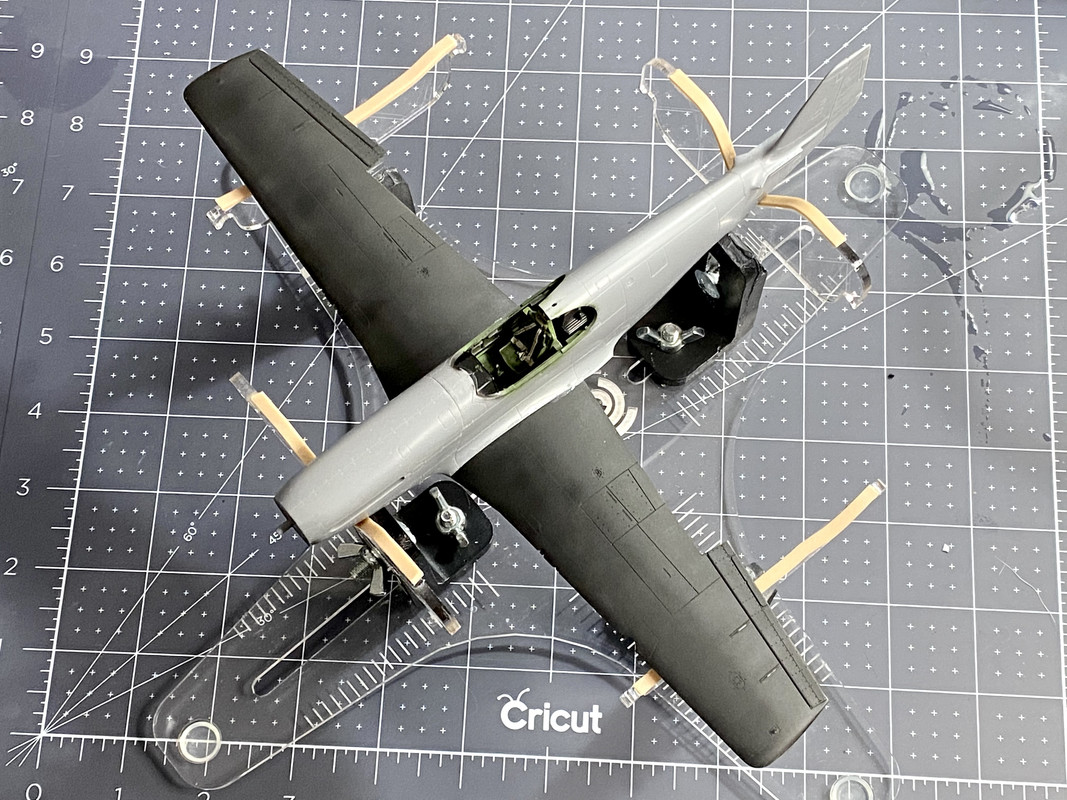
Of note is the fact that this is the first model airplane of my career where I didn’t have to do some form of filling on the wing roots. Heh. I finally did it, HOORAY!
Thanks for looking folks! God bless everybody. Have a good night :-)
Re: 1:48 P-51B “Spare Parts” (Tamiya Kit)
Posted: Wed Feb 10, 2021 9:05 pm
by Stikpusher
Looking good Kenny!
Re: 1:48 P-51B “Spare Parts” (Tamiya Kit)
Posted: Wed Feb 10, 2021 9:35 pm
by KennyX
Thank you Carlos!
Re: 1:48 P-51B “Spare Parts” (Tamiya Kit)
Posted: Thu Feb 11, 2021 7:18 am
by LyleW
That is really looking good!
Re: 1:48 P-51B “Spare Parts” (Tamiya Kit)
Posted: Thu Feb 11, 2021 7:21 am
by Floki
That does look really good Kenny
Re: 1:48 P-51B “Spare Parts” (Tamiya Kit)
Posted: Thu Feb 11, 2021 10:55 am
by jkim
The initial metal shades look really nice, Kenny! Also like the chromate on the wheel well spars!
Re: 1:48 P-51B “Spare Parts” (Tamiya Kit)
Posted: Thu Feb 11, 2021 11:07 am
by KennyX
Don’t follow my work. You’ll only end up disappointed.
Apparently, while behaving as a primer, High Speed Silver still behaves as other metalizers do in the sense that if there’s surface imperfections it’ll sure pick them up.
It looked cloudy to me after laying it down. The paint looked uneven, but it wasn’t. My guess? The result of surface imperfections caused by all the sanding, which failed to correct during the polishing with micro mesh. So I said “Well, shoot, this is a beat-up, crashed, rebuilt airplane, you wanna look like weathered Aluminum Lacquer, I’ll make you!” And I pulled out my stencil and laid down a few thin layers of Aluminum and Duraluminum to obscure the cloudy effect. Then sprayed blend coats.
Here’s the results:
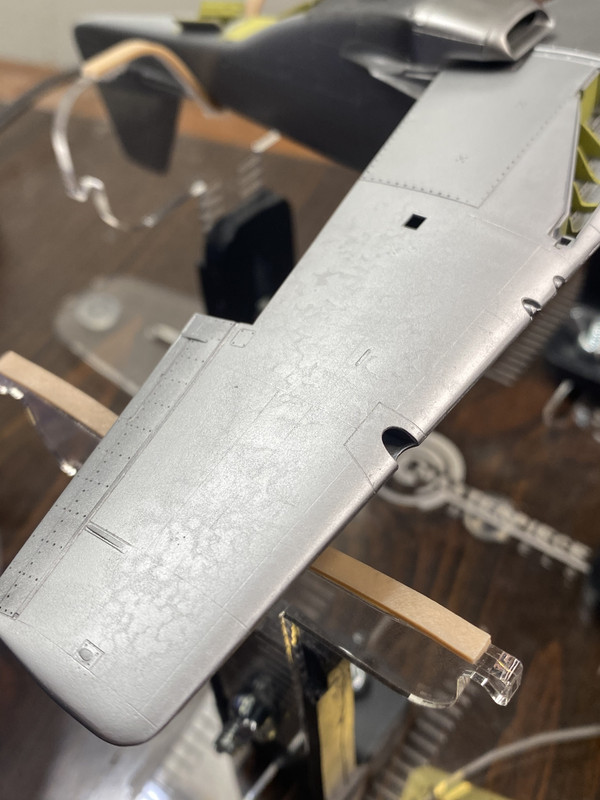
I hate it. This is not good painting. It’s a total fail.
I think metal finish, on an aircraft involving a lot of filling and cosmetic work, was a spectacularly bad idea for me.