Page 5 of 11

Re: 1/32 Meng Me163 Komet

Posted: Fri Jul 16, 2021 12:34 pm
by KSaarni
jkim wrote: Image

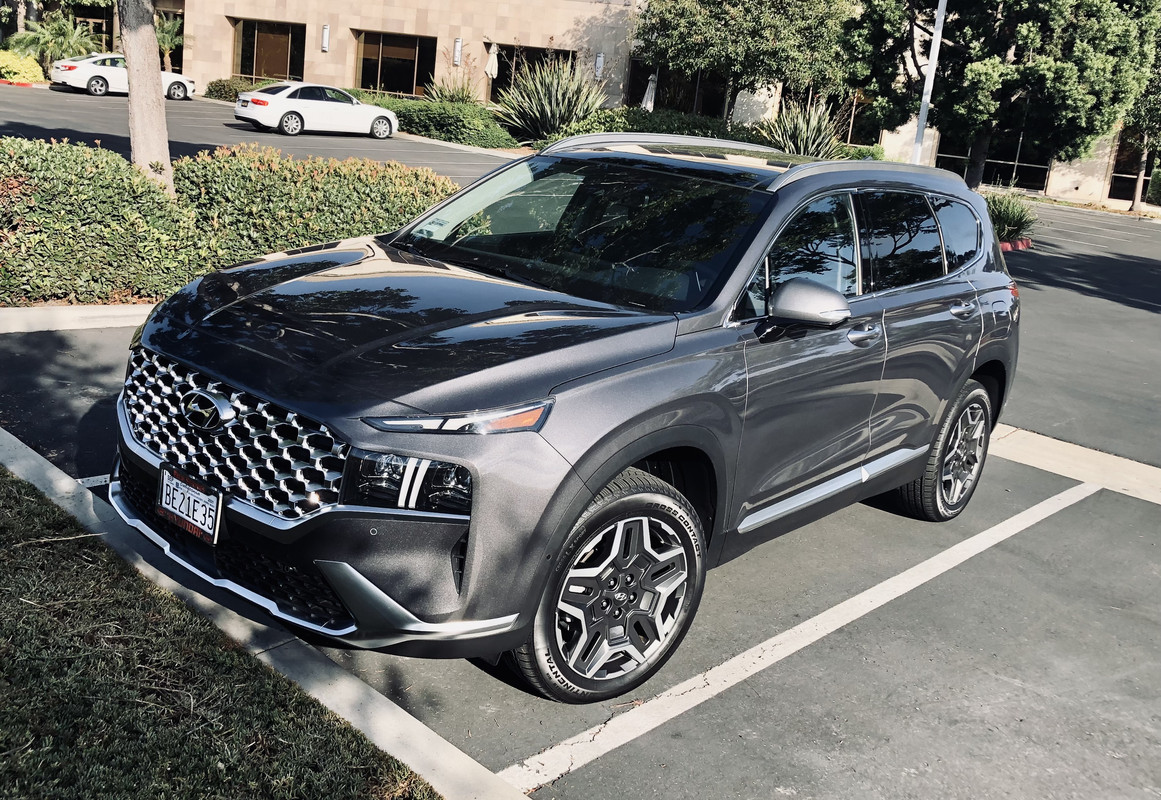
Yup! Enjoying the new car buzz!
NICE & coool !

- Kari

Re: 1/32 Meng Me163 Komet

Posted: Sat Jul 17, 2021 12:54 pm
by mustang1989
Haven't chimed in on this one yet but I'm in on it now.

Gonna get ourselves an updated car next year. Gotta hold on to the old Equinox till our son gets out of High School and then we'll do the upgrade. The truck however......stays!!!!!!!!!!!!!!!!!!!

Re: 1/32 Meng Me163 Komet

Posted: Sat Jul 17, 2021 1:03 pm
by jkim
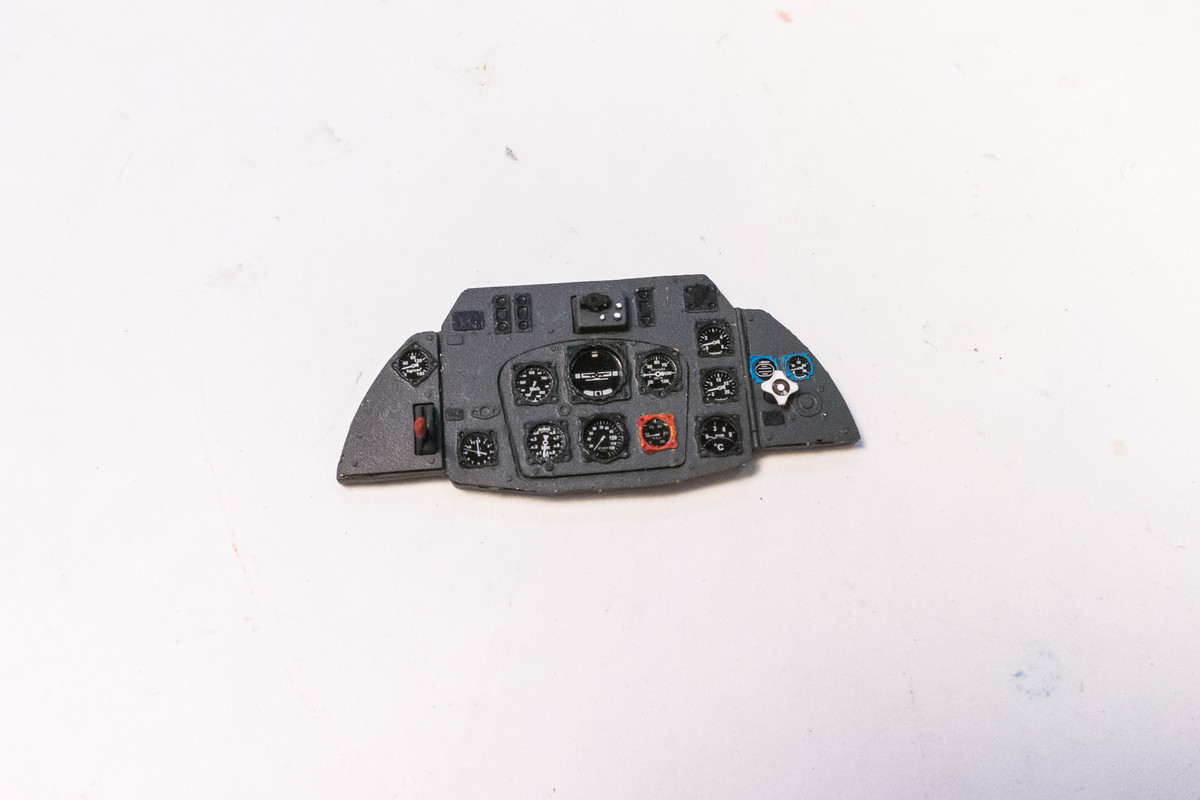
Continuing with work in the cockpit... the instrument panel has been permanently assembled and a few photoetch details have been added. The yellow gauge has been changed to red, as pointed out by Roger of the VintageEagle.com website. Before I call the instrument panel done, I will perform some light weathering on it, mostly dry-brushing with a lighter color.
Image

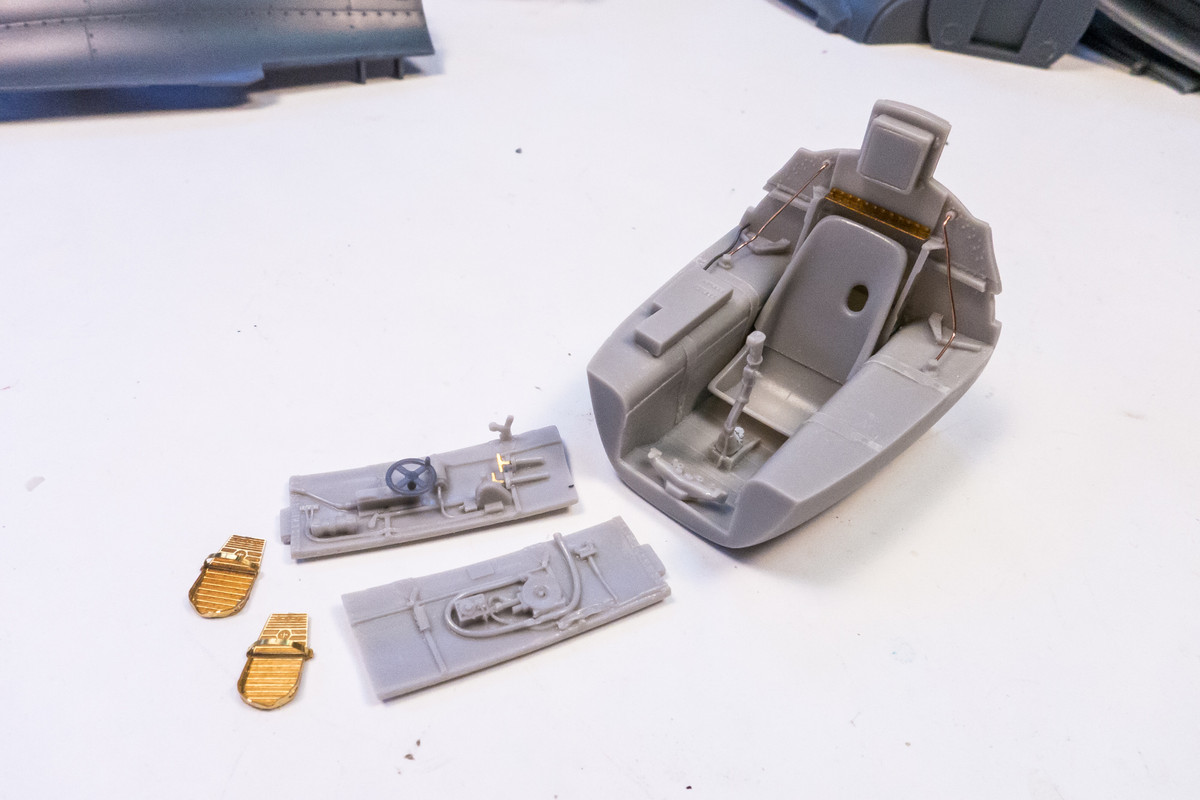
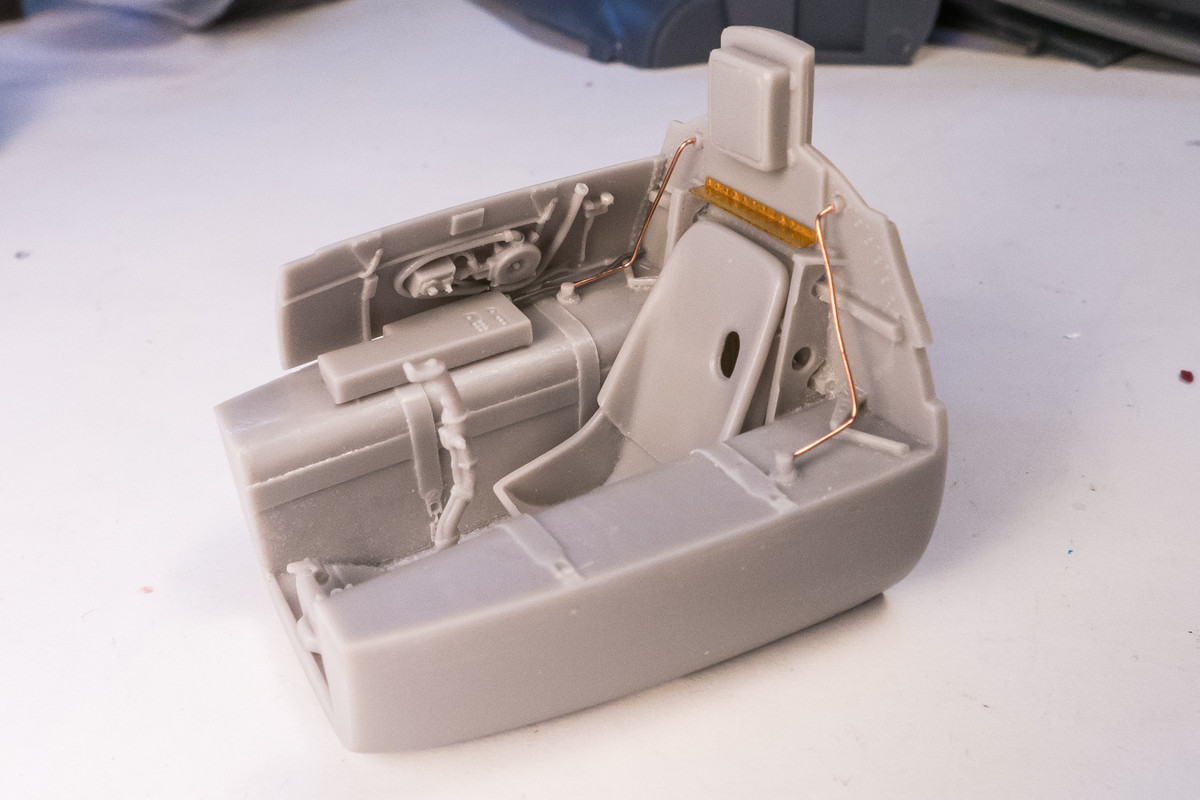
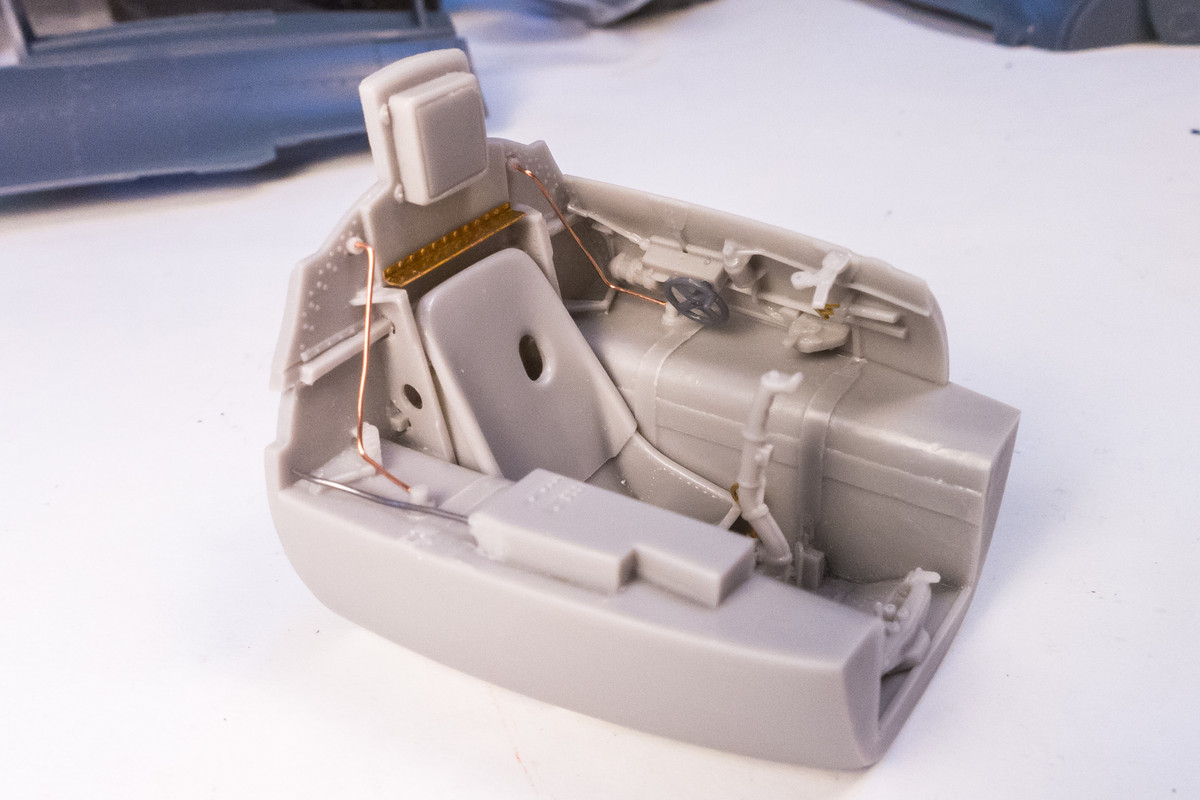
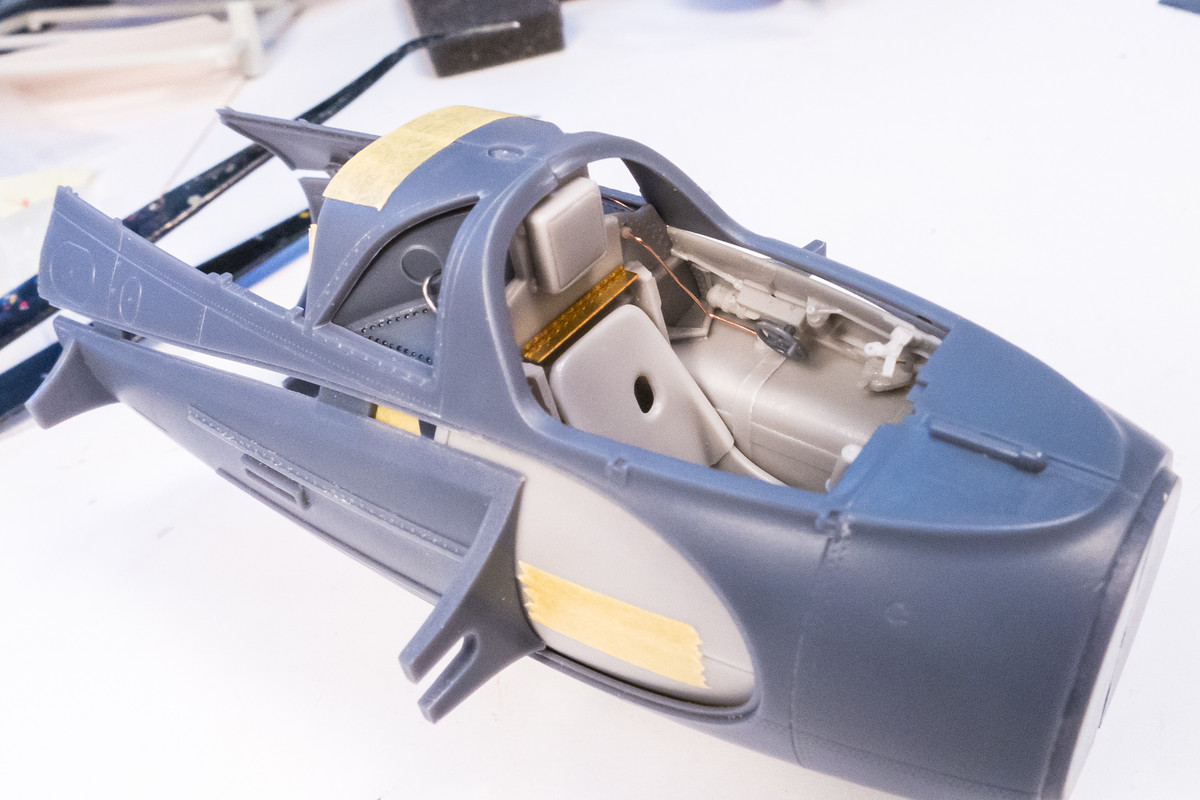
Most of the cockpit sub-areas have been assembled and ready for paint. I shaved the sides of the cockpit tub down to make it fit within the fuselage halves, which was pretty simple work. In addition to the small resin and photoetch parts, I've added some additional wiring.
Image
Image
Image

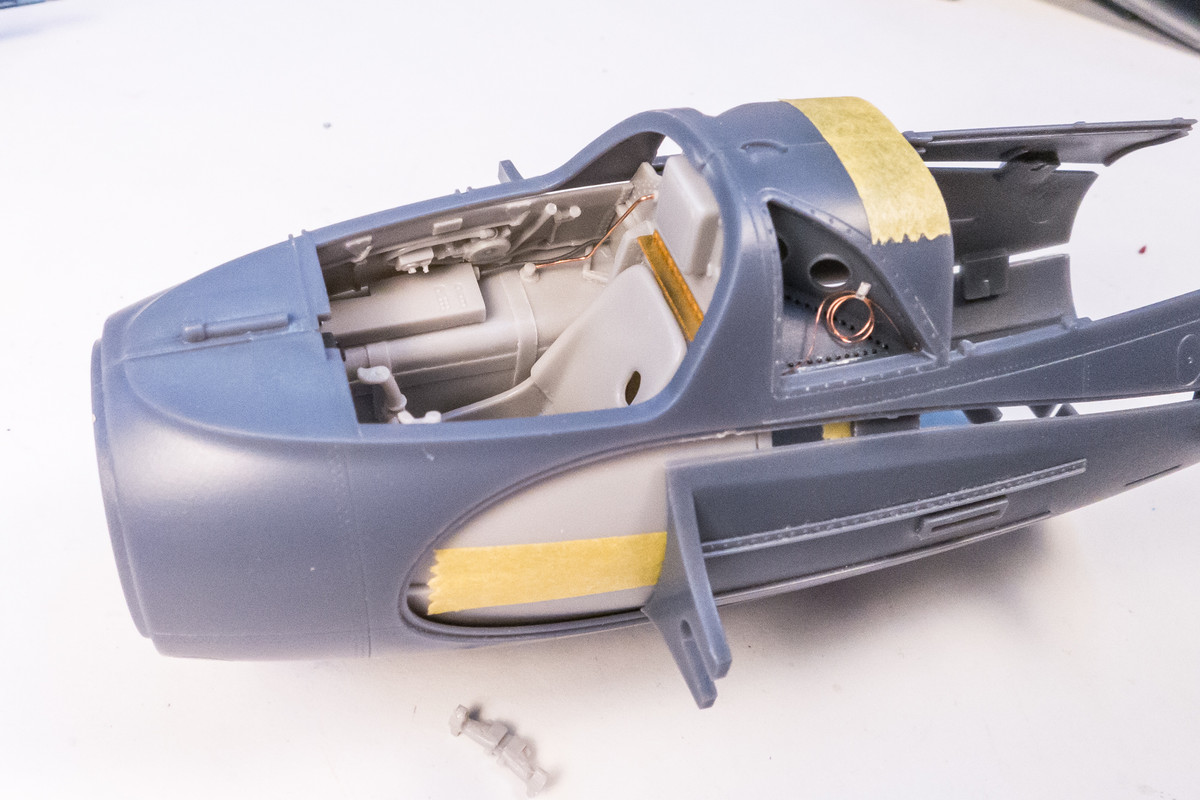
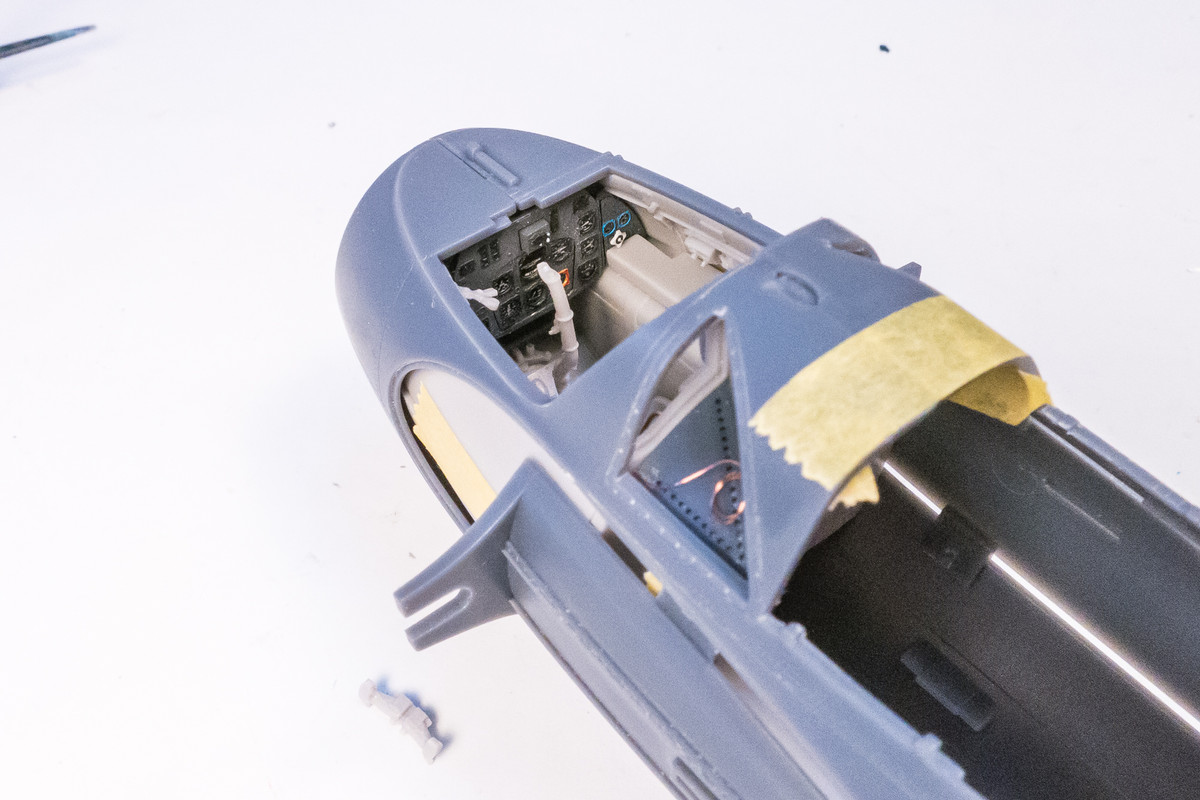
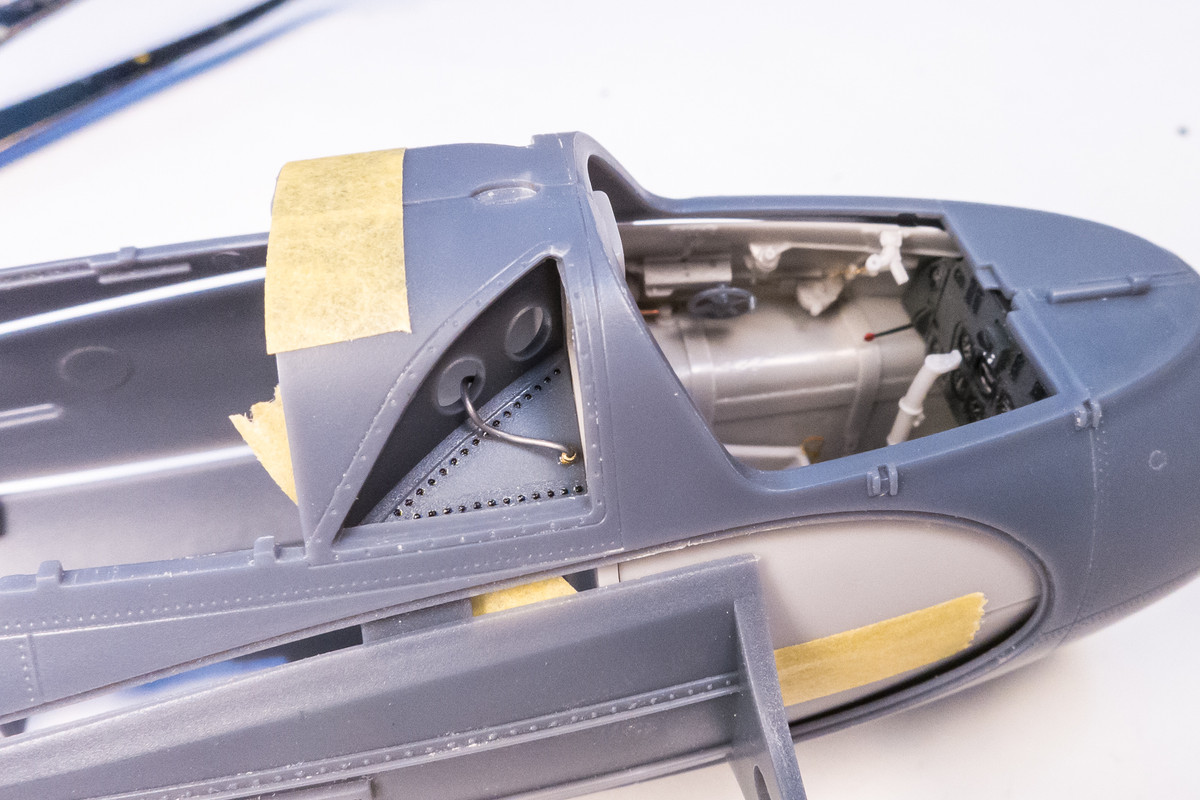
Here's a quick check of the resin cockpit fitted into the fuselage, including the already painted instrument panel. I've added Archer's rivets and some wiring to the decking behind the rear quarter windows.
Image
Image
Image
Image
Image

Painting of the cockpits will be coming soon but I still have to do the seatbelts. I think I'm going to try and fashion my own harnesses using the buckle hardware from the Aires cockpit set and foil.

Re: 1/32 Meng Me163 Komet

Posted: Sun Jul 18, 2021 2:51 pm
by scorpiomikey
Ok i have to ask.
How did you get the details so crisp on your IP?
I tried painting the red bit, i tried my finest brush with thinned down miniature paints, gave up, tried a tooth pick, still couldnt get it right.
Whats the secret?

Re: 1/32 Meng Me163 Komet

Posted: Sun Jul 18, 2021 4:41 pm
by Paul
I even use a 20/0 detail brush and have problems with that. What's your secret, John?
Re: 1/32 Meng Me163 Komet

Posted: Sun Jul 18, 2021 5:58 pm
by Stikpusher
John, as usual, you take something good to very good and make it outstanding. :shoutout:

Re: 1/32 Meng Me163 Komet

Posted: Mon Jul 19, 2021 12:35 am
by Bish
Outstanding indeed, thats some very nice work.

Re: 1/32 Meng Me163 Komet

Posted: Mon Jul 19, 2021 1:37 am
by mostrich
scorpiomikey wrote: Whats the secret?
Paul wrote: What's your secret, John?
Ok, I'm going to reveal John's secret: He's an elf and only three inches tall. :grin:

Re: 1/32 Meng Me163 Komet

Posted: Mon Jul 19, 2021 10:32 am
by jkim
Thanks guys! I appreciate the input! Weekend was really busy and I ended up driving up to LA and back again. I've had the new car for less than a month and I've already put 1200 miles on it!
scorpiomikey wrote:Ok i have to ask.
How did you get the details so crisp on your IP?
I tried painting the red bit, i tried my finest brush with thinned down miniature paints, gave up, tried a tooth pick, still couldnt get it right.
Whats the secret?
Paul wrote:I even use a 20/0 detail brush and have problems with that. What's your secret, John?
Hmmm... outside of just doing it, I haven't really thought about technique. I think preparing the paint is important. I use Tamiya acrylics and they are not the best when it comes to brush painting. Also, there is a lot of variability within the Tamiya paint line as well... some colors just brush better than others. Acrylics dry fast and this can lead to the paint lumping up as it is brushed on. Using the paint bottle lid as a palette, I always mix in a drop or two of 91% iso alcohol as a thinner/retardant to the paint I'm brushing.

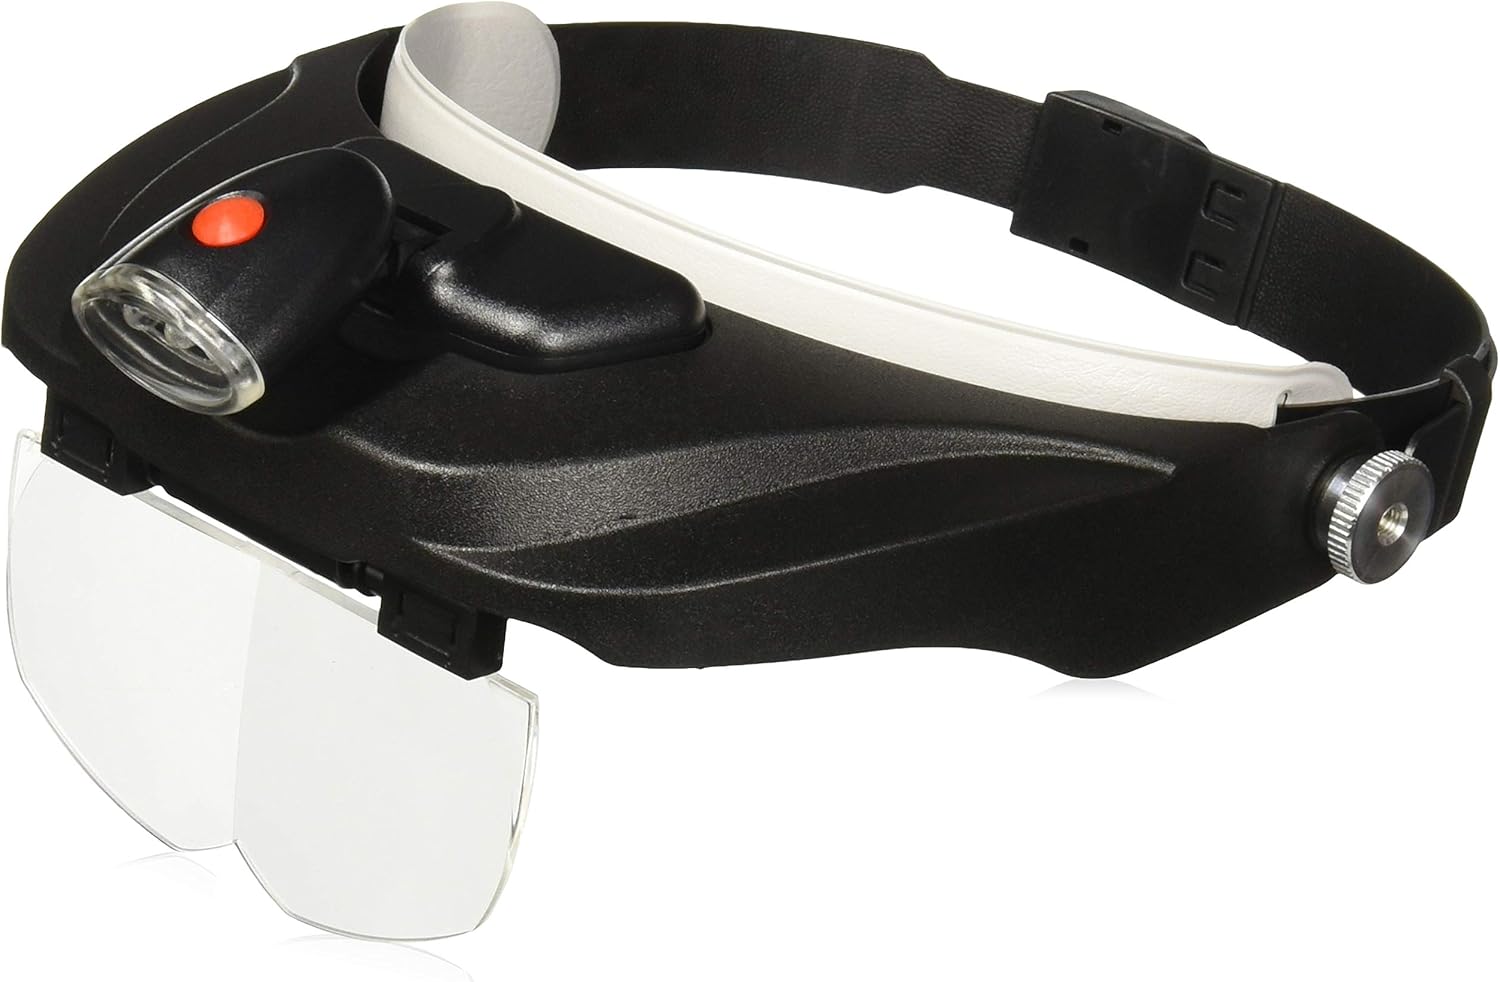
Proper magnification is also essential to good detail painting. Almost all of my modeling work is done under magnification. In addition to the reading glasses that I have to wear because of farsightedness, I always have these visor-style magnifiers on...
Image

Having a good paint brush is important too. I use both cheapo sable brushes as well as Windsor Newton Series 7. I usually grab the cheapo one first. There are times when the cheapo brush will dry out as I move from paint lid to painting surface. In those cases, I will switch to a WN Series 7 (#00 or #000)... they have a very fine tip AND can hold a large quantity of paint within their bristles.

I would describe the actual act of painting these small flat details as "pushing" or guiding the paint to the edges. Wiring runs are trickier since you have to run the paint of the brush along the length of wire. But with the small flat details that are found on an instrument panel, I try to take advantage of any physical edge and use the paint brush tip to push the paint to the edges. Tamiya Red is one of those colors that is poor in coverage so you have to do this several times to build an opaque coat.

Finally... even my best effort will result in at least a few errant strokes. Any spots of paint that spill over the physical edges are carefully touched up afterwards. Utilizing good digital photography is an excellent way to improve your technique. The weathering process, especially the dark pastel wash, is another great way of cleaning up shaky detail painting transitions.

I hope that helps!
Stikpusher wrote:John, as usual, you take something good to very good and make it outstanding. :shoutout:
Thanks Carlos! I think that is an excellent way to describe my work. I'm really into improving kits that are already decent. I'm not as good at taking a bad kit and turning it into good model.

Bish wrote:Outstanding indeed, thats some very nice work.
Thank you very much!

mostrich wrote:Ok, I'm going to reveal John's secret: He's an elf and only three inches tall. :grin:
Ha ha... actually that's a good way at looking at modeling. I think it is important to reduce your perspective to that level in your mind. Mentally shrinking yourself to elf size.

Re: 1/32 Meng Me163 Komet

Posted: Mon Jul 19, 2021 1:43 pm
by KSaarni
jkim wrote: Proper magnification is also essential to good detail painting. Almost all of my modeling work is done under magnification. In addition to the reading glasses that I have to wear because of farsightedness, I always have these visor-style magnifiers on...
Image
I have also been thinking to get these kind of magnifiers, but I have not come so far that I would have started to investigate what's avaible and good. I bought some years ago some cheap magnifier "things", that were very light. The construction as such was "ok", but the quality of the magnifier (plastic) was very poor. So even if the lenses magnfied pretty well, the quality was very bad and did not help at all.

What brand are these ? They look pretty sturdy
Can those lenses be changed between different strenghts ?

- Kari