With all the extra time I had at Hobby Day weekend this past weekend, there's a lot to show in this next tour! Come on in and board the trams to see the latest progress.
Starting again in the hanger, we did get the landing gear and gear doors on the Vampire. We also got the bombs painted up:
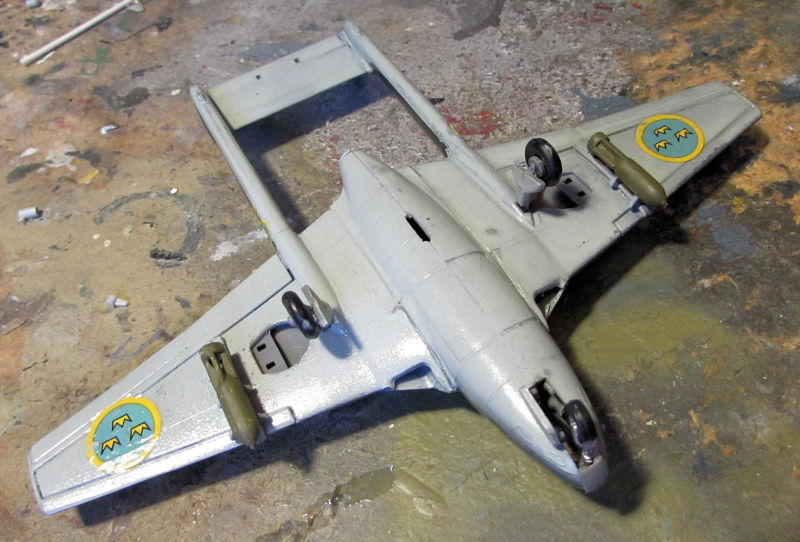
The next pic of this will be in the Finished boards...
We also got the decals on the F-117 stealth fighter:
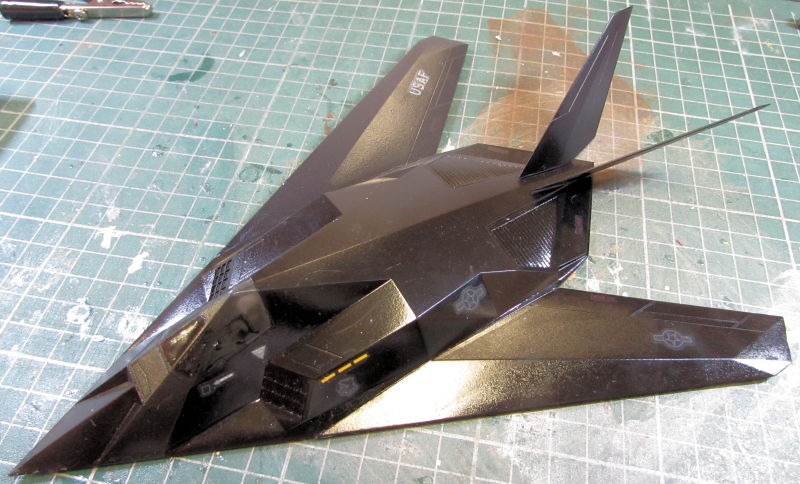
Now I'm not sure if the decals have silvered or if that is that milky stuff that Monogram decals always seems to have. I'm going to wait till this dries and see what a dull coat will do before I deal with that.
Finally, we also put decals the Japanese U-125. What an ordeal that was! These large decals were so thin and delicate they folded under if you looked at them wrong. Then they tore as you tried to fix them! We somehow managed to get 99% of this large decal on one side:
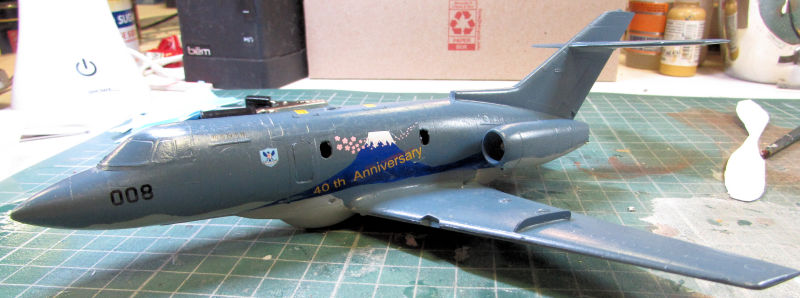
We stopped right there and pulled out my liquid decal film to coat the rest of the decals. After sufficient drying time, we finally got them on the plane. Wow, what a great improvement on the ease of application! We still cut the large side decal into two pieces to make sure we got it on right:
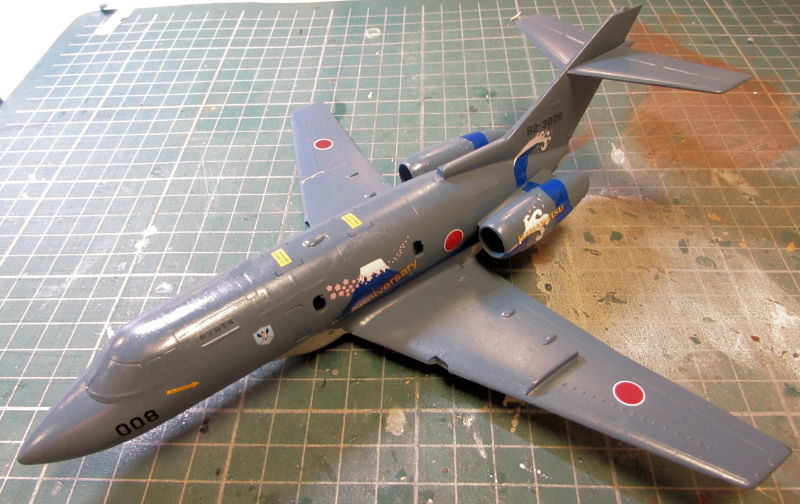
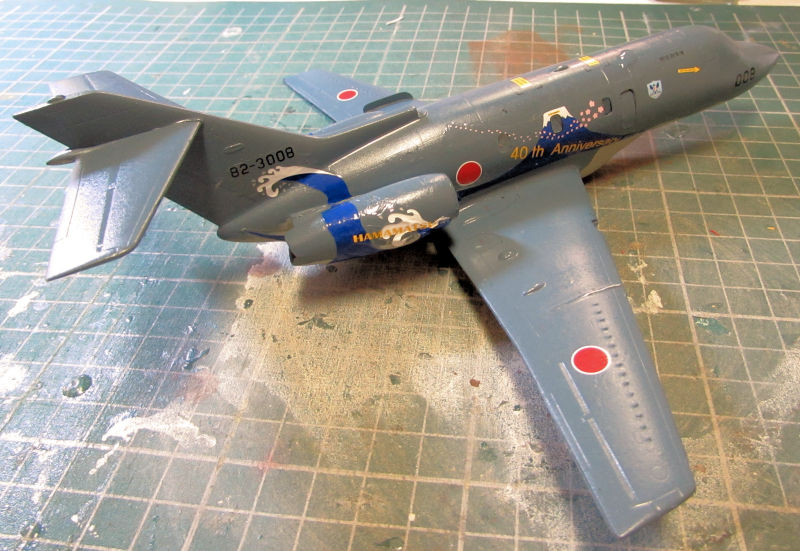
Yes, that wrinkling is from the Solvaset we applied to the engine nacelle decals since they did not conform at all to the curves of those nacelles. Later we added some more and they smoothed out much better. She is turning into quite the pretty plane!
That was the quick tour of the Hanger, now on to the Shipyards...
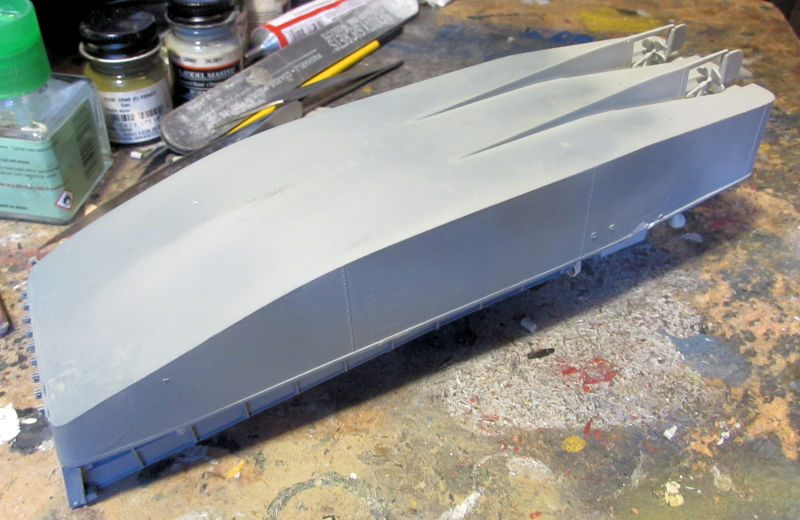
We got more work done on the Trumpeter LCM, adding the propellers and rudders underneath:
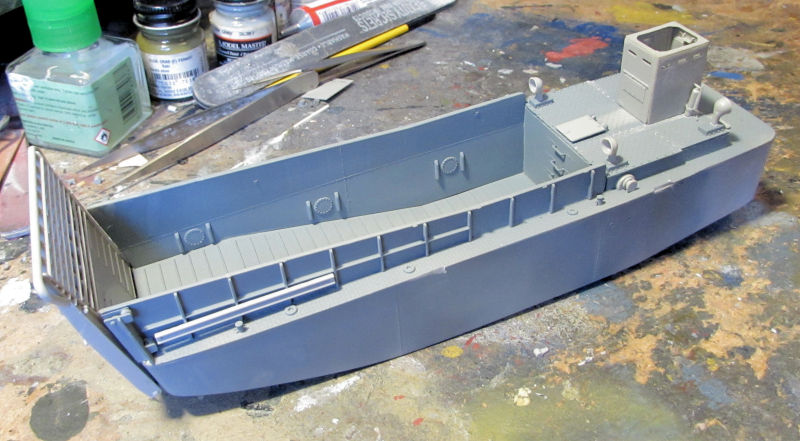
Next we added all the detail parts left off before. The ramp in front is just dry fit; the hinge system Trumpeter uses is useless, unlike the Dragon system. We will decide how to position that once it gets rigged with the rope included in the kit:
In the last slip here, we got the deck painted on HMS Kelly:
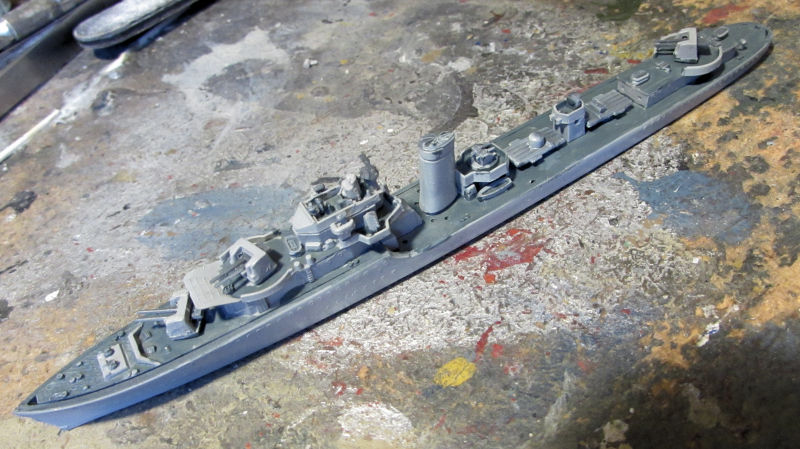
She'll be ready for more detail work now.
That completes the quick tour of the Shipyards; now on to the Motor Pool...
Here in the Motor Pool, we added the decals to the Russian 2S35. It was quite easy since it only had numbers on the sides of the turret:
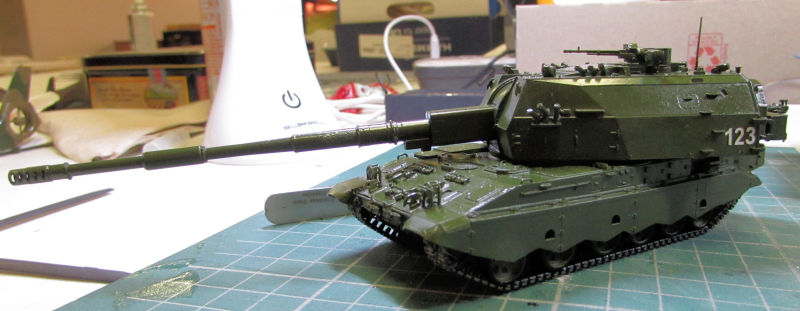
Later we might decide to dress that up a bit with more markings just to give it some more color. Artistic license and all....
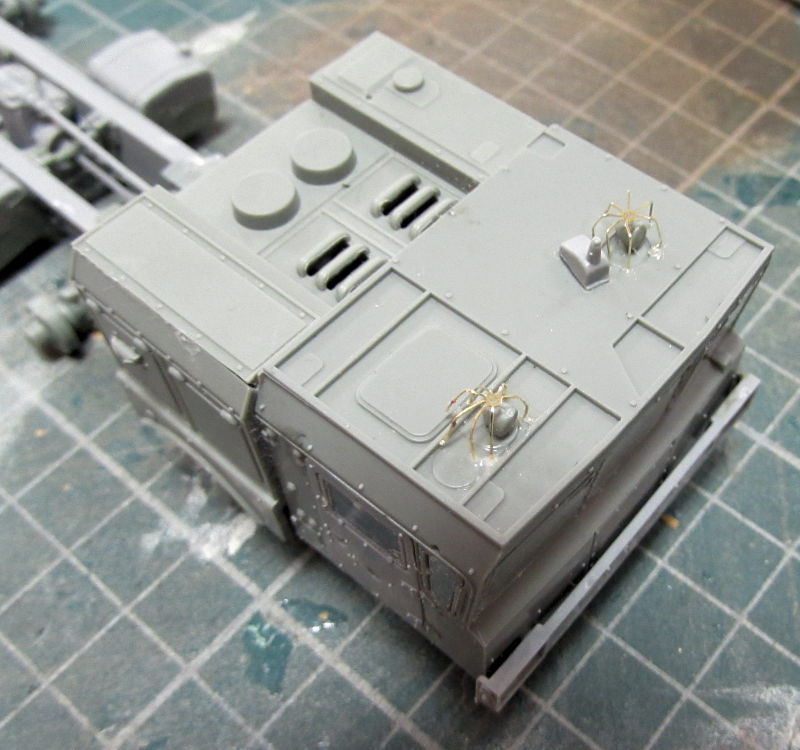
Since we were on Russian subjects, I consulted the instruction sheets for the Russian CLUB anti-ship missile defense system. There's a cover that goes over the cab, with openings on the front for some lights on the top of the cab to shine through. So we got busy and added the lights and the photo-etch cages that protect these lights. Why they still have those protective cages with that cover on, I don't know but since the instructions said they are supposed to go on, we added them:
Later we painted the cab top in the same Russian green as the exterior and then installed the cover on top:
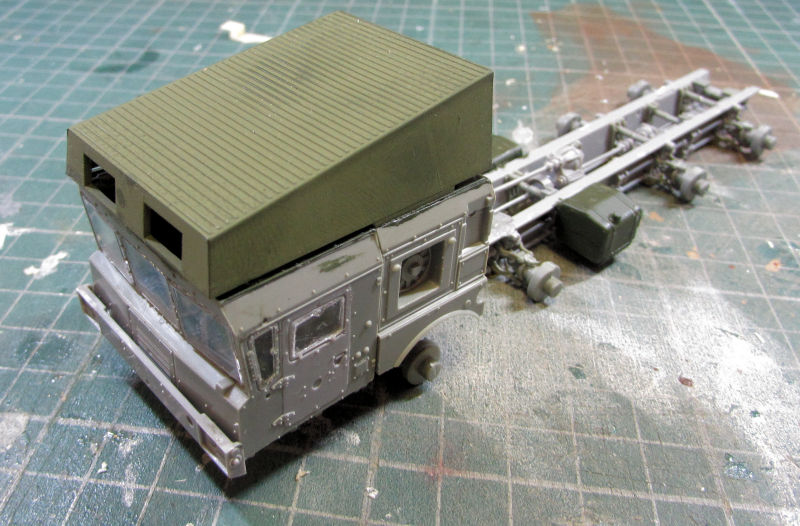
It does look pretty funky up there now, but once the launch bay is added to the back, this will look better. Time to mask these windows to prepare for paint.
Next I pulled out a shelf queen that I'd put aside some time ago because of the way the wheels had to be assembled. It is the armored HUMVEE and it was time to get this thing moving so we went to work. These are the parts to each tire. Note that the hubs were already glued together:
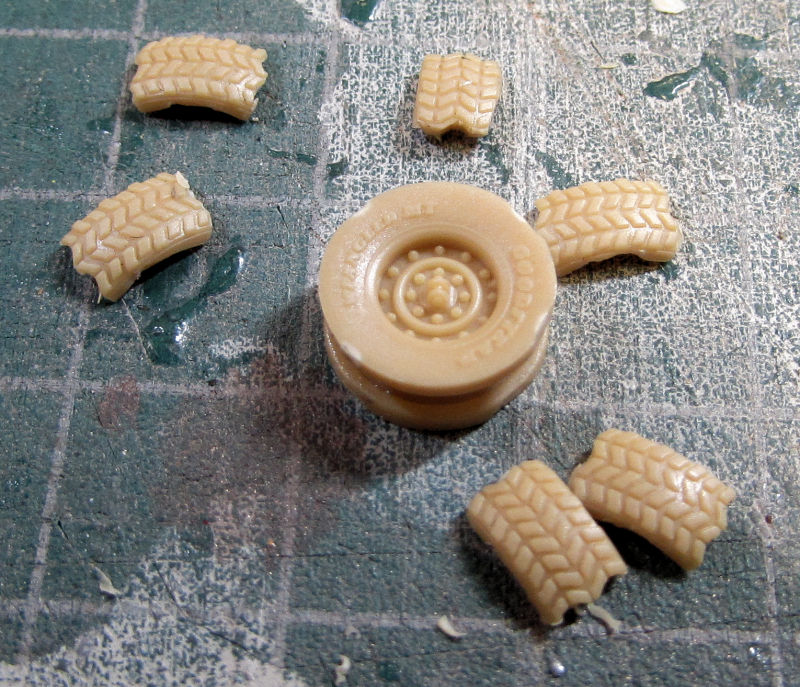
Yes, those are six tread pieces that are supposed to go on the hubs. This is what the wheels look like fully assembled:
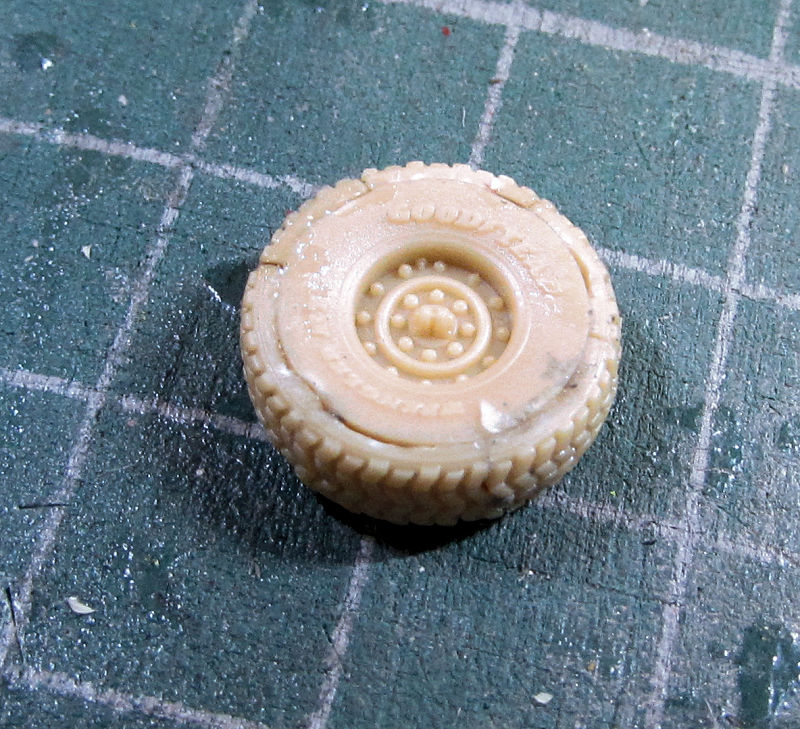
I'm not sure what to do about all those seams and gaps. What a ridiculous way to build wheels, especially since the tread pieces had so much flash you didn't know where the flash ended and the tread started! I might just forget any attempt to fix them just so I can move on...
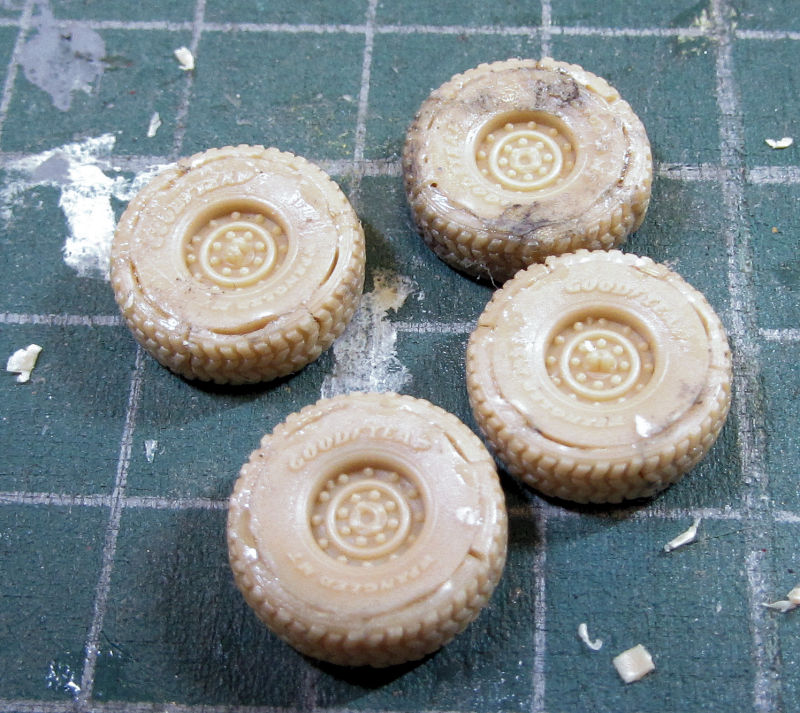
We finally got all four wheels done. I can send this to the paint booth now....
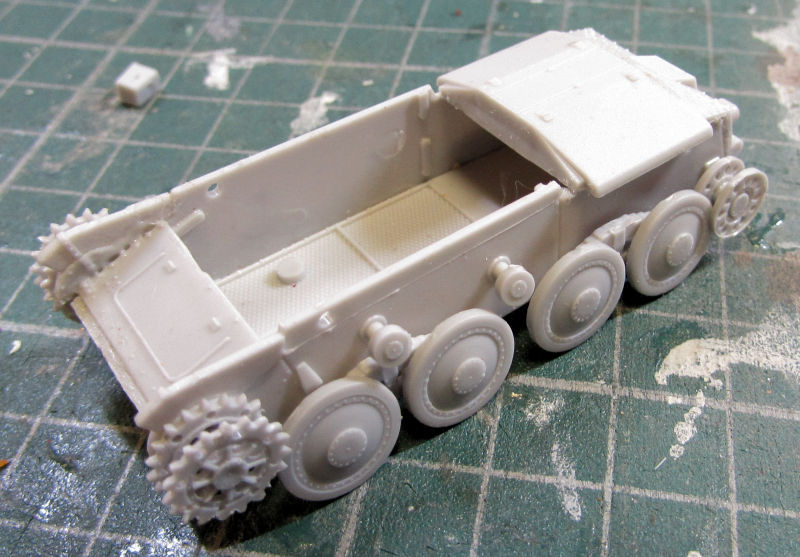
Earlier we had started a WWII Swedish assault gun, building the lower hull first. I forgot to take pics of it before we added the wheels and sprockets to it. We then added the engine deck on top along with the front glacis plate:
This kit came with a resin fighting compartment that houses the gun and all. Here it is dry fit on the hull to see how it fits. It is hollow and needed a slight bit of persuasion:
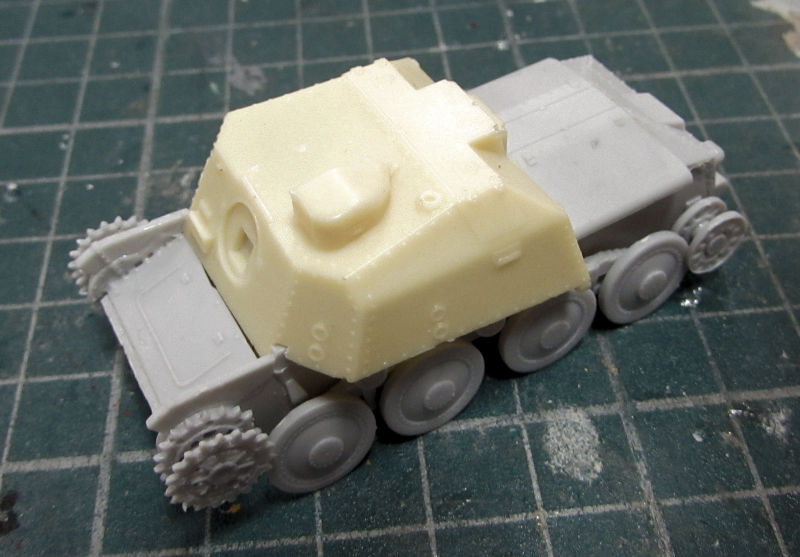
I'm not sure whether we should install the fenders before gluing that down, or try to fit the fenders after. If I decide to add the fenders first, we'll need to add the tracks to the running gear first. I'll have to think on this....
After al that, I wanted something simple and fun to work on. I pulled out this Japanese Material Handler to do for my 12-hour build challenge that my So Cal AMPS club is doing. After three and a half hours we had this:
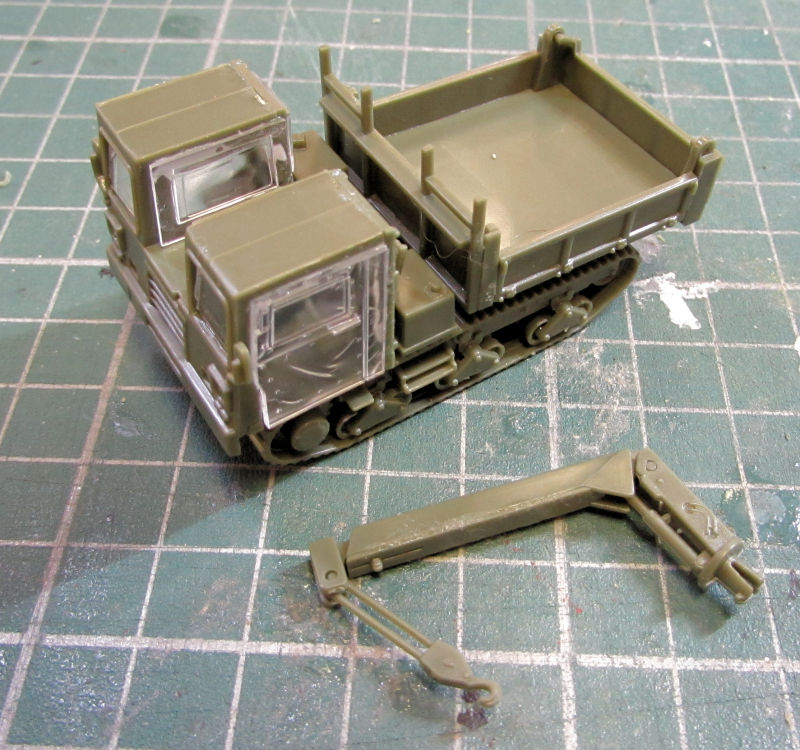
This thing is so cool! It is a funky looking beastie but it even does all this:
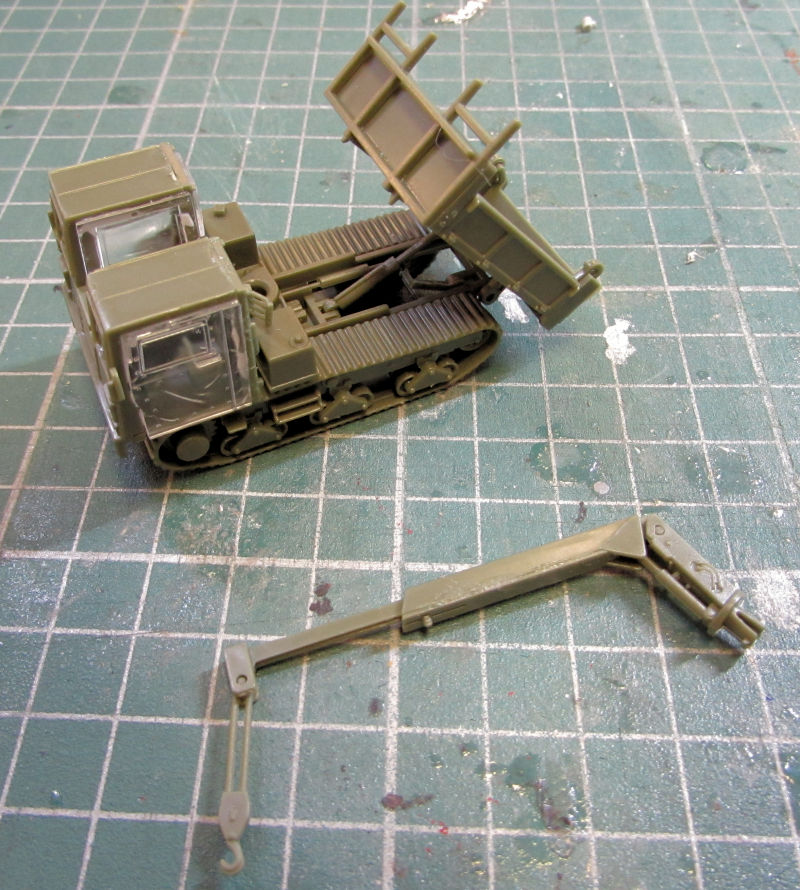
That was all we got done this weekend in the Motor Pool.
And that completes our tour of Maddog Manufacturing, I hope you enjoyed it. Thanks for coming along, comments are welcome.



 what the hell happened to it??? Anyway, I never got it was far progressed as yours Mark, it's looking great!




